Hot Cross Cake Cookies

Processed with VSCOcam with f2 preset

Sometimes things get to your head. Sometimes you mean for something to turn out one way, but thanks to some tiny, sudden instinct, or some recent experience with another different but wonderful foodstuff, elements which you never meant to blend together end up doing just that. Sometimes, that’s ok. Like this cookie.

Processed with VSCOcam with f2 preset Processed with VSCOcam with f2 preset Processed with VSCOcam with f2 preset

I never was a fan of fluffy, cakey cookies. I am a hard advocate of pin-thin, dense, chewy cookies, all nicely ridged round the edges and squidgy, half-baked in the middle. You could press the middle and your finger mark will stay. That chewy and squidgy (I love the word squidgy). I felt like doing something over the Easter weekend, but the entire of Saturday and Sunday was a blur, a hectic mess. A jumble of egg hunts, a scramble to feed my sisters and her friends breakfast (pancakes, if you’re wondering), a desperate longing for time cooped up reading in my room. Monday morning called for something dedicated to this holy occasion, but nothing too orthodox. Without much time on my hands, I resorted to cookies, a category I haven’t played with in what feels like forever. I had a gorgeous slice of sponge cake from (goodness knows) somewhere over the Easter weekend, and I guess that theme of airy lightness fed into this experiment. But I’m grateful for the mistake– I think the fluffy nature of this cookie (hence the ‘cake’ before the ‘cookie’ in the title) allows the more stuff to be, well, stuffed into each little cookie. Ah, the stuff. Good stuff. I’ll talk about the stuff.

Processed with VSCOcam with f2 preset Processed with VSCOcam with f2 preset Processed with VSCOcam with f2 preset

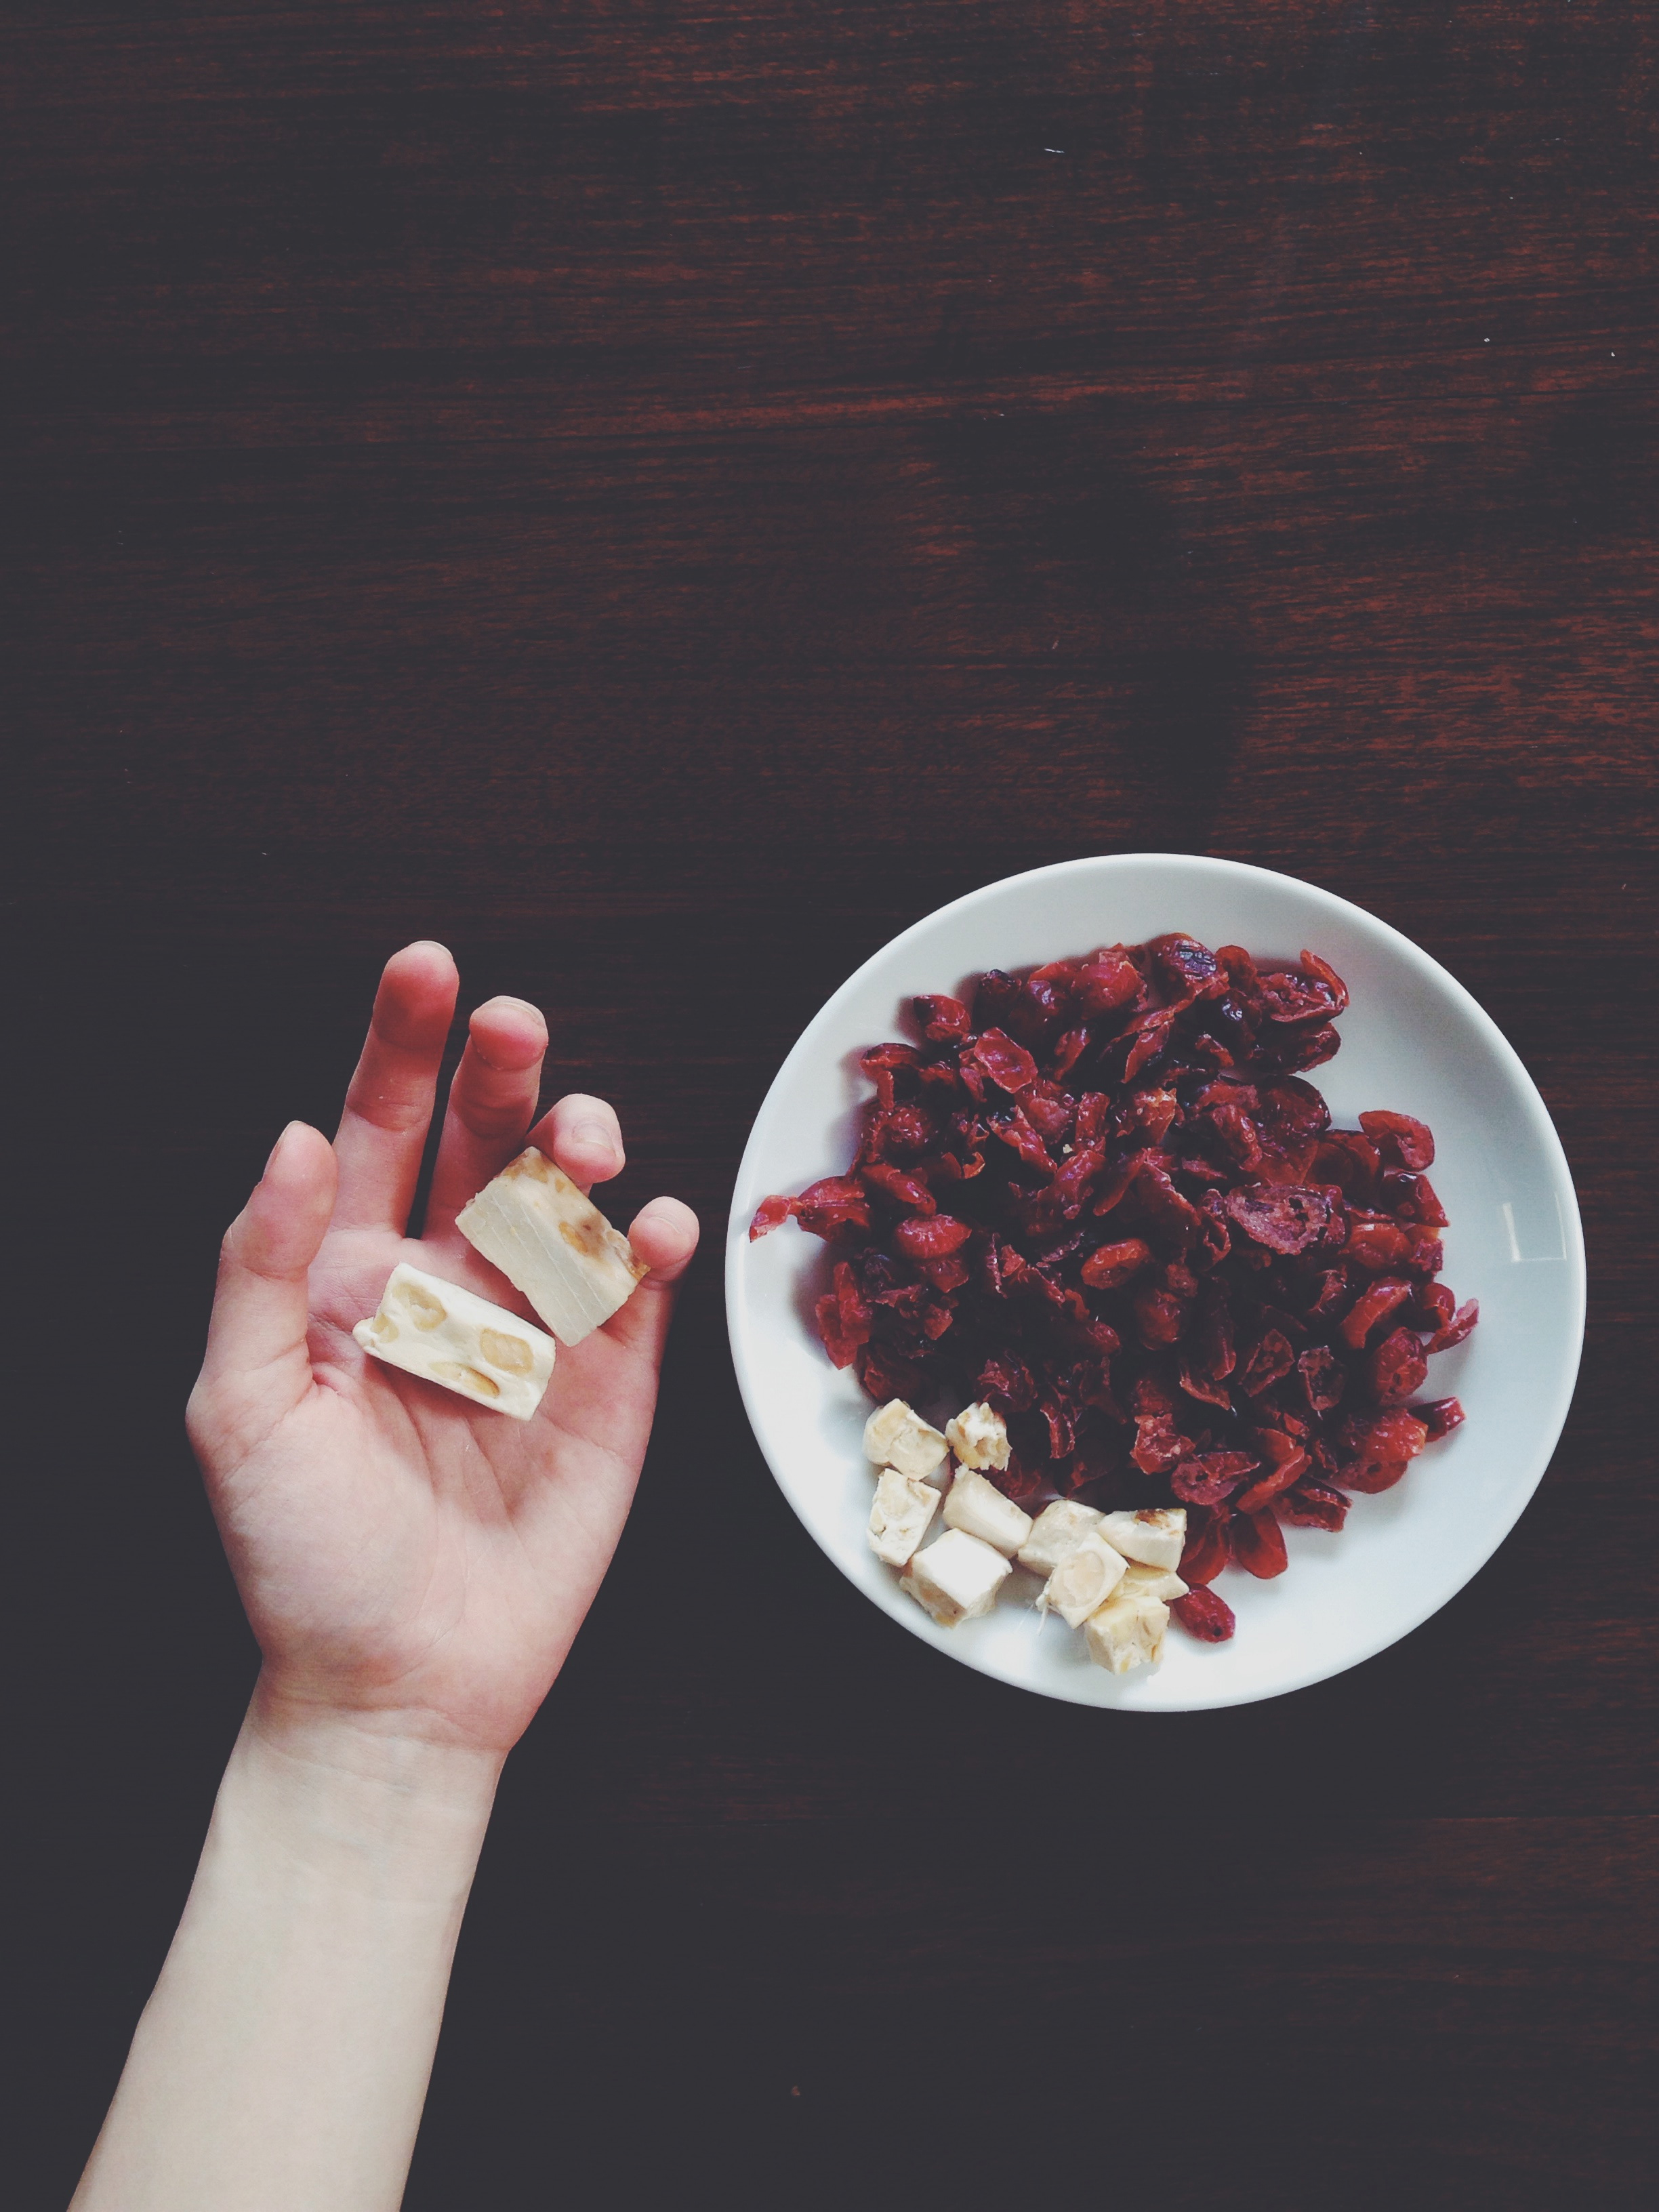
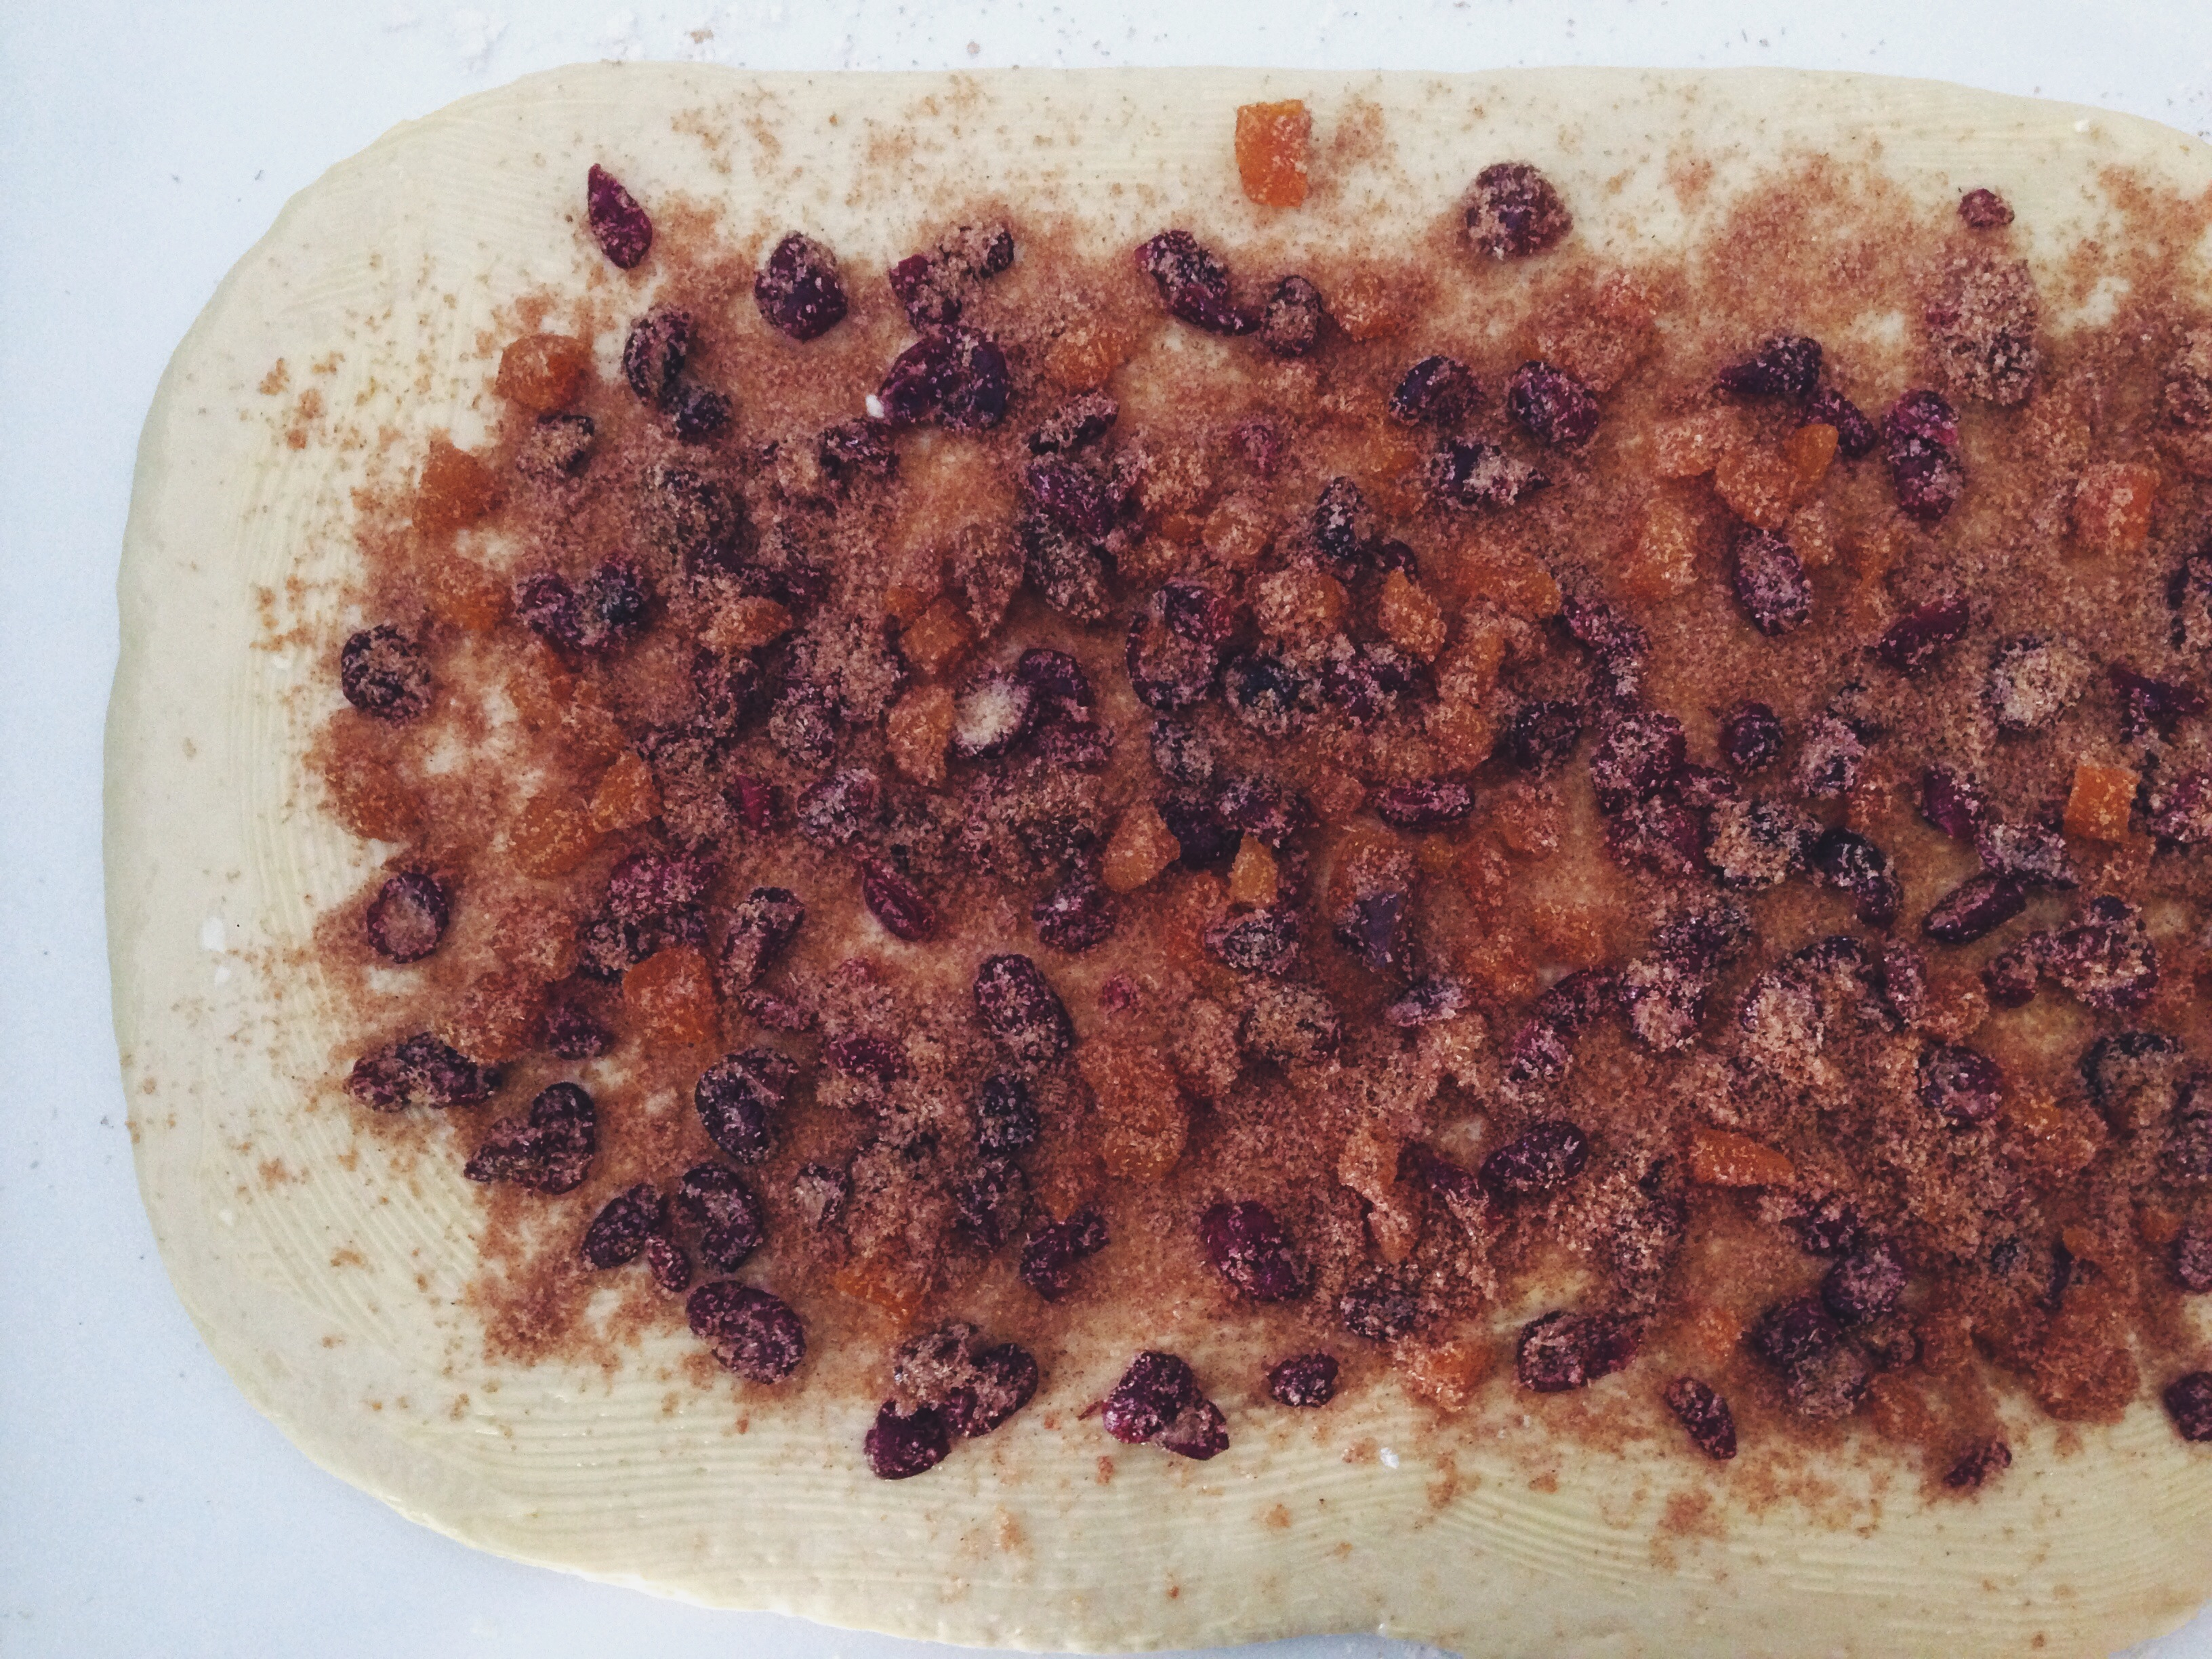
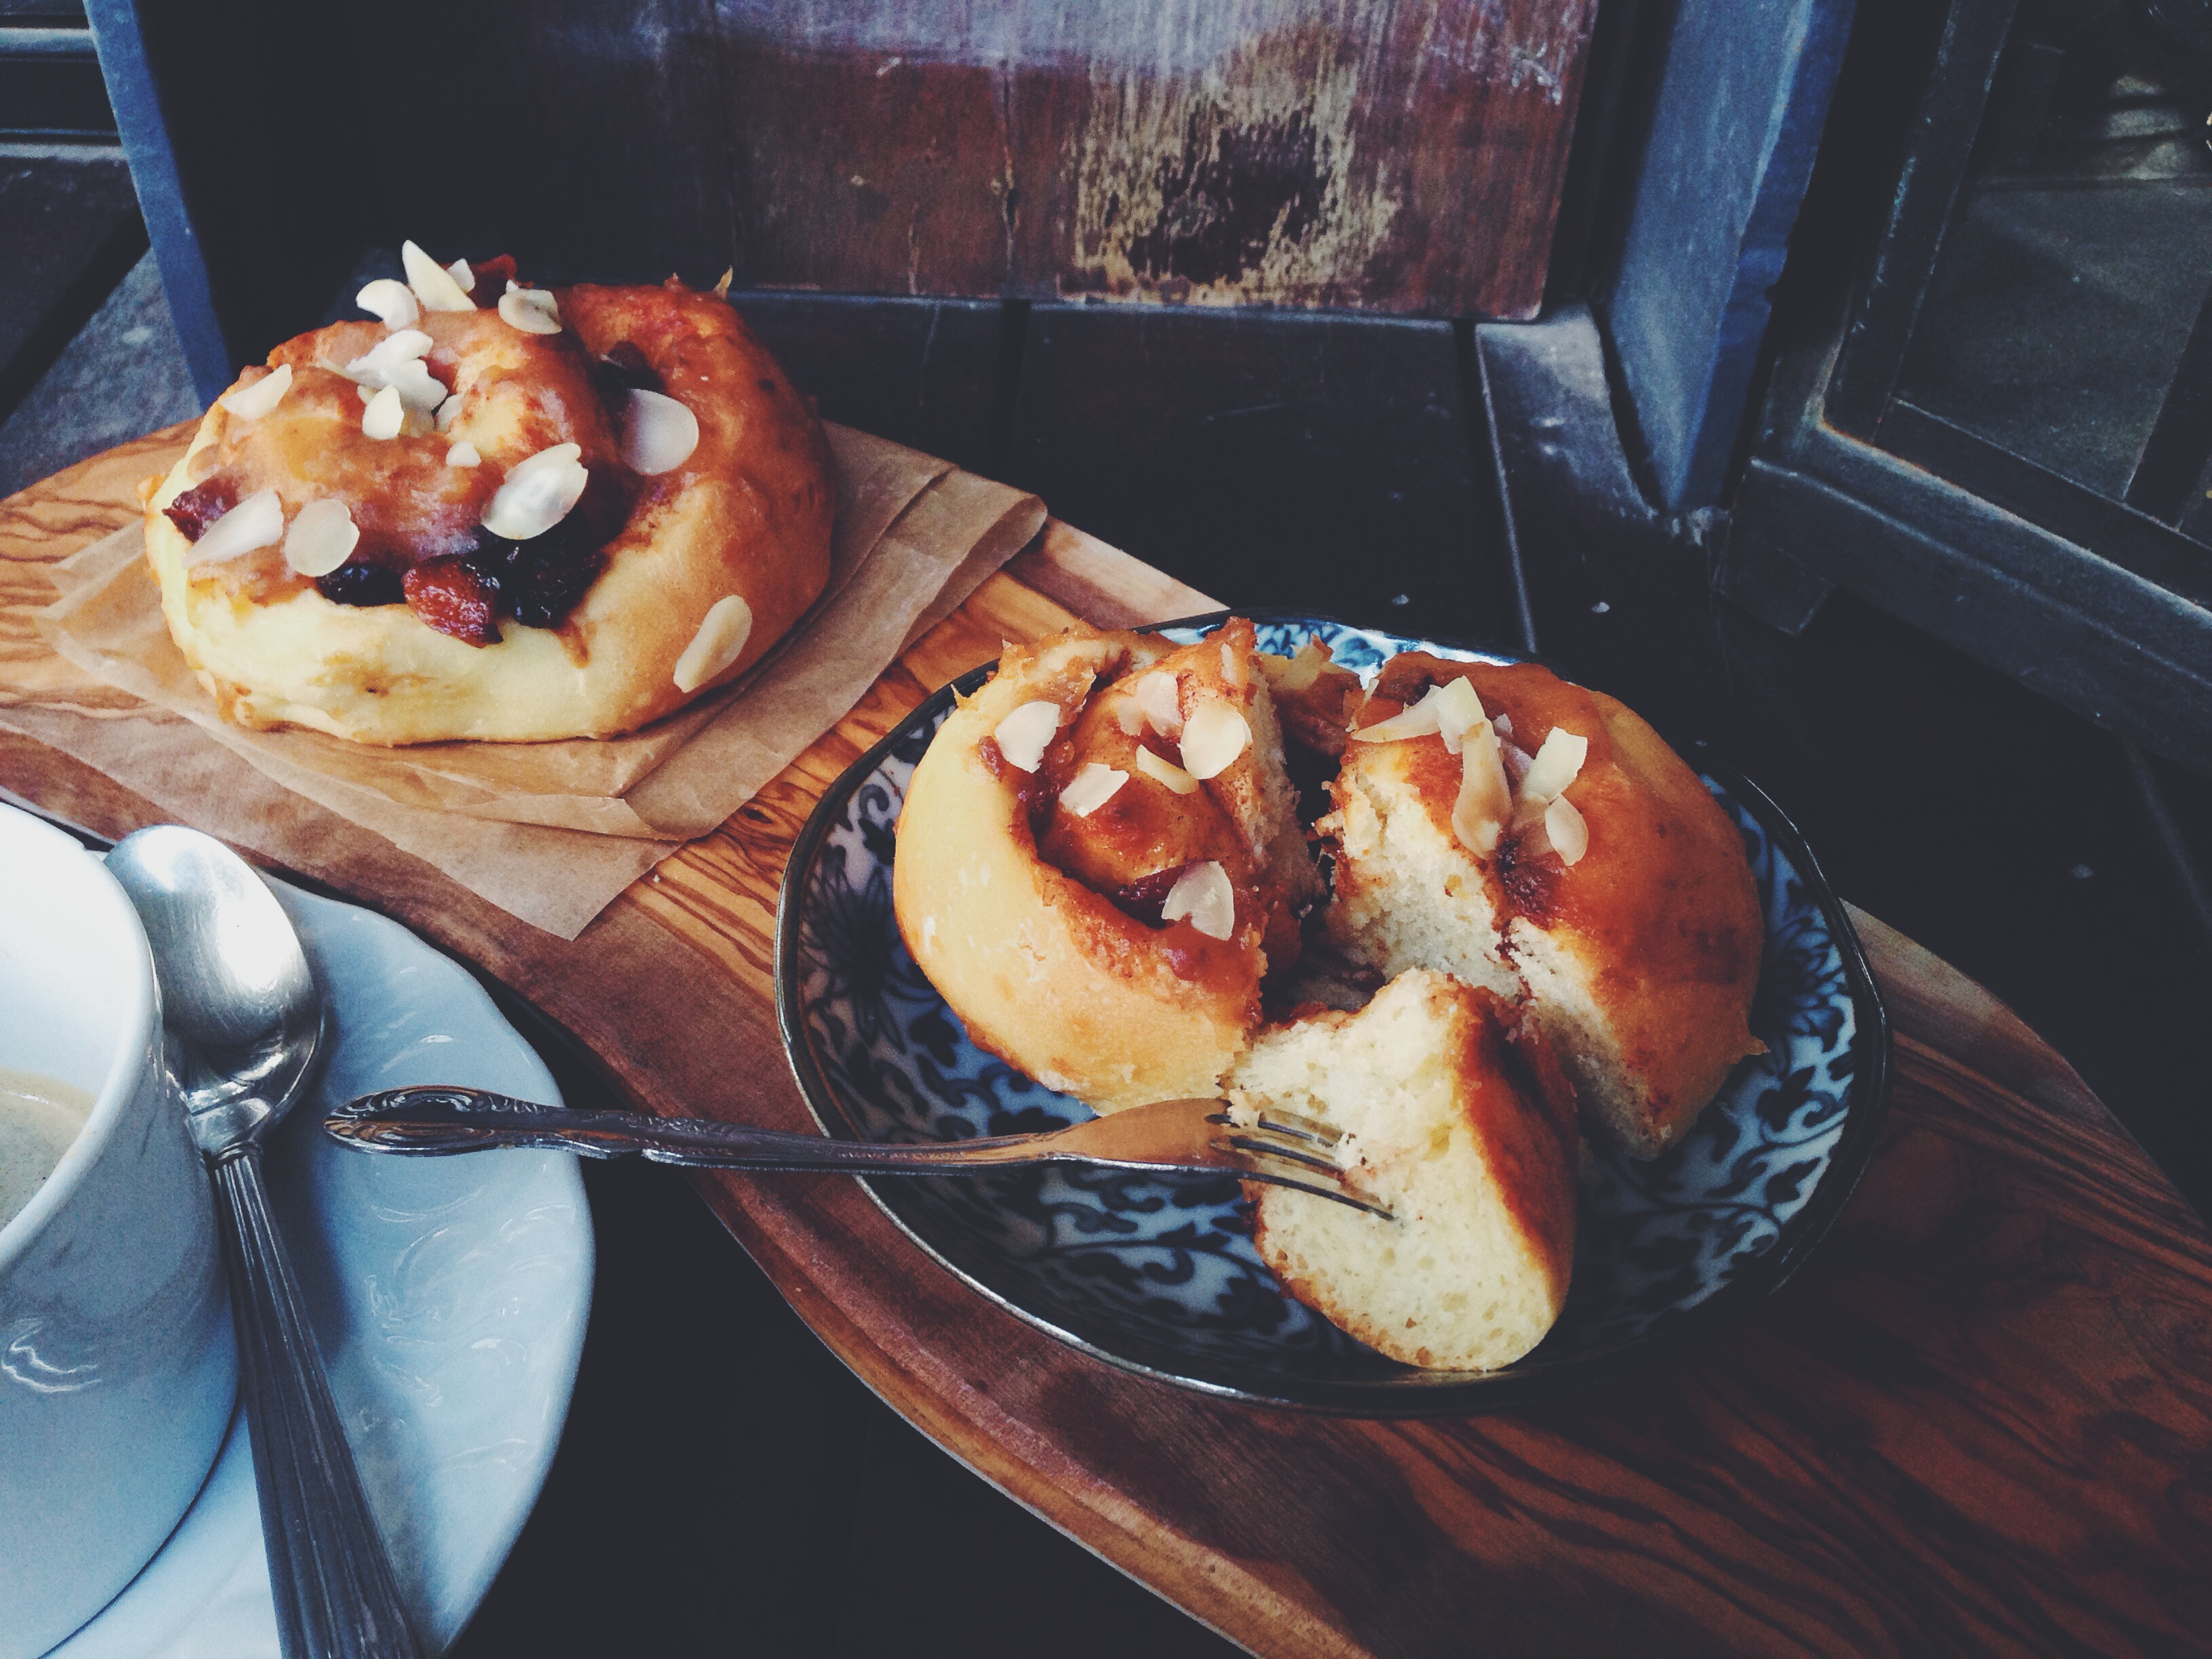
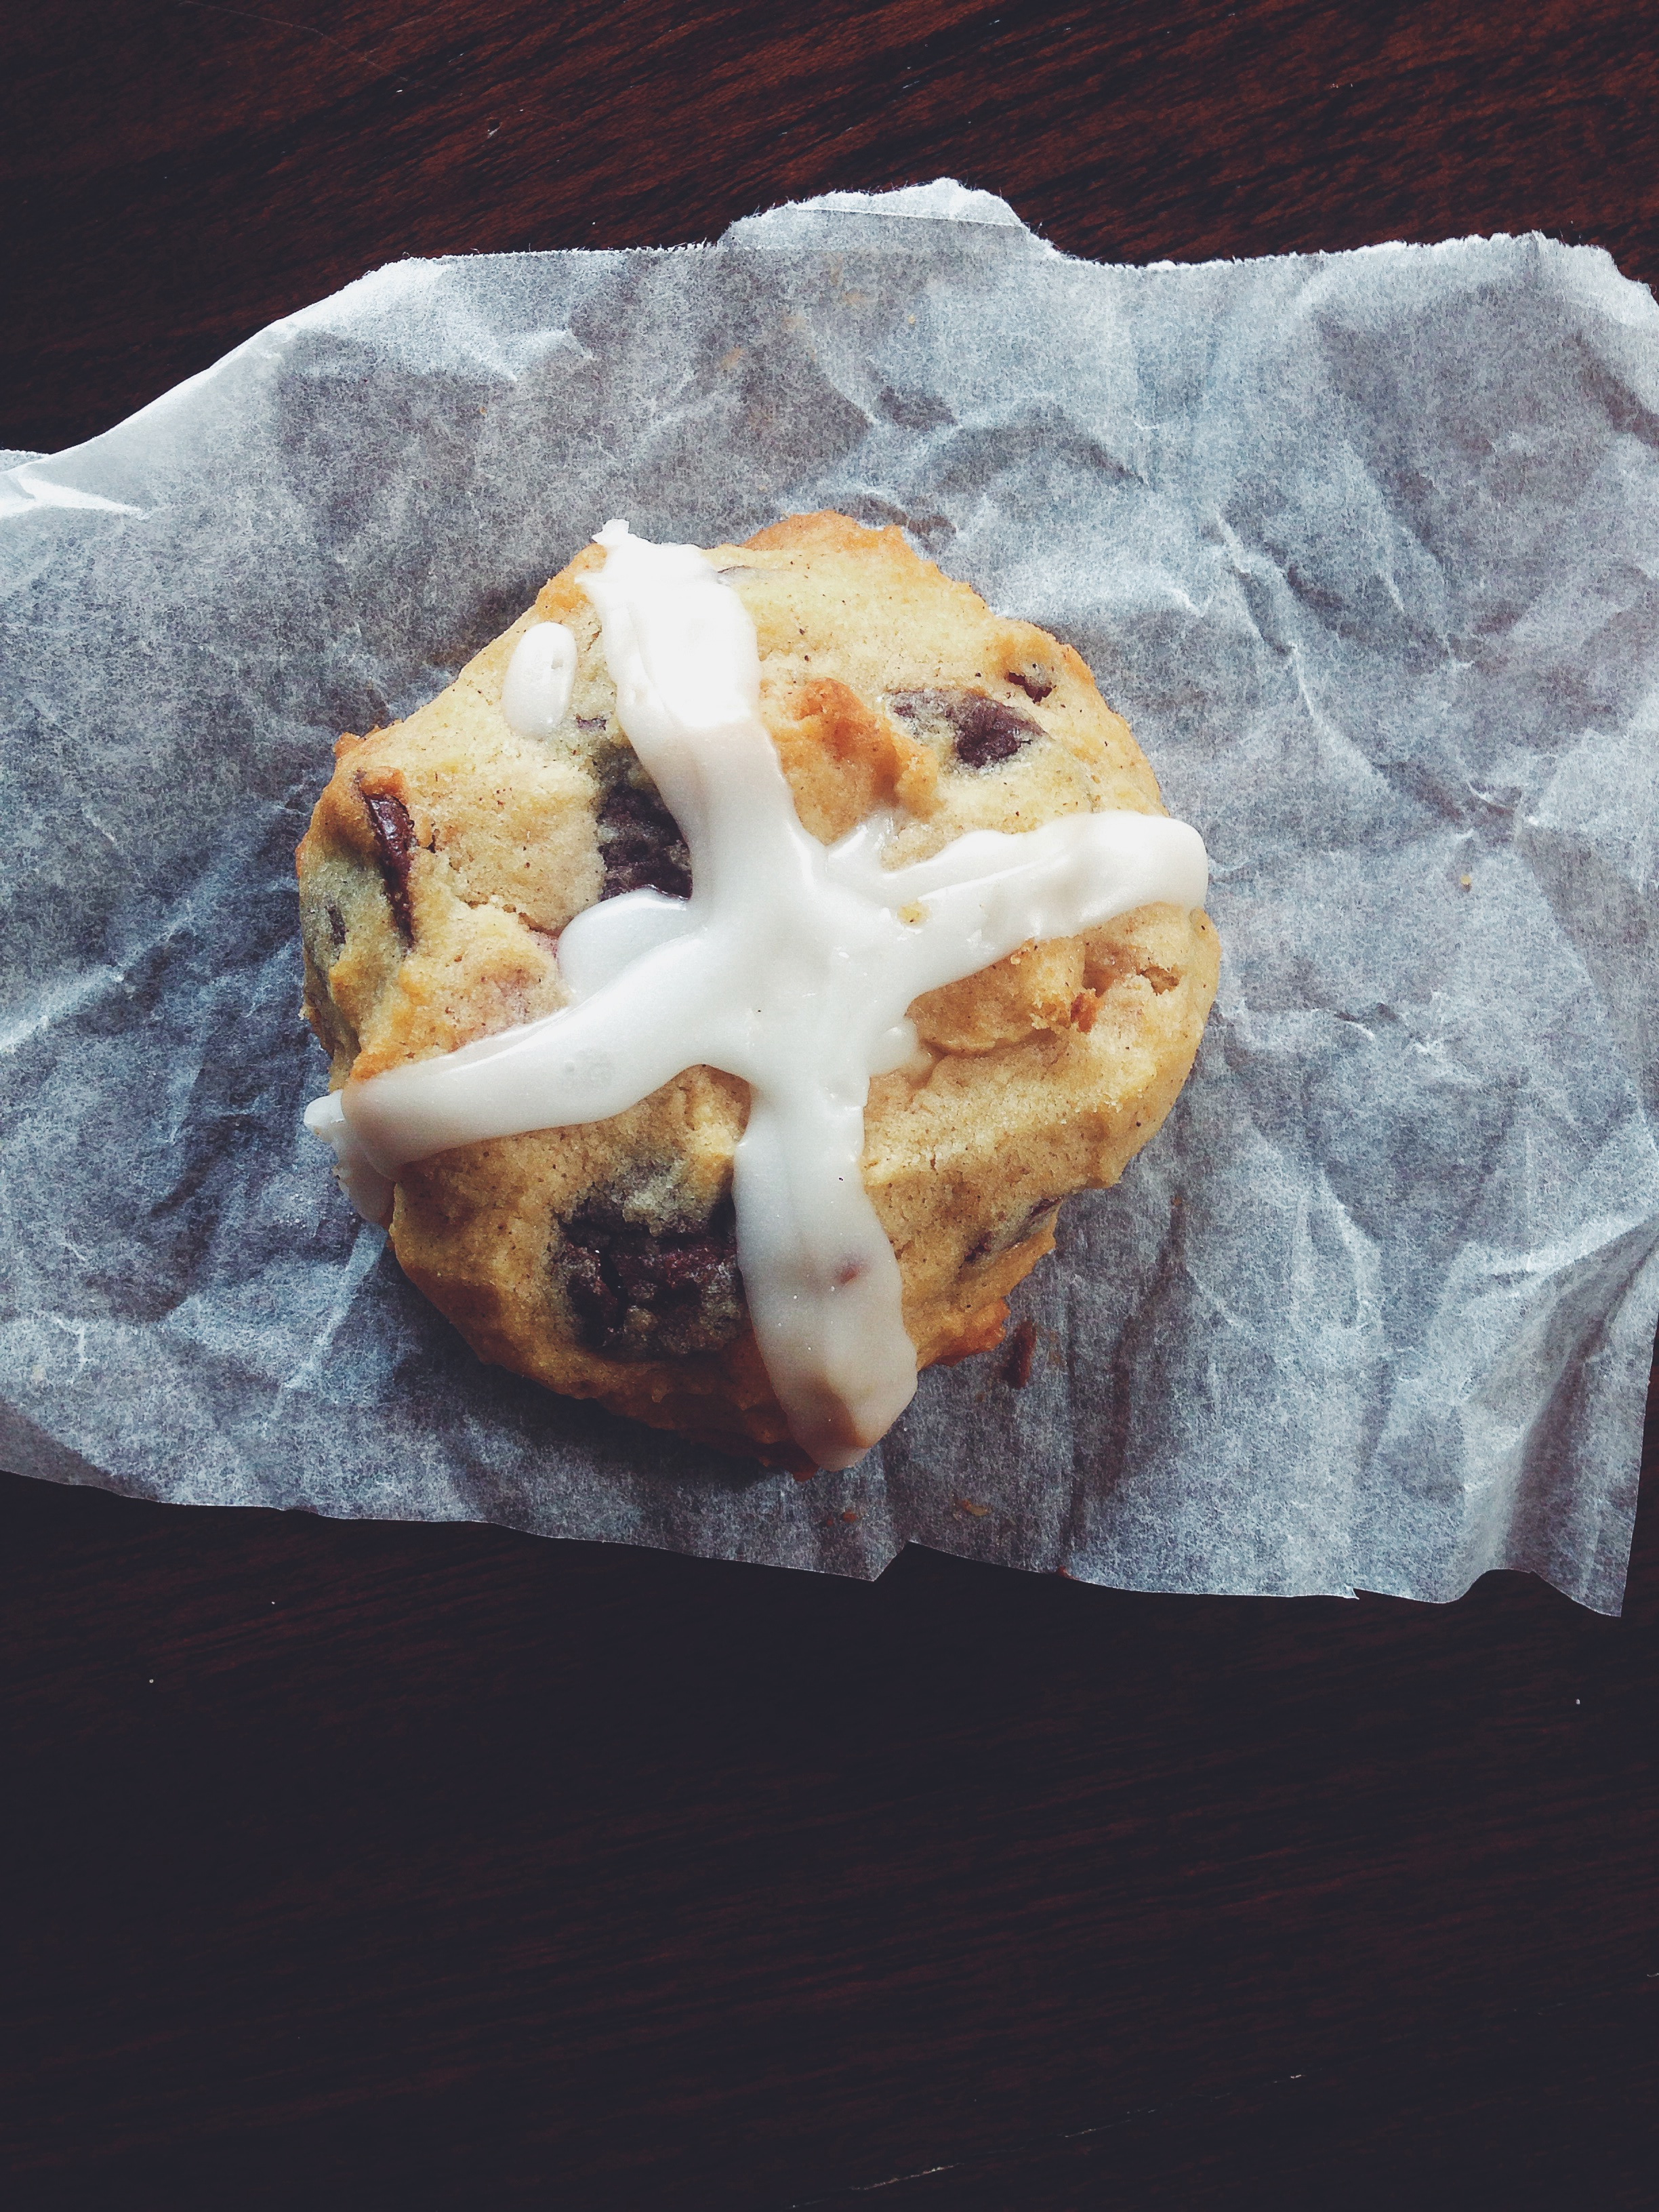
Specifically, soft nougat+dried fruit+chocolate. I personally prefer hard nougat, the sort which you’re afraid might make your teeth crack, but it’s the soft ones which work best in this buttery, cinnamony batter, for after the oven action, what you get are gorgeous, chewy, caramelised nougat residue, gooey and melted, with little bits of crushed almond and peanut strewn throughout (depends on the sort of nougat you’re using of course, I think pistachio would be lovely here). The lemon icing on top of the cooled cookies are quite literally the icing on the cake (cookie). The ‘hot cross’ theme limits just how much icing you can smother on these guys, but go ahead and dip one side of the cookie into the icing if you wish, for better indulgence. Processed with VSCOcam with f2 preset

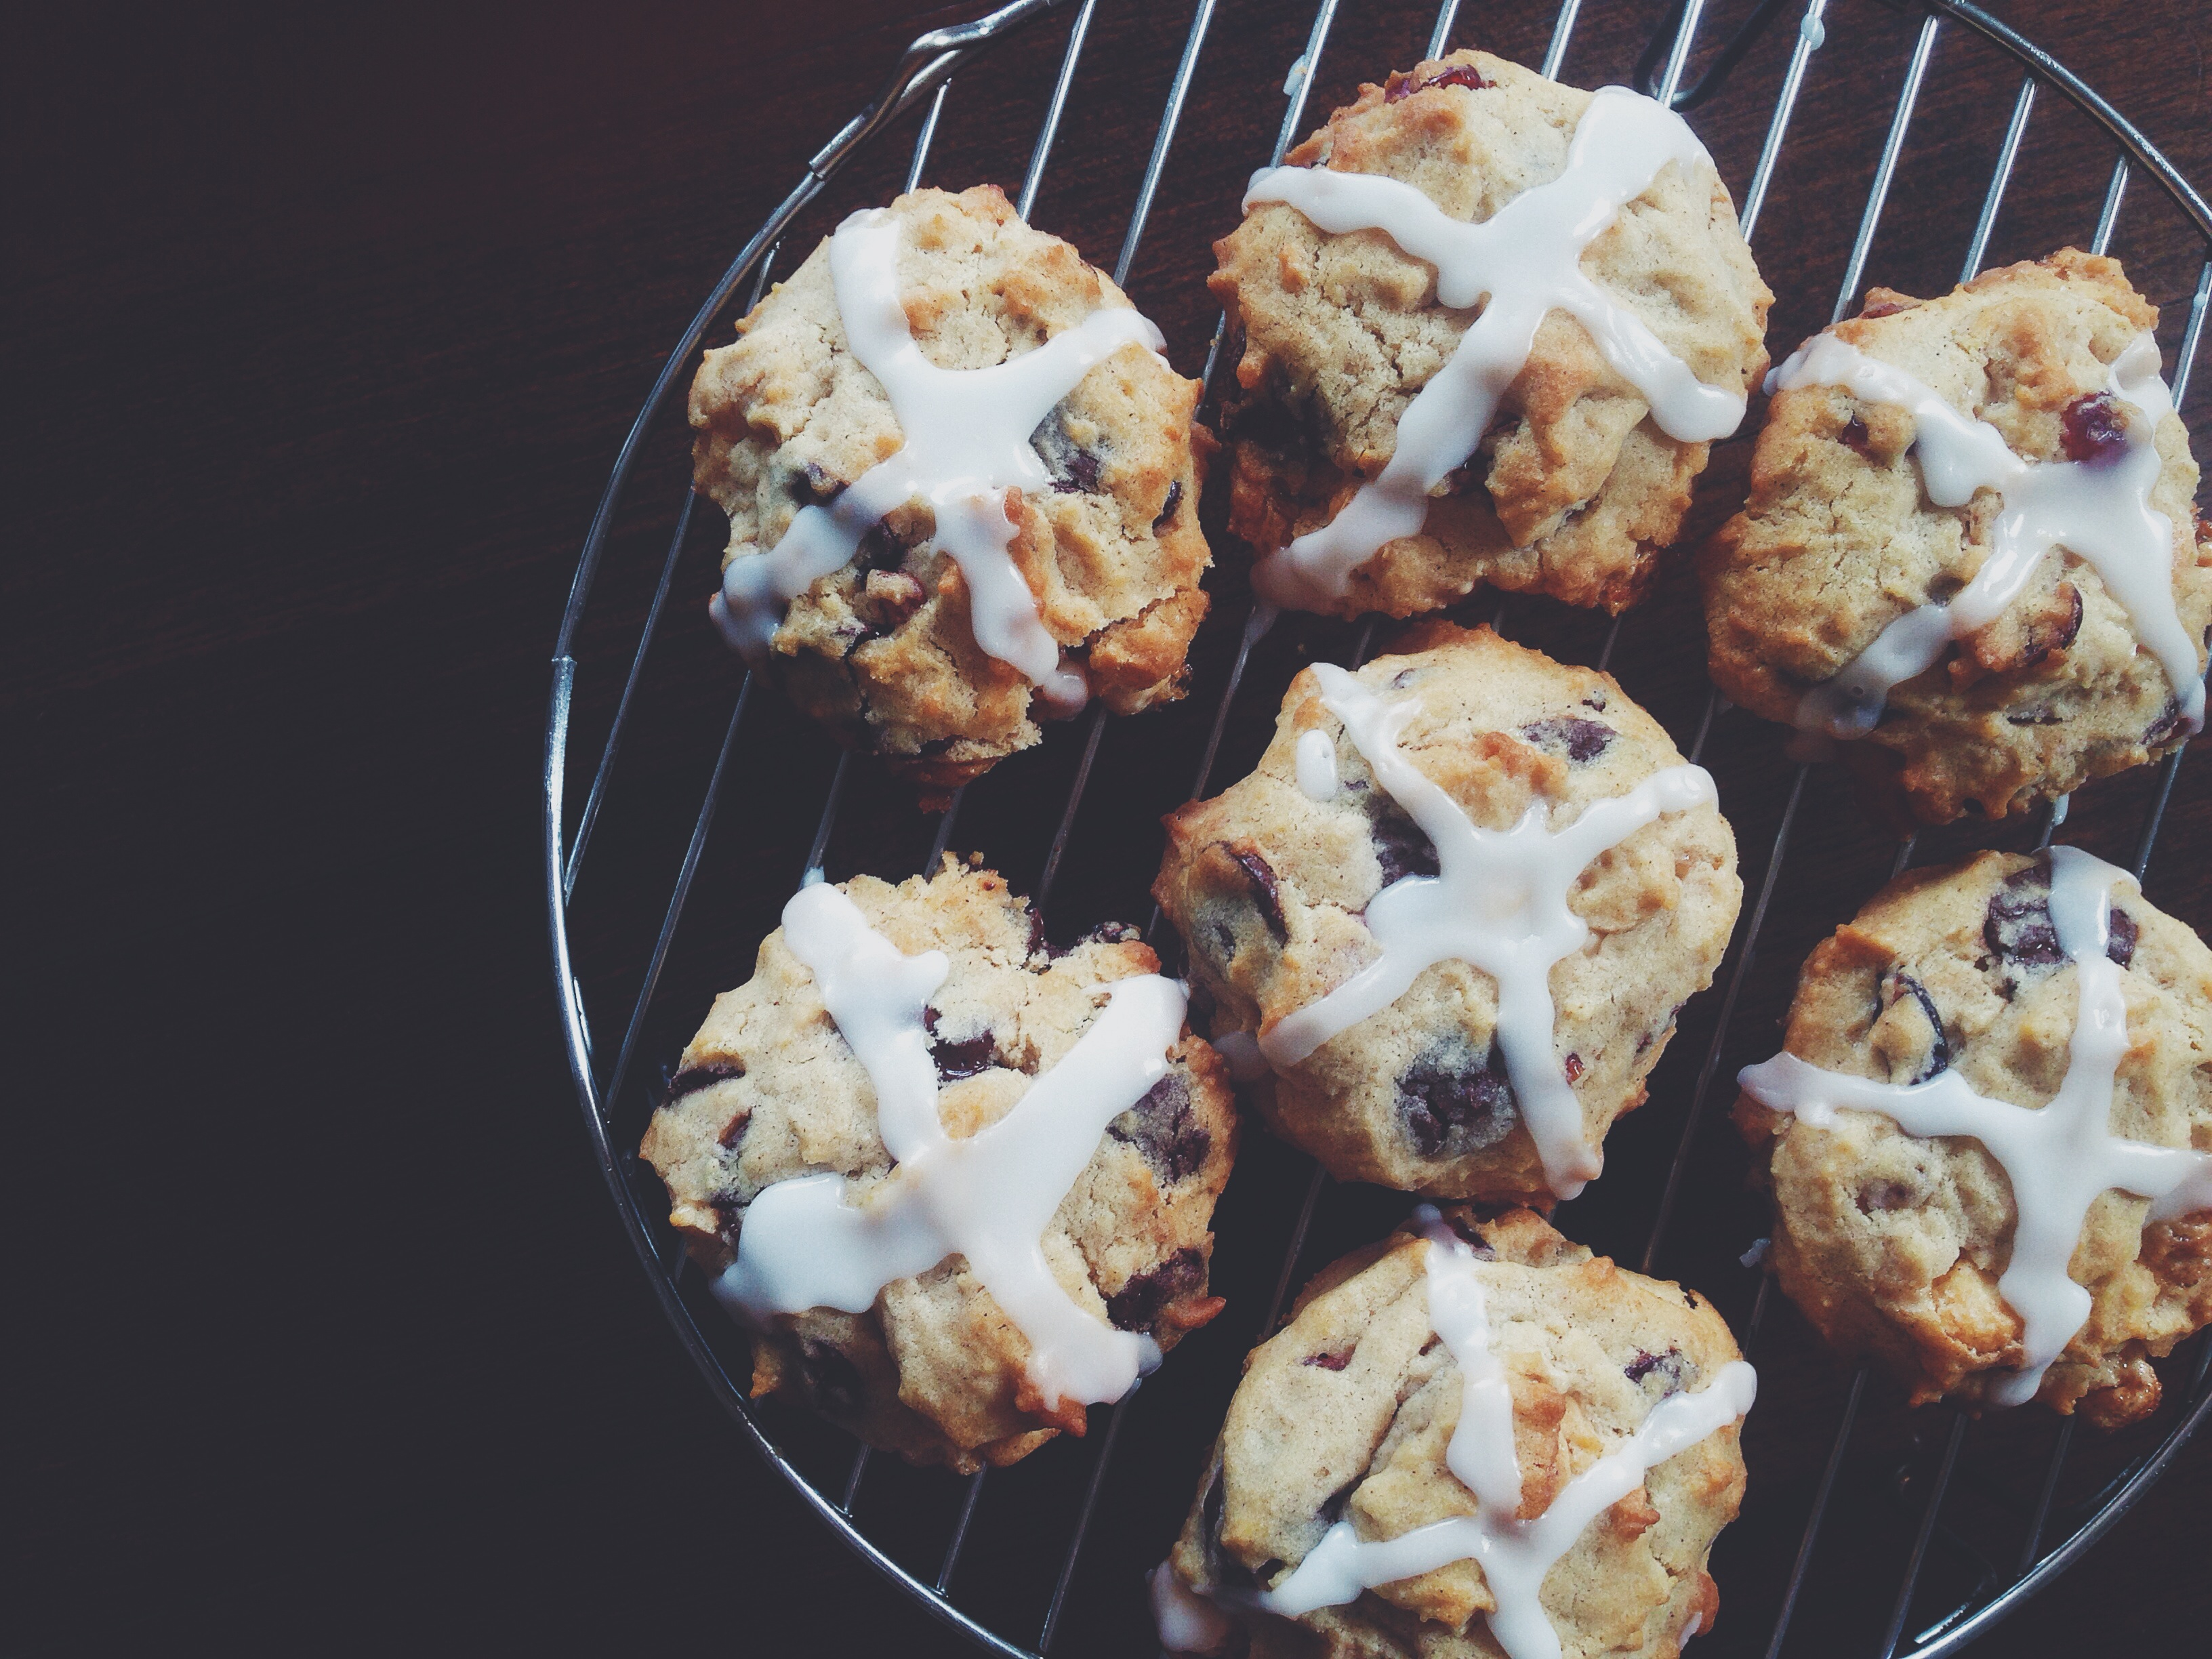
Stuffed Hot Cross Cake Cookies (makes 15-18, adapted from here)

For the cookies:

240g all-purpose flour

100g light brown sugar (or white, if you don’t have any brown on hand)

1 egg

1 teaspoon vanilla extract

200g unsalted butter at room temperature

1 teaspoon each of baking powder and cinnamon

quarter teaspoon nutmeg

100g dried fruit/sultanas/raisins

50g each of soft nougat (chopped into small pieces), and dark chocolate chunks or chips

large pinch salt (half a teaspoon)

For the icing:

120g icing sugar and the juice from half a lemon

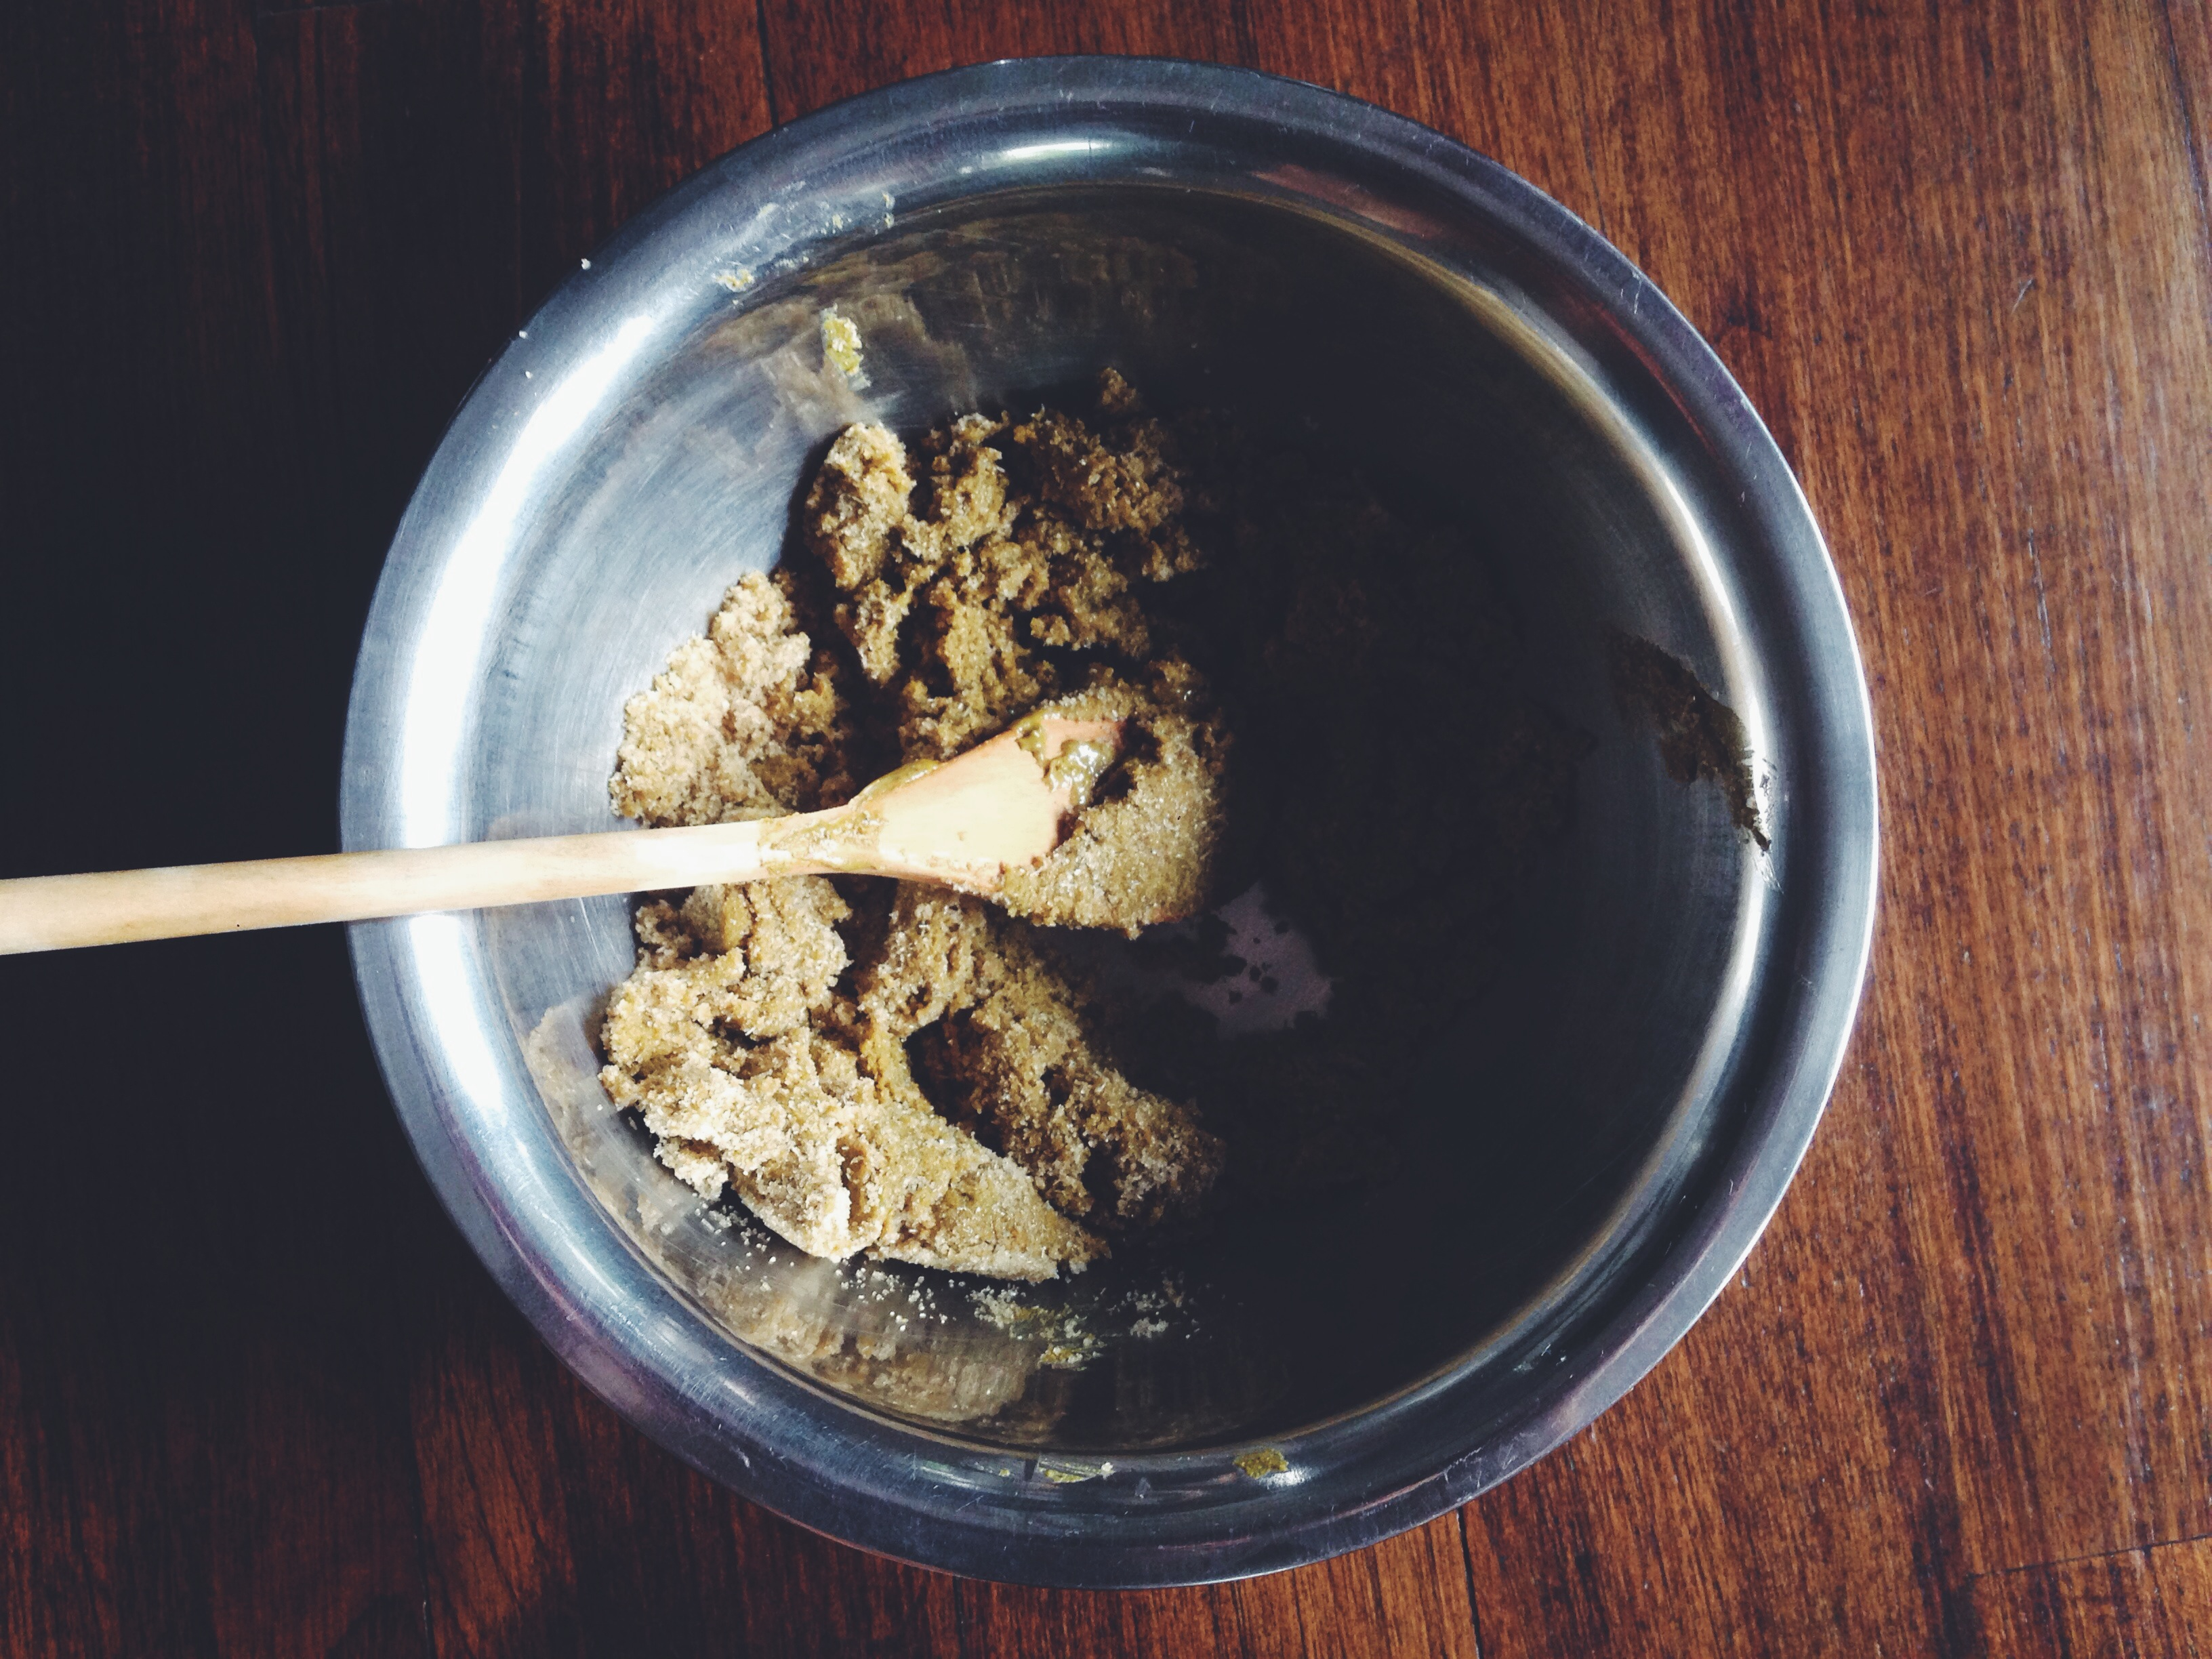
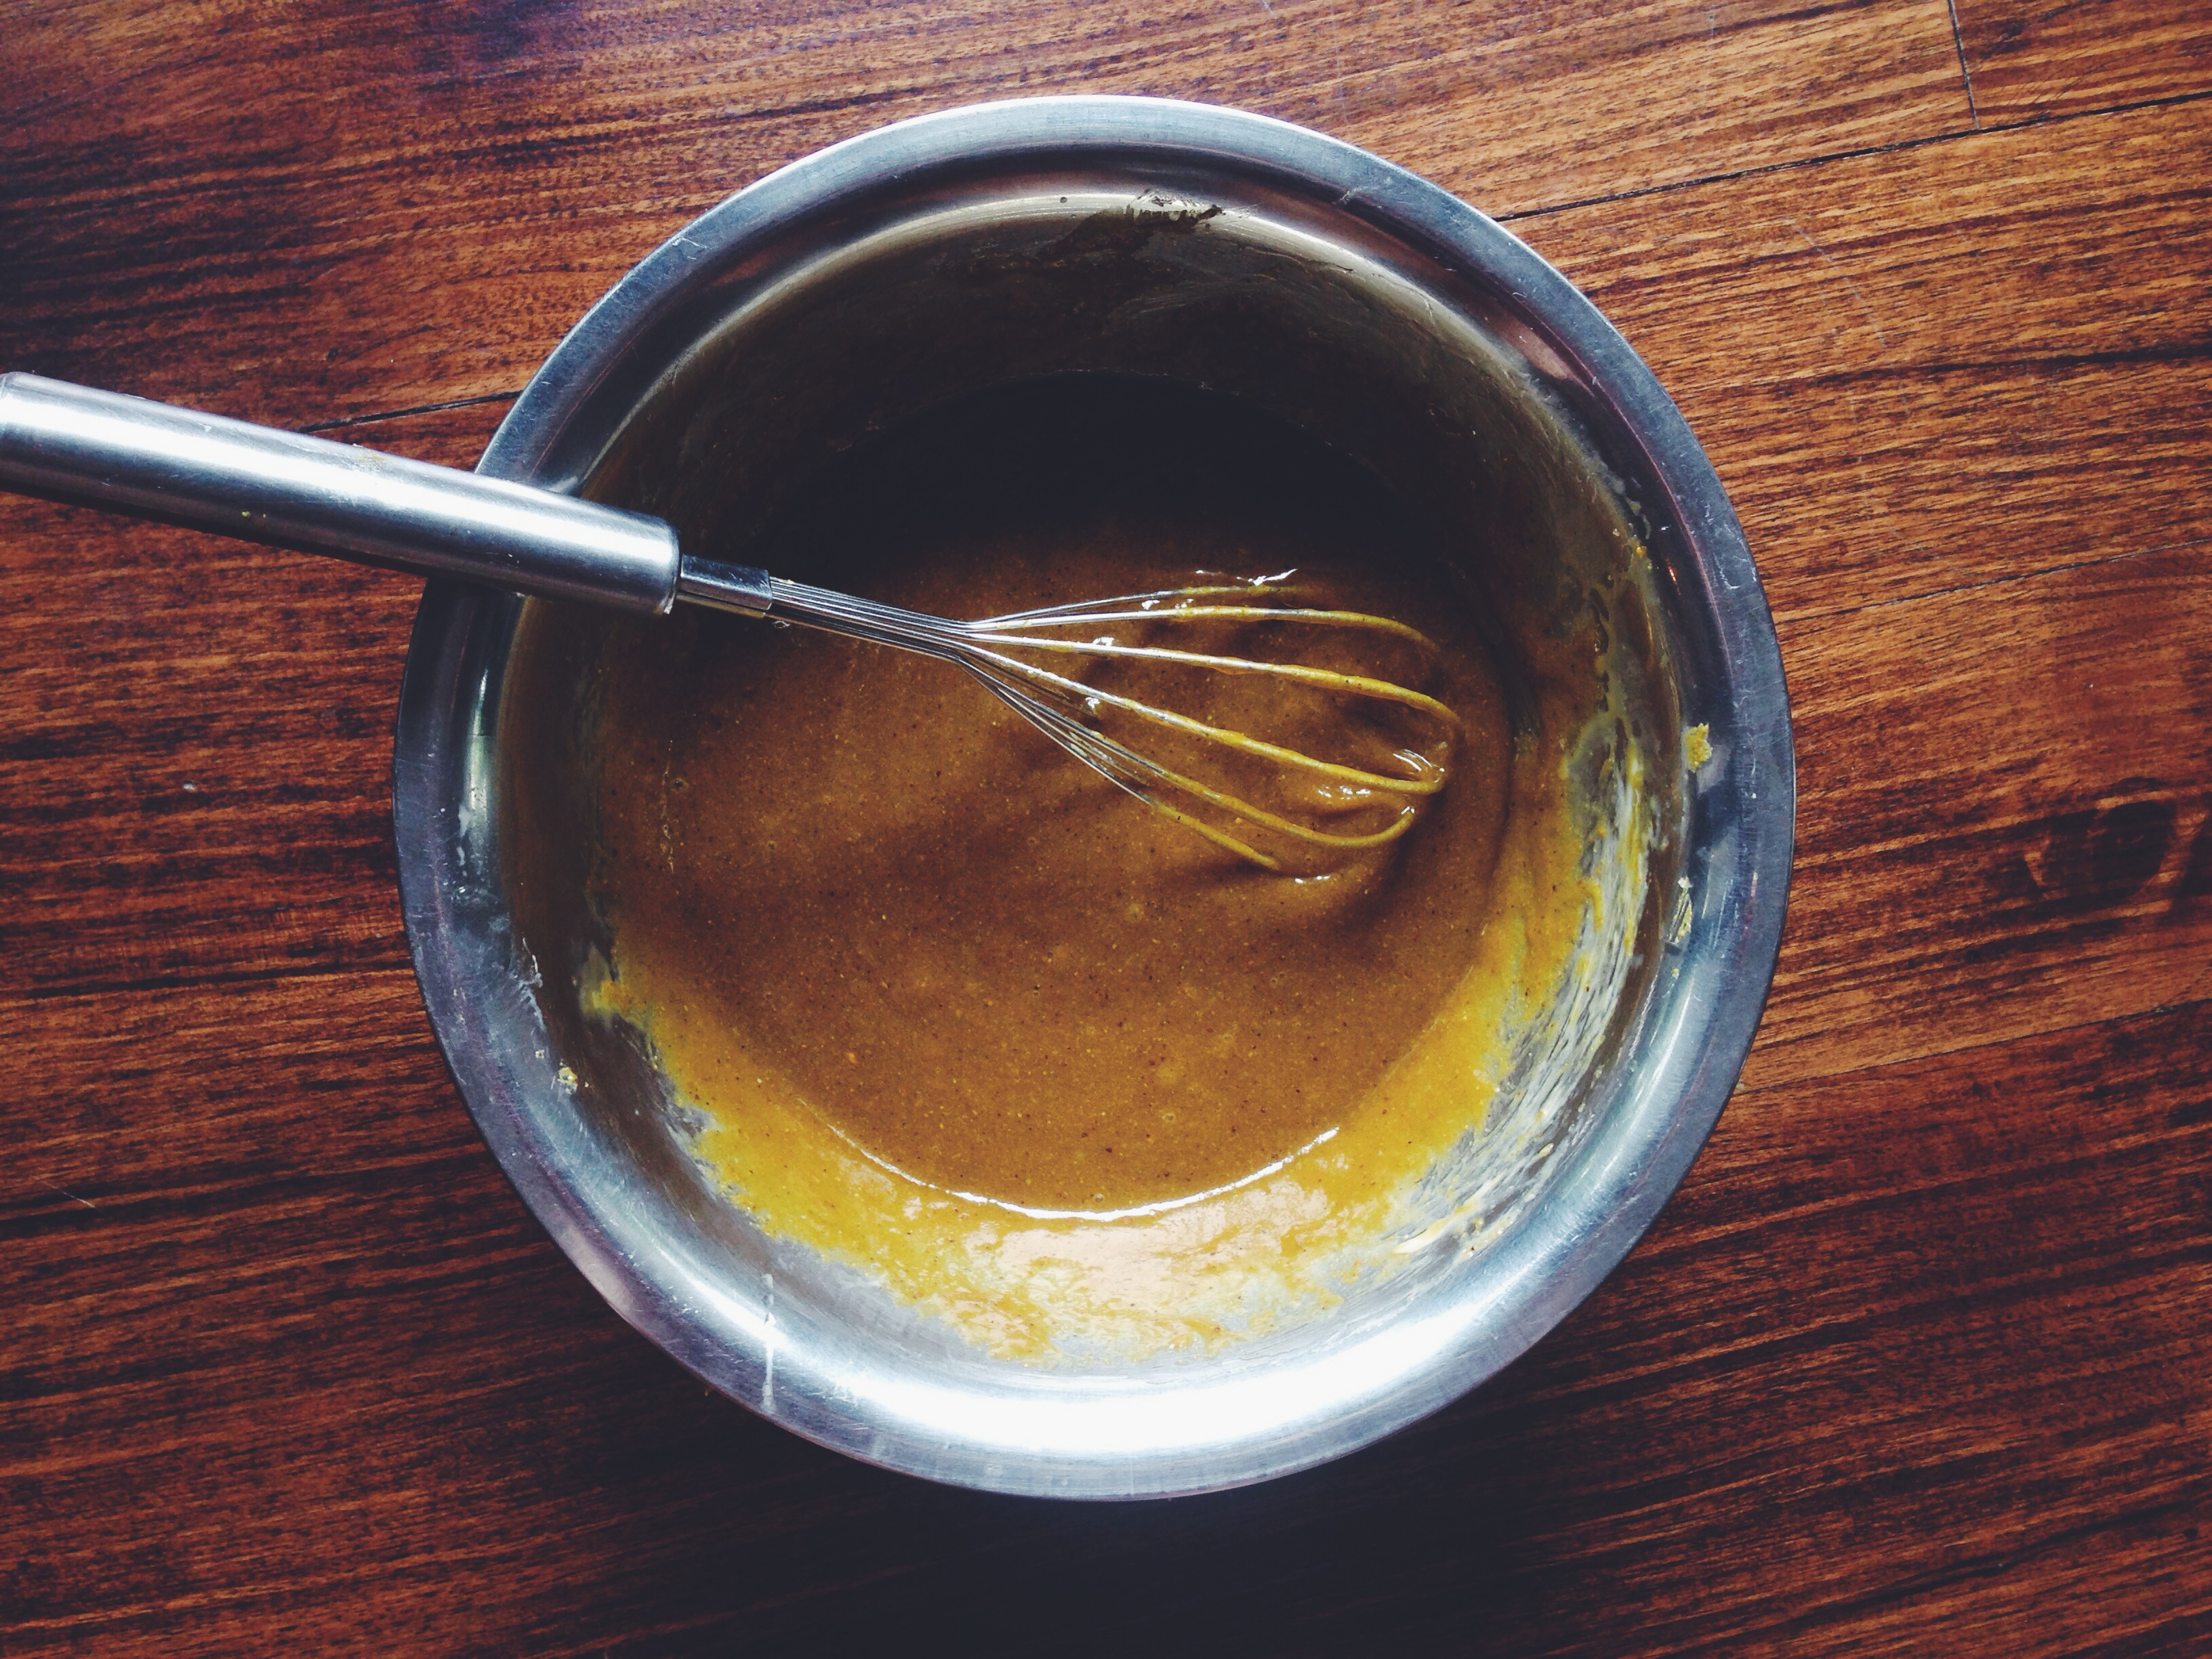
Preheat your oven to 180C and grease a couple of baking pans. In a large bowl and with an electrical or normal whisk and bicep action, beat together the softened butter and brown sugar until light and fluffy. Add the egg and vanilla extract, and whisk to incorporate. In a separate smaller bowl, whisk together the flour, baking powder, cinnamon, nutmeg and salt.

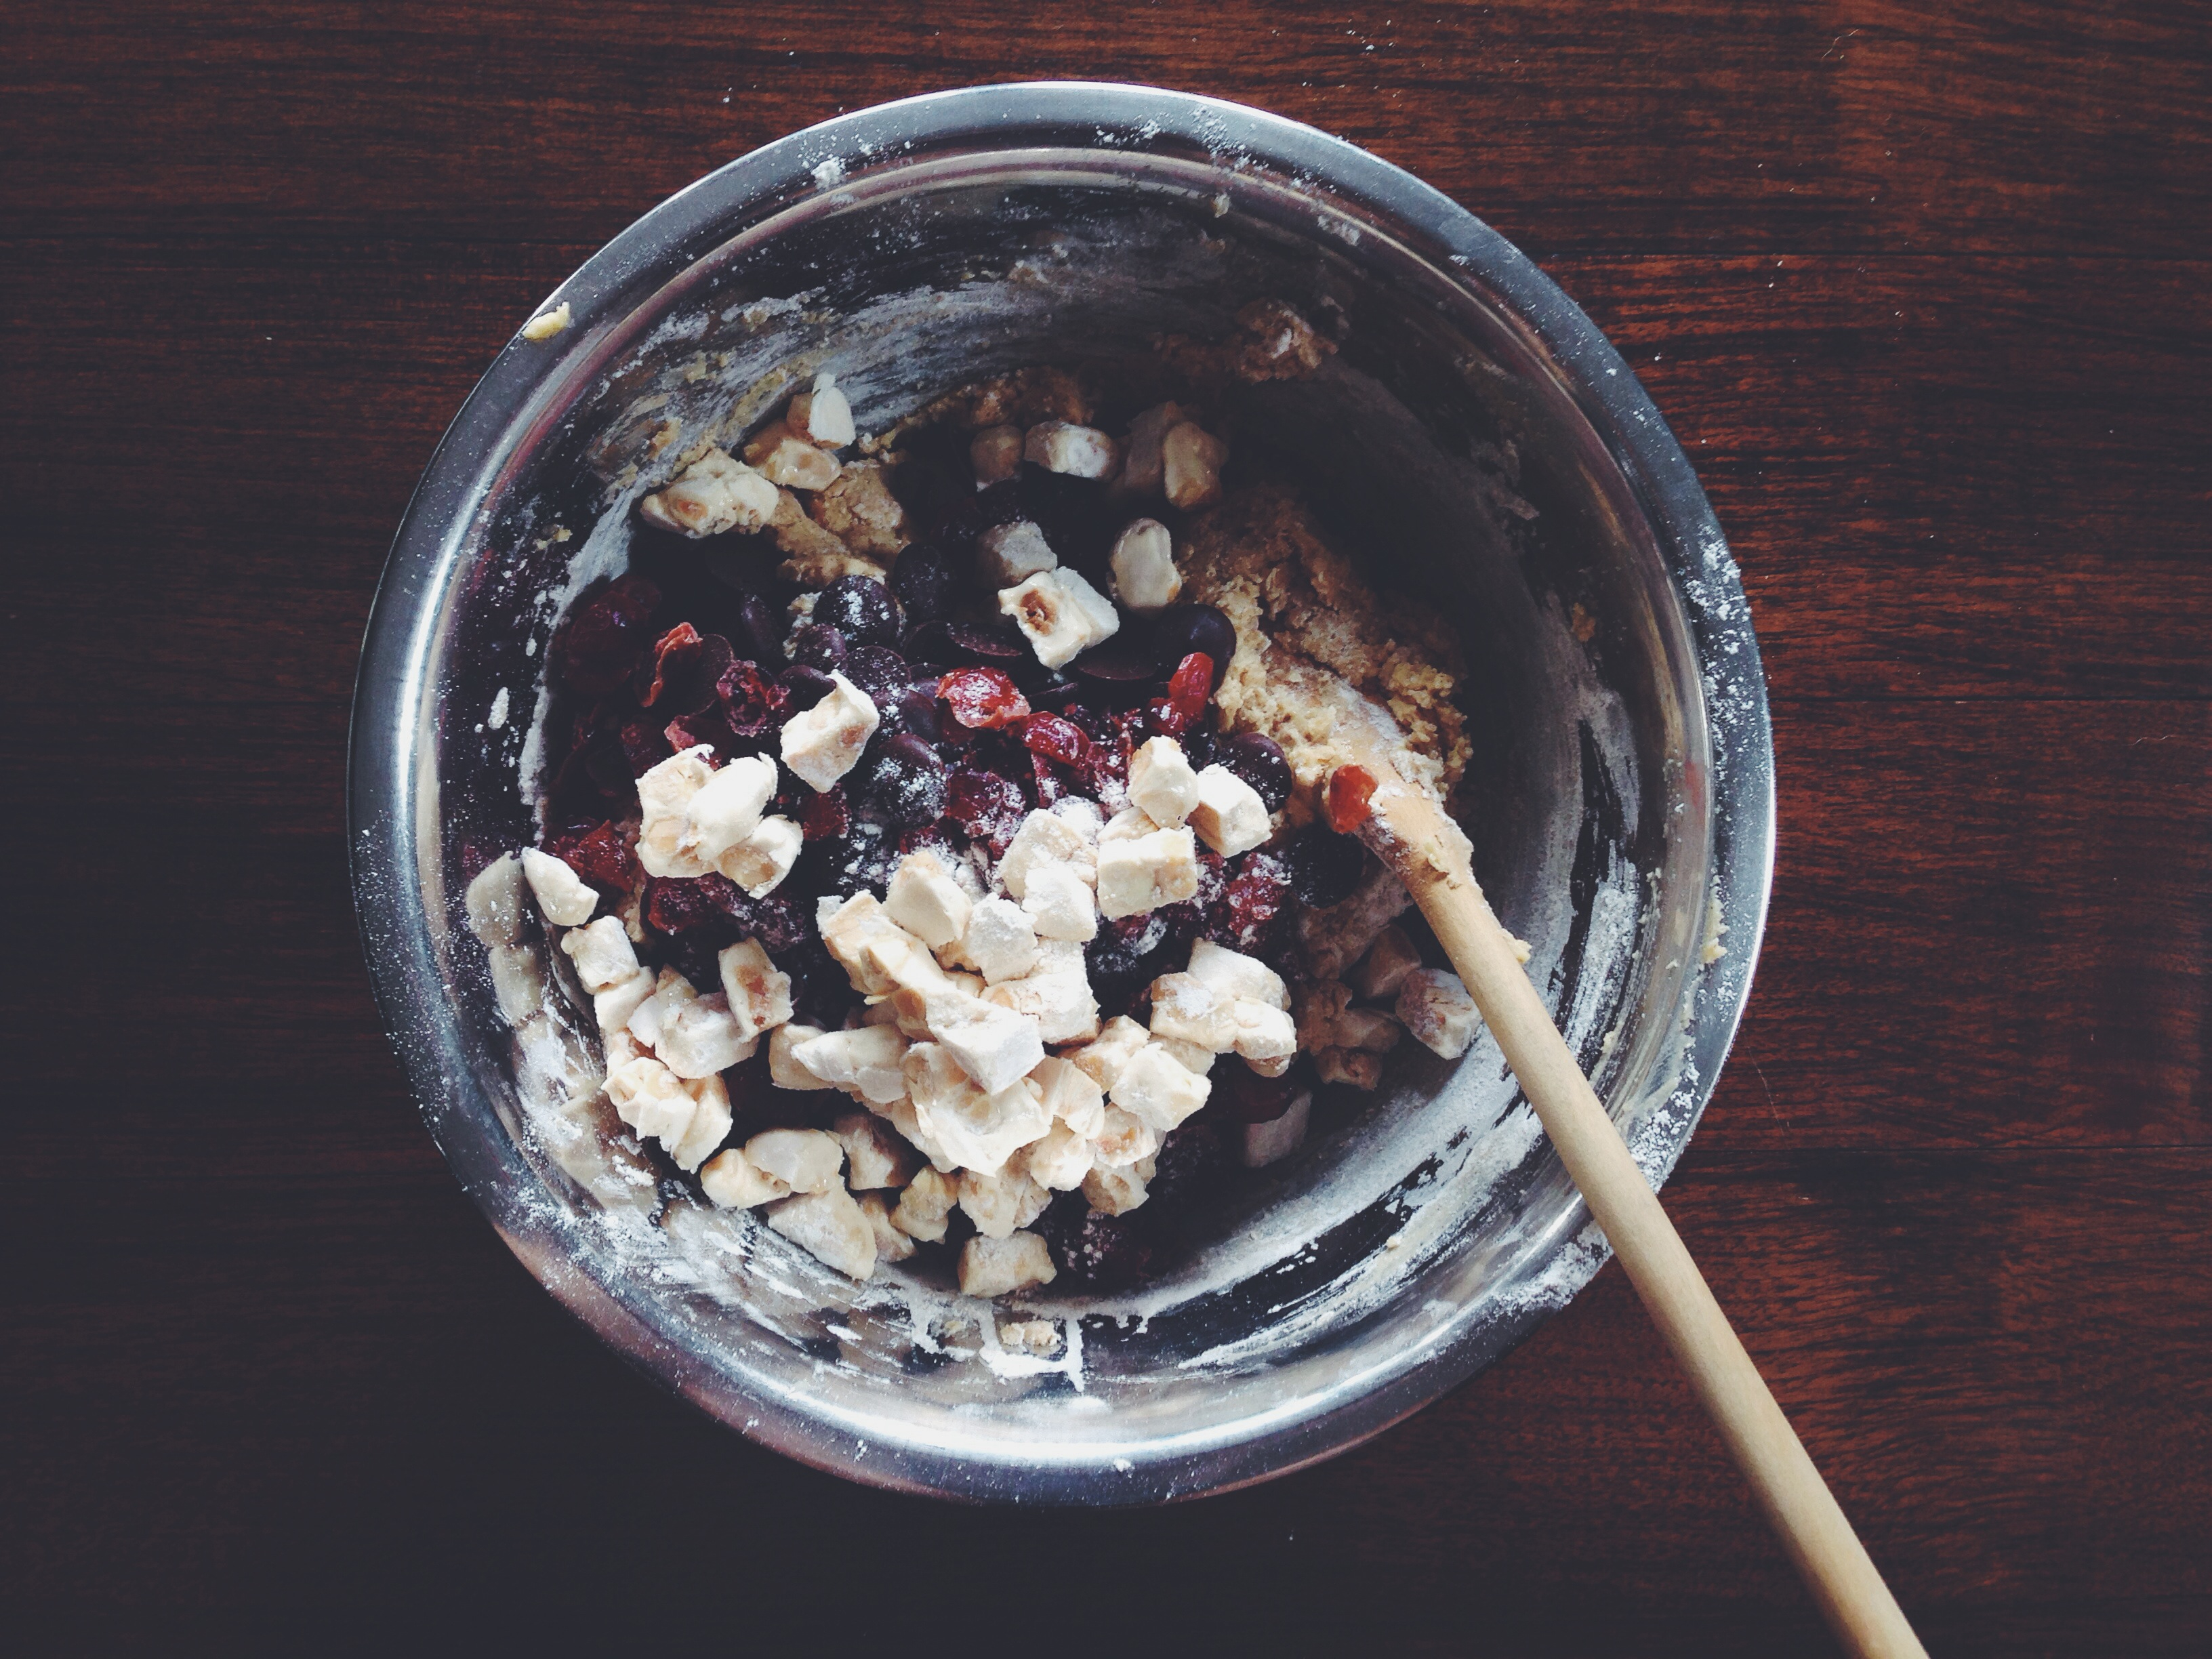
Chop your nougat into small pieces and coat them with a teaspoon of the flour mix, so the edges stop sticking to each other. Add the rest of the flour mix to the butter and sugar mix, then stir with a wooden spoon to form a soft dough. Add the chocolate, dried fruit/sultanas/raisins, then the nougat. Mix everything to combine.

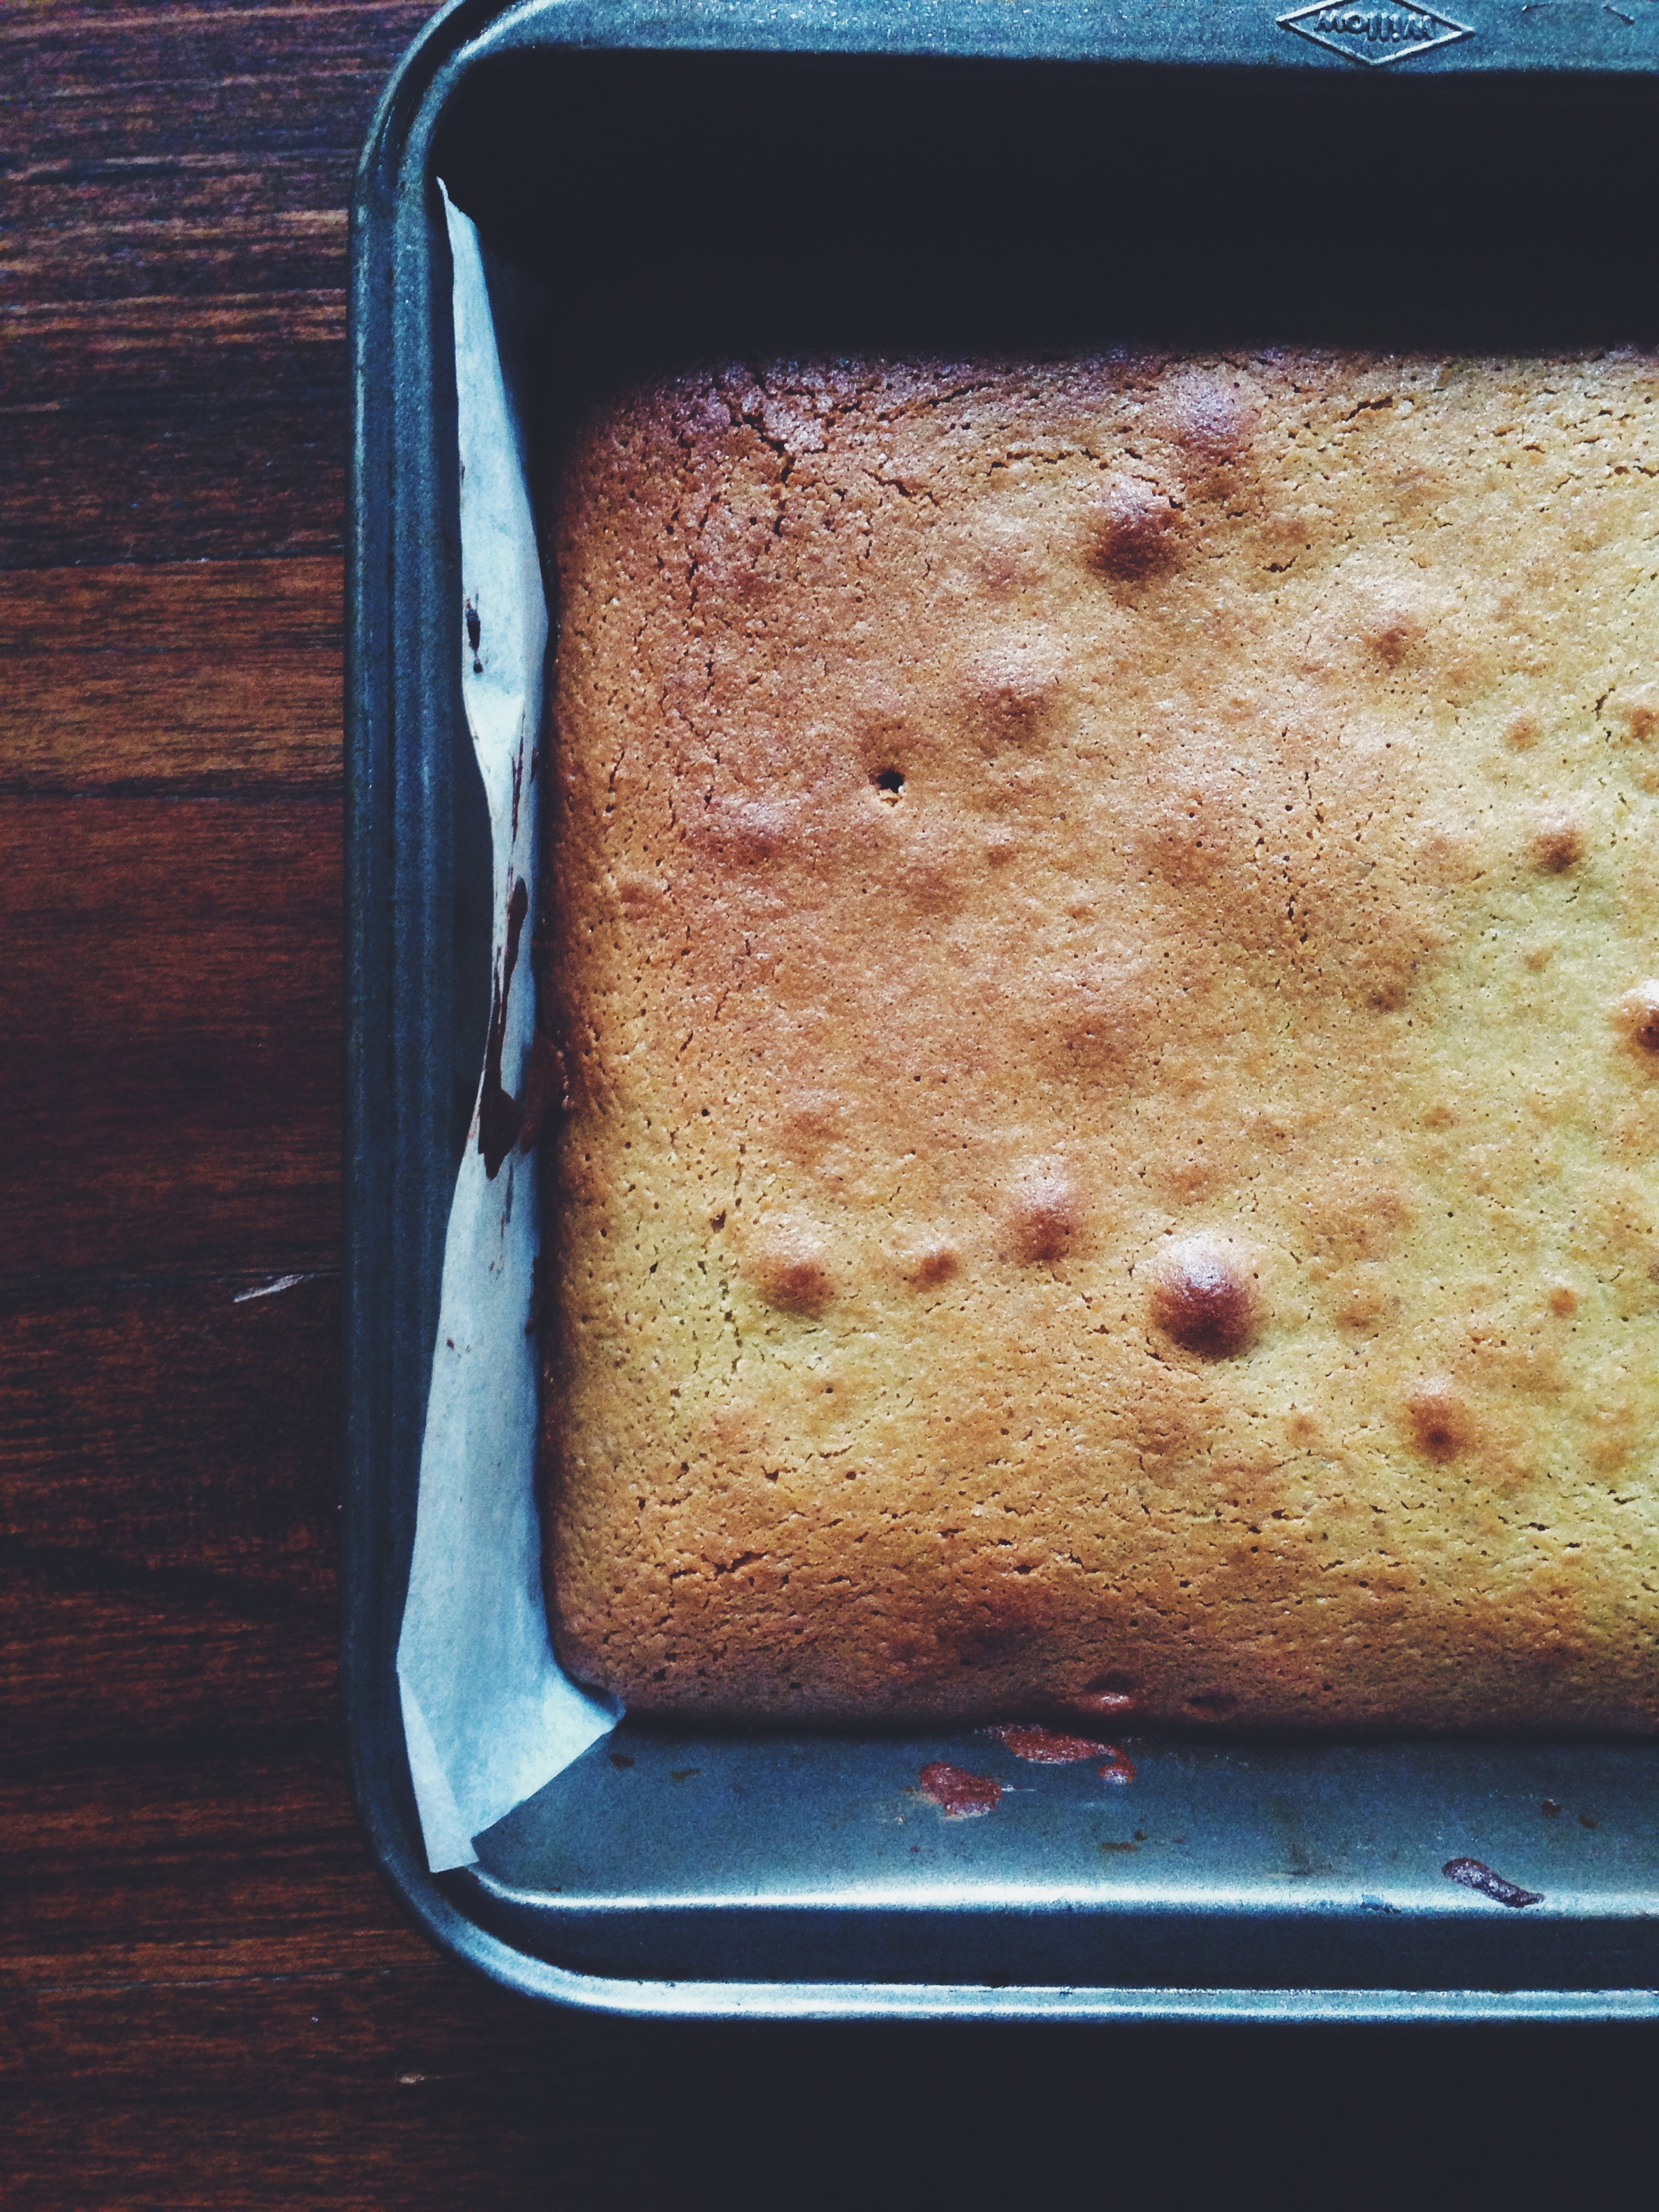
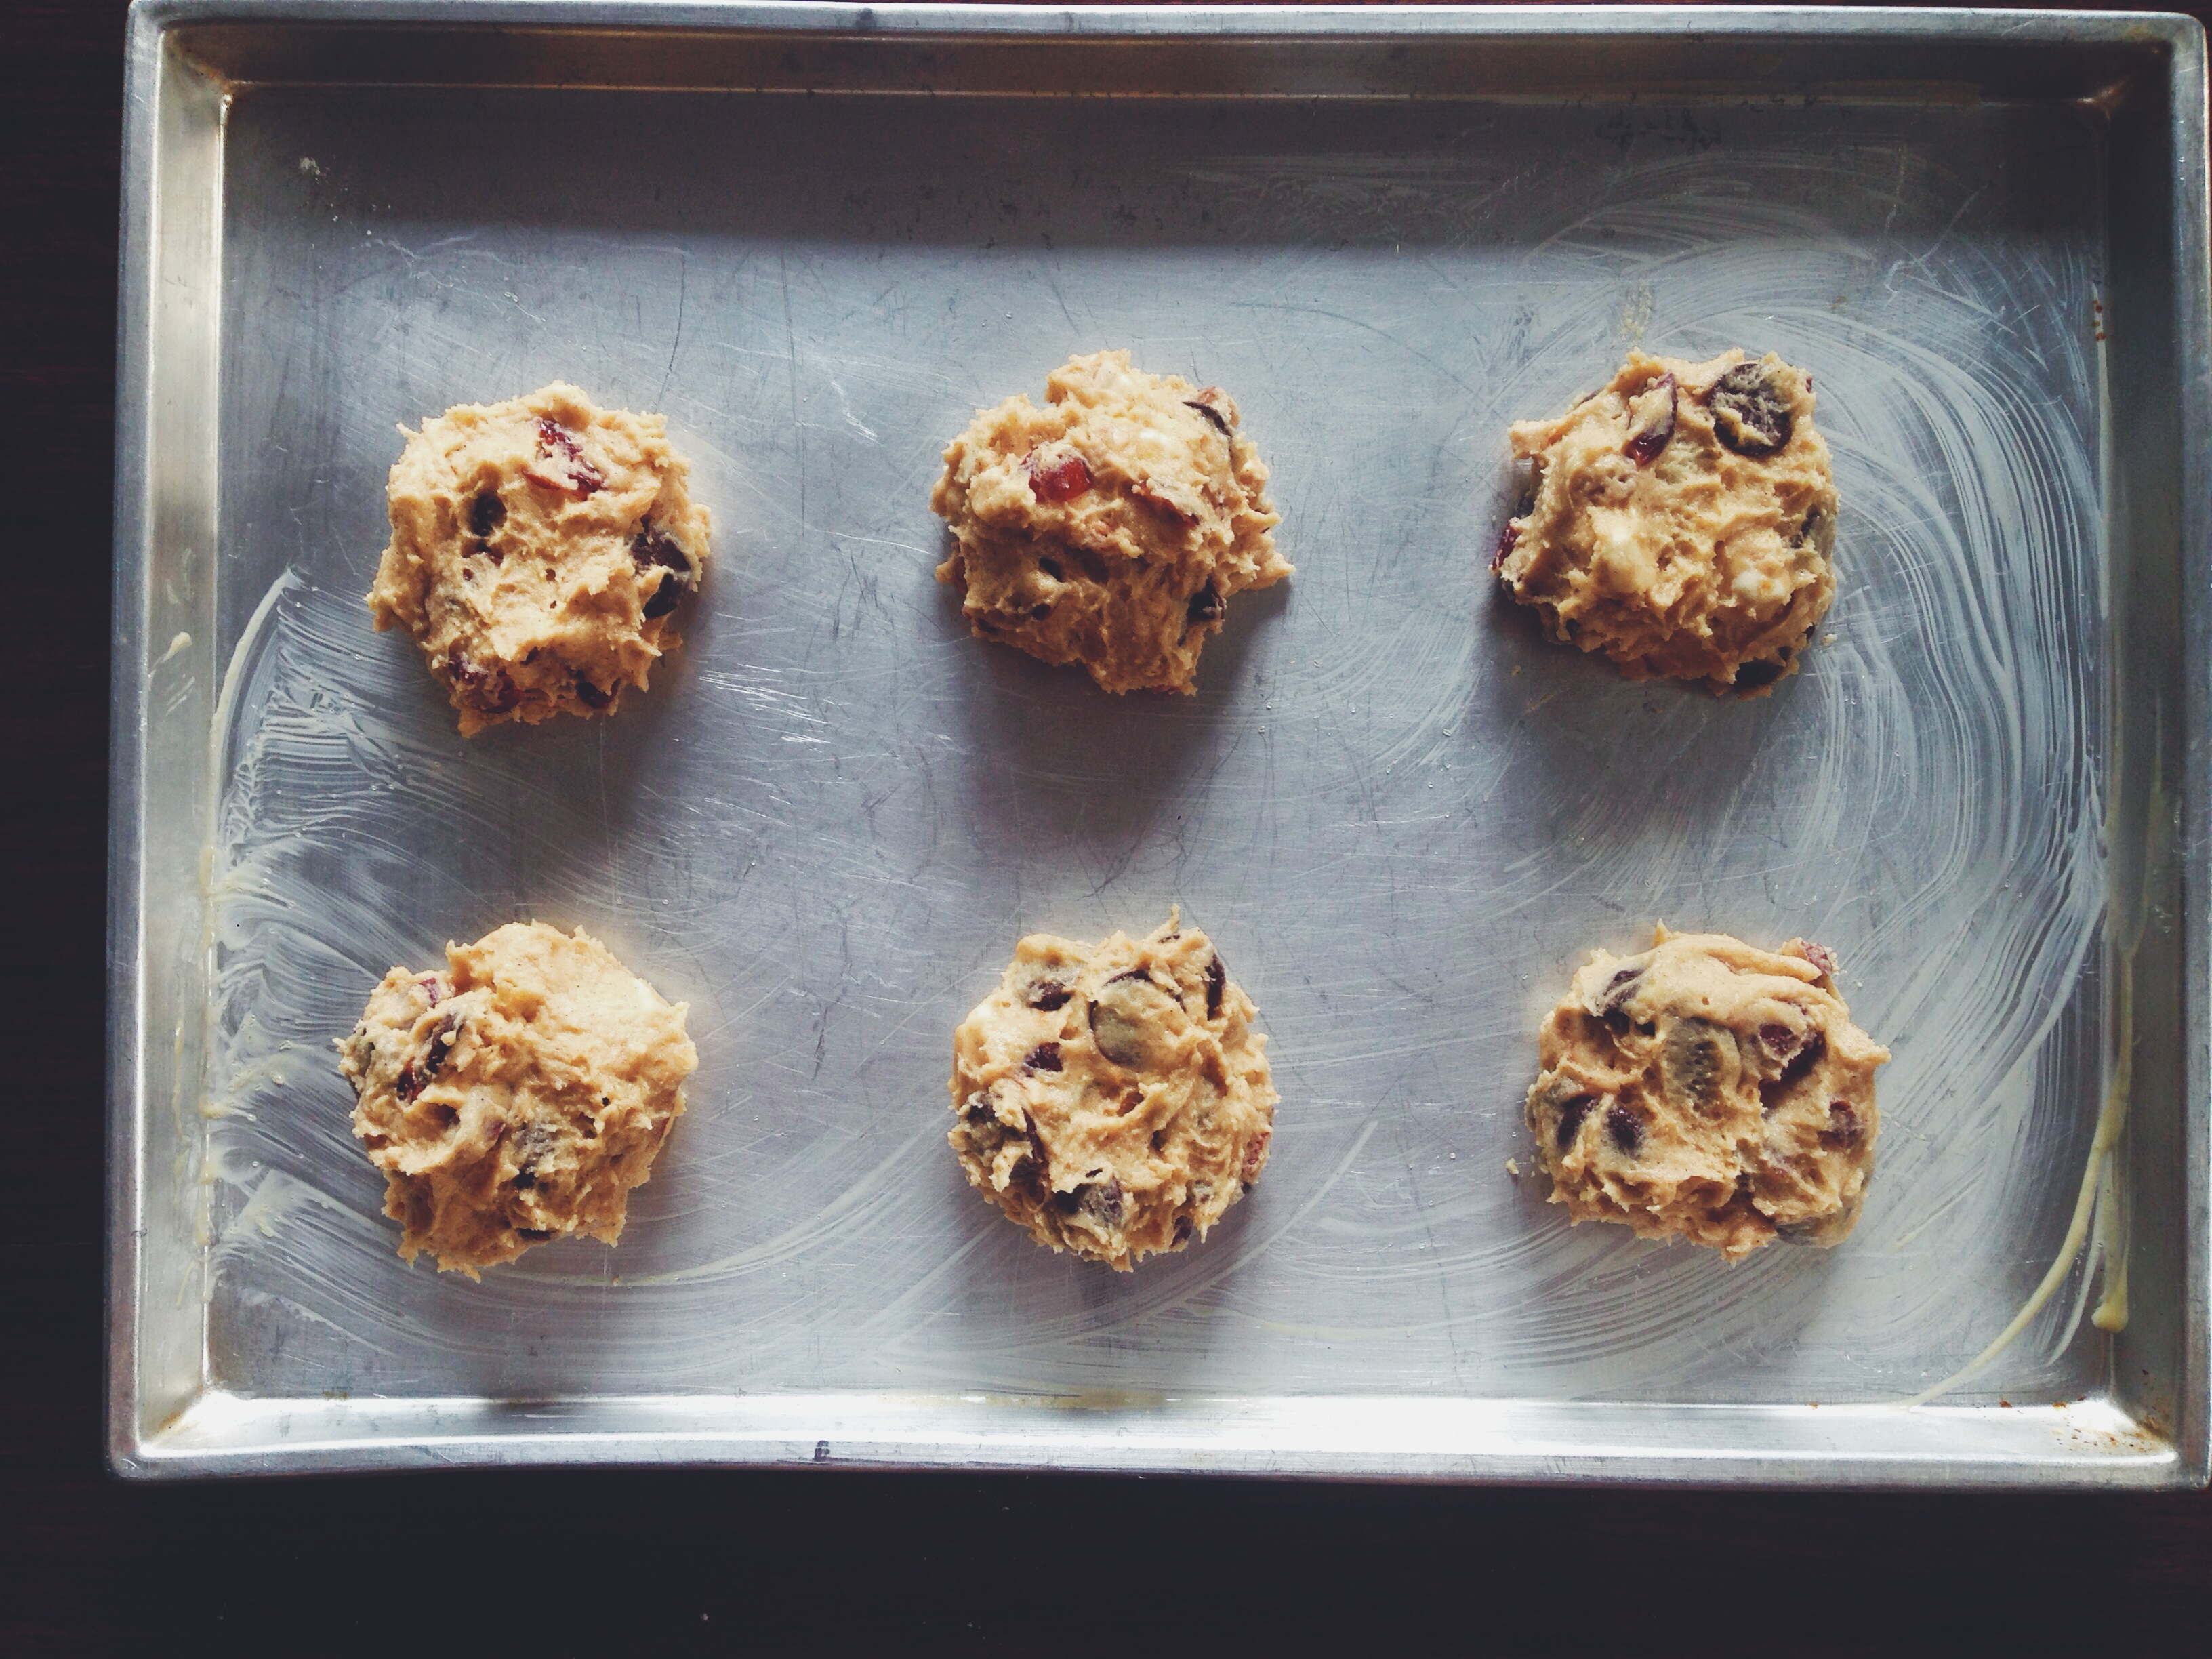
Dollop batter onto the pans using two tablespoons or with your hands. Each cookie should be the size of a ping pong ball. Bake for 10 minutes in the preheated oven. You may have to do this in batches. While the cookies are baking, make the icing by mixing together (I use a mini whisk or a little fork) the powdered sugar and freshly squeezed lemon juice. You might not need all the juice from half a lemon. Put the icing into a small ziploc bag and set aside. Once the cookies are done, leave to rest in the pan on cooling racks for at least 15 minutes. Snip off the end of the ziploc bag and ice the cookies, drawing a cross on each one. Reinforce the ‘stripes’ by piping over the crosses again.

Pistachio Fudge Bars

Processed with VSCOcam with f2 preset

Not sure if any of you can tell, but I’ve been a bit down with the pistachio bug lately. It’s almost unhealthy. A few mornings ago, I was relishing one of my favourite, unbeatable toast combinations: homemade pistachio butter, honey and coarse sea salt. Curiosity arose from this delicious ritual, and I researched recipes with the dominant theme of pistachio (and other random facts, such as how these guys have a 14% saturated fat content, and a chemical named aflatoxin may be found in poorly harvested kernels. Did you know that the pistachio tree can survive in 50C weather? Anyways). I decided, the toast fiend that I am, to kick the current bar/brownie game up a notch.

Anything, my friend, can be turned into bars.

Processed with VSCOcam with f2 preset Processed with VSCOcam with f2 presetI can see how this recipe may come across as inaccessible. It’s true, the main component of these bars is pistachio butter, but I insist that you try making the stuff at home. It’s like bread. Make a loaf at home and you’ll never turn back to the packaged stuff. I’m lucky enough to have a supply of this divine concoction at home, since my mum occasionally makes a batch, and what you essentially do goes as follows: you roast a large batch of pistachios (around 200g is enough for this recipe, and you will have quite a bit leftover, which is perfect!), skin the babies, and grind for a good while in a food processor or other professional grinding device (cough a blender cough) with sugar and salt to taste. If any of you have experience making any sort of nut butter, then you know that the procedure is simple and completely worth it. This nut butter will make all your mornings golden and glimmering. It makes Skippy cower in fear.Processed with VSCOcam with f2 preset

The little air bubbles you see are thanks to a bout of carelessness; I recommend dropping the pan containing the batter before actually baking it, in order to rid your batter of excess air bubbles. Yes, mistakes are abound in this one woman kitchen.

This is a pistachio fudge bar. ‘Fudge’ because of its texture and prominent pistachio flavour. Dense, squidgy, with a slight chew around the edges, the pistachio offering an earthy, naturally sweet touch. I topped it with a simple dark chocolate drizzle to highlight these notes and add a chimerical flair to the otherwise plain pistachio base.

Pistachio Fudge Bars (makes 16 in an 8×8-inch pan)

70g all-purpose flour

2 eggs

113g (half a cup, or one stick) melted, unsalted butter

1 1/2 teaspoons vanilla extract

120g (around half a cup) pistachio butter

190g light brown sugar

half a teaspoon of salt

Preheat your oven to 177C (350F). Grease and line an 8×8-inch baking pan and set aside. In a large bowl and with a wooden spoon, mix together the pistachio butter and sugar. The mix should look clumpy, but will come together after a few seconds of mixing (see above). Add the melted butter, eggs and vanilla extract. Mix until smooth. The mix should be sticky and easily drop off your spoon. Add your flour and salt, and mix until combined. That’s it! That’s all there is to it. Pour the sticky gloop into your greased and lined pan, and drop the pan onto your counter a few times to get rid of any air bubbles. Pop it into the oven for 18-20 minutes. My batch was done after 18, so check it at this point. A wooden skewer inserted into the middle should come out dry, but the presence of little clingy crumbs at the tip are fine.

Let the pan cool on a cooling rack. Meanwhile, melt 70g of milk/dark chocolate in the microwave, using 20 seconds bursts and mixing in between, to prevent the chocolate burning and causing an unnecessary temper explosion in the kitchen. Put the melted chocolate into a small ziploc bag. Once the bars are cool, snip the tip off one of the two corners of the ziploc bag and drizzle the chocolate all over the cooled bars. Slice the batch into 16 equal pieces. These bars can be kept at room temperature for up to 3 days. Store remaining in the fridge and reheat whenever necessary, or store them in the fridge after the bars have cooled, if you wish.

Orange Yoghurt Pancakes with Pistachio Maple Sauce

There are few things in this world which get me like breakfast.

It’s the comforting push of the espresso button on my Nespresso machine, the warm streaming guzz. The silence in the air when I’m by myself, early in the morning, papers nestled on the table. Toaster’s on, get the butter out. Usually, it’s these 5-minute affairs, with toast and butter and honey, or any other topping combination you can think of, and morning’s set just about right. But come the weekend, something a little more.. lascivious demands to be made. I’m not talking Eggs Benedict or Crepe Suzette here (might get to either at some point in my life, kind of, maybe, hopefully), but Sunday’s always full of lazy reading and crude TV humour and, well, pancakes. With bags full of citrus fruit and a fresh tub of yoghurt at home, I guess you could say I knew what I had to do. Orange and yoghurt it was. I played around with orange in this recipe, one of my favourite cake bases by far, so check that one out in keen.

I think the magic of this recipe lies in the yoghurt, which makes everything supremely moist, and… this bloody good sauce! Once you go green, you’ll always be keen. In the language of pistachios, I mean. Ok, that was pretty bad.

Processed with VSCOcam with f2 preset

Oh, I can’t stop thinking about this sauce. It’s a revelation. Smooth sweet, buttery, with a hint of tang, complementing the orange flavour perfectly. The main component is pistachio butter, but if you do not have that, don’t fret! Any nut butter you have on hand is perfect for this recipe– natural peanut or almond works perfectly, for they have the same consistency. The only thing is flavour preference. Someone near and dear to me hates pistachios and I have nothing against that, so work with your palate! As for the pancakes, just be sure not to overmix the batter and let it rest for 5 minutes, before proceeding with the ladling, and you’re good to go. Each pancake is soft, on the thinner side, and very well-aerated. Stack two or three and eat in mini triangle stacks, with the sauce and fresh fruit.

Orange Yoghurt Pancakes with Pistachio Maple Sauce (makes 10-12)

For the pancakes:

150g whole wheat or all-purpose flour (I used a mix of both)

1/2 tbsp baking powder

1/2 tsp salt

110g yoghurt (avoid using greek, but if you must, thin it out a little with a drizzle of milk)

1 egg

100ml milk of choice (I used whole, but feel free to use almond milk; I imagine it would be lovely here)

90ml freshly squeezed orange juice (round about the amount yielded from one small orange) and the zest of one orange

For the pistachio maple sauce:

2 tbsp nut butter of choice (I used pistachio butter, mmm)

2 tbsp milk

one tsp yoghurt

one tsp maple syrup

In a large bowl, whisk together the flour, baking powder and salt. In a smaller bowl, whisk together the milk, egg, yoghurt, orange zest and orange juice. Pour the wet into the dry mix and, with a wooden spoon or spatula, slowly stir everything together. Mix until just combined, and there are still small lumps in the batter. Let rest for 5 minutes. Preheat your pan on the stove to medium heat. Hold your hand above the pan to see if it’s hot, and once so, grease with a knob of butter.

Using a quarter-cup measurement or two tablespoons, ladle the batter onto the pan. The large amount of leavening in this recipe means you will see little air bubbles pop up quickly. Once you see a fair bit of bubbles strewn randomly on the surface, go ahead and flip. The other side will take much shorter; around 20 seconds on average.

Let the cooked pancakes rest on a paper towel or in an oven preheated to 160C, if you’re cooking for a few people in the morning. If not, these pancakes freeze and reheat wonderfully. Just cook  a batch, let them cool for 15 minutes, then place in a single layer on a baking tray and pop into the freezer. An hour later, take the pancakes off the tray and put them all into a ziploc bag.

Make the sauce. In a small bowl, mix all the sauce ingredients together. Adjust according to taste– for a tangier finish, add more yoghurt, for a sweeter one, add more maple syrup. The stated quantities makes enough for 2, so if there are more, then adjust the ratio. To serve, place a stack of two or three (or more) onto a plate, drizzle on some pistachio maple goodness, and add fresh fruit for textural and flavour contrast.

Chelsea Date Buns

Processed with VSCOcam with f2 preset

So I have just a few weird habits.

1. Occasionally listening to Phil Collins and Westlife late at night when nothing else seems to appeal to my senses as much.

2. Burning toast on purpose.

3. Eating properly burnt toast with a knife and fork.

And lately, it’s been trying to perfect a specific recipe which is both nutritious and spectacularly delicious– a date lemon glaze!

But more on that a little later. I’ll get to the real meat (or should I say, crumb) of the whole situation first. I’ve been wanting to make chelsea buns for a while now, after coming across Paul Hollywood’s (anyone else here a massive Great British Bakeoff fan?) recipe online. It all seemed simple enough. I modified it a little, using a different proportion of dried fruit, as well as dates, and softened instead of melted butter for the filling. Chelsea buns are traditionally flavoured with lemon zest, cinnamon and dried fruit, but I incorporated the lemon more so in the glaze rather than the actual dough. If you’re giving this a shot, there’s no harm going all traditional as well.

Processed with VSCOcam with f2 preset Processed with VSCOcam with f2 preset

I’ll tell you now– this dough is a dream to work with. Probably the best ‘roll dough’ I’ve worked with in quite a while, and kneading was a pleasure even in this 38C weather. Is it just me or has it been extra sauna-like here recently? Once baked, the bun itself is soft, white and fluffy, though not as buttery as a brioche cinnamon bun or something of the sort. It’s a little headier, denser, but nevertheless upholding a tender, moist crumb. Those punch marks made my knuckles feel like they were in heaven, by the way.

Processed with VSCOcam with f2 preset Processed with VSCOcam with f2 preset Processed with VSCOcam with f2 preset

You can use any sort of dried fruit here, but I knew dates might be a little different given their soft, squidgy, texture, and I didn’t want anything too sickly sweet either. I was rather afraid of creating a mess of melting dates, but that fear was quickly replaced with hope ad excitement because it’s just these dates, not the cranberries or apricots (top), that, when mixed with the brown sugar, butter and cinnamon, created the most glorious soft, caramelised inner filling. The bottoms were dripping with toffee-hued, sweet goodness. So yes, dates were a terrific idea, a sublime encounter.

Processed with VSCOcam with f2 preset Processed with VSCOcam with f2 preset

Pretty much a date caramel, now that I’m sitting here recalling its texture and taste. All it is is dates, hot water, and a squeeze of lemon. Oh wait, and just a touch of cream. My my, it’s healthy (??). These chelsea buns aside, it can also be drizzled on fruit and whipped cream, or ice cream. Quite versatile, so easy and forgiving.

Processed with VSCOcam with f2 preset

Chelsea Date Buns with a Date Lemon Glaze (makes 10-12)

For the dough:

500g white all-purpose flour

7g instant yeast

3/4-1 tsp fine salt

300ml milk of choice (I used whole)

45g unsalted butter, melted in the microwave

1 egg

For the filling:

30g unsalted butter, at room temperature

2 1/2 tsp ground cinnamon

80g brown sugar

170g dried fruit (I used a mixture of dried apricots, dried cranberry, and chopped, pitted dates)

For the date lemon glaze:

10 dates, pitted (I used medjool)

juice of half a lemon

250ml hot or boiling water

1 tbsp heavy cream

Make the dough. In a large bowl, whisk together the flour and salt, then add the yeast on one side of the bowl. In a medium bowl, mix the melted butter and milk together. Add this milk-butter mix to the flour-yeast mix, then crack in the egg, and mix everything together with a wooden spoon, or in a mixer if you’re using one.

Flour your work surface and turn out the dough. Sprinkle a little more flour on top. Knead the dough for a good 5-10 minutes, until it’s no longer sticky and it looks smooth, pale and elastic. After kneading, put the dough back into the large bowl, cover with cling film or a damp cloth and leave to rise until it has visibly doubled in size, around 60-90 minutes. Grease two baking sheets and set these aside. Preheat your oven to 190C.

Whilst waiting, make the filling. In a medium bowl, mix the cinnamon, sugar and dried fruit together. Take the butter out so it can soften to room temperature during this period. After the dough has proven, lightly flour your work surface and tip it out. Lightly punch down on the dough, and with a floured rolling pin, roll the dough into a rectangle roughly 12×8 inches. Using a pastry brush, brush the softened butter all over, leaving a small border round the edges. Sprinkle on the mix of cinnamon, sugar and dried fruit. Roll the dough starting with the long side, so you end up with a 12-inch log. With a serrated knife, cut off the jagged ends (if you have any), then cut the log into 12 rolls. You may have more or less, but you should end up with 12 1-inch thick rolls. Put the rolls swirl side down on the baking pans, with a little space between each one. Cover the rolls with a piece of aluminium to prevent the tops from burning, then pop in the oven (you can do one baking sheet at a time) and bake for 18-22 minutes. Mine were perfect after 20.

Make the date lemon glaze. Take your dates and put them in the hot water, then add the lemon juice. Let this mix rest for 15 minutes. After waiting, put them in a blender (I have a Vitamix, so I used that), and blend for a full minute. The mix would look like it has already been fully blended after around 15 seconds, but don’t stop here. The dates thicken the glaze once they fully break down, and this only occurs a few seconds later. So don’t stop blending. Once a minute is up, pour the glaze into a bowl. It should be smooth, almost lump-free, and golden-brown. At this point, add the tablespoon of heavy cream.

Once the buns are baked, let rest on the baking pan and a cooling rack for half an hour. Drizzle the buns liberally with the date lemon glaze and, if you wish, top with slivered almonds.

Paddy Hills

I have my personal favourites when it comes to cafés, places I am willing to visit time and time again because they’ve proven themselves to be worthy of sustained customer support. Places which make you feel like you bloody well deserve that pocket of time to yourself, do most of their stuff from scratch, and leave you feeling that much better about yourself. Good food, service, all bright-eyed and bushy-tailed, you get the feel. These days, I find there is a serious influx of new cafés, all hidden in some back alleys, all seemingly rushed, not that I know any of what goes on behind the scenes of course, but nothing truly stood out, beckoning me with come hither vibes. But that’s exactly what Paddy Hills, the newest, half-pretentious, corner-of-the-block little café, did. When I walked in, a kind young lad with a grey beanie I desperately wanted for myself greeted me. I looked around and soaked in the delicious atmosphere– no arse-challenging seats, perfect for actually sitting, would you believe it? There was a large communal table where people chatted and worked on laptops. The air was cool, and indie folk was blaring audibly from above, but nothing intrusive. So far, so good. I was scared of thronging crowds, being packed sardine-style in between customers. It was a blistering hot Thursday at precisely 12pm, and I was waiting for pain. Thankfully, pain was something I didn’t experience. Lucky shot? I should think so. I haven’t written a review in ages, and only find it fitting to revive a well-missed habit with this one. I don’t remember being this excited about visiting a new f&b startup. Look, I do my fair share of stalking. I’ve recently cut down on my gross Instagram usage, but when it comes to that occasional hour of scrolling freedom, that mindless but glorious activity which is supposed to suppress boredom, I make full use of it. How could I not visit a place that sells the most photogenic food I’ve seen in a long time? I’m quite a stickler for tradition, but the dishes, which, although looked modern (obviously well-filtered) and had components which were separated for a contemporary effect, still seemed to speak volumes about flavour. It is this wordless, throbbing excitement which enticed me to hop over to the other side of the country, something I deem a fair feat in light of my usual reluctance to travel far distances for the sake of a good cuppa joe, and especially thanks to all the bird’s eye view shots of this berry ricotta hotcake. Processed with VSCOcam with f2 preset Processed with VSCOcam with f2 preset Berry Ricotta Hotcake with blueberry sugar, berries, pine nuts, mascarpone and maple syrup–$19

Now isn’t that a beauty. I marvelled for a while, too scared to touch the forest of berries let alone tuck in. The best part was definitely those perfectly crisp, mildly caramelised edges, a golden-brown ring of sweet, rigid bite. The best bite comprised these three components: a nip off the crisp edge, a poke of fruit, and a generous lathering of mascarpone from the ball of the stuff sitting on top. If one is lucky, you may get a bit of warm blueberry nestled like a crumble surprise in the middle of the cake, or a sweet little bit of mascarpone, pockets of which are also found dotted on the surface of the cake. You work your way in. Alas, it gets a bit stodgy a bit too fast, too soon. It’s indeed one of the lightest and fluffiest cakes I’ve ever come across, but at that, the fluff notch was turned up a bit too high near the middle, right at the thickest part of the hotcake. I know I know– what? How can anything be too fluffy? And prior to my experience here, I would have to agree. However, this maximal fluff generated clouds of uncontrollable, pale crumbs, which refused to cooperate with each other to produce a more solid, manageable mass. I was expecting a glorified Mickey Dees hotcake, but it’s entirely different. I was grateful for the carpet of colourful berries on top, for not only did they make the whole thing like a fairy forest, they were also necessary to balance the cake, which has maple syrup infused in the batter. The crumb, though light and pale, had a consistency moist enough so I could still smush bits together with the cheese and fruit to enjoy each and every bite. If anything, they should attempt reducing the thickness of the hotcake, retaining those divine edges and increasing the density, for maximum brunch pleasure. Processed with VSCOcam with f2 preset The Asian Brick: bruleed brioche french toast, goreng pisang (fried banana fritters), butternut squash puree, purple sweet potato, yam ice cream, gula melaka and marcona almonds– $18

Though I didn’t have the chance to actually try this french toast, I was highly impressed by the presentation and complementary components of the dish. I had a nip of the yam ice cream, and it was creamy, light and flavourful. The fact that it’s homemade and everything so intricately presented made the steep price a tad more understandable. The next time I’m here, I’m definitely ordering this. They also offer things like orange ricotta pillows, which have orange caramel and a citrus salad. All very posh, like they’re on their tippy-toes and reaching for the fine lights of modern gourmet fare. And you know what? They’re almost there. On the brink of something truly impressive, if it weren’t for two things: the coffee and the waiting time. I ordered a 2-ounce flat white ($4), but it tasted subdued, sub-par. I expected a little more because I read many a review on how spectacular the coffee is. Perhaps I was simply unlucky. I wanted a nick on the palate, a bite of caffeine, something.. more. Thankfully for them, I’m willing to return to try the other enticing menu options. Yes, some time in the future, before I break the bank. Rating: 3.8/5 Paddy Hills 38 South Buona Vista Road 6479 0800