In spite of all the pre-planning in the world, my usual baking endeavours still entail some degree of dilly-dallying beforehand. Well, not this time. I was standing in the kitchen, and knew I wanted a tart. A good tart with a finely baked crisp crust, and some sort of fudgy, gooey middle. Something with depth and exuberance and sin all round.
Put simply: I’ve been sooo into dates recently. Nothing really beats a huge, gooey medjool date. Peel one open and you get an untidy split down the middle, unveiling a thin seed and bountiful, sweet, sticky flesh. Yum. So… Date, custard, pistachios? A combination you would perhaps find in a specialty baking store, and a combination I almost haphazardly threw together. A combination that works.

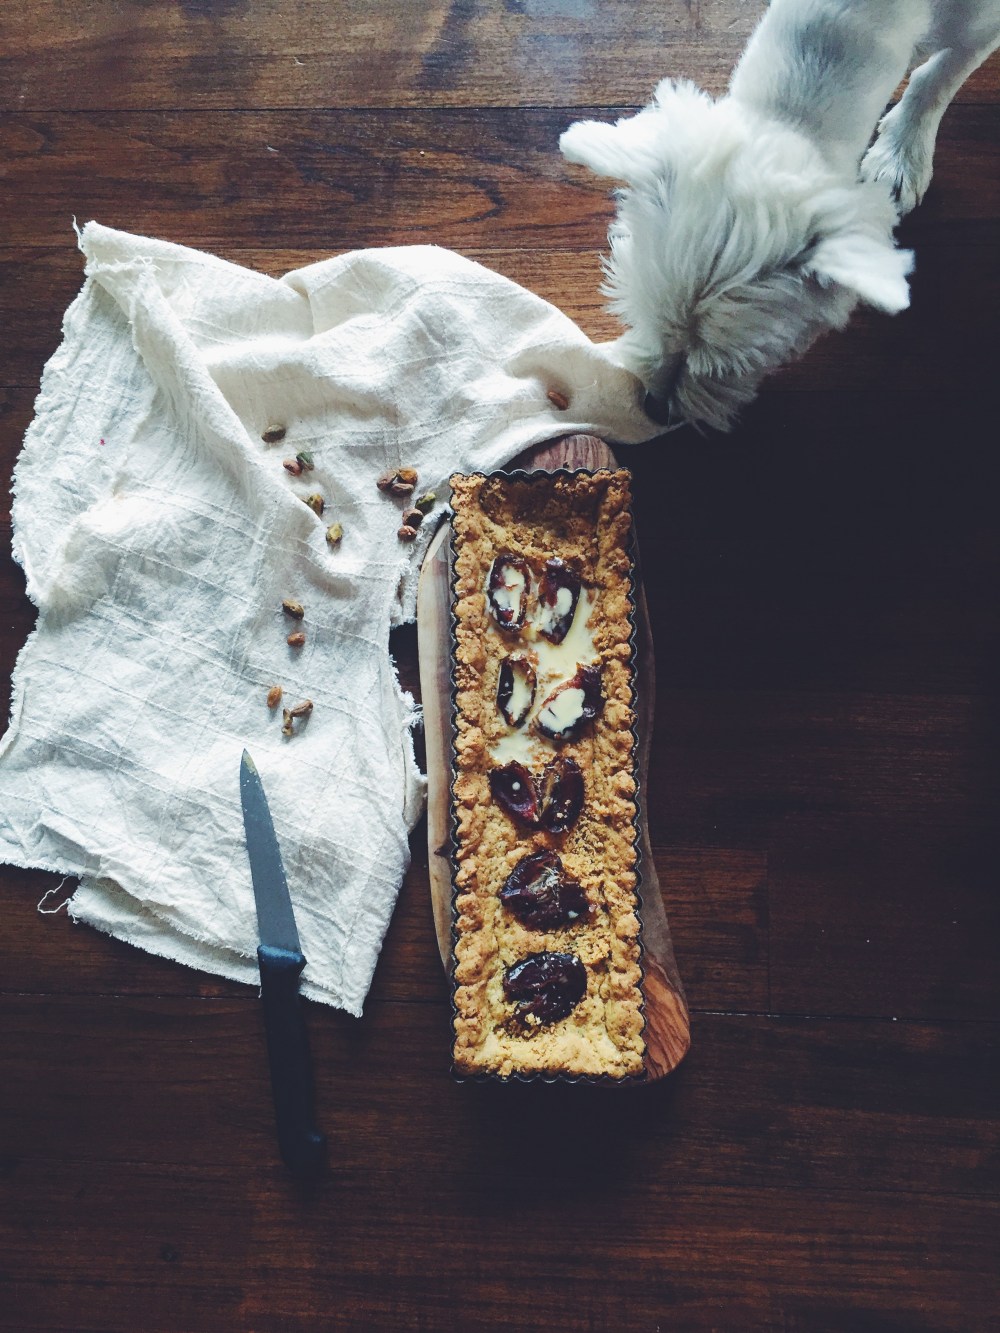
Little Maddie was all too keen on having her nose pressed up against the side of the tart shell. I look at her differently now, especially after finishing Eating Animals by Foer. I personally hold many strong views on meat-eating now, but that’s a whole other story that deserves its own section or post.
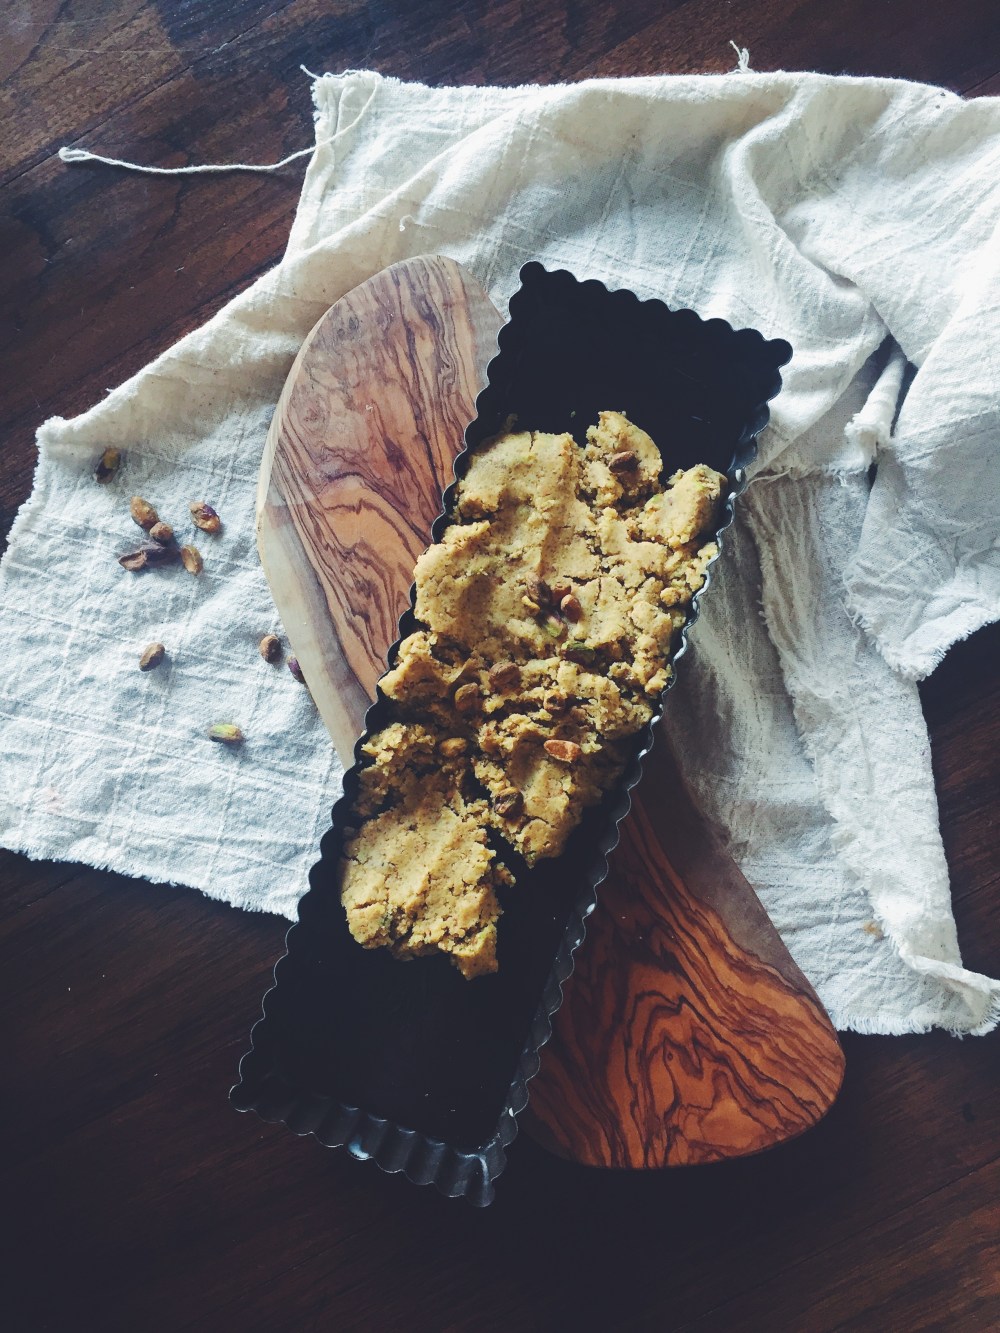
The crust itself is made of just a few things, and is completely eggless– roasted pistachios, flour, butter, sugar and salt. Et Voila. All you really need is a food processor, otherwise you could really just buy ground pistachios and mix the rest in by hand. And the custard? Another story of ease.

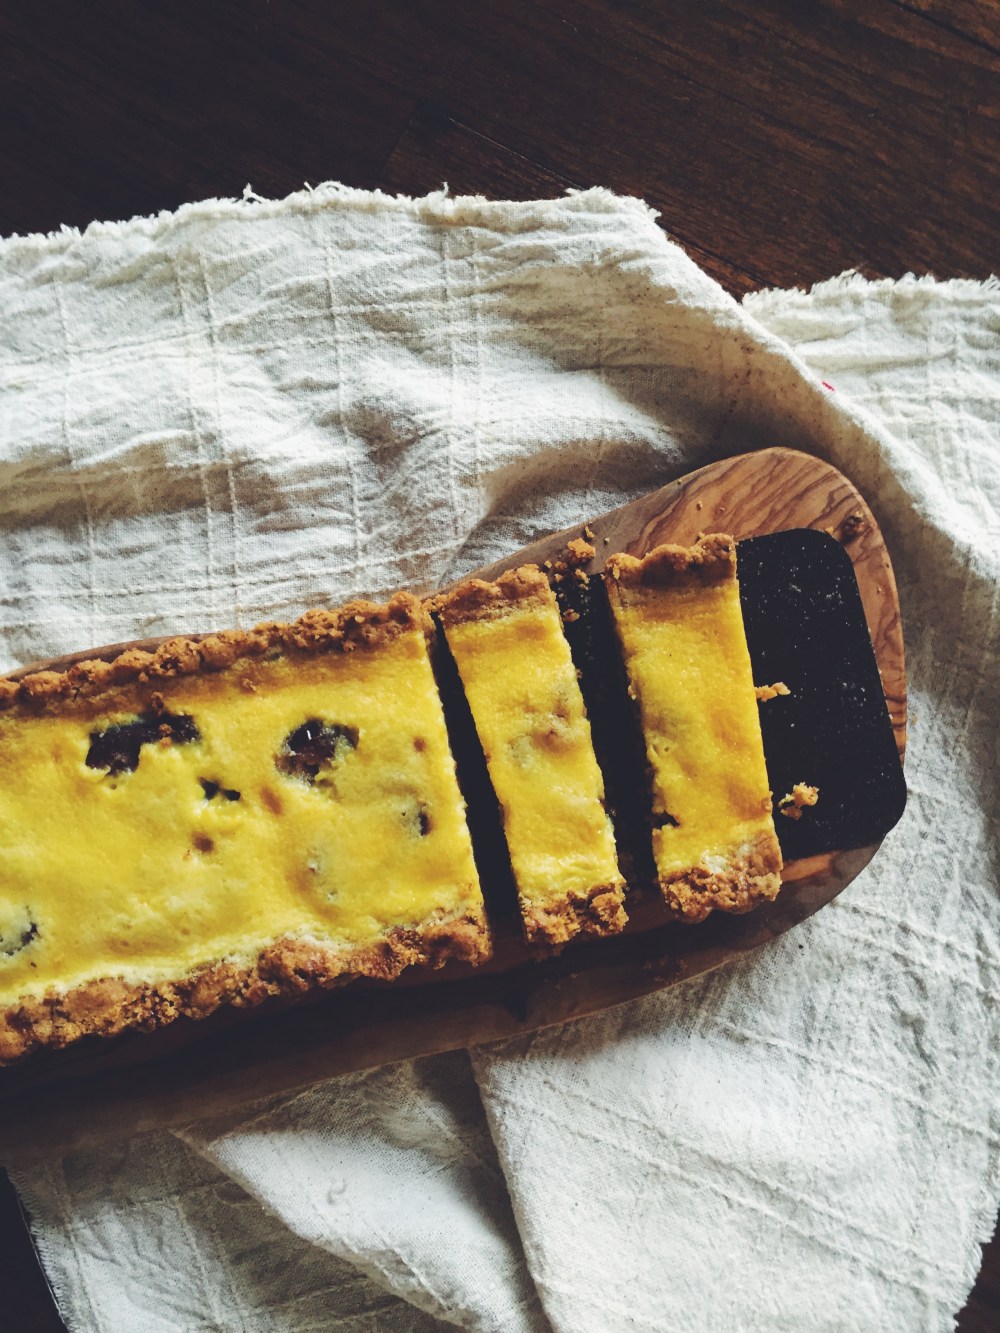
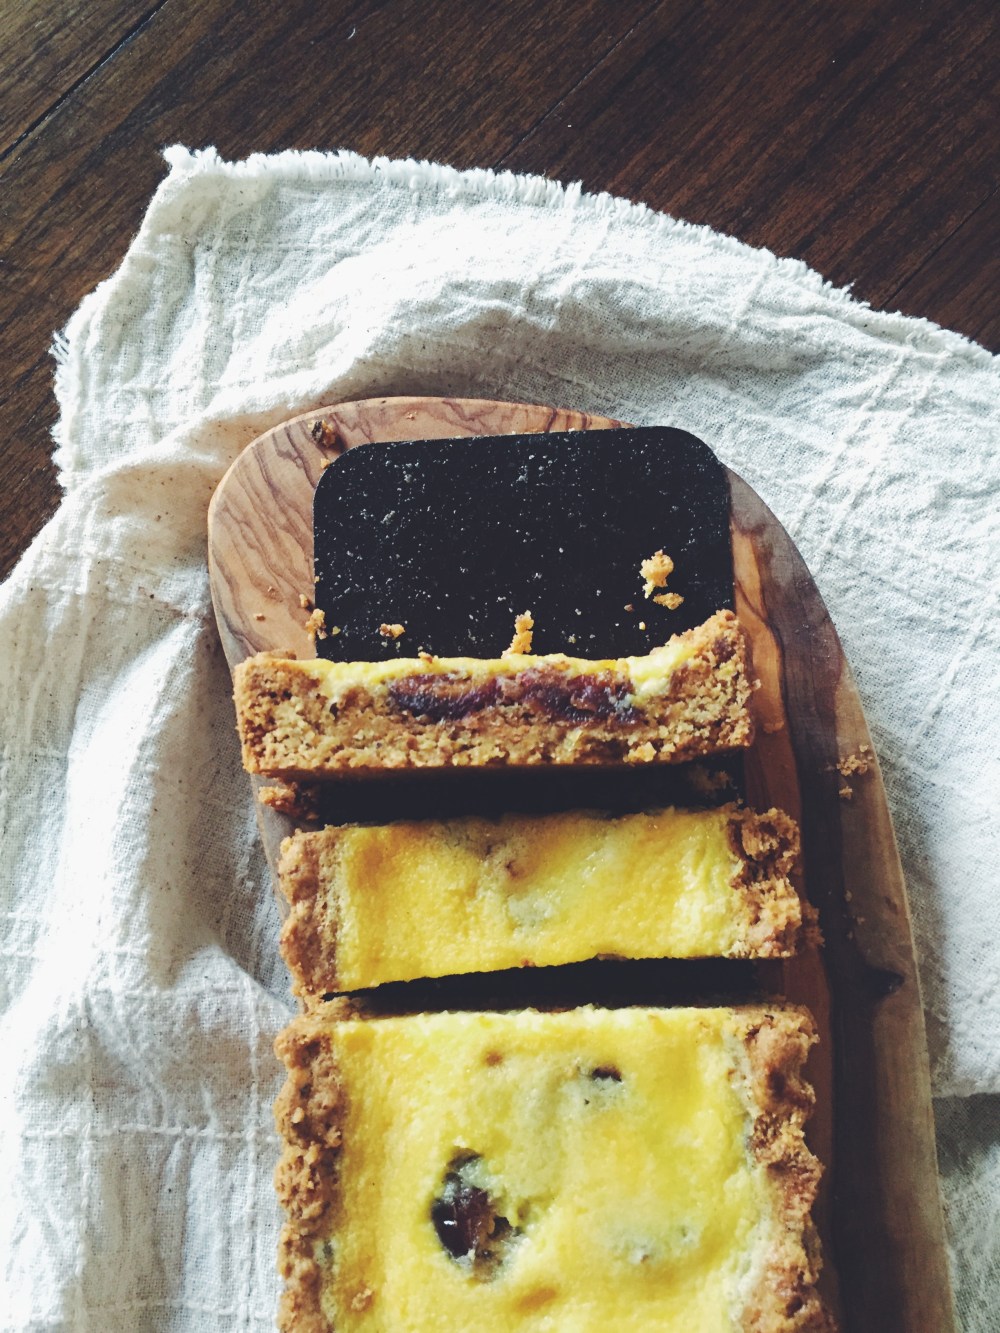
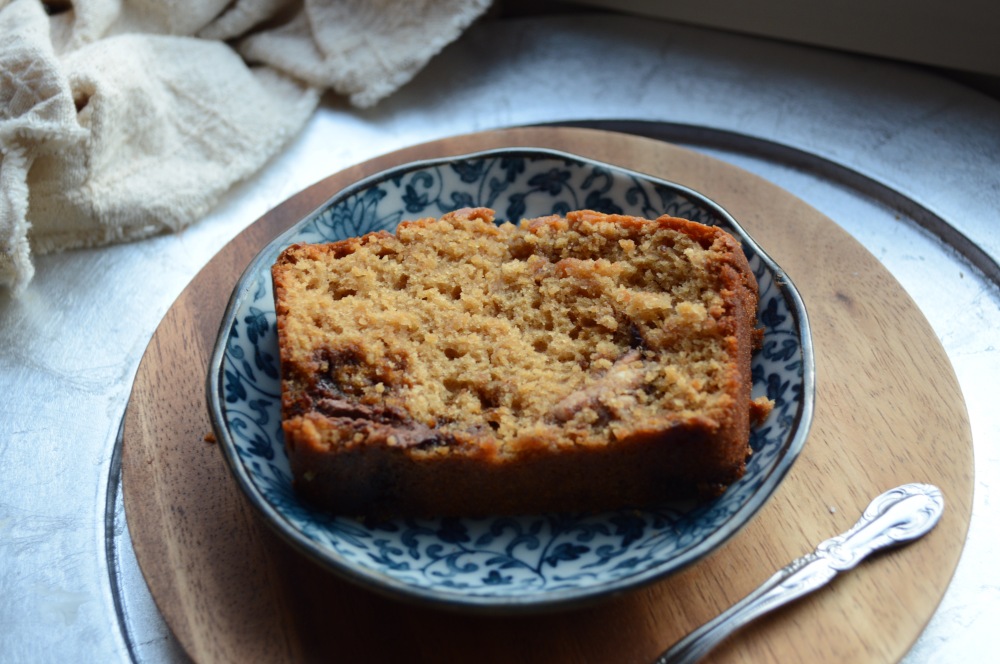
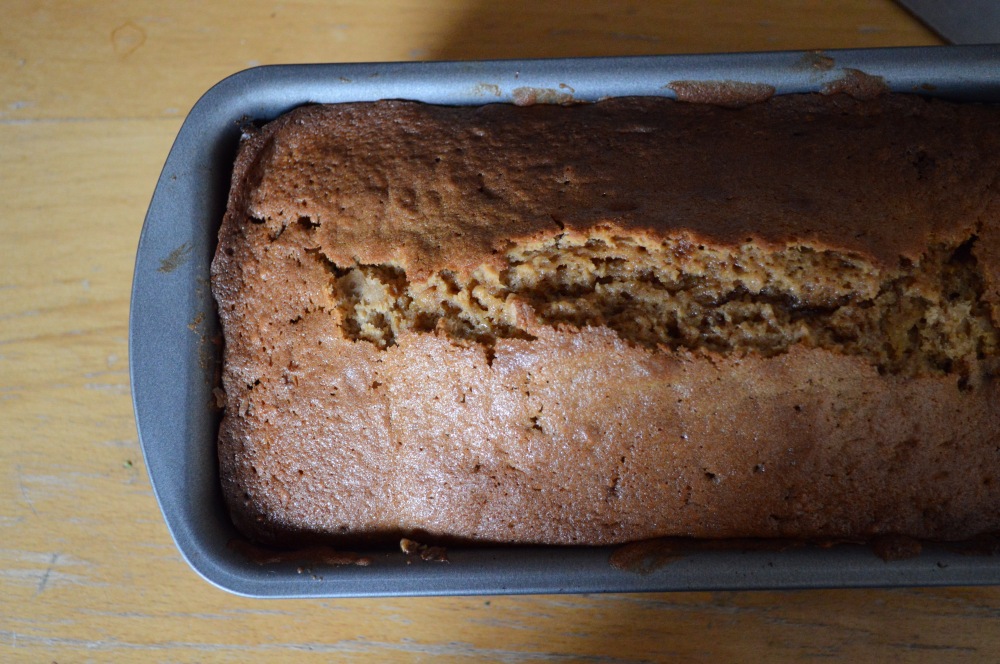
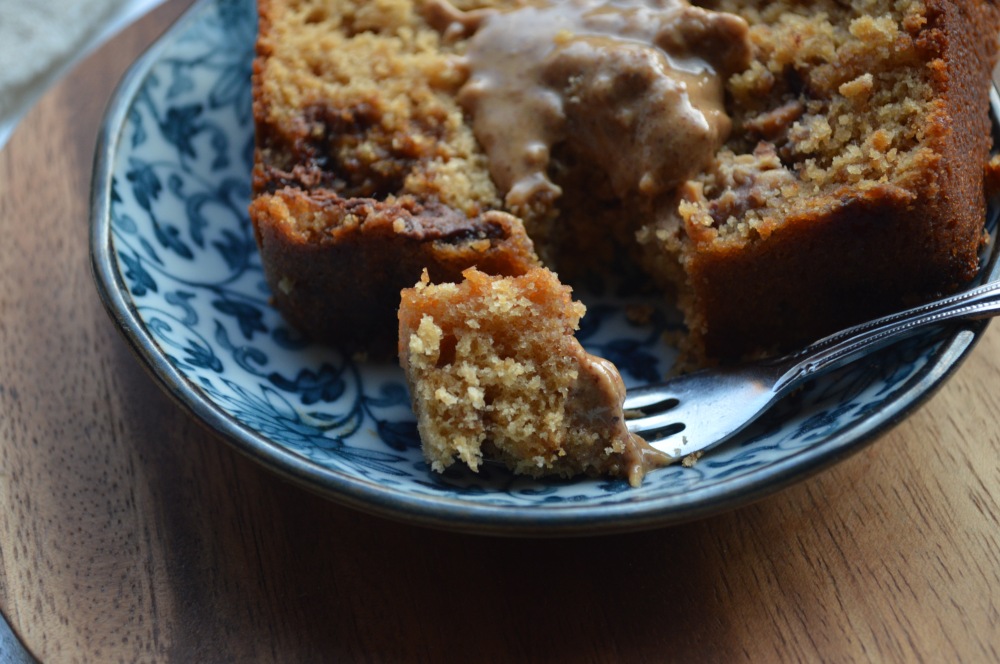
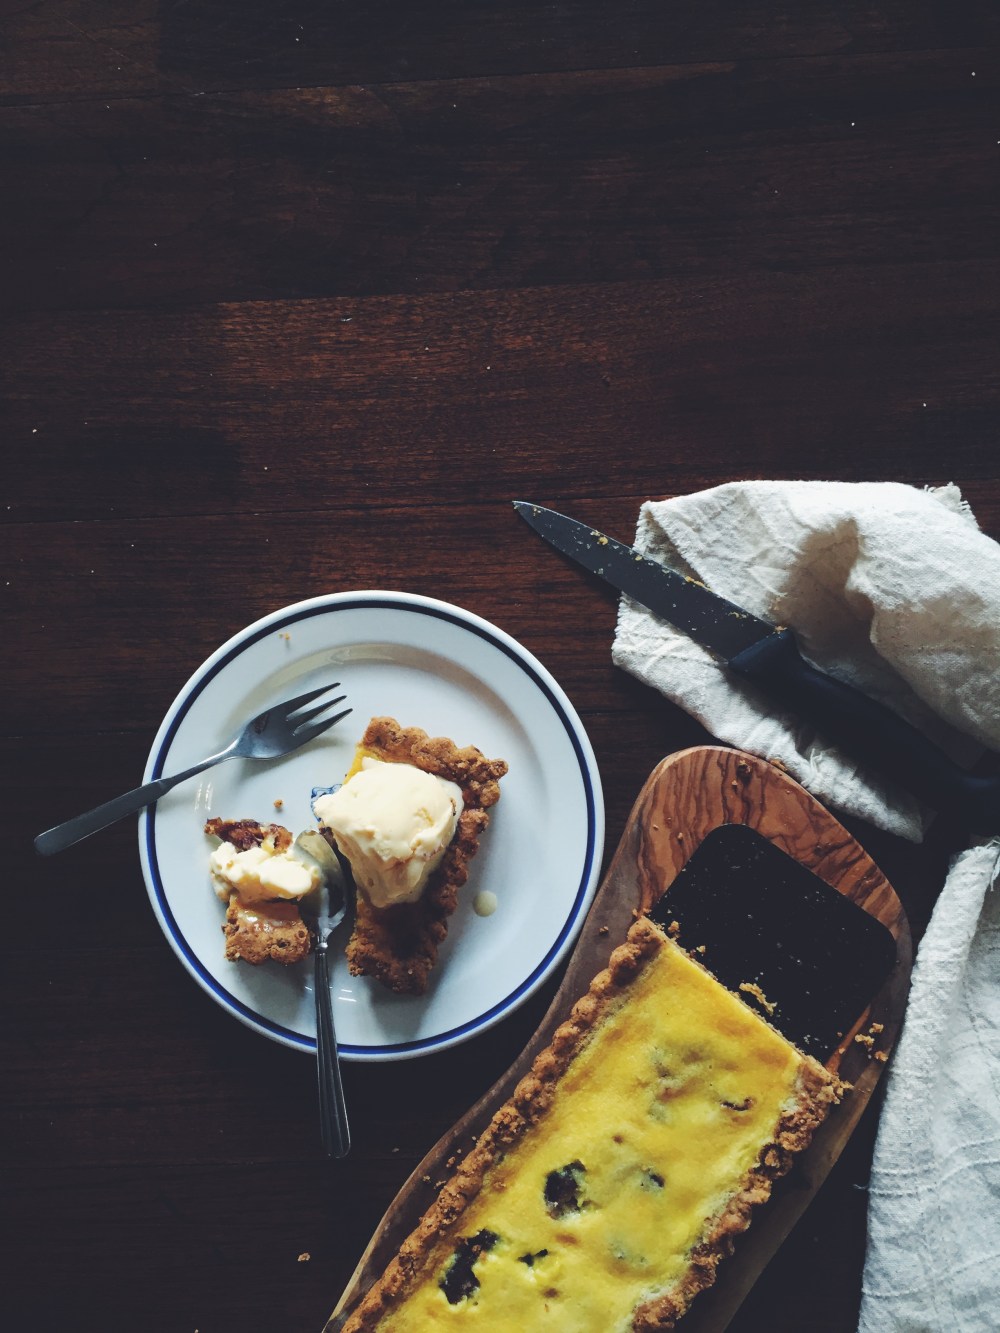
Dates smushed in the middle of a dense custard, offering perfect contrast to the hard exterior. The crust is buttery and flaky, holding little resistance to any give, thanks to the lack of eggs. What I like is that you can eat this tart alone hot or cold, or with ice cream/ cold whipped cream. I had a thin slice straight out the oven with a scoop of plain vanilla ice cream, which was absolute heaven. The next day, I tried it cold as I put the remains in the fridge, and that was equally sublime. The custard was more set, but if you prefer it a little more warm and watery, all you have to do is microwave it for a couple of minutes.


Date Custard Tart with a Pistachio Crust (makes 2 9-inch round tarts, or one 9-inch round and one 4×11-inch rectangular, adapted from here)
Ingredients:
For the crust:
290g (around 10oz or 2 cups) roasted, de-shelled pistachios (salted/unsalted)
260g (2 cups) plain flour
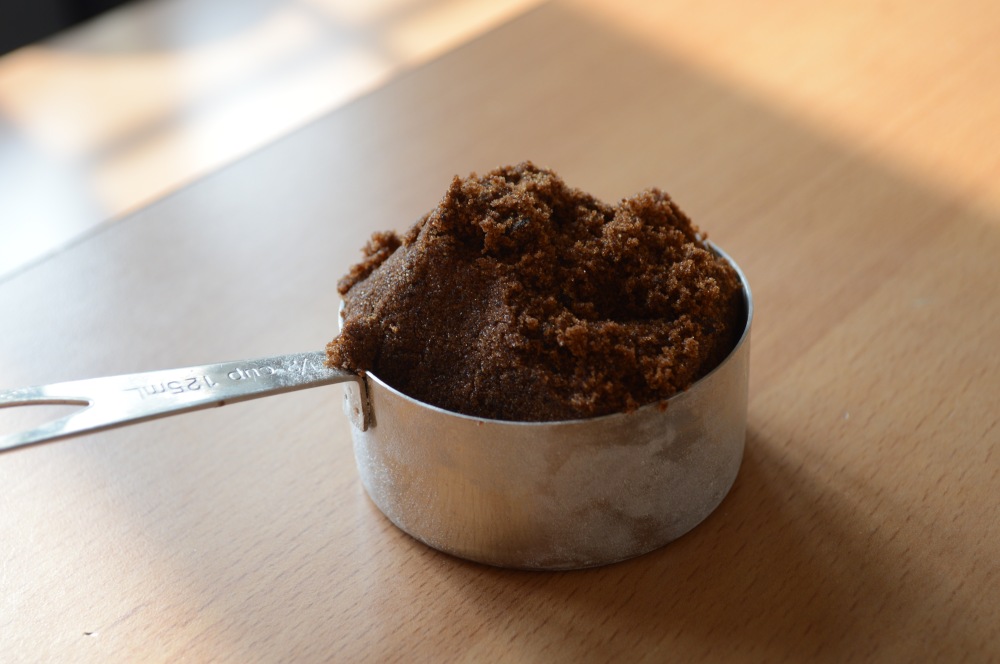
225g (1 cup) white sugar
pinch salt (not needed if you’re using salted pistachios)
250g (2 sticks+13g) unsalted butter, at room temperature
For the filling:
9 medjool dates
300ml heavy cream
1 tbsp vanilla bean paste, or 2 tsp vanilla extract
2 heaping tbsp greek yoghurt (can substitute with more heavy cream or sour cream)
4 egg yolks
3 tbsp sugar
Directions:
In a food processor, grind your pistachios until you get a coarse meal. Chuck in the flour, sugar and salt, and pulse until everything is well incorporated. Tip the mixture into a large bowl and whisk (or mix with a wooden spoon) everything, making sure the pistachio meal is evenly distributed in the dry mix. Add the softened butter, get your hands in and mix everything together. This shouldn’t take too long. The dough will be easy to break apart, yet dense and moist. Put the bowl containing the dough into the fridge for 20 minutes. Preheat your oven to 180C (350F).
After 20 minutes, take the dough out and ready your tart tins. Greasing isn’t necessary because all the butter in the dough does just the job, but if your tart molds are old and not very trustworthy, then go ahead and give them a light greasing. Break your dough in half (or store half in the freezer if you’re just making one tart) and press into your tart mold, making sure to have a thick enough layer on the bottom and sides. Bake the tart for 15 minutes.
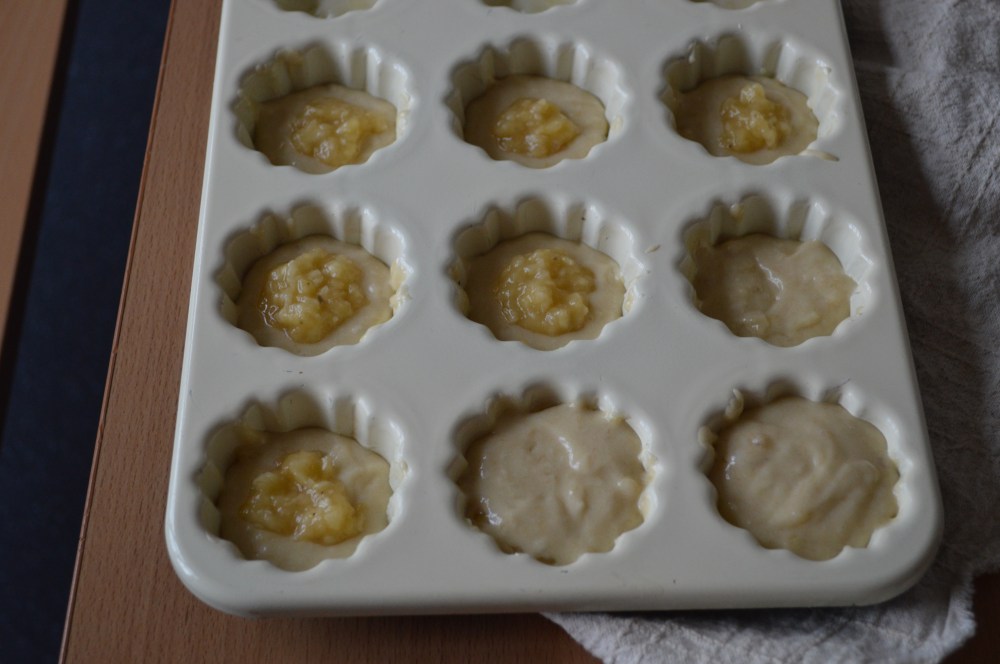
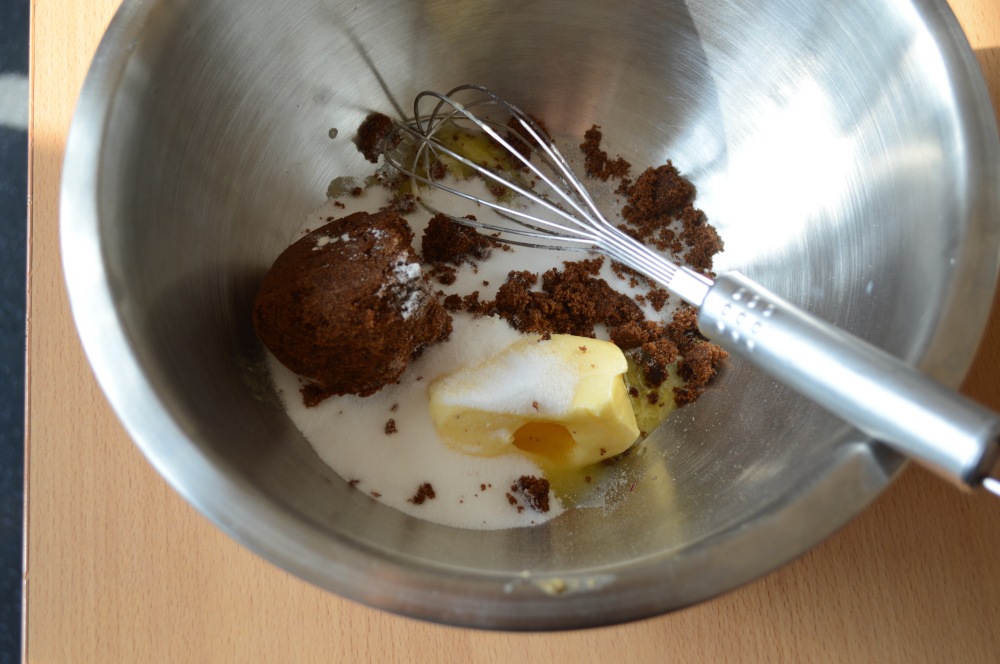
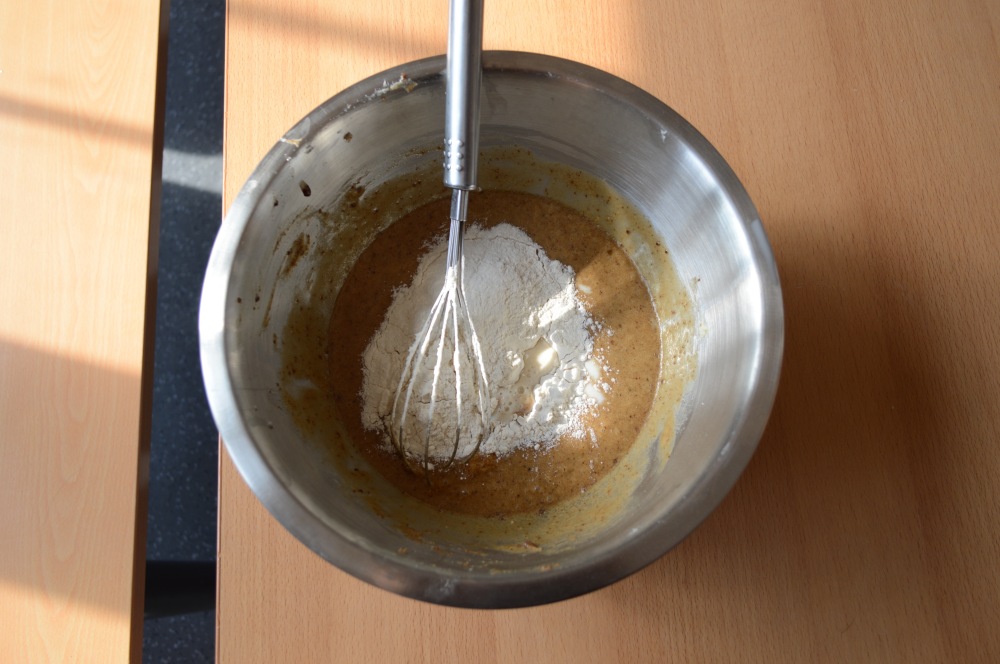
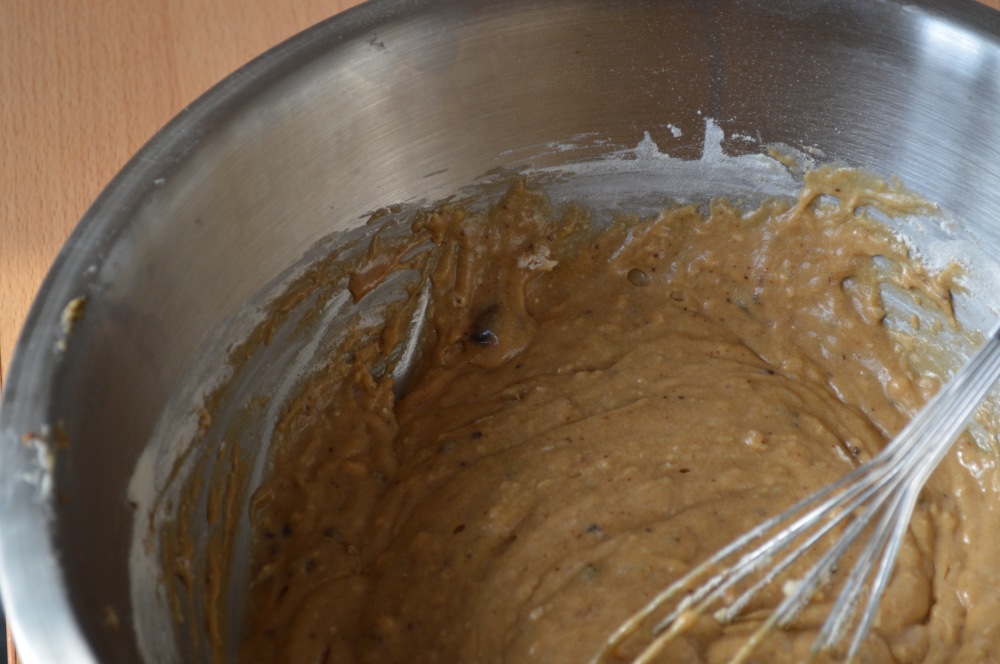
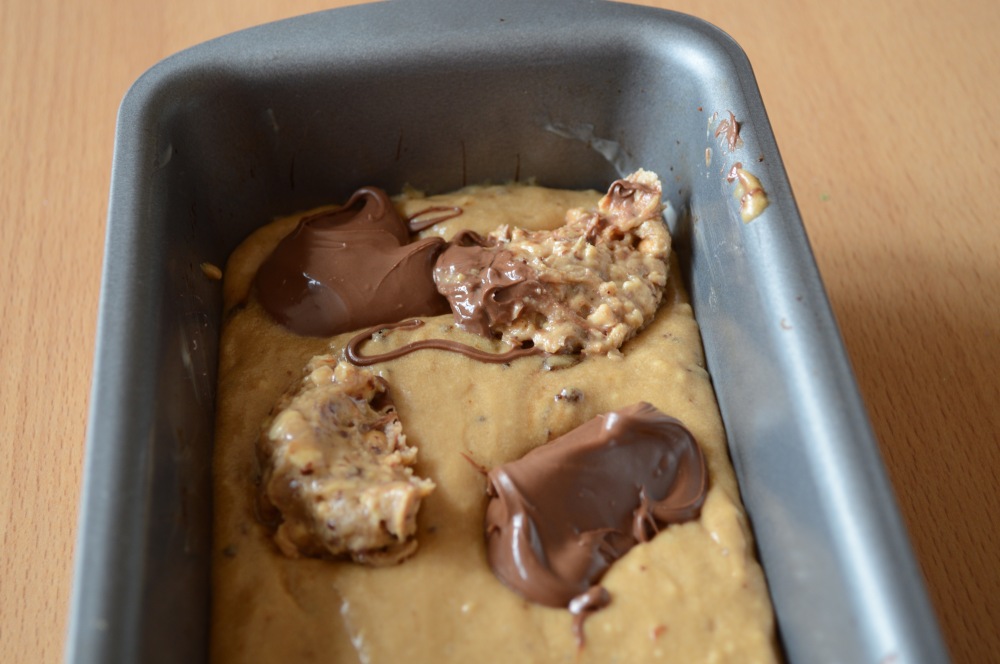
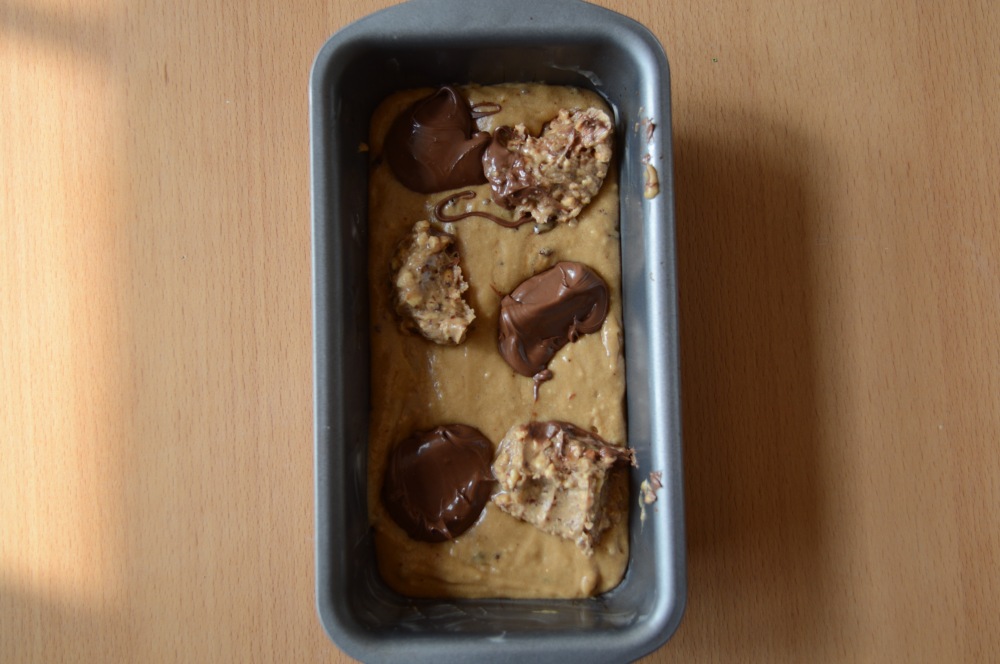
While the crust is baking, make the filling. Whisk together the egg yolks and sugar for 5 minutes straight, or until visibly light, runny and fluffy. Whisk in the cream, yoghurt and vanilla. Once the tart crust is half-baked, remove from the oven and press in you (de-seeded) dates as shown in the picture above. The heat of the oven will soften them even more, making the insides even gooier, if such a word could exist. Pour the custard on your tart(s), then put back carefully in the oven and bake for another 10-12 minutes. Check the tart at 10 minutes– the top might have some soft brown, caramelised patches. The tart should still hold a little wobble when nudged at the side.
Remove from the oven and set on a heatproof mat or stand to let cool for a while before cutting. Eat hot with ice cream, or store in the fridge for a while, before tucking into it cold.