Coffee Meringue Pillow Pancakes

4192490 Processed with VSCO with f2 preset

In other words, a twist on the main star of CRUMBS, hoho. Time and time again, at least once every week or every other week, this is the baby that holds its name straight, waving the ‘pillow’ flag high. So high and bright. Receiving a little social media tag from someone who’s tried and loved the recipe I fiddled till perfection almost 2 years ago still tugs at my heart, pulling its strings and sending me into a fuzzy daze for a full 5 seconds. Saturday usually demands an experimental flair, but the past one was in need of a tried and true favourite, albeit with a little twist and flick.

2821139 Processed with VSCO with f2 preset

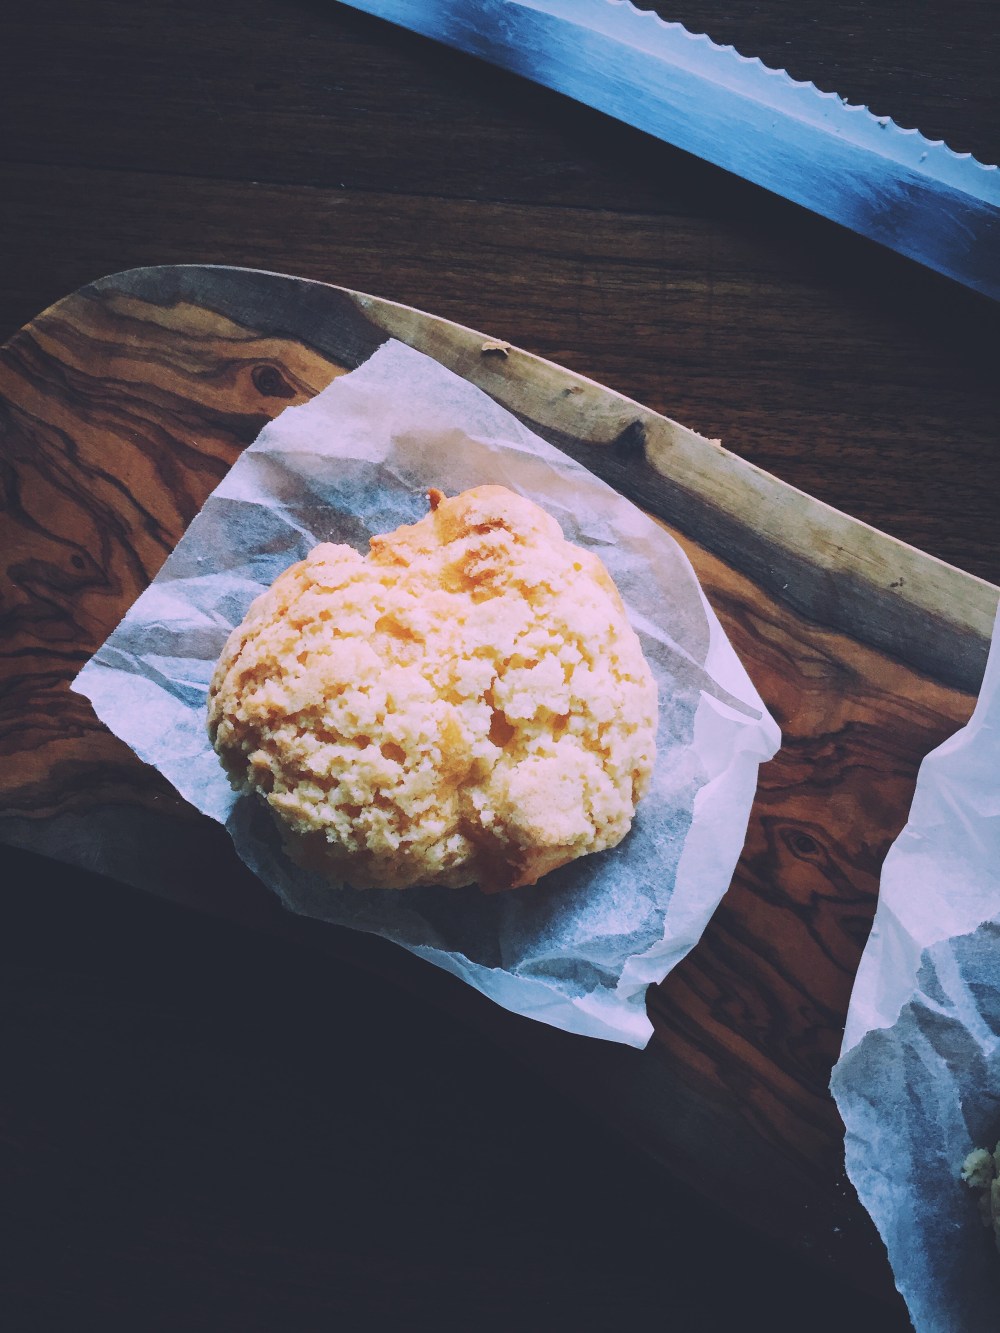
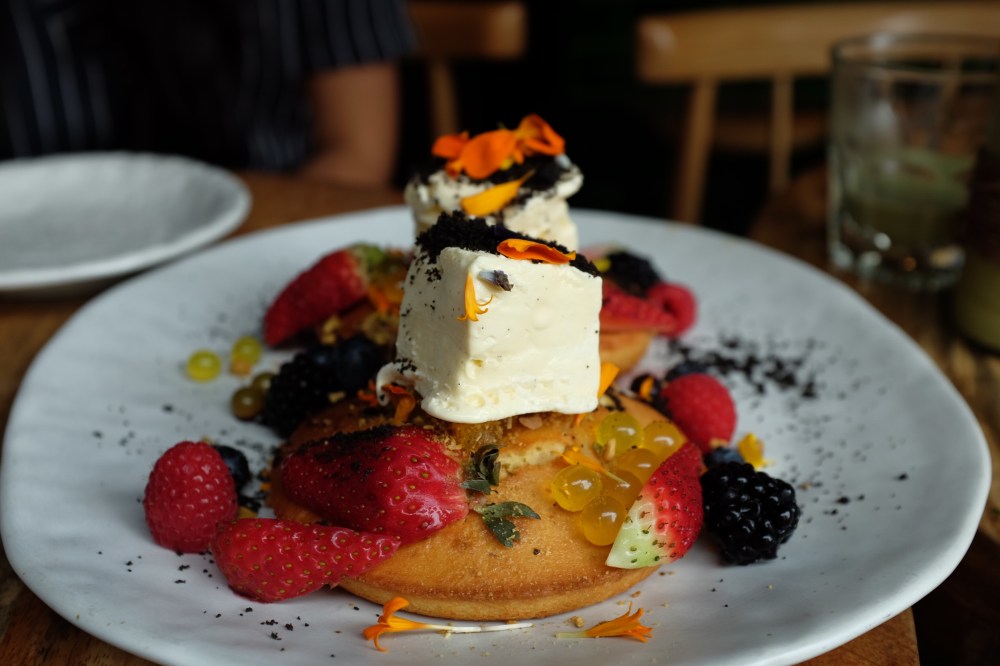
There’s something so seductive about a mile-high pillow pancake.

3794694 Processed with VSCO with f2 preset3916388 Processed with VSCO with f2 preset

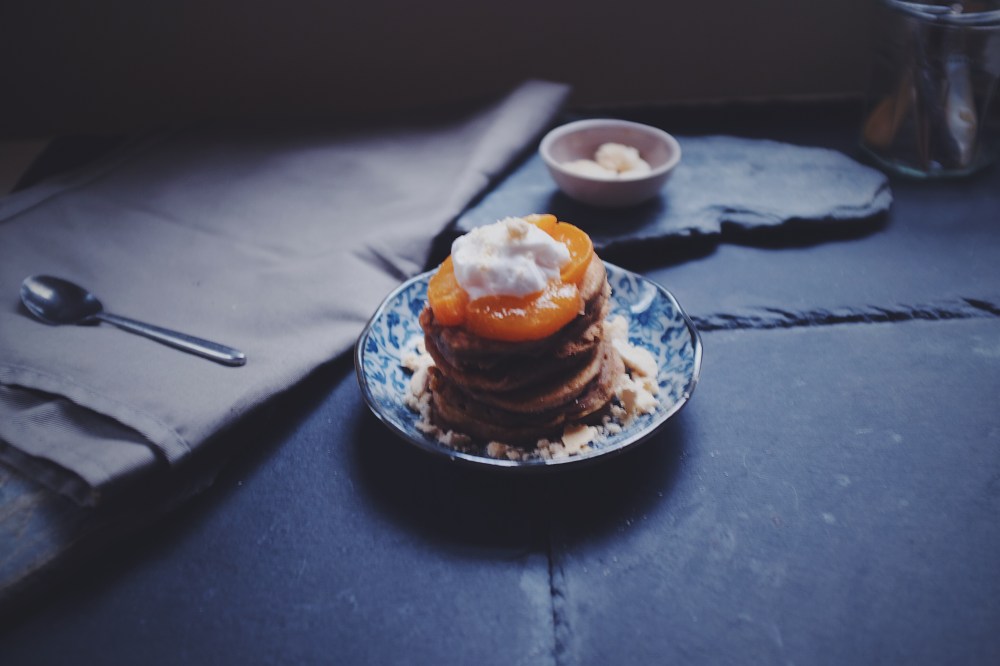
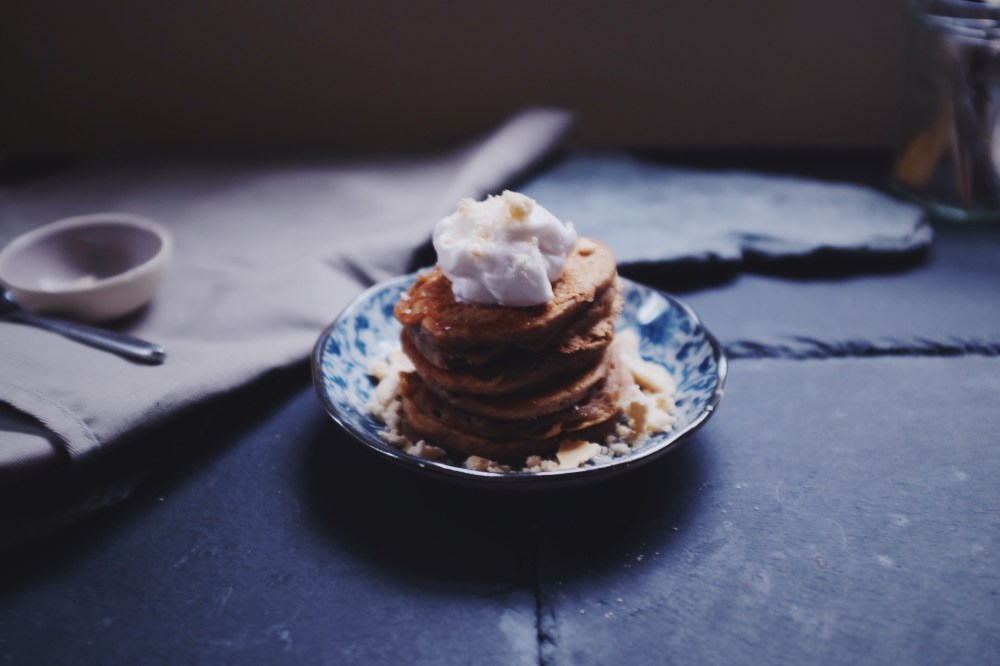
Had some leftover meringue from my previous recipe (do check it out, just scroll a little) and decided none shall go to waste, and permeated my reliable pillow pancakes with that, and some espresso because I was in dire need of coffee and this was another excuse to get another jolt here.

Although the batter resides with the same format as the original, ratios and all, the addition of meringue gently folded in and the dash of coffee makes each pancake belly a little more moist and slightly chewy. I did end up with a slightly more liquid batter, though the retaining of some lumps is still quite crucial for the same extra-high result. The week has been speckled with more dire Trump news and lambasting and Crazy, so settling down to my pan and butter, batter at hand, was all it took to calm a couple rattled nerves.

Processed with VSCO with f2 preset

Coffee Meringue Pillow Pancakes (makes around 10-11 medium pancakes)

Ingredients (vegan subs included)

190g all-purpose flour

3 tbsp white sugar

generous pinch of salt

1 tsp baking powder

1 tsp baking soda

1 egg (sub: 60g vegan egg replacement, or one banana, or make a flax egg by mixing 1 tbsp flax with 2 tbsp water and letting sit for 5 minutes on the counter)

40g unsalted butter (sub: vegan butter such as Earth Balance)

1 tsp vanilla extract

240ml (1 cup) whole milk/ buttermilk; use store-bought or make your own by mixing 230ml whole milk with 1 tbsp white vinegar, and let the mixture sit for 5 minutes before using (sub: almond milk or any other plant milk of choice)

1 tbsp coffee extract or shot of espresso

50g meringue, briefly crushed with a spoon or your hands (find the recipe here near the bottom; you won’t need all of it but hey the more the merrier)

Directions

In a large bowl, whisk together the dry ingredients (flour, sugar, salt, crushed meringue and leavening agents). In a small microwave-safe bowl, melt the butter in a microwave and set it aside, letting it cool. In another medium bowl, whisk together the egg, buttermilk, vanilla (or insides of a vanilla bean), coffee extract/espresso shot and melted butter. Pour the wet mix into the dry mix and mix briefly with a wooden spoon or a normal dinner spoon. Continue to mix until everything is just combined, which means there will still be a few lumps, but no more streaks of flour.

Preheat your pan on medium heat and ready some butter. You know the pan is hot enough when you flick a little water onto its surface and there’s a clear sizzle. At that point, generously butter the pan and ladle tablespoonfuls of batter. I didn’t have to wait for bubbles to pop before flipping; the batter is thicker than usual and there’s no need to wait. Flip the pancakes when you notice the edges stiffening a little, or when you can slide your spatula whole underneath the bottom of the pancake. It will rise a little upon flipping, as if that action gives it life, and hence, breath. The surface should have a brown mosaic thanks to the hot butter. Once the second side is done (will take no more than 20 seconds), let cool on a paper towel. As mentioned above, these freeze wonderfully, so you can make a whole batch, have a small stack and stash the rest in a ziploc bag in the freezer.

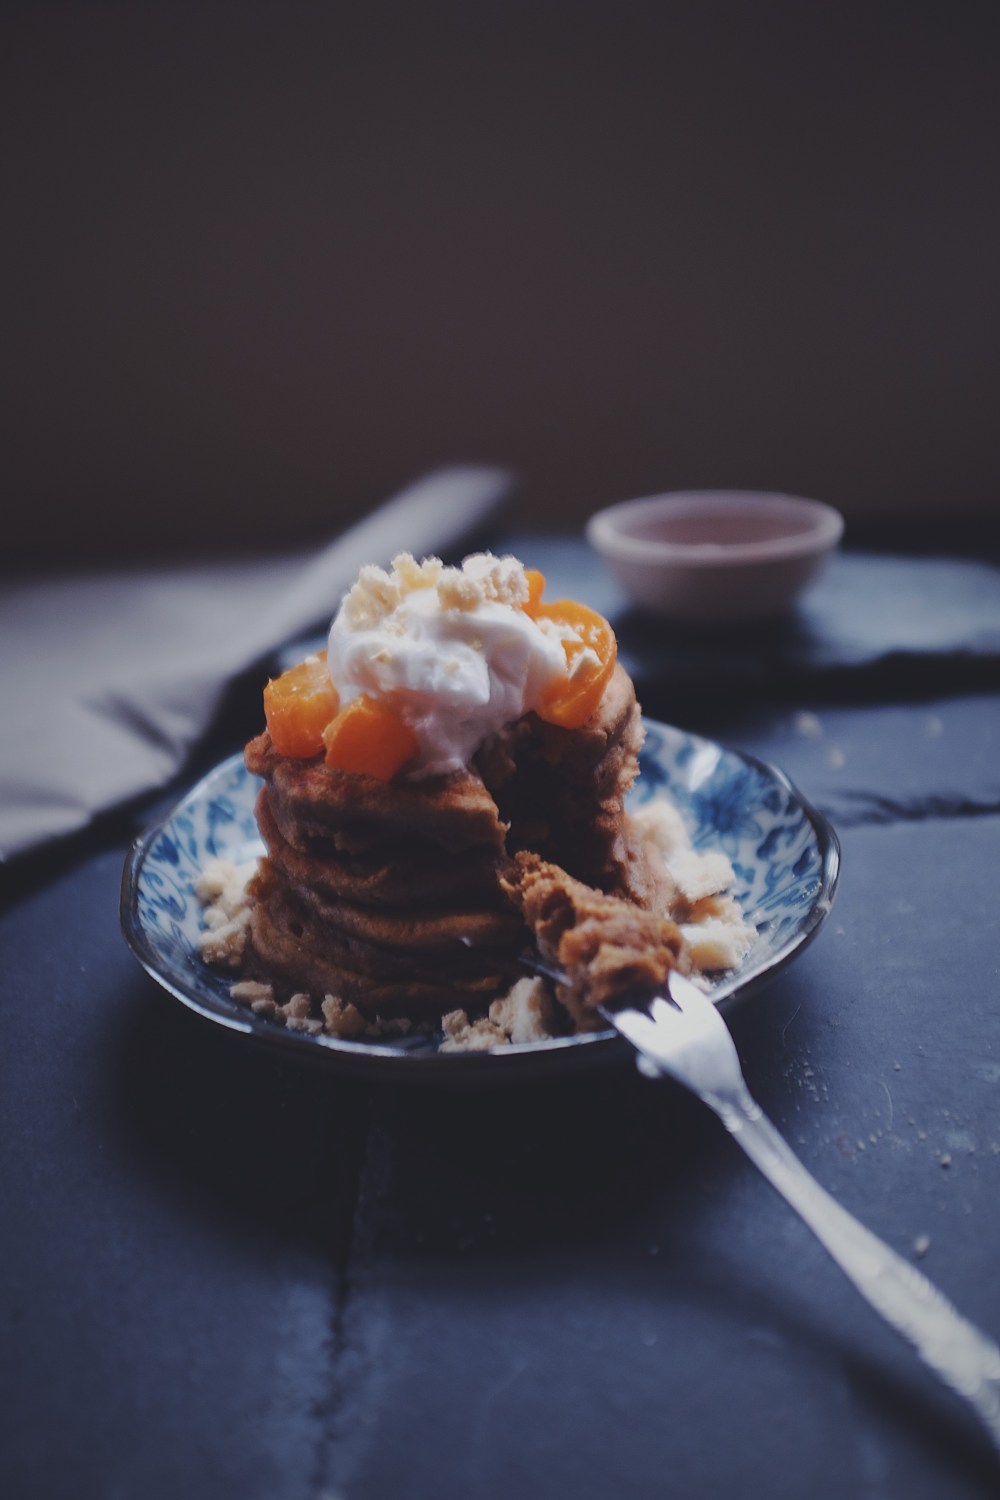
Serve with butter and maple syrup, or whatever you want. I particularly like them with banana, its moist sweetness adjoining arms with the maple. What a Sunday.


Pumpkin Ginger-Spiced French Toast Roll-ups with Cinnamon Tahini Fondue

dscf9049

This cinnamon tahini fondue is very everything. When I woke up that morning, there was a funny pain at the base of my stomach, and that’s never a good thing, but I still knew my weekly french toast get-up was much needed, for better or for worse. There are times during the day, usually alone, with a bit of quiet, or during deep conversation with someone who’s on the same page as you, that one can calmly address all negative emotions, accept them, then pass them to the air.

Feeling wild writing this, yet calm. It’s my last day of being 19, and who knew a year could’ve changed me so much in all facets. Just a year ago I was on a boat with other freshmen pondering the excitement of living near Hyde Park, and now here I am, still alive, still a student, still eating the same plates of french toast. I am truly grateful for the close friends who stuck by me and who I can always count on, my family, and stuff to learn and discover every day. Now I find I need so much less to be happy– dining in the dark with an old friend, a fresh bath and timely wake, fresh roasted vegetables, the hug of tea in the cold, brisk air, working alone. Nope, nothing more.

Of course there was no more appropriate way to spend the morning than with my favourite breakfast. Opened the pantry and of course there was no bread. But. Found a fair bit of Lebanese flat bread given so kindly to me by a friend (Lavash I should think?), so I made do with that, and goodness was that good. Though it had gone a bit stale as I intended to make each pillowy bit of fragrance last as long as possible, dipping it in my pumpkin french toast batter and then frying it gave it a renewed warmth, tenderness, life.

I came up with the idea for this cinnamon tahini fondue whilst trying to think of something other than good old coconut almond butter for my porridge topping, and I know nothing comes quite as close as the stuff, but with a new pot of tahini, something had to be done, and tahini naked wouldn’t have been embracing that morning creative jolt It’s an uncomplicated mix of tahini, cinnamon, applesauce and yoghurt, along with some of the pumpkin french toast batter. The weirdness of that mix overshadows its majesty.

dscf9048

Pumpkin Ginger-Spiced French Toast Roll-ups with Cinnamon Tahini Fondue

Ingredients

1 large flatbread (lavash), tortilla or crepe (alternatively, use normal bread slices)


For the pumpkin french toast batter:

2 heaping tbsp pumpkin purée

50ml milk of choice (I always use almond)

1 tsp fresh grated ginger (or ground)

1 tbsp sweetener of choice (agave syrup/date syrup/honey/blackstrap molasses)

pinch of salt

pat of vegan butter (or normal butter) for the pan


For the cinnamon tahini fondue:

1 tsp pumpkin purée

3 tbsp tahini

a heavy hand (around 1 tsp) of ground cinnamon

1 tsp sweetener of choice (refer to choices above)


Directions

If using flatbread, tear so that the pillow punctured and you get two thin ‘slices’ per bit of bread. You can use any other bread, but for the rollup effect, make sure to roll them out pretty tin and flat so you can squish them into the rolled shape you want afterwards.

Whisk together the ingredients for the pumpkin french toast batter and heat your pan on medium heat. Add a pat of butter to the pan and wait to hear a sizzle. Once hot, dip your slices into the pumpkin batter for 5-6 seconds on each side (you don’t need much time if you’re using a crepe or flat bread because they are so thin), then place gently in pan. Wait 20 seconds or so to cook, then flip and wait another 10-15 seconds.

Mix together the ingredients for the cinnamon tahini fondue, and serve the hot french toast rollups with that, together with some berries, perhaps some whipped (vegan) cream and more sweetener of your choice.

Salted Vanilla Crispy Custard Puffs

Processed with VSCO with f2 preset Processed with VSCO with f2 preset

Though I hate to be picky, I guess I still can be. Almost every week, my mother buys bolo buns, or ‘pineapple buns’, for my sisters. These are sweet buns filled with sticky red char siu (sweet barbecued meat) filling, covered in a yellow tortoiseshell of crackly sugary goodness. It’s those charming cracks, glistening coats of crisp comprising pull-apart little tiles on each little bun, that get to me, more so than any other part. As I picked childishly at the top once, I was reminded of my first try of choux au craquelin, or crispy cream puffs with a similar sort of topping. Remembering I had some leftover custard that I used to make salted custard lava french toast earlier on in the week, the idea of custard puffs ossified.

Processed with VSCO with f2 preset Processed with VSCO with f2 presetProcessed with VSCO with f2 preset Processed with VSCO with f2 preset

Cutting into a crispy, sugary coat to be greeted by voluptuous spillage of vanilla-speckled, slightly salty custard is one of the most lascivious but gratifying actions one can do. Hear the crackle, wade deep. The salt plays up the sweet, giving the drag of thick and cream a bit of angle, an edge. The craquelin itself may have been enough to satisfy me, but it’s a bite that makes the experience whole.

The last time I played with choux was probably more than a year ago, and a repeat this time reminded me of the requisite care in perfecting the robust dough which is easy to let fall apart if you overlook the temperature and timing of each ingredient addition.

Processed with VSCO with f2 preset Processed with VSCO with f2 preset

Salted Vanilla Crispy Custard Puffs (makes 6-7 medium puffs)

Ingredients

For the choux buns:

75g plain flour

50g butter

2 eggs, beaten

120ml water

1/2 tsp salt


For the craquelin (crispy top):

85g butter, softened

100g white caster sugar

100g plain flour


For the salted vanilla custard:

110g white sugar

3 tbsp cornstarch

1 tsp salt

4 egg yolks

beans of one vanilla pod or 1 tbsp vanilla bean paste

30g butter

720ml milk


Directions

First, make the custard. In a large saucepan over medium heat, bring the sugar, cornstarch, salt, egg yolks and milk to a boil. Add the vanilla, then let the mixture continue to boil for 15-18 minutes. Use a wooden spoon to stir the mixture occasionally. Take off the heat when you see that the custard has thickened and readily coats the back of your spoon. Add in the butter and stir to mix. Pour the custard into a bowl, cover with cling film and let this rest in the fridge while you make the remaining components.

Preheat your oven to 177C (350F) and prepare a baking tray lined with parchment paper for the choux buns. Make the craquelin: in a bowl, mix the ingredients for the craquelin together until you get a buttery dough. Roll the dough into a ball and put into  a plastic ziploc bag, sealing it. Use a rolling pin to roll the dough out till it’s 2-3mm thick in the bag. Put this in the freezer.

Next, make the choux buns. In a saucepan over medium heat, bring the butter, water and salt to a boil. Once you see that the butter has all melted, add the flour. Use a wooden spoon or whisk to incorporate until you get a dry-looking dough. Take off the heat and let the mixture rest for 2 minutes. Then, slowly whisk or beat in the eggs. It’s the eggs that provide the lift to the batter, readying it for the perfect little pocket in the middle. I like to do this in 3 additions. It’s important to keep whisking here and to do this slowly, as sudden contact between the hot dough and eggs and cause the eggs to scramble. The dough should be stiff enough to hold a peak when you lift up your spoon or whisk. Put the choux bun paste into a piping bag and pipe circles that are 3cm in diameter onto the baking tray, doing a little swirl at the top. Wet your finger with a little water and press down ever so slightly on top, so you get a more aesthetically pleasing puff.

Take your craquelin out of the freezer and cut out circles 3cm in diameter from the frozen, buttery block. Despite freezing, the slab is still relatively easy to break. You can use a metal cutter or knife to cut out the circles. Place the circles on the choux paste, and then bake in your preheated oven for 20 minutes.

After baking, let the buns cool for 15 minutes on the tray. Take your cooled custard out of the fridge and put into a piping bag. Poke the tip of the piping nozzle into the bottom of a puff, and pipe until you feel some resistance at the point of contact between nozzle and puff. There is quite a bit of weight difference. Repeat for the other puffs. These buns can be stored in the fridge for 2 days or frozen for longer storage. If they have gone all soft after a while, you can re-crisp them in an oven, just bake them at 160C for 5 minutes.


Review: Paddy Hills

DSCF8810DSCF8811DSCF8812

Another day, another café. I’ve done a little review on Paddy Hills before, but I could not pass up the chance to visit again to sample a few items on their new menu. When I stepped through the entrance doors, I was reminded why, when I first visited more than a year ago, I kept telling myself, ‘come back, you gotta come back’. I haven’t done a review in aeons, but this place deserves one, and more to come.

Having been to many a ‘hip’ café before, safe to say that Paddy Hills lives up to its hyped name. A little off the beaten track at South Buona Vista, interior brimming with rustic majesty, flooded with wood and light. Tiles, the most beautiful navy wall, smiles. A close friend and I sat down excitedly, and were first served drinks.

DSCF8815

Iced Matcha. Creamy, thick, rich. This reminded me of Haagen Dazs’ green tea ice cream blended with a little milk. Perhaps just a little too sweet for a sustained sip, but refreshing nonetheless.

DSCF8819

Bubbly Yuzu. This fared well for the both of us. The bubbles added a lovely flair, but it was the perfect ratio of sparkle to sweet of the drink itself, combined with the textural difference of plum and grape jello, that really made this a special, whimsical drink.

DSCF8816DSCF8818

Berry Muffcakes! Complete with vanilla bean ice cream cubes, magic mango balls, a garden of berries, chocolate sauce and chocolate crumble. OK, these are not part of their new or limited-time-only menu, but I just have to throw these in because… I mean, can you not see the pictures above. It’s just ridiculous. After trying these the first time a while ago, I immediately started writing about them because I was so enamoured by its spot-on texture and toppings. I’ve had my fair share of hotcakes and this was by far the best I’ve tried. Friends, I do not joke. Crispy, robust edges, fluffy, pale yellow cakey belly, a firm, browned bottom. Not too sweet, either. There’s nothing more you can ask for.

DSCF8817

Winter Truffle Fries. Golden fries, shaved pecorino, and shaved black truffle. Some truffle aioli on the side, because what’s lush without sin? Truffle fries have a bit of a confusing rep because it’s true you can’t actually taste truffle; its expensive scent enhances the whole fry-eating experience. For a limited time only, I implore you all to get your hands on these absurdly crisp, golden strings of heaven. If you’re like me and enjoy crispy-only fries, as if they were fried through and through and then fried just once more, then get your foodie selves down to Paddy Hills stat (yeah, they definitely beat PS Café’s).

DSCF8820

Truffle Breakfast. House-cured salmon, soft scrambled eggs and shaved truffle on a bagel, with house-cured bacon, sautéed mushrooms, and arugula.

I don’t consume much meat, but I daresay the few bites I took were tender like none. The bagel was crisp and chewy; eggs silky, creamy and buttery without being cloying or gloopy. The milky, more earthy flavours of truffled egg and mushroom complemented the cured meats which cut through with a blaze trail of umami. A king-sized, well-balanced dish.

As the meal came to an end, it started to darken outside. The light all at once was harsh, then subdued. The sky gradient followed the rise and defeat of our appetites, as we looked despondently at our leftovers. Full, happy, done.


Paddy Hills

38 South Buona Vista Road

Weekdays:  10 30am-5pm, 6-10pm
Weekends: 9am-5pm, 6-10pm

6479 0800


Blueberry Danish+ exciting news

Processed with VSCO with f2 preset

New season of the Great British Bakeoff? Yeah, almost started sweating. Just so happened that the dawn of another exciting slew of episodes coincided with my mum’s genius decision to buy the ever-charismatic Paul Hollywood’s How to Bake cookbook. So there I was, eagerly thumbing through, and I finally settled on his recipe for raspberry danishes. Having never experimented with proper danish pastry before, I figured it only wise to follow his method step by step, in true apprentice fashion. Tweaked it a little to use the ripe, slightly tart blueberries I had instead, and dressed it up with homemade frangipane and a salted caramel glaze instead of the stated recipe’s citrus-based one. I now fully understand why people labour over laminated dough; all those hours folding, pressing and refrigerating are truly worth it in the end. The result proved to be gold– flaky, golden pastry, buttery and beautiful. Not much sugar needed, just let the dough do the talking. Anyone who’s keen on trying laminated dough, be it this/ croissants/ pain au chocolat etc, should definitely try this take (this is easier if you live in a cold country, but if not, please make sure that air-con is on full blast!)

Before I get on with the details and modifications, I want to share something pretty exciting with you. Ever since kindergarten I’ve always wanted to write a book, be it on something big or small, short or long, personal or informative. There’s something about holding a book– reading, absorbing, loving it, that beats few other physical and mental experiences. Having finished a recent research internship that served well to enhance this innate lust for creative and relatable matter, I was immediately compelled to start. Though I shan’t disclose any details, I do plan to include a few new surprise recipes in this personal project!

Processed with VSCO with f2 preset

Blueberry Danish with a Salted Caramel drizzle (makes about 25 pastries)

Ingredients

For the dough: 

one batch of Paul Hollywood’s Danish pastry dough 


For the frangipane (adapted from Martha Stewart’s ‘Bostock’ recipe):

50g (2/3 cup) whole, raw almonds

100g (1/2 cup) granulated white sugar

85g (6 tbsp) softened, unsalted butter

1 egg

2 tablespoons all-purpose flour

1 tablespoon vanilla

3/4 teaspoon salt


For the salted caramel drizzle:

50g (around a half cup) white sugar

47g salted (!!) butter

1 1/2 tsp fine salt

120ml (1/2 cup) heavy whipping cream (either single or double is fine)


Extras:

a punnet of fresh blueberries, to be used before and after baking.

4 heaping tbsp of marmalade


Directions

Make the dough according to Paul’s instructions (so perfect for beginner’s and what a wonderful result you’ll yield!). Top tip: make sure you’re in a cool environment, to prevent any of all that butter from melting. Preserve the future of your unbaked dough.

Modifications:

During the last fridge prove, preheat your oven to 200C and start on the frangipane and salted caramel for the drizzle. For the frangipane, process the almonds and sugar  together in a food processor until you get a texture close to coarse meal. Add the rest of the frangipane ingredients and blend until smooth.

For the salted caramel, heat sugar in a medium saucepan over medium heat, stirring occasionally with wooden spoon. Continue to do so until all the sugar melts into a pool of dark, glossy amber liquid. Once this stage is reached, add the salted butter. It’s a pretty vigorous reaction, this one. Stir with spoon to help the melting process. Once all the butter has melted, slowly add in heavy whipping cream. This part is even more vigorous that the previous one; it will spit and rise as it starts to boil. Let the mixture boil like this for another minute before taking the pan off the heat. Let cool for another couple minutes before stirring in the salt. For the icing, mix with enough icing sugar so you get a thin drizzling consistency.

Once the dough has finished proving in the fridge, ready around 3 baking pans and cut out some parchment paper to fit each. Remove the dough from the fridge, lightly flour your work surface and roll out the dough till it’s about 7-8mm thick. With the help of a ruler, cut out squares measuring 7x7cm. At each corner, use a sharp knife to cut diagonally towards the centre, about 3cm in. You should get what looks like a box with 4 straight scores running from each of the 4 corners, without any of the lines overlapping since you don’t cross the middle. Take one corner and fold it towards the middle, then alternate with the remaining 7 corners, so you end up with a 4-segmented parcel. Put a teaspoon of frangipane on each pastry, then plop 2-3 fresh blueberries on top. Beat an egg and brush the exposed pastry with the egg wash.

Bake in the preheated oven for 15-20 minutes. Once out, brush with warmed marmalade (simply warm the marmalade in the microwave for 20 seconds), then drizzle on the salted caramel icing. Add more fresh blueberries, and devour immediately or soon. These can be kept in the fridge for a couple of days, just remember to toast before consuming.