Nut Butter Stuffed Matcha Cupcakes (updated)

I include two different nut butter options here– pistachio and almond. Oh yes, and two special frostings. I guess you have to read on if you want to know the specifics *annoying seductive winky face*.

Processed with VSCOcam with f2 preset
almond butter stuffed; topped with salted caramel cream cheese frosting and speculoos biscuit
Processed with VSCOcam with f2 preset
pistachio butter stuffed; topped with matcha buttercream and chopped pistachios

The first time I made these cupcakes, I relied purely on instinct and an old, old recipe found deep in the recesses of my dusty and grainy mental archives. The second time round, I modified a recipe from Cupcake Jemma, and they turned out absolutely perfect. No really. I hate these sorts of exaggerations, all the ‘reallys’ and ‘trulys’, so I’m officially going against personal principle for the sake of emphasis and honesty. These are the lightest, fluffiest little things, and I adore how the flavour of green tea is pronounced, and not hidden like some odd side element.

Anyways, it was a lucky shot. I always start a baking experiment with some wild or novel idea, but the initial framework always ends up being littered with side details and spontaneous ‘wait, I should use this instead of that!’ moments. They speckle the total perfection, so whatever I end up with is never what I meant it to be. Take this, for instance. I’ve recently been on a slight matcha roll (note to self: try out matcha rolls) because of its subtle green tea flavour. The bitter aftertaste lingers on the back of your tongue, never quite overwhelming it, making whatever you’re tasting just that much more sophisticated. Almost healthful, and no, not just because of that deceiving light green hue. I could list all the healthy characteristics of a teaspoon of matcha powder, but let’s face it, we’re talking about cupcakes here. I guess it’s further redeemed by the soft, oozing, rich dollop of almond butter right in the centre, but I haven’t gotten on to the frosting yet. Life is about balance. This is balance.

I was a little afraid of making cupcakes for two reasons.

1. I’ve made them (well, everyone makes them a lot) so many times that I was afraid the repetition bug would strike out against me and unleash a sudden curse on my beauties. Call me deranged.

2. They could very well and most likely be sub-par cupcakes. People want astounding, not average things.

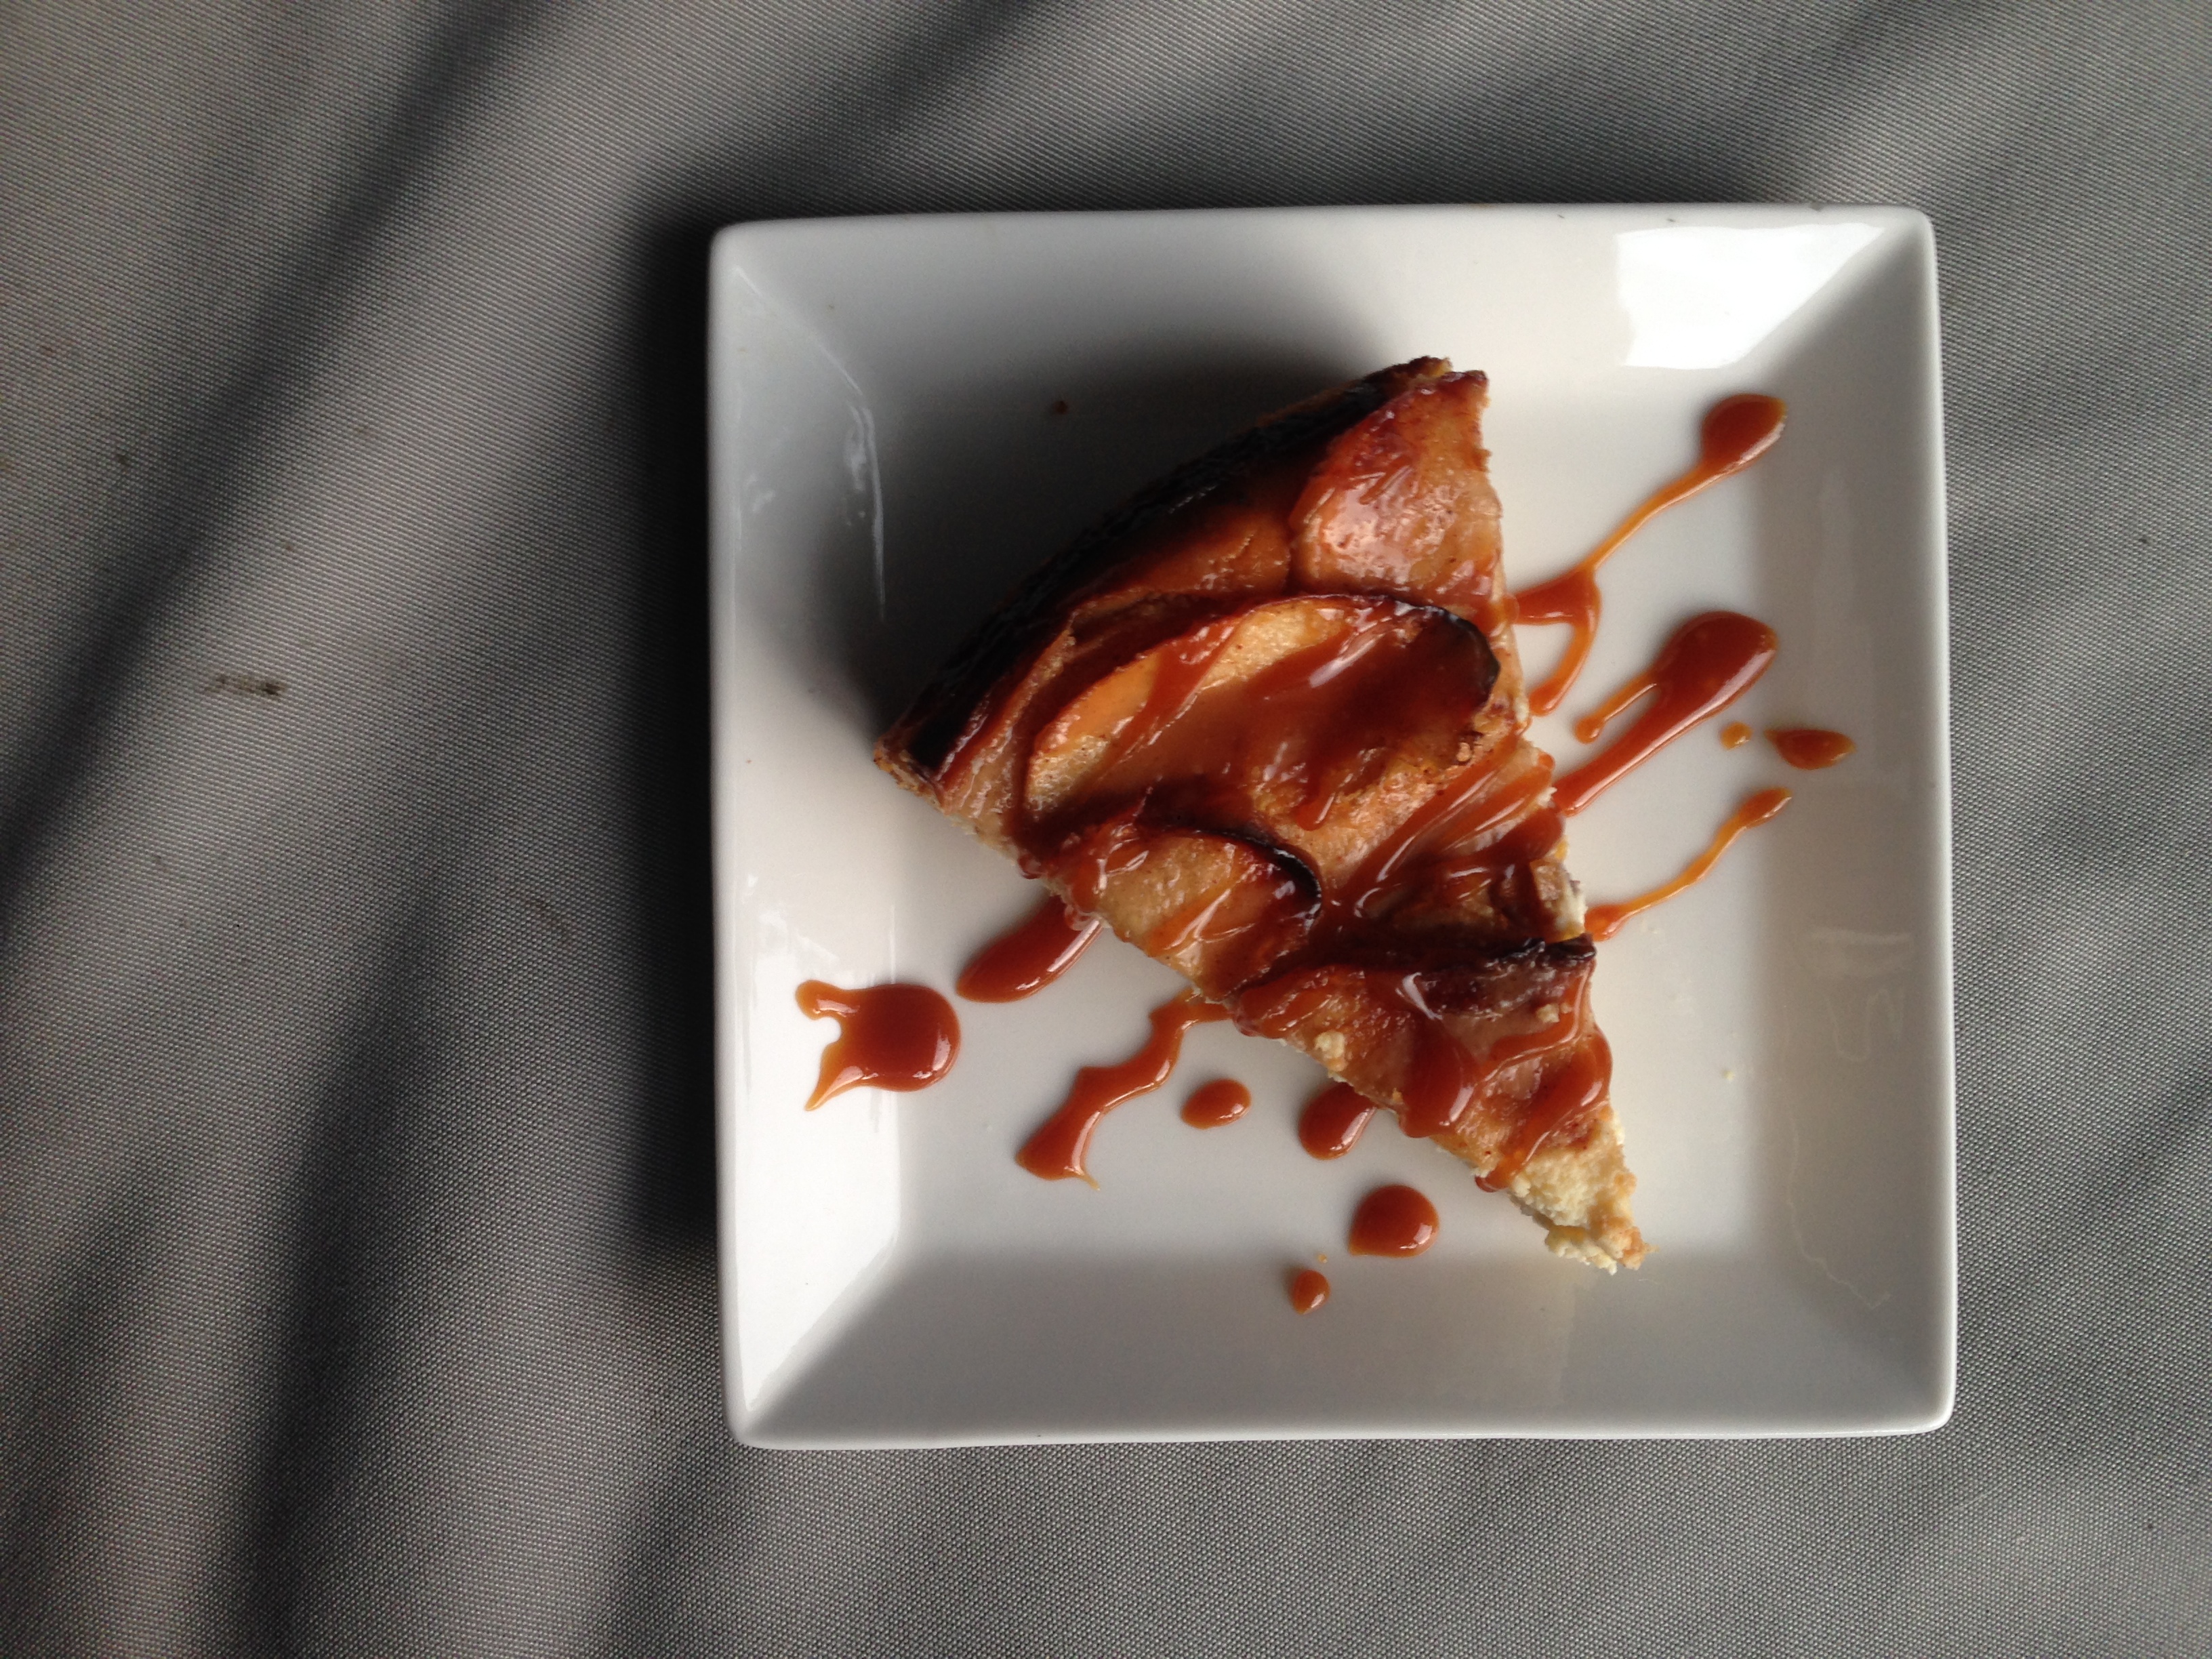
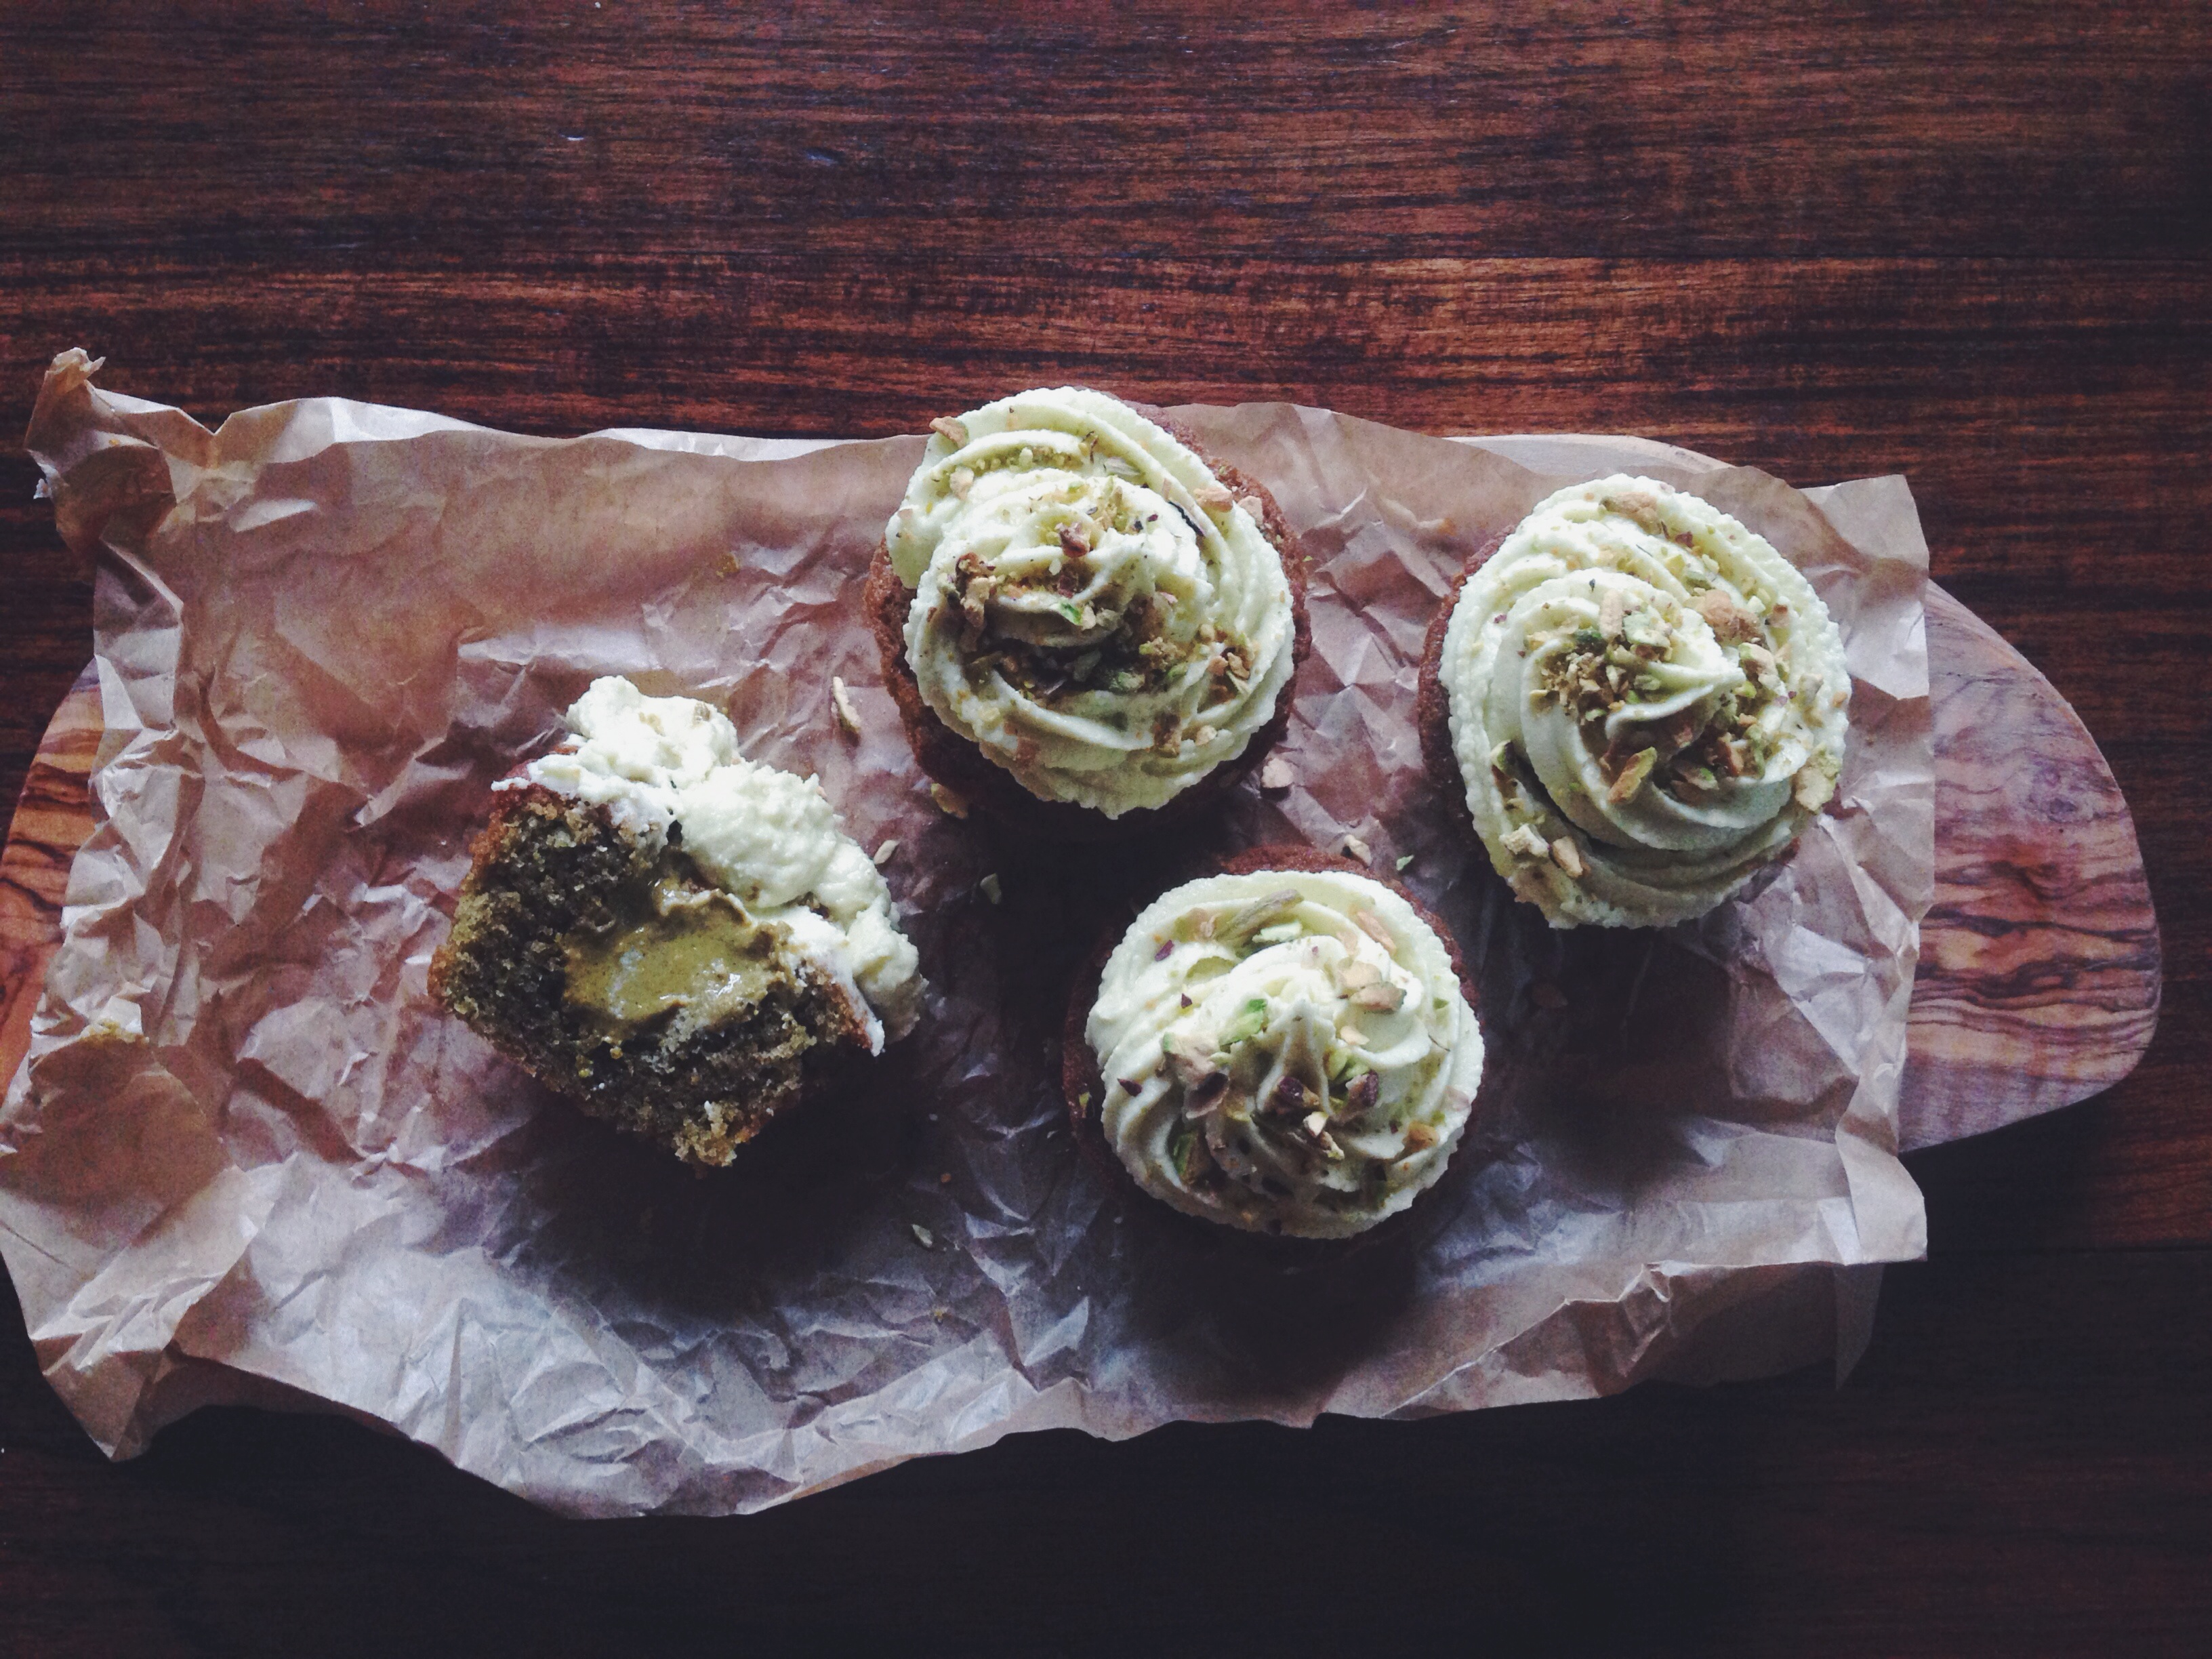
That second point got me thinking. So if I made a good cupcake, it has to be made even better by some novel pairing or ingredient.. we’ve all been down the red/blue/green velvet path at least once, or maybe tried that wonderful chocolate or vanilla buttercream frosting to up the ante a bit, but something an inch more atypical would work better. That’s when I thought of matcha and almond (not quite novel just yet)… topped with salted caramel cream cheese frosting, topped with crushed speculoos biscuits (Lotus biscuits as everyone knows them here) and drizzled with more salted caramel. Think soft matcha sponge encasing a large dollop of creamy, rich nut butter, topped with lightly salted caramel cream cheese swirls and light, cookie-based crunch on top, or, in another case, delicate swirls of thick and fluffy matcha buttercream. The crumb is soft and firm, and the best part of these cupcakes is that post-baking, you get this wonderful sugar-crusted, crumbly top, which breaks away easily when you want to stuff the little holes with nut butter. I do love this matcha and almond/pistachio pairing, the upper-class rigidity of the flavours totally offset by the playful done-it-before frosting options.

Processed with VSCOcam with f2 presetProcessed with VSCOcam with f2 preset  Processed with VSCOcam with f2 preset

Processed with VSCOcam with f2 preset Processed with VSCOcam with f2 preset

Nut Butter Stuffed Matcha Cupcakes 

For the cupcakes (makes 10-12, adapted from Cupcake Jemma):

125g self-raising flour

135g soft, unsalted butter

125g white sugar

2 eggs, lightly beaten

1 teaspoon vanilla

pinch salt

quarter teaspoon bicarb soda

1 teaspoon matcha powder

Option 1: Matcha buttercream

270g icing sugar

150g softened, unsalted butter

1 tsp vanilla extract

1 teaspoon matcha powder, dissolved in a splash of whole milk

Option 2: Salted caramel cream cheese frosting (after many personal trial and error stints):

170g cream cheese, at room temperature

150g brown sugar

75g icing sugar

75g butter, softened

1 tbsp salted caramel sauce (store-bought or homemade)

for the topping: crushed speculoos biscuits and extra salted caramel sauce for drizzling

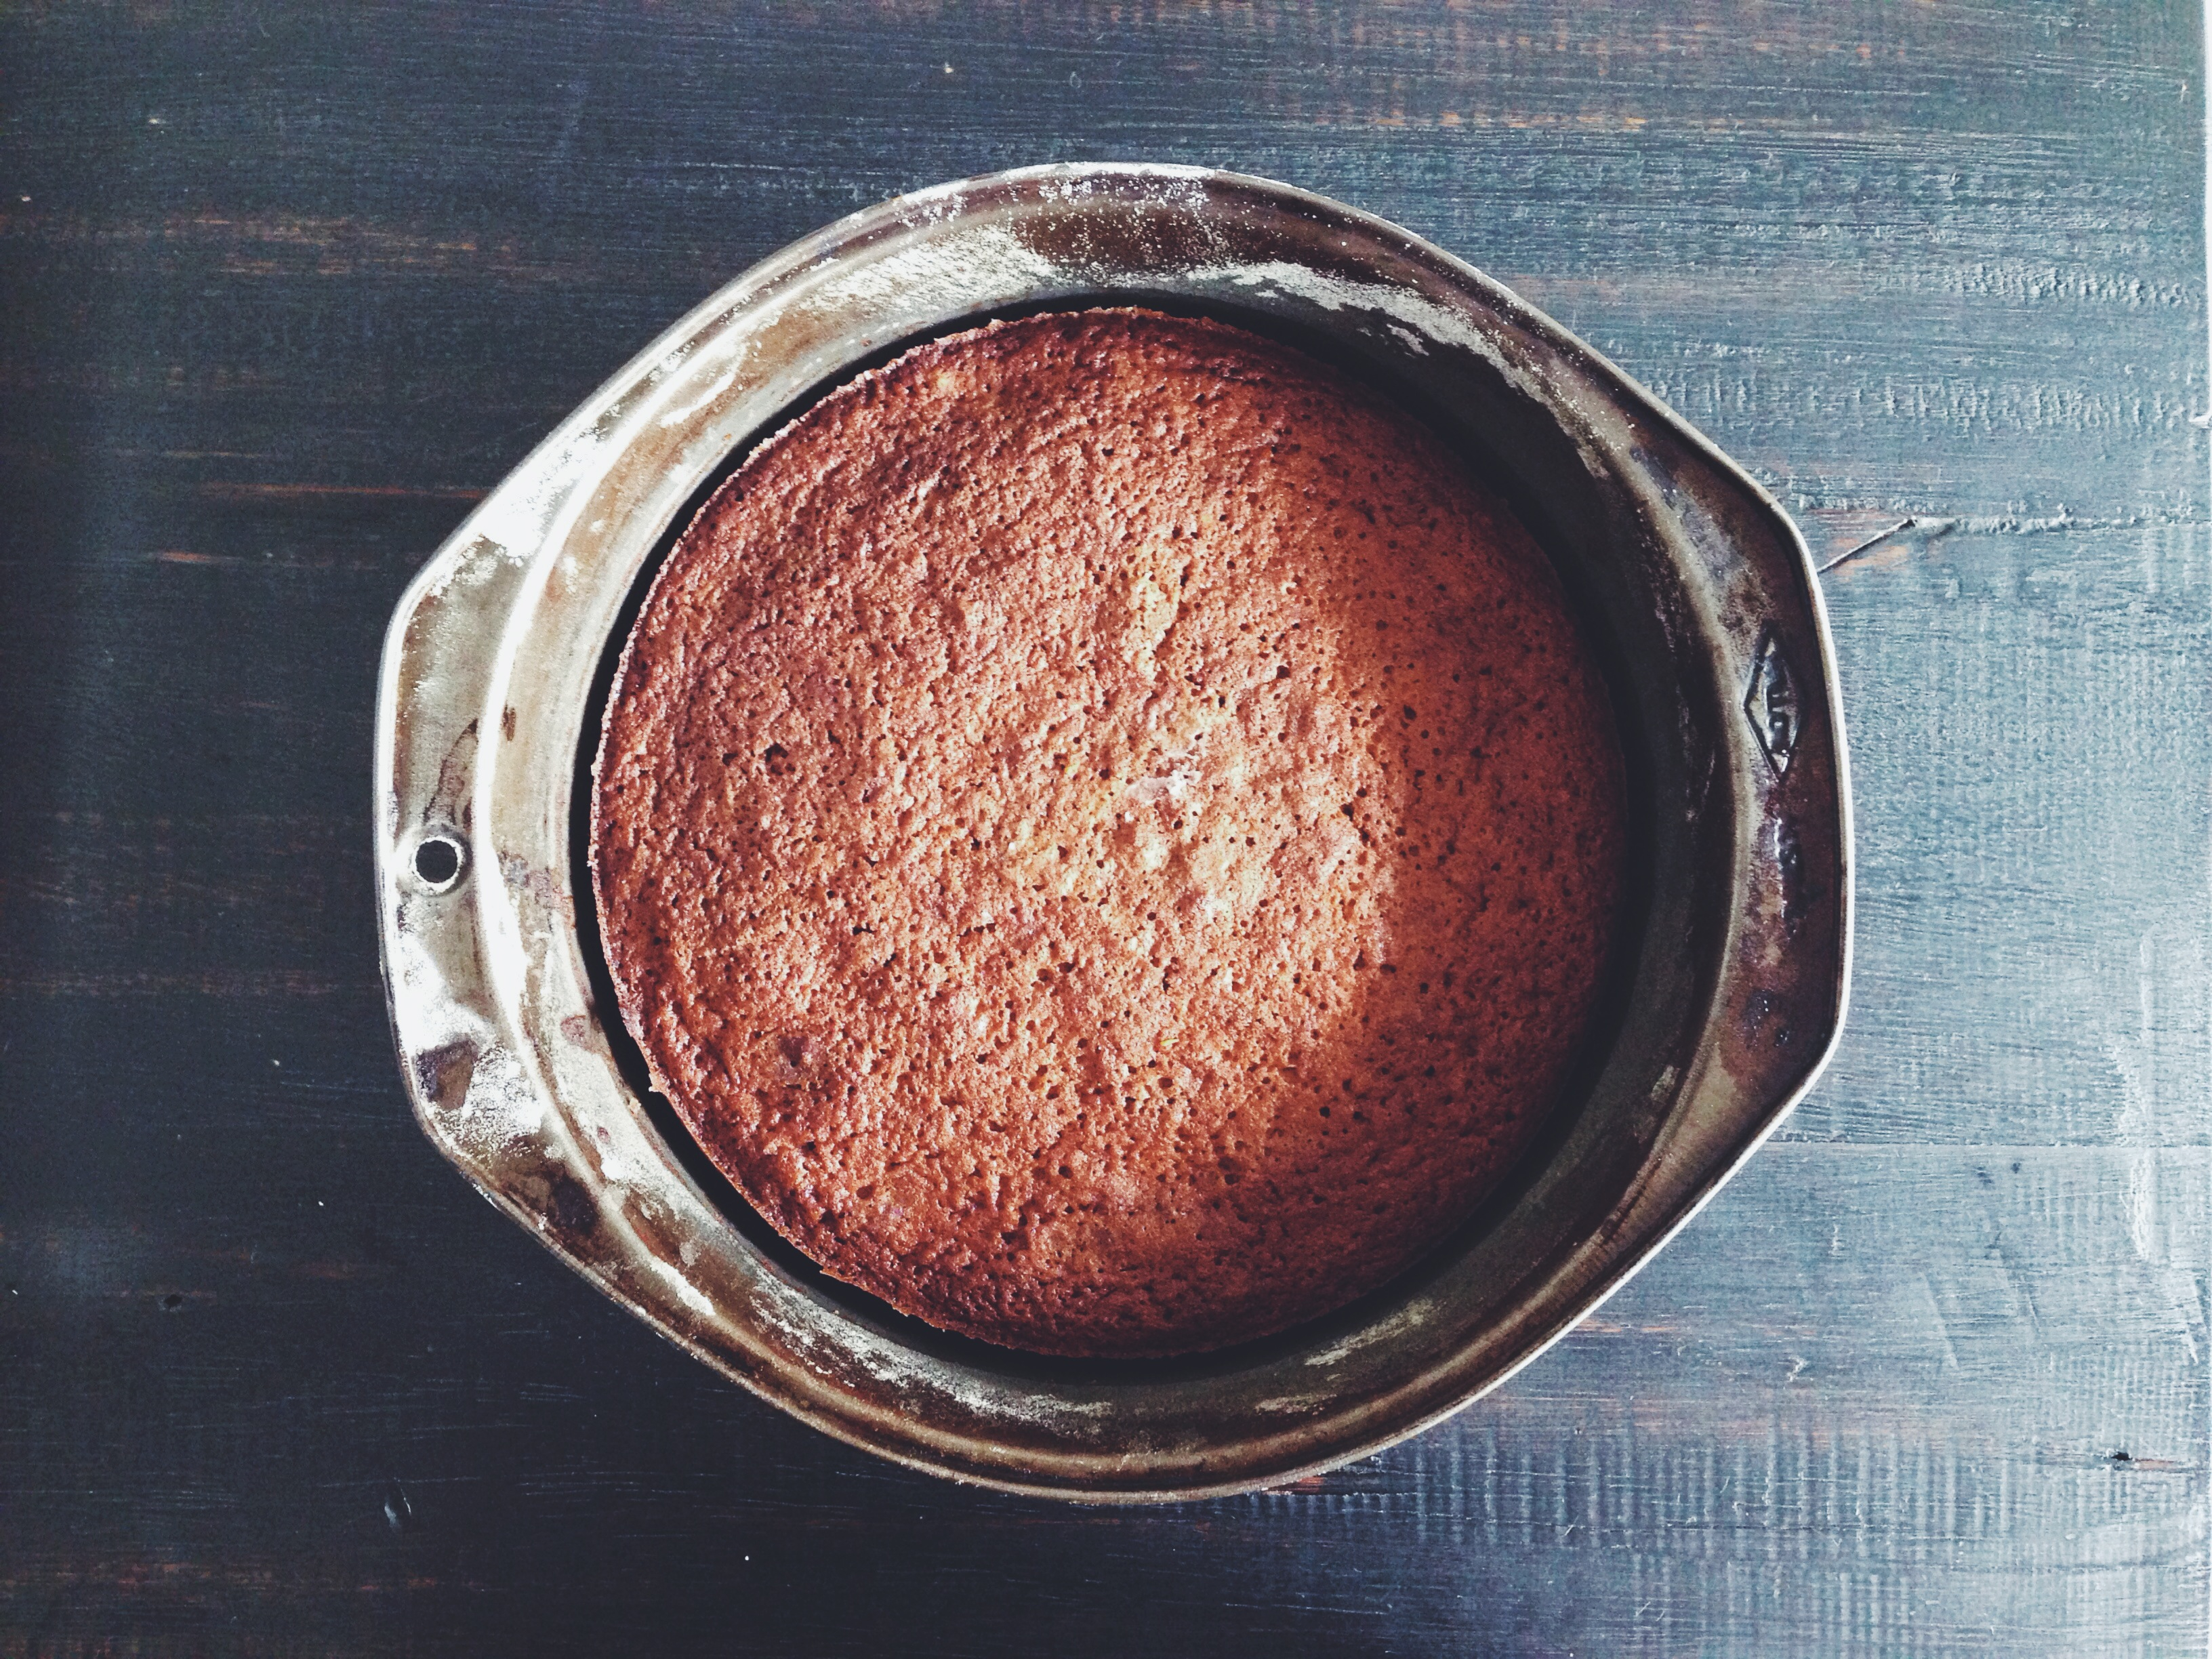
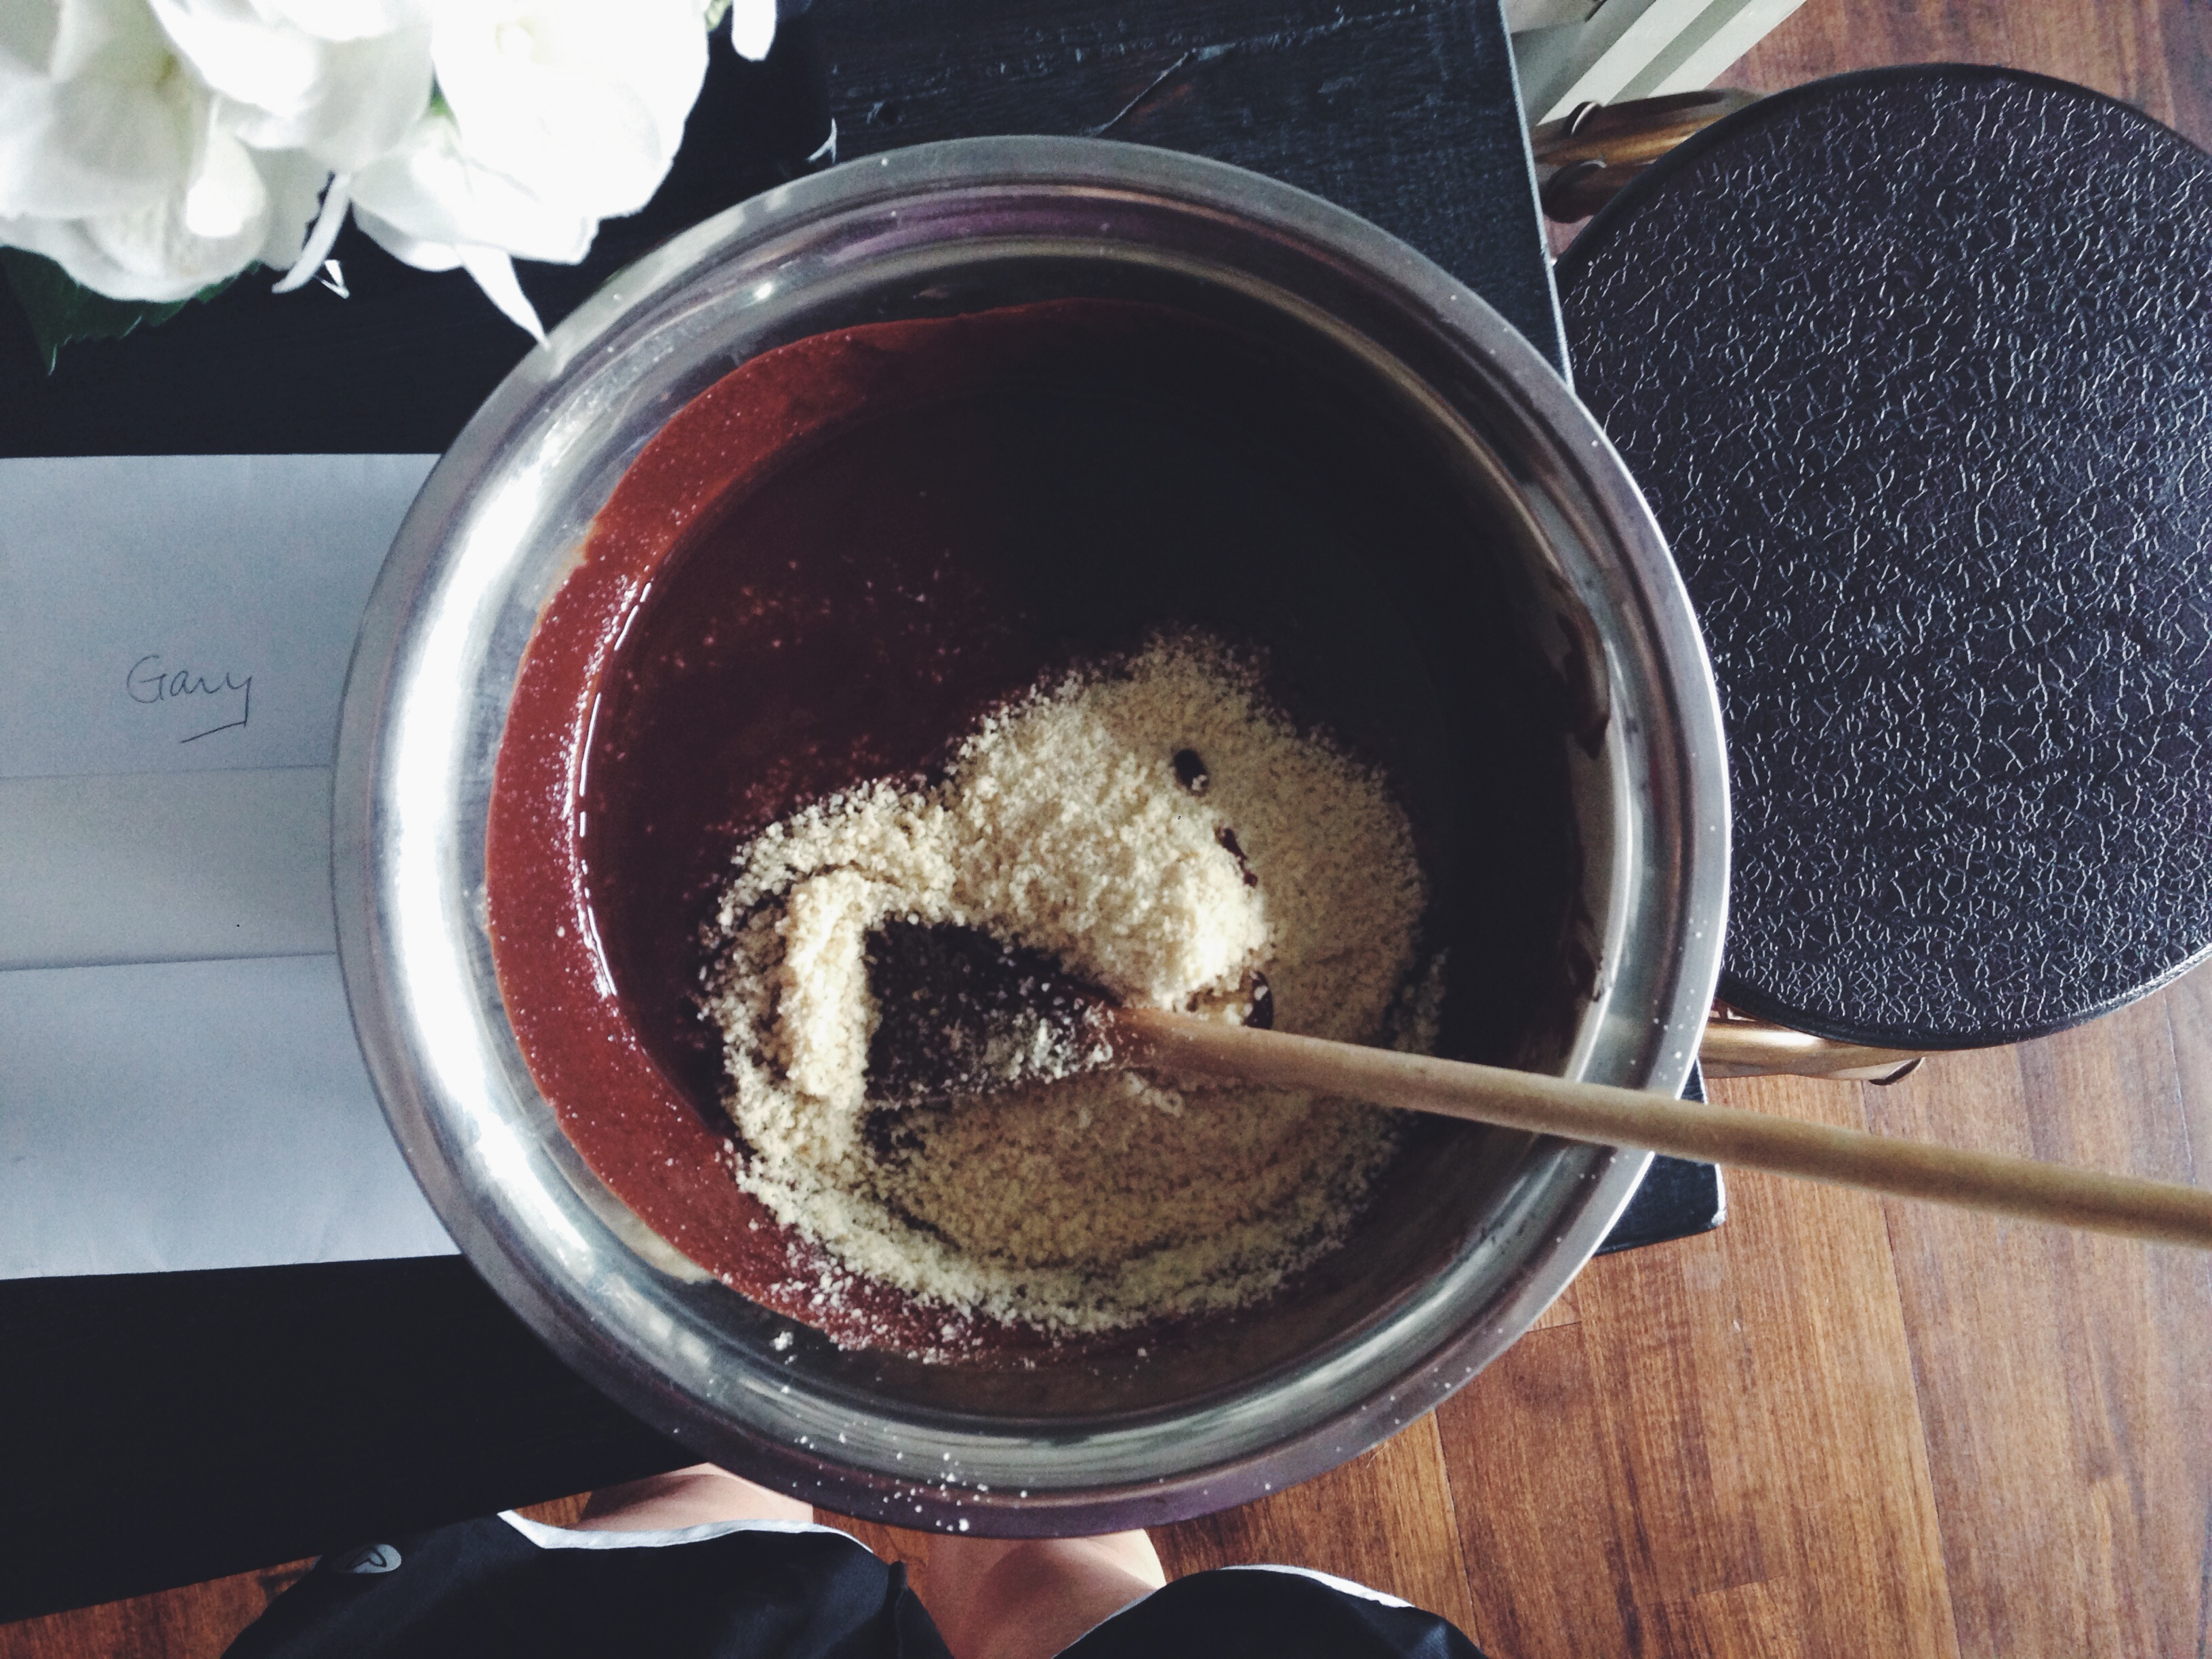
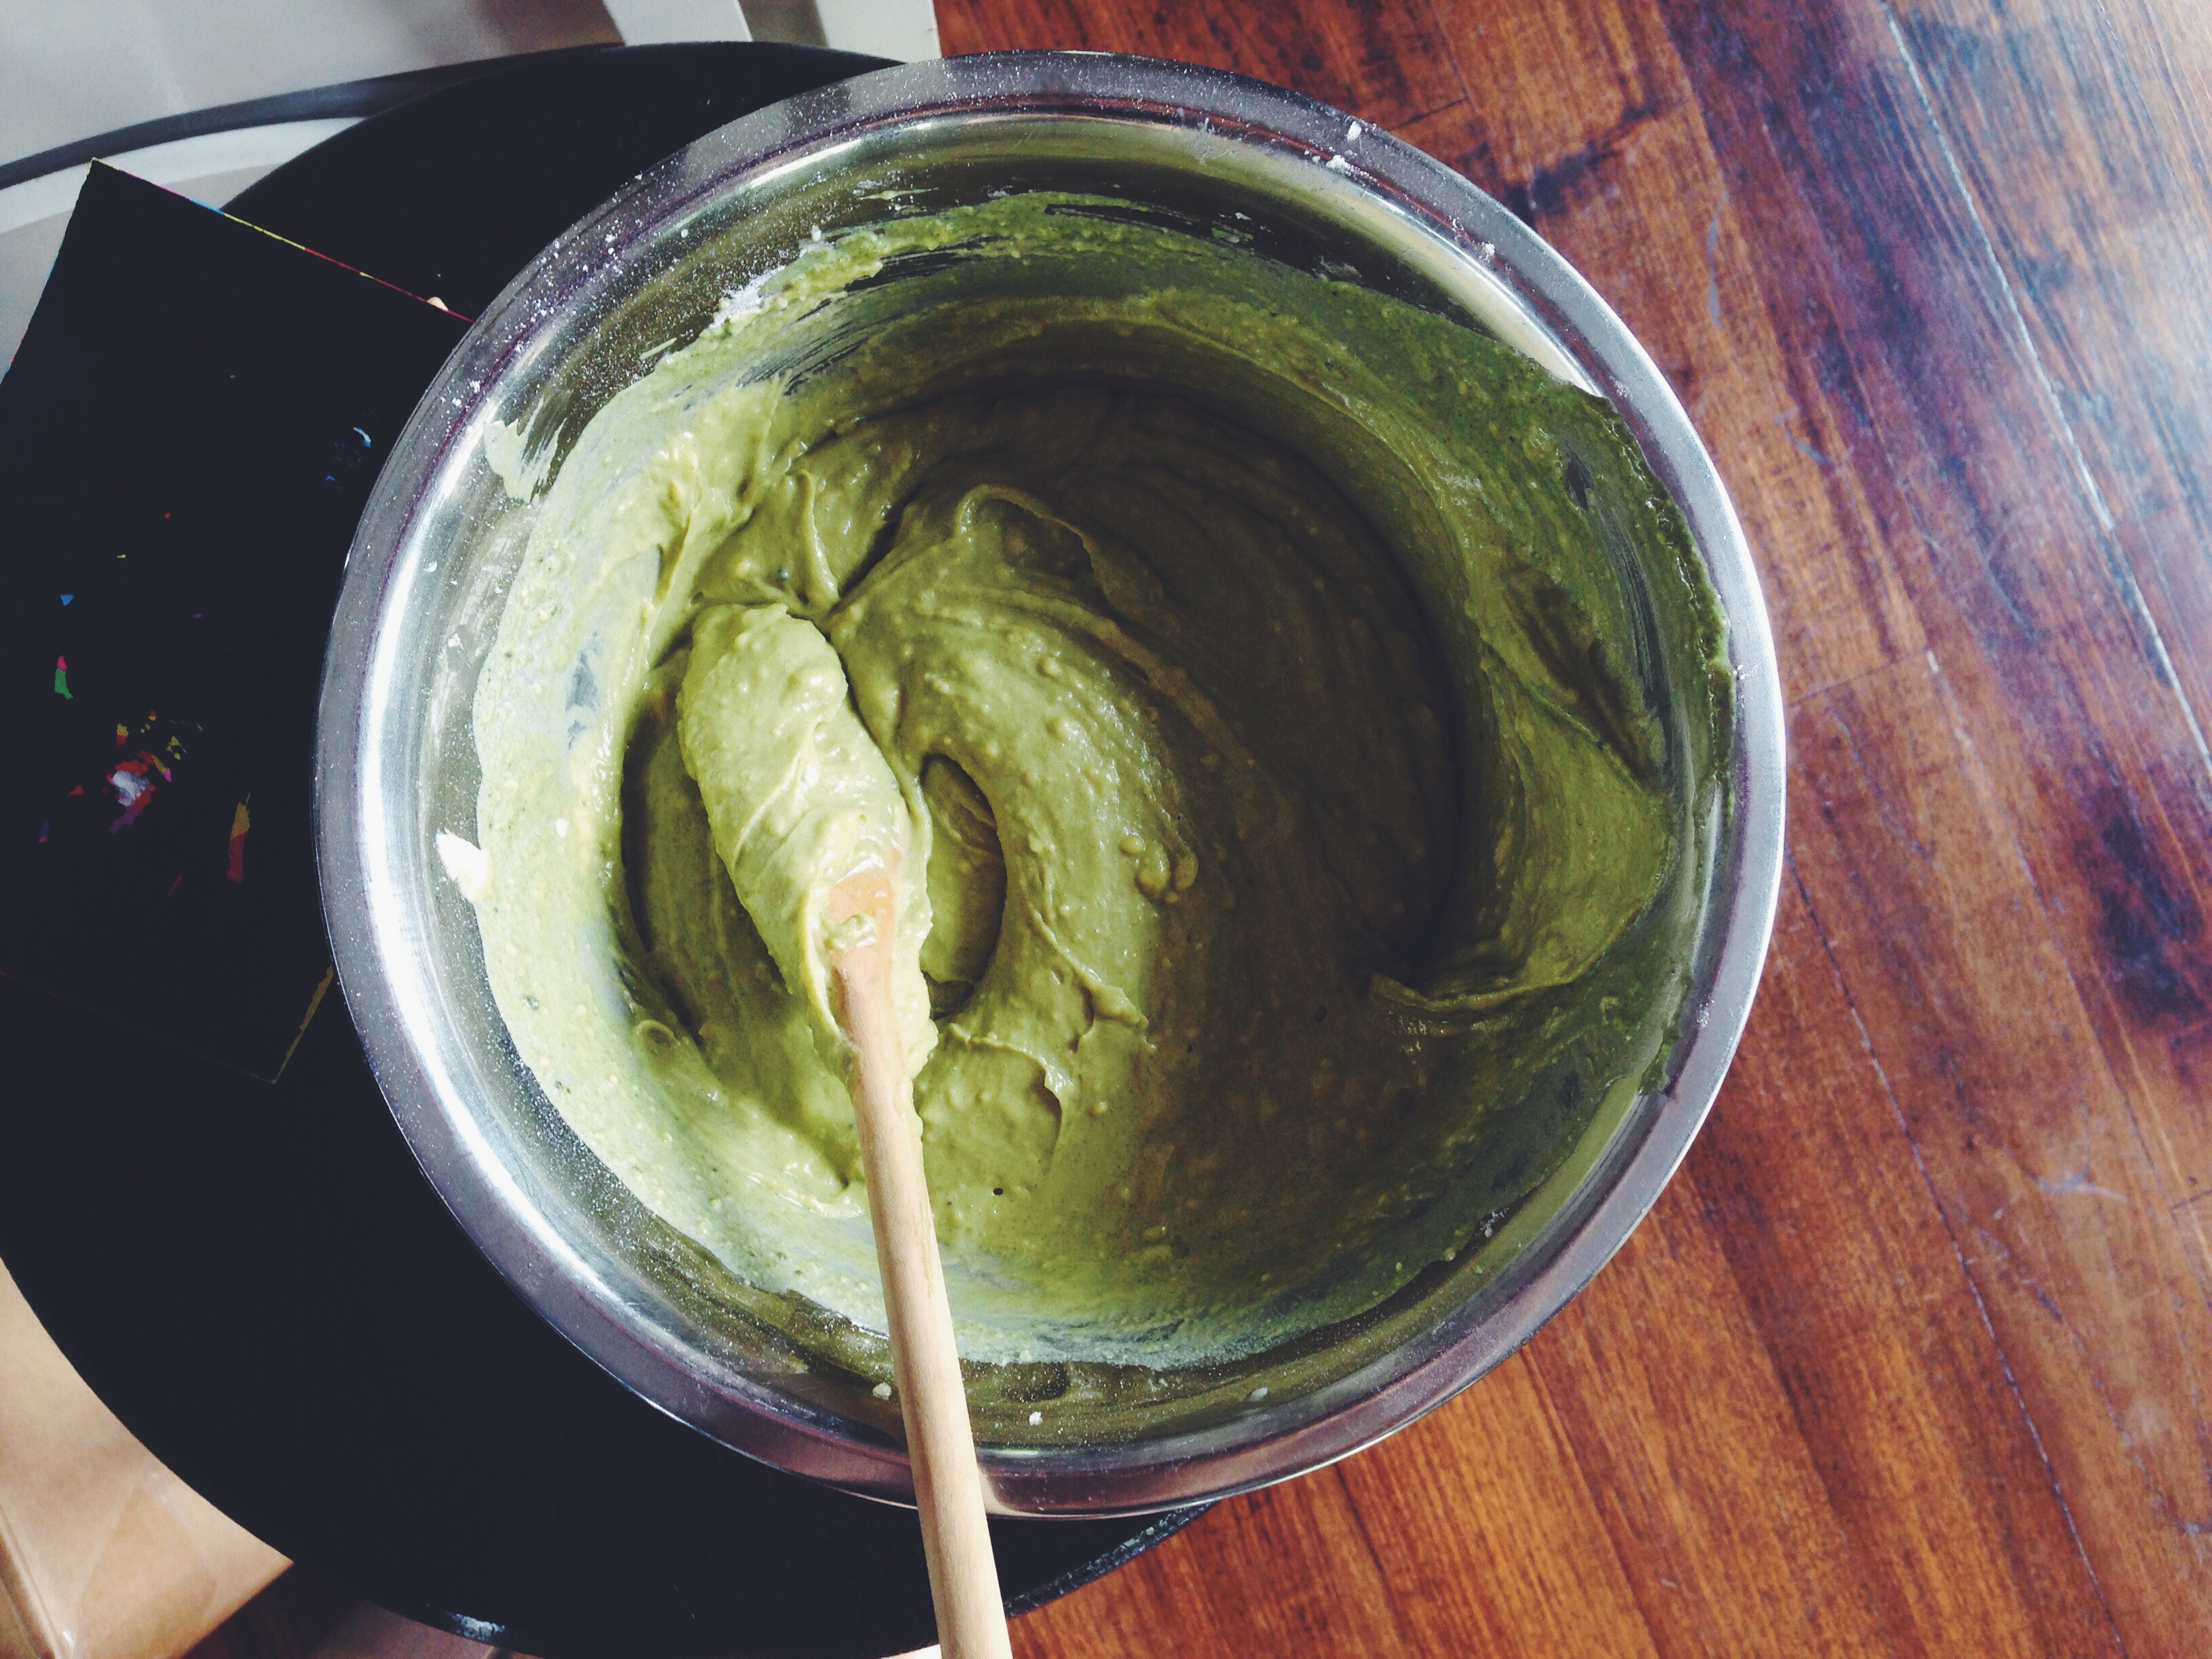
Preheat your oven to 170C (350F) and spray a muffin tin. In a large bowl and with a normal or electrical whisk, beat the butter and sugar together on high until pale and fluffy. Beat in the eggs and vanilla. In another smaller bowl, whisk together the dry ingredients- flour, bicarb, matcha powder and salt. Using a spatula, fold the flour and matcha mixture into the wet mixture.

Place the cupcake tin into the preheated oven and bake for 20-22 minutes. I took mine out at the 21-minute mark. Leave them to cool on a wire rack. The tops will be crusty and a light golden, and will look relatively flat. Leave to cool on a wire rack before removing to dig holes and stuff them silly.

Salted caramel cream cheese frosting:

Whilst they cool, make the frosting. Beat the brown sugar and butter together using a handheld electrical whisk, then beat in the cream cheese, icing sugar and salted caramel sauce. This is my favourite salted caramel cream cheese frosting which uses more brown rather than icing sugar, so it’s handy when you’re running low on icing sugar. Put the mix into the fridge until ready to use.

Matcha buttercream:

In a large bowl, beat together the icing sugar, softened butter, teaspoon of vanilla, and matcha/milk mix. Beat until visibly light, thick and fluffy. Stuff a piping bag with the mix and leave in a cool place (I put mine in the fridge overnight and let thaw for around 15 minutes the next morning) until ready to use.

When the cupcakes are mostly cool (around 15-20 minutes post-baking), take a teaspoon and dig right into the heart of the cupcake, before scooping out some cake. This part is mostly up to you; if you want more nut butter per mouthful (you lovely hedonists) then go ahead and dig deep, but if not, a teaspoonful of cake will suffice. Using another teaspoon, spoon in a heaped (or however much you want) of nut butter into the hole. I used homemade almond and pistachio butter; my mum makes batches in the kitchen all the time and it’s the most divine thing in the world. Using a large spoon or piping bag, frost the cupcakes with the salted caramel frosting or matcha buttercream. For the former, add crushed speculoos biscuits and more salted caramel drizzled on top. For the matcha buttercream, pipe the buttercream on top, whizz up some pistachios in a food processor and sprinkle on top. I also added salted caramel to this version because, well, why the heck not.

Carrot Cake

An indecent post, if you ask me. And this late? Oh, but you just might thank me with this one.

Processed with VSCOcam with f2 preset

Processed with VSCOcam with f2 preset


I’ve been waiting, for what almost seems like forever, to bake a carrot cake. Just once, just once! I told myself. I had to, I needed to. One of those quintessential baking know-hows. Pretty high up on the list of any baker’s signature recipes. What really got me excited was when I saw this recipe. It was then, and only then, that I had the overwhelming urge to grate some carrots and start a cream cheese party. To whip up a storm without a care in the world. I really think something like cream cheese frosting is worth the extra effort, and this is one of the best recipes I’ve tried. It beats the previous one I’ve used on cupcakes or swirled into the fudgy bosom of a brownie, with the perfect 1:3 butter to cream cheese ratio. Beats it all. 

What I particularly like in this version is the addition of applesauce, which yields an incredibly moist, wholesome and dense texture. This is by no means one of your airy-fairy cakes. No, this is a gleaming, robust, I’ve-got-more-substance-than-your-typical-vanilla-cupcake cake. Almost matronly. I implore you to try it. I’ve carried out the recipe twice– once just to test it, with a single layer, and the second to finalise my own proportions and make it my own, essentially, with a double layer and plenty of cream cheese frosting to oozing from the sides and spread all over. In the second trial, I used dark muscovado sugar instead of normal brown, which made the resulting cake even more dense and lovely, but if you prefer a slightly lighter texture, then be my guest and use the alternative. Truly deluxe, from yours truly. 

Processed with VSCOcam with f2 preset Processed with VSCOcam with f2 preset Processed with VSCOcam with f2 preset Processed with VSCOcam with f2 preset

Carrot Cake (serves 8-10, makes 2 layers)

Ingredients for the cake

150g unsalted, softened butter

3 eggs

70g chopped pecans or walnuts, or both (I used a mixture of both, and use more if you prefer a nutty surprise in your cake), and some additional (play around with the measurements here) chopped nuts for the decoration later on.

half cup white sugar

half cup firmly packed brown sugar (or dark muscovado if you’re feeling all sultry)

2 tsp vanilla extract

1 1/4 cups all-purpose flour

2 tsp baking powder

2 tsp baking soda

1 tsp salt

2 tsp ground cinnamon

230g finely grated carrots

half cup applesauce (if you use unsweetened, add an extra tablespoon of white sugar)

Ingredients for cream cheese frosting

100g room temperature butter (I really loved using salted, but unsalted is fine too)

300g room temperature cream cheese (it has, has to be very soft and pliable!)

1 1/2 cups powdered sugar, measured after sifting

2 tsp vanilla extract

Heat your oven to 177 degrees C (350 degrees F). Start by grating your carrots (I used around 3 large ones, but just as long as you get to 200-230g) Grease and flour 2 6 or 7-inch baking pans. In a large bowl and using either a hand mixer or a normal whisk and your more than capable biceps, beat the eggs and sugar together until pale and slightly fluffy. Your arms will ache and start screaming at you. Ignore their cries and carry on headstrong. Add the softened butter (half melted is perfect) and vanilla and beat to combine.

In a separate, smaller bowl, whisk together the flour, leavening agents, salt and cinnamon. The original recipe calls for this to be sifted into the wet ingredients, but I just stirred it in with a spatula. Softly fold it in, but don’t mix it in all together at once. When there are still streaks of white in the pale batter, tip in the grated carrots, chopped nuts and applesauce. Fold in until just combined. The batter should be rather wet. Divide batter between the two tins (I used a weighing scale to be more accurate at this point), and pop it in the oven for 43-45 minutes. Mine took 45; I took it out at 43 the first time and it didn’t have as nice a solid, cake-like texture, the crumb a little weak despite being very, very tasty. So 45 it was, and what a difference 45 made. Of course, it all depends on oven temperature and your climate and whatnot, so just check with a wooden skewer at 40 minutes to be on the safe side. 

When you’re waiting for it to bake, make the frosting. In a large bowl with an electrical whisk (the electrical sort really helps this time), beat the butter and vanilla until smooth and soft. Then beat in the softened cream cheese and finally, the powdered sugar. The cream cheese must be at room temperature, else you’ll end up with unsightly, miniature, irritating lumps of white in the batter. Like those ungodly whiteheads. You don’t want that. Scrape down the sides of the bowl with a spatula and just give everything a gentle mix to ensure a homogenous result. Once the cake is completely cool, which will take at least an hour (it’s worth it, promise), gently tip it out and use an offset spatula to spread about half of the frosting onto the first layer, then plop on the second layer and do the same. To speed up the cooling process, put the cake in the fridge after around 20 minutes. If you wish to do a crumb coating first and frost the sides as well, then go ahead. It just means you have to put less frosting on the first and second layers (around 1/3, not a half). So simple, this cake. Because it’s on the denser side, I didn’t have to use a serrated knife to cut through any layers, and both layers were stacked right side up, so no cutting of tops was needed.

Once it’s all assembled, sprinkle on some chopped nuts, or if you want, desiccated coconut or coconut flakes. I think the latter gives off a more pristine, sophisticated vibe, whilst the nuts make it more rugged and rustic. This cake is dense, sweet, and lovely on its own. Pair it with some good vanilla ice cream, but I think it’s better left alone. It keeps for around a week in the fridge, so have fun picking at the frosting at midnight!

Processed with VSCOcam with f2 preset


Flourless Chocolate Cake

It deserves the thing.

AKA a well-deserved post dedication. Chocolate deserves it all. Chocolate is love because chocolate is basically the centre of the universe and everything else hovers in serf-like subservience bound to drifting orbits in honour of the magic lying before them.

Processed with VSCOcam with f2 preset


It’s flourless because of the ground almonds incorporated into the rich and decadent, chocolatey batter. I’m glad I made time just to bake this, in between all the schoolwork and studying, because firstly, it’s hell simple, and secondly, the end result was absolutely worth it. Some people think baking is a serious waste of time, but it’s utterly therapeutic and I love how I get to hone both my skill and concentration in the process. The cake is rich without being too cloying or fudgy in texture, the almonds offering a wholesome crumble and lift in body, dispersed evenly throughout. The quality of chocolate used here is of utmost importance. I used Ghirardelli chips here, because I had some left over from a previous baking spree and I wishd to ensure only the best possible final product. There’s… There’s no room for Hershey’s here, lads. Oops. Try as you might, you just won’t obtain the same glorious melt-in-your-mouth-brownie-style bite.

IMG_1245 Processed with VSCOcam with f2 preset Processed with VSCOcam with f2 preset

Its semi-provocative flavour pairs superbly with a scoop of plain vanilla ice cream, straight out of the freezer and melting like frothy clouds on the surface. The original recipe called for 100% white sugar, but I replaced 50g with dark brown sugar instead to get that gorgeous molasses, treacly flavour. Which reminds me– I really need to get around making a treacle tart soon…


Flourless Chocolate Cake, adapted from Elizabeth David’s Flourless Chocolate Cake (which I’ve been meaning to attack for ages)

Ingredients

5 eggs, separated, with whites in a large and clean, stainless steel or glass bowl

100g ground almonds (or almond flour)

250g good quality dark chocolate (60% cocoa or above), in chips or broken into chunks

1 teaspoon vanilla extract

1 teaspoon salt

150g unsalted butter (or eliminate the one teaspoon of salt and use salted butter instead)

100g white sugar, 50g dark brown muscovado sugar

icing sugar for the topping

Preheat your oven to 180 degrees C (or 350 degrees F). Grease (no lining needed, hoorah!) and lightly flour a 9-inch cake pan with a removable bottom tin, or simple use a normal round cake tin. The cake itself isn’t hard to remove from the tin, so you shouldn’t be worried about having difficulty (as the story is with so many brownie recipes I have tried in the past) to remove it after cooling, post-bake.

Half fill a medium saucepan with water and bring it to a boil. Place a bowl containing the chocolate and butter on top to create a double-boiler system. Use a wooden spoon to stir and melt it all together, and once most of it has melted, add the sugars and continue stirring until it’s all been dissolved. Remove from heat and stir in ground almonds. Make sure to break apart any clumps or clusters. Stir in the five egg yolks.

In the large bowl containing your egg whites, beat with a hand mixer until you reach reasonably stiff peaks. Soft, but not completely stiff. The original recipe said ‘stiff’, but I yielded a perfectly good mixture afterwards even with slightly softer peaks. Definitely past the baby froth stage, but you’re not quite going for a pavlova-style mountain range. Use a spatula to gently fold the egg whites into the chocolate and egg yolk mixture. Take your time here– be patient and wait for a couple minutes until it comes nicely together. Believe me, I was initially extremely skeptical during this stage, as the first few folds seemed to make the mixture split and turn watery. I panicked. But I willed the thing to work (for heaven’s sake, right?) and it all came together beautifully in the end. The ribbons of white will lighten the mixture both in colour and texture, and you end up with a sort of heavy mousse. Just be patient with the folding.

Pour mixture into cake tin and smooth out the top. Place in the middle of your preheated oven and bake for 40-45 minutes. Mine was fine by 40. Check yours with a skewer at 40 minutes– if the stick comes out with moist crumbs then take it out, if it’s wet then leave it in for another 3 minutes or so. Leave to cool on a rack, before dusting some icing sugar on top. Serve this warm with some vanilla ice cream and nothing else, because just this pairs makes for the perfect afternoon treat. Have it for breakfast. Have it for… um, anything, really.

Processed with VSCOcam with f2 preset Processed with VSCOcam with f2 preset

This flourless chocolate cake can be kept at room temperature in an airtight container for a couple of days, or store it in the fridge and it will reheat nicely.


Cinnamon sour cream coffee cake

Processed with VSCOcam with f2 preset


I delight in this cake for two reasons.

Firstly, it’s got this ridiculous cinnamon sugar crumble magic on top, and it was the hardest thing (well, not as hard as if I were to make brownies), to stop picking at the stuff. Secondly, the flavour eagerly showcases the use of sour cream, which I love, so it’s not too mild and airy-fairy like a typical sponge cake. It’s a slightly denser cake than normal, and goes wonderfully with even more sour cream or vanilla ice cream, perhaps topped with a dash of cinnamon and in this case, a good drizzle of manuka honey.

I adapted this recipe from Entertaining with Beth which can be found here. Made quite a few alterations because my first experiment with it yielded too dense a final result, the crumb not as tender as I hoped for. Cinnamon is the vice of Man. The earthy sweetness rounds off many other traditional flavour notes. I added a little brown sugar to the cake mix because the slight tinge of molasses goes well with the cinnamon filling in between the two layers, and changed the cinnamon filling and crumb topping recipe completely because the melted butter used in the original recipe just didn’t work as a nice streusel topping in this temple-banging, sun-raging weather. Curse this humidity.

Processed with VSCOcam with f2 preset

What I like best is how you don’t have to make two separate layers before getting down to some sandwich business- what’s one to do with just one 9-inch pan? We make easy for the world. Saving on some dishwashing liquid too, actually. Moving on.


Cinnamon Sour Cream Coffee Cake


For the cake:

2 1/4 cups all-purpose flour

115g salted butter at room temperature (unsalted is fine, just add more salt later)

2 room temperature eggs

half cup white sugar, half cup light brown sugar

1/2 teaspoon baking soda

2 teaspoons baking powder

1 1/2 teaspoons salt

1 1/2 cups sour cream (you may substitute this with Greek yoghurt, not anything low-fat or plain)

1 1/2 tablespoons vanilla extract


For the cinnamon filling and crumb topping:

1/3 cup packed dark brown sugar (this has a high molasses content and will thus yield a more earthy, sultry flavour, but light will work fine. You might have to add an extra tablespoon or so, though)

1/2 cup plain flour

3 teaspoons ground cinnamon (yum)

1/2 teaspoon fine salt

57g (4 tablespoons) cold, unsalted butter, cut into one-inch pieces. Stick this in the fridge right before use.

optional– chopped pecans/walnuts/almonds


You ready? I am. So. Dead. Easy.

Firstly, get all the dry stuff together. Then preheat your oven to 176 degrees C, or 350 degrees F, with the rack in the middle.

In a big bowl, cream together, either using an electric mix or your good old biceps and a sturdy whisk, the butter, two sugars and vanilla extract. Crack in the eggs one by one, whisking after each addition.

In another smaller bowl,  whisk together the flour, baking powder, baking soda and salt. Fold the sour cream into your sugar-butter mixture (I almost said complex) halfway, then add the flour mixture. I switched to using a wooden spoon at this point. The resulting batter should be sticky, smooth pale yellow, with a thick dropping consistency. If it’s too thick, add 1-2 tablespoons whole milk, but careful as this might alter the final taste of your cake. Whatever you do, don’t overmix!

How easy was that? Grab and throw. Done and dusted.

Now for the lovely crumble. Mix together the flour, sugar and cinnamon, then get in there with your hands and rub in the cold butter. Slightly larger-than-normal clumps are ok. If you wish, add more or less cinnamon, and play around with chopped nuts. If you do so, chop them up finely so as to keep the traditional texture of a streusel.

Spray a 9-inch cheesecake pan with a removable bottom tin with cooking spray. Don’t overdo it or else you’ll risk making the bottom unnecessarily greasy. Turn out half the batter into the tin, then sprinkle half the cinnamon streusel on top. Turn out the remaining batter and sprinkle on the rest.

Bake the mixture in your preheated oven for 55 minutes, after which if you insert a wooden skewer it should emerge clean, with a few dry crumbs sticking to it. Remove the bottom tin and place on cake stand, and if you want to be all fancy, sprinkle on some icing sugar. Don’t be afraid of excess and lather on the sour cream and honey on a warm slice.


Salted Caramel Apple Cheesecake

IMG_9963 IMG_9989

Because I actually cannot believe this is a (mostly) improvised, pseudo-original recipe. Honestly, it’s pretty glorious. Ok fine, if that’s a little too much undeserved self-praise, I guess I’ll just say that darn, I’m one enlightened cake-maker. A mixing of some fine ingredients, a thrusting of good pink ladies on the top, a sudden decision to say…

YES, I really do think salted caramel will go nicely with that.

Off the whim, all too sudden. Yesterday was the due date for the IB’s Extended Essay, so I feel it very fitting to celebrate with this recipe. It was a short return to my childhood of tree-climbing and grazed knees, after which I’d come home to find a well-sized slice of cheesecake my mother or grandmother bought from some gourmet store, which I enjoyed anyway because… cheesecake. I never found the rich tang displeasing as a kid; it was one of the few sorts of cakes I didn’t mind having at birthday parties. The flimsy, airy stuff never fascinated me. I lusted after half-cloying goop. I admit that this batch actually could have used twice as much salt in the caramel topping to counter the lemony, apple-y sweetness of the cheesecake, so I’ll put the better amount in for your benefit.

And with that, let’s go.


Ingredients

For the base:

  • 1 cup flour
  • 1 egg yolk
  • 1/4 cup light brown sugar
  • 1 teaspoon salt
  • 1/2 cup (113g) softened, unsalted butter. Good butter, please.

For the filling and apple top:

  • 2 packages Philadelphia cream cheese, left to soften at room temperature (this would take at least a good half hour)
  • 1/2 cup white castor sugar
  • 1/4 cup freshly squeezed lemon juice
  • 1/4 cup sour cream (or Greek yoghurt, which was what I used since I didn’t have sour cream on hand)
  • 1 1/2 tablespoons vanilla extract
  • 3 eggs

For apple topping:

  • 2 small pink lady apples, or any sort which you enjoy eating on its own. Grab a green one if that’s all you have; doesn’t change the final product a whole lot. It actually depends how much of a flamboyant apple character you want your cake to have– the more the merrier, though I find thin layers atop the filling work well to even out the caramelisation process during baking.
  • 1/3 cup white sugar
  • one teaspoon ground cinnamon

For the divine gift of God that is salted caramel (makes a medium batch so it may be used in the future):

  • 1 cup white sugar
  • 95g salted (!!) butter
  • 3 teaspoons fine salt
  • 1/2 cup heavy whipping cream (either single or double is fine)


Procedure

Before I start, I just want to say that I’ve recently become more inclined to writing method in prose, mostly due to how I had to do so for my extended essay, and I enjoy the more personal feel it establishes. But yes, cheesecake.

Start of by preheating your oven to 200 degrees C (400 degrees F), and grease a 9-inch round cake tin.Thinly slice your apples and toss them in a medium-sized bowl with the sugar and cinnamon. Set aside for now.

Make the base: With a wooden spoon, or if you’re 80% Neanderthal like me, your hands, mix the five ingredients together well in another medium bowl. Press into base of your cake tin and half an inch up the sides. Make sure the bottom is even. If you live in a supremely hot climate like I do, put the base in the fridge to prevent the butter from melting and causing the pressed-up sides to sink and go limp.

Make the filling: Using a whisk (not the electrical sort, just the single whisks), cream the cream cheese and sugar together till no more sugar lumps are present in mixture. Add in the eggs one by one and whisk well between each addition. Then, add in the fresh lemon juice, sour cream/greek yoghurt and vanilla. Use a wooden spoon to mix the last few ingredients in order to incorporate as little air as possible. I found this really helped with the final texture of the cheesecake.

Assemble and bake: Take tin out of fridge and pour filling on top. No pre-baking of crust, no nothing. Just pour and plop in the oven. Oh, after you scatter those moreish, cinnamon-y apples on top, of course. Please don’t forget that bit. As I said earlier, I find that thin layers arranged in rings starting from the edges serve to kick the look factor up 10 notches. Just so… Pretty. I could’ve been neater, but I was too excited embarking on this exciting baking expedition. Literally an expedition too, because I was running around grabbing ingredients and whatnot. I need to organise myself. Anyways, once the layers are done (I just did one nice layer), put the cheesecake into the preheated oven and bake it for 15 minutes. Once 15 minutes is up, turn down the temperature to 190 degrees C (375 degrees F) and bake for another 30-35 minutes. I took mine out after 33 minutes, because that’s the way I did it the first time I baked a cheesecake this method, and there were no cracks whatsoever. Works a dream.

Make the salted caramel (adapted from Sally’s Baking Addiction): Heat sugar in a medium saucepan over medium heat, stirring occasionally with wooden spoon. Continue to do so until all the sugar melts into a pool of dark, glossy amber liquid. Once this stage is reached, add the salted butter. It’s a pretty vigorous reaction, this one. Stir with spoon to help the melting process. Once all the butter has melted, slowly add in heavy whipping cream. This part is even more vigorous that the previous one; it will spit and rise as it starts to boil. Let the mixture boil like this for another minute before taking the pan off the heat. Let cool for another couple minutes before stirring in the salt. Store in an airtight container for future use, and reserve a half cup for later.

Once cheesecake is done in the oven, carefully take out. It should still be a little wobbly and tender in the middle. Leave to cool in the same pan on a cooling rack for 15 minutes. After 15 minutes, microwave half of the reserved caramel (it would have gone a little thicker and less liquidy) for a few seconds and liberally drizzle all over top of the cheesecake. Place the cake inside the fridge and leave for at least 4 hours or overnight. It’s good to make this kind of thing the day before. No sweat.

After at least 4 hours (or overnight), take cake out of fridge. Microwave the remainder of the reserved caramel and drizzle it over the top, however you like, however much you want. You’ll probably have some caramel left.

Bam. Double salted caramel whammy.

I’m thinking grape and crisp rice cheesecake next time, just because.