A Collaboration with Nilufer Tea, The Best Organic Tea (ft. recipe for the most ideal pairing)

3897709 Processed with VSCO with f2 preset Processed with VSCO with v5 preset3204154 Processed with VSCO with f2 preset

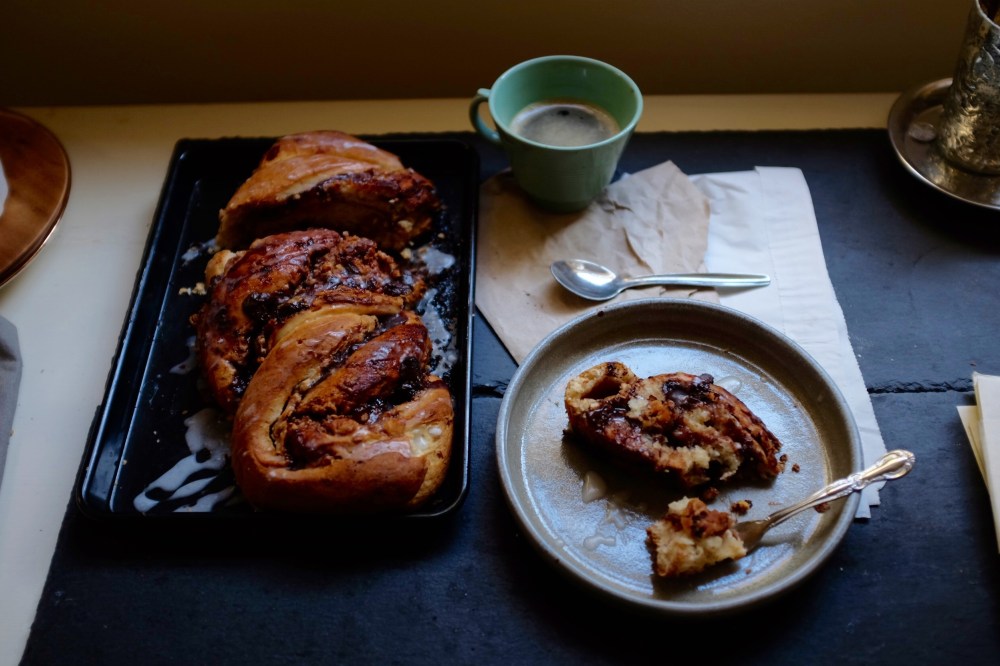
Title says it all. Bleary-eyed from 5 hours of sleep, a neatly wrapped bundle in the post set my mind and palate into gear for the day. It’s been ages since I last indulged in a cup of tea, breathing in a subtle fragrance, meditating on steam. Now that I’ve been back in Singapore for a while it hasn’t occurred to me to have anything hot; dinner is typically preceded by a frigid green juice or iced water. Nevertheless, tradition transcends change of climate, and so I settled down to a long lost habit. Sent so kindly by the folks behind Nilufer tea, an organic herbal tea brand I am so grateful to have become acquainted with the past week, I decided it was only appropriate to enjoy them with the chewiest, chocolate-pumped salted cookies, of which recipe I recently developed. The best organic herbal tea, I learned, is borne out of love, sweat, and quality. This is quality tea, I repeat, which uses non-pesticide herbs & flowers with premium dried fruits. How stunning is that.

Straight from the hands of independent Japanese tea farmers, Nilufer has put itself a head above the crowd of conventional tea brands by capitalising on ethical business, involving itself in every step of the tea-making process, from laboured harvest to artisan packaging. I was stunned by the simple array of complex flavours to choose from– red rooibos, chamomile, herbal fruit, rose and ginger rooibos tea. I absorbed its ethos in its entirety as I placed a delicate ginger rooibos teabag into my mug.

Going vegan, as I have mentioned before, is not just about the food, but a keen awareness. Of where I am, what I’m doing, what is happening all around–I am now sitting outside in our little garden, feeling the cushion beneath me, beige and smooth, still learning to live comfortably with the dense air, as if packed solid with noise that does not move, as Sebastian Faulks beautifully puts. That awareness naturally involves awareness of one’s use of resources, and so though I am not as tea-crazed as some of my English friends, with a cup of tea comes an appreciation of the here and now, instilling some sense of emotional granularity, and the lesser need to constantly compare oneself with everyone else, caught up and blind in the world of faster, bigger, better. Every second is your own. I was therefore excited to collaborate with a brand whose ethos resonates so well with this sentiment; Nilufer’s organic approach rooted in sustainability would similarly appeal to many other vegans in Singapore. Learn more about the best organic herbal tea before treating yourself. Revel in that rare authenticity.

Processed with VSCO with b5 preset

Their rose tea was alluring and fragrant, which, by the way, also restores female hormonal balance and peace of mind. Perfect after an insanely busy office day. A touch of hibiscus accentuates a heady floral aroma with a hint of strawberry. Chamomile, one of my long-time favourites, is mixed with orange, ginger and lemongrass in an exotic blend for a more revitalising, mid-work kick. Chamomile also stimulates the production of enzymes in the gut for efficient digestion, complementing my passion for a gut-friendly plant-based diet.

My personal favourite was the very first flavour I tried– ginger rooibos. Red rooibos and peppery ginger up the ante here with spice and tingling earthiness, red rooibos itself being a potent antioxidant to help fend off oxidative stress, burnishing your beauty routine with several minerals for rapid skin regeneration and hair growth. All sounds pretty wild, but after meditation on each flavour, I for one am more inclined to believe.

Scrolled starry-eyed through their website. Thorough health and beauty articles (on Nilufer Tea blog) are written to pad out their wellness ethos. Do also check them out on Nilufer Tea Instagram and Nilufer Tea Facebook.

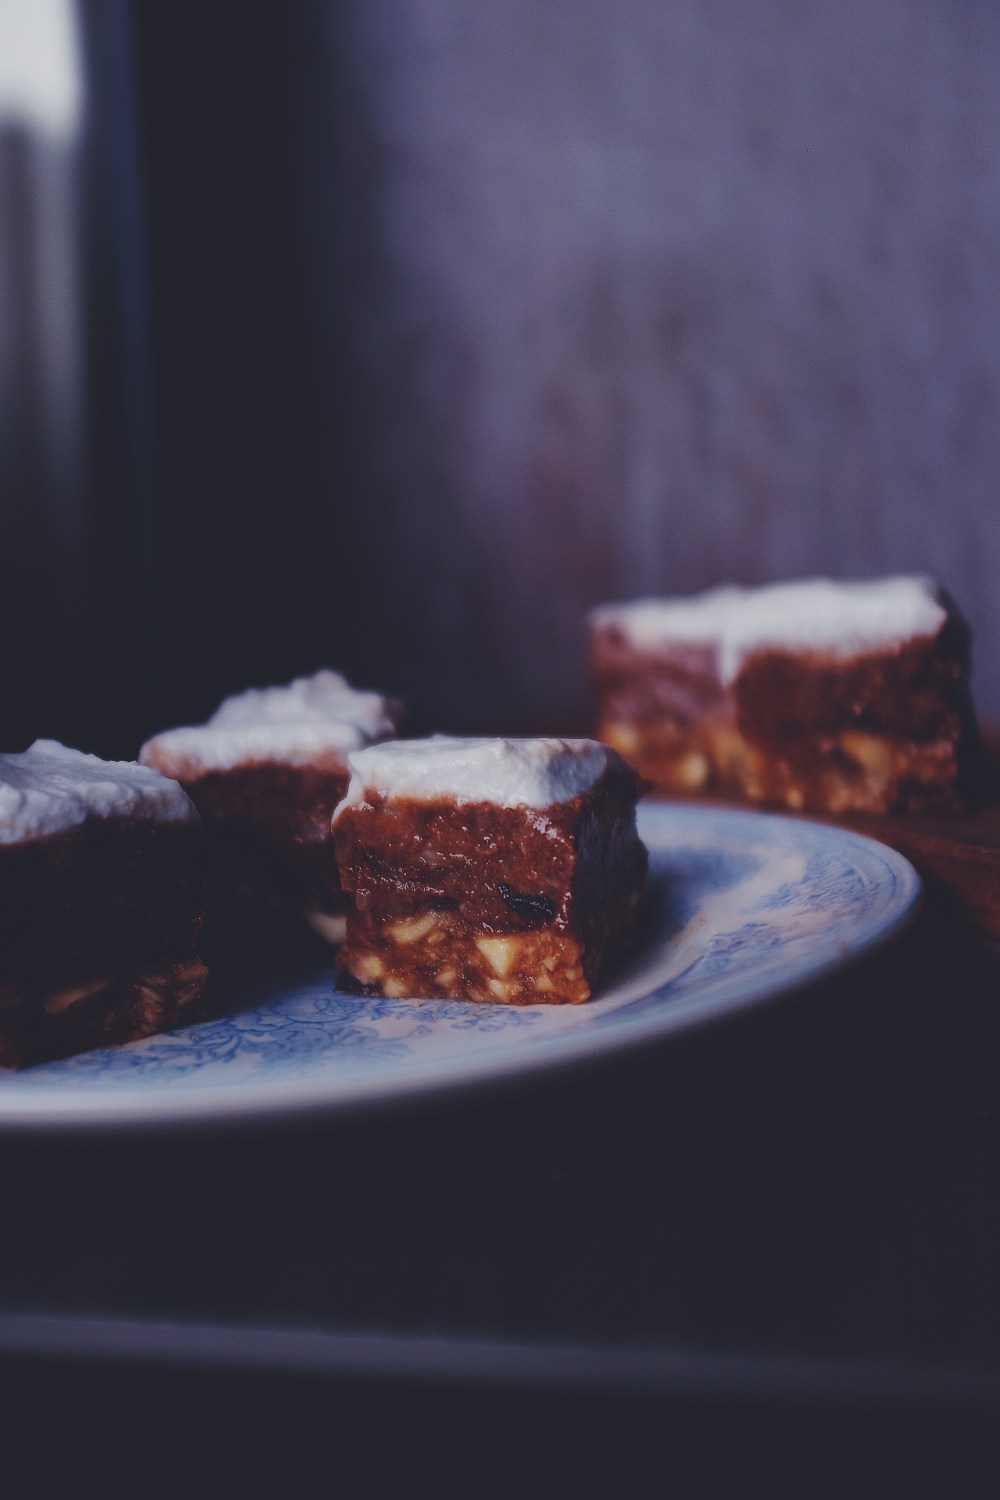
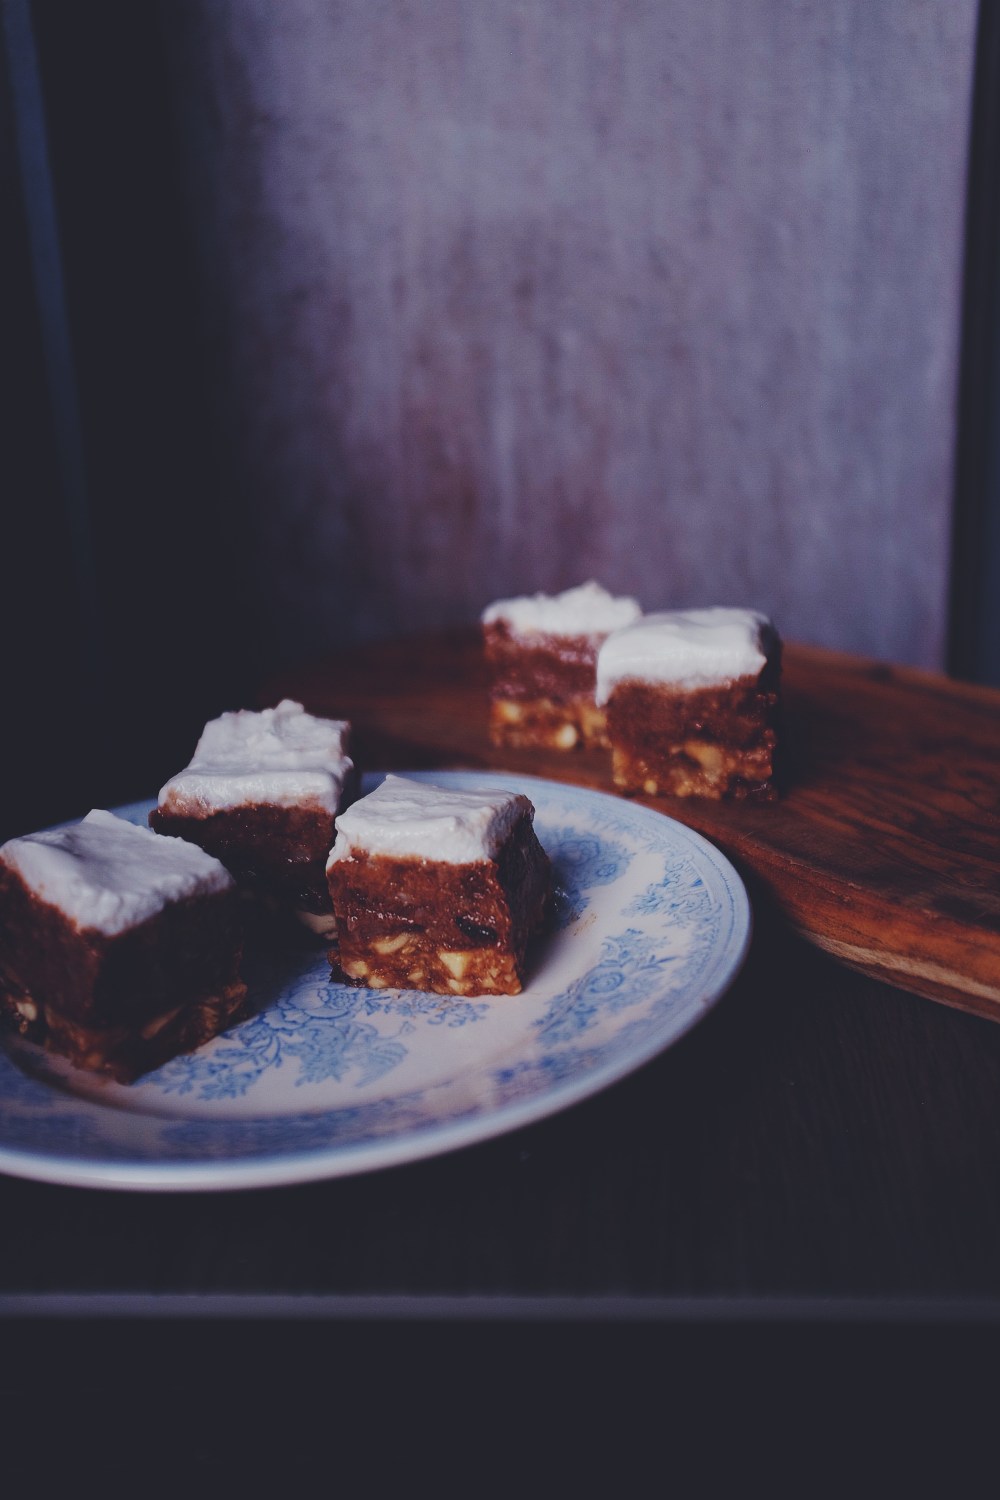
Now for cookies. Which, in my opinion, are perfect with this tea. Before I went vegan I was hooked on one particular recipe, and I was swimming in the conviction that nothing, ever, could beat it.

Until I went vegan and developed this baby (haha).

The chew is what will get to you. The secret here is the resting time in the fridge and top quality chocolate. The idea is that this gives the sugar in the cookies time to mix into the other ingredients and so, upon baking the next day, the sugar caramelises more efficiently and you get a deeper caramel flavour and chewier texture. Your cookies also spread less because the chilled cookie would have more solidified that melted fat. That means making the batter the night before is most ideal if you want to wake up to a glorious, familiar wafting fragrance and cookies with the best shape, form and flavour. No need for any flax/chia egg or funny flour (though by all means play around with buckwheat spirulina charcoal flour if you feel inclined to). The ingredients shine through in their simplicity and natural affinity for each other. Salt and sweet. Each bite is chockfull of chocolate, of which varied size and thickness offers such complex mouthfeel. The middle is dense, dark and sinfully chewy.

3345517 Processed with VSCO with f2 preset

Chewy Salted Chocolate Chip Cookies (makes 12 medium-sized cookies)

Ingredients

250g plain flour, or use half plain flour and half whole-wheat/oat flour

¾ tsp baking powder

½ tsp baking soda

200g good quality dark vegan chocolate (use Lindt’s 70% or another vegan brand), chopped into chunks

110g soft, dark brown sugar

100g white/coconut sugar

1 tsp salt

coarse salt for sprinkling (I use Maldon)

1 tsp vanilla extract

100ml plain vegetable/canola/sunflower oil

80ml hot water


Directions

Line two baking trays with parchment paper and set aside for the time-being. In a large bowl whisk together the flour, baking powder, baking soda, salt and the chopped chocolate. In a separate medium bowl, mix the oil, vanilla, water and two sugars together with a fork. Tip this into the dry mix and stir with a wooden spoon until everything is just combined.

Using an ice cream scoop for consistency, scoop your batter onto your lined baking trays. There should be 12-14 even balls. Press the balls down slightly with your fingers and liberally sprinkle salt over each one. Place the trays into the fridge to firm up for at least 10 hours or overnight (important, as stated before these instructions!!). The next morning, bake the cookies in an oven preheated to 180C (350F) for 12 minutes, no more and no less. There will be a little raw better on a wooden skewer stuck into a cookie- fret not, that’s what you want! The first time I did this I was sure it couldn’t be that raw, but the insides do firm up a little once you take the trays out of the oven and let the cookies cool completely

I’ll repeat that- let the cookies cool completely. The cookies may have a bit of rise but they will eventually deflate. The result? Inch-thick, ridiculously chewy, stretchy cookies, loved up with hand-chopped chocolate for an intense flavour and complex texture. These can be stored in an airtight container for a few days, though I promise they won’t last that long.

No-bake Chocolate Coconut Bars

2756711 Processed with VSCO with f2 preset

Treats. They right a lot of wrong in the world.

Exactly this time last week I had the privilege of eating alone during my lunch break in between working hours, and I wrote down a few realisations:

  • Eating alone is a thing to be celebrated
  • Korean is possibly favourite cuisine (this may change in a couple of weeks)
  • I need to travel more when its pretty parts and cultures still exist
  • Talks with old friends who still ride on the same wavelength, energy and compassion are incredibly underrated and never dull. These are the occasions which one should be happy to steal away time. The world needs more Real People Conversations. This world should thrive on that bravery,
  • At the lab where I’m undertaking an internship, it is invigorating to tend to the invisible. To pipette precisely, up and down, take exact volumes. This precision forces me to think about things in detail, making me aware of my surroundings and in awe of the big picture that is the Earth’s beauty and mysteries. Detail is a meditation.
  • Some people never go through an awkward tween phase
  • Some pairings like coconut and chocolate are meant to be, like the zip on my Laurice pencil case and removable cap of an ink pen.

To accompany solitude and writing is my iced black cuppa, the one thing that has stayed true to my lifelong affair with breakfast, foam from Nespresso dispensing interrupted by crushed ice.

2857620 Processed with VSCO with f2 preset

An old friend returned from studying overseas and, upon sampling one, two and three, could not believe they were vegan. The chocolate mousse layer is of the perfect consistency- a small finger press gives way to a tender indent, holding firm without being flimsy. These bars are sticky, sweet and devilishly good, but the opaque richness of the coconut cream provides a slight bitterness to offset and ripen the other flavours instantaneously on your tongue.

No-bake Chocolate Coconut Bars (Adapted from this delightful raw tiramisu recipe)

Ingredients

For the base:

8 pitted dates (medjool dates are ideal; I typically freeze a stock and microwave the necessary amount when needed)

210g cashew nuts

pinch of salt

3 tbsp water

4 tbsp liquid/melted coconut oil

1/2 tsp instant espresso powder

For the chocolate mousse layer:

420g cashews, pre-soaked and strained (simply soak them the night before in enough water to cover them in a bowl)

8 pitted dates

120ml almond/cashew milk

100ml maple syrup

7 tbsp cacao powder

7 tbsp liquid /melted coconut oil

2 tbsp white tahini

2 tbsp instant espresso powder

pinch of salt

For the coconut cream:

2 cans coconut cream, left in the fridge for at least 6 hours or overnight

Directions

In a food processor, blend together the ingredients for the base. Line a 9×9-inch pan with parchment paper and press the mix down with your knuckles until you get an even layer. Place the pan in the fridge to stiffen while you make the chocolate mousse filling.

Make sure the food processor has all the remnants scraped out, but you don’t have to clean it. Put the ingredients for the chocolate mousse layer into the processor and blend until you get a smooth and even filling. Take out your pan from the fridge and smooth the mousse layer on top. Take your cans of coconut cream and open them– there should be thick, spoonable white cream on top. Take it and spread a thin layer on top of the coconut mousse layer. Save the liquid left behind for things like curries! Put the pan in the freezer to stiffen.

Put the pan in the fridge an hour before serving to soften the layers a little and to make it easier to cut.


Fudge Brownie Waffles

3244539 Processed with VSCO with f2 preset

I had the pleasure of being interviewed earlier on in the week by the lovely Rachel Loh, the name behind lifestyle blog Willow. Working on the theme of disconnection, it boasts a bevy of detail I would not typically reveal online, even in my instagram posts or elsewhere. It was so much fun answering and I would love for you to check it out here.


So last Saturday I came back from a rather disappointing visit to a relatively new café, and needed a fresh pick-me-up in the sweltering heat. But the heat also means light, and I’ve found great solace in my mornings alone journalling, the light yellowing the pages, coming and leaving of its own accord.

As it appears, flowers still grow in the dessert. This recipe was borne out of angry determination; I oft find myself thinking about veganism and how it should be made approachable or the norm to more people around me, and figured introducing classic favourites is the way to go. Who in their right mind would refuse a good, gooey brownie? Forget about it being ethical or healthy or whatnot, it tastes good, right? Food opinions are volatile, changed by taste alone. The line between veganism and sin-like lusciousness and satisfaction must be blurred. I never wanted to go vegan for the longest time because my idea of vegan food was worms and cardboard. That’s what some vegan cakes really taste like, anyway. But this is never always the case. Surprise yourself, and surprise others.


4294905 Processed with VSCO with f2 preset Processed with VSCO with f2 preset

Simply put, the highlight of anyone’s day.

The theme is approachability, guys. This is the sin everyone is looking for in an acceptable form. Double chocolate brownie waffles studded with chocolate, crisp-edged with a tender, gooey middle.

It’s not just a one-bowl wonder, it’s a time-saving wonder. If you’re like me and typically have to rush off to work by 8.30am in the morning, simply make the batter in less than 5 minutes the night before, let rest in the fridge overnight and scoop out batter for the waffle-maker the next morning. You could even just bake these for fudge brownie cookies in a 180C oven for 10 minutes. I say that like I actually did it, but do tell me if they work, because I can’t be the only one to have fun while making some (necessary) mistakes, right? The batter is like unexpected cash, you can do way more with it than you might initially think. For example, I made a fudge brownie waffle sundae by sandwiching two waffle bits with coconut ice cream (I love Luna and Larry’s!) and drizzling it with some chocolate sauce, which I made just by mixing some cocoa powder, icing sugar and almond milk together. How wonderful is experimentation. How life-giving and meditative.

3314541 Processed with VSCO with f2 preset4270594 Processed with VSCO with f2 preset

Ingredients (makes 6-7 medium-sized waffles)

125g all-purpose (plain flour)

1 1/2 tsp baking powder

pinch of salt

30g cacao/cocoa powder

1 large mashed banana (125g), or two small mashed ones. Alternatively, you could use the same weight of applesauce.

40g (a large handful) of vegan chocolate chips, I used these

40g white/coconut/maple sugar


Directions

Simply put all ingredients in a bowl and mix until everything comes together. Turn your waffle-maker on and let it heat up according to its instruction manual. Grease it well! Take a heaped tablespoonful of the chocolate batter and put it in the centre of your waffle maker and let cook on a medium-high heat for at least 5 minutes. This is important in making sure your waffles turn out as crisp as possible, You can check after 3 minutes– if the waffles still feel soft to touch then leave it for another few minutes.

Separate your waffles with paper towels to absorb any condensation. You can freeze these waffles for future consumption or leave at room temperature in an airtight container for 1-2 days. If eating the next day and the waffles are left out on the counter, toast them for those crisp edges once more; they would’ve softened within the day.

And now for some fun!

If you’re making a waffle sundae (as pictured above), simply sandwich two waffles or waffle halves with some dairy-free ice cream and drizzle with some chocolate sauce. I did this by mixing a heaped teaspoon of cocoa powder, 3 heaped tablespoons of icing sugar and a couple teaspoons of almond milk. Play around until you get a relatively thick, dribbling consistency.


Chocolate, Pear and Banana Clafoutis

4026530 Processed with VSCO with f2 preset

There’s been hassle in the head, but the kitchen binds all tassles of stress and chucks it out to the cold. I surmise it’s the cold, sometimes, that keeps me going. It’s a wakeup call, like a cold shower first thing in the morning.

4283106 Processed with VSCO with f2 preset4363016 Processed with VSCO with f2 preset

A chocolate, pear and banana clafoutis, packed with molten chocolate and moist, plump pear. To be eaten à la mode.

Rusticity once more, with wreaths of sugar, chocolate and love. There is a lot going for this clafoutis, and my favourite bits, edges aside, are the moist, pear juice-saturated bits of clafoutis right up next to the cooked pear. Forkable business, that. A past Saturday spent with someone special saw a rapid finishing of this beauty to enhance all that fun and whimsy, reminding me of all the times and things we take for granted or misunderstand. Guess it’s always good to stop and smell the roses, stop blurring the edges of pain with the fastest remedy. And this clafoutis is a remedy, to be enjoyed slowly, during and after, a candle in the wind. It’s just up to you what to make of that occasional sweet event.

I tend to vacillate between wanting the simple and complex. Usually it’s the former, with some variation/hop/twist/flicker. Chocolate and pear is a classic combination, and the banana adds a moist, sweet dimension without being too easily detected. Not that the flavour doesn’t pair well, but the mildest hint of it enhances and doesn’t shadow the two stars. Although I used a pan instead of the more desirable cast iron skillet, the edges still turned out very crispy, and yes I can vouch that I shall attain the crispiest ever result in time when I earn enough (ha ha). The clafoutis itself retained a lovely almost pudding-like consistency in the middle, flying the flan flag high and bright.

Served with the simple integrity of vanilla ice cream, this is the perfect breakfast, dessert, or in-betweener.

3243831 Processed with VSCO with f2 preset

Chocolate, Pear and Banana Clafoutis (makes one 9-inch wide pan)

Ingredients

2 large pears, peeled, cored and quartered

240ml milk of choice (whole/plant-based preferably)

65g white sugar

2 bananas, mashed

1 egg (sub: another mashed banana)

100g chopped dark chocolate, split into two portions

50g plain flour


Directions

Preheat your oven to 200C (400F) and butter a large iron cast skillet or pan (as I did). Lay your quartered pear in a ring in the pan so the tops all face and touch at the middle.

In a bowl, whisk together almost everything else– the flour, sugar, bananas, one portion of dark chocolate and milk. Pour this over the pears, making sure that there’s an even amount of batter between each quarter. Sprinkle the rest of the chocolate on top.

Bake for 35 minutes, then remove and let cool for at least 10 before tucking in with something cold like ice cream or creamy like custard. What a star show.

Overnight Vegan PB&J Chocolate Coconut Babka

dscf9046

In the wake of weird, let’s bake. Let’s have some sweet to go round, softening the edges of confusion. Though I am no savvy politician, I simply can’t see why decisions have solidified as such. The morning throbbed with trepidation. But it’s up to us to look up, look ahead.

dscf9029dscf9031dscf9033

Babka has been on my mind for a long time! There is so much about it to love. A tender fluffy crumb, the endless combinations of swirl and filling (chocolate and nuts is the traditional fave–a bulging filling at that), a possible icing, knowing full well it pairs perfectly with any steaming holiday-themed beverage…

So you make the dough, let it rest because you have stuff to do for the night, put it all together first thing in the morning, or perhaps 2 days later because you’re off for work at 7 the next morning and can’t be arsed to dress up some bread (and that’s ok!), then bake it, all the while smiling at the fact that the whole put-babka-together-and-roll dance occupied the time it would take to make any other meal, or maybe less.  The whole weekend I was seriously craving some peanut butter and jam action, and because I tend to like chocolate with anything too, and coconut because live life on the edge, I decided to throw in some chocolate coconut action into the game as well.

A soft, tender, sweet yeasted babka filled with peanut butter, jam, chopped chocolate, chocolate coconut spread, topped with a coconut milk glaze. 

dscf9040dscf9041dscf9044

Swell morning.

I did mention veganising most, if not all my recipes from now on in my previous post, because accommodation isn’t illegal, and it’s actually really darn fun; not having eggs or dairy by mistake doesn’t mean it’s the end of humanity as we know it. You’re cutting down on ingredients, and replacing the necessaries with other cheap, easily-found ingredients. With my recent vegan endeavours, most of my meat-eating fanatics simply can’t tell the difference, unsuspecting of zilch gram of egg or meat or butter in there. Sometimes they beat the originals. It’s an enthralling process. Of course, this need not be completely vegan, so feel free to use butter instead of Earth Balance etc.

This. Babka. Sweet, buttery bread cradles nuts from your chunky breakfast spread, darkened selectively in places oozing with textured chocolate, hardened by the oven but molten in the centre. The coconut milk glaze glides over every crevice, letting the coconut-flavoured lashings of chocolate smushed on the inside sing.

dscf9045dscf9046

Take a bite, then sip your coffee. Saccharine bliss. This post is dedicated to my first #VirtualCoffeeParty, as well as to my dear friend Ella, who’s birthday is today.

Overnight PB&J Vegan Chocolate Coconut Babka (makes one loaf, or 6 thick slices)

Ingredients

For the dough:

250g flour

1 tbsp instant yeast

pinch of salt

45g applesauce

50g Earth Balance (or butter, or any vegan butter)

40g sugar (coconut sugar here would be great)

90ml plant or nut milk of choice (or plain milk)

For the chocolate coconut sauce:

100g chopped dark chocolate

1 tsp coconut essence

*alternatively, use a ready-made chocolate coconut sauce, like Sweet Freedom’s Choc Shot (mmmmmmmm)

For the filling:

110g chunky peanut butter

6-7 tbsp strawberry or raspberry jam

100g chopped dark chocolate

For the glaze:

100g icing sugar

3 tbsp coconut milk


Directions

In a microwave-safe bowl, melt together the butter/Earth Balance and milk of choice.

In a separate large bowl, add the flour, yeast, applesauce, sugar and pinch of salt. Mix together briefly, then add the milk-butter mixture and knead for a few minutes on a lightly floured surface. Shape into a ball, put the dough back in the bowl and leave in the fridge overnight or up to 48 hours.

The next morning, spray a pan and heat your oven to 200C. Make the chocolate coconut sauce– simply microwave together the ingredients and set aside for the timebeing. Roll the dough out onto a floured surface, into a rectangle slightly longer than the pan itself. Spread the peanut butter on the dough leaving a one-inch margin all round, then the jam, then the chocolate and chocolate coconut sauce. Roll the dough along its length so you get a long cylinder, then cut a slit down the middle lengthwise. Twist the dough, sort of like in a braiding fashion, then put onto your pan. Let it sit for 10 minutes, then bake for 25-30 minutes in your preheated oven.

While it’s in the oven, whisk together the coconut milk and icing sugar. Once baked, let it sit for 10 minutes before drizzling on the glaze, cutting and serving. Y-U-M.