Mini Speculoos Bundts

Processed with VSCOcam with f2 preset

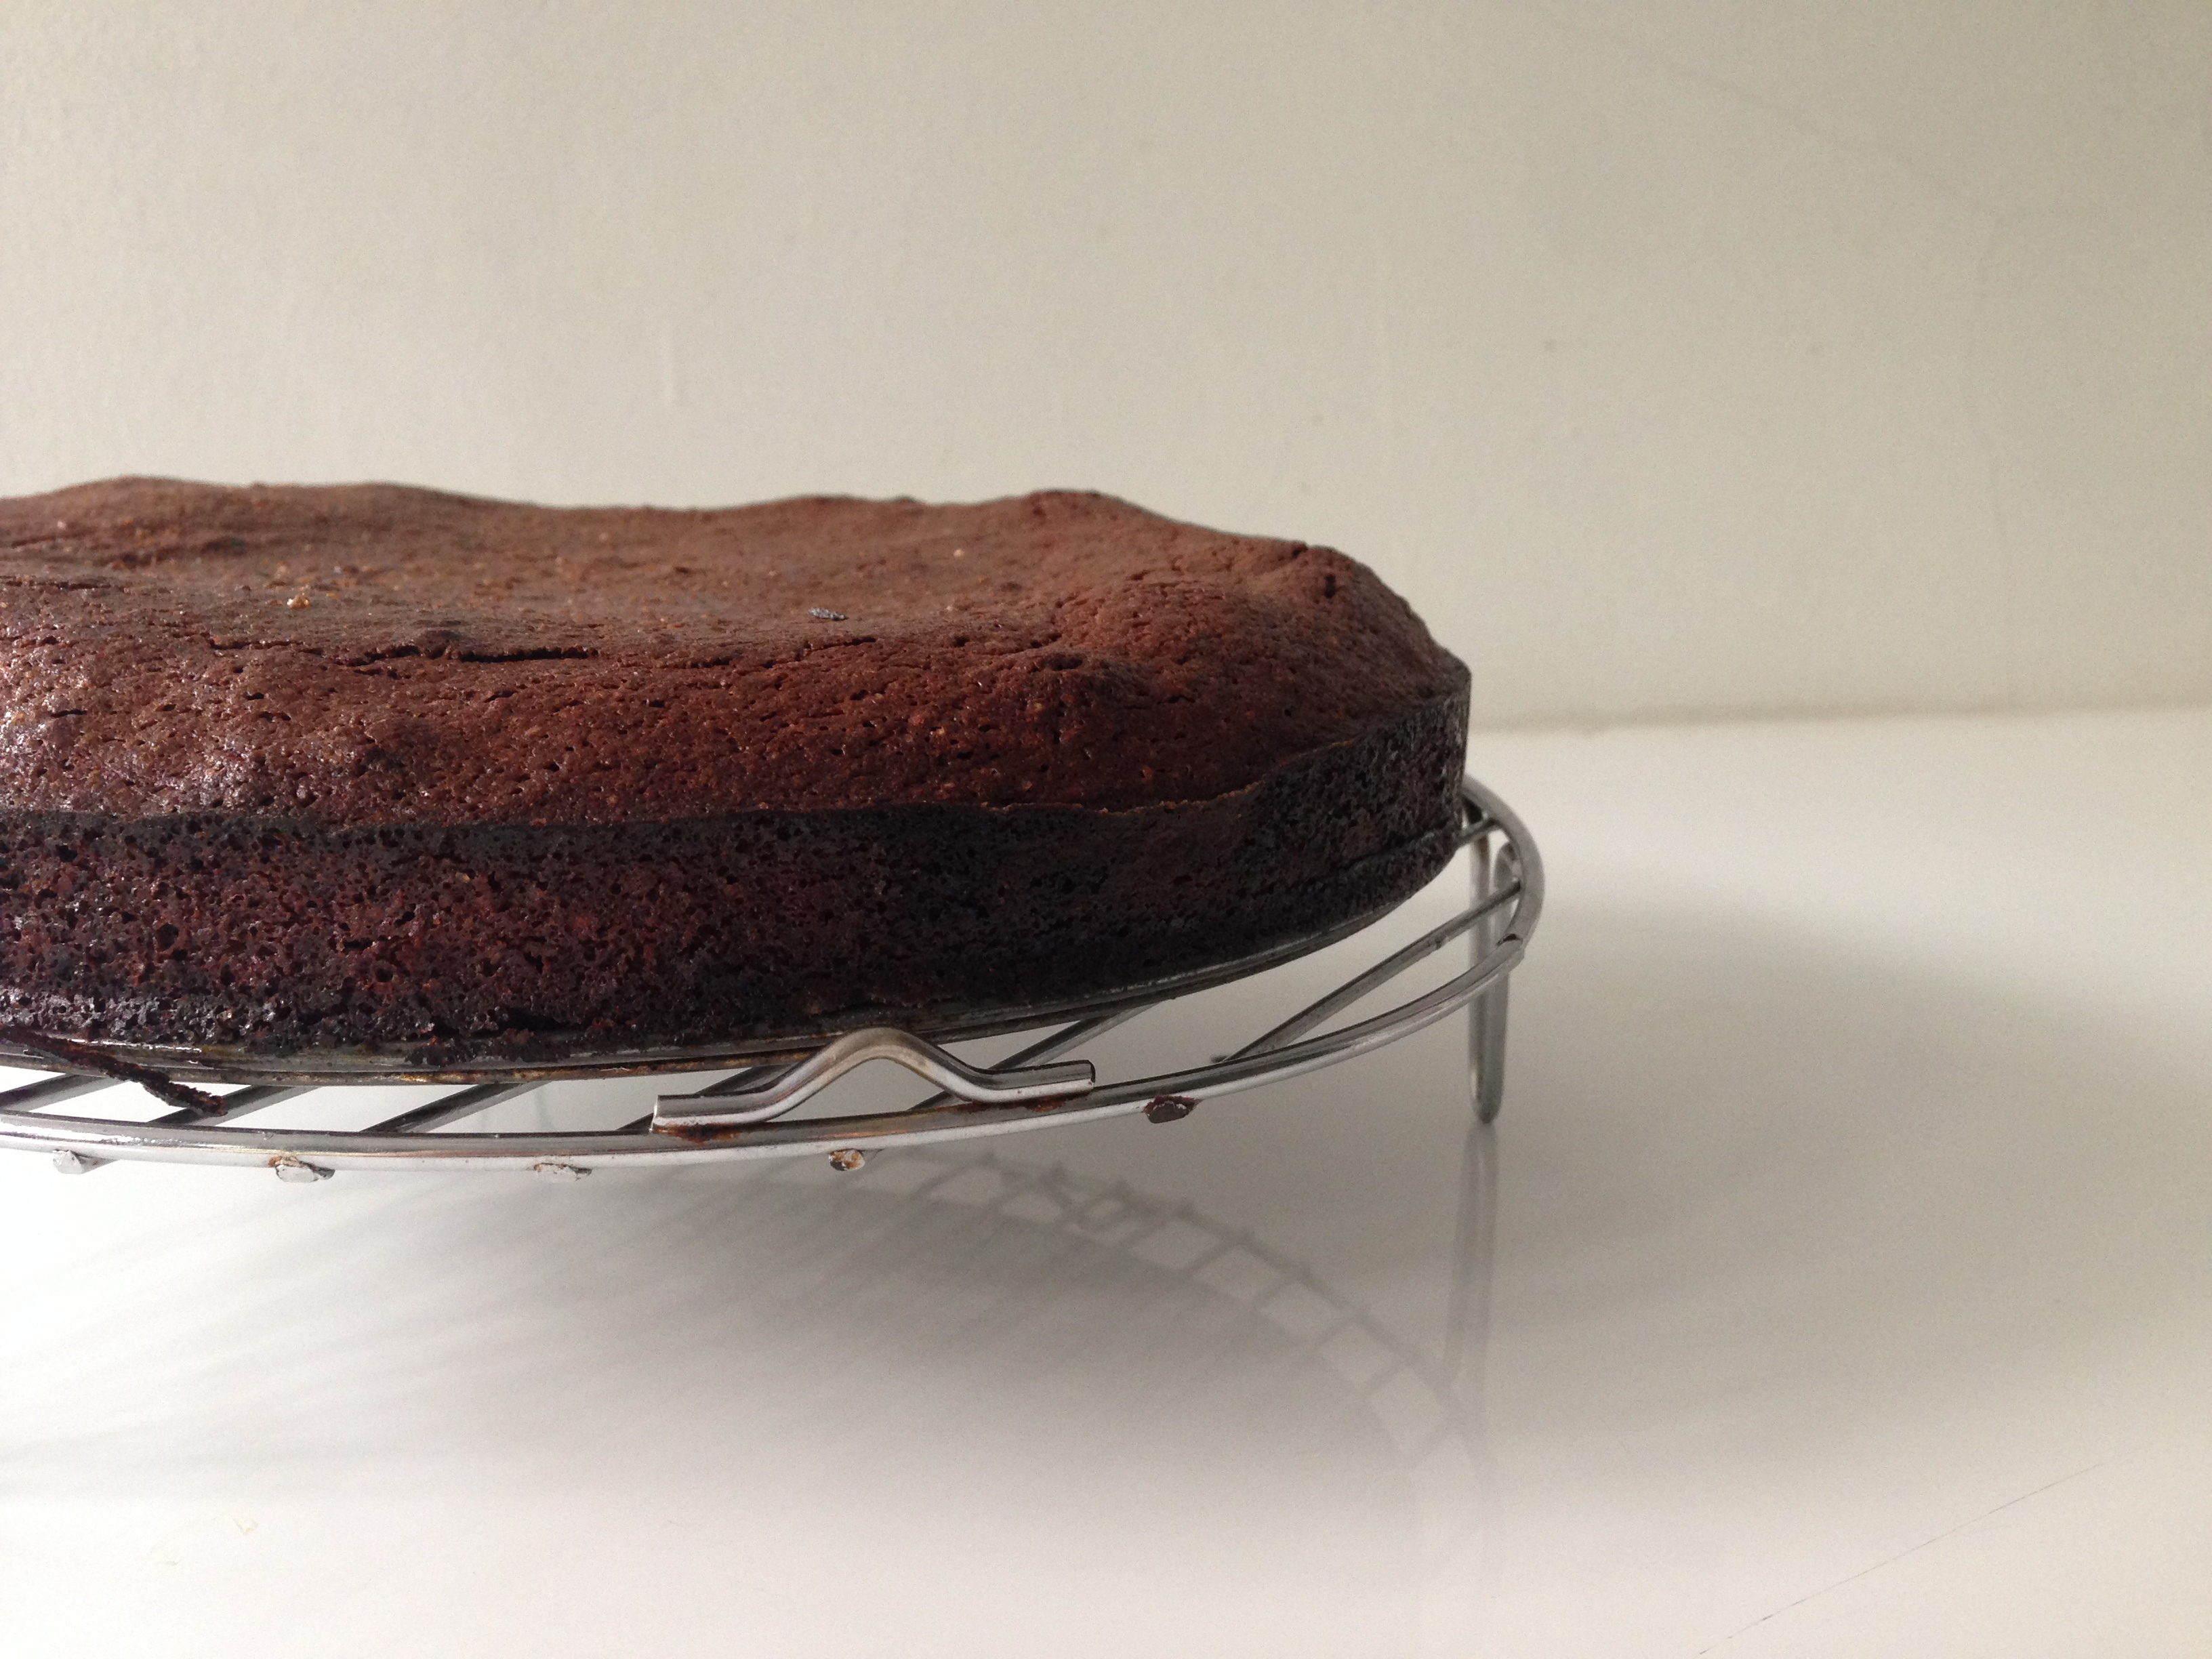
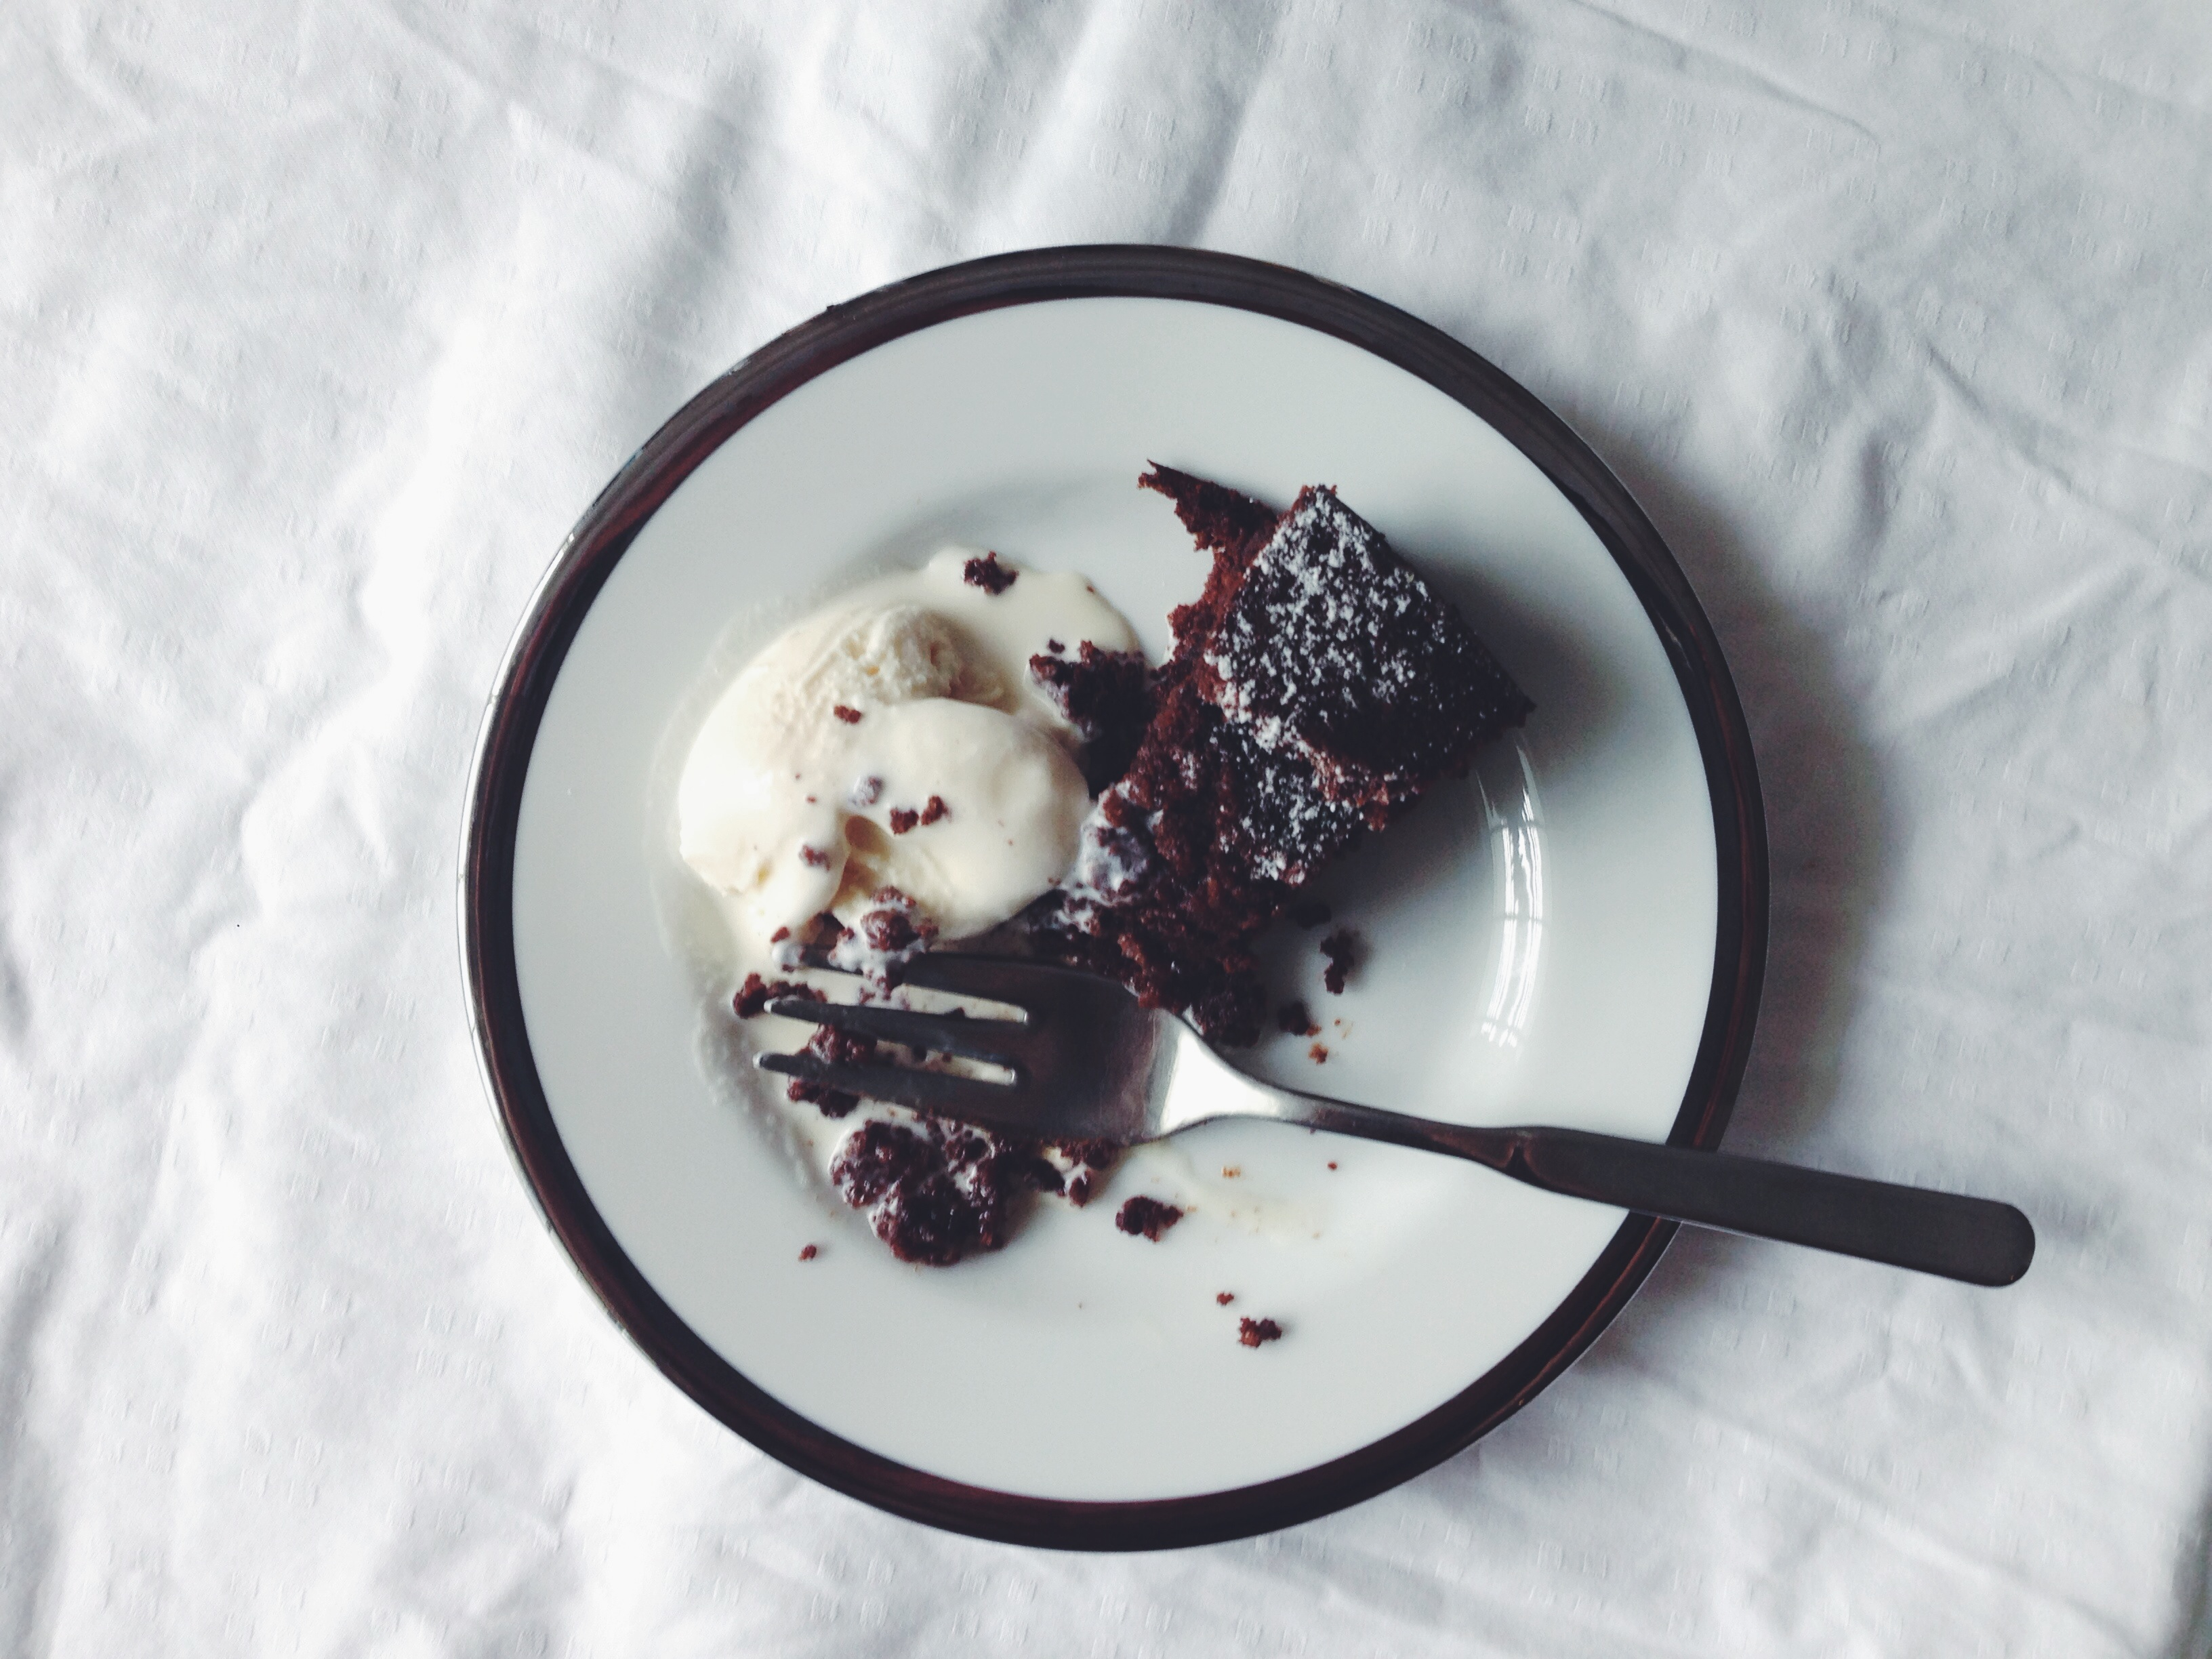
I’m sure a few of you would have come across the term ‘caveman diet’ in some magazine, book or newspaper article. The whole phenomenon is intriguing and sensible; we basically are advocating a reverting to our ancestors’ lifestyle in the hopes that such a change will propel some sort of advancement in human health. We’ll be healthier, have lower BMIs, stronger bones, etc. It’s all very well and good, right? In a sense, yes. The diet itself is meant to promote a healthier lifestyle. You eat more red meat, fruits, vegetables and natural whole grains, whilst reducing the amount of processed wheat and dairy you consume. You benefit from increased energy and concentration, and better blood sugar levels which don’t shoot up and down like a roller coaster like 90% of the American population. When I first came across this idea, I took it lightly, the brioche and caffeine and egg fan that I am. Heck, the usual ingredients I touch in the kitchen are refined flours, eggs and sugar. Everything which promotes slower metabolisms, obesity, impeded thinking, and heart disease. In one way or another, indirect or not. And now, despite acknowledging its benefits, my attitude towards the caveman phenomenon hasn’t changed drastically. But why scoff at something proven to be beneficial?

I mentioned one of my favourite books in a previous post– The Story of the Human Body by Daniel Lieberman. His writing is superb, impactful; I haven’t come across another book which has altered my perspective on the human body quite as much. The thing is, we as humans evolve to accommodate change. We are so darn flexible, proven by the fact that we aren’t all dead at this point in modern time. I don’t think we need to fully revert to the caveman diet because our bodies have evolved to accommodate all that is available to us. I’m not saying we should gorge ourselves on cakes and sweets all day throughout the year, but in the end, eating more red meat and completely eliminating all the pleasures of the world (you know what I mean here) won’t exactly do your mood or health a tremendous amount of good. I’m no nutritionist, but can’t we advocate balance and not rigid dietary restrictions? I personally cannot take stomach a lot of red meat because I feel as if I have a little animal cemetery cradling my stomach afterward, hence I tend to eat more fish. Let’s just not stop having the cupcake, or mini bundt, treat on the weekend. Let’s live for the balance of what us, these smart cookies, have grown to learn, tweak and love. I’m all for the (occasional) elimination of those horrid processed foods, aka anything in a packet, but sweet tooths, I’m on your side. Go ahead, bake a tray of these. I implore you!

IMG_8826 Processed with VSCOcam with f2 preset Processed with VSCOcam with f2 preset

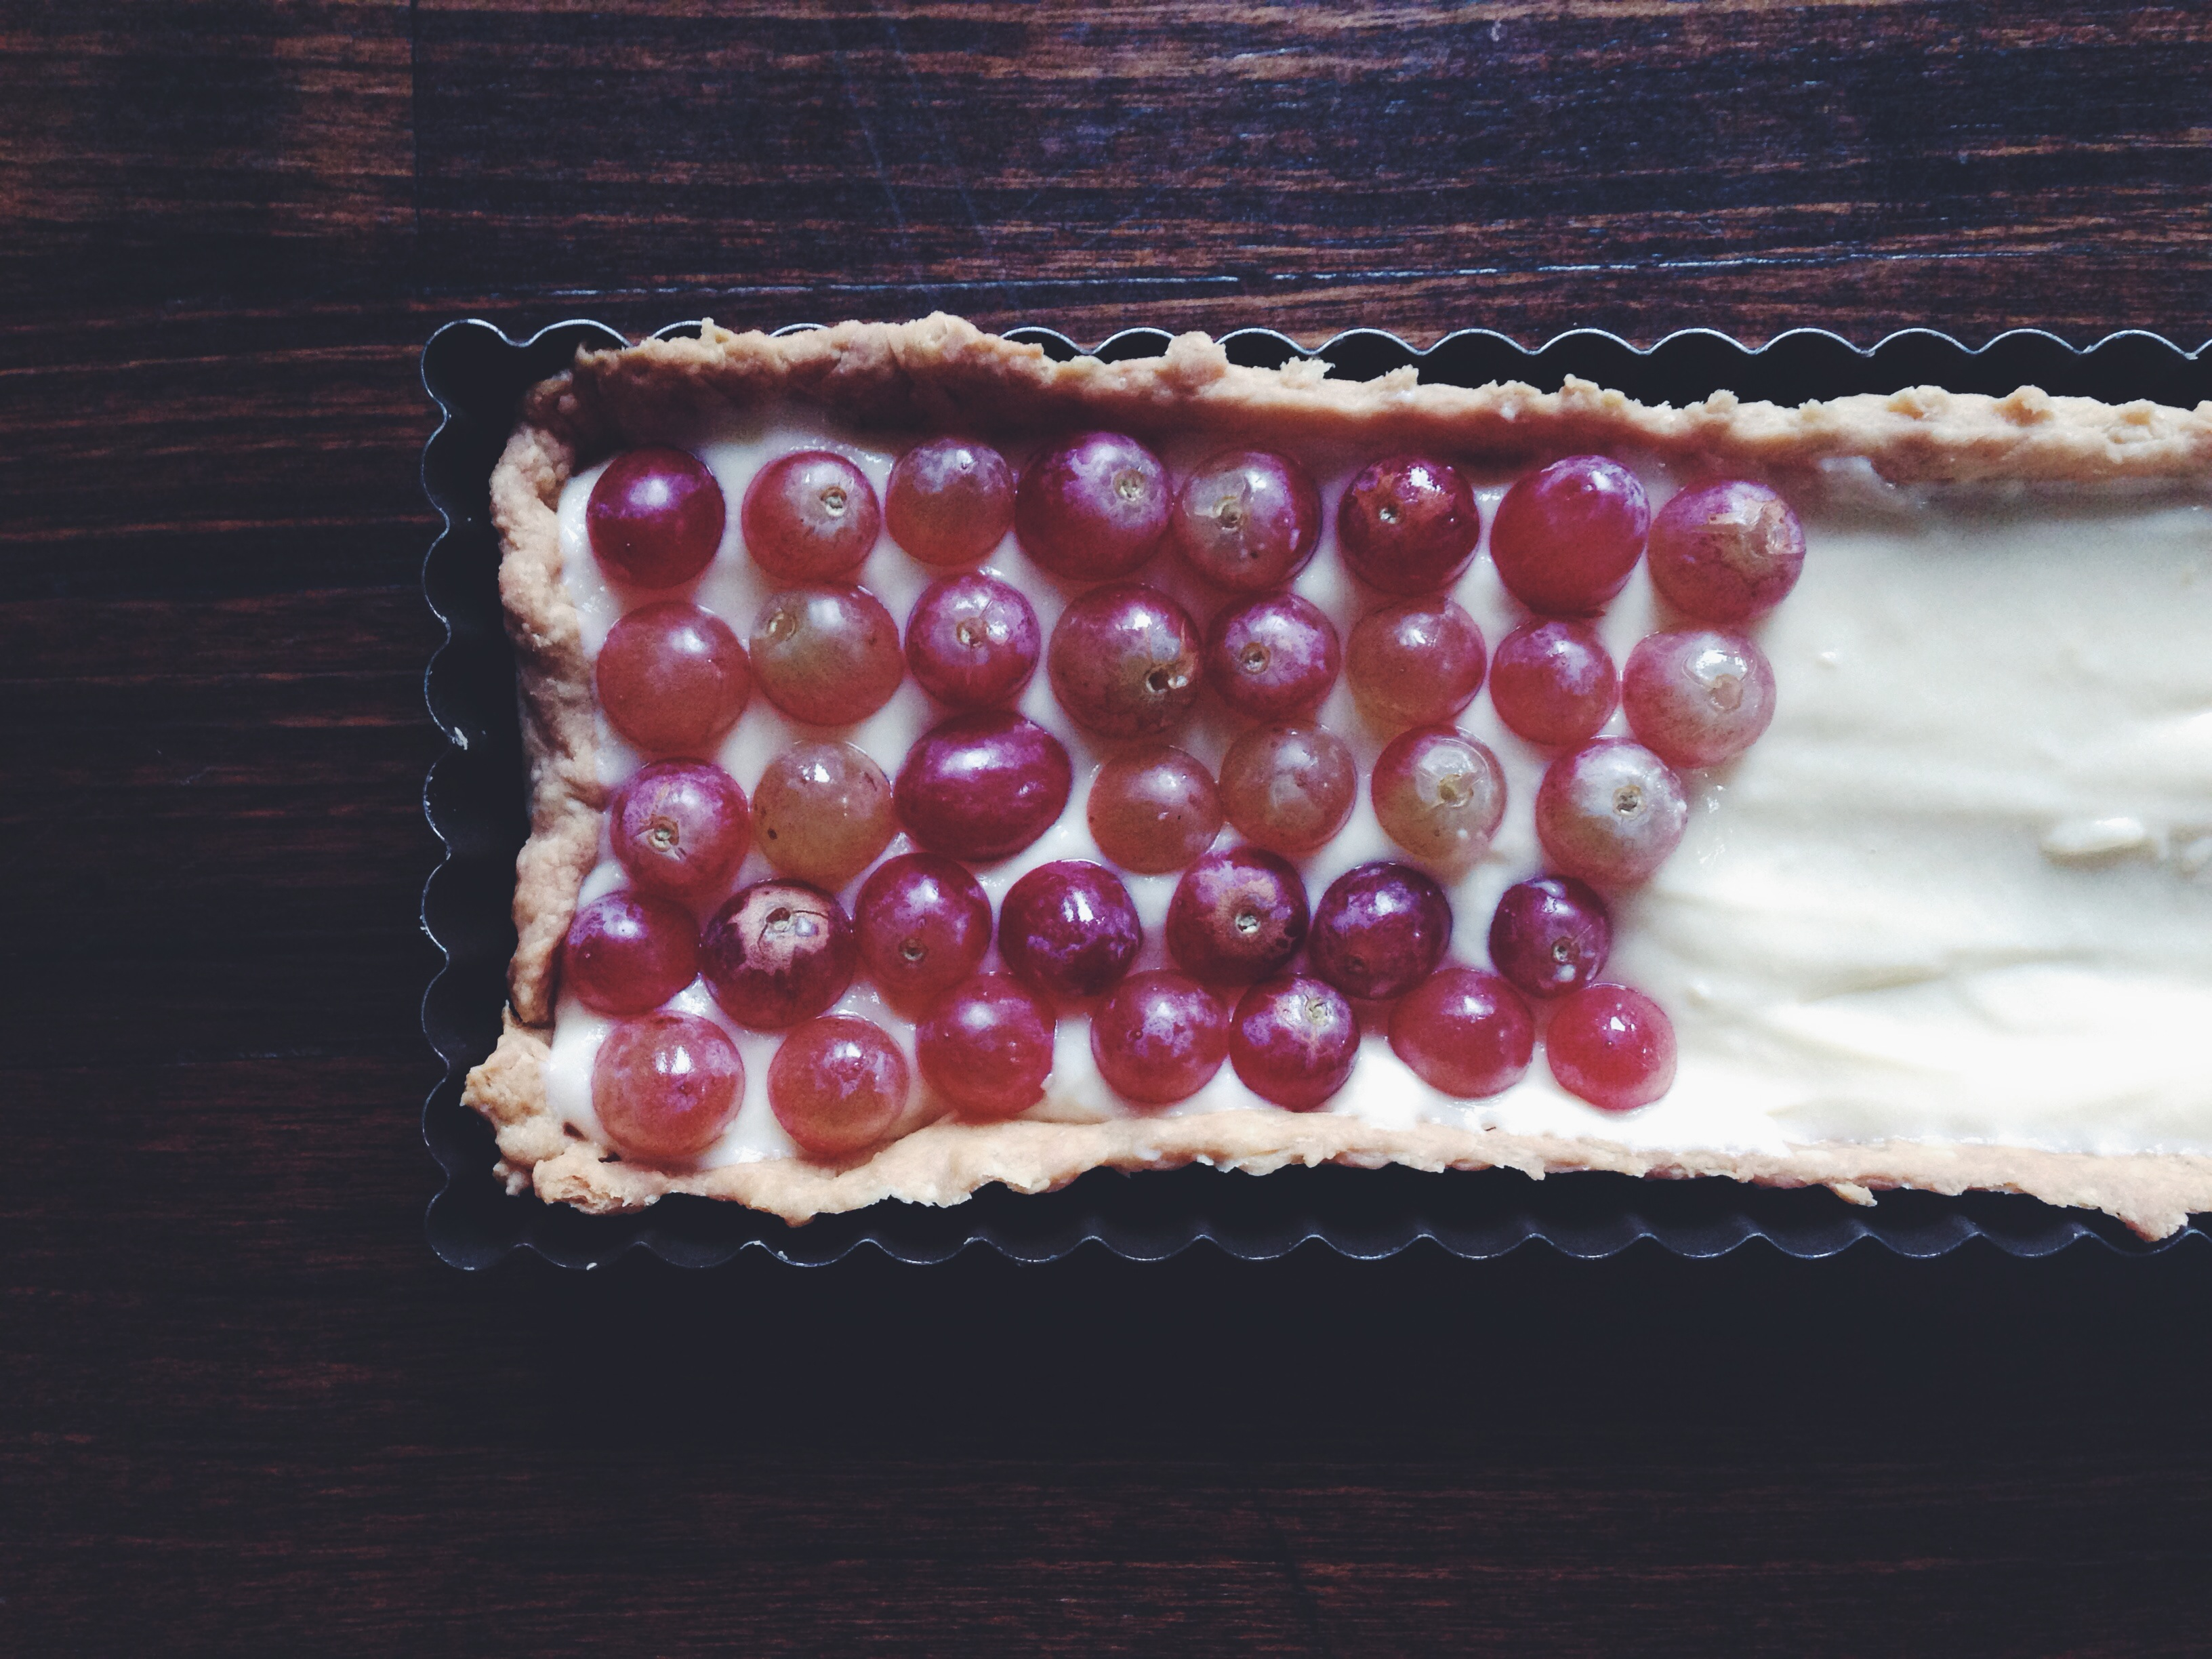
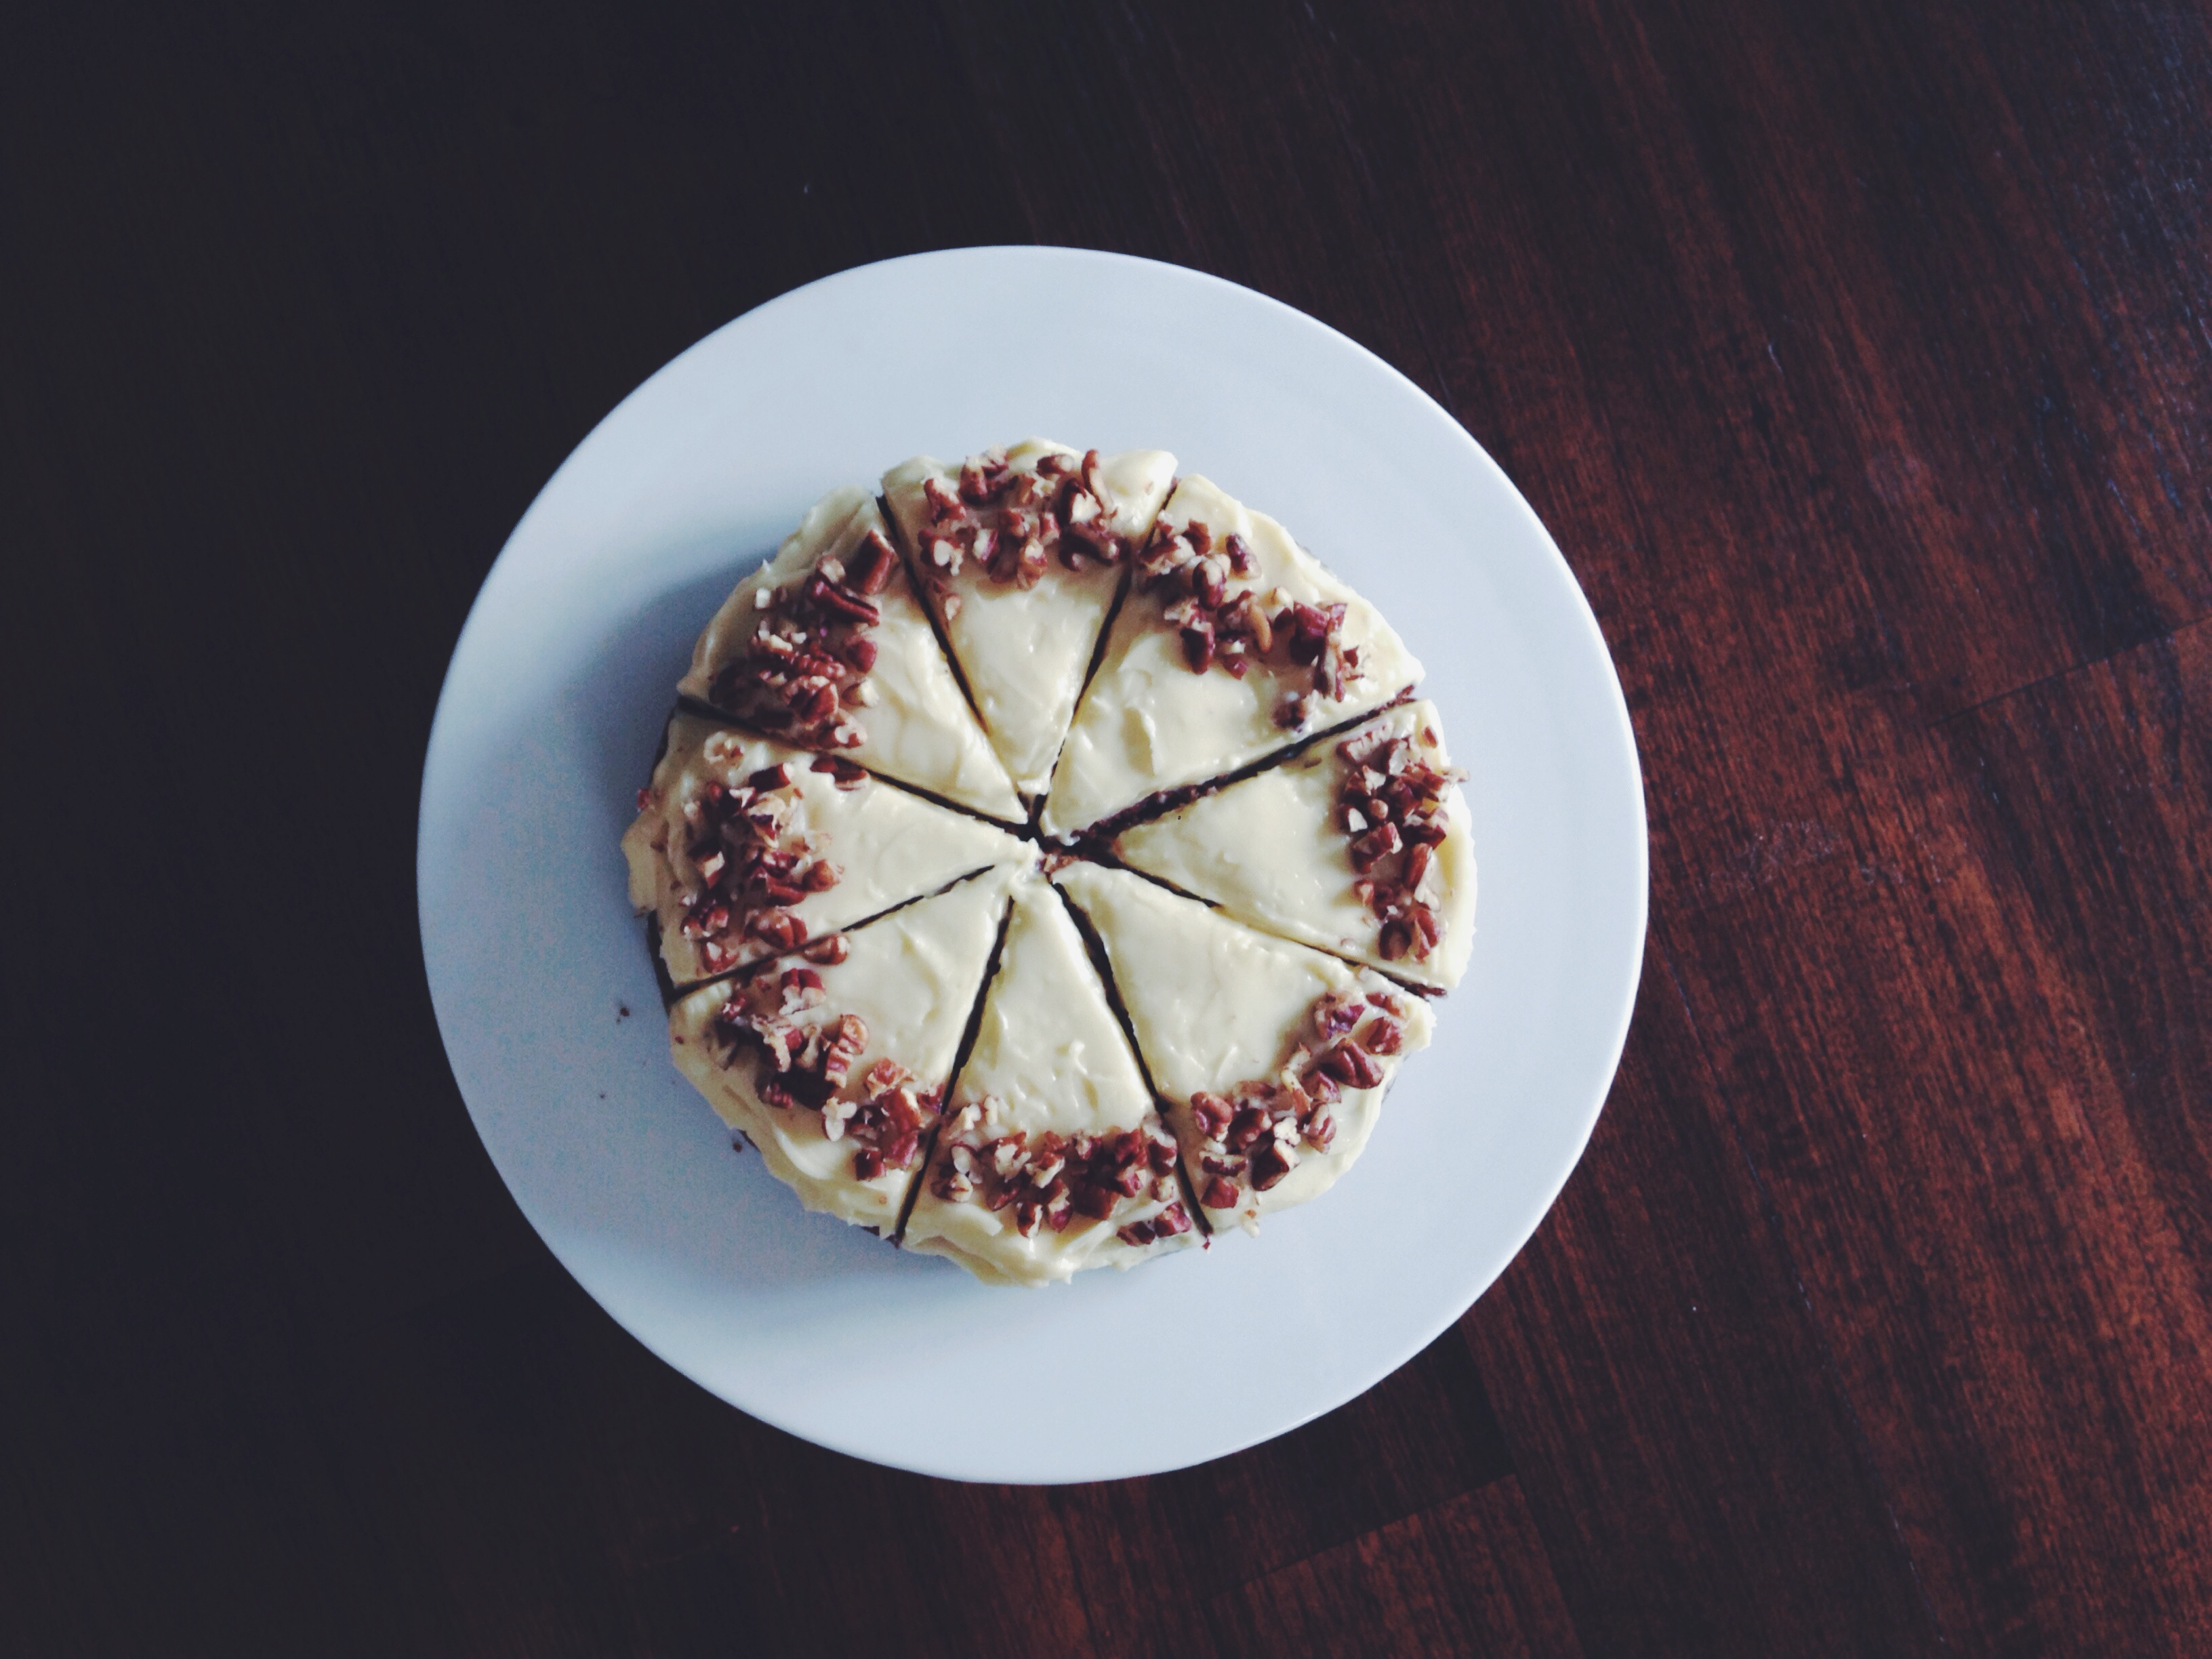
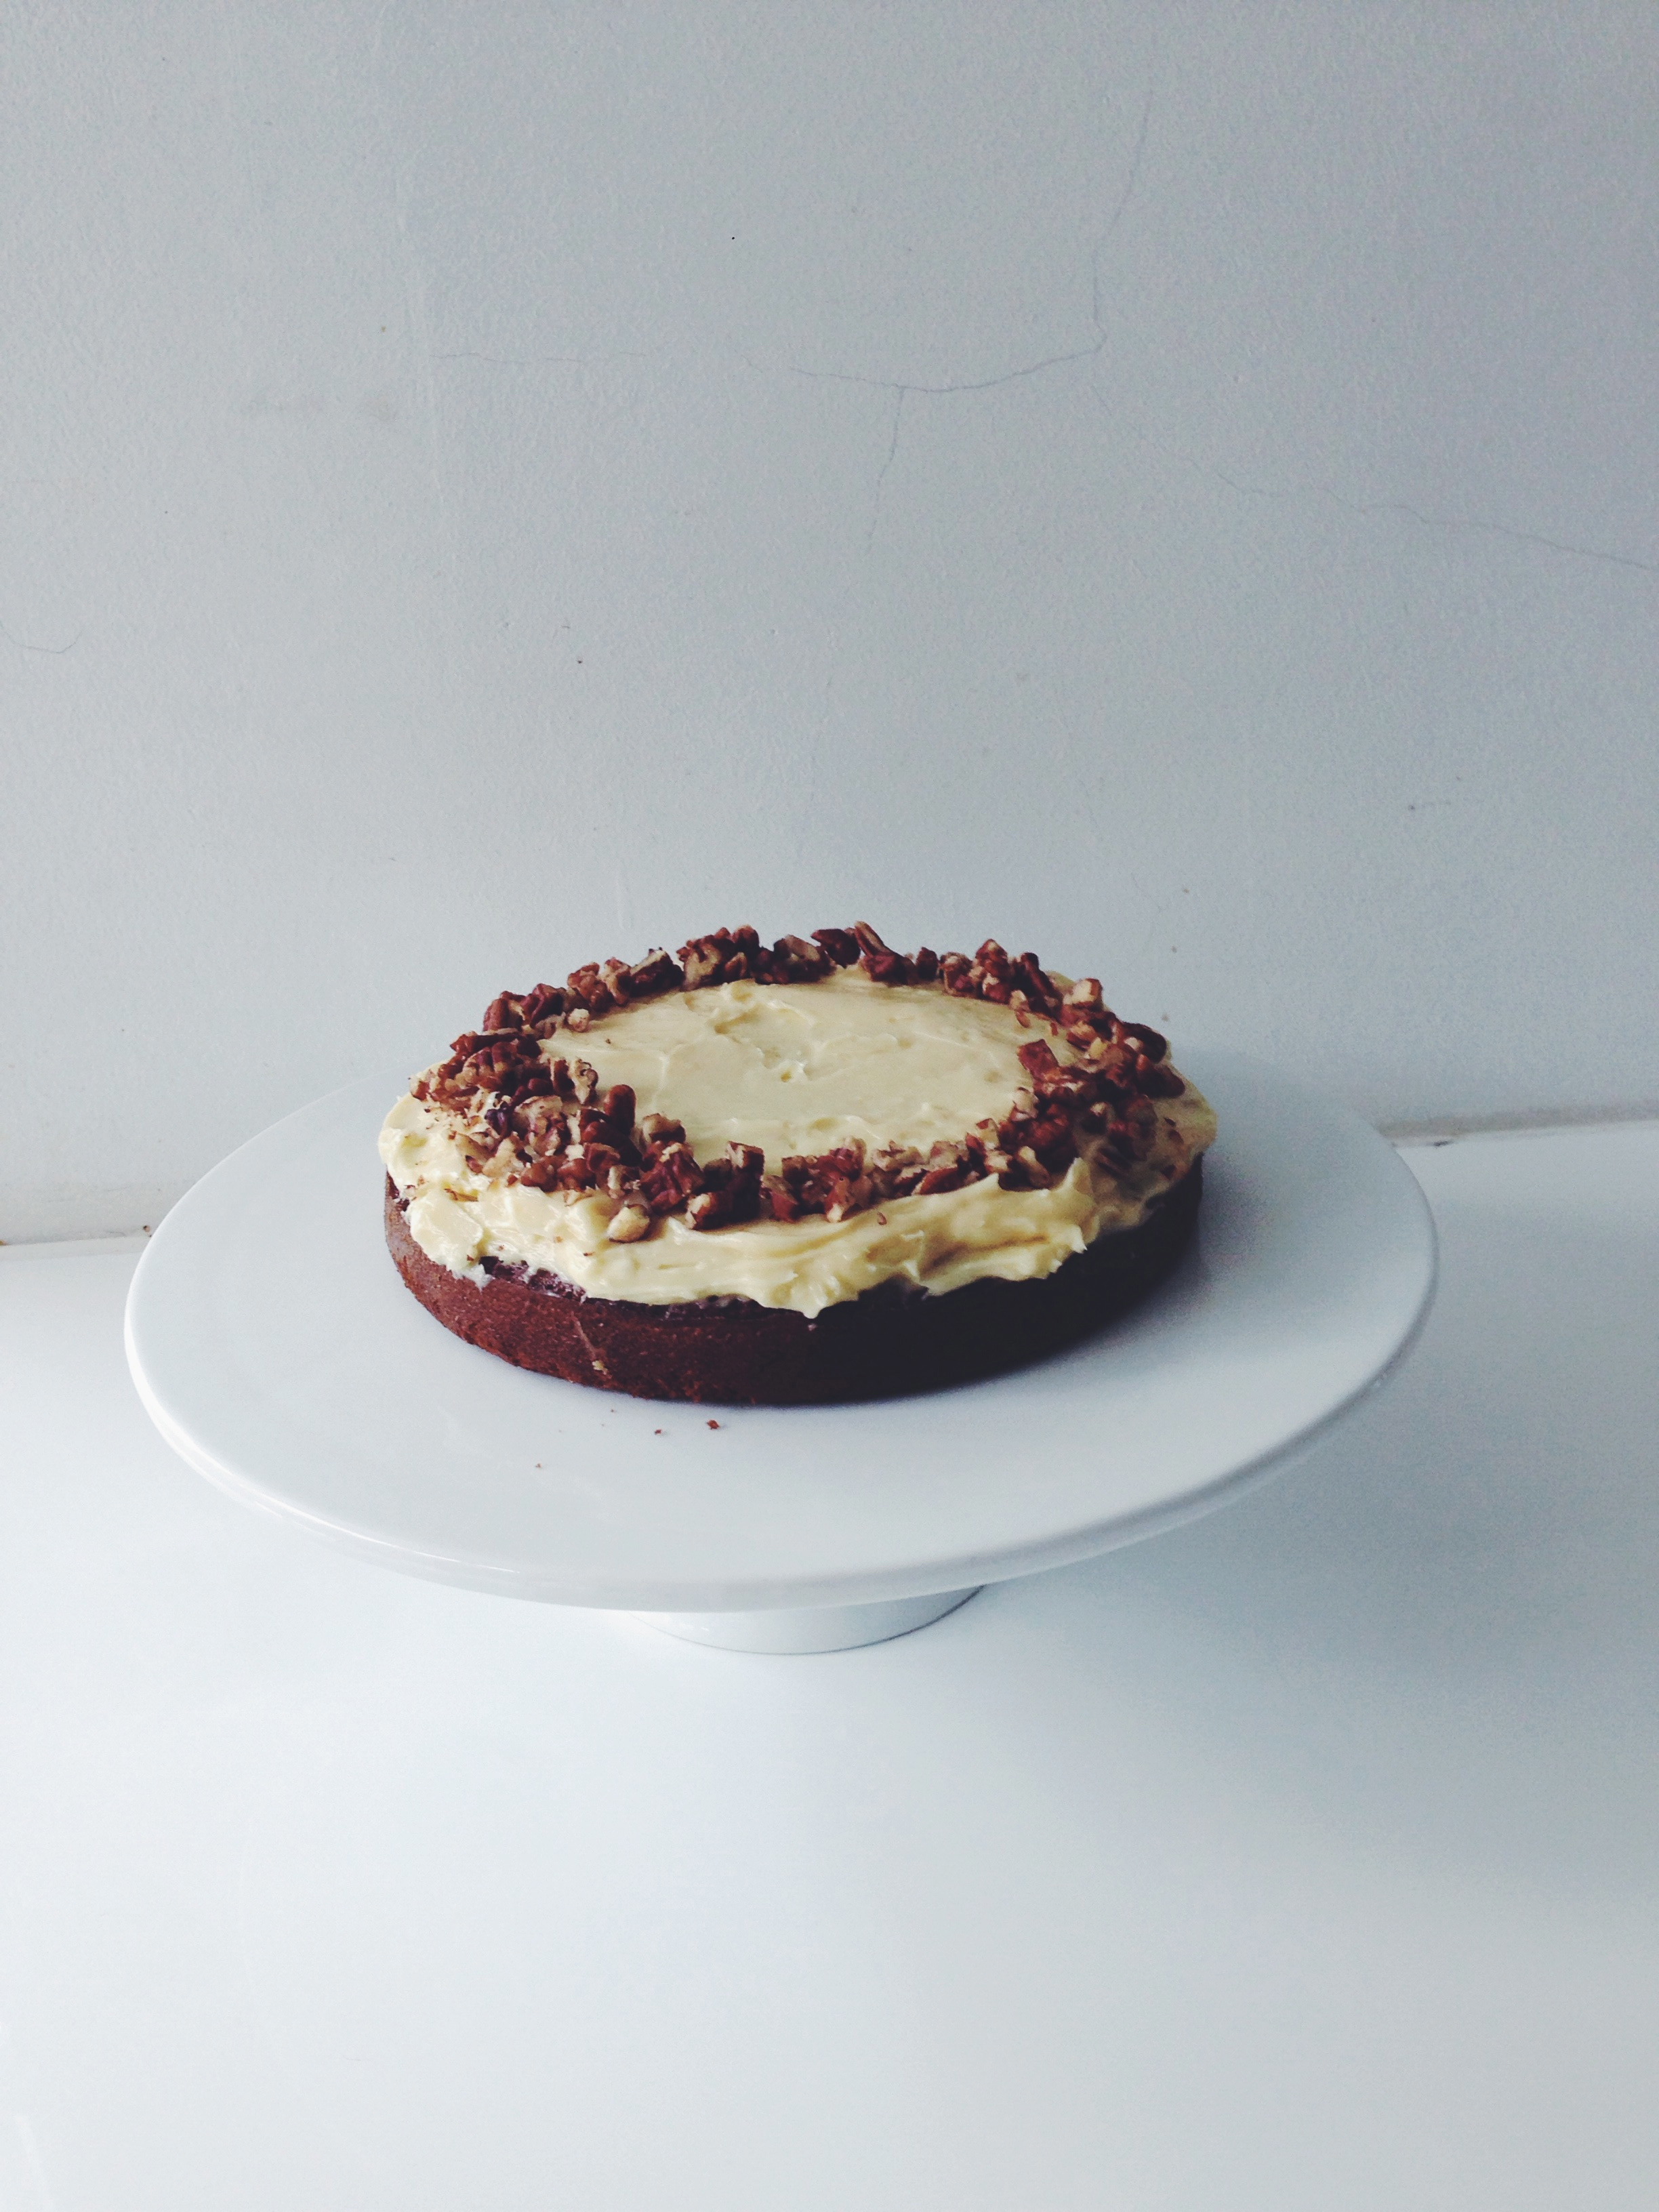
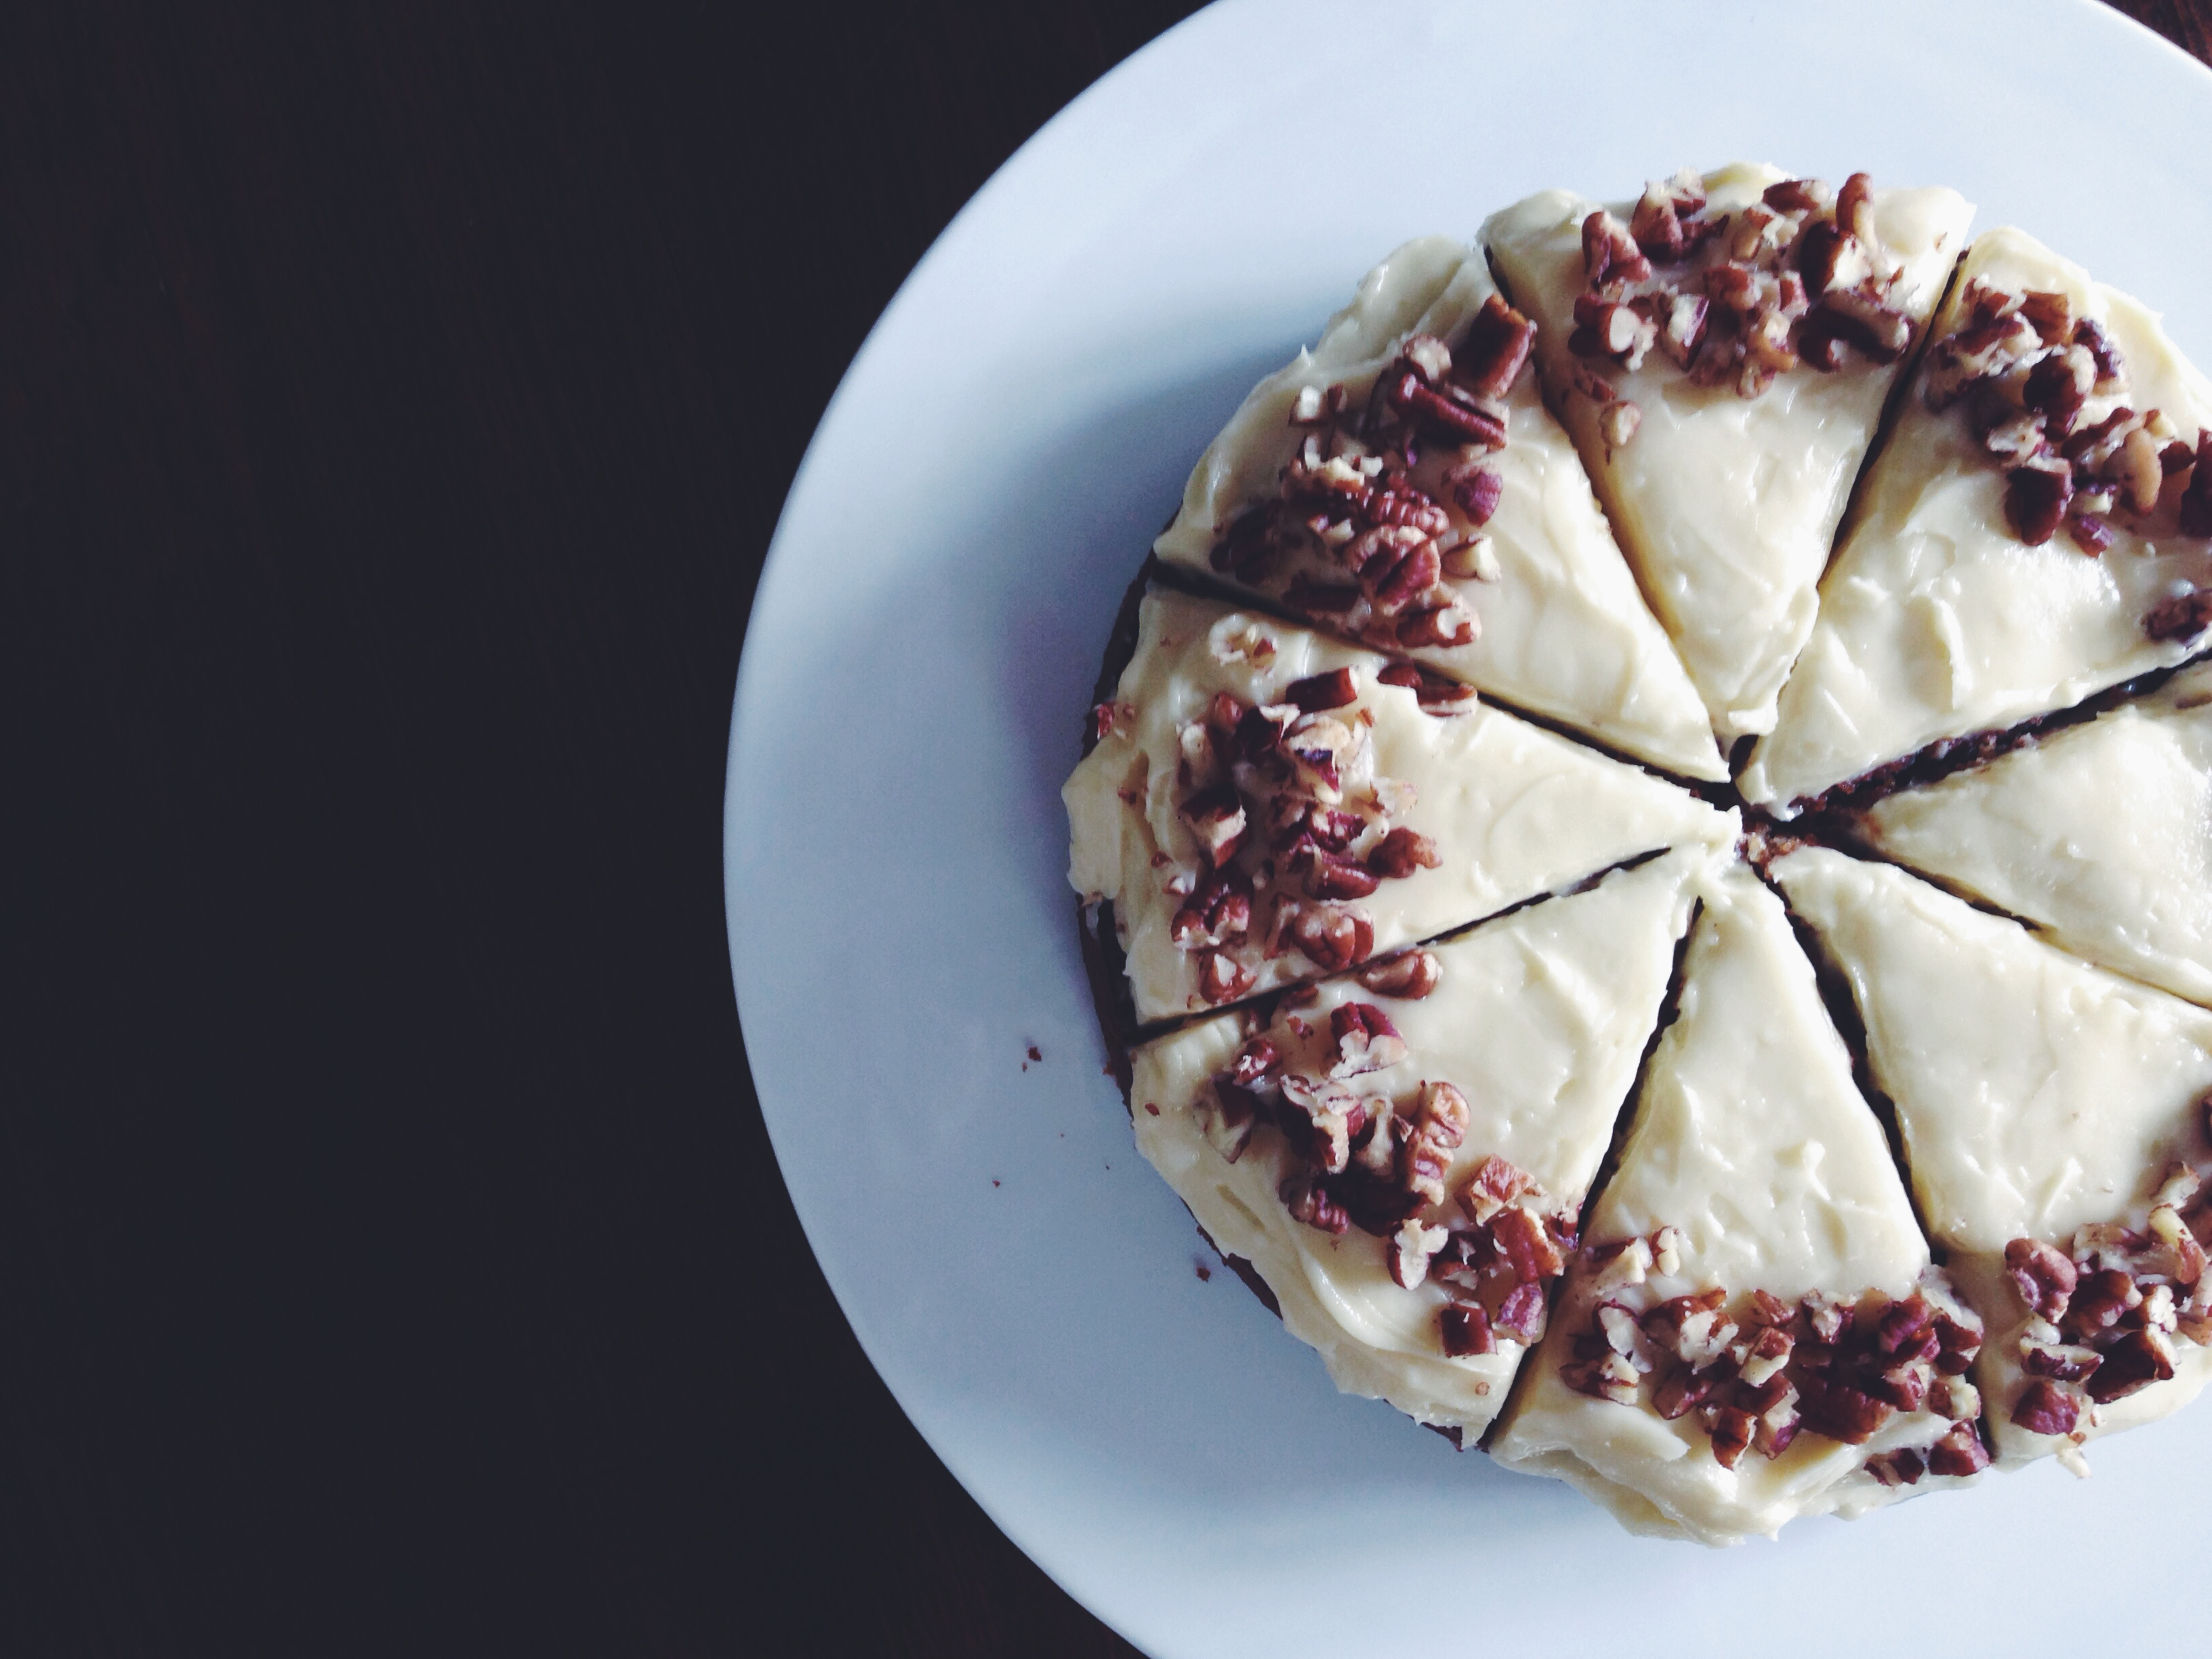
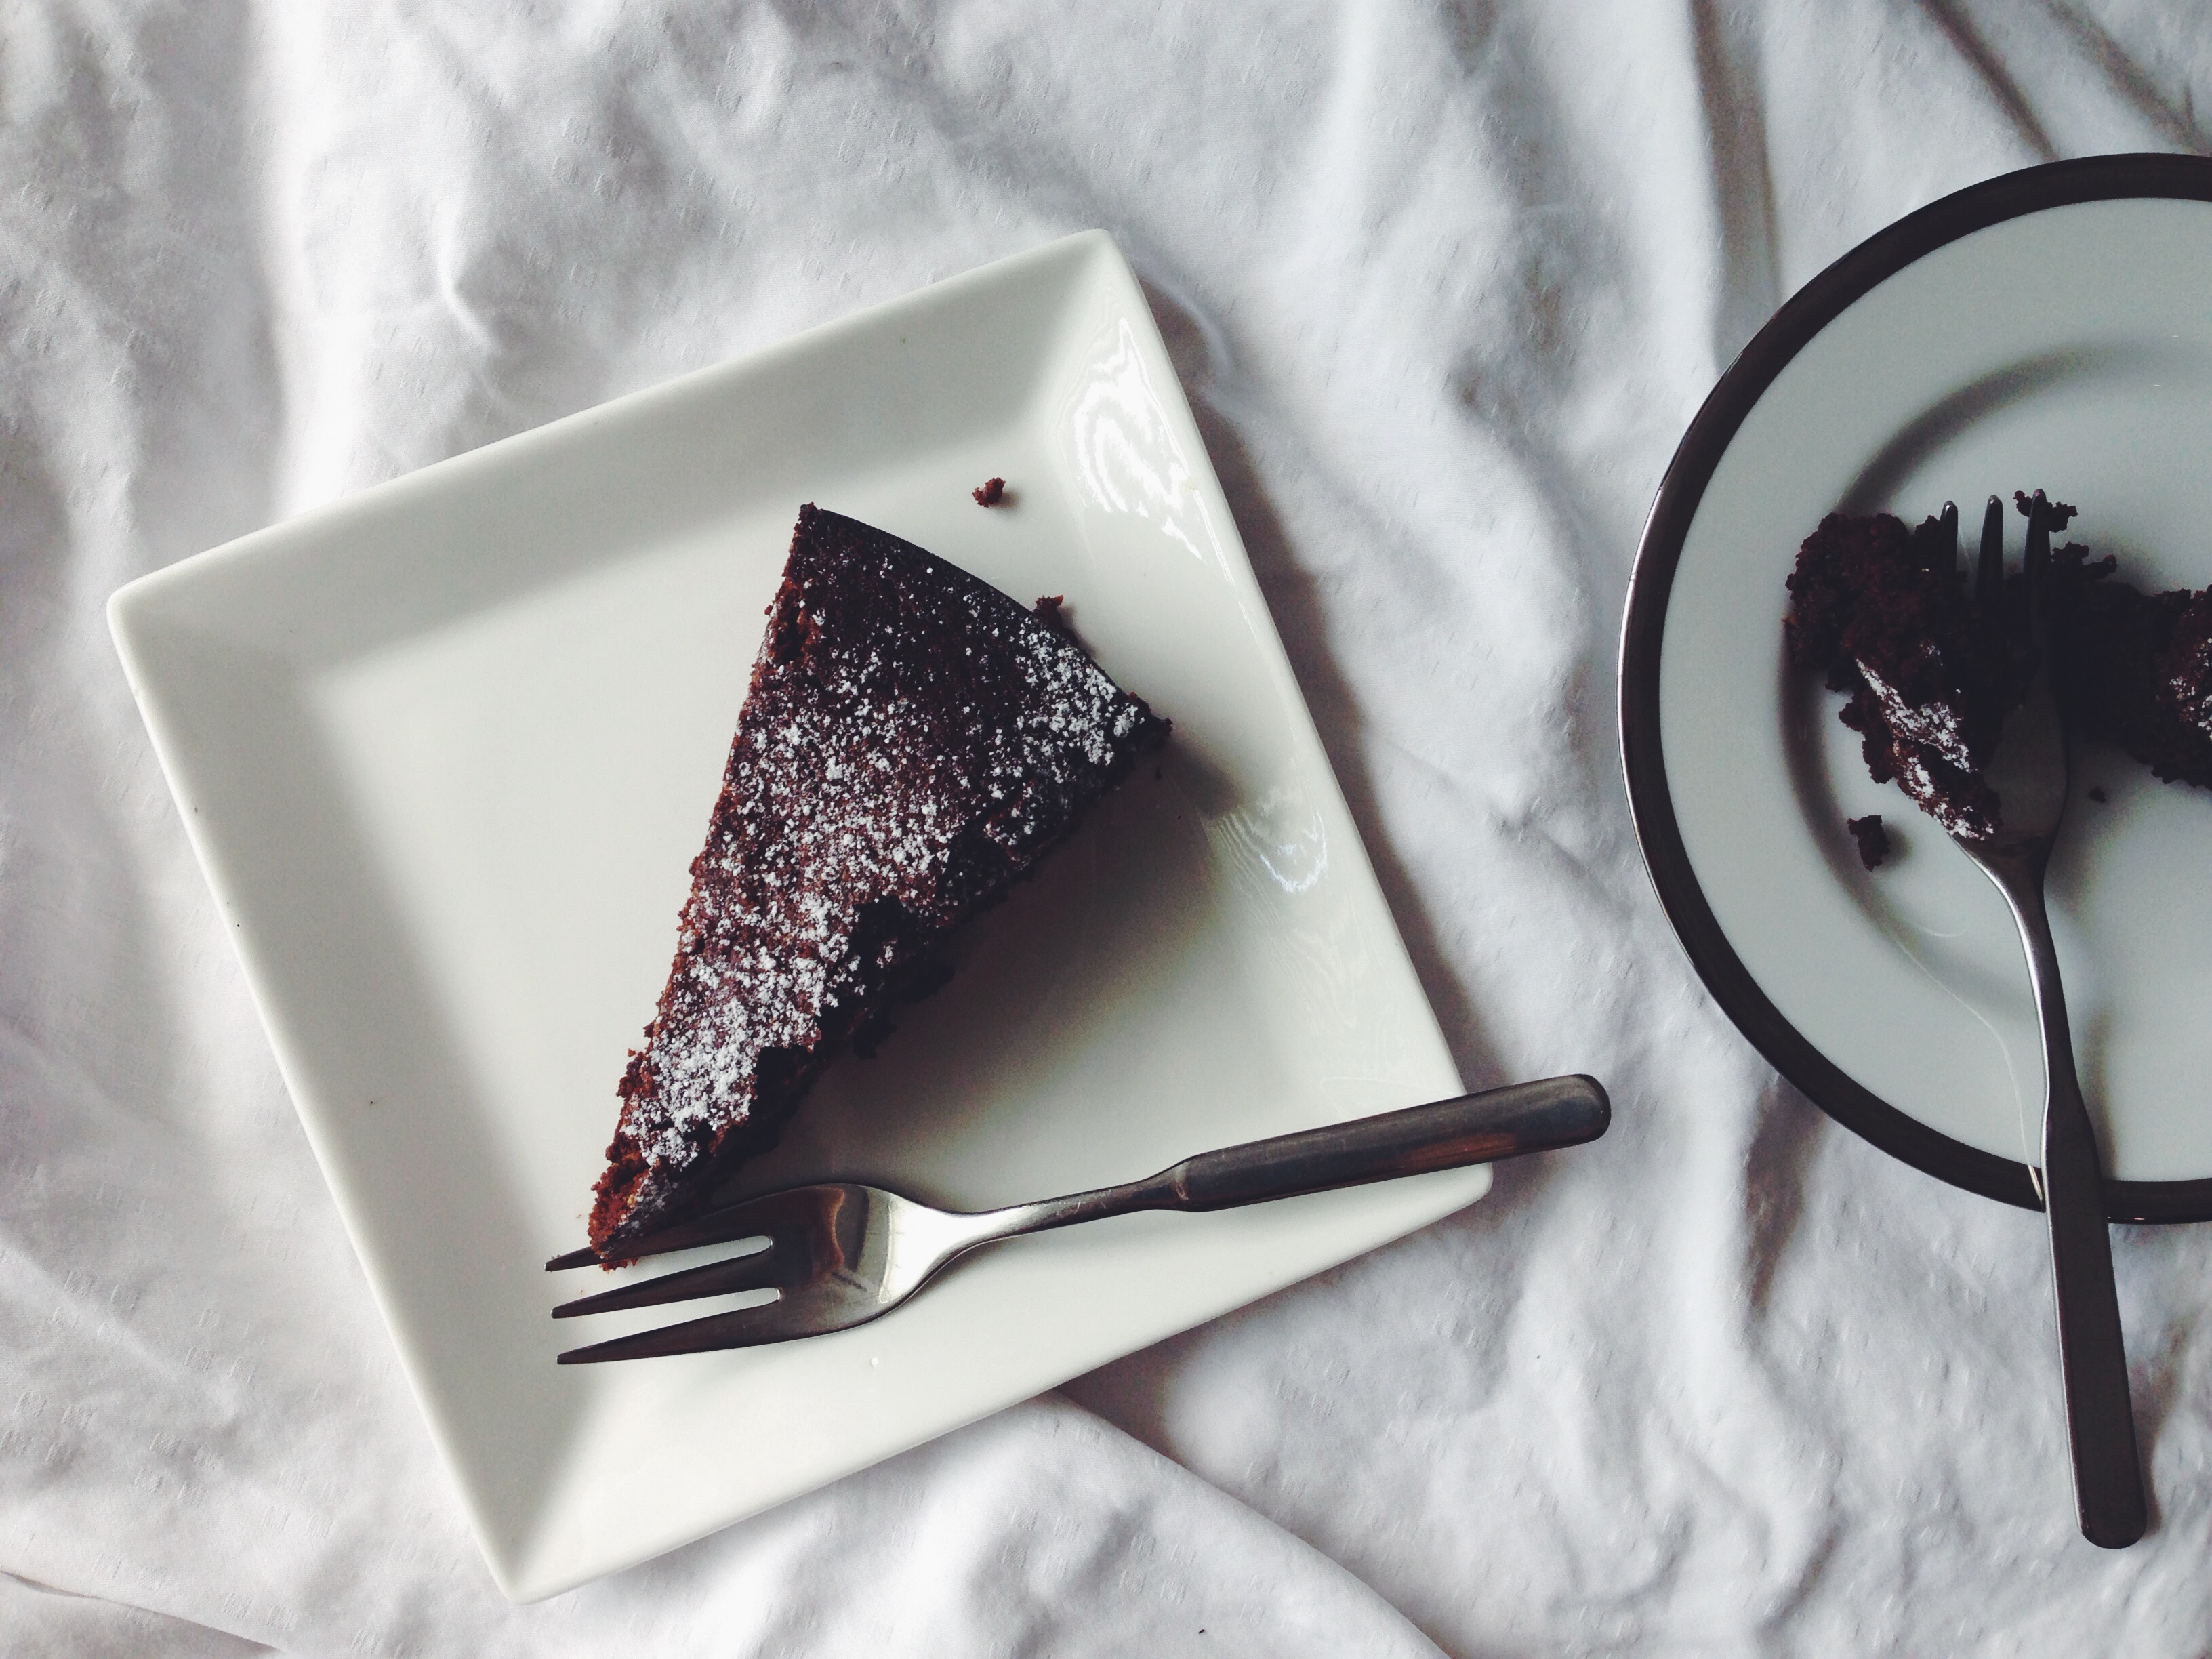
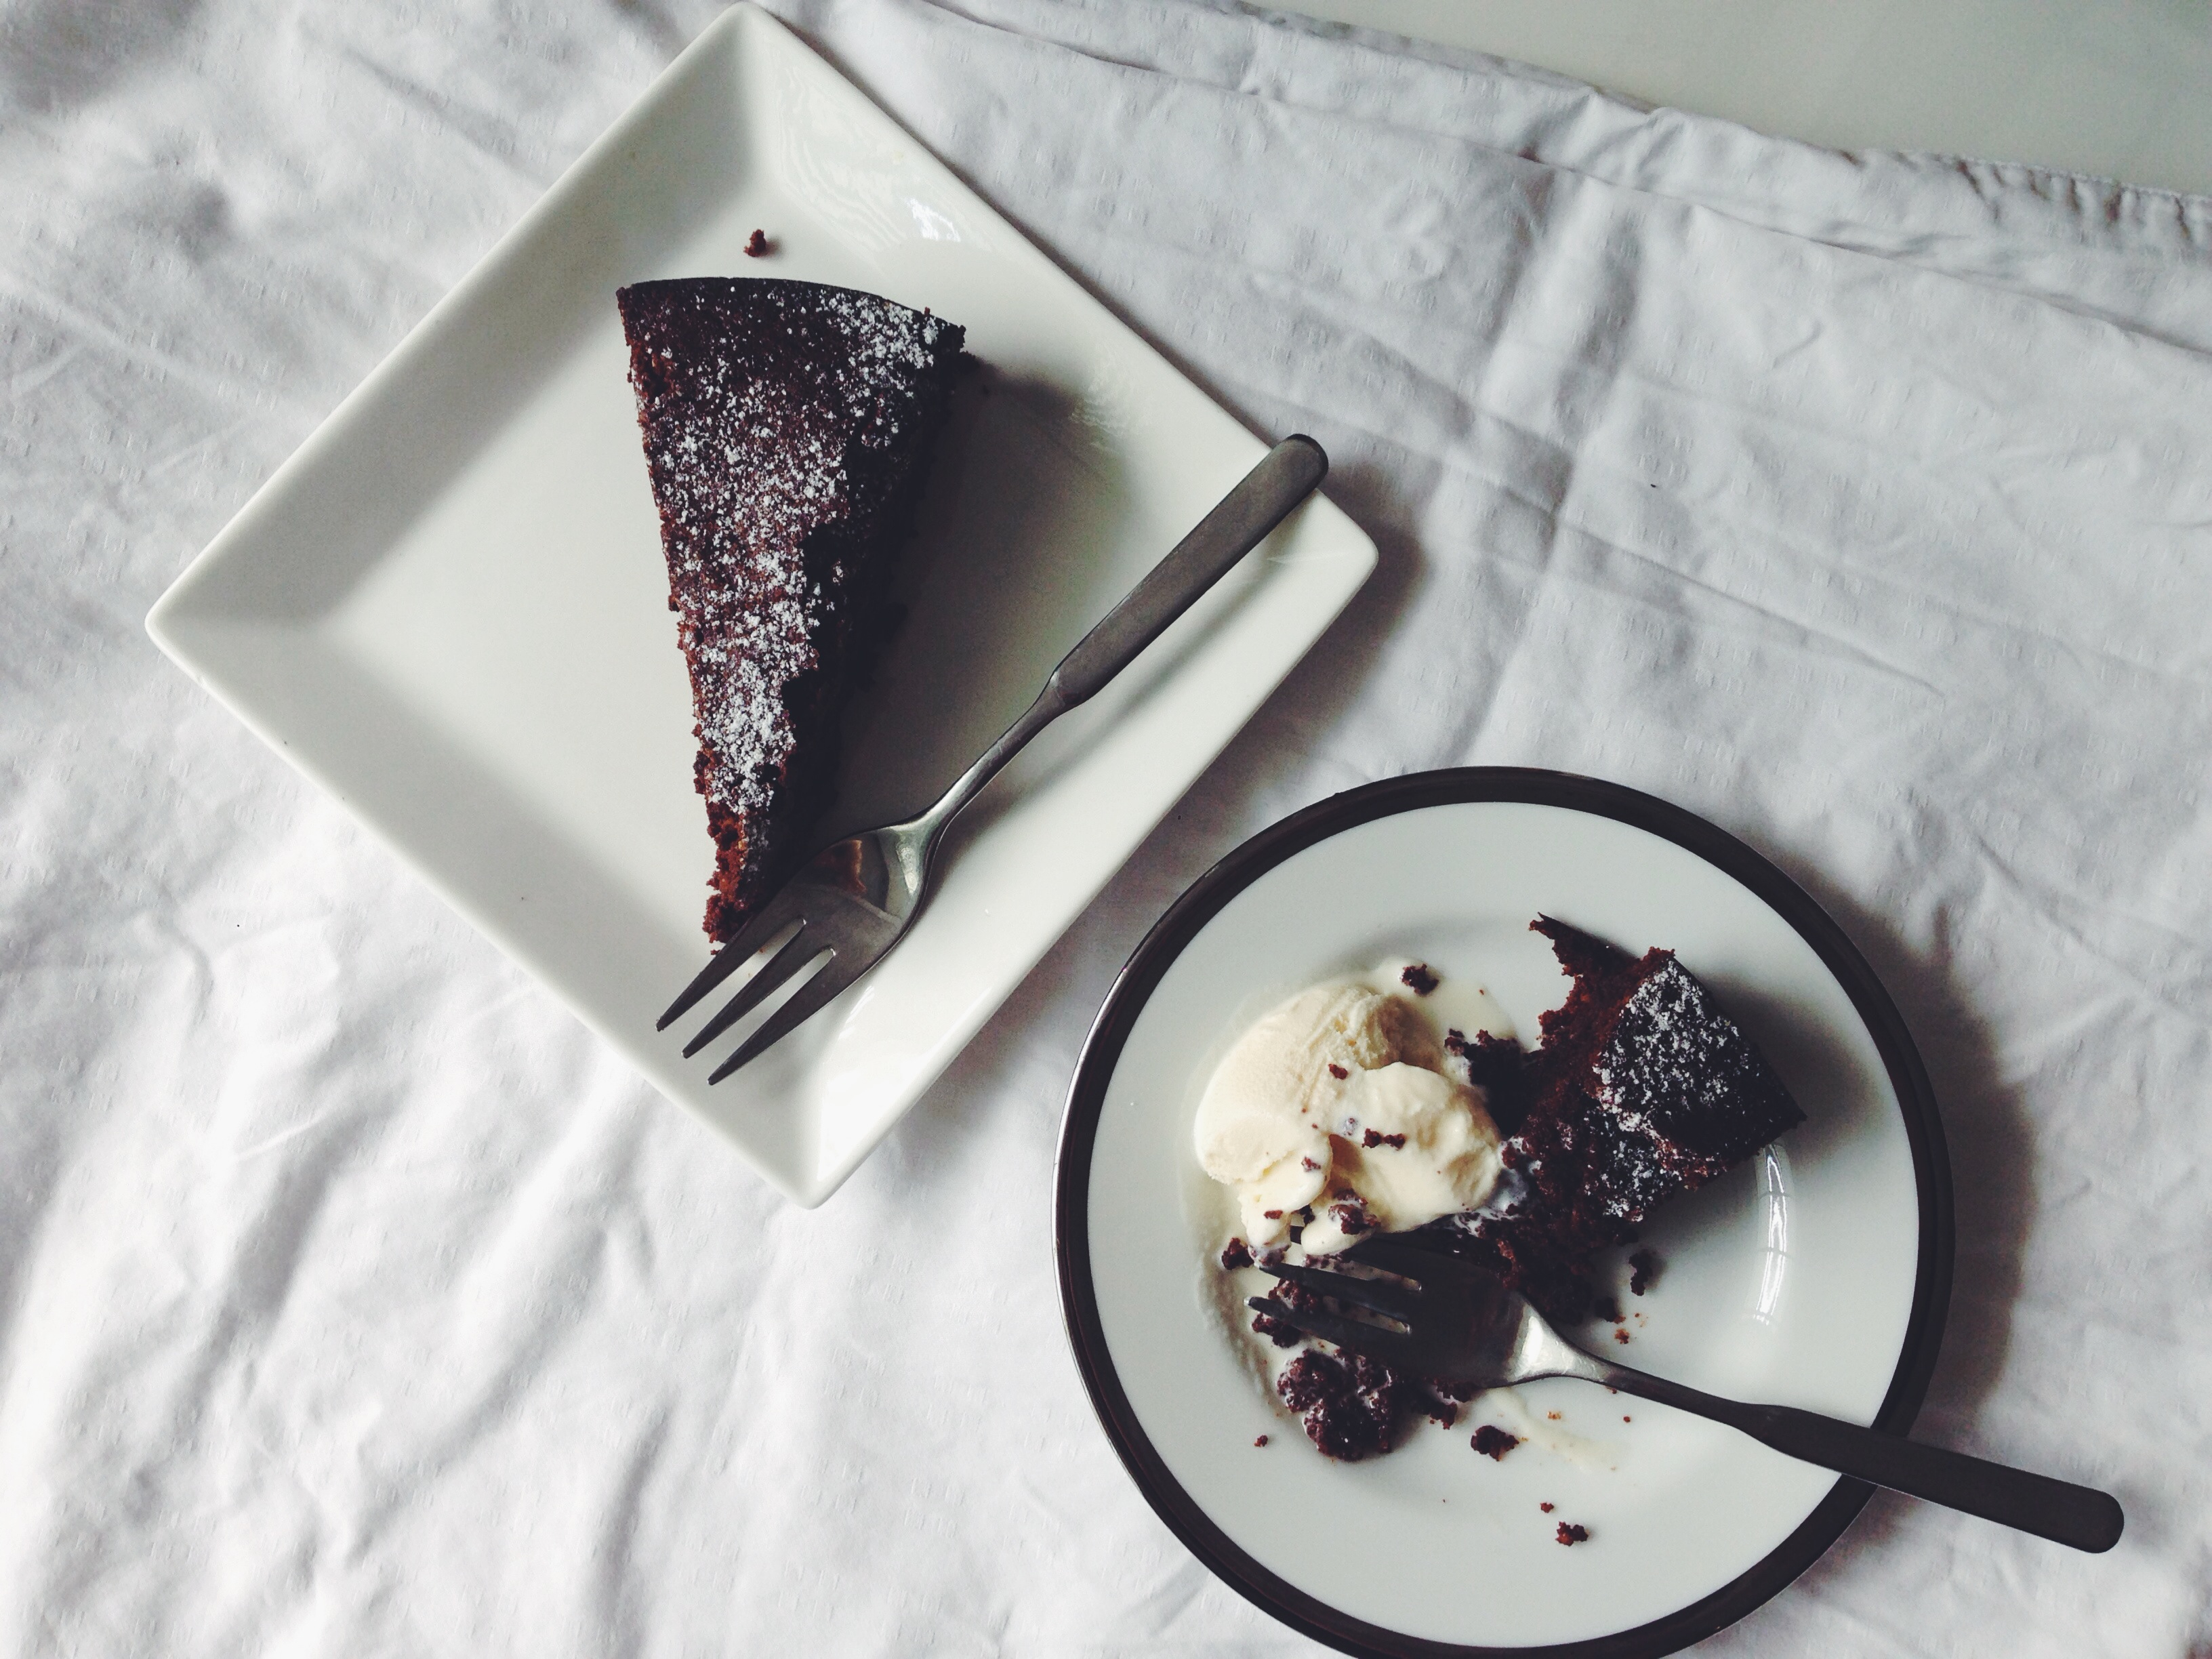
My mum recently bought mountains of speculoos/biscoff cookie spread for her own kitchen experiments. Yes, another reason why I love her so much. Lotus Biscuits are actually the best thing dunked into hot and milky English Breakfast tea. And there are a million things one can dip into hot and milky tea. Speculoos and cream cheese has been done before, and I love how this recipe incorporates both without overwhelming either flavour. The speculoos is the obvious flavour in the cake batter, which is on the slightly denser side to hold up the integrity of a robust mini bundt. Topped with crushed speculoos biscuits, salted caramel sauce (had some extra left over), and coconut date sugar. The cream cheese frosting and crushed biscuits are enough here; I just happened to have leftover ingredients which amped up the light and otherwise more predictable bites of speculoos heaven.

The crushed biscuits on top offer the loveliest texture contrast. The recipe itself is so simple because the speculoos spread already has flavours like cinnamon and vanilla, so the rest is just a matter of 5-minute mixing, tops.

Speculoos Mini Bundts (makes 12, adapted from Baked Bree)

58g soft, unsalted butter

140g Speculoos/Biscoff spread (a half cup)

225g (1 cup) white sugar

2 eggs

80ml whole milk

1.5 teaspoons vanilla extract

188g all-purpose flour (around 1.5 cups)

1 1/4 teaspoons baking powder

quarter teaspoon of salt

For the cream cheese frosting:

113g softened cream cheese

1 teaspoon vanilla extract

125g icing sugar

2-3 tablespoons milk (test according to preferred consistency)

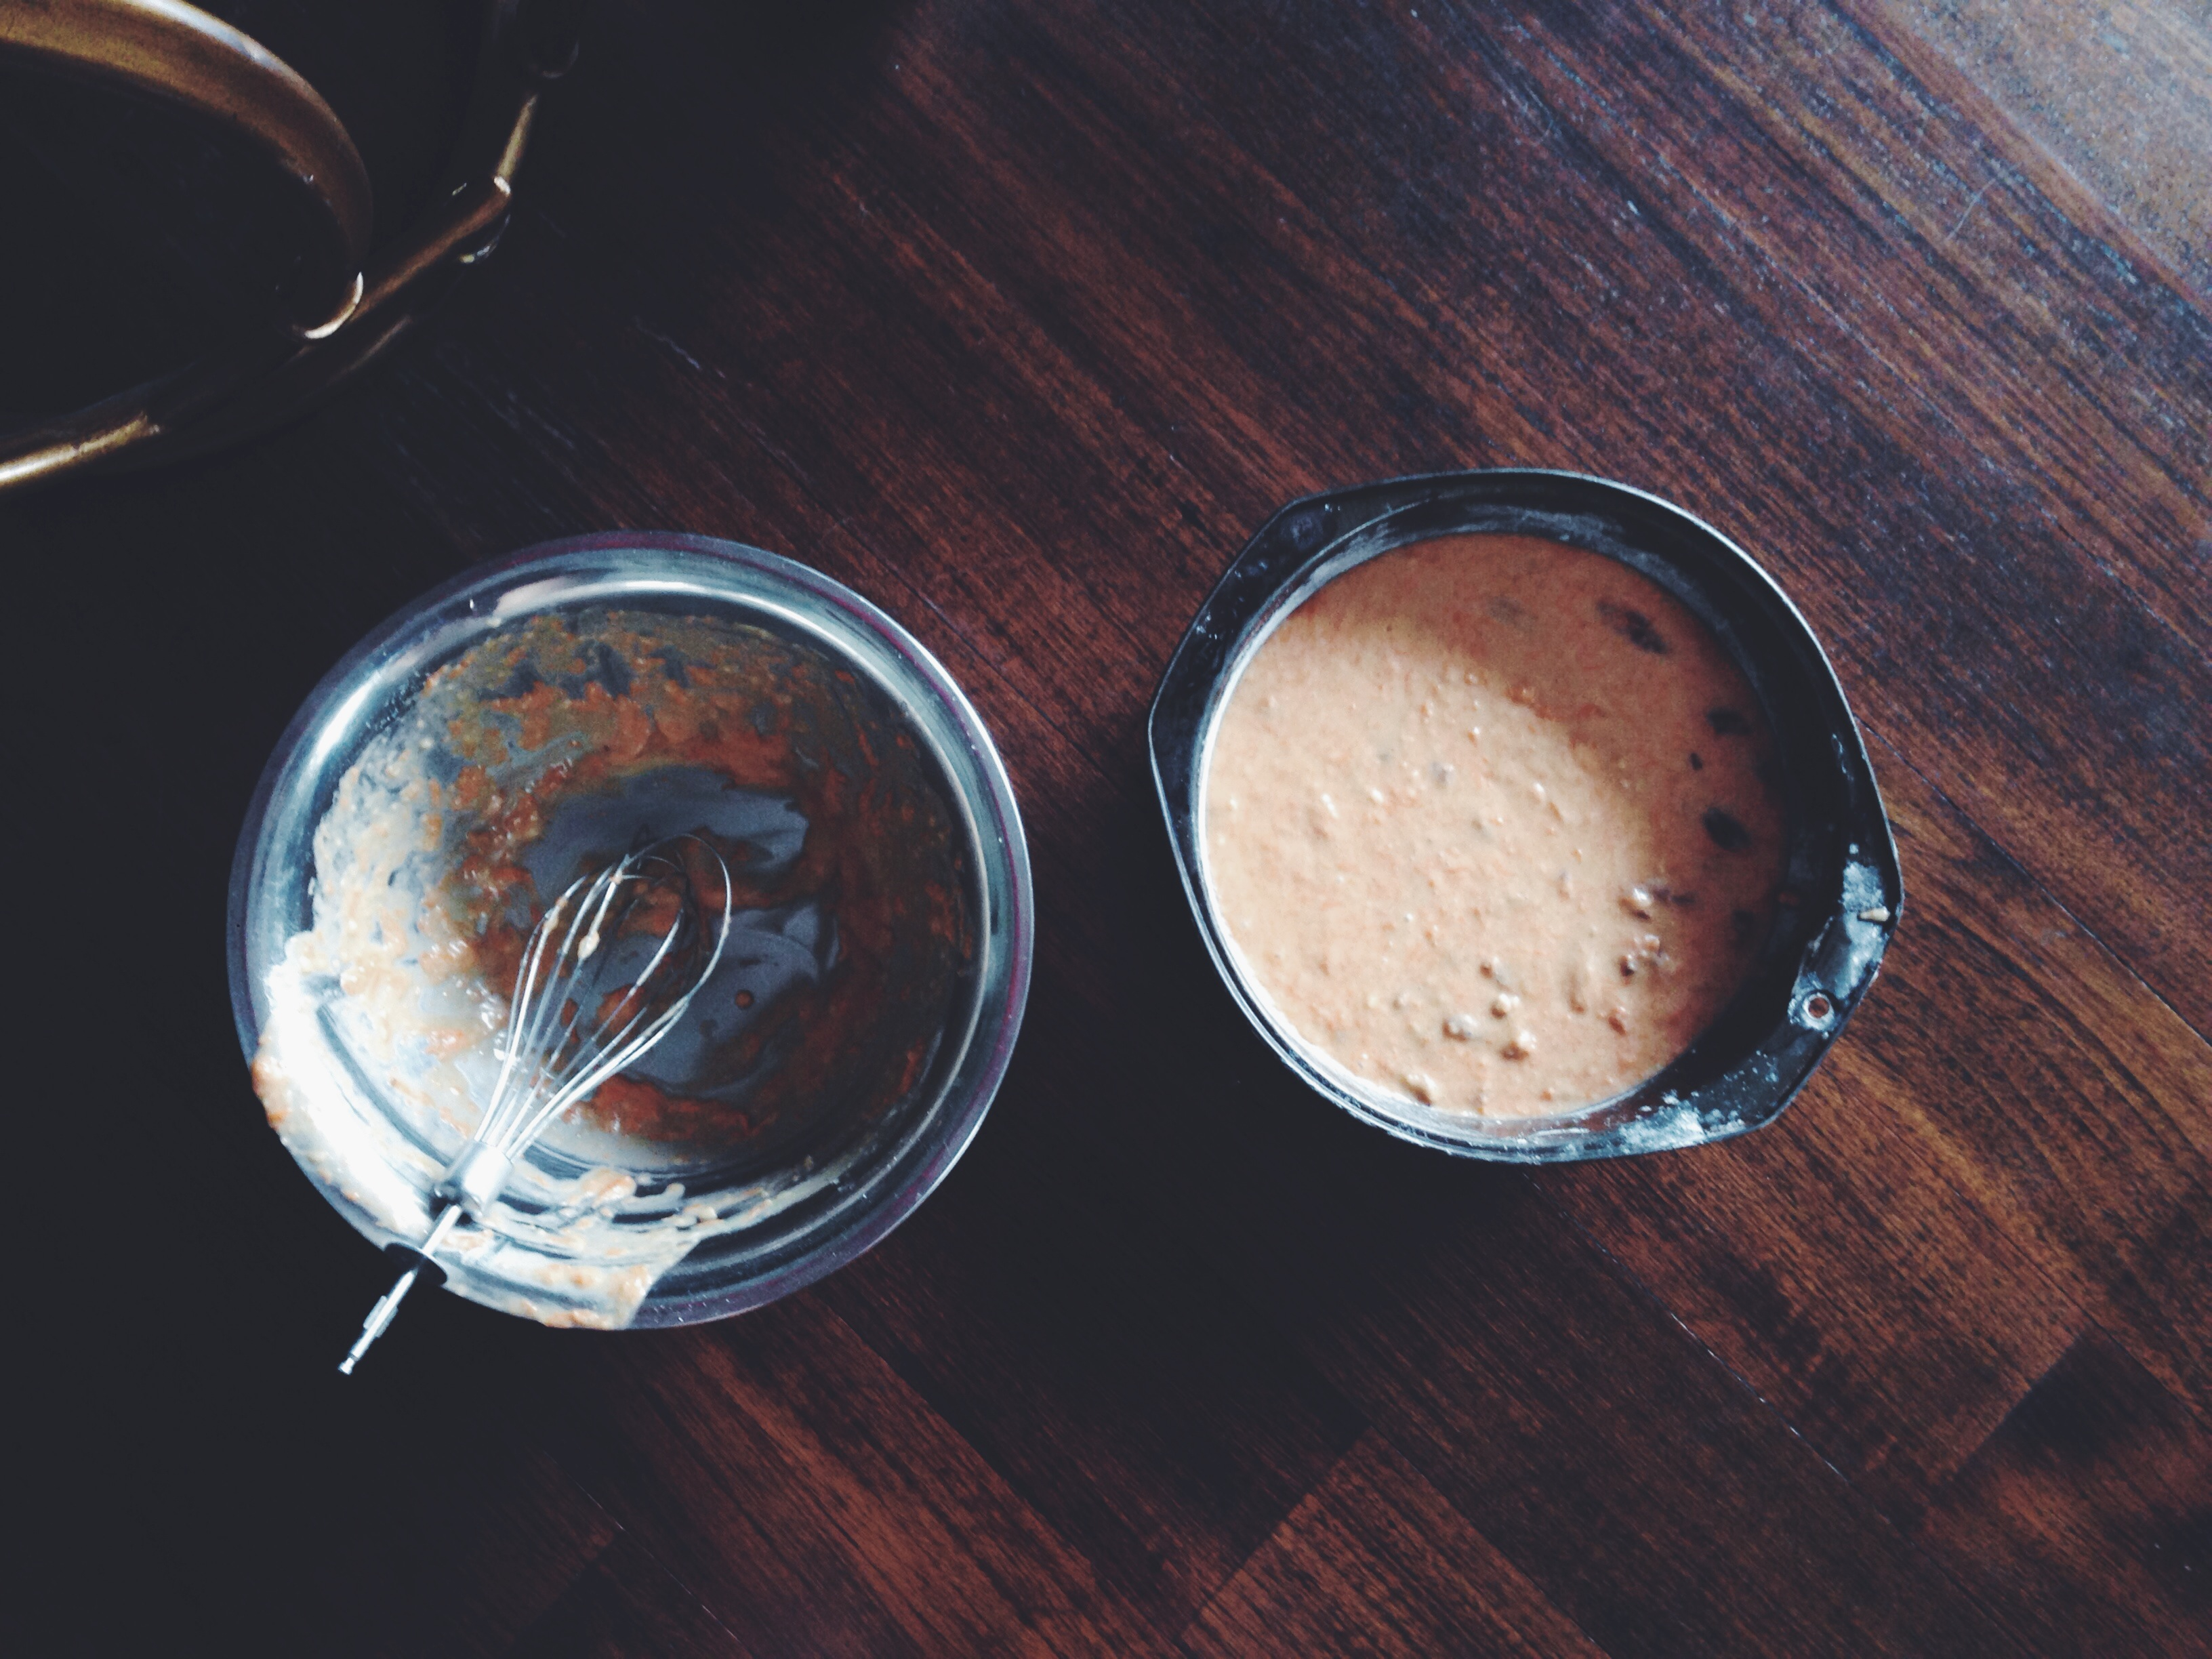
Preheat your oven to 177C and butter a mini bundt or cupcake tin. In a small bowl, briefly whisk together the flour, baking powder and salt. In a large bowl, beat together the speculoos spread, butter and white sugar. Beat for at least a minute, until light and fluffy. Beat in the eggs and vanilla. Add the flour mix and mix briefly to incorporatel the mix should look a bit dry but still sticky. Pour in the milk and fold in to incorporate. The batter shouldn’t be too thick or thin, and will resist ever so slightly when allowed to drop from the spatula.

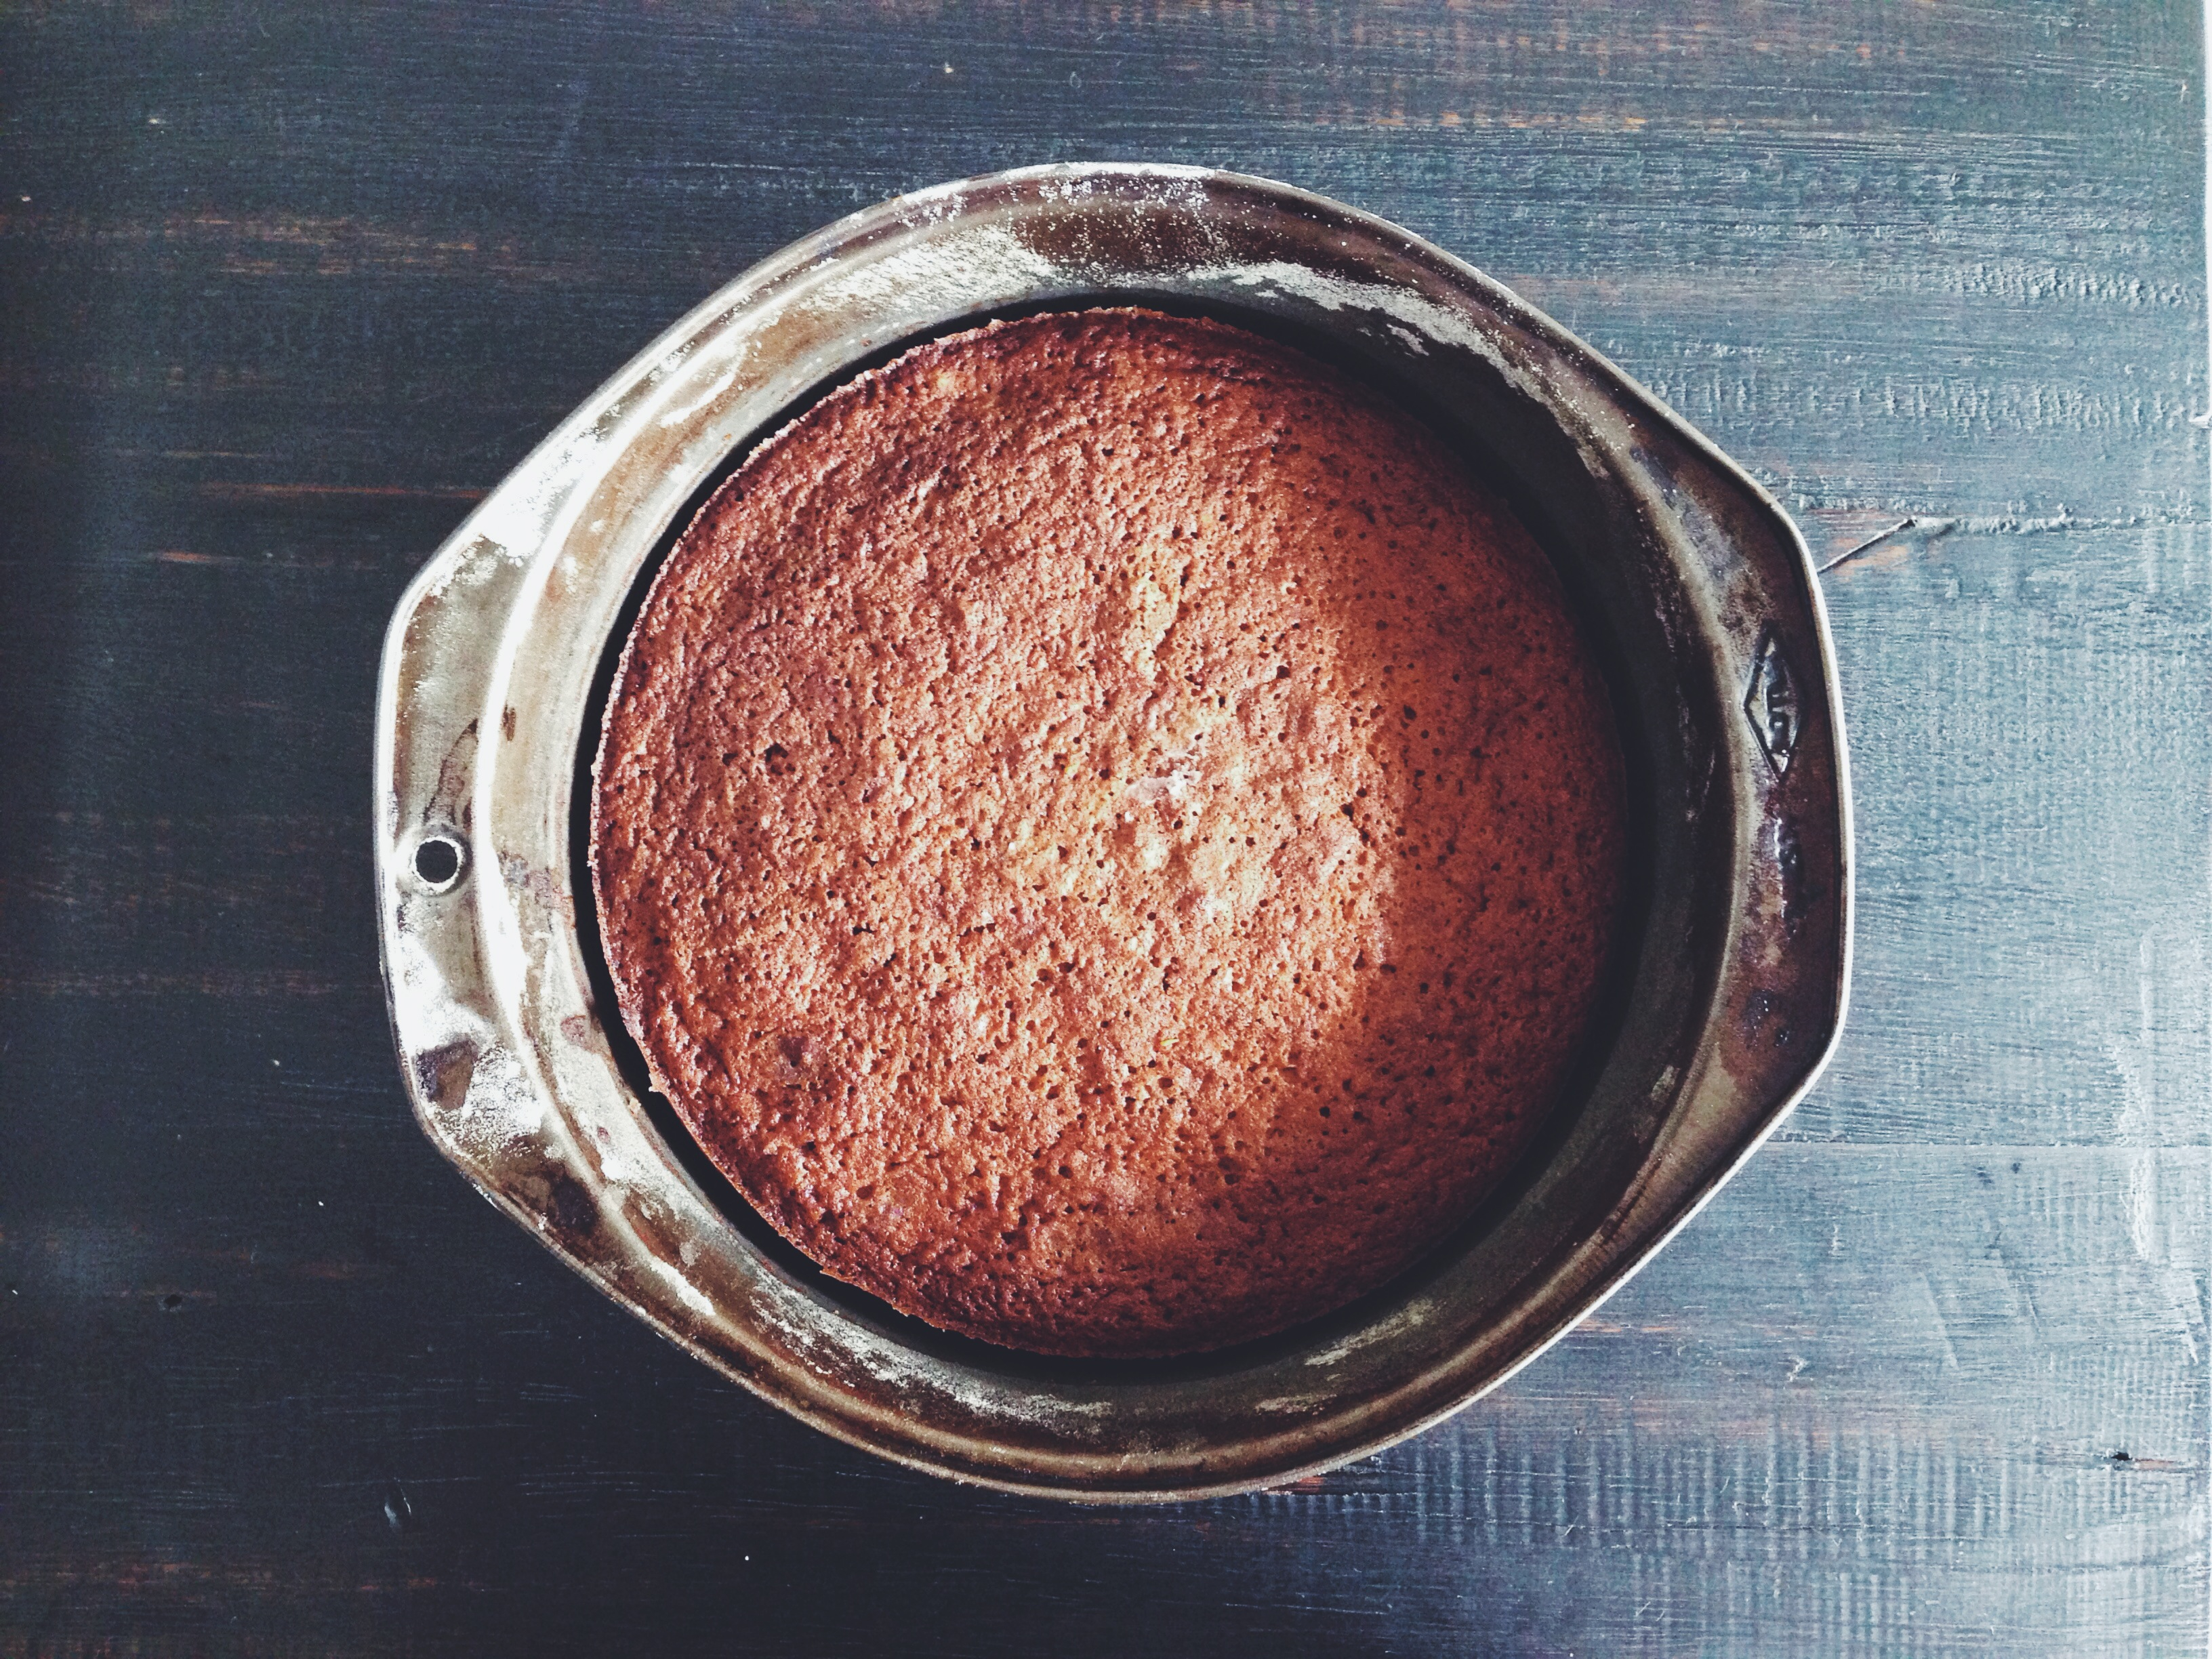
Fill the cupcake/bundt molds full with the batter. Place in the preheated oven and bake for 16-20 minutes. Mine were done at the 18-minute mark. Test the inside by poking in a wooden skewer. They should have risen significantly but still look smooth and golden-brown on top. Allow the bundts to cool on a wire rack whilst you make the cream cheese glaze. Beat together the icing sugar, cream cheese and vanilla. Add milk, a teaspoon or tablespoon at a time, until you reach the desired consistency.

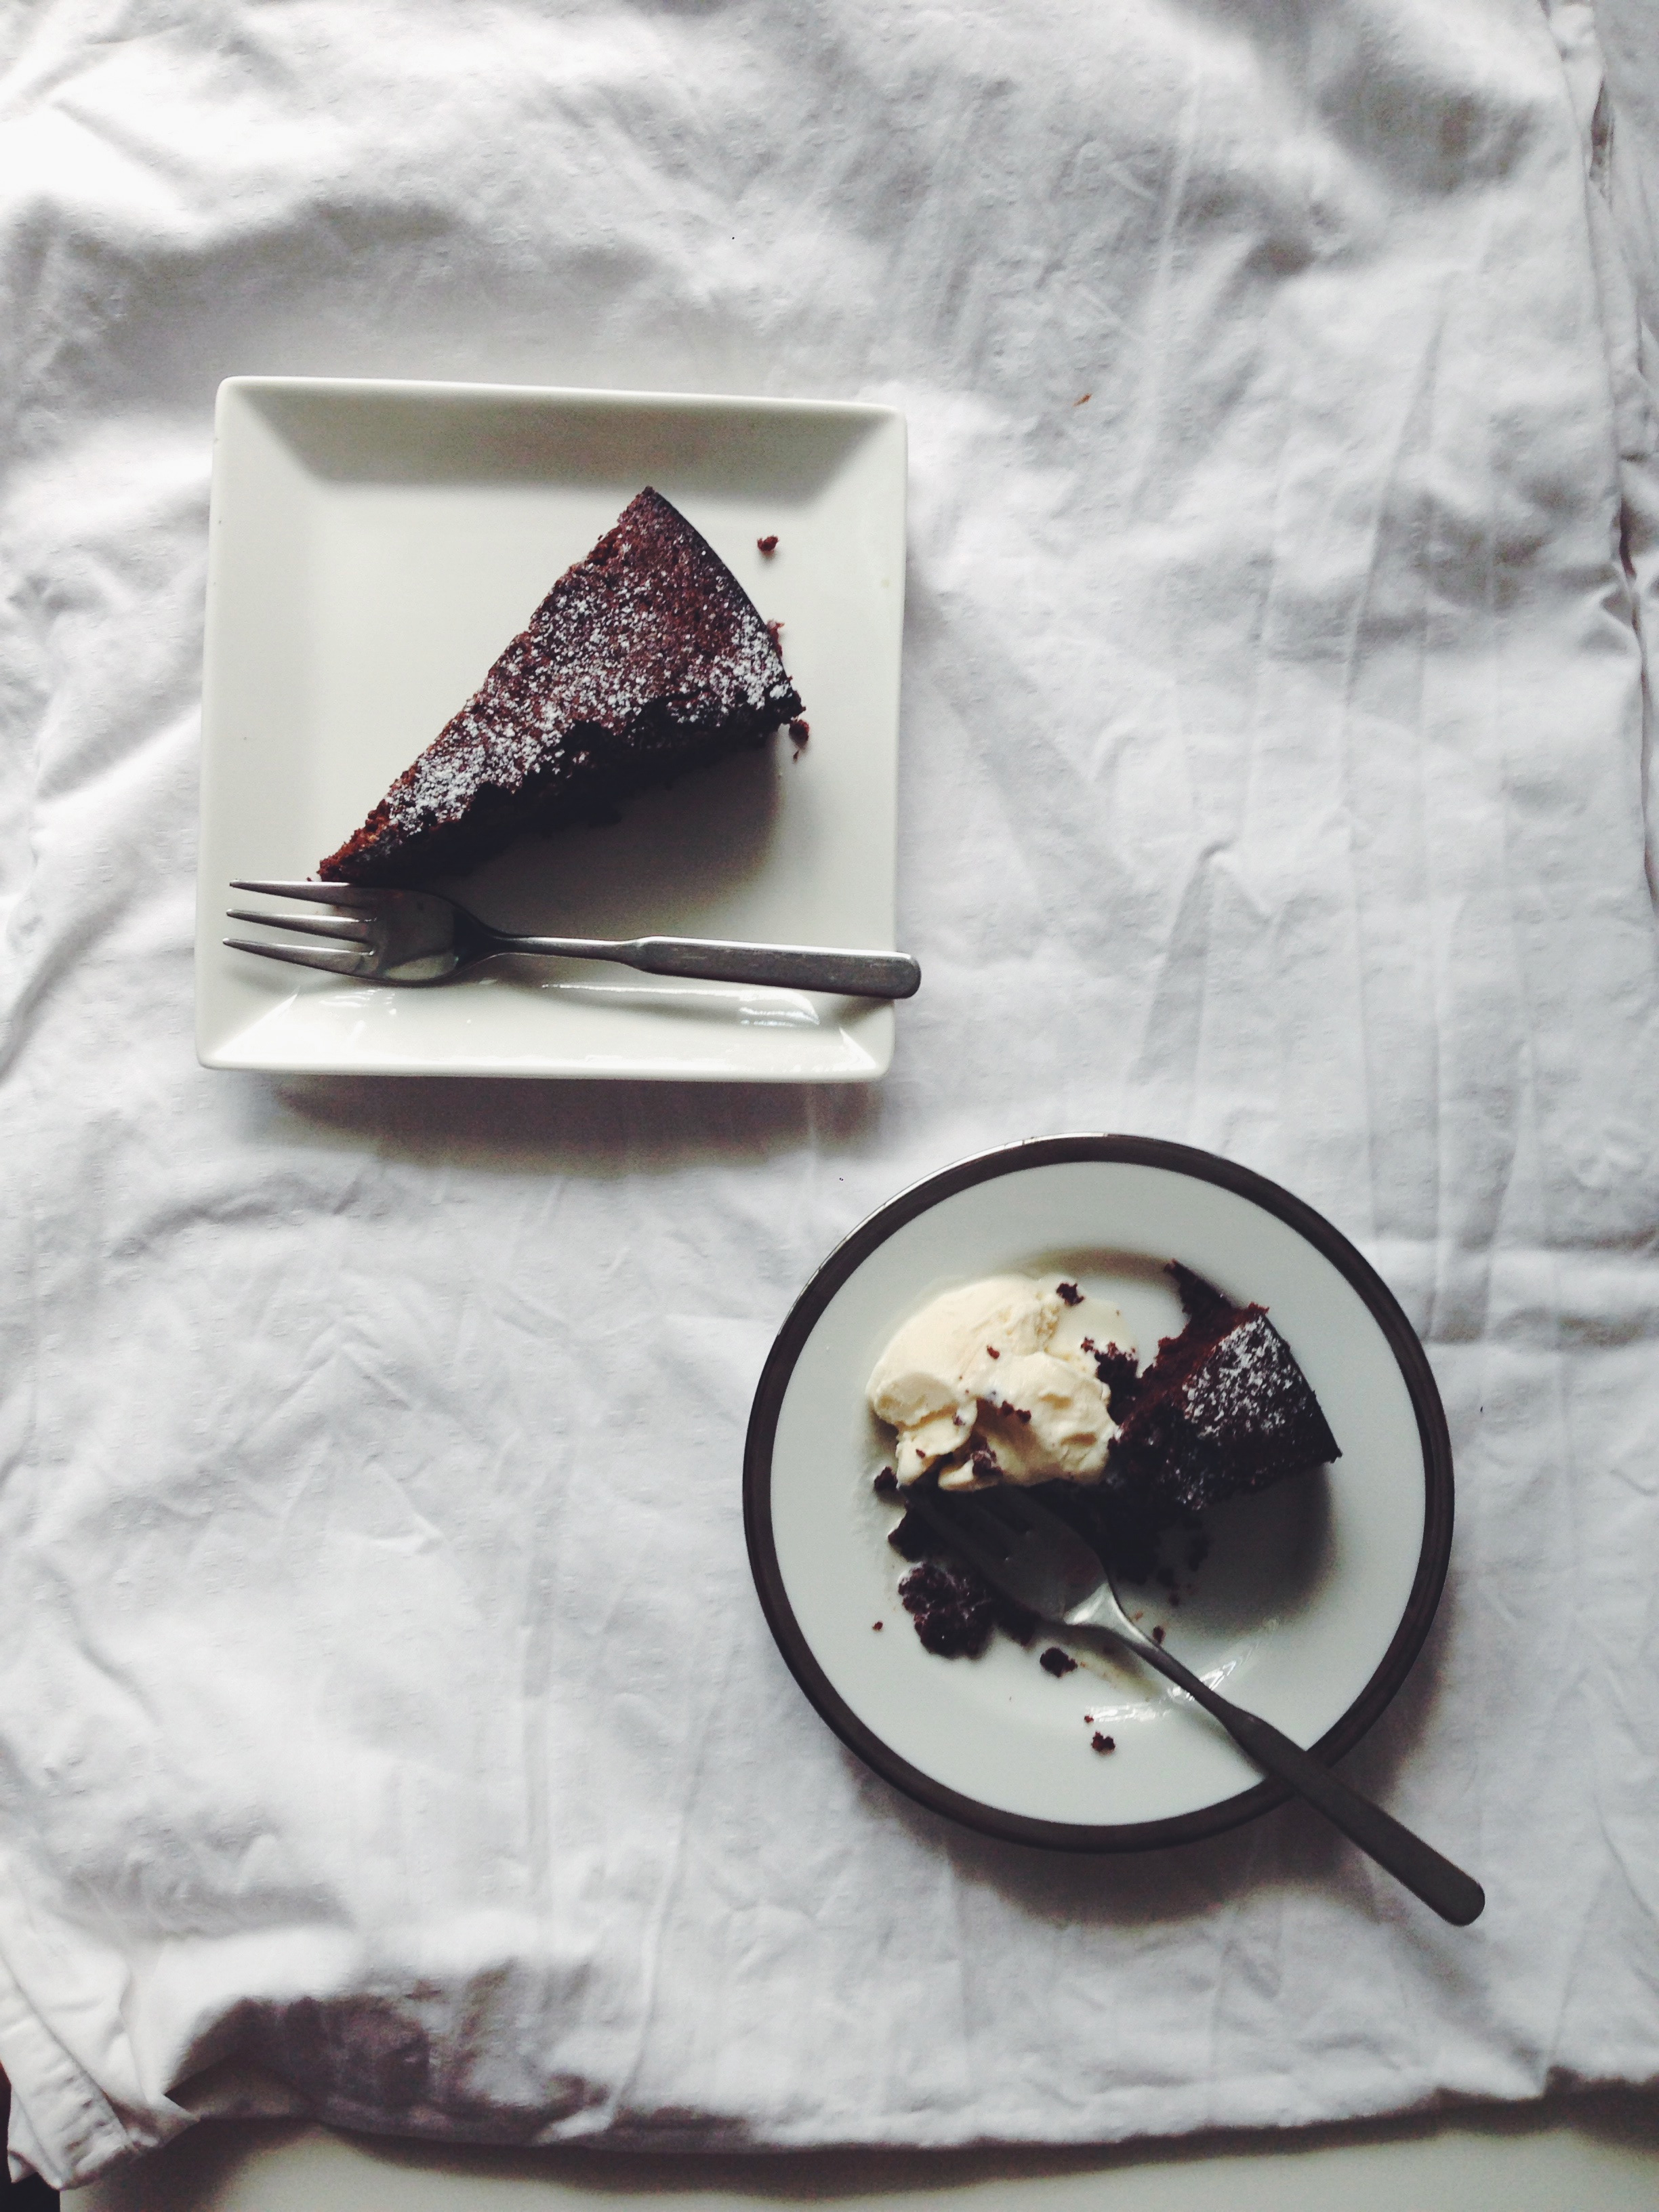
Remove the bundts from the pan once cool and using a knife, cut off the tops. This step obviously isn’t necessary if you’re just making cupcakes! The cupcake tops you get from making mini bundts are like an added bonus. I had a couple toasted for breakfast the other morning and they go wonderfully with nut butter and honey…. or the classic butter and marmalade, though the cake is already pretty sweet on its own. Place the bundts the right way up on the cooling rack, and drizzle the cream cheese glaze on top, allowing it to dribble down the sides, down the ridges formed by the cute little molds.

Optional: Sprinkle crushed speculoos biscuits on top

Rustic Grape Tart

Processed with VSCOcam with f2 preset

It feels as if I’m caught in a storm right now, papers flying everywhere, head quite the mess. I told myself I’d buckle down 110% (those same words!) today, and yet, I feel a strong sense of guilt as I look over all my past recipe posts, the embodiment of one of my main passions in life. It’s funny because I actually read an excellent article on procrastination in the papers today; and yet, I don’t see this as a form of such a term, but more so a physical and mental extension of what I love wholeheartedly. It’s small things like the juxtaposition of fruit and custard cream which to be are akin to that of life and love, or books and work, or friends and family.

This grape tart, as you can see above, is not perfect. The shell has shrunk, the grapes aren’t all luscious and plump, but it is through these imperfections that I am willing to share what I’ve learnt to bolster your own attempt in the kitchen. The shrunken shell is my fault really, because I failed to spread the baking beans evenly during the blind baking process. That, together with the fact that I sort of wanted the whole rustic appeal of pseudo-slipshod work. Hey, it’s a tart!

Processed with VSCOcam with f2 preset Processed with VSCOcam with f2 preset Processed with VSCOcam with f2 preset

The pastry is abominably crisp, the sort which shatters and melts in your mouth real quick. And I have only recently discovered just how darn easy pastry cream is to make, and I used a simple recipe which yields a smooth and decadent texture and flavour. I attempted to keep cooking the cream until it was thick, and thus hold itself better in the fridge, or when cut through with a knife during serving. If possible, use fresh, thick grapes, which I unfortunately didn’t have on hand at that point in time (hence the tiny little blobs you see pictured!) Since I was trying out my new fluted rectangular tart tin, I was forced to leave out a significant amount of crust, but it would also be perfect in a round 9-inch pie tin.

Rustic Grape Tart

Ingredients

For shortcrust pastry:

157g all-purpose flour

125g cold, unsalted butter, cut into cubes

1/2 teaspoon salt

1/2 teaspoon sugar

2-3 tablespoons water

For pastry cream:

355ml whole milk (around 1.5 U.S. cups)

2 egg yolks

68g white castor sugar

1 tablespoon cornstarch

1/2 tablespoon all-purpose flour

1 teaspoon vanilla extract

optional: zest of half a lemon and a splash or brandy/cognac

For the topping:

around 100g of grapes, cut in half (or you can cut as you fill the top, after pouring in the pastry cream)

2-3 tablespoons grape/apricot jam, warmed in the microwave for a minute or so

Make the pastry. It’s extremely versatile and can be used for things like quiches and other sweet or savoury tarts as well. My mum uses it all the time for her savoury wild mushroom and blue cheese quiche. Anyways. Freeze the cubed butter for at least a half hour. If you’re using a food processor, combine flour, salt and sugar, and pulse to mix. Add the butter and pulse around 6-8 times until the mixture resembles a course meal with pea-sized pieces of butter. Add the iced water, 1 tablespoon at a time, pulsing until the mixture just begins to clump together. The dough should hold together when pinched lightly. If you’re just using your good old hands and a bowl, rub the cold butter into the flour mix, rubbing across the knuckles, and quickly, so the heat doesn’t melt the butter at a faster rate. Continue until you get the aforementioned result. Remove dough from machine/bowl and place on a clean work surface. Shape into a disk and wrap with cling film. Refrigerate for at least an hour, and up to 2 days (so you can make this way ahead of time, hoorah).

When ready to use, remove the disc and leave on the counter for around 10 minutes, just to soften a little. Roll out on a lightly floured surface with a rolling pin, according to the size of the tart tin you are using. For my own rectangular one, I rolled it out to around 9×11 inches, around 1/8-inches thick, so there could be sufficient dough hanging over the edges. Press the dough into your tin (no need to grease) and press down so it reaches all the corners and sides. Trim the edge, leaving about 1/2 an inch excess from the edges. Put the crust in the fridge for around 10 minutes and preheat the oven to 177C (350F). Line the chilled crust with parchment/wax paper and fill with pie weights. Bake for 20 minutes in the oven. Remove to cool for a few minutes. Remove the weights, poke the bottom with little holes and return to oven for another 10 minutes. Cool completely before adding any filling.

During the baking time, make the custard. In other words, the most fun part! In a saucepan, medium or large, over medium heat, warm the whole milk until it comes to a simmer. Whilst waiting for that, whisk the eggs, sugar, cornstarch, optional alcohol and lemon zest, flour and vanilla in a bowl. Whisk a little of the hot milk into the egg mixture, and then slowly, very slowly, whisk the slightly tempered egg mixture into the rest of the milk, constantly stirring. Continue to stir for around 3-5 minutes, until the mixture thickens and you have what rightly resembled a luscious, thick custard. It will be a fine, pale yellow, which leaves a slightly slimy trace when you sneak a lick off the back of your wooden spoon. Remove from the heat and let it cool for around half an hour.

Once cool, spread the custard onto the pie shell. Cut up your grapes and assemble them, cut-side down, onto the cream. It will take a while, yes, but it’s absolutely worth it in the end. Place your gorgeous little tart in the fridge, and cover with plastic wrap. Just before serving, warm some jam in a saucepan over light heat or in the microwave for a few minutes. Brush over little butts of grapes, remove from the tin and prepare yourself for a light and slightly unorthodox dessert.

Who doesn’t love grapes.

Carrot Cake

An indecent post, if you ask me. And this late? Oh, but you just might thank me with this one.

Processed with VSCOcam with f2 preset

Processed with VSCOcam with f2 preset


I’ve been waiting, for what almost seems like forever, to bake a carrot cake. Just once, just once! I told myself. I had to, I needed to. One of those quintessential baking know-hows. Pretty high up on the list of any baker’s signature recipes. What really got me excited was when I saw this recipe. It was then, and only then, that I had the overwhelming urge to grate some carrots and start a cream cheese party. To whip up a storm without a care in the world. I really think something like cream cheese frosting is worth the extra effort, and this is one of the best recipes I’ve tried. It beats the previous one I’ve used on cupcakes or swirled into the fudgy bosom of a brownie, with the perfect 1:3 butter to cream cheese ratio. Beats it all. 

What I particularly like in this version is the addition of applesauce, which yields an incredibly moist, wholesome and dense texture. This is by no means one of your airy-fairy cakes. No, this is a gleaming, robust, I’ve-got-more-substance-than-your-typical-vanilla-cupcake cake. Almost matronly. I implore you to try it. I’ve carried out the recipe twice– once just to test it, with a single layer, and the second to finalise my own proportions and make it my own, essentially, with a double layer and plenty of cream cheese frosting to oozing from the sides and spread all over. In the second trial, I used dark muscovado sugar instead of normal brown, which made the resulting cake even more dense and lovely, but if you prefer a slightly lighter texture, then be my guest and use the alternative. Truly deluxe, from yours truly. 

Processed with VSCOcam with f2 preset Processed with VSCOcam with f2 preset Processed with VSCOcam with f2 preset Processed with VSCOcam with f2 preset

Carrot Cake (serves 8-10, makes 2 layers)

Ingredients for the cake

150g unsalted, softened butter

3 eggs

70g chopped pecans or walnuts, or both (I used a mixture of both, and use more if you prefer a nutty surprise in your cake), and some additional (play around with the measurements here) chopped nuts for the decoration later on.

half cup white sugar

half cup firmly packed brown sugar (or dark muscovado if you’re feeling all sultry)

2 tsp vanilla extract

1 1/4 cups all-purpose flour

2 tsp baking powder

2 tsp baking soda

1 tsp salt

2 tsp ground cinnamon

230g finely grated carrots

half cup applesauce (if you use unsweetened, add an extra tablespoon of white sugar)

Ingredients for cream cheese frosting

100g room temperature butter (I really loved using salted, but unsalted is fine too)

300g room temperature cream cheese (it has, has to be very soft and pliable!)

1 1/2 cups powdered sugar, measured after sifting

2 tsp vanilla extract

Heat your oven to 177 degrees C (350 degrees F). Start by grating your carrots (I used around 3 large ones, but just as long as you get to 200-230g) Grease and flour 2 6 or 7-inch baking pans. In a large bowl and using either a hand mixer or a normal whisk and your more than capable biceps, beat the eggs and sugar together until pale and slightly fluffy. Your arms will ache and start screaming at you. Ignore their cries and carry on headstrong. Add the softened butter (half melted is perfect) and vanilla and beat to combine.

In a separate, smaller bowl, whisk together the flour, leavening agents, salt and cinnamon. The original recipe calls for this to be sifted into the wet ingredients, but I just stirred it in with a spatula. Softly fold it in, but don’t mix it in all together at once. When there are still streaks of white in the pale batter, tip in the grated carrots, chopped nuts and applesauce. Fold in until just combined. The batter should be rather wet. Divide batter between the two tins (I used a weighing scale to be more accurate at this point), and pop it in the oven for 43-45 minutes. Mine took 45; I took it out at 43 the first time and it didn’t have as nice a solid, cake-like texture, the crumb a little weak despite being very, very tasty. So 45 it was, and what a difference 45 made. Of course, it all depends on oven temperature and your climate and whatnot, so just check with a wooden skewer at 40 minutes to be on the safe side. 

When you’re waiting for it to bake, make the frosting. In a large bowl with an electrical whisk (the electrical sort really helps this time), beat the butter and vanilla until smooth and soft. Then beat in the softened cream cheese and finally, the powdered sugar. The cream cheese must be at room temperature, else you’ll end up with unsightly, miniature, irritating lumps of white in the batter. Like those ungodly whiteheads. You don’t want that. Scrape down the sides of the bowl with a spatula and just give everything a gentle mix to ensure a homogenous result. Once the cake is completely cool, which will take at least an hour (it’s worth it, promise), gently tip it out and use an offset spatula to spread about half of the frosting onto the first layer, then plop on the second layer and do the same. To speed up the cooling process, put the cake in the fridge after around 20 minutes. If you wish to do a crumb coating first and frost the sides as well, then go ahead. It just means you have to put less frosting on the first and second layers (around 1/3, not a half). So simple, this cake. Because it’s on the denser side, I didn’t have to use a serrated knife to cut through any layers, and both layers were stacked right side up, so no cutting of tops was needed.

Once it’s all assembled, sprinkle on some chopped nuts, or if you want, desiccated coconut or coconut flakes. I think the latter gives off a more pristine, sophisticated vibe, whilst the nuts make it more rugged and rustic. This cake is dense, sweet, and lovely on its own. Pair it with some good vanilla ice cream, but I think it’s better left alone. It keeps for around a week in the fridge, so have fun picking at the frosting at midnight!

Processed with VSCOcam with f2 preset


Flourless Chocolate Cake

It deserves the thing.

AKA a well-deserved post dedication. Chocolate deserves it all. Chocolate is love because chocolate is basically the centre of the universe and everything else hovers in serf-like subservience bound to drifting orbits in honour of the magic lying before them.

Processed with VSCOcam with f2 preset


It’s flourless because of the ground almonds incorporated into the rich and decadent, chocolatey batter. I’m glad I made time just to bake this, in between all the schoolwork and studying, because firstly, it’s hell simple, and secondly, the end result was absolutely worth it. Some people think baking is a serious waste of time, but it’s utterly therapeutic and I love how I get to hone both my skill and concentration in the process. The cake is rich without being too cloying or fudgy in texture, the almonds offering a wholesome crumble and lift in body, dispersed evenly throughout. The quality of chocolate used here is of utmost importance. I used Ghirardelli chips here, because I had some left over from a previous baking spree and I wishd to ensure only the best possible final product. There’s… There’s no room for Hershey’s here, lads. Oops. Try as you might, you just won’t obtain the same glorious melt-in-your-mouth-brownie-style bite.

IMG_1245 Processed with VSCOcam with f2 preset Processed with VSCOcam with f2 preset

Its semi-provocative flavour pairs superbly with a scoop of plain vanilla ice cream, straight out of the freezer and melting like frothy clouds on the surface. The original recipe called for 100% white sugar, but I replaced 50g with dark brown sugar instead to get that gorgeous molasses, treacly flavour. Which reminds me– I really need to get around making a treacle tart soon…


Flourless Chocolate Cake, adapted from Elizabeth David’s Flourless Chocolate Cake (which I’ve been meaning to attack for ages)

Ingredients

5 eggs, separated, with whites in a large and clean, stainless steel or glass bowl

100g ground almonds (or almond flour)

250g good quality dark chocolate (60% cocoa or above), in chips or broken into chunks

1 teaspoon vanilla extract

1 teaspoon salt

150g unsalted butter (or eliminate the one teaspoon of salt and use salted butter instead)

100g white sugar, 50g dark brown muscovado sugar

icing sugar for the topping

Preheat your oven to 180 degrees C (or 350 degrees F). Grease (no lining needed, hoorah!) and lightly flour a 9-inch cake pan with a removable bottom tin, or simple use a normal round cake tin. The cake itself isn’t hard to remove from the tin, so you shouldn’t be worried about having difficulty (as the story is with so many brownie recipes I have tried in the past) to remove it after cooling, post-bake.

Half fill a medium saucepan with water and bring it to a boil. Place a bowl containing the chocolate and butter on top to create a double-boiler system. Use a wooden spoon to stir and melt it all together, and once most of it has melted, add the sugars and continue stirring until it’s all been dissolved. Remove from heat and stir in ground almonds. Make sure to break apart any clumps or clusters. Stir in the five egg yolks.

In the large bowl containing your egg whites, beat with a hand mixer until you reach reasonably stiff peaks. Soft, but not completely stiff. The original recipe said ‘stiff’, but I yielded a perfectly good mixture afterwards even with slightly softer peaks. Definitely past the baby froth stage, but you’re not quite going for a pavlova-style mountain range. Use a spatula to gently fold the egg whites into the chocolate and egg yolk mixture. Take your time here– be patient and wait for a couple minutes until it comes nicely together. Believe me, I was initially extremely skeptical during this stage, as the first few folds seemed to make the mixture split and turn watery. I panicked. But I willed the thing to work (for heaven’s sake, right?) and it all came together beautifully in the end. The ribbons of white will lighten the mixture both in colour and texture, and you end up with a sort of heavy mousse. Just be patient with the folding.

Pour mixture into cake tin and smooth out the top. Place in the middle of your preheated oven and bake for 40-45 minutes. Mine was fine by 40. Check yours with a skewer at 40 minutes– if the stick comes out with moist crumbs then take it out, if it’s wet then leave it in for another 3 minutes or so. Leave to cool on a rack, before dusting some icing sugar on top. Serve this warm with some vanilla ice cream and nothing else, because just this pairs makes for the perfect afternoon treat. Have it for breakfast. Have it for… um, anything, really.

Processed with VSCOcam with f2 preset Processed with VSCOcam with f2 preset

This flourless chocolate cake can be kept at room temperature in an airtight container for a couple of days, or store it in the fridge and it will reheat nicely.


Wimbly Lu Chocolates

Processed with VSCOcam with a6 preset Processed with VSCOcam with lv02 preset

I write this as a sailor stranded to my bed, the cold shivers churning my skin blue and green and all sorts of unnatural tones. I hate sickness. I hate what it does to you; the freedom it strips away from you. Food poisoning is actually the worst. So to make myself feel a little better, I’ve decided to talk about waffles. Which is easy enough, except these were particularly good waffles, and not the mediocre sort you would get from trying to make it yourself at home from a pack. Granted I’m no waffle expert, but I think I know a good one when I taste/see one. Welcome to Wimbly Lu, everyone.

Be careful, though. The chances of your bottom ruining the dainty, feminine chairs laid out as if for a 24/7 tea party is monstrously high.

Processed with VSCOcam with a6 preset

foreground: waffle with honey cinnamon ice cream with toffee sauce– $8.50 background– waffle with salted caramel ice cream and maple syrup– $8.50 nutella chocolate pie– $6
foreground: waffle with honey cinnamon ice cream with toffee sauce– $8.50
background– waffle with salted caramel ice cream and maple syrup– $8.50
nutella chocolate pie– $6

Worth it. Every single cent.

Processed with VSCOcam with a6 preset


I never really thought myself a diehard waffle fan. But I GET the appeal of these– outrageously crisp exterior, wonderfully fluffy interior. The ice cream topping was lovely, though I wish they had larger ice cream scoops. The ratio was a little off, and this fact was made even more evident as the sun ran its course, and the cream slithered into all the cute little square syrup traps and down the sides, soaking each nook and cranny, but there was just not enough of it to provide a more moderate degree of pleasure.

Honey cinnamon and salted caramel aside, they also have flavours such as cheesecake (dear lord, I was close to picking that one), rum and raisin (alright, that too), milo, brownie, chocolate truffle and vanilla bean. Doesn’t that just sound decadent.

Gosh, the crunch on that thing. My ears perked as my knife made shingle sounds, as it cut into the wonderful, brown crust. I have to say though, the waffles from Artistry still have my heart glued to its perfect little crevices.

I didn’t expect much from the nutella pie, but goodness, it was pretty much the richest chocolate pie I’ve ever had, laced with the childlike whimsy of nutella. A deep, dark ganache, not overly cloying, so thick, so beautiful. The pastry was only lightly sweetened to play off the carnal chocolate notes. It worked magnificently.

Lemon Meringue Pie–$7


Why hi, ungroomed toes.

I read quite a bit about their famous lemon meringue pie, and I almost felt inhuman if that meant not taking one of these babies home. Just one slice, at a shocking 7 bucks, but at least it was one of those humongous slices that could last one for days on end. Quite satisfied, yes. The interior is a buttery lemon curd, topped with swirls of sweet, torched meringue, all lying on a strong pastry base, sweeter than that of the nutella pie, but justly so, for a mild sweetness was necessary to offset the jaw-tingling tang of lemon. I loved it. You will love it. Go get it.


Wimbly Lu Chocolates

15 Jalan Riang

6289 1489

Tues-Thurs– 12 30 to 10 30pm

Fri– 12 30 to 11pm

Sat/Sun– 9am to 11pm

Closed Mondays