Cinnamon Sugar-crusted Cream Cheese-stuffed French Toast

Processed with VSCO with f2 preset

There’s french toast, and then there’s cinnamon sugar-crusted french toast with a cream cheese filling and warmed berries. It’s your pick.

There are no extravagant steps, not too much brain energy involved. You dip good bread in luscious custard (or do it the eggless/vegan way), dip that in cinnamon sugar, fry in a pan.

Then you spread some cream cheese frosting (not the bought stuff, no no) on one slice, layer with warmed berries, layer on the other slice.

Then you ooh and aah for a bit, drizzle with maple syrup, and then EAT. Cream cheese and berries ooze out the sides, berries give up their juice.

That right there is the best morning.

Processed with VSCO with f2 preset

The cinnamon sugar crust is key. It’s what takes this to a whole new level, and adds a luxurious sweetness so you don’t need as much maple syrup later on.

Sweetened cream cheese may be substituted for yoghurt here, but I find the cream cheese adds proper oomph, volume, and just the right amount of tang. Together with the warm berries, this makes the perfect french toast sandwich.

Processed with VSCO with f2 preset

Cinnamon Sugar-crusted Cream Cheese-stuffed French Toast (makes 1 sandwich)

Ingredients

For the french toast:

2 slices fresh challah/white sandwich bread/sourdough, around 3/4-1 inch thick (I keep mine in an airtight bag in the freezer, and let thaw for a half hour before I need or want to use it)

1 egg

60ml (1/4 cup) milk

1 heaping tbsp ground cinnamon + 6 tbsp white sugar

splash vanilla extract

butter for frying


For the cream cheese filling and warmed berries:

2 heaping tbsp cream cheese spread

1 tsp milk

1 tbsp icing sugar

handful of berries of choice (I used blueberries and raspberries)


Directions

In a shallow bowl, mix together the cinnamon and sugar and set aside. Preheat your pan on medium-high heat. In another bowl, whisk together the egg, milk and vanilla extract. Once pan is hot, add a knob of butter and listen out for a sizzle; if the butter browns too quickly turn down the heat a little.

Take one challah slice and dip in the eggy batter for 10 seconds. Flip and do the same for the other side. It should be soaked through but not falling apart. Lift up the slice and let excess batter drip down, then immediately lay in the bowl containing the cinnamon sugar. Turn the slice and coat the other side.

Do the same with the second slice, then place both slices in the hot pan for frying. Wait 20 seconds for the first sides to fry, then flip. Wait a little longer, around 30-40 seconds, if you prefer a less soggy middle for your french toast (I like mine pretty soggy and saturated). The second side will take shorter to cook, so remove once you like the doneness.

In the same pan, add a little more butter, then plop in your berries. Let cook and sizzle– they will yield their juices after around 4-5 minutes of cooking and become warm and soft. Mix together the ingredients for the cream cheese filling.

Spoon the cream cheese and berries onto one slice of bread and then layer on the second slice. Finally, drizzle everything with good maple syrup.

Hot Cross Cookie Butter Baked Doughnuts

Processed with VSCO with f2 preset

No, it’s not a traditional hot cross bun, even though it should be, even though most of you probably think I should stop taking shortcuts…? Yeah, something labelled ‘hot cross’ should be in line with tradition, but I don’t think the 1916 Easter uprising in Ireland, or the fact that speculoos biscuits are traditionally eaten in the Netherlands before St. Nicholas’ feast, affected my decision to make something easy, fun, and absolutely yum.

It was solid instinct, in the light of a recent family reunion, that drove me in this direction. Finally getting to see family after what seemed to be forever was enticing, and with my doughnut pan hauled all the way from Singapore just for me, memories of the first time I made baked doughnuts triggered the oven fun.

Speculoos (cookie butter) chocolate-filled baked doughnuts with a speculoos frosting and cream cheese ‘cross’. Lezzgo.

Processed with VSCO with f2 presetProcessed with VSCO with f2 presetProcessed with VSCO with f2 preset

The best bit of the recipe? Chucking the cookie butter into the microwave, then oohing at the melted, gooey mess before you. This is the gold of the recipe, what will send you over the edge as you mix the wet into the dry mix and bring everything together into the second round of fun gloopy mess.

So you make these doughnuts, then pour more gold on top. Golden, sweet and glistening. You get the rich, chimerical flavour of cookie butter inside and on the outside.

Processed with VSCO with f2 presetProcessed with VSCO with f2 presetProcessed with VSCO with f2 preset

Processed with VSCO with f2 presetProcessed with VSCO with f2 preset

There wasn’t a fluffier, more tender belly. There is some chopped chocolate in there because I thought why the hell not, but that’s optional, and if you wish you could chuck in some nuts and raisins (I didn’t because I was giving quite a few of these to some people who didn’t like either). So customise it, love it, make it again.

Speculoos is made with cinnamon and nutmeg, so the additional incorporation of those components in this recipe really enhances that natural flavour, and it does make me think of Easter. Full of spice and lots of warmth.

Processed with VSCO with f2 preset Processed with VSCO with f2 preset

Hot Cross Cookie Butter Baked Doughnuts (makes 8 doughnuts, adapted from here)

Ingredients

For the doughnuts:

158g (slightly more than 1 1/4 cups) all purpose flour

pinch of salt

1 tsp baking powder

1/4 tsp baking soda

2 tbsp ground cinnamon

1 tsp ground nutmeg

50g chopped chocolate (optional)

75g (1/3 cup) white sugar

1 egg

15g (1 tbsp) butter

1 tsp vanilla extract

120ml (1/2 cup) whole milk

3tbsp + 8 tbsp (1/2 cup) speculoos cookie butter spread (3 tbsp for the doughnuts, 1/2 cup for the top


For the cream cheese cross:

5 tbsp cream cheese spread (or take some off a block, that works fine too), microwaved until softened

1 tbsp milk

3 tbsp icing sugar


Directions

Butter or grease a 6 or 8-doughnut pan (use the 6-doughnut one twice for this batch, of course) and set aside. Preheat your oven to 177C (350F).

In a large bowl, whisk together all the dry ingredients, including the chocolate.

In another microwave-safe bowl, add the one tablespoon of butter, half cup milk and 3 tbsp of speculoos spread, and microwave on high for 20 seconds, just until butter has melted. Leave to cool for a minute, then whisk in the egg and vanilla extract.

Pour the wet into the dry ingredients, and mix until everything is just combined. Pipe batter, or use two tablespoon measurements, into your greased doughnut pan. Bake for 8-9 minutes, no more no less. A wooden skewer inserted into the middle of one should emerge clean, but the doughnut should still feel soft and bouncy to touch.

While they’re baking, melt the rest of the speculoos spread in one bowl, and mix the ingredients for the cream cheese crosses in another. Put the cream cheese mix into a ziploc bag and snip off the end, in such a way that piping the cream cheese would have a flat ribbon effect, not a tube. I find it gives a more aesthetically pleasing result.

Once baked, remove doughnuts from the oven, let cool for a while and then dip into freshly melted speculoos spread. Don’t melt the spread too far ahead, else it will harden and it will be more difficult to dip into. Tip: dip the bottom of the doughnuts, not the top (the side you see when you open the oven), for the little airy pockets on the underside will absorb more of the spread when still a bit warm. Pipe the cream cheese crosses on your doughnuts.

These can be kept for 2-3 days at room temperature, but of course they’re best eaten immediately. Enjoy with a hot cuppa.

Strawberry Cheesecake French Toast in a Bowl

Processed with VSCO with f2 preset Processed with VSCO with f2 preset

Nothing like listening to Dvorak’s Violin Concerto in A Minor and eating something almost as enlightening. Like my new take on one of my absolute favourite things to eat in the morning– french toast. But not just french toast cooked up and served as two or three slabs of bread on a plate. I agree such a put-together is beautiful, but you know what makes it even more special?

Cutting it up, putting it into a bowl, and dousing everything in cold (or hot, it’s your breakfast game after all) milk.

Then topping it with bits of cheesecake, strawberries, and honey or maple syrup.

That’s all you have to do, and I know one picture isn’t enough to justify this process; I was much too excited after pouring that milk. And then I got so excited over breakfast I knew I had to dedicate a (rather late) blogpost just spilling the beans. I have written a previous post on the delight of eating french toast out of a bowl here, and I think if you haven’t already, now’s the time to heat up your pan for something a little different.

This time I used my favourite eggless french toast recipe for the base, and you can even make it vegan by substituting the normal milk I like to use with almond, rice or any other vegan substitute. The eggless recipe is actually my favourite to use for my french toast bowls, because the final consistency is almost chewy and caramelised on the outside, with the softest, fluffiest, milk-saturated middle. It’s what makes this whole thing so good.

Totally delicious, completely customisable.

Processed with VSCO with f2 preset Processed with VSCO with f2 preset

Strawberry Cheesecake French Toast in a Bowl (serves 1)

Directions

Make french toast as you normally would, or try this one if you haven’t already. I like to use 2 slices of soft whole grain/ brioche/ classic white bloomers for this.

Cut your french toast into small chunks, put into a bowl, top with crumbled bits of cheesecake (homemade/ store-bought), fresh strawberries and whatever toppings you like (I used nut butter, honey, and some chopped nuts and chocolate). Douse in hot or cold milk. I like to let the toast soak in the milk and sweetener for a while before digging right in.

Chocolate Beet Cinnamon Rolls (eggless roll recipe)

Processed with VSCOcam with f2 preset
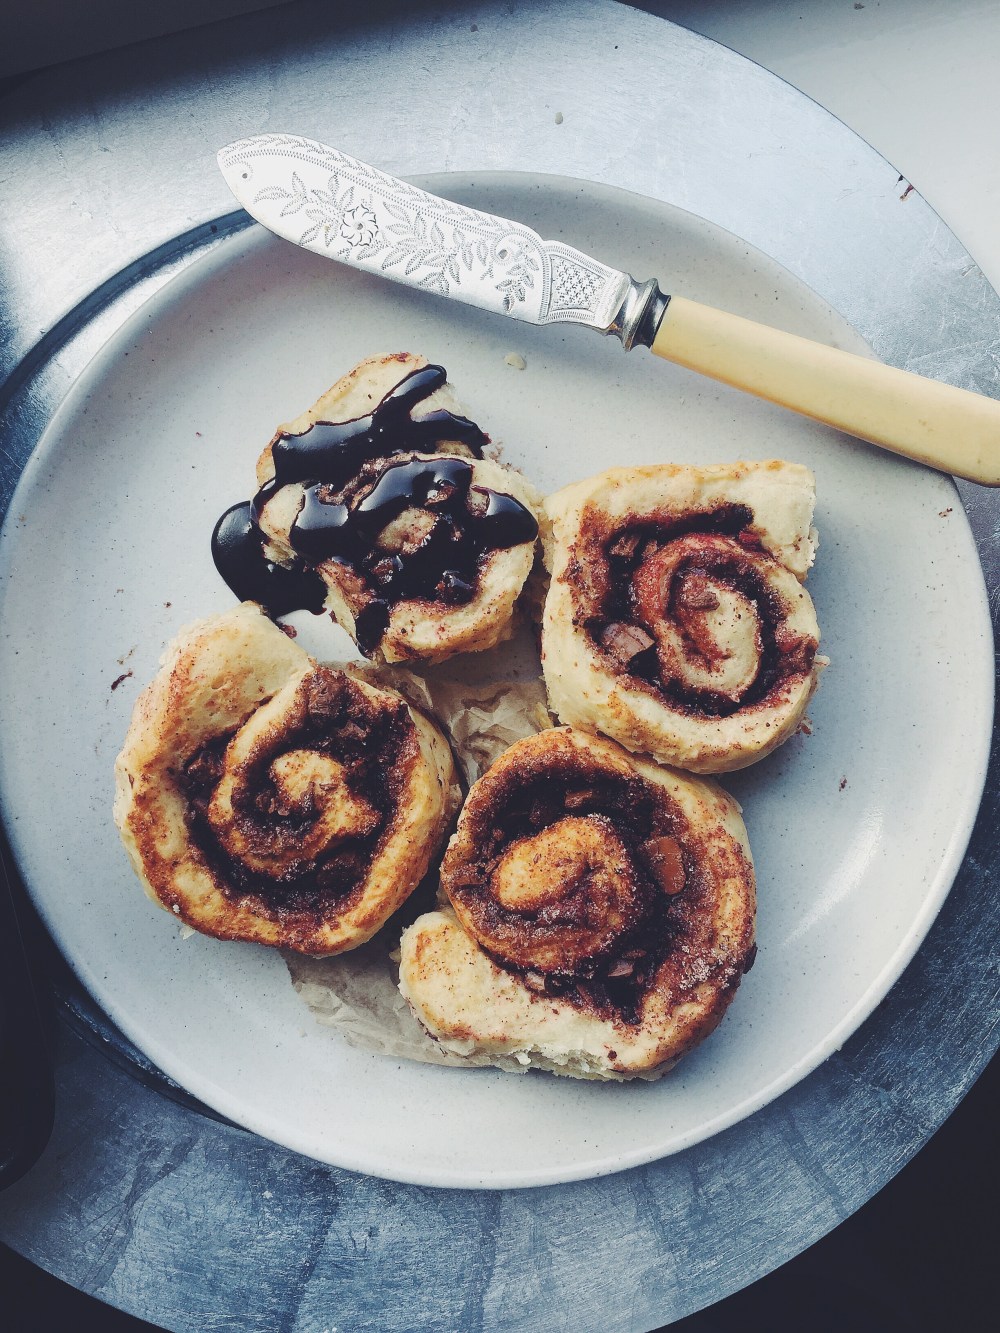
With a chocolate beet glaze, and oh so much cinnamon, all lovingly wrapped up in what I believe is the softest, fluffiest, most tender roll ever. Did I mention you don’t even need eggs? I know it’s in the title, but I thought I’d reiterate. For that extra punch. It’s so easy, so good, so lazy-sunday-morning. In the sense that you want to yield a rather extravagant final product without actually labouring over a myriad ingredients and techniques all that much. I tell you, this roll recipe is a keeper. After a shocking realisation that I had zero eggs left in my pantry, I heavily doubted the final result, for eggs are a crucial binding component in yeast-based recipes, often offering a great degree of moisture and richness to the final product.

Processed with VSCOcam with f2 presetProcessed with VSCOcam with f2 presetProcessed with VSCOcam with f2 preset
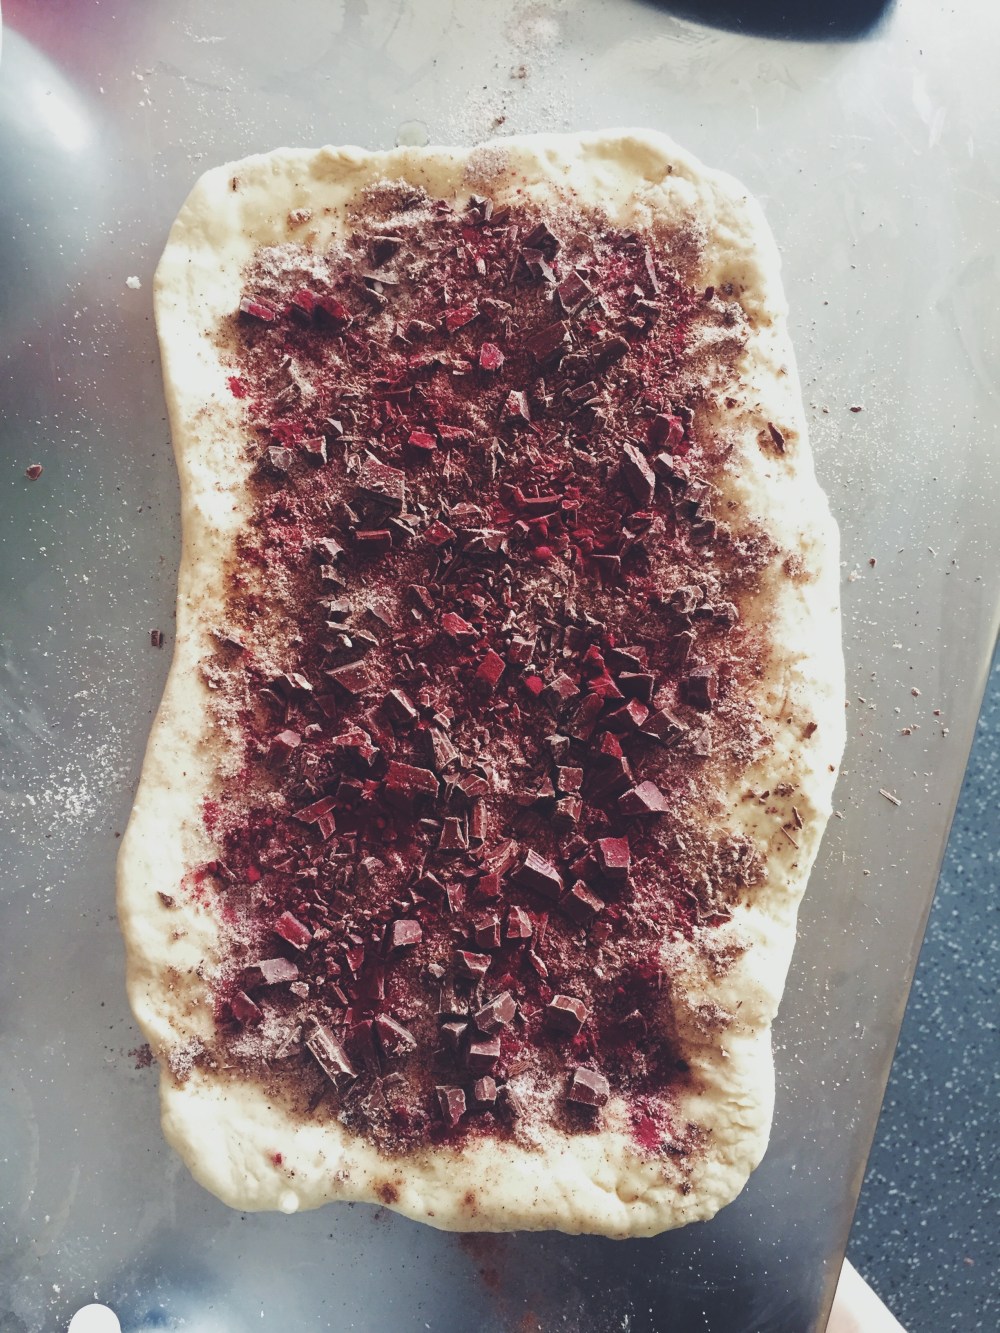
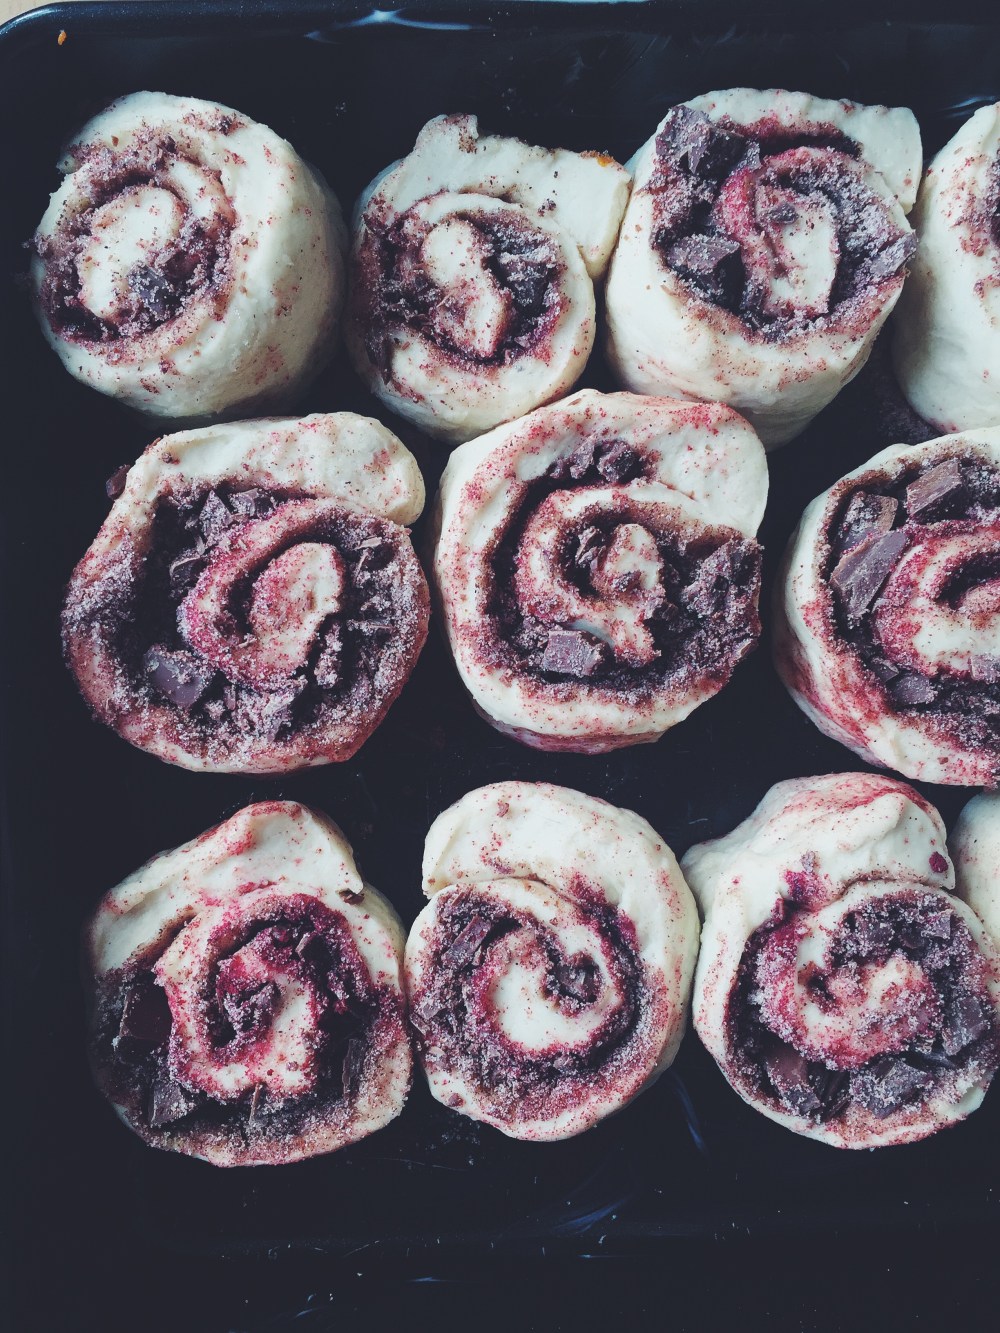
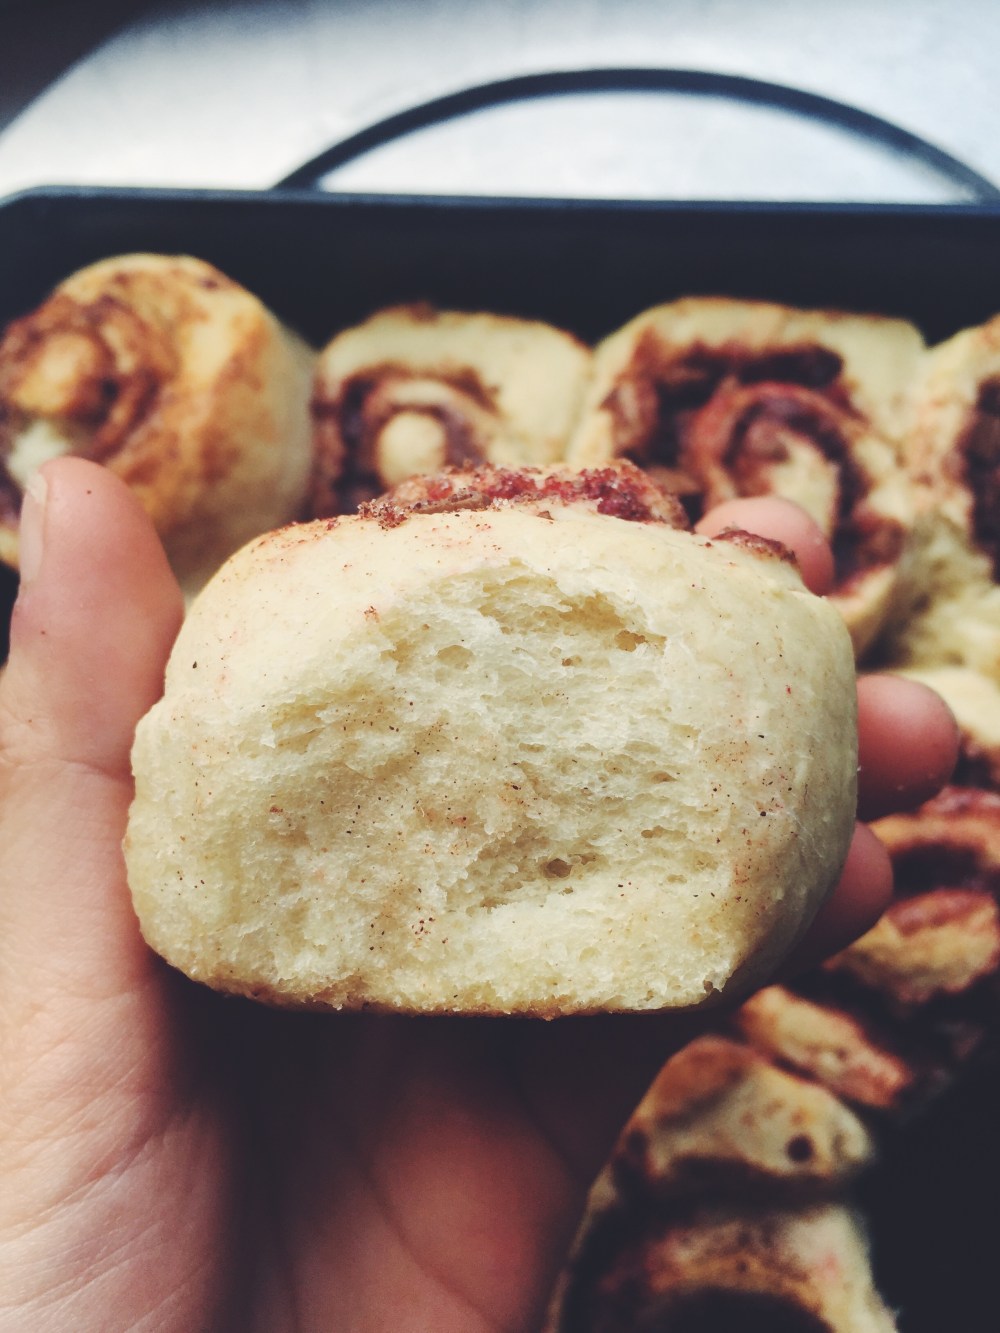
As much as I support certain mainstay baking components such as eggs, I’ve always been intrigued by vegan takes, and the minimalism incorporated in its recipes are refreshing and revitalising. Thankfully, my initial doubt, that cringey reluctance, was turned into ecstasy and beyond.

Beet powder is of course optional here; these rolls would nevertheless taste wonderful without it. The addition of beet offers an earthiness, the quantity of which doesn’t overwhelm the obvious main star of the show here that is chocolate.

One important and rather underrated step here is the covering of the rolls with foil paper/ cling film prior to baking, which prevents burning the tops of the rolls and helps yield a firm outside and heavenly, tender inside.

Processed with VSCOcam with f2 preset Processed with VSCOcam with f2 presetProcessed with VSCOcam with f2 preset Processed with VSCOcam with f2 preset

Chocolate Beet Cinnamon Rolls (makes 8-9 medium rolls; roll recipe adapted from Minimalist Baker)

Ingredients

For the dough:

2 1/4 tsp instant yeast

1 cup (240ml) milk of choice– I used a mix of almond and whole milk

45g (3.5 tbsp) butter

250g (around 1 3/4 cups) plain flour, plus more for sprinkling on counter before kneading

pinch of salt+1 tbsp sugar


For the filling:

45g (3.5 tbsp) butter, softened to room temperature

100g chopped chocolate– I used a mix of milk and dark for flavour variety

1 1/2 tbsp beet powder (optional)

7 tbsp sugar mixed with 2 tbsp ground cinnamon


For the glaze:

1 tbsp cocoa powder

1 tbsp beet powder (again optional)

4 tbsp milk

35g (1/4 cup) icing sugar


Directions

Dough: In a microwave-safe bowl or in a saucepan over low heat, heat together the milk and butter until the butter has melted and the mix is warm (not scalding) to touch. Pour the mix into a larger bowl, then sprinkle on the yeast on one side of the bowl, and the salt and sugar on the opposite side. Wait 5 minutes, then add a half cup of flour at a time, stirring with a wooden spoon between each addition. Once the dough is too thick to stir, transfer to a lightly floured counter and knead for 2 minutes. The final result should be a smooth, rather taut ball of dough, so you may need slightly more or less than the aforementioned quantity of flour. Briefly grease the same bowl, pop the ball of dough in and let it rise until it doubles in size–around an hour. At this point, preheat your oven to 176C (350F) and liberally grease an 8×8-inch pan.

After the dough has risen, lightly flour your counter again and turn the dough out onto the counter. Roll it out into a half-inch thick rectangle. Brush on (I just used my hands here) the butter that’s softened to room temperature, then sprinkle on the cinnamon-sugar mix, chocolate and beet powder. Tightly roll the dough from the long end, so you end up with a long, pale tube of dough. Place the roll seam side down, and using a serrated knife, cut your tube into 8-9 rolls, each around 1.5 inches thick. Place them into the greased square pan. Cover the pan with foil (impt step– refer to above notes) and place inside your preheated oven. Bake the rolls for 17-20 minutes.

While they’re baking, mix together the ingredients for the glaze in a small bowl. Once the rolls have finished baking, leave to cool for 10 minutes, then go ahead and glaze the heck out of them. These rolls are best eaten immediately or at least the day they’re made, however you can keep them for the next day and microwave them to revive a bit of tenderness.

Citrus Curd Yoghurt Pillow Pancakes

Processed with VSCOcam with f2 preset Processed with VSCOcam with f2 preset

Pancake Alex struck again at precisely 6am yesterday morning. I decided it had been a while since I did a post on my pillow pancake series specifically, so today I present to you a modification on my all-time favourite pancake recipe

Thick and fluffy (it’s a little ridiculous) pancakes made with yoghurt and citrus curd. I used lime here, but grapefruit/lemon would work just as well.  The morning was ripe with possibility, and pancakes make everything else in your day that much more worth looking forward to.

Processed with VSCOcam with f2 presetProcessed with VSCOcam with f2 preset

I mean, I’ve done lots of pancake variations, and have mixed up the ratios of flour, sugar, eggs, melted butter and what have yous many a time, but it’s this dry mix ratio of 1.5 cups flour, 1 tsp baking powder, 1 tsp baking soda and a generous pinch of salt that makes this recipe live finely up to its name. They aren’t called pillow pancakes for nothing. They have body. They have soul.

So it’s simple as that in the beginning. Whisk together your dry ingredients in a larger bowl, whisk together your wet ingredients in a separate bowl, pour wet into dry with a generous puddle of melted, unsalted butter, mix briefly, ladle.

Processed with VSCOcam with f2 preset Processed with VSCOcam with f2 preset

The only real difference here is in the wet mix. It differs from my favourite classic pancake recipe by incorporating, of course, yoghurt, which is what produces a slightly stickier, almost yeast batter-like texture, and citrus curd. In this case, a whole 1/4 cup of lime curd, and I shamelessly use cups here because this tried-and-tested recipe works every time I use cups; you just have to make sure that you gently level off the top of the cup (when it comes to flour and such) using the back of a knife. Other minor changes involve a slightly reduced amount of melted butter (the yoghurt and curd compensate for that nicely), as well as half the amount of milk needed.

Processed with VSCOcam with f2 preset Processed with VSCOcam with f2 preset

So fluffy, so perfect with an extra dollop of yoghurt and a drizzle of honey and maple syrup. The fluff.

Processed with VSCOcam with f2 preset Processed with VSCOcam with f2 presetProcessed with VSCOcam with f2 preset Processed with VSCOcam with f2 preset

Thought it would be nice to end off with a little glimpse into my common commute to Charing Cross hospital, through Margravine cemetery. All sounds a bit austere, but it’s really one of the most beautiful walks.

Citrus Curd Yoghurt Pillow Pancakes (makes 6-8 medium pancakes)

Directions

Follow the steps for making my classic pillow pancakes here, but this time substitute the wet mix with 1/2 cup (120ml) milk of choice, 1/2 cup whole milk yoghurt, 1/4 cup citrus curd of choice, 1 egg (as per usual) and 4 tbsp (60g) melted butter.

Tip: Make sure to spread out the thick batter after ladling into the pan, else one side will cook too fast.

Serve with fresh fruit, yoghurt and a drizzle of honey.