Whole wheat buns

Processed with VSCOcam with f2 preset

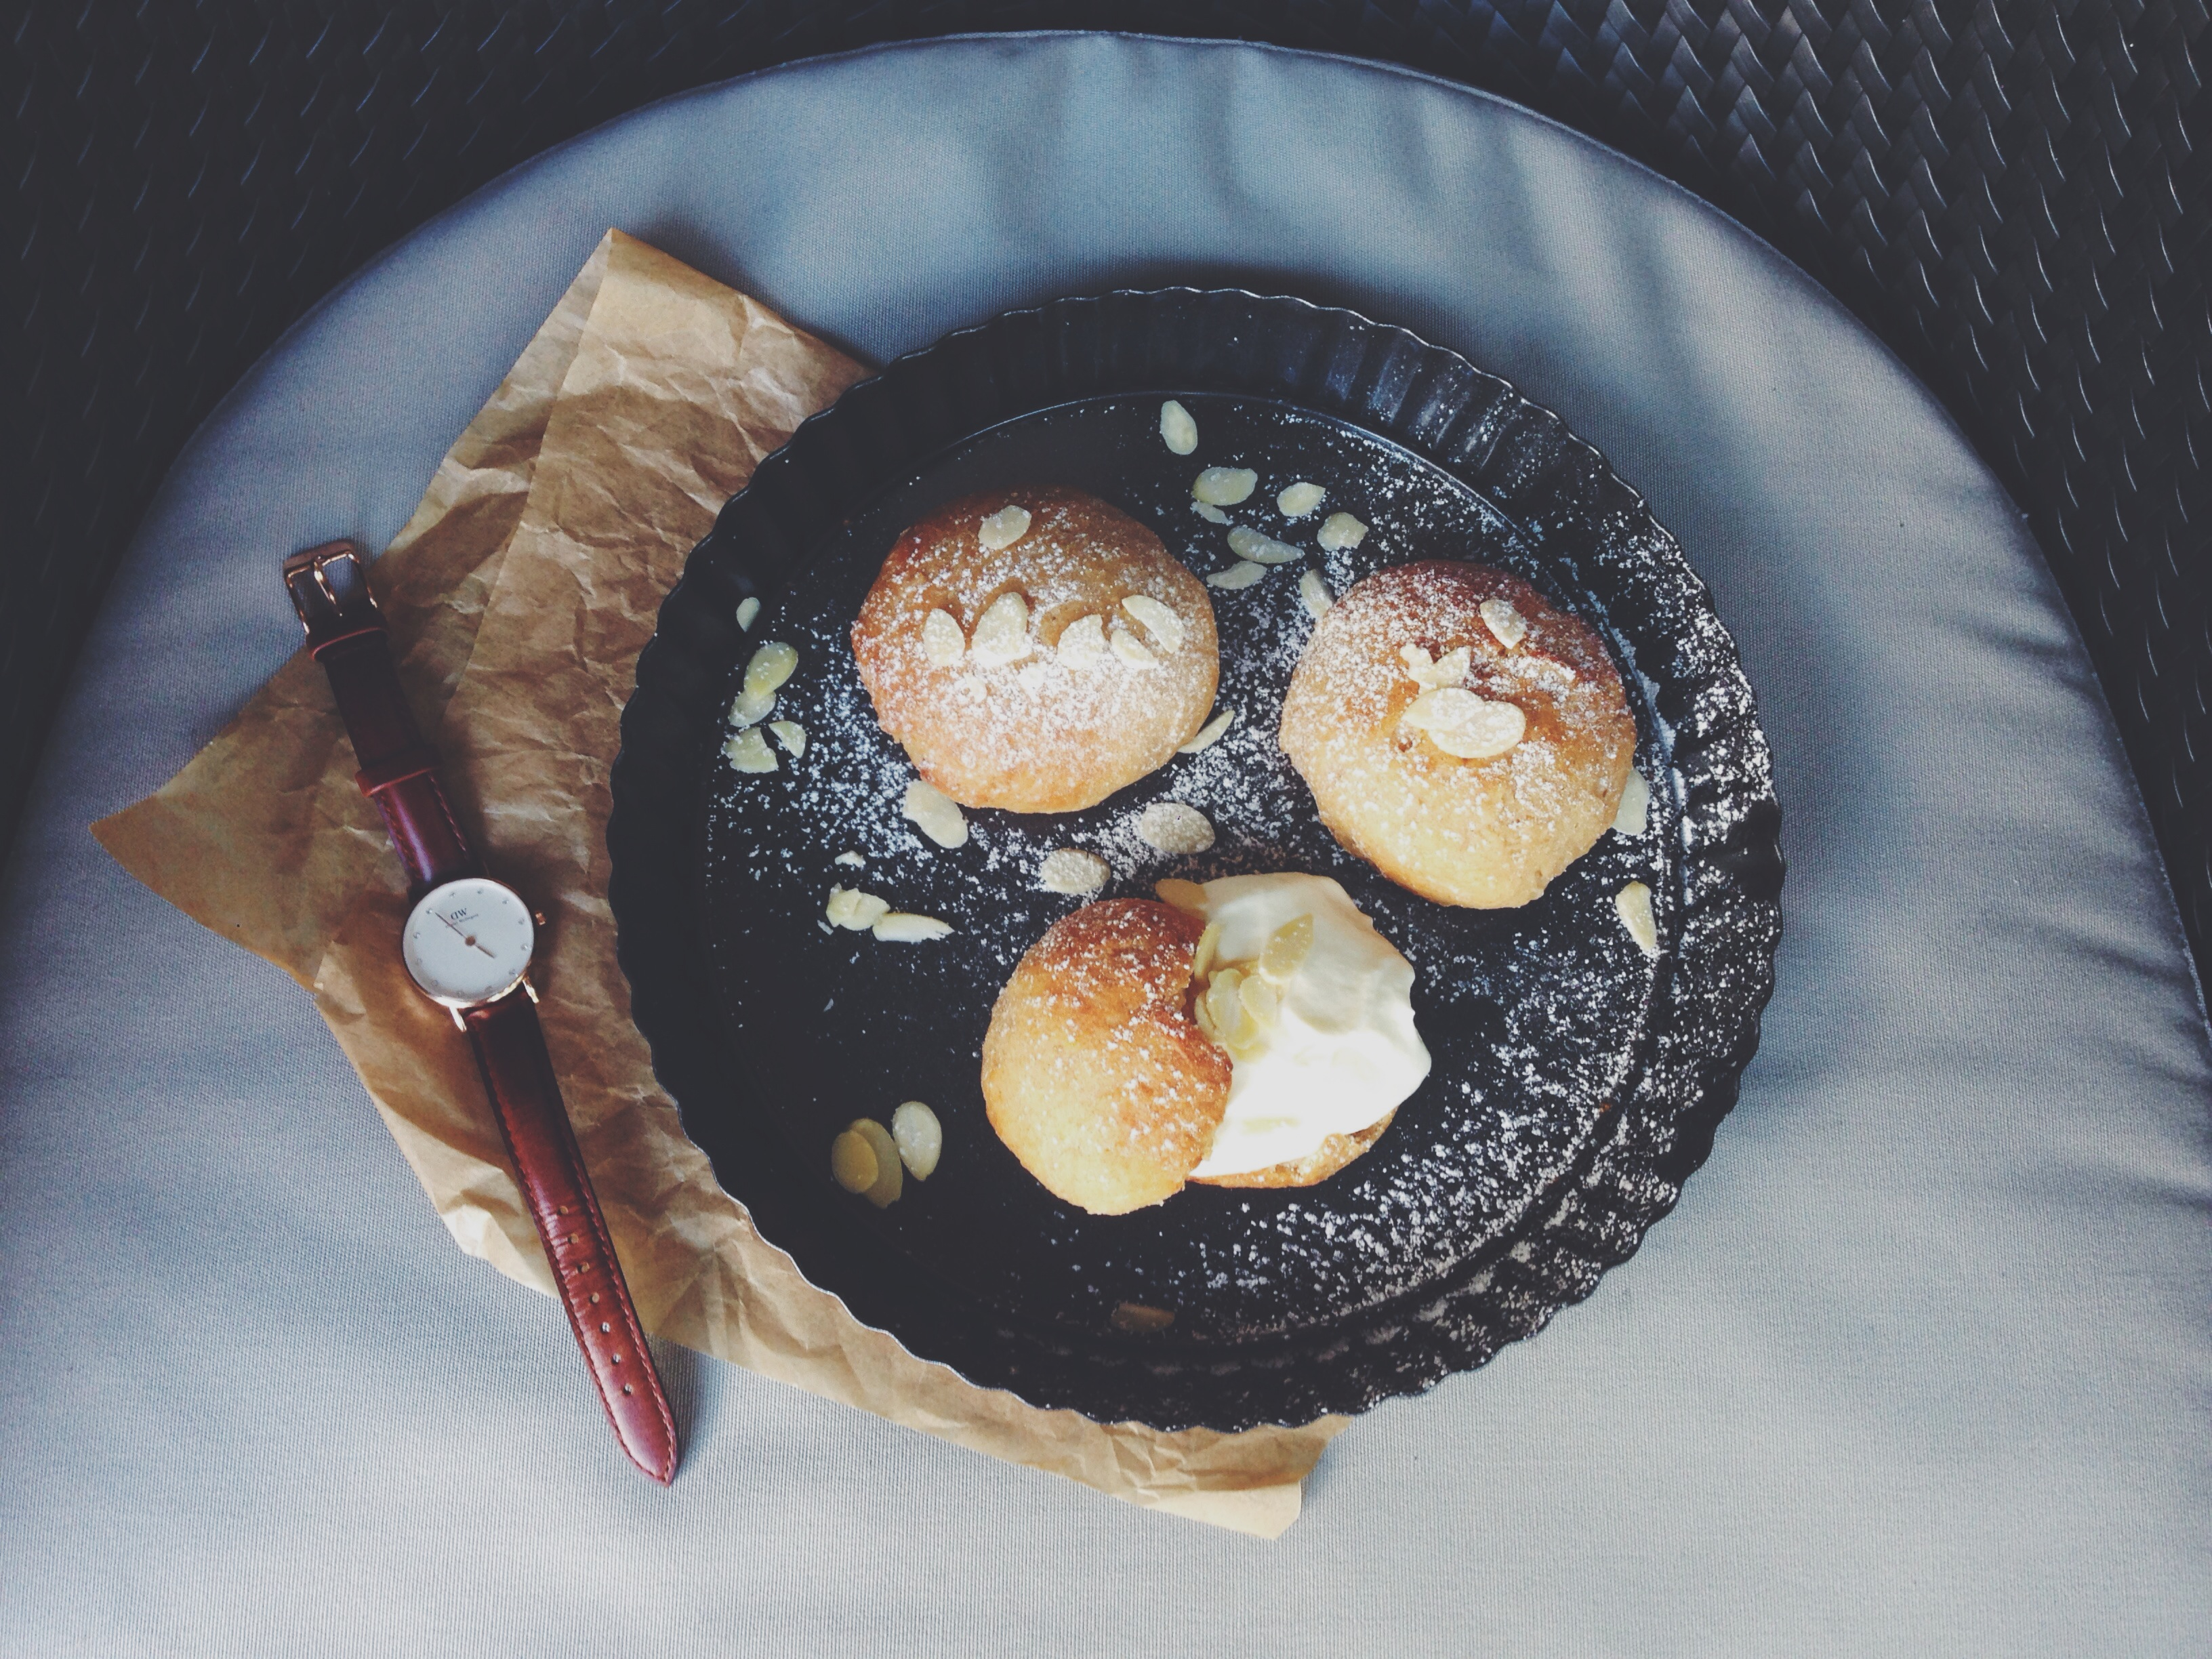
Featuring my new Daniel Wellington watch! Which I do admit, looks rather incongruous in this picture. But I’ve been lusting after one of these babies for the longest time, so to receive this in the mail really was the highlight of the week. Now before I get on to one of the shortest and easiest recipes known to man, I feel like bringing up a book which I think everyone should read– The Story of the Human Body by this brilliant chap named Daniel L. Lieberman.

Although I am a Christian, I strongly admire the way Lieberman notes and discusses how evolution has played a gargantuan role in the making of our physicality, in our attitudes and cultures as well. What I appreciate about his writing, despite my own religious beliefs, is its systematic yet personal approach. I know I’m deviating from baking and whatnot here, but I truly found the last few chapters (particularly ‘The Hidden Dangers of Novelty and Comfort’) relevant to our attitudes towards food and diet, something most of us think very little of. You see, we have grown to lust after comfort, prized indulgence to the point that we have practically eliminated the usefulness of challenge and gruff. What do I mean? I mean we have shoes, kitchens and… delicious, processed foods right at our fingertips. That sounds like a bit of an oxymoron; how can ‘delicious’ and ‘processed’ be in the same sentence? I would agree, but I’m speaking on behalf of most of the population who favour store-bought goodies, which, sadly, are usually highly processed and jam-packed with unnecessary chemicals. The thing is, it is exactly these sugary, fatty foods which our ancestors craved back when there was no such thing as convenience stores and people like Ben Cohen and Jerry Greenfield. There’s no harm having all this once in a while, but I’m a much stronger advocate of real food. As in, I would much rather buy ingredients to bake a lovely batch of brownies or cookies rather than spend my arse off at the grocery store. People so commonly walk down those glistening aisles, enticed by the pleasure of convenience (look! 4 mini bags of sugar puffs for $2?!) and then, like giggly robots, keep on giving the cash, trapped in an endless cycle of artificiality.

Now I’m not saying that buying junk is bad, nor does doing so make you a bad person. Hey, we’re people of a modern world right? We hurry here and there, always pressed for time, and who has hours at a go to indulge in some good old-fashioned kitchen time? Pass on the tim-tams? Ok, but wait. All this is fine as an occasional treat, but I believe more of us should make an effort to buy quality food and indulge in quality pleasure, to make up for all the lost quality in, perhaps, other aspects of our lives, and to feel good about the whole process. It saddens me to see parents buy mountains of junk, junk and more junk for their children. The thing is, they have been conditioned to enjoy the flavour of processed foods. We have become so used to these treats that the pleasure has been replaced by normalcy, and, unfortunately, excess. In the book, we glamourise comfort– we love soft beds but they are indeed bad for our backs, we love shoes when really they have caused harmful interaction between our genes and the environment, so things like flat feet or weaker Achilles heels have cropped up. And with food, we have prized the artificial so much that we forget its long-term effects. Perhaps in the future, if we go with the flow, we might become more immune to these debilitating consequences, but is not the ruggedness of physical activity and healthy, real food better than the typical sedentary, 21st century, filled with fake fad diets those horrid ‘fat-free’ labels (which, by the way, actually make one even fatter since these products are full of sugar and other chemicals to make up for the lost fat, therefore wreaking havoc on your blood sugar levels)? There is nothing wrong with having brownies baked with real chocolate, to have home-baked brioche doused in eggy batter and fried for a glorious Saturday morning french toast-themed perk-up. There is nothing better than the real stuff. The real deal. That must be said now, in a world which profits from the opposite.

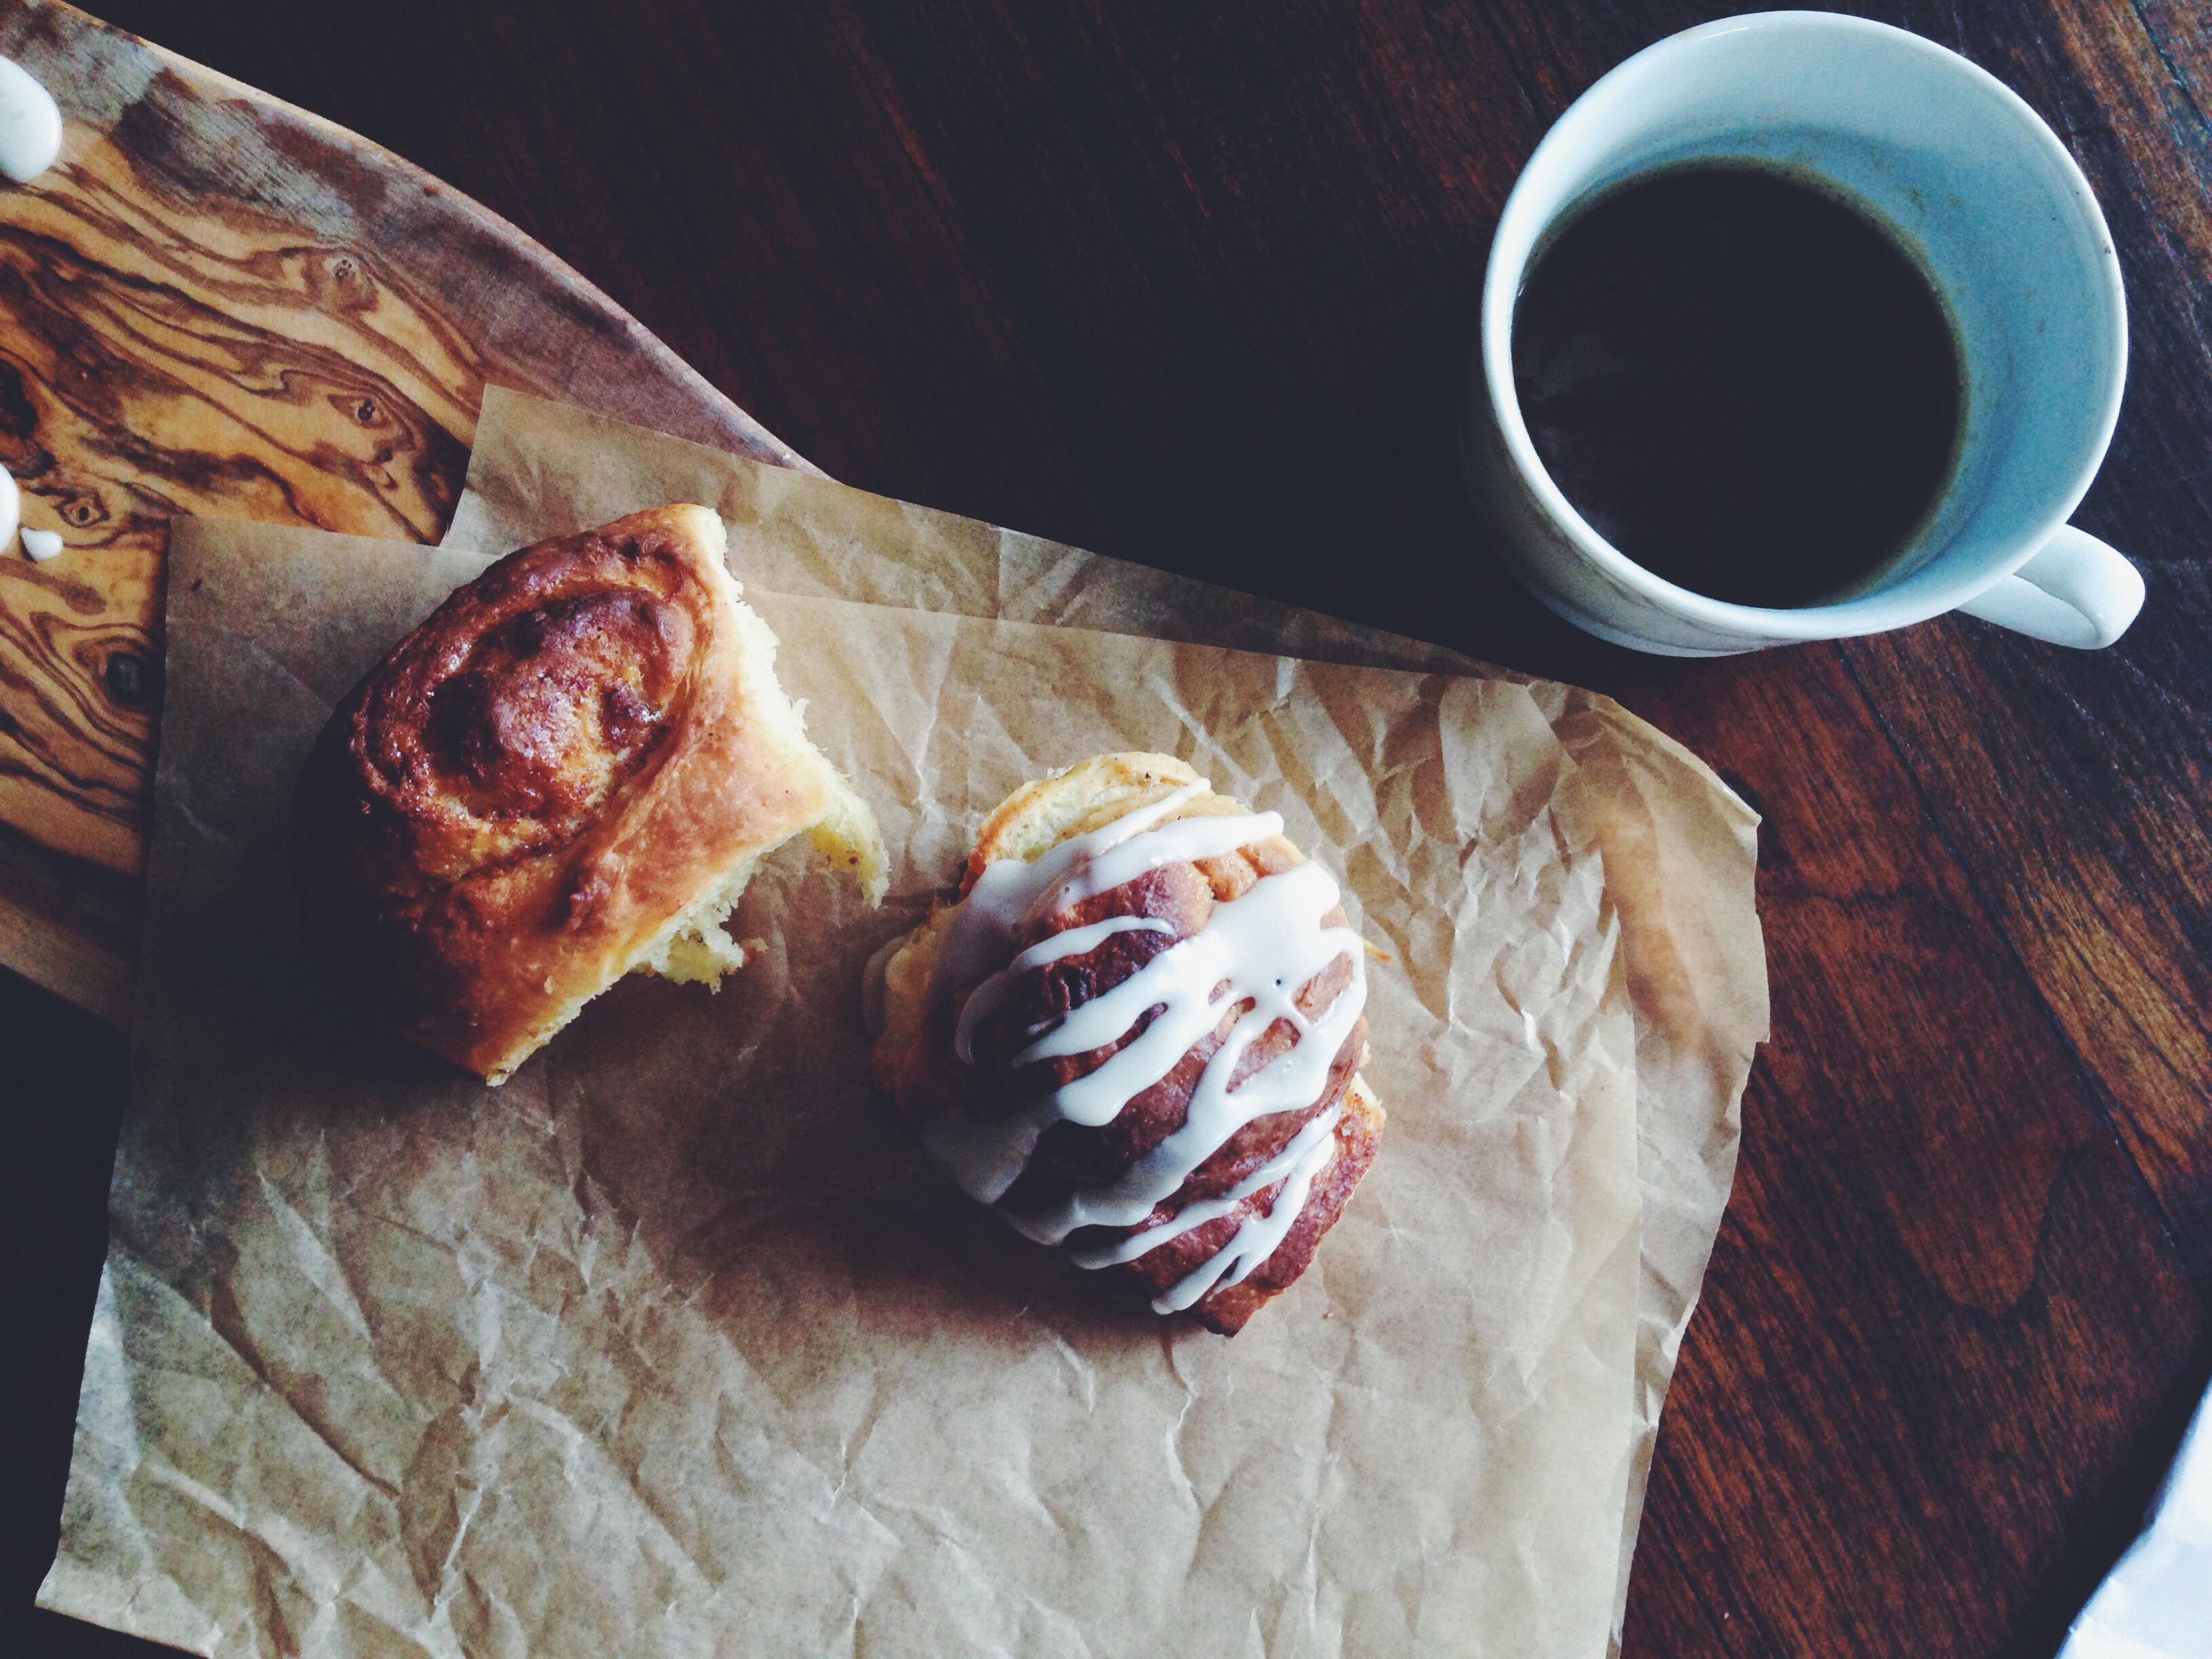
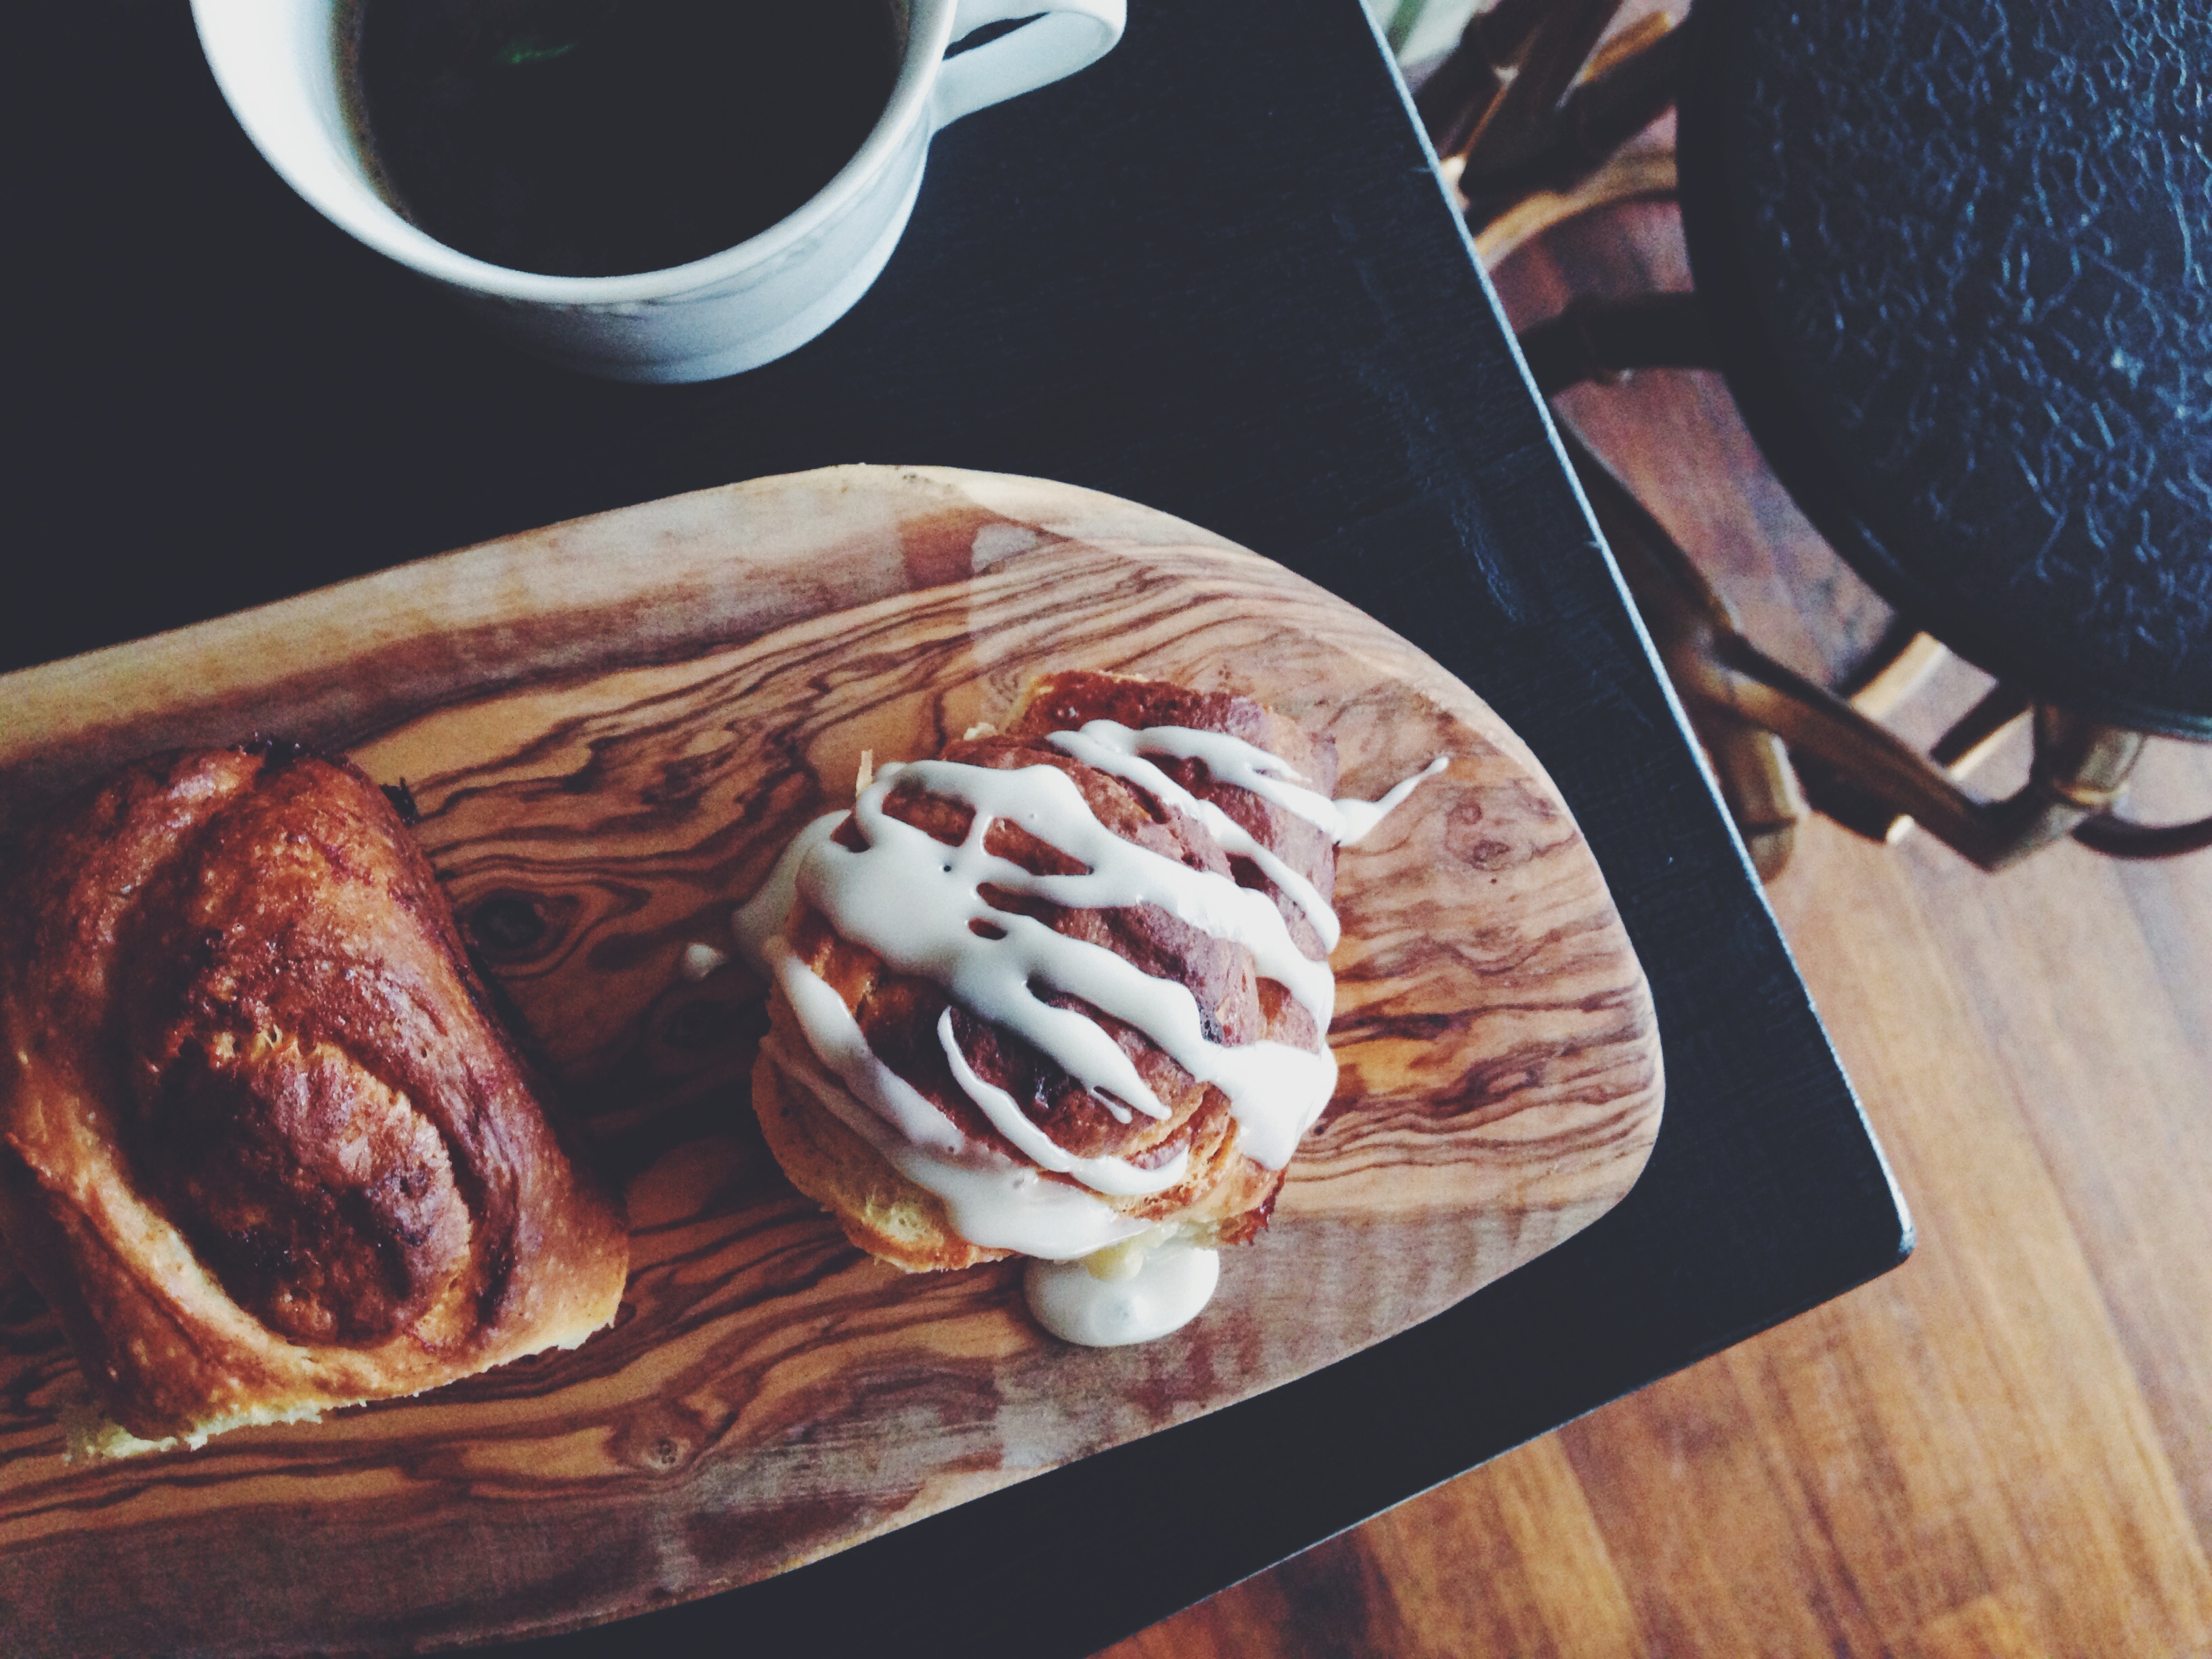
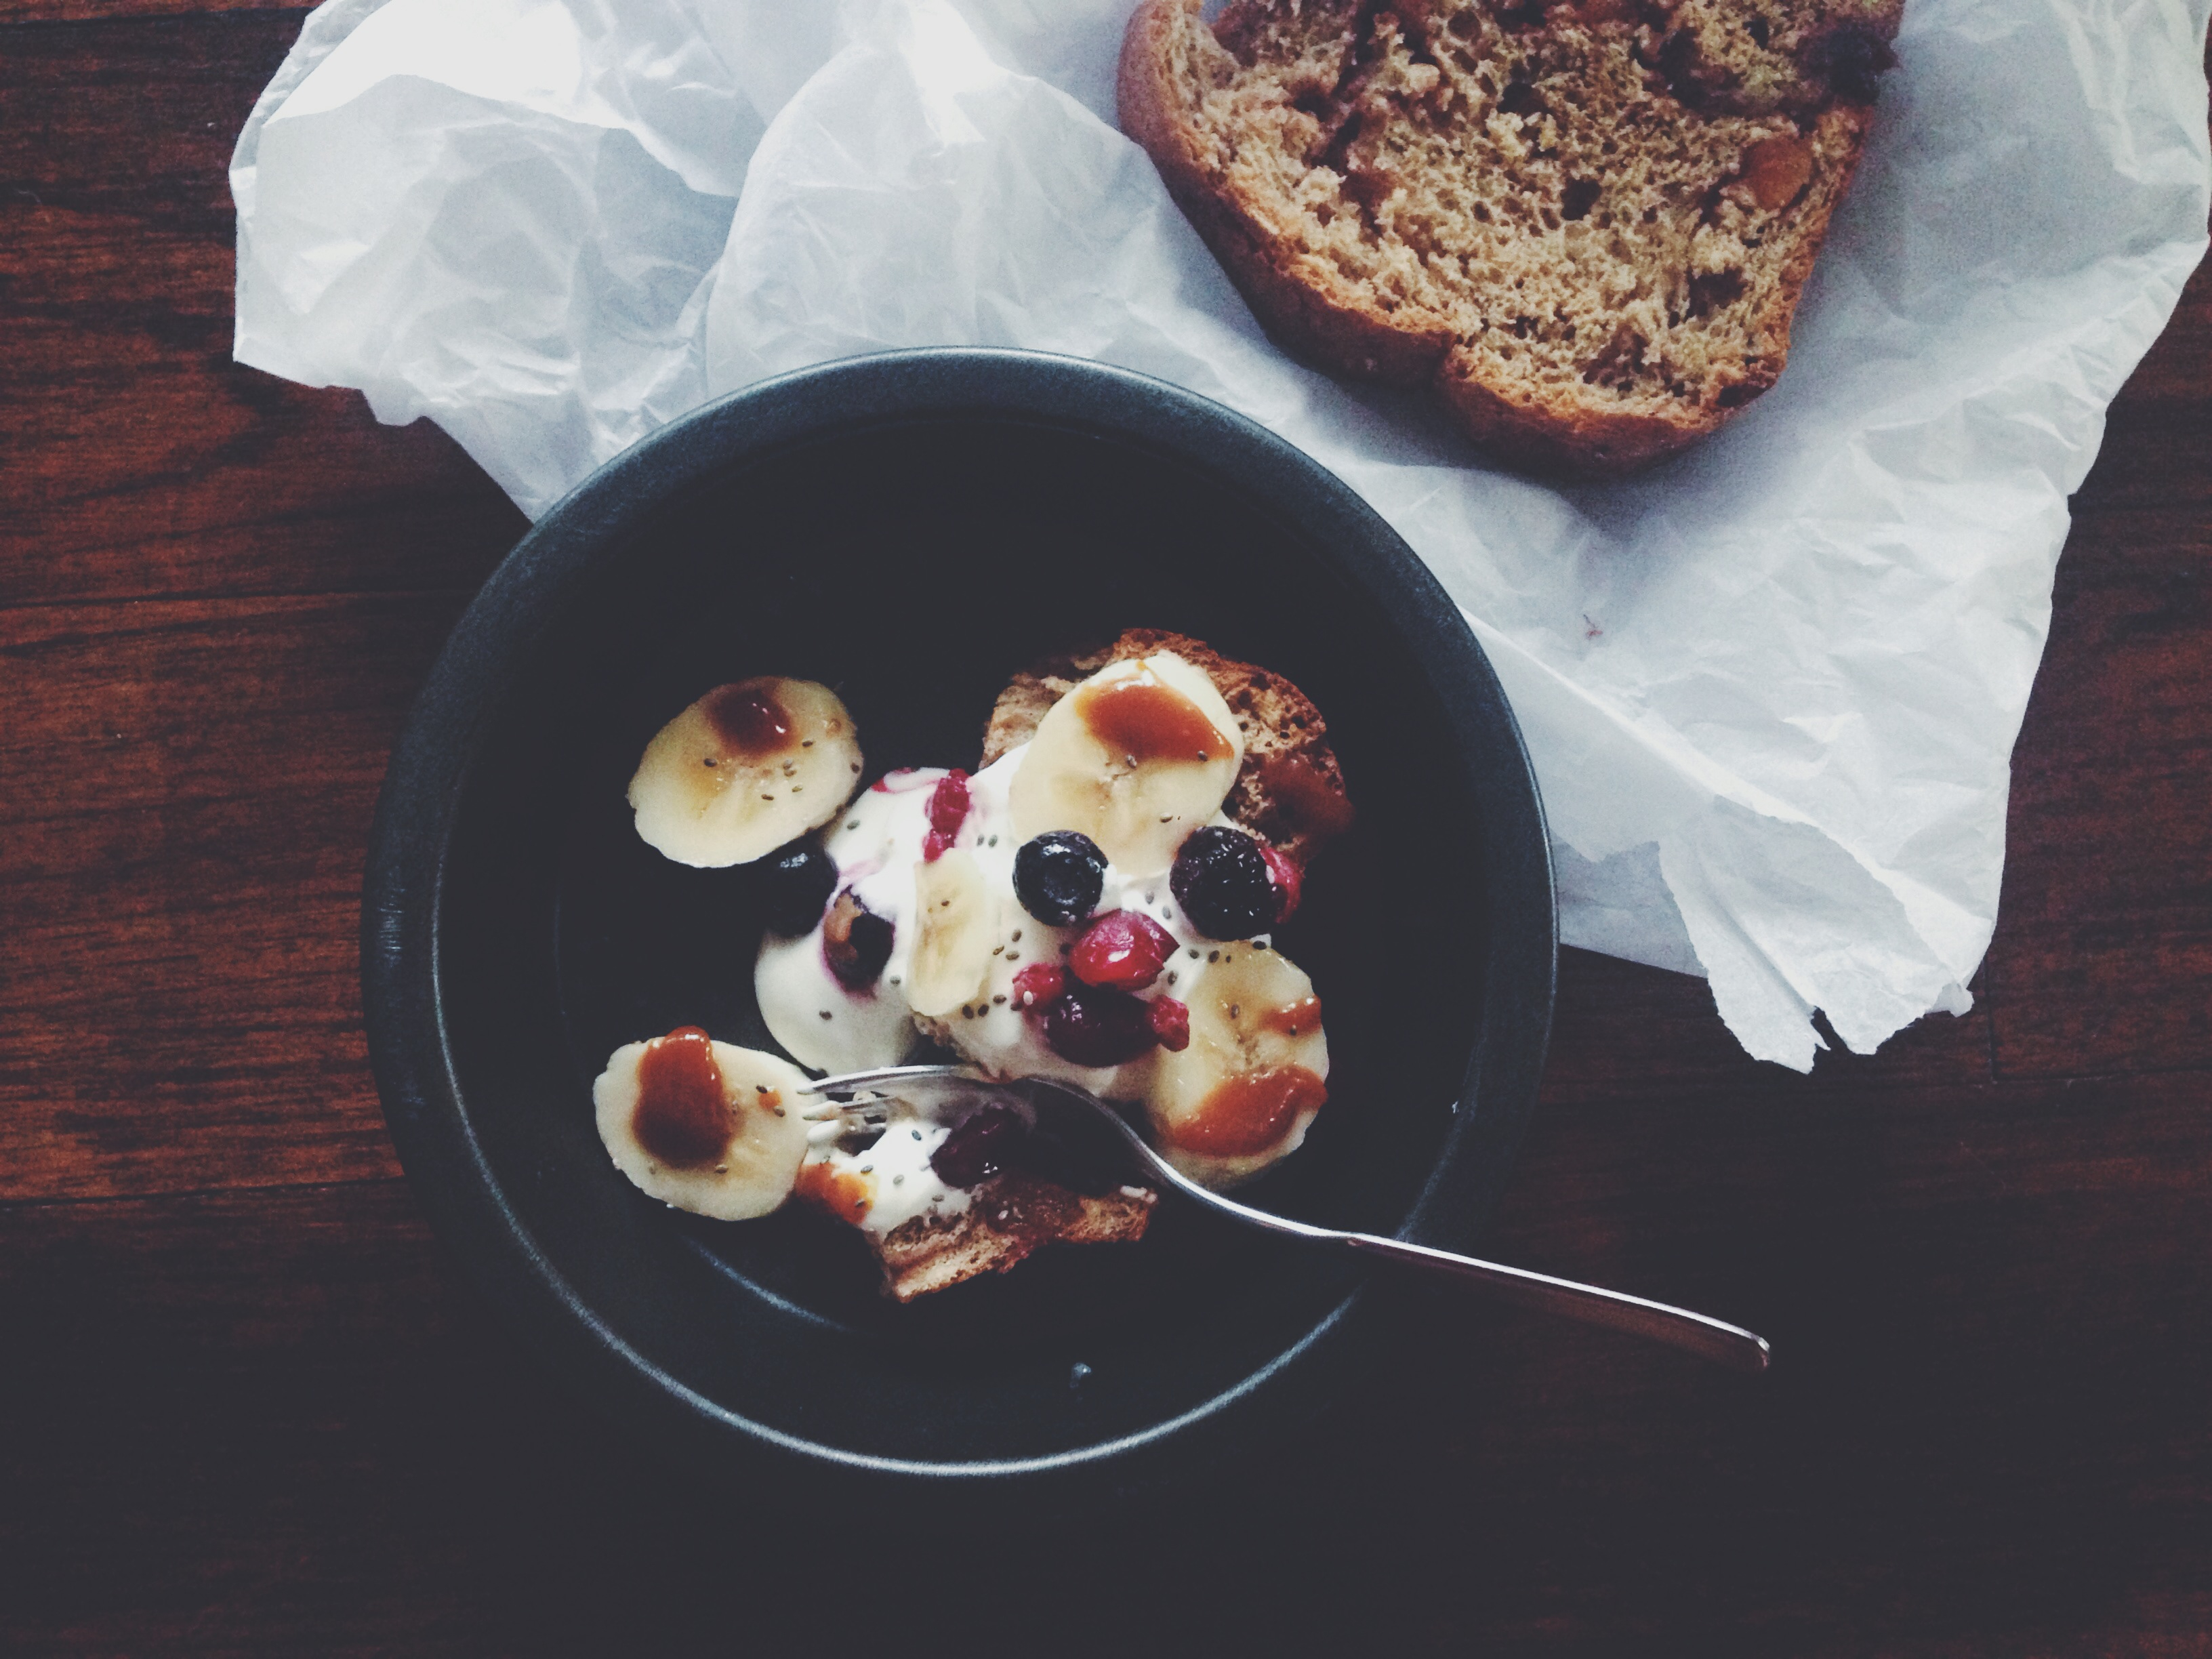
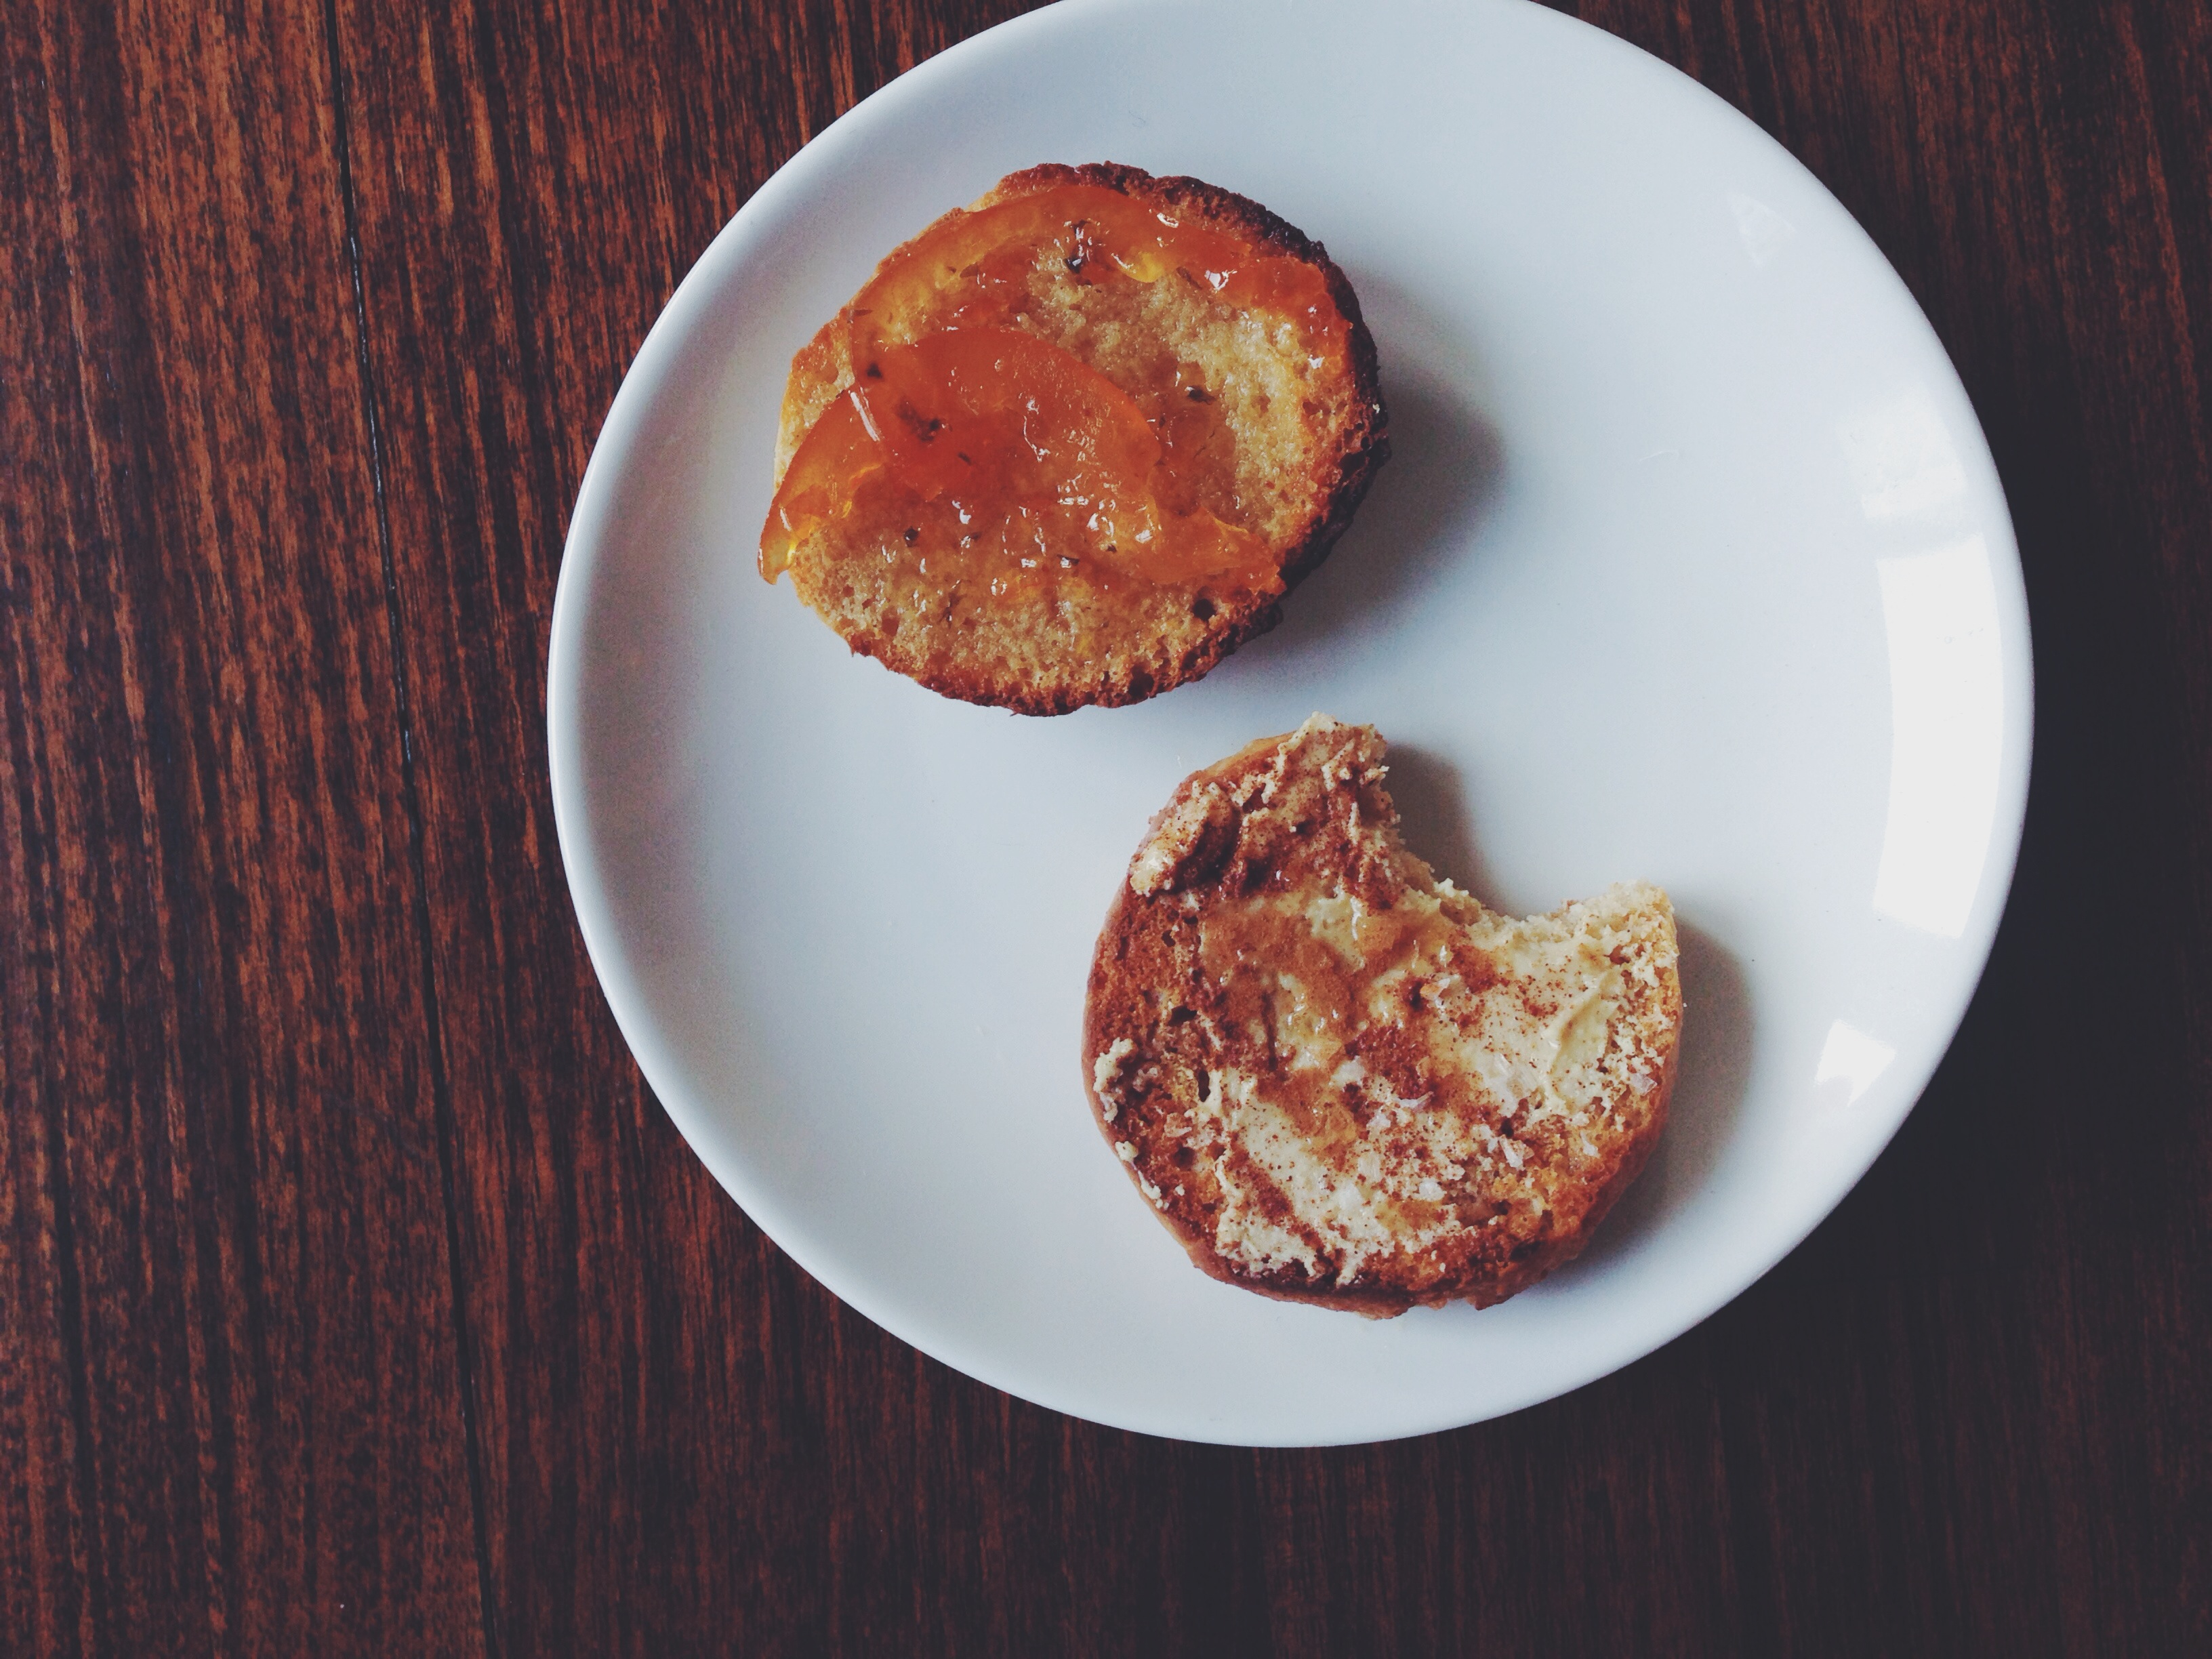
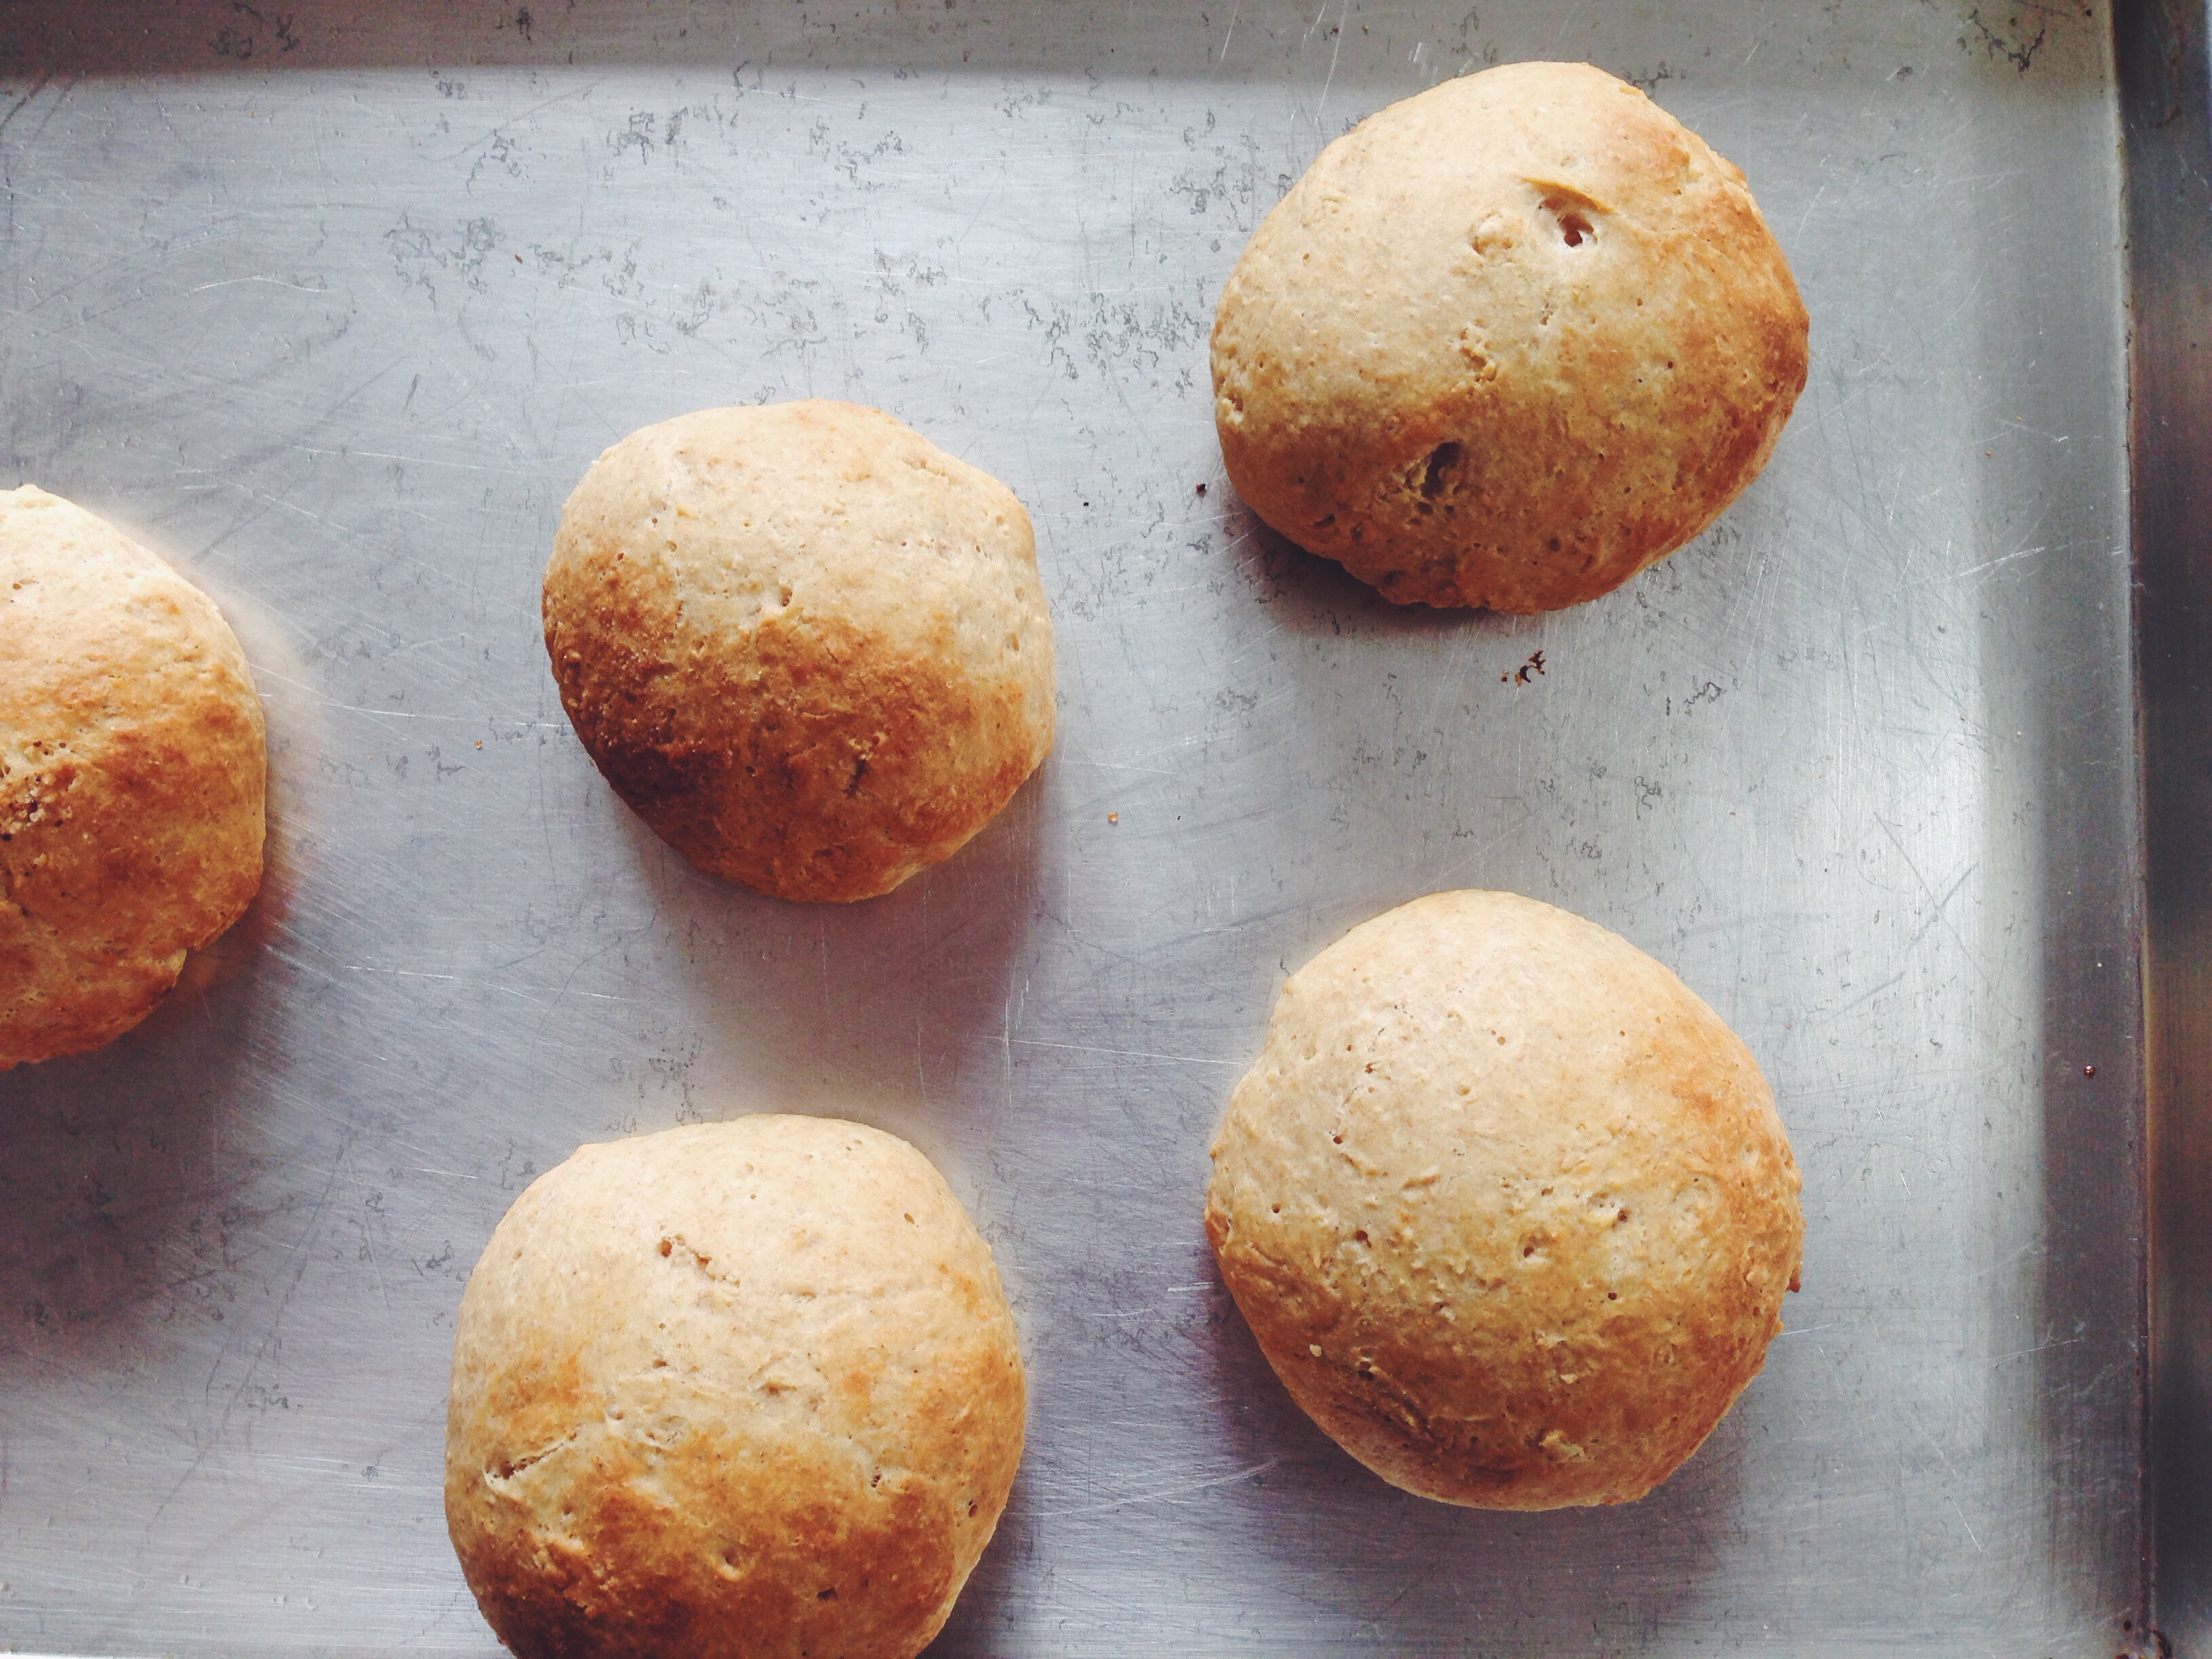
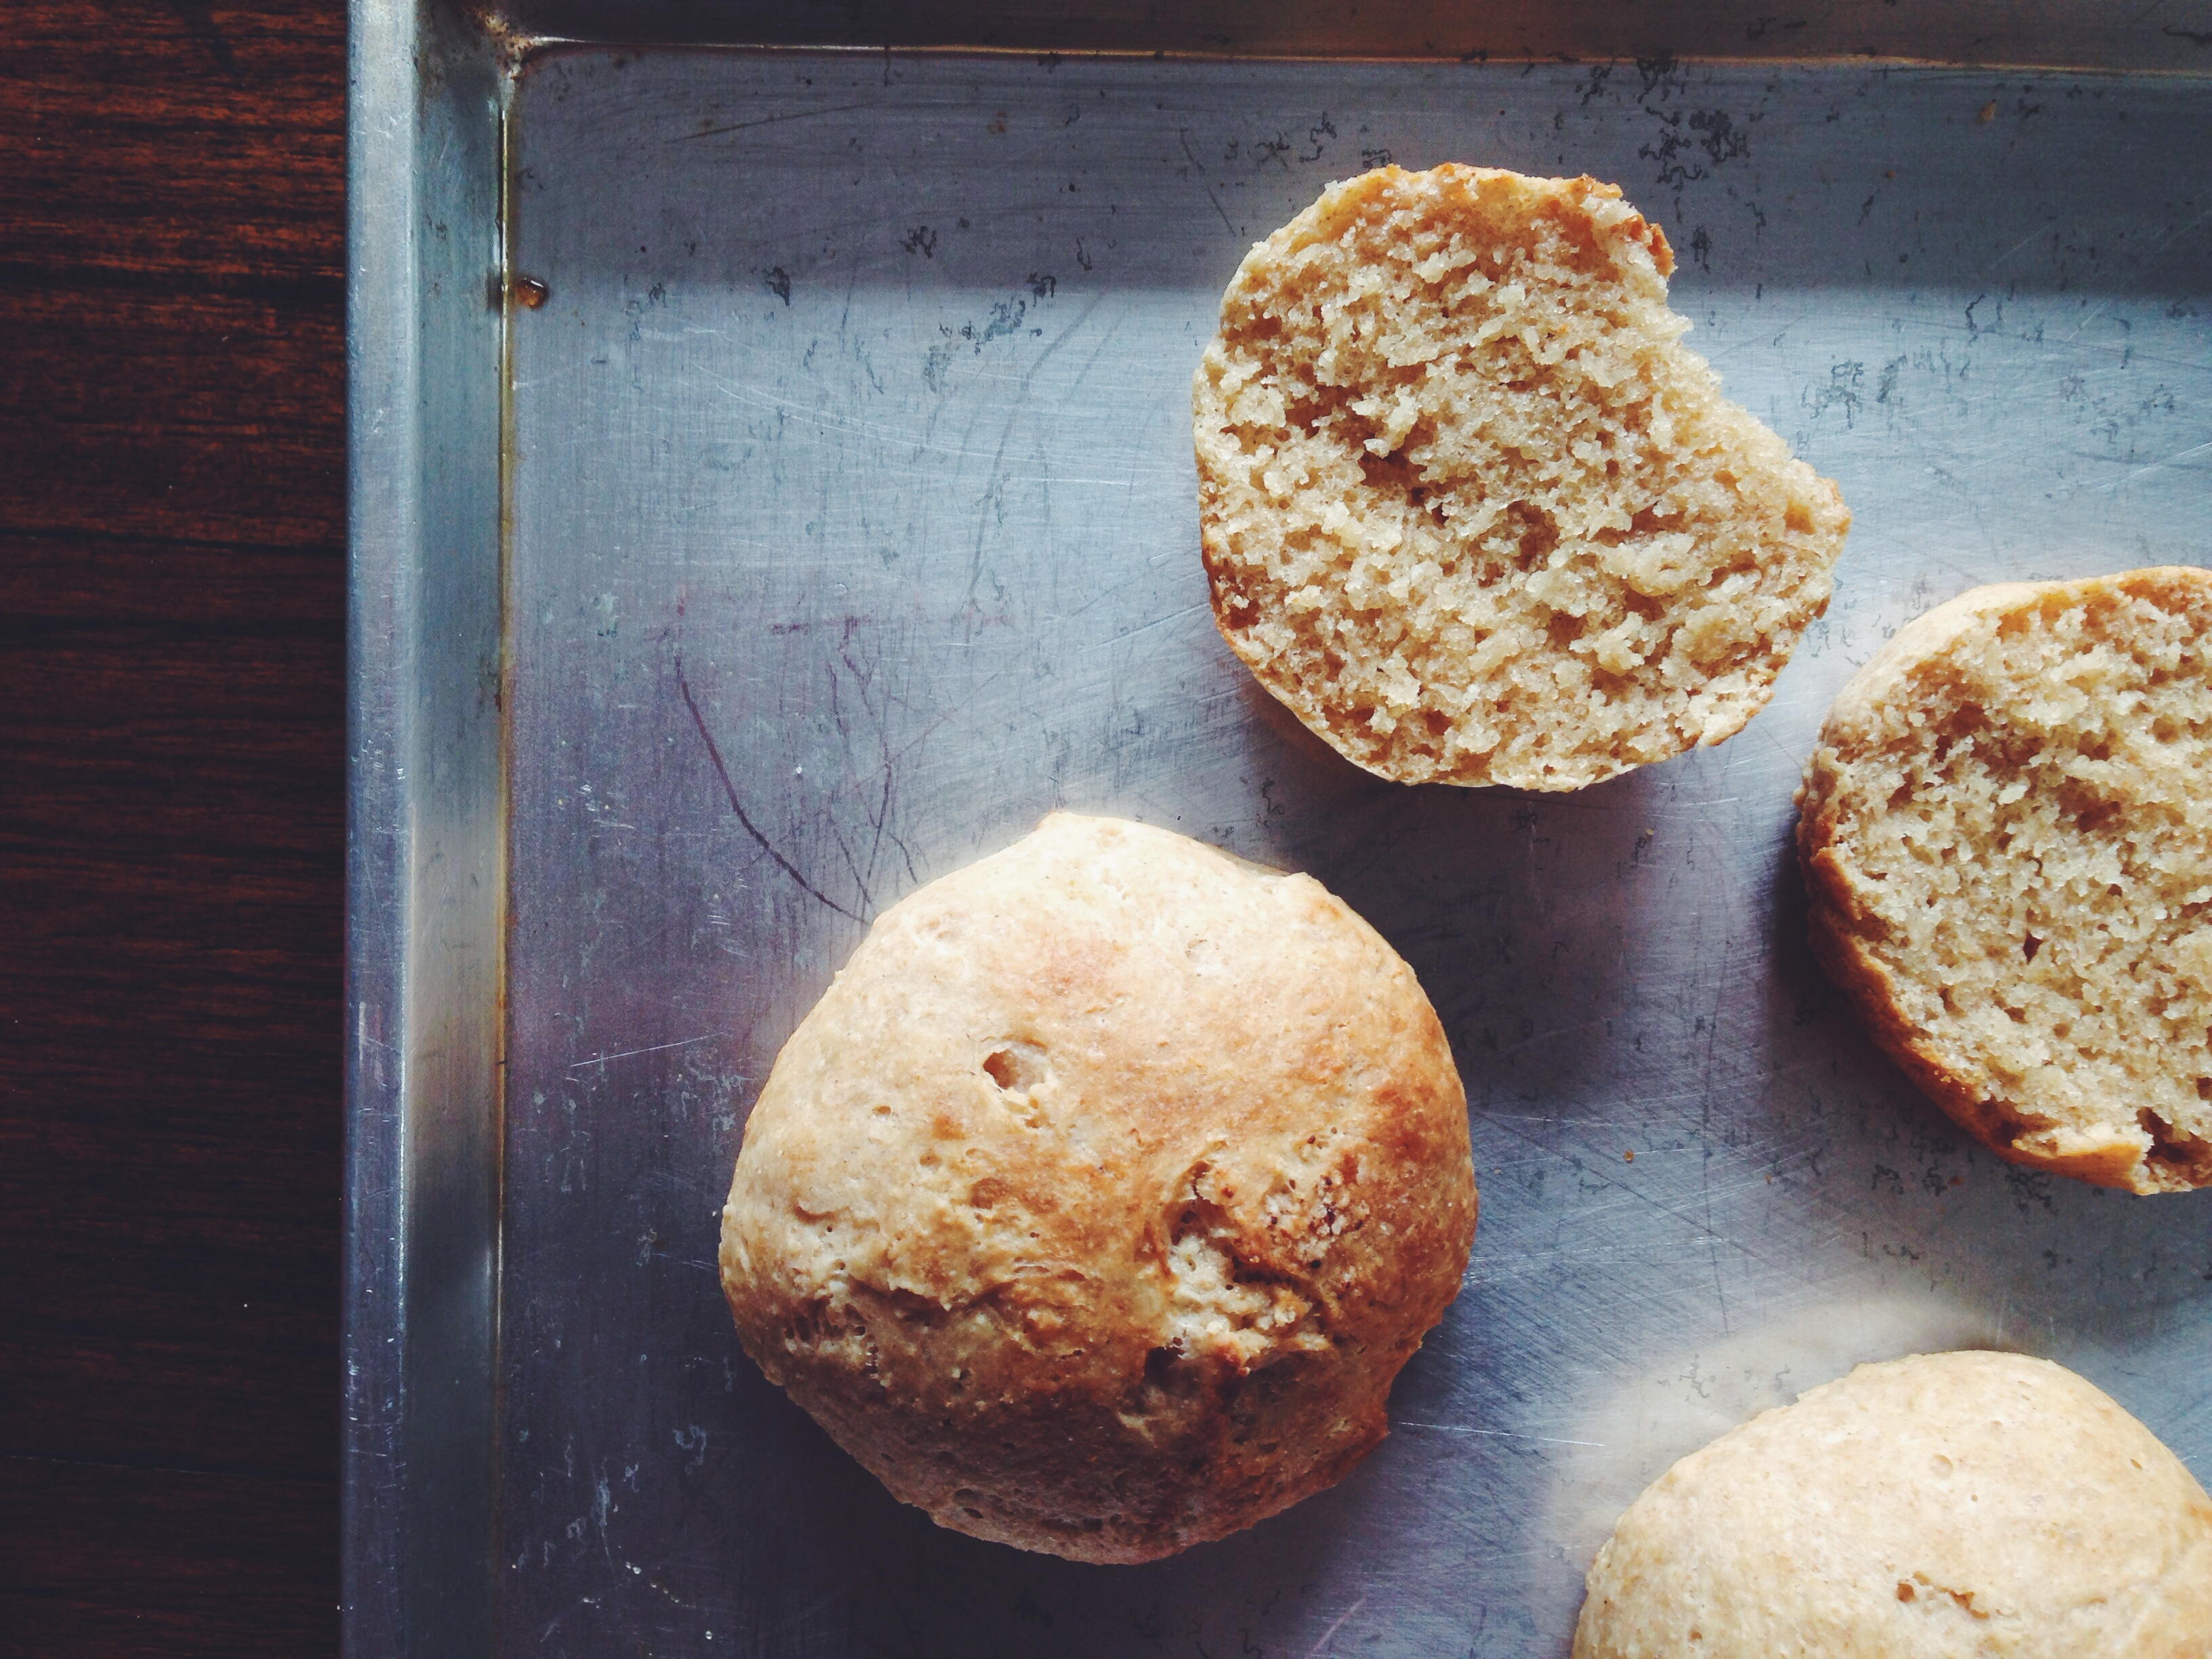
Alright. I’ve done lots of ‘easy’ posts before, especially the strictly breakfast-themed ones, but this is by far the easiest. Talk about shortcuts. I started out wanting to make Semlor, the Swedish dessert comprising crisp little buns filled with almond paste and choked with whipped cream. However, along the way, I discovered that the base recipe, which I adapted from a few previous personal trials, made for the perfect whole wheat buns. They are incredibly versatile and work with any sort of topping– my favourite must be the ‘fake semla’, which you can see above, toasty and crisp, topped with whipped cream and icing sugar, as well as these little babes below. Bressert, anyone?

top: butter and marmalade bottom: almond butter, maple syrup, cinnamon and sea salt flakes
top: butter and homemade marmalade
bottom: almond butter, maple syrup, cinnamon and sea salt flakes

They are on the denser side. I think I shall experiment more with the addition of brown sugar the next time round. Slightly sweet, very robust, and go wonderfully crisp and crusty with the heat from your toaster.

Processed with VSCOcam with f2 preset Processed with VSCOcam with f2 preset

Whole wheat buns (makes 5-6)

120g white all-purpose flour, 60g whole wheat flour

5g insteant yeast

40g unsalted, melted butter

120ml (half cup) milk of choice (I used whole), at room temperature

1.5 tbsp white sugar

pinch salt

1 egg, beaten, for the egg wash

In a large bowl, whisk together the melted butter and milk.

In a medium bowl, whisk together the flour, sugar, salt and yeast. Be careful to have the yeast and salt on opposite sides of the bowl, because salt is hygroscopic and induces osmotic stress on the yeast, thereby killing the poor guys.

Add half the flour mix to the wet and stir with a wooden spoon to combine. Add the rest of the flour, but be careful here as you might not need all of it. It should be soft and workable, not too sticky (definitely more robust than your typical brioche or cinnamon roll dough) or moist. Roll into a ball and leave in the same bowl to rise for an hour.

If you’re making the ‘fake semla’, then here you may wish to whip up some cream (best ratio is 200ml of cream and 1 tbsp powdered sugar). Preheat the oven to 225C. After the hour, take chunks of dough and roll into balls. Mine were around 70g each. Put the balls onto a greased baking pan. Cover them and let rise for another hour. You can do this step overnight, just make sure to remove the dough at least a half hour before baking in the morning. Brush the tops of the buns with the egg wash.

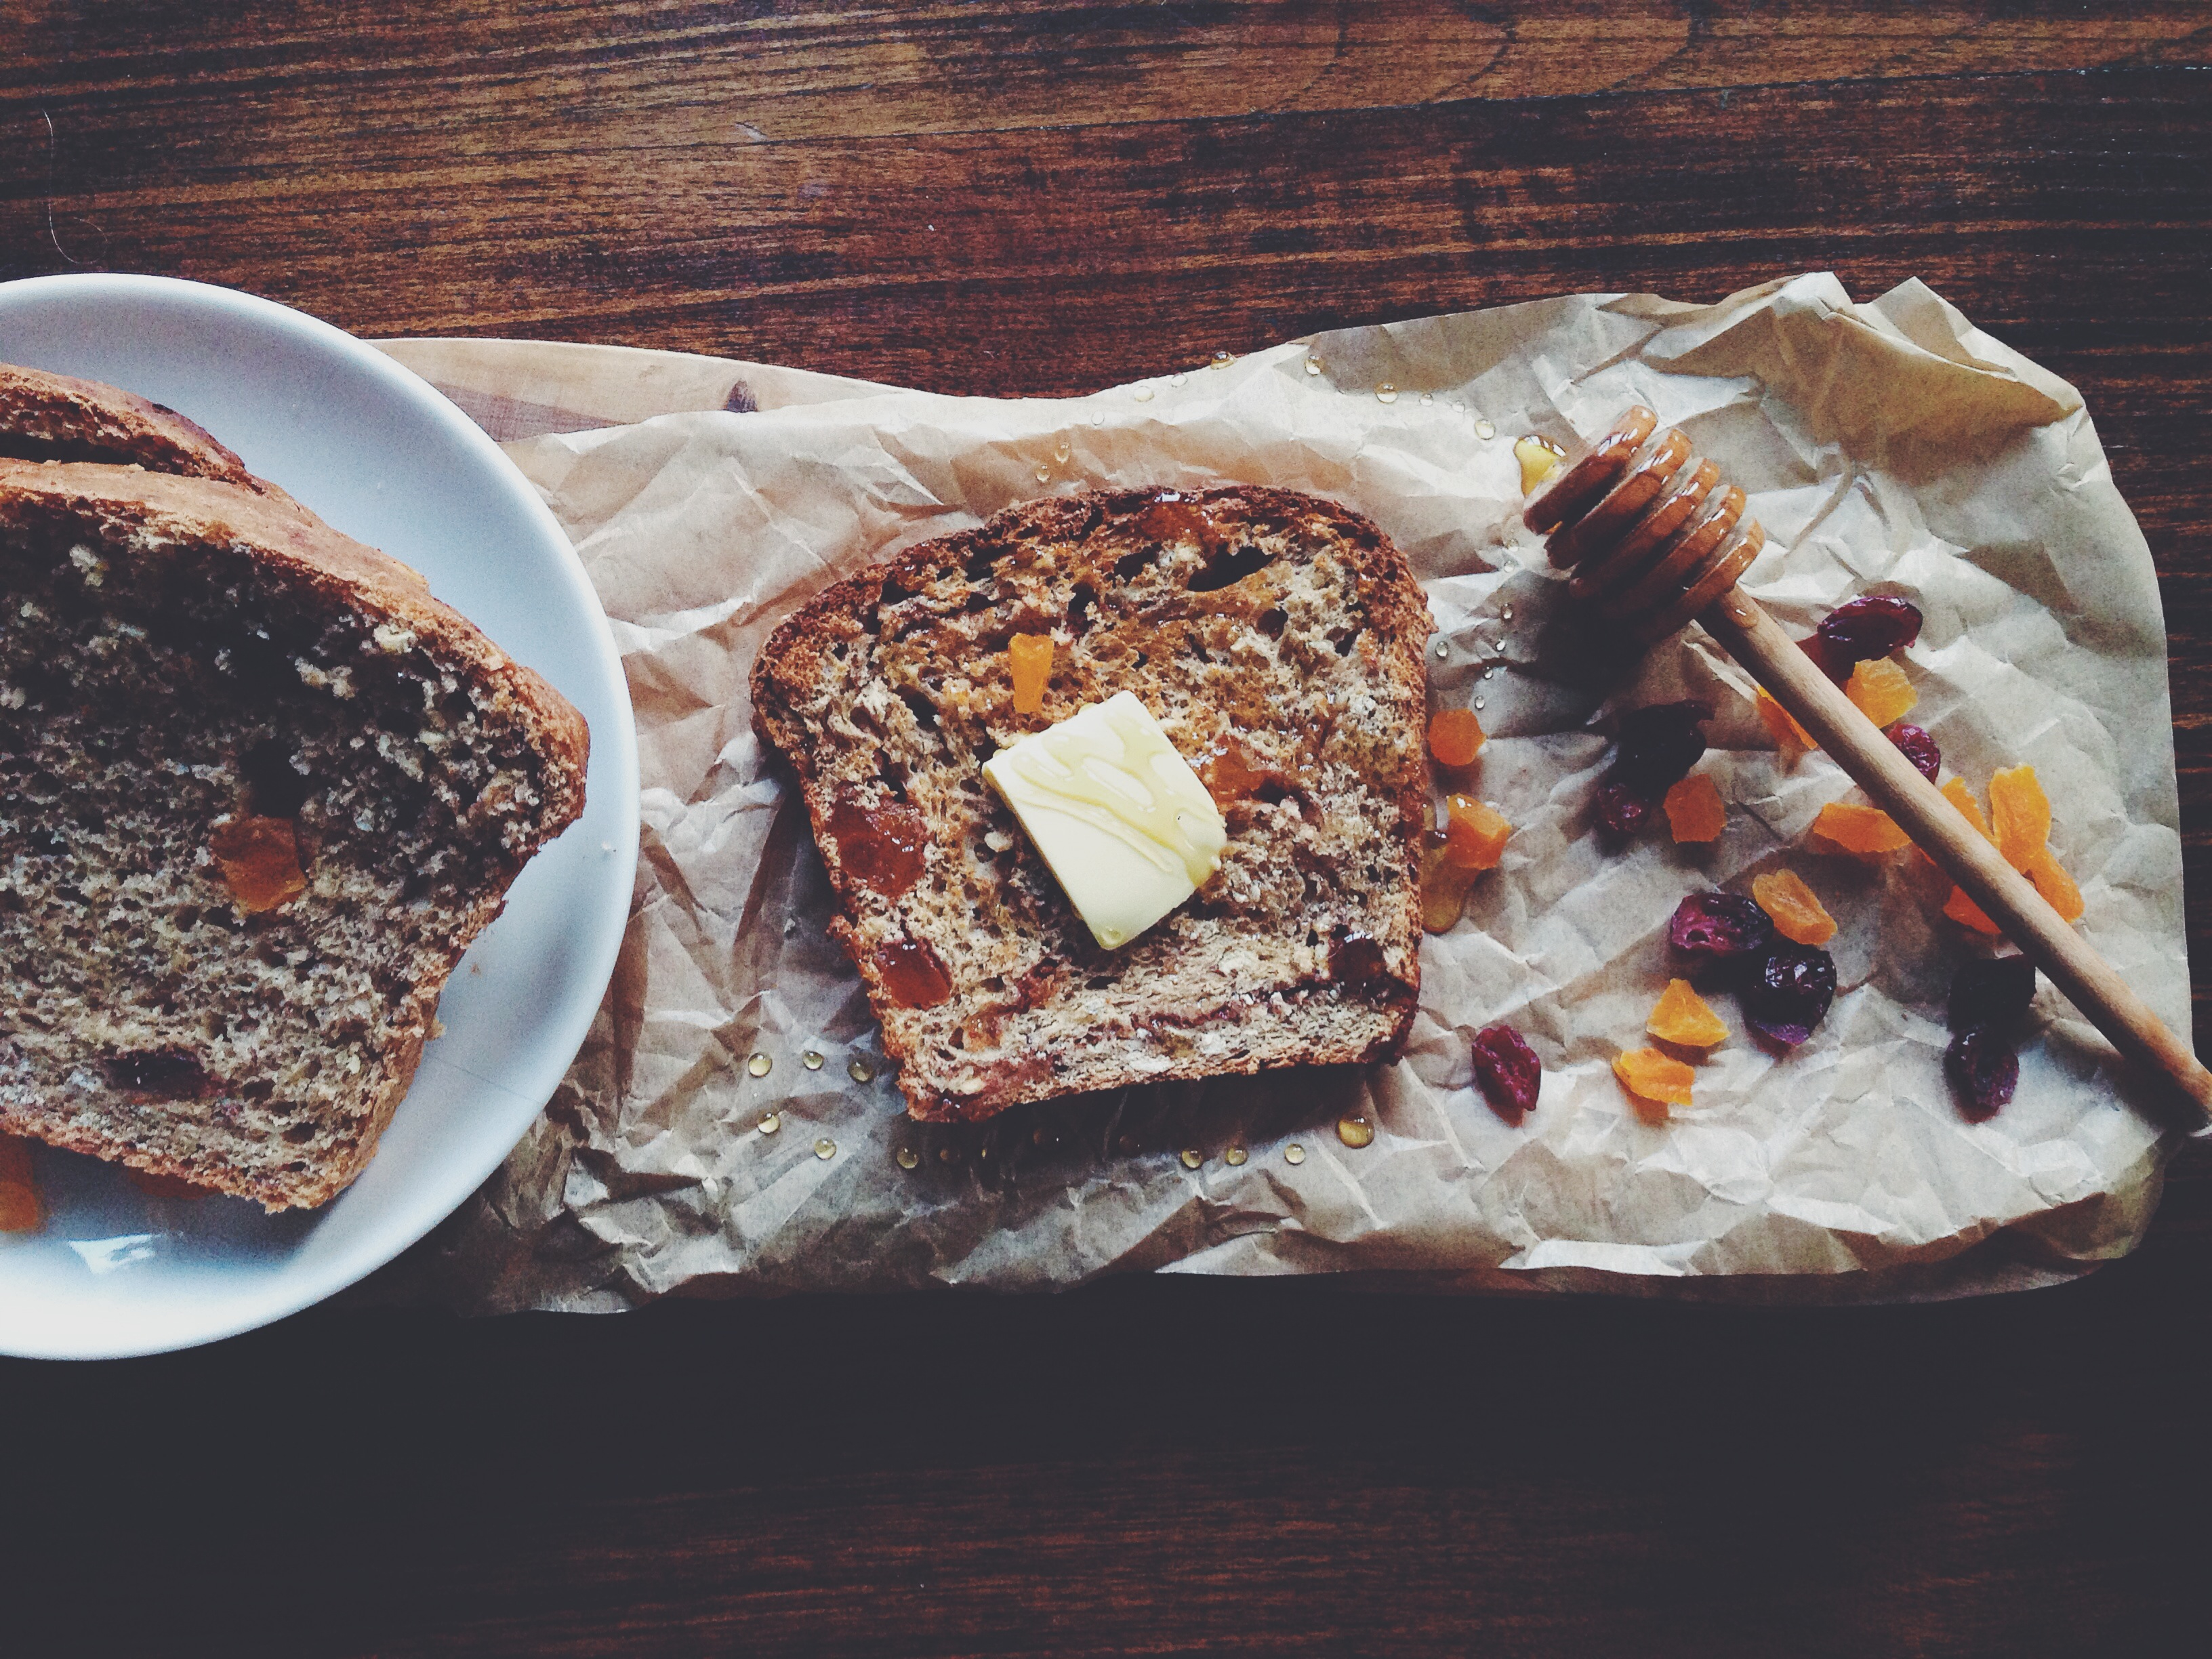
Bake the buns in the preheated oven for 8-11 minutes. Mine took 9 exactly, The tops will be golden-brown, shiny and crusty. Once cool, which doesn’t take long at all, you may freeze these for later consumption. Before eating, slice one lengthwise, pop in the toaster, and have a toast-themed morning. I think these go especially well with butter, honey and cinnamon. Cinnamon and whole wheat anything is a yes, please.

Tiong Bahru Bakery Valentines Day Special

It has been a long, painful while since I’ve done a tasting review. Well, any review, for that matter. You can imagine my excitement when I was invited for this one in particular, because the images of the new Valentines Day Special creations by the one and only Gontran Cherrier looked so moreish I swear there were drool pearls on my keyboard. No exaggeration here. Welcome to TBB.

Chocolate and hazelnut kouign amann ($4.50); pineapple and coconut tart ($8.50)
Clockwise: Chocolate and hazelnut kouign amann ($4.50), chocolate and orange marble cake ($18 a loaf, $4.50 a slice), and pineapple and coconut tart ($8.50)

If there’s anything so dangerous as to put a huge ‘DANGER: DEATH BY BUTTERY DELECTABLE CHOCOLATE PASTRY’ sign on it, then this chocolate and hazelnut kouign amann is it. It’s pronounced ‘queen’, by the way. I learnt that the hard way and got mildly embarrassed. This is it, friends. A monster, the provocative cousin of the sweet, light and fair original. Made with rich French chocolate and generous chunks of chopped hazelnut stuffed like sardines in between the multitude of buttery, flaky layers. The best bit is definitely the middle of the humongous chocolate snail– soft and almost squidgy, yet yielding just enough crunch to (almost) rival the incredibly, shatteringly crisp outer layers. At $4.50, it really isn’t too bad. You can be all good one day and have half. It’s about the saving. Be clever about it. It’s too good to wolf down in one shot anyway.

My favourite, I must say, was the pineapple and coconut tart. The ring of white chocolate on top was the almost de rigueur addition to the perfectly set pineapple mousse sitting atop a buttery, sugar pastry disc. I admit it looked a tad gaudy to me at first; I knew they wished to replicate the feel of actual pineapple rings, but I felt the tart would have fared better in my books (looks-wise) if the hole was filled with, well, more mousse. The filling was delicate without falling apart like my friend’s virgin, failed attempt at an airy-fairy chocolate mousse. It could have been a little tarter, yes, and the coconut chantilly cream was so lost in the world of pineapple that the minuscule piping on top of the chocolate did little for its flavour or acknowledgement. On the whole, this tart caters well to the masses, and is a little less sinful than the former mention with enough chocolate to render you senseless.

I was looking forward to the cake, but sadly, the little bite on my tongue felt like a mass of dry bubbles. Perhaps this was just a one-off mistake, a lost little batch, but I think more needs to be done to improve the moisture setting. It may indeed go well with a cup of tea or coffee (or kopi), doused in some overly sweet, caffeinated beverage, but I think the classic combination of orange and chocolate demands its own crowning without the need for anything extra to compensate. Pity.

Nougat and strawberry macaron ($8.50)

If you’re anything like me and have a penchant for anything jaw-aching, be it sweet or sour, then you’re in for a treat with this one. Ok, it’s not exactly jaw-aching, but I revere nougat as a complement to anything, so that addition was much appreciated and welcome in my books. The fluffy chew of nougat played up the hard, outrageously hot pink shell, and real fresh strawberries cut through the sweet on sweet. I was offered that lovely, fresh grapefruit juice too, so I guess I managed to tolerate half the macaron without feeling overwhelmed by the candy-cane-happiness of it all, for it can get sickly. If this were less sweet and artificial-looking, it would have had a better chance at beating the lovely pineapple mousse tart. Ah, the details do matter.

Hop over to Tiong Bahru bakery to try at least a few of the new specials, because they won’t last forever! I must say, the original branch at Eng Hoon Street is still my favourite, with its slightly industrial, I-came-all-the-way-here-because-I’m-worth-it vibe. Small tables, smooth coffee, little snippets of conversation getting caught in the air, everything baked in-house.

Tiong Bahru Bakery

56 Eng Hoon Street

6220 3430

Open daily from 8am-8pm, closes at 10pm on Fridays and Saturdays

Banana cardamom rolls

Processed with VSCOcam with f2 preset

I almost detonated when I saw the news headlines 2 days ago concerning the murder of freelance journalist Kenji Goto.

So many grotesque or inhumane things occur nowadays that most of us have been rendered practically immune to their effects. This murder in particular, despite its obvious malice, was probably expected. Abe went from stoic to emotional in no time, but the inevitable couldn’t be prevented. Beheadings and carnal torture methods are still being used around the globe. Violence is fought by violence, two fires igniting and ultimately, doing nothing. One side may be susceptible, perhaps a little forgiving, but sometimes that only stirs the impatience of the other party. There is no win-win situation, is there? Such malice is beyond comprehension. ISIS, in contrast to the USA’s initial certainty of its containment, is still evolving, affecting, blighting freedom of speech. Killing. Us humans, ultimately, have regressed. It’s back to the French Revolution again. Where are the guilliotines on the streets? If we aren’t the bad guys, we’re the onlookers who can’t do anything but sit back and squirm. I wonder when a balance will prevail.

Alright now. I made banana chocolate cinnamon rolls two months ago using a blog link I thought I trusted. The dough itself turned out ok, however it just didn’t possess the most desirably degree of fluffiness of brioche-like tenderness of crumb. The tops were a little too hard, and a knock sounded hollow. Something had to change, right?

Processed with VSCOcam with f2 preset

First thing’s first. This recipe involves overnight proofing, which makes it easy for you if you want to chuck this in the oven first thing in the morning and have something sweet and comforting for breakfast. On the weekend, probably, when you won’t feel too guilty. You whip up the dough the day before, let it proof a while, roll and fix your little buns in a nice little tray, then throw it in the fridge. All that time taken is so worth it.

I’m lucky to have a stash of spices around the house. When I saw the box of cardamom, unground, waiting, I knew I had to do something with the stuff. Anyways, I had never experimented with cardamom before. I wanted to keep the main idea of banana and cinnamon, but in order to keep the purity of flavour of cardamom in tact, I decided to forgo the chocolate. That being said, after the process of rolling and spreading the filling, please do feel free to add chocolate chips or chunks. Not a lot of cardamom is ground and used to produce a subtle yet effective aroma, so the addition of chocolate would be complementary, not distracting.

Processed with VSCOcam with f2 preset Processed with VSCOcam with f2 preset Processed with VSCOcam with f2 preset

The key to the soft, tender crumb, light and springy, is in the length of time taken to both knead and proof. When I first tried making cinnamon rolls (the traditional sort choked in cream cheese icing), I couldn’t get my head around the slogging away with my poor hands at the counter, and baked them just a little too soon, when the dough wasn’t robust. Sticky, but not worked at enough. Thankfully, I know much better now. This recipe, which I adapted from the lovely Smitten Kitchen, yields rolls which are fluffy, yet have sufficient body and weight to grant themselves the proper title of ‘roll’. For what is a roll without the keen addition of air (and a ton of butter)? In her original dough recipe, she first stirs the batter in a bowl, before turning it out to properly knead by hand (or you can use a kneading machine). Here, I decided to do it all in the bowl, to prevent precious batter getting stuck between my fingers and washed away. I knew I was taking a risk to prevent an episode of sad farewell, but it all paid off. I used a simple vanilla icing, though these may also be made with your favourite cream cheese icing recipe. The banana, which is mashed together with butter as the base filling, addresses the cardamom amicably, not letting it overpower, providing comforting flavour and a nice gooey touch alongside the strong spice. Some of the banana will touch the bottom and melt in the heat of the oven, so bits of the bottom will get all caramelised and crackly. Isn’t that the best thing in the world? I think so.

Actually, if you like crusty tops and sides in general, then I implore you to read on.

Processed with VSCOcam with f2 preset

Banana cardamom rolls (makes 6-7, adapted from here. Recipe can be doubled for 12 buns)

Dough:

1 egg and 1 egg yolk

25g white caster sugar

45g melted butter

4g instant yeast

235g all-purpose flour

half teaspoon salt

85ml whole milk, or almond/rice/soy/skim

Filling, from previous improvisations:

half tablespoon ground cinnamon

75g brown sugar

30g room temperature butter

1tsp ground cardamom (I used a mini mortar and pestle to do this)

1 small, ripe banana, or half a large one, mashed

Icing

100g powdered sugar

2-3 tbsp whole milk

1 tbsp vanilla extract

pinch salt

In a large bowl, whisk the egg, egg yolk, sugar, butter and milk together. Mix the yeast, flour and salt (make sure yeast and salt are on separate sides of the bowl) in another smaller bowl.

Add the dry mix to the wet mix and stir with a wooden spoon. Stir just to combine at first, then with a little more vigour once the dough comes together. Stir and beat the mix for around 5 minutes. The dough will be extremely sticky! But do not fret. That is what you want. Take a short break here, then continue ‘kneading’ for a couple more minutes, in the bowl with your spoon. I kneaded for a total of 8 minutes, no more and no less. After kneading, the dough should be pale yellow, and very resistant to further fiddling. Stretchy, glutinous, strong, and still very sticky.

Take dough out of the bowl and put into a clean bowl, oiled or sprayed lightly with cooking spray. Cover with plastic wrap or a damp tea towel. Let this rise for 2 hours.

In the meantime, make the filling. Mix the mashed banana and butter together in a small bowl, then mix the cinnamon, ground cardamom and brown sugar in another. Butter/spray a 9×9-inch baking pan or 9-inch circular pan (for cheesecakes/normal cakes etc).

After 2 hours, take the proofed dough from the bowl and press into a 9×6-inch rectangle on a lightly flour-dusted counter. If you’re doubling the recipe, press it into an 18×12-inch rectangle. Take the mashed banana and butter mix and spread on the dough, making sure not to layer it on too thick, and leaving a centimetre untouched frame along the sides. Sprinkle on the cinnamon, brown sugar and cardamom. At the point, you may wish to add chocolate chips or chopped nuts. Gently roll the dough from the long edge to form a 9-inch cylinder. Using a serrated knife, saw the log into 1-1.5-inch sections. I managed to squeeze 7 from this batch. Put the sections into your baking pan. Cover with cling film or a towel and pop into the fridge overnight, or up to 16 hours.

20 minutes before baking the next morning, remove the pan from the fridge to let them warm up a little. Heat oven to 177C (350F), and position the middle rack. Bake the buns for 27-30 minutes. Mine took 28 minutes. Halfway into the baking time, cover the buns with a piece of aluminium foil to prevent them over-browning or burning. During this time, mix all the icing ingredients together, then go ahead and make yourself a cup of tea whilst browsing the papers. Once the buns emerge, let cool on a cooling rack. The absolute best thing about these buns is that they actually take a very short time to cool down, so you can have one straight out the oven (like me). Drizzle the icing over one to enjoy first, then drizzle the remaining icing over the other buns half an hour later, once they’re fully cool, so the icing won’t melt all over the place.

Processed with VSCOcam with f2 preset

Ah, mornings.

Maple syrup baked doughnuts with two glazes

IMG_7779

I used to have a thing for baked doughnuts. You see, previously, I never knew doughnuts are typically fried, so the whole idea of baking them seemed quite the revelation. Bursting to life with the kiss of heat.. actually rising! I know, she never knew? Alright, simmer down. I tested this recipe 3 times and each time yielded a perfectly risen, fluffy, sweet set of 6 little doughnuts. They’re almost bite-sized, yet nothing overly indulgent (but I guess if you pile on the glaze…).

Some of you are probably thinking: Oops, I don’t have a doughnut pan. Therefore, I cannot make baked doughnuts, no matter how good they look. I’ll pass, thanks. I mean, who would want to buy a doughnut pan just to make these, right? I already have a 9×9-inch baking pan, so isn’t that good enough for practically any occasion?

Goodness, I know exactly how you feel. You’re practically echoing my years-long mindset, that is, before I decided to set out and buy a doughnut pan. It’s no big deal, my dear friend, just pop into the nearest baking supply store in your neighbourhood, grab a doughnut pan (I got a simple 6-doughnut baby), come home, make this recipe, and you’ll be as happy as a clueless gob in no time. It won’t take you long, I promise, be it driving to the supply store or making doughnuts. No really, they take no time at all to make, for it’s really just a matter of having a bowl for your dry ingredients, one for the wet ingredients, a whisk and a spoon. You could go ahead and embark on the real deal, with litres of oil and a deep pan for frying, but if you’re pressed for time, these guys will do just the trick. Out in less than 20 minutes. The flavour combinations are exciting, diverse, ever-expanding. After standardising a recipe, I decided the addition of maple syrup to the wet ingredients would make for something a little more seductive– not sickly sweet, but with an overtone of toffee. I improvised 2 glazes– one is a cream cheese maple glaze, the other is cream cheese and salted caramel. The one you see below is the salted caramel version, and the version above is smothered in cream cheese divinity. I love improvs. I really do.

Processed with VSCOcam with f2 preset

Processed with VSCOcam with f2 preset
salted caramel glaze

Maple Syrup Baked Doughnuts (makes 6)

125g all-purpose flour, or you can use half whole-wheat

1 tsp baking powder

1/4 tsp baking soda

1/2 tsp salt

1 egg

30g melted unsalted butter

120g caster sugar

50g plain yoghurt

60ml (quarter cup) milk of your choice; I used whole

2 tbsp (30ml) maple syrup

Preheat your oven to 177C (350F) and position the rack in the middle. Spray your doughnut pan lightly with cooking spray, and then wipe each well with a paper towel so nothing is too greasy. In a large bowl, whisk the dry ingredients (flour, sugar, baking powder, baking soda and salt) together well, for around half a minute. In a smaller bowl, whisk together the wet ingredients (egg, melted butter, yoghurt, milk, maple syrup). Pour the wet mixture into the dry one, and using a big spoon, mix until everything just comes together. The mix should not be too thick or too wet. A flick of the hand using medium pressure will allow the mix to drop easily from the spoon. Using two large spoons or a piping bag, pipe/dispense the mix into each doughnut mold. Fill each mold until it’s just about full.

Bake for 15-16 minutes (mine took 16 minutes), until they’ve risen and turned a lovely golden on top. In the meantime, try out one of these glazes:

Cream cheese maple glaze

80g softened cream cheese (you can use the spreadable sort, or microwave a block in bursts of half a minute until it is spreadable)

50g icing sugar

1 tbsp maple syrup

if needed, a splash of milk

Whisk all the ingredients together in a small bowl, and place in the fridge to cool whilst the doughnuts bake.

Salted caramel cream cheese glaze

25g softened cream cheese

3 heaped tablespoons of salted caramel (I used store-bought, but you can make your own. I made a lovely one last year and should put up a recipe for it soon)

50g icing sugar

large pinch of fine salt

half tablespoon milk

Whisk all the ingredients together thoroughly in a small bowl. Add or subtract the icing sugar, salt and salted caramel according to taste.

So quick, so do-able, so good.

Fig, cinnamon and apricot whole grain loaf

Processed with VSCOcam with f2 preset

“There is no science without fancy, and no art without facts.”

I’ve lately been fascinated by the whole idea of intellectual promiscuity. I came across it on this Brainpickings article the other day and was intrigued by the term, which basically means not to limit oneself to one academic field, and instead embrace both science and the arts, something I fully agree with after my own educational experience. Two fields which complement and enhance each’s developmental stages, instead of diminishing the importance of one or the other in any way. I’m still young and have much to learn about the world, but the paradox of finding creative genius outside of these constructed stereotypes (just think of Da Vinci– horses and formulas and planes galore!) is something to appreciate.

It’s been rather a long time since I made a loaf. It’s usually something simple and easy to put together like banana bread or a moist orange cake I made at the end of last year. All bing bam boom and poof!, it’s done in the oven within the same hour. However, a few days ago, I thought it would be lovely to indulge in the old-fashioned labour of kneading, of being a little more physical with the ingredients, bestowing them with more TLC if you know what I mean, instead of taking embarrassing shortcuts. I just wanted it to be me, some flour, these hands, and the oven. I came across a gorgeous recipe for cinnamon swirl bread on the Smitten Kitchen blog, run by the most hilarious and passionate lady ever. It was the original inspiration for this recipe, so check it out if you can. After fiddling about with the ingredients and measurements, I came up with my own version. What I love about her method is the kneading-then-wait-then-knead-again method, which sounds horribly tiresome and unnecessary now, but it really helps in developing the gluten, chew and resulting flavour of a good, well-risen loaf.

Processed with VSCOcam with f2 preset Processed with VSCOcam with f2 preset

I was a little hesitant to add figs, but no regrets existed when they turned into the sweetest pockets of thick goo strewn throughout the cooked loaf. The bread itself is sweet and hearty with the benevolent addition of whole grains, cinnamon and figs, so it’s wonderful toasted on its own, or topped with good salty butter and a selfish drizzle of honey. It’s my favourite way to have it. It tastes almost nutty, since I use ground flax and whole wheat flour (which, by the way, can be exchanged for your classic all-purpose, promise!). The best part without a doubt is the outrageously crackly, hard crust, best relished with even more butter and honey on the side. Thinner and slightly drier than what you would get from a banana bread loaf. It’s what I’ve been looking forward to every morning the past few mornings, if I’m being completely honest. I mean my mind is always filled with thoughts other than food (believe me), but some things are annoyingly irresistible, cutting off sense and sensibility, and this is one of them.

Processed with VSCOcam with f2 preset

Fig, cinnamon and apricot whole grain loaf (makes 1 standard 9×5-inch loaf)

For the loaf:

320g whole wheat flour (or a mix of whole wheat and all-purpose)

80g whole grains– I used 15g of ground flaxseed and 65g rolled oats. If you wish, use 80g of either, or try experimenting with oats ground in your food processor.

7g instant yeast

1tsp (7g) fine salt

25g brown sugar

1 egg, beaten

40g unsalted butter, melted in the microwave (use 20-second bursts)

150ml tepid water

150ml milk, microwaved for a while so it’s not fridge-cold

extra flour for dusting work surface

For the filling:

50g white caster sugar

1 tbsp ground cinnamon

half a cup of chopped figs and dried apricots (you can use anything really. If you have nuts/ dried cranberries/ raisins/ currants, then go for it). It should all amount to around 65g.

one large egg, beaten with a splash of water

In a large mixing bowl, combine the water, milk and sugar, then whisk in yeast. Add the egg and butter, and whisk again. In a separate bowl, whisk together the flours, oats, flax and salt. Using a large wooden spoon, stir for around a minute. The mix will immediately turn darker but will retain a coarse texture. Let the mix rest for 10 minutes.

After 10 minutes, mix a little more with the spoon. Just briefly. The dough should look supple, and less ragged. If it’s still obviously wet, add a tablespoon more of flour. Mix more for 3-4 minutes.. and this is where it gets tricky. The gluten really starts to develop here, making the mix more robust and less malleable. 3-4 minutes doesn’t sound long, but the time does get to you when you’re constantly trying to churn power from your two poor biceps. Power through!

Scrape the dough out onto a lightly floured surface. Knead a few more times, just twice or thrice, before forming into a ball and placing into your mix bowl. Place a damp towel on top and let rest for 10 minutes. After 10 minutes, remove the towel, dough and use your wooden spoon to work the dough again briefly, and leave to rest and cover again for 10 minutes. ‘Kneading’ this way avoids some between-the-fingers mess, and keeps the dough in the bowl. Is that lazy? Ha. Repeat the knead-and-cover process just one more time.

To proof, transfer the dough into a clean and lightly oiled bowl. Cover with a damp towel again and let this proof for an hour. If you’re pressed for time, you can leave the dough in the fridge overnight! If you do it this way, make sure to remove the dough 2 hours before you start working with it again. During the hour or after taking out your chilled dough, mix your filling ingredients– cinnamon, sugar, figs and apricots. After an hour, check to see if it has doubled. If it does not look quite as voluminous, leave in the bowl for another 10 minutes.

Dust your work surface and turn out the bread. Press the dough into 10×5-inch rectangle, then brush the dough with the egg and water mixture. Sprinkle on the filling, then roll from the shorter edge. Nothing careful or meticulous here. I didn’t create a swirl like Smitten Kitchen’s version, however the rolling does make sure that the filling is nicely distributed throughout the body. Press the edges closed, then gently place the loaf (I needed spatulas to help me!) in a lightly greased loaf pan.

Now for the second proof: Cover the loaf pan with a damp towel and let rise for 30-45 minutes. Whilst waiting, preheat your oven to 177C/ 350F. Bake the loaf for 40-45 minutes. Mine took 40 minutes and came out a lovely golden colour.