Frozen strawberry banana slushy

Processed with VSCOcam with f2 preset

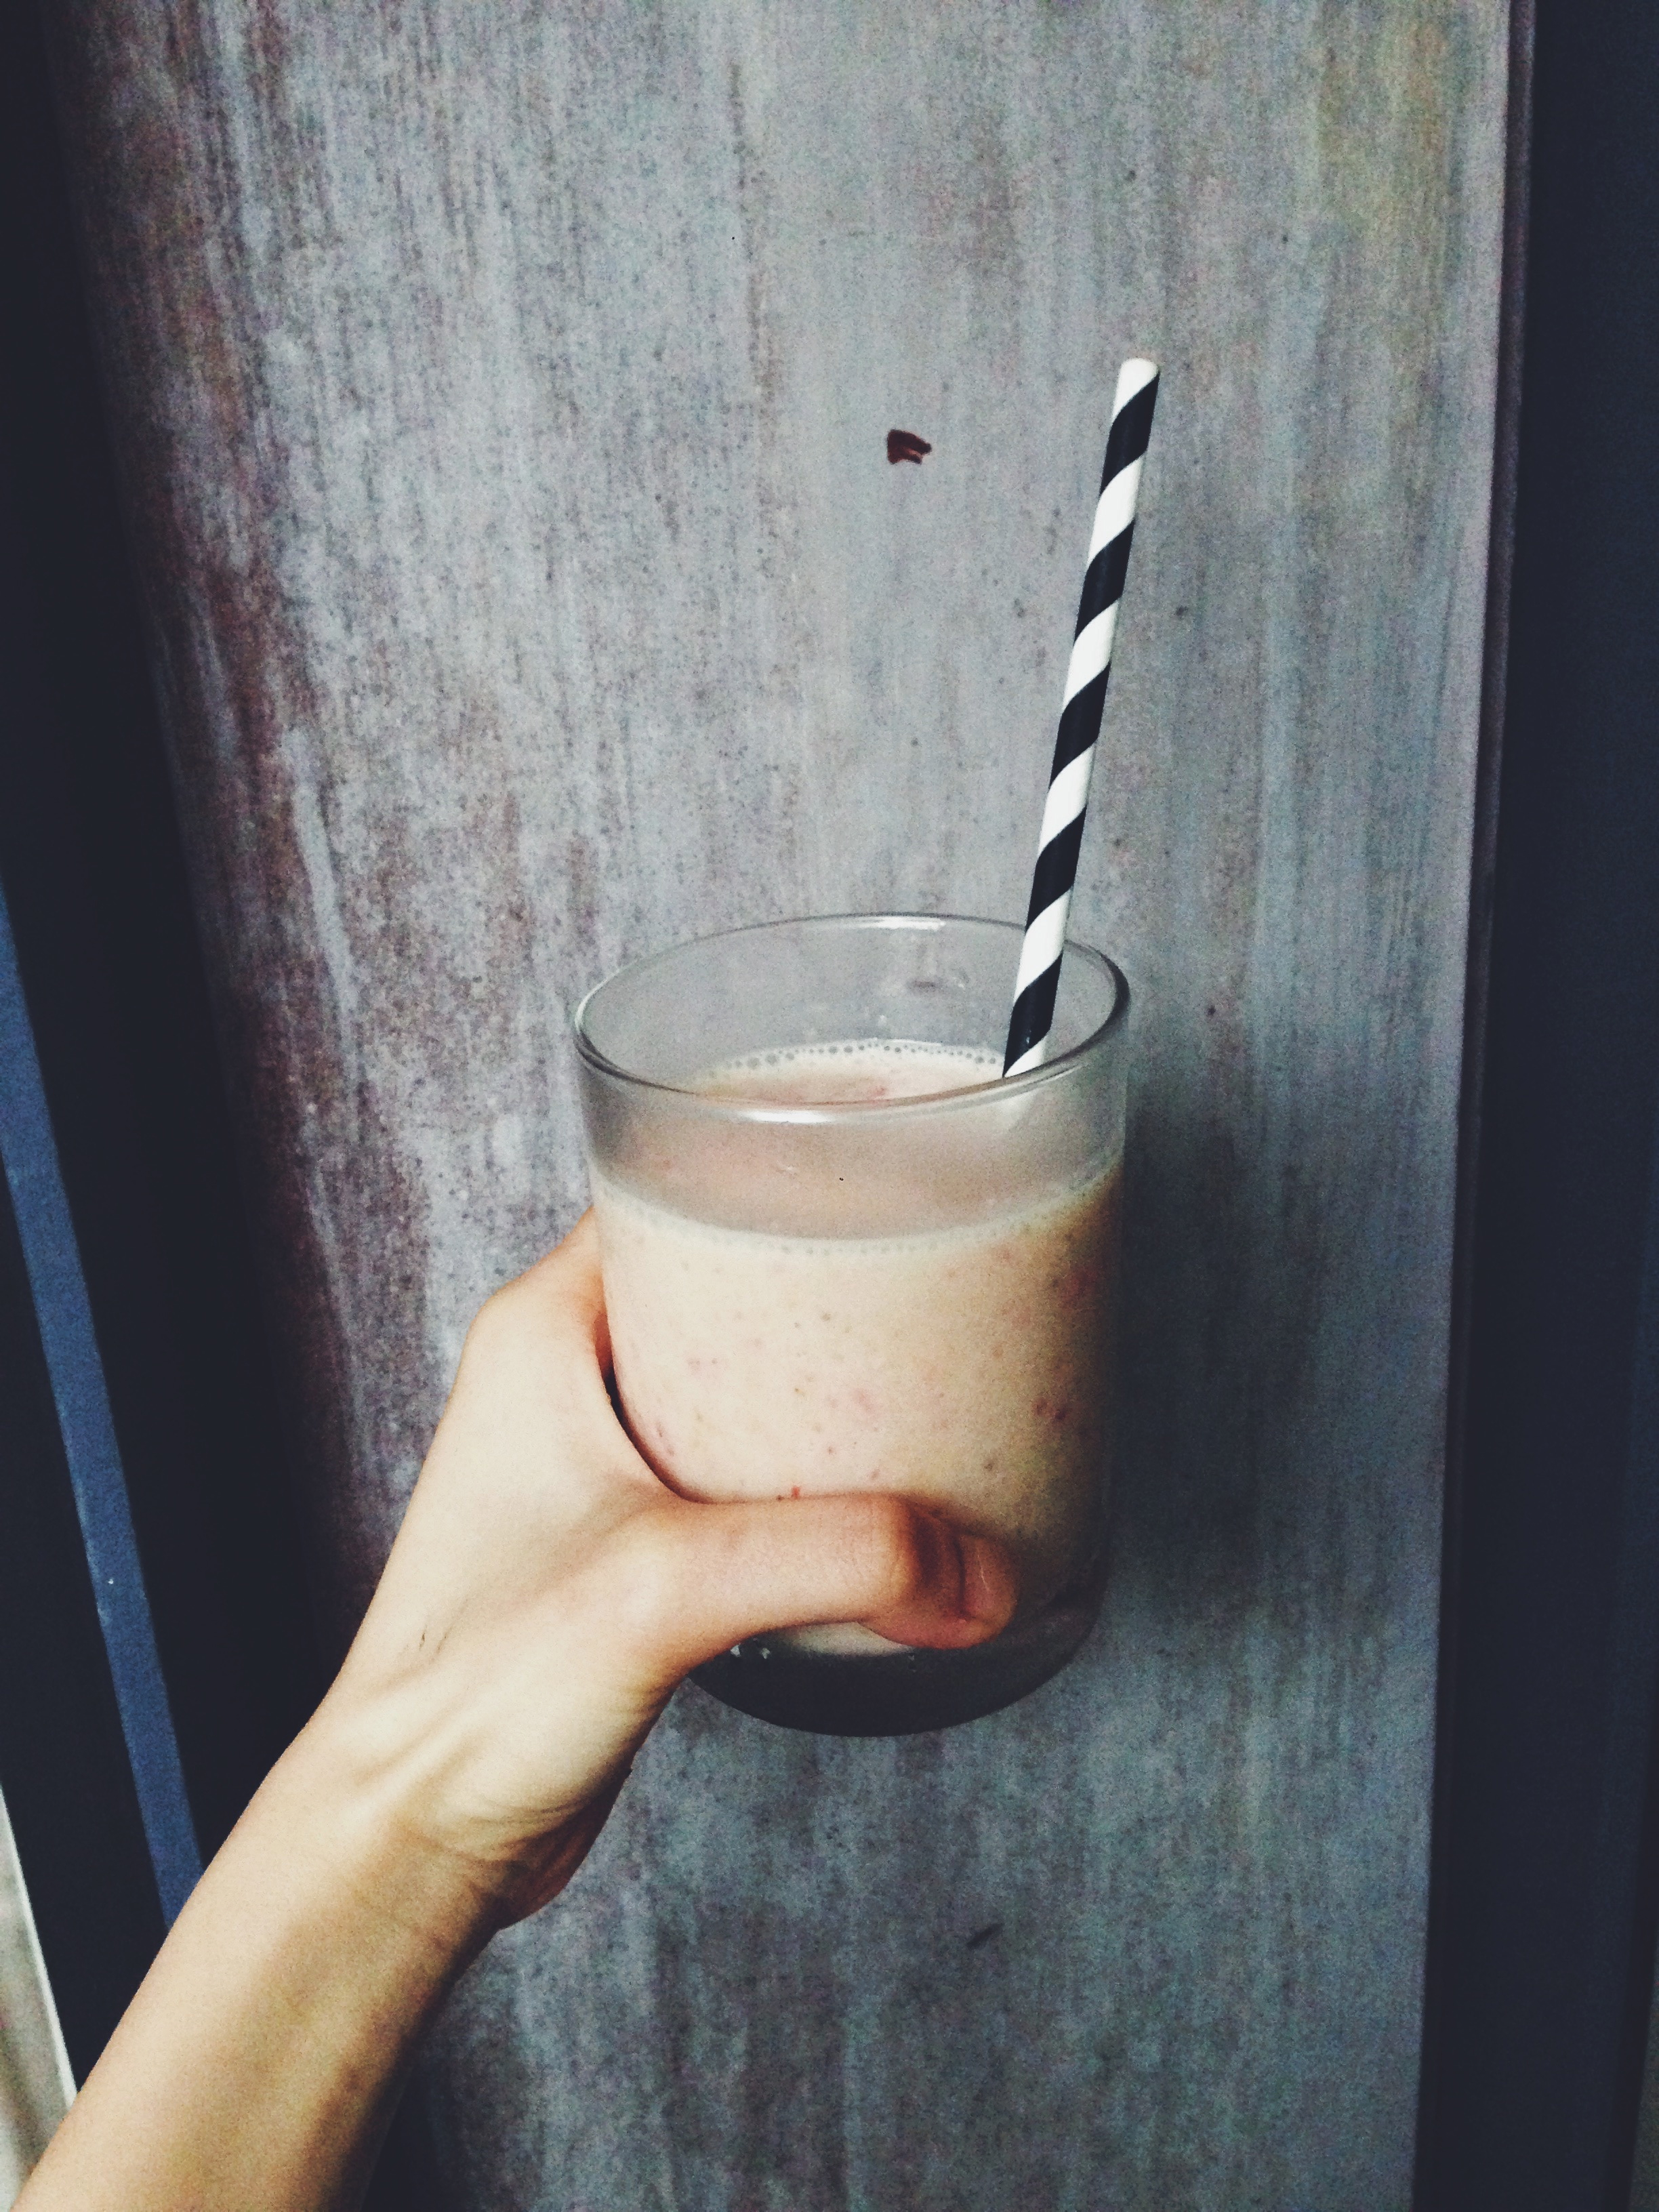
 I was trying to think of something to post, just as I was whizzing up this baby you see in the picture above. Hence, it felt rather apropos to blow away the dust on my wordpress homepage with this recipe. A smoothie, really? I daren’t label it a recipe. It’s silly to think of it as a methodical process, accessorised with a baker’s meticulousness and precision, when in reality I half-heartedly thrust a few ingredients into the magical bullet robot that is the Vitamix. Whizz-bam-shoot– done. In literally a few seconds. I apologise for being dreadfully inconsistent, and I know some people have requested me to put up something new. I’ve been so caught up with work and university applications recently, it almost feels as if I need a good amount of time to get my head together and sort my life out. This whole life thing can get pretty messy, don’t you think? I wanted to do a short write-up for the sole sake of showing just how darn easy a smoothie is. Especially this one, because it’s so easy to modify and tweak.

Processed with VSCOcam with f2 preset

 Before I list the paltry amount of ingredients (and there really is nothing more to it), I want to address one of the questions I got on my ask.fm account. A lovely someone wanted to know if and how I overcame any specific personal problem, so I guess I’ll share it here. When I was in 9th grade, I was involved in a spate of cyberbullying. I was the bullied (surprise surprise). It all started when a couple of nasty girls decided it would be fun to call me bad things. At the time, I had a Formspring account (goodness, doesn’t that word sound ancient?), and they used this platform to send anonymous questions, in which they called me all sorts of things, including a word which starts with an ‘s’ and basically means excessively promiscuous. Of course, I didn’t do anything of the sort. I think it stemmed from the fact that I happened to like someone who the bully fancied first. It was all very childish and unnecessary. And yet, it pulled me into one of the darkest phases of my life. I loved books and science and yes, I liked boys, but not to that extent. So to hear all this, from some faceless ‘stranger’, perturbed me. My self-esteem went right down the drain. I clearly remember looking in the mirror in the mornings and giving a start to my swollen eyes. Even if I woke up feeling alright, those eyes gave way to all the horrid thoughts of the day before, clouding my nights with salty waterfalls. School was an unbearable thought.

Little did I know that this person, or the supposed leader of this small group, was someone I considered one of my very good friends. Someone I shared secrets and corny jokes with. Someone I sat next to the year before in English class. One day I couldn’t take the online comments any longer, and told my mum. Initially, I desperately didn’t want to get her involved, because I refused to make a mountain out of a molehill. But the pain ate at my gut for days on end. Rumours about me spread in school. All these false, ear-bending whispers. I didn’t know who to trust, who I could talk to. I couldn’t concentrate on anything else properly. Thank goodness I confided in her, for it felt like the biggest load was lifted right off my shoulders. She was shocked, but sympathetic. ‘God, of course not!’ I shrieked, when she told me she was making plans to report it to the school councillor. I would be known as the coward without the confidence to face the enemy. But how could I, given I had no clue who it was? Ah, my mother. I’m truly grateful for her existence; she really did make me feel at least thrice as better. Her support was solid, unwavering. It always has been. Anyways, as I was about to report the situation to an ‘adult figure’, one of the bullies confessed to me in school. Just one. Although I was hurt, I was grateful she approached me, for at least then I didn’t have to walk around school suspecting the motives of every single person I walked past.

Ultimately, what helped me recover from that phase was confidence. Confidence to just take one step forward, and stop caring so much about what other people thought of me. The melodrama made me value who my close friends really were, and I’m grateful for all the new ones I’ve made in recent years. The bullies made my life a living nightmare for a while, especially at that age when social circles pretty much determined my degree of self-worth. But that’s exactly it– for a while. The Bard says that ‘time and the hour runs through the roughest day’. You can’t trust everyone, but you can trust yourself to let your confidence do the talking. It was simply no use to let myself be bogged down by mere comments, or let the quality of my life suffer. Be confident. Be independent. Smoothies help too, you know.

Processed with VSCOcam with f2 preset Processed with VSCOcam with f2 preset


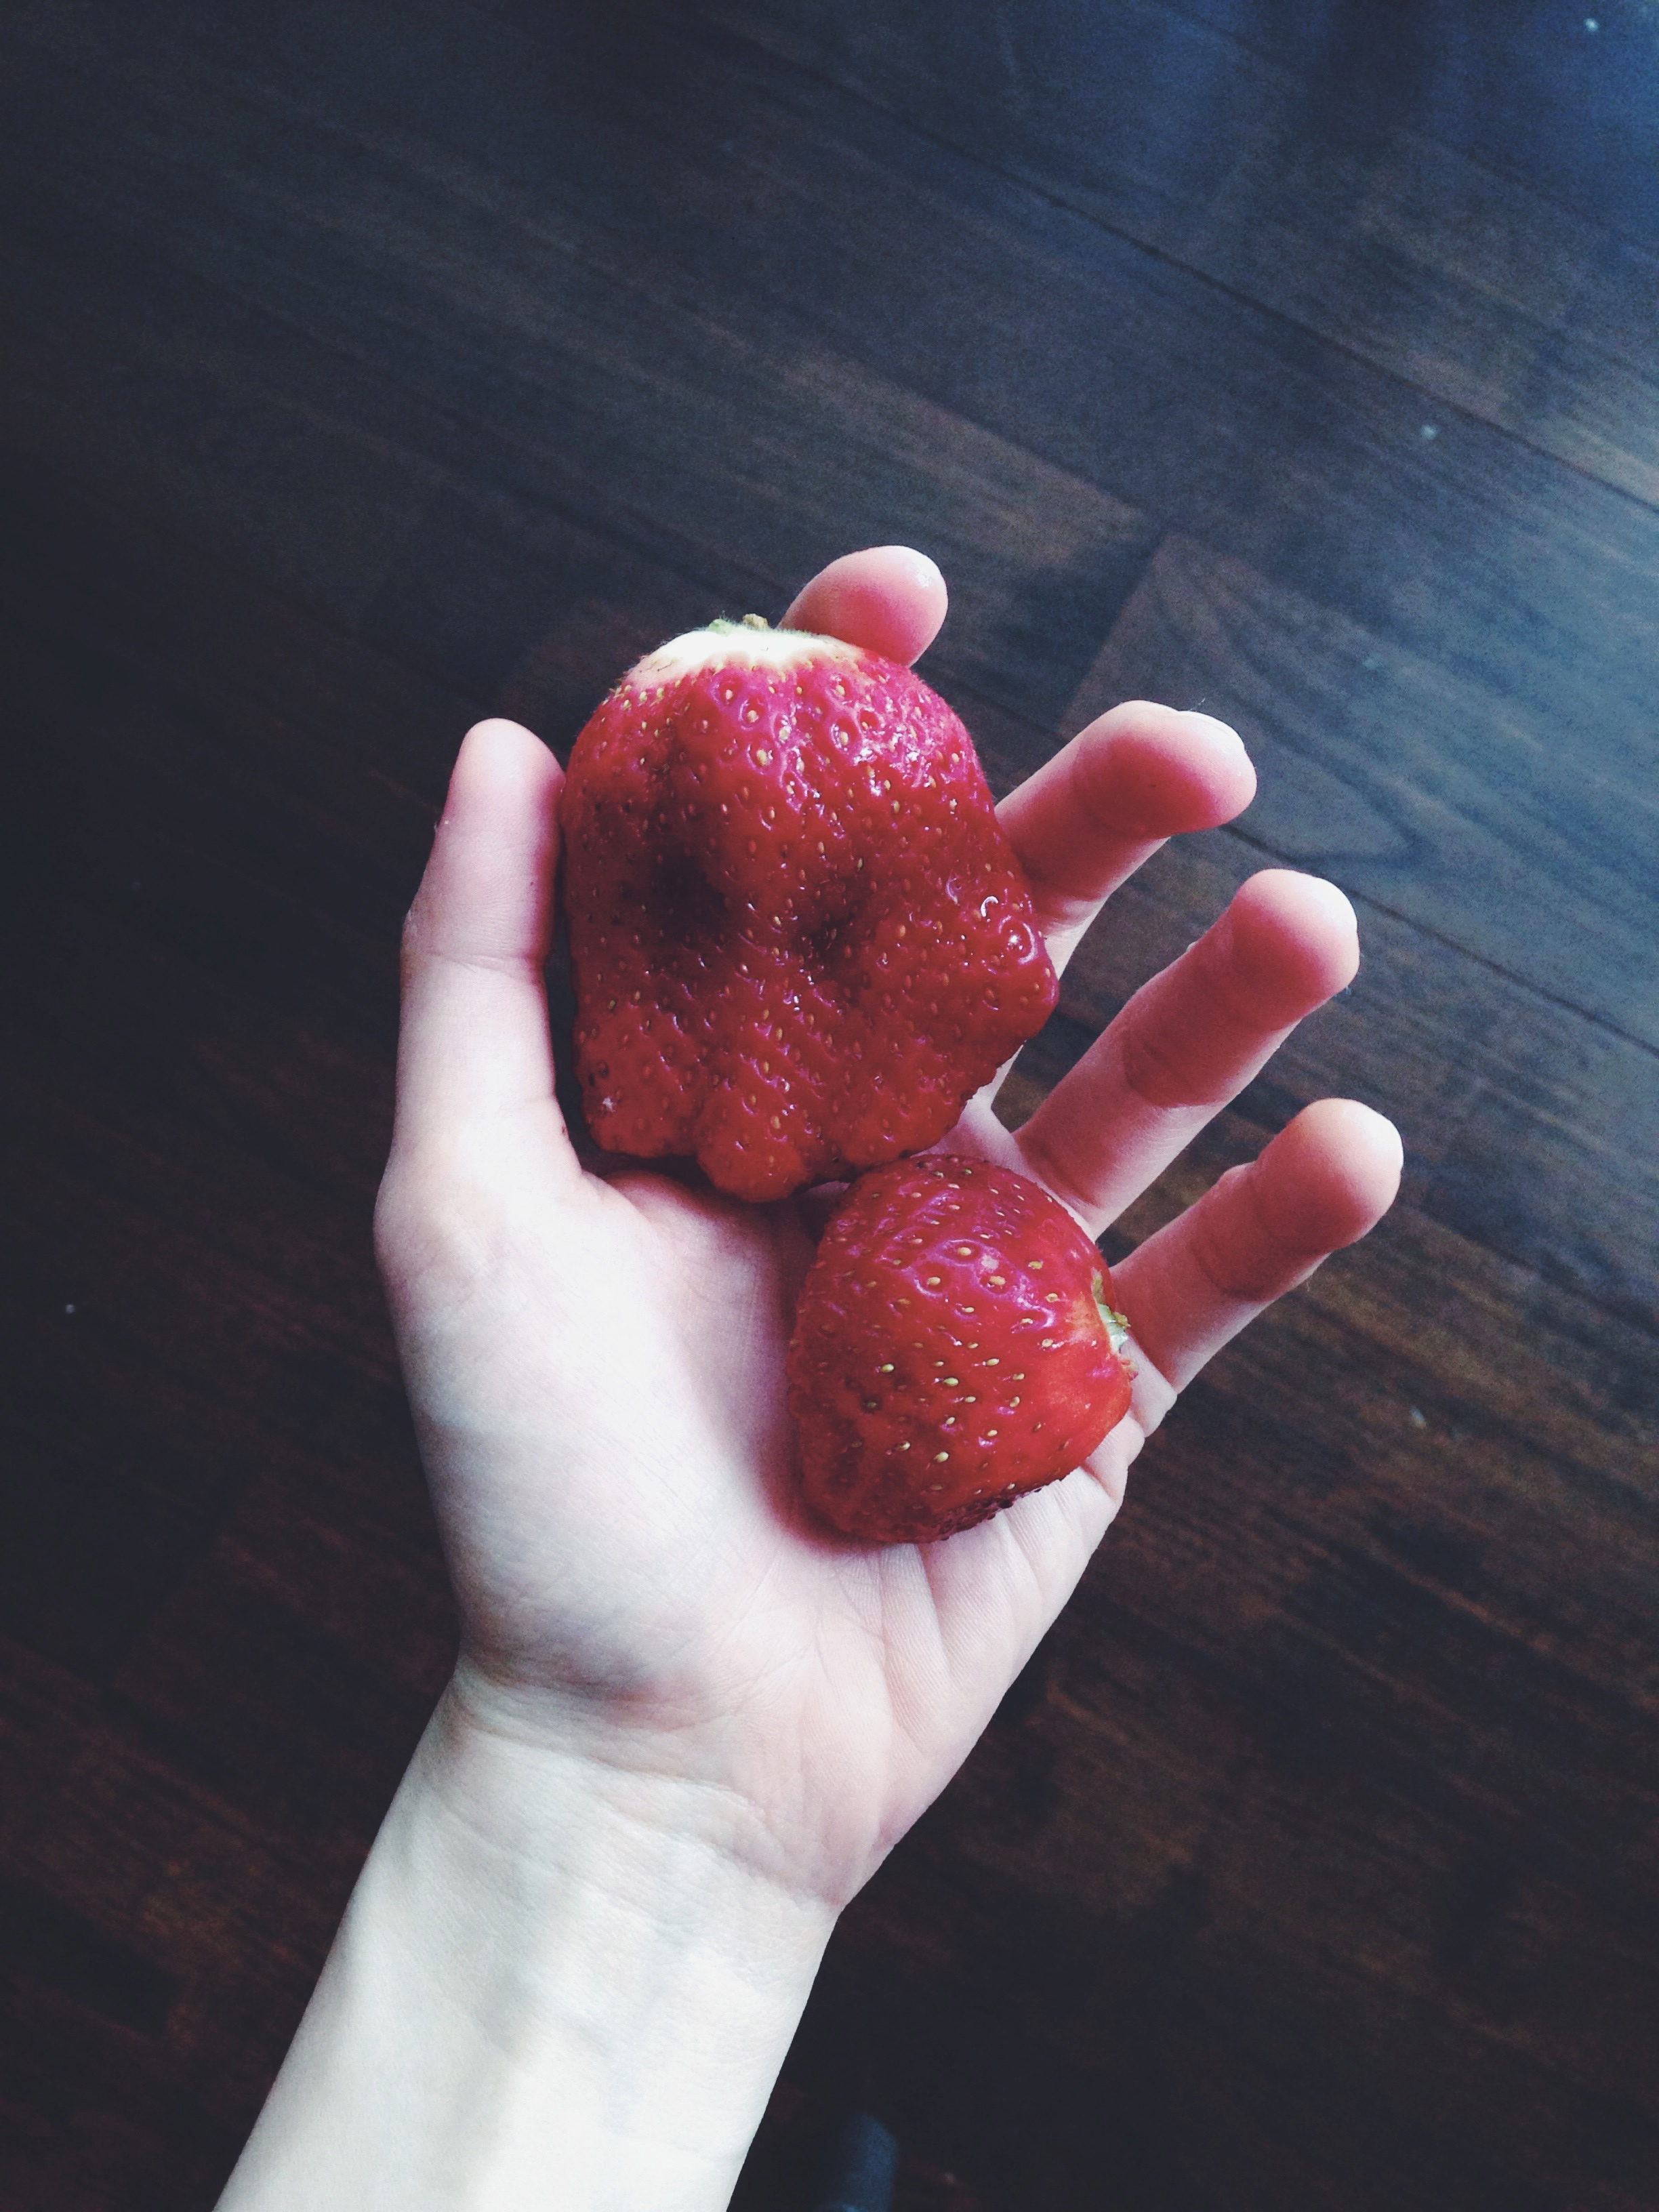
Frozen strawberry banana slushy (serves 1)

One cup of frozen strawberries 

One frozen, ripe banana

half cup milk of choice (I used almond here)

2 tablespoons greek yoghurt

good squeeze of thick honey or maple syrup, if you’re feeling particularly decadent (the imprecision here is horrifying, but in the morning, with gunk-crusted eye corners and droopy lids, a ‘good squeeze’ is indeed subjective…)

Optional: a few cubes of pineapple/ handful of spinach/ a splash of vanilla extract

To freeze the fruit, chop your bananas into rough coins and lay them in a single layer on a tray, before putting it in the freezer. The single layer makes it easier to remove when you take it out of the freezer, though you have to wait a couple of minutes or so. You could just put them in a bowl, but it’ll take a tad longer to thaw. It’s like a nightly ritual for me. I should really start doing normal teenage things….

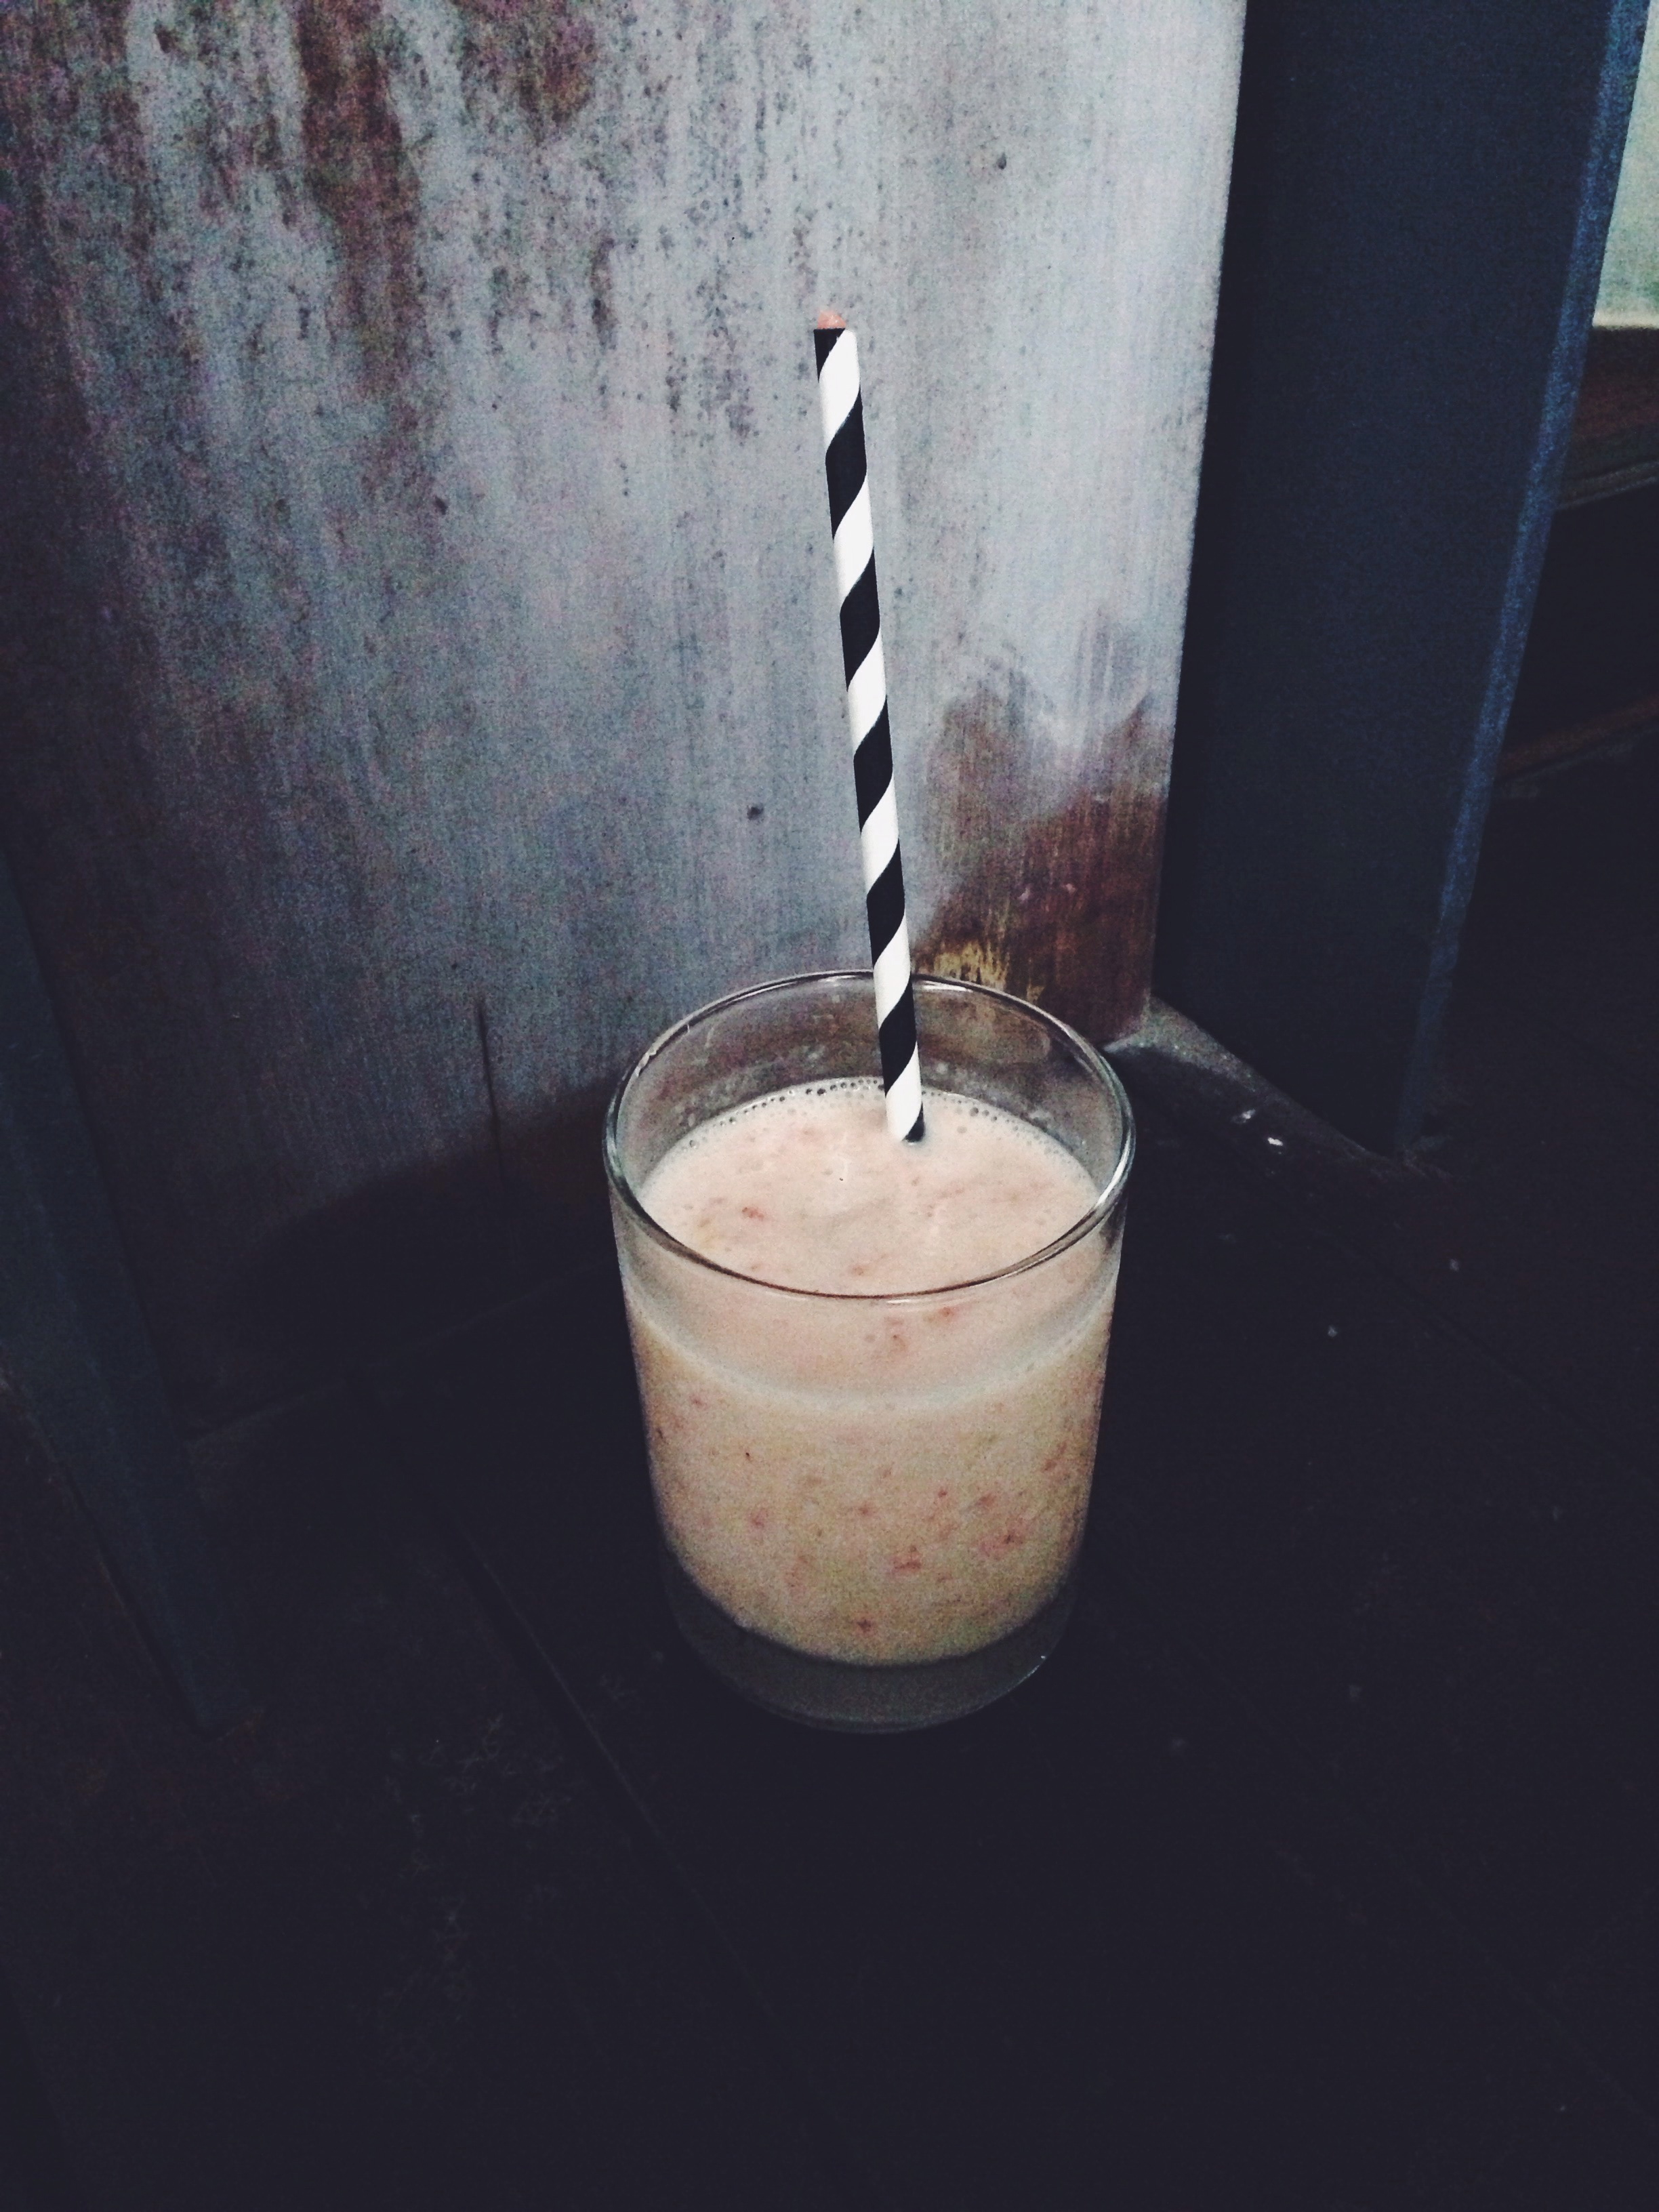
In the morning, or whenever you feel like having something luscious, creamy and refreshing, throw all the ingredients into your Vitamix or blender, and… well, not much explanation is needed from this point, is there? Adjust the thickness to your liking, by adding more frozen fruit or more milk, to make it thicker or thinner respectively. Stick in a straw or opt instead for the frozen fruit-stache. That’s a fun one. I personally like it very thick and icy, so I can spoon it all with glee. Morning ice cream, anyone?

Thick and Creamy Oatmeal

Processed with VSCOcam with f2 preset


Ok first off, I know the picture above does not match my ‘thick and creamy’ description well, but I swear it’s the case underneath that thin blanket of granola. Looks, my friend, are all too deceiving.

When I was younger, my mum would make oatmeal at least twice a week. She chopped up some bananas and plopped them on top, and the whole bowl was lovingly drizzled with honey. I love my mother very much, but sometimes the mush , what I typically called it, just wasn’t endearing enough. I tolerated the placid, pale blobs, stuck in this one-dimensional oatmeal paradigm of mush and banana and milk. That was all to it, right? There was one point in my life when I just stopped making the stuff altogether. But over the years I’ve learnt a myriad tips and tricks on how to get the best out of your oatmeal. I remember first starting out, all gleeful with my little bowl of instant mix and water. Goodness, have I grown. Oh, the oat experiments I undertook. From the overnight health indulgences to lavish peanut butter and jelly variations, topped with banana, granola and more honey. You know, just for the heck of it. Now, I make it practically every morning, if those french toast and egg cravings are slightly subdued.

Mango and chia, topped with peanut butter, smothered in granola and lightly doused in whole milk
Almond butter and grapes
Almond butter and grapes (snack portion)

Nourishing, almost spiritually fulfilling. So easily, ridiculously adaptable. You can do anything with these bowls of utter heaven. I bathe my mornings in sacred rituals of sorts, with English Breakfast tea and hardy toast, sourdough if possible, but sometimes, all I need is a big bowl of Thick and Creamy for happiness to ensue. Equipped with the right ingredients and just 10 minutes hovering over the stove, I doubt any of you will look back. Honest to God. The texture this recipe yields is divine, almost pudding-like, so the reduced liquid is thicker than what you would get if you just plopped the bowl into the microwave for a few minutes (and no, the microwave never yields quite the same desirable consistency). I can’t love the stuff enough.

peanut butter, blueberries and maple syrup
peanut butter, blueberries, maple syrup and whole milk

Thick and Creamy Oatmeal (serves 1)

Ingredients

1/3 heaping cup (around 40g) of rolled oats– I use Bob’s Red Mill Rolled Oats

one cup (240ml) almond milk/ any milk of your choice, or just half that amount, with half a cup of water. Have some extra milk on hand.

half a mashed banana (preferably ripe; this is the key ingredient! It acts as a natural sweetener and adds to the whole wholesome effect of divinity in a bowl)

*optional: one egg white and/or a heaped teaspoon of chia seeds

Desirable toppings: Peanut butter, almond butter, cold whole milk or heavy cream, the rest of that poor banana, chopped apple/ blueberries/ whatever fruit you like, really.

Sweeteners: Maple syrup, thick honey (I typically use either manuka or this lovely truffle one from our trip to Rome last year), agave syrup (though I find that its flavour doesn’t quite live up to the other two), crumbly brown sugar

Grab a small saucepan and dump in your rolled oats, milk and water mixture, and mashed banana. Turn the heat to medium-high and let it come to a rolling boil. This takes a few minutes on my stove, so during this time, I go make a cup of tea and ready the papers or something. Prepare your toppings. Cool, relaxed, oat-minded. Once it has come to a boil, reduce heat to a simmer. Take a wooden spoon or just your normal metal spoon and start stirring. Stir it every once in a while, and you will see the mixture thicken as it continues to bubble and boil.

As it thickens, the bubbles will become fatter and look as if they are trying to force their way through the surface, as the oats lose their rigidity and try to absorb all the available liquid. At this point, you may wish to add an egg white and chia seeds, but do so quickly! They both add wonderful thickness to the oats, in such a short amount of time. Talk about some protein package, too. Once it looks as if all the liquid has absorbed, add more milk and continue to stir. If they already look creamy enough, remove the saucepan from the heat and pour into your bowl to initiate the cooling process. They should eventually look pale and thick, the oats broken down significantly, yet retain a slight chew if you take a small nibble. When you pour the mixture into your bowl, they will continue to cook and thicken a little more. After waiting around 5 minutes, feel free to add more milk. I like to add whole milk; I find it so much more luxurious and delicious compared to soy or any other alternative. Once it’s fully cooled (if you can wait that long), add a dash of cold cream or whole milk, and top with your desired toppings and sweeteners.

My favourite ritual involves stirring in a tablespoon or so of lush, natural peanut butter or almond butter right after the cooking, since it adds the most decadent creaminess and depth of flavour to your already creamy bowl of oats. I highly, highly recommend this step. Please, I implore you. Then add the aforementioned dash of cold milk. Go on. Do it. I then stir in a tablespoon of honey, and add a handful of fresh blueberries and raspberries, if I have any of those in the fridge.

Processed with VSCOcam with f2 preset

Truly the queen of Thick and Creamy. Truly makes my mornings. 


Overnight Yeast Brown Butter Waffles

Processed with VSCOcam with f2 preset

Curved edges. Waffles. Graphs and polynomials. It’s officially that time of year again, when the work eats at you like a parasite but the grey matter just doesn’t feel quite up to it. I wish I could blog more regularly, but then again it’s pretty comforting to know that I’ve found a nice momentum, one which doesn’t eat into too much of my time. Seeing that mock exams are nearing, this will probably be the last post for quite a while. But back to the subject and good mood of it all. This waffle beats so many I’ve tried elsewhere, and it was only my first time!

I don’t think it’s right to proclaim myself a waffle lover without having tried to make the enigmatic things myself. I mean honestly, I’ve tried too many to keep track. Call one a café hopper, waffle connoisseur, waffle whatever, but what’s criticism without humility gained from the unpredictability of a single waffle iron? And what better way to celebrate life in all its breakfast-laden glory than to use my new Severin waffle maker, with its sweet little collar? I didn’t know where to start. The problem I always have, with any recipe, is choosing from the countless resources available online. My favourite waffle, after a million waffle outings, is one with both an outrageously crisp edge, surface and interior, with just a tinge of fluffiness strewn throughout it’s (preferably thin) body. Nothing bread-dense nor tooth-shattering. It’s towards the tooth-shattering end of the spectrum, but not at all dramatic. See the picture above? Yeah, that was more of a trial. Crisp factor improved as the ladling progressed. I’m still learning, friends. It’s earthy, dark from the searing heat of the iron, mildly sweet and crisp. This recipe provides the perfect overall texture, and the secret lies within the use of both yeast and brown butter, to create a good deal of air pockets for providing the perfect crunch and chomp on first bite, and a hot, hot oven, to maintain and finalise the crisp created by the heat of the iron. The best thing is that you throw everything together the night before, which takes practically no time at all, and simply ladle in the batter into a preheated iron the morning after. Zilch waiting.

Processed with VSCOcam with f2 preset


After scrolling through so many Swedish waffle recipes, I eventually settled and adapted a normal one, which isn’t exactly made for a Swedish waffle iron, but hey, it’s a waffle iron all the same. It has one job, for goodness sake.

I myself enjoy a thin, absurdly crisp waffle with tart fruit, or a small side of crisp bacon and banana coins, which complements the mildly sweet nature of the main centrepiece. Simple. Maple syrup is must; I don’t think honey, thick or runny, or anything else actually (Hershey’s chocolate or agave syrup is a straight-up no) will ever live up to the honest, musty notes of the former majesty of a condiment.

Processed with VSCOcam with f2 preset

Processed with VSCOcam with f2 preset

Just a note on the pictures above: As you can see, the edges are not at all firmly crisp and only the centre yielded the perfect bite. After increasing my oven temperature and watching over my waffle babies oh-so carefully, I found that the perfect time to remove them was approximately 3-5 minutes. This will ensure a perfect crust and crunch both immediately after removal, and the texture is lovingly sustained for a good few minutes afterwards. This means that my sisters could still be getting washed up in the bathroom upstairs and by the time they’re ready, the waffles don’t go all soft and moist (gross!). As compared to the original recipe, I actually added a little more yeast than intended, and used a slightly lower oven temperature, since the first trial using the higher temperature of 180C caused a couple of burnt accidents. My own fault, really, but the end result was nothing short of spectacular. I also used vanilla extract in place of the vanilla paste, and it was perfectly fine, together with a hit of cinnamon and nutmeg, for a little aroma and spice-bite.

Yeast Waffles (makes 4-5 thin waffles. Adapted from here; this article opened my eyes to the wonderful world of waffle-making and brown butter. Brown butter is gorgeous. BB. So. Gorgeous.)

30g unsalted butter

125g all-purpose flour

1 egg

1 tbsp castor (fine) sugar

1 tsp fine salt

1 tsp instant yeast

1/2 tsp each of ground cinnamon and nutmeg (omit if you wish to keep your waffles plain)

200ml whole milk

The night before

That’s it! So, here we go. Make the brown butter. Melt the butter in a small saucepan (it won’t look like a lot), and continue to heat until you observe small flecks in the pan and the most gorgeous nutty smell starts wafting around the kitchen. These are the milk solids separating from the liquid. Keep heating over a medium heat; it will bubble and crackle. You’ll be able to see the entire thing darken, from a yellow pool of liquid with odd white bits into a golden amber. You might have to sweep up the bits of foam and bubbles to check the colour. At this point, remove the white flecks with a spoon. Set it aside, either on the counter or in the fridge. Put it in the fridge if you’re scared you overworked the lump of butter, but it should really be fine.

In a large bowl, whisk together the flour, sugar, salt and yeast. Whisk in the egg, and before it’s fully incorporated (it’ll look like a groggy mess of egg-white and yellow splotches), add the milk in thirds. Add a third, whisk. Add the second third, whisk. After all the milk is stirred in, add the vanilla, cinnamon, nutmeg and brown butter, and gently fold everything together. The batter will be of a medium-thick consistency. If it looks too thick, add a tablespoon or two more of milk. Cover the bowl with a piece of cling film or aluminium foil and pop it in the fridge.

The morning after

Preheat your oven (this is the important step!) to 170C (340F). Remove the bowl from the fridge and turn on your waffle maker. By now you should know that these things are worth investing (in my brutally honest opinion). Mine is preheated within five minutes, and turn it to its highest setting. While waiting for everything to warm up (oven, iron and batter), make a cup of good iced coffee (or tea, if you’re that sort) and ready whatever toppings you want. Use a small ladle or quarter-cup measurement to ladle in the batter, spreading it evenly. Follow the instructions on your own iron’s manual for heating and cooking. Mine take 5 minutes exactly to reach that perfect brown shade and hard exterior. You can keep peeking under (though not too much) to check on how it’s doing. Once it’s done to your liking, immediately remove it from the iron using a spatula and pop it into the hot oven. Ladle in more batter for your second waffle. The waffle will be perfectly crisp and golden after a couple minutes in the oven, but just check on them to be sure, and don’t burn the babies.

I’m thinking of trying out a chocolate batter next time round, and perhaps changing the volume of brown butter used. In the meantime, these work a treat. Anyone can do it.


The Lokal

Processed with VSCOcam with f2 preset

I wanted to write about this place for quite a while now, but I had to visit twice, you know, just to be sure. Also, with exams just round the corner, it’s been rather hard for me to justify an hour so in front of my computer doing something other than school-related research. It almost feels irresponsible, but then I remember how weirdly satisfied I feel each time I click on that ‘publish’ button, and anyway, it’s a nice break from the books. OK, it takes quite a lot for me to label something as a favourite, but there you go, and there it is. Any place I visit more than once says quite a lot on my part, to be perfectly honest. The Lokal at 136 Neil Road is not your typical stop-by hooter shoot. Aussie-inspired and run by the group heading Sarnies, another popular spot along Telok Ayer which I have yet to visit, goodness gracious. I feel a slow joy ebbing through me as I type, just because I so thoroughly enjoyed my first experience there. It is precisely 10.42pm at night and I am drooling just looking at the picture above.

Cappuccino
Cappuccino

At more than $5, you would think that this cup would cost you more than what you might benefit from, but trust me, it’s beyond worth the price. This cappuccino in particular has dark chocolate undertones and a subtle, nutty aftertaste. The foam is a dream, the art intricate and professional. I always feel a little wary when I talk about coffee, because I am a complete amateur when it comes to distinguishing between flavour, roasts and extraction degrees, but this is undoubtedly good bang for your buck. Holy shucks, the things I would do for one right now. It lasted me a good hour too, and I relished the thick layer of creamy foam at the very end, scooping it up as if they were bits of airy treasure.

Processed with VSCOcam with f2 preset
toasted banana bread with caramelised bananas, homemade yoghurt sauce, toasted macadamias and orange zest– $12

Processed with VSCOcam with f2 preset

I kid you not, this is one of the top 3, ok no, 5 things I have ever tasted in my life, alongside others such as foie gras terrine I had in Bordeaux two years ago. It’s way up there, my friend. I remember putting the first forkful into my mouth, making sure to have a bit of every component impaled on the tips, before the taste bud shock thrust me into immediate, unexpected pleasure. I had to close my eyes for just a second, and that is rare, even for me. The homemade yoghurt sauce was what elevated all the flavours of the banana bread, which would have otherwise been overwhelmingly sweet drenched in inches of toffee syrup and even more of the stuff oozing from the slippery, soft sides of those well caramelised bananas. I appreciated the maintenance of a slightly firm interior and rich, caramelised outer layer, instead of being greeted by a flopping about of wet, ripe banana all over the place, yellow dotted guts and all. The nuts provided a hearty crunch, the bread itself wonderfully saturated, beautiful and dense. Each forkful was soft and tender, thanks to the loving bath of toffee, which would’ve been even better with a touch of fleur de sel, now that I think about it.

Fruit salad with homemade yoghurt and white chia seeds– $9

This was happily consumed on my second visit, alongside the same, oh-so-loyal capp. At the back you may notice my mother’s avocado, homemade ricotta cheese (don’t you just love the homemade theme running through here?), pomelo and toasted almonds on sourdough ($18). The fruit salad was predictably good, the yoghurt thin and tangy, eventually mixing in with the juices collected from all the fruit. I got a generous helping of watermelon, melon, exotic dragon-fruit and berries. They went all healthy and wholesome with the addition of chia seeds too, and it was only then that I acknowledged the existence of white chia, aside from black, which I enjoy at home in things like oatmeal and atop toast with avocado, honey and maldon. It’s the perfect dish to really fill you up, since the chia seeds expand upon contact with water and sit nicely in your stomach for as long as possible. How adorable. Little jelly balls. What I enjoyed more was the smashed avocado dish, although the avocado itself could’ve benefitted from a touch more seasoning, with coarse salt, lime and pepper. Chilli flakes, even. Just something to move it away from normalcy. That aside, the sourdough was gorgeous, poached eggs (which we ordered as a side for $6) were decent and the homemade ricotta was an effortful and effective addition. Breakfast fare aside, I’m duly keen to try out their sandwich options, which include handcrafted roast beef on rye and chicken varieties. They even have ‘toasties of the day’, and that in itself should make your toes tingle. Does for me, anyway.

I think it a little silly to say ‘I’ll be back’, because that’s just a painfully obvious statement, and anything painfully obvious simply does not deserve to be stated. There. Go.

The Lokal

136 Neil Road

Singapore 088865

Dark chocolate ice cubes (chocolate slushy shortcut)

I thought up this idea when I was drinking my special, potent daily brew of iced coffee.

I hate, no, loathe overly diluted coffee. The delicate roast and finish is lost in the watery jiggliness of whatever is left behind, the robust body of the bean practically eliminated from the equation altogether. It hurts, it saddens!

Until I got this baby together. Now, my coffee shall never suffer. This turned my brew into a chocolate coffee dream, the finishing sips thick and sublime. I first came across this genius of a put-together here (no, I refuse to call it a recipe, because the steps are too excruciatingly simple for that tiresome label). And trust me, they work a dream. Each little cube, no matter what size or shape your mould, is like a little frozen chocolate treat, rich and chocolatey, retaining the perfect degree of creaminess without yielding its form too quickly. 

Processed with VSCOcam with f2 preset
left– after the potion has melted a little, around 15 minutes after pouring over cold milk and leaving in the fridge to thaw just a little

Processed with VSCOcam with f2 preset

Dark chocolate ice cubes, from here

1/4 cup good cocoa powder

2 cups hot, recently boiled water

1/4 cup agave syrup/ liquid sweetener of choice

1 teaspoon each of vanilla extract and salt (optional)

Steep the cocoa in the boiled water and syrup, or alternatively heat ingredients in a saucepan until you reach the boiling point. Once this point is reached, bring heat down to a simmer. Add the vanilla and salt if you want. The original recipe does not call for either but I found it really gave it the extra pizzaz. Leave the mixture to cool for 5 minutes before pouring into an ice cube tray. Mine made around 14 large ice cubes, and this was after I cleverly managed to spill some of the mixture from the saucepan. Well done, Alex.

Leave for a few hours or overnight, and there you’ll have the most delectable, convenient chocolate treat. Eat it by itself (no teeth breaking included, hoorah!) or pour over your favourite iced coffee blend. I think the best way to have it is in a small glass of cold milk. Leave it to thaw for a few minutes before going in with a teaspoon or firm straw, and hack at it like child’s play. I swear, it makes the best chocolate slushy, or, I dare say, de-caffeinated frapp.