No-Bake Fridge Brownies with No-Churn Three-Ingredient Vanilla Ice Cream

Proud (me), happy (my stomach), sublime (everything about this).

If you’re in dire need of a some sin in your life, then I implore you to make these

no-bake, chocolatey, fudgy fridge brownies with no-churn vanilla bean ice cream.

AKA the epitome of i-am-lazy-and-my-oven-is-sometimes-incompetent type of baking. I have those days too.

When I’m all about easy, I mean it. This pairing of deep chocolate and smooth vanilla is irresistible. Classic. The best part is that you unload an inappropriate whopping of ice cream on a piece of brownie and nothing becomes goo for quite a while. I’m the sort who loves a beautiful melting mess, but the time delay prolongs the sensory pleasure of digging into the harmony of sweetness come together by the distinct separation of flavour. Then everything melds together, and the symphony is complete.

These brownies are fudgy, but still retain the texture of a brownie more so than plain old fudge. The addition of crushed biscuits gives it both sweetness and stability. An important point to note in this recipe is that the milk, cream and sugar should be boiled for at least 5 minutes so most of the water content has evaporated, before the other things are mixed in. This will yield the best fudgy texture after less time in the fridge. And the ice cream? It just couldn’t be more straightforward.

Ingredients

For the fridge brownies:

280g (1 1/4 cups) white sugar

120g unsalted butter

90g (less than 3/4 cup) plain flour

240ml evaporated milk/ whole milk/ light whipping cream/ coconut cream

1 cup crushed biscuits (I used Nice coocnut biscuits, but you can use anything you have in the pantry, such as crushed cereal or oreos!)

175g (1 cup) chocolate chips or chunks

pinch of salt

optional add-ins: more chopped nuts/ chocolate chips

For the no-churn ice cream:

600ml whipping cream

450ml (1 can) sweetened condensed milk

1 tbsp vanilla extract/ 1 tbsp vanilla bean paste/ the insides of one vanilla bean

Directions

Pour the milk, butter and sugar into a large saucepan and heat on medium heat until everything comes to a boil. The mixture will froth and seem to double in volume so it’s important to have a large, not small saucepan here. Let the mixture boil for 5 minutes, then take it off the heat and stir in the flour, salt, crushed biscuits and chocolate. The chocolate will melt and turn everything a rich brown colour. Pour this mixture into a greased 8×8 or 9×9-inch baking pan and place in the fridge to set for 3 hours, or overnight.

In a large bowl and with an electrical whisk, pour in the can of condensed milk, whipping cream and vanilla. Beat until you have soft peaks, then pour into a freezer-safe container (I just used a plastic tupperware box), cover and place in the freezer for at least 4-5 hours, or overnight.

And that’s it! Since these components are meant to be left in a cold environment, they last for ages in the freezer (or just leave the brownies in the fridge), and they can be taken out at any one point in time to enjoy together.

Lemon Curd Muffins

If there’s anything I’m a true sucker for, it’s lemon anything. No really. I love chocolate and a lot of other sweet things, but when it comes to citrus-based desserts, my salivary glands go haywire and my head fills with buttercups and sunshine.

Fluffy, white lemon muffins with a lemon curd belly, topped with a lemon curd-sugar coating

What do I like about these muffins? Well. You mix the wet ingredients together, you mix the dry ingredients together, pour one into the other and voila, you have perfect golden muffins in a matter of 15 minutes or less. I mean it’s really not any harder than perusing the morning paper or making a cup of coffee. If you can tie your shoelaces, these are a piece of cake (got that). Wake up, make your coffee, work, take a half-hour break, and maybe during that time you can make these without breaking a sweat. There is just no excuse now.

I had to satisfy the lemon fiend in me a couple of days ago, and did so well with these muffins. I had an incredibly hard time labelling this either a muffin or cupcake, because although this one ticks the boxes for all things which make a muffin, well, a muffin, the insides reminded me more of a cupcake than anything– light as air, pale, tender and not as dense as any muffin you might come across. It’s 80% muffin and 20% cupcake in technique, but 100% cupcake in texture. The crumb is neither robust or rigid, but holds up enough to provide the perfect amount of bite. Add this to the mix of half-molten lemon curd centre and sugar-crusted, sharp-tongued top and you’ve got yourself a winner.

Just for general info, muffins generally:

  • have a domed top (as is evident above)
  • a denser crumb
  • little if any frosting (usually a sugar coating such as this one)
  • require the wet and dry ingredients to be mixed separately before one is added to the other, instead of the typical creaming method utilised in the making of cupcakes.

Therefore, I present to you the cuffin.

Delight is a synonym for that wonderful lemon curd-sugar topping, which once again couldn’t be easier. Delight is also a synonym for the feeling you get when you bite into a soft, white, lemony bit of cake, rounded off with the sharp notes of homemade (or store-bought, that’s good too) lemon curd. Sharp on soft. White and black. It’s meant to be.

Lemon Curd Cupcakes (makes 10-12 cupcakes, adapted from here)

Ingredients

For the cupcakes:

200g self-raising flour

100g white castor sugar

pinch salt

1 egg

75ml vegetable oil (canola/sunflower is good here)

zest of one lemon

juice of half a lemon

120ml whole milk

60ml (1/4 cup) lemon curd, homemade or store-bought

For the lemon curd topping:

60ml (1/4 cup) lemon curd

70g white sugar (granulated/castor)

Directions

Preheat your oven to 190C (375F) and grease a cupcake or muffin tin. In a large bowl  whisk together the whole milk, egg, oil, lemon zest and lemon juice. In a medium bowl, briefly whisk together the self-raising flour, sugar and salt. Pour the dry into the wet mix and mix everything together until just combined with a wooden spoon. Using a tablespoon, half fill a mould in the tin with some batter, then use 2 teaspoons to put a small dollop of lemon curd in the centre, then fill to the 3/4-mark of the mould or case with more batter. Repeat for the rest of the cupcake moulds. Bake in the preheated oven for 12-15 minutes (mine took 13 minutes exactly). Check at the 12-minute mark; a wooden skewer inserted into the side (because the centre has lemon curd) of one should emerge clean. They should be nicely domed with a golden top, and no cracking on the surface.

Whilst these are baking, make the topping (YUM). In a small bowl, microwave the lemon curd until warm but not totally liquidy. Put the white sugar in a shallow dish and set these two aside until the cupcakes are done baking. Once they are fully baked, leave to cool for 5 minutes before rolling the tops in the lemon curd, then rolling again in sugar.

Devour, and know that life is good.

Chocolate Chip Buttermilk Pancakes

In other words, sin.

Pockets of sweet fudge, buttery, mildly sweet batter, the familiar mosaic on each side of a perfectly cooked, risen pancake.

Each forkful is effortless, tender.

Can’t wait any more. I know I have a well-stashed ‘Babbles’ category, but sometimes there’s no time for babbling. Especially with as straightforward and delicious a recipe like this. Stocked the praise in the main post which you can find in the directions below, but I felt the need to dedicate a separate post to this chocolate version. Ugh, stuffed silly with chocolate. You can’t not like chocolate. Or these. On a Sunday, with the birds chirping and the world is glistening.

Directions

Make the pancakes according to the instructions in my previous post for my favourite buttermilk pancakes herebut add 85g (a large handful) of chocolate chips (I love Ghirardelli’s or Nestle’s mini milk or semi-sweet chips for this, which make for the perfect little pockets of goo) to the dry mix before adding the wet mix.

And that’s it! Top with maple syrup or whatever you want. I added tahini for a slight savoury, creamy punch. You don’t need much when chocolate’s in the picture.

Make This Oatmeal Now (updated recipe with a twist)

I thought I had it all figured out, given the number of times I’ve made oatmeal in my life. Overnight, hot, cold, lukewarm (ew), apple-pied, black sesame-ed, peanut buttered, I’ve done it all. I even wrote a post about it here exactly a year ago, yet I only just discovered what I think is the perfect method for making the thickest, creamiest oatmeal ever. Trial and error does pay off sometimes. It’s more reliable, oats coming out perfect every time. Mind you, this method is preferable is you like the super thick and gloopy sort, but even if you don’t, you just have to take your oats out of the microwave a little earlier.

Catch– it involves the microwave. I can hear the disappointed sighs. They’re boring into the screen already, reaching me, slaps in the making.

I get it, I do. I used to think the only way to achieve the perfect, creamy consistency for oats is to do it the proper and old-fashioned stovetop way. The whole process just makes more sense, it wants you to feel like you’re doing it the better way, doesn’t it?

Funnily enough, this microwave method not only yielded the most desirable consistency, it also seemed to enhanced the flavour of mashed banana, the one ingredient I always put in before cooking my oats for added sweetness and creaminess.

No wait. Just do.

Directions 

The night before, mix together a half cup of rolled oats, half cup of water, half a mashed banana, and a half cup of milk of choice (I always use a mix of whole and almond) in a relatively large, microwave-safe bowl (because this mixture will se. Leave this in the fridge overnight.

The next morning, put your bowl in the microwave and microwave on high for 2 minutes. Take a spoon and mix, then put in the microwave for another minute. At this point, your oatmeal should be noticeably more voluminous and thickened, depending on the power setting of your microwave. Microwave in 30-second increments until you have oatmeal that seems to have more than doubled in volume. Just check your oatmeal every 30 seconds, mixing well between each spurt of heating. Err on the side of caution here.

And you’re done! At this point, you can add whatever you want. My standard toppings are more banana, a heaping tablespoon of almond butter (cashew/peanut/almond), blueberries for a nice tang to cut through the sweet goop, and plenty of honey or maple syrup. Once the oatmeal is a little cooler, I also add a dash of cold, whole milk.

BUT. In this case, I highly recommend trying out this kaya and coconut twist. It’s the sort of combination I’ll be coming back to again and again, for the flavours are close to my heart and it’s a nice break from your typical snack of kaya and butter toast!

The Twist

You should now have a thick, creamy, voluminous mass in your hands. Take the other half or a whole banana and slice it down the middle. Butter a hot pan and fry the banana on both sides. Place the caramelised banana on top of the oats, then add a heaping tablespoon each of almond butter and kaya (I love Breadtalk or Yakun, and my grandma makes a mean one too), a generous drizzle of maple syrup, coconut flakes and a dash of whole milk. Mix everything together, admire the glorious mess, then tuck in happily.

Coffee and Kaya Yeasted Doughnuts

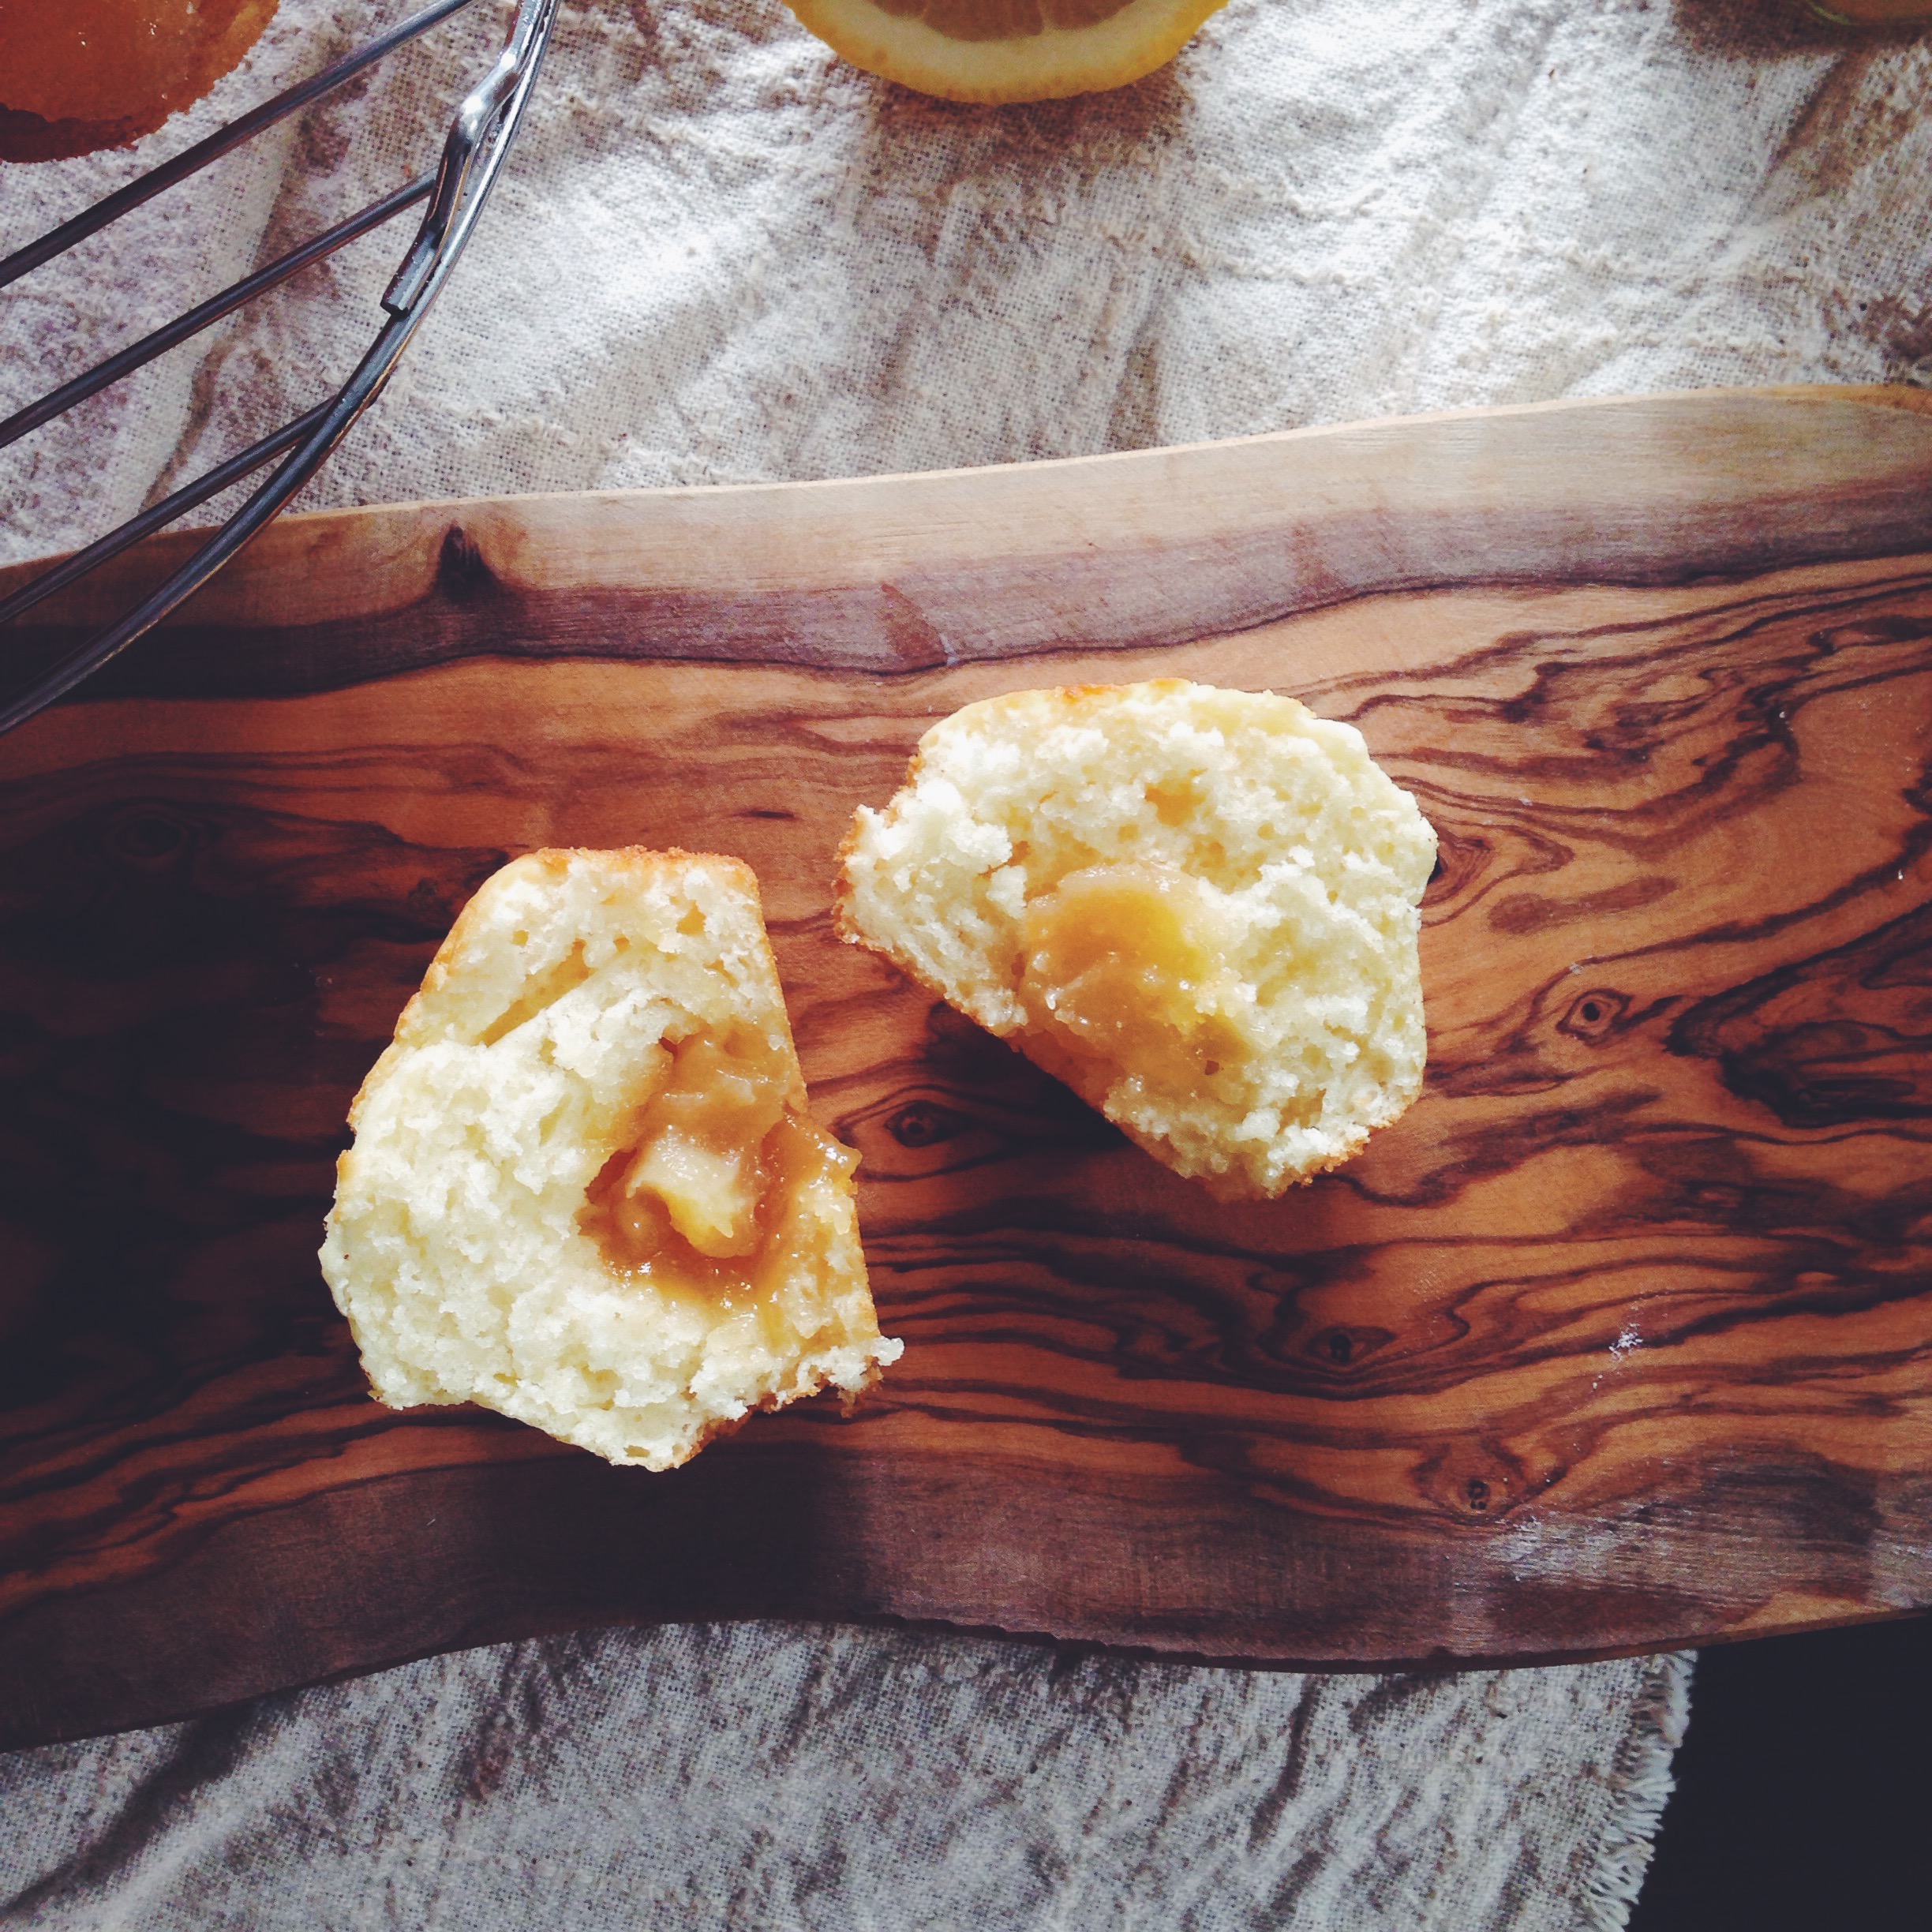
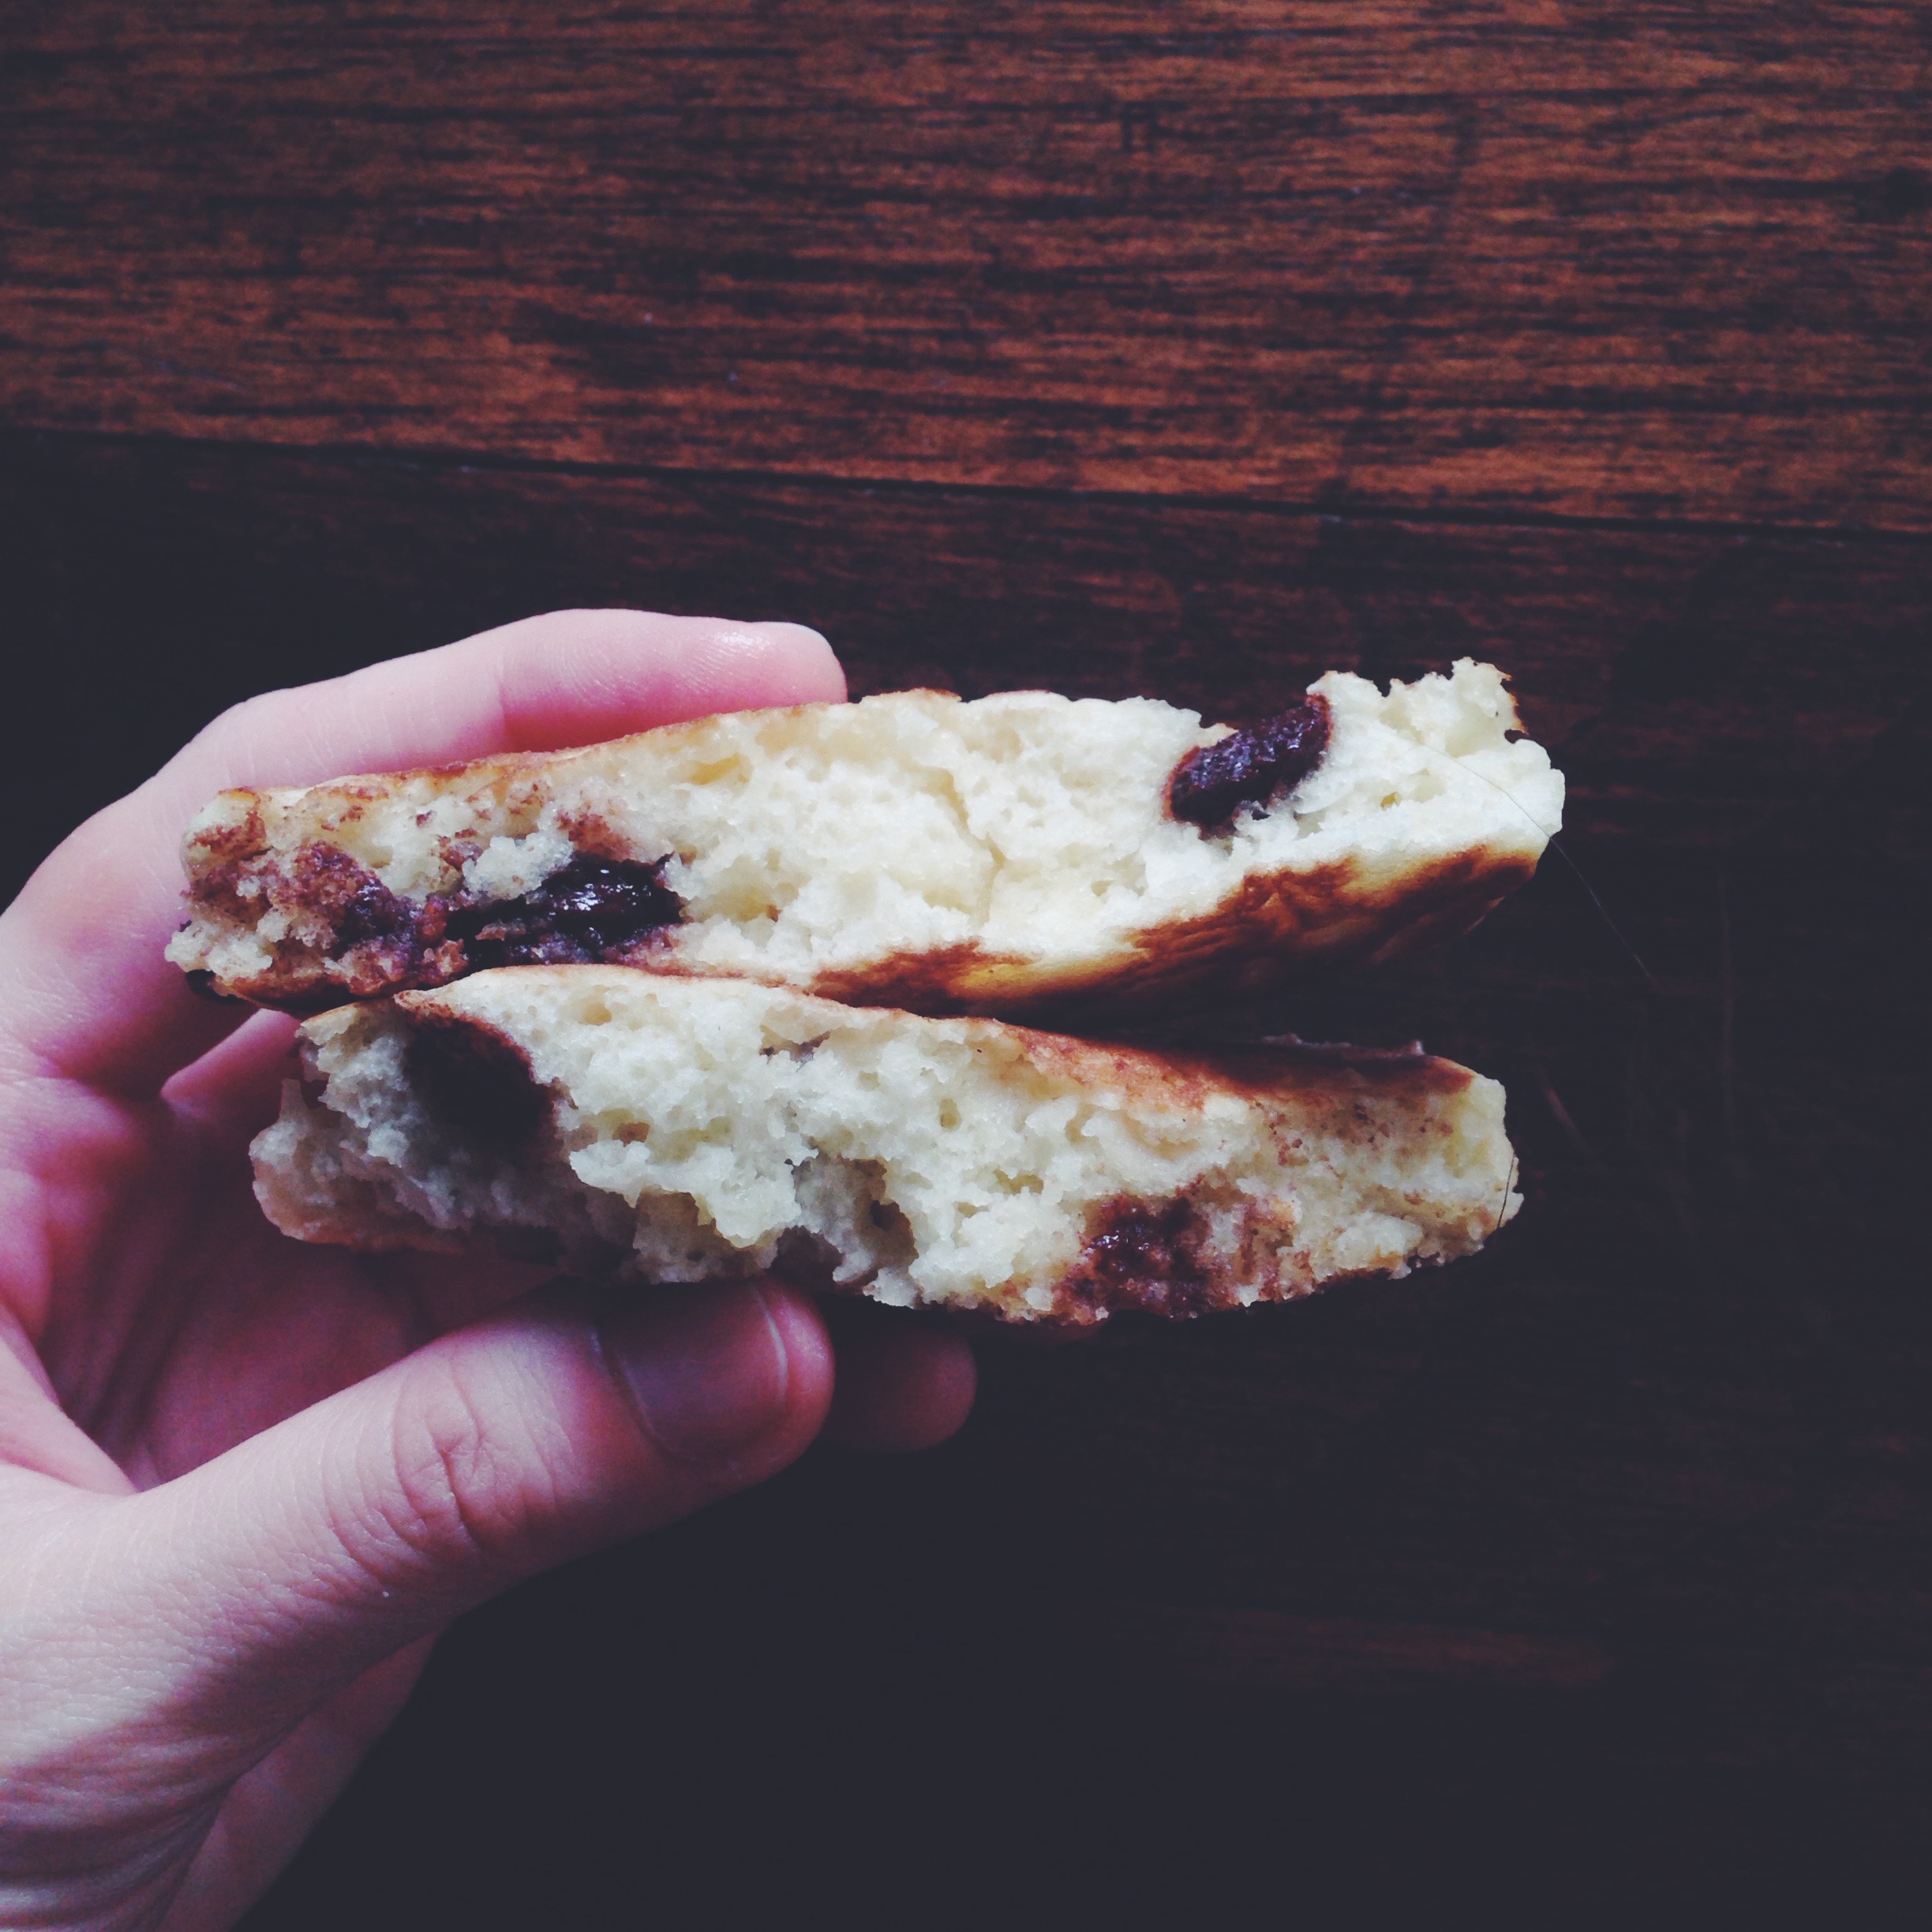
Yeasted doughnuts filled with kaya and drizzled with a strong coffee glaze. 

A tribute to one of my all-time favourite morning traditions.

In other words– butter, kaya, bread and coffee. It doesn’t get any better, or simpler, than that. Sometimes it’s butter and honey, or butter and jam, but most of the time it’s butter and kaya. It’s really common here in Singapore, where you eat butter-kaya (a pandan-flavoured spread) toast from Yakun or some hawker stall with soft-boiled eggs, all downed with smooth, creamy kopi (local coffee made with condensed milk, AKA the best drink ever alongside teh halia… ok and maybe Coke). Yes, I’m talking processed white toast, pre-cut and plasticky; sometimes I get the fancy sort from the bakery if I feel like it, but usually it’s just that and not much more. The sort of bread you would squeeze and press with glee as a kid because the degree of artificiality pretty much makes it more playdoh than bread, and I know you know what I’m talking about.

Toast.

Let the Nespresso machine kick into gear. Slather two almost-burnt slices toast with salted butter, because I like my toast that way and because salty butter is a must in my morning regime. Anything else and I feel that I’m cheating myself of flavour. Salty and sweet forever, unless I’m baking, in which case I always stick with unsalted butter and add the salt myself.

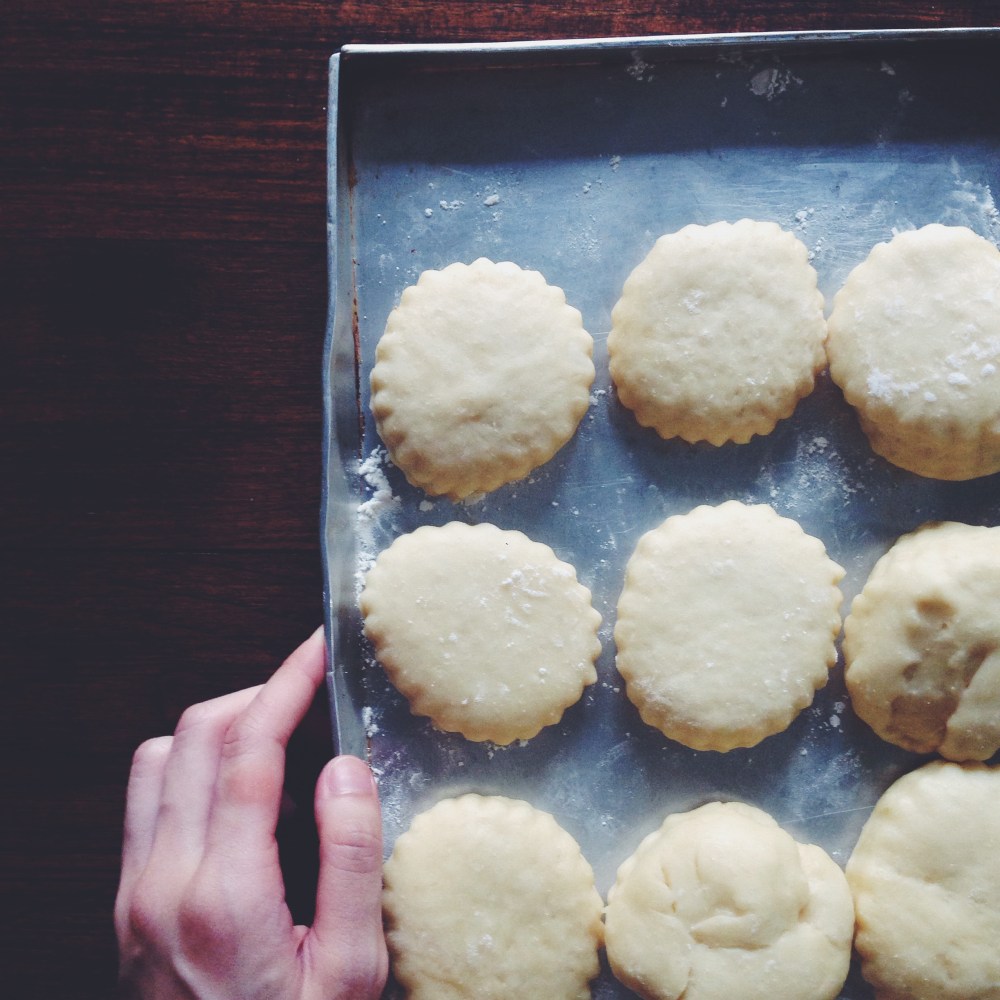
(Yes, they were spread further away from each other after this shot.)

This recipe represents this magical, true-to-local-taste flavour combination. Doughnut form. I’ve been itching to make yeasted, fried doughnuts for quite a while now, and when I got my hands on Baking Illustrated, with all the recipes tested and compiled by America’s Test Kitchen, I couldn’t wait to try their version of it. After 2 trials, a bit of tearful upsets and a lot of joyous finger-licking, I think I fell in love with the fluff and harmony of the final product. Their recipe advocates the use of vegeetable shortening instead of normal vegetable oil, and although they state that Crisco (veg shortening) yields the best result, I used canola oil in the second trial and couldn’t detect any distinct change in flavour or texture, so I doubt the change would produce a drastic difference if you used either.

This was my first time making fried doughnuts, but definitely not my last. There’s a certain ecstasy involved in replicating something so ubiquitous, yet undeniably delicious. Perhaps I’ll test the recipe again with a different flavour combination, or just anything that involves a delirious sprinkling of icing sugar after everything is done and dusted.

Coffee and Kaya Yeasted Doughnuts (makes around 16 doughnuts, adapted from Bakers Illustrated)

Ingredients

For the doughnuts:

450g (around 3 cups) all-purpose flour

2 1/4 tsp (1 envelope) instant yeast

6 tbsp white sugar

1/2 tsp salt

160ml (2/3 cup) whole milk at room temperature

2 eggs, at room temperature

85g unsalted butter, at room temperature

1.1 litres (6 cups) vegetable shortening like Crisco, or vegetable oil

For the filling and glaze:

1 cup (or more) of kaya, homemade or store-bought

4 tbsp freshly brewed espresso

160g icing sugar

Directions

In a medium bowl, whisk together the flour, sugar, salt and instant yeast. Set aside for the time being. In your large mixing bowl fitted with a standard dough hook, mix together the eggs and milk. You could do this in another bowl if you don’t have a stand mixer such as a KitchenAid, just make sure the bowl is larger than the one in which you put the flour, and you will have to knead the dough for a little longer later in the process.

After mixing the milk and eggs, add the flour. Mix on low speed with the dough hook until you see a ball of dough forming. At this point, take your butter and add it in 4-5 additions, mixing well into the dough between each addition. The butter should be soft, not cold and hard, to make the process easier and faster. After all the butter has been added, mix the dough for another 3 minutes. If you’re doing this by hand, knead the dough for around the same time or longer, until you get a soft, plump and pale ball of dough. Have extra flour on hand in case you need more; you should have a soft but firm ball. Not too sticky, but not too firm, either. Shape your ball (remove the slightly stickier bits from the dough hook first) into a ball if it’s not like that already, then place back in the bowl, cover with a towel and let rise until doubled, around 2 hours. It should be visibly voluminous when you come back to check on it later.

After 2 hours, check on the dough– press lightly with a finger, it should feel tender but still quite firm. If not, leave for another 15 minutes. When ready, flour your work surface and tip your ball onto the counter. Take your rolling pin and flour that too, to prevent it sticking to the dough. Roll the dough out until it’s around 3/4 of an inch thick. Take a 3-inch wide circular cutter (or in my case, a scallop-edged one because I was feeling odd) and cut out circles of dough. Take the scraps left over and re-roll, then cut more circles. Place your doughnut circles onto a floured baking sheet and let rise for a half-hour more.

In the meantime, heat up your oil in a deep and wide sauce pan, or large Dutch oven. Prepare another sheet that’s lined with paper towel, so you won’t get an oily counter afterwards. Stick a candy thermometer by the side of the pan and let it heat up until 375F, or 191C. Take your risen doughnut cut-outs and place gently using a spatula or large slotted spoon into the simmering oil, 4 or 5 at a time. Wait 20 seconds for the first side, then flip to fry the other side, which will take another 20 seconds. They will be golden-brown, puffy and all moreish-looking. Place the fried doughnuts onto the paper towel. Repeat until all doughnuts are fried. Let them cool on the paper towels for at least 15 minutes before filling.

To fill, place the kaya in a piping bag, or into a large ziploc bag and cut off one corner just before filling. If using the piping bag, insert the nozzle into the side of a doughnut, and then pipe until full; the kaya will leak a little around the side if you pipe too much, too fast. If using the ziploc bag, use a knife to make a small incision at the side, before inserting the corner of the bag into the side and piping until full. To make the glaze, mix together the freshly brewed espresso and icing sugar. Dip the tops of the doughnuts into the glaze and let some drizzle down the sides. Sprinkle with chocolate curls before eating immediately, or at least on the same day.

Keep these doughnuts at room temperature for up to 2 days, else they just won’t taste fresh!