Blueberry Vanilla Bean Sandwich Cookies with Lemon Coconut Cream

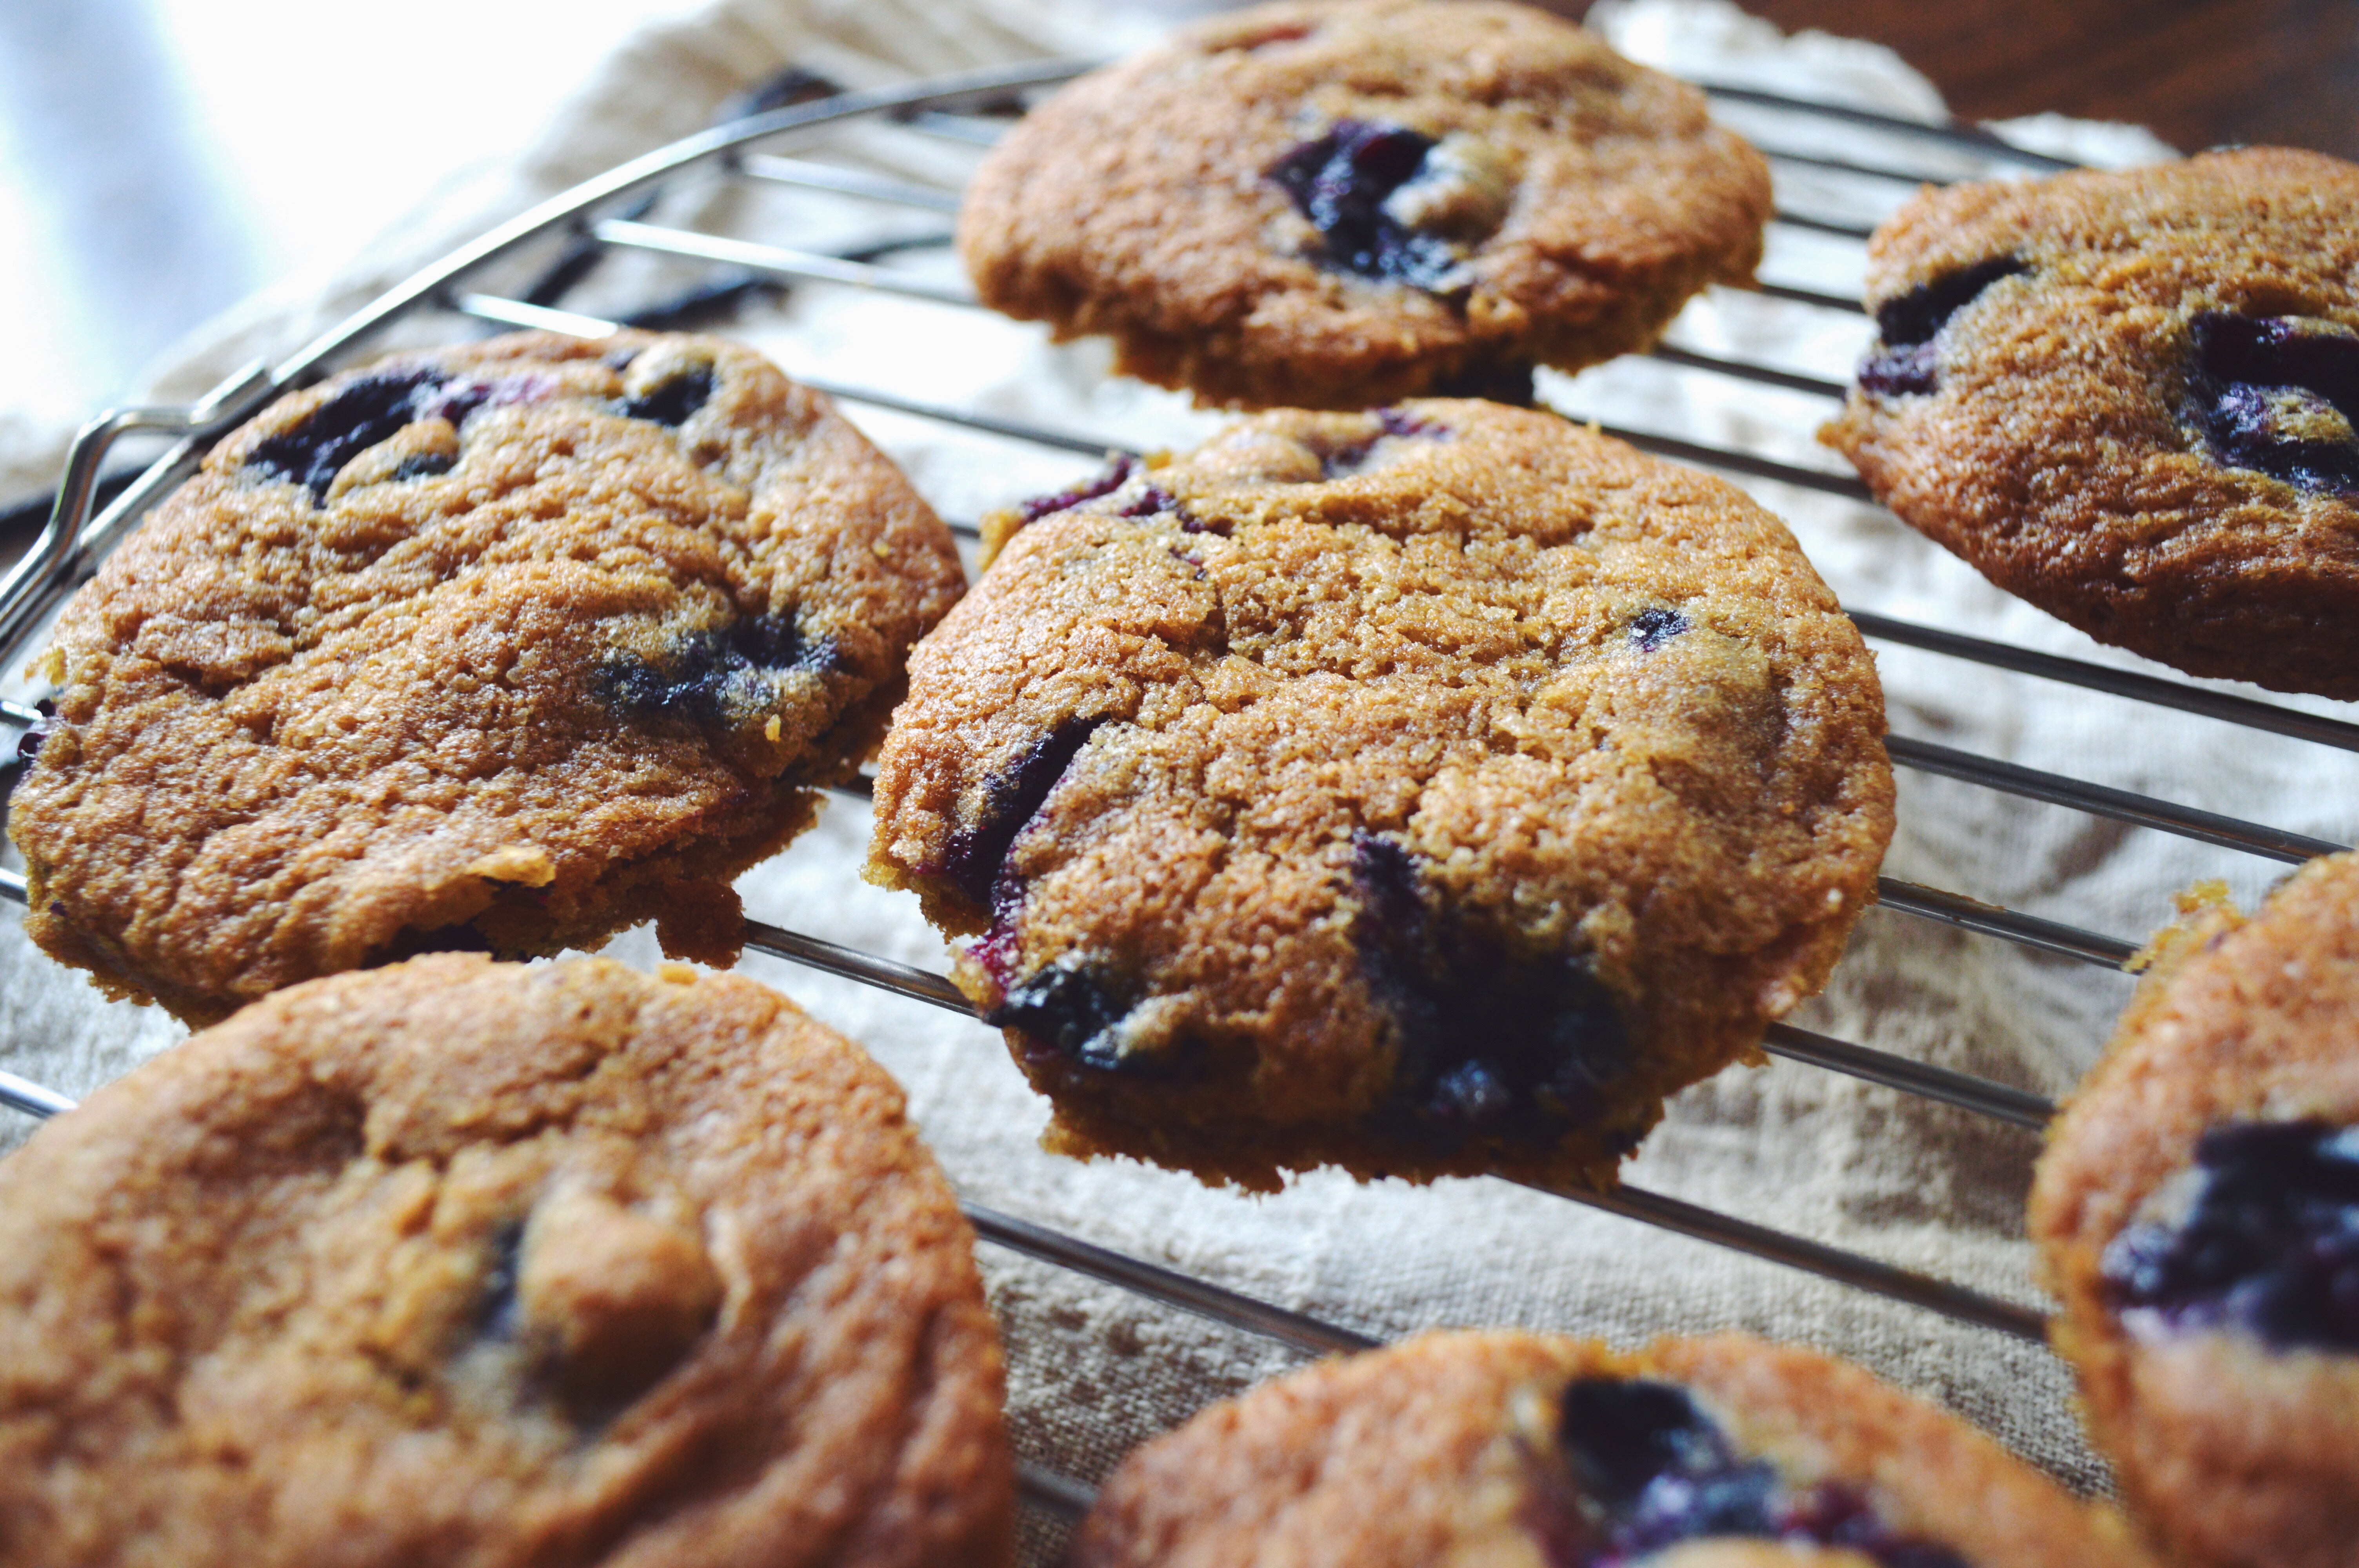
Whipped, marshmallowy coconut lemon cream sandwiched between two chewy and tender blueberry-and-vanilla-bean-littered cookies. 

After returning from a trip to Penang with a friend who’s seen me through the best and worst of times (thanks for tolerating me Ruru, if you’re reading!), I felt like making something which would preserve a few key memories just that much longer. There was one night we were sipping cocktails by the beach, the undulating waves smoothing out the ridges of our minds left behind by whatever burdensome thoughts or happenings that inhabited its corners. Thought back to a creamy pina colada. Lemon and coconut. Blueberries. Beach and zen. The picture was made whole.

The trip was filled with laughter, food so good just thinking about it makes my heart beat a little faster, unanticipated hair-lightening treatments from the glaring sun, and ease apace with excitement. I remember waking up at 3:15am the last night at the hotel for no reason at all, caught in a mild trance, so happy to be alive. Surreal, but hopeful. Time spent with the right people and the accompanying in-depth discussions on anything and everything unleashes new takes on life and all it has to offer. When the glimmer of the world seems to disappear, a little getaway revs the psyche.

IMG_5016

The factors which elevate this cookie sandwich to a whole new level are:

– the right ratio of white to dark brown sugar. Dark brown sugar provides the desirable hit of molasses, but it’s also slightly more acidic so it reacts more with the baking soda, making it rise more. It must be balanced with the right amount of white sugar for the perfect combination of fudge and crisp.

– melted butter. This produces denser, chewier cookies; the creaming process incorporates too much air so I chose to do away with it, though it may be desirable in other cake-based recipes

– refrigeration. Yes, it makes a mammoth difference, and you can read more about it here. More on this a bit later.

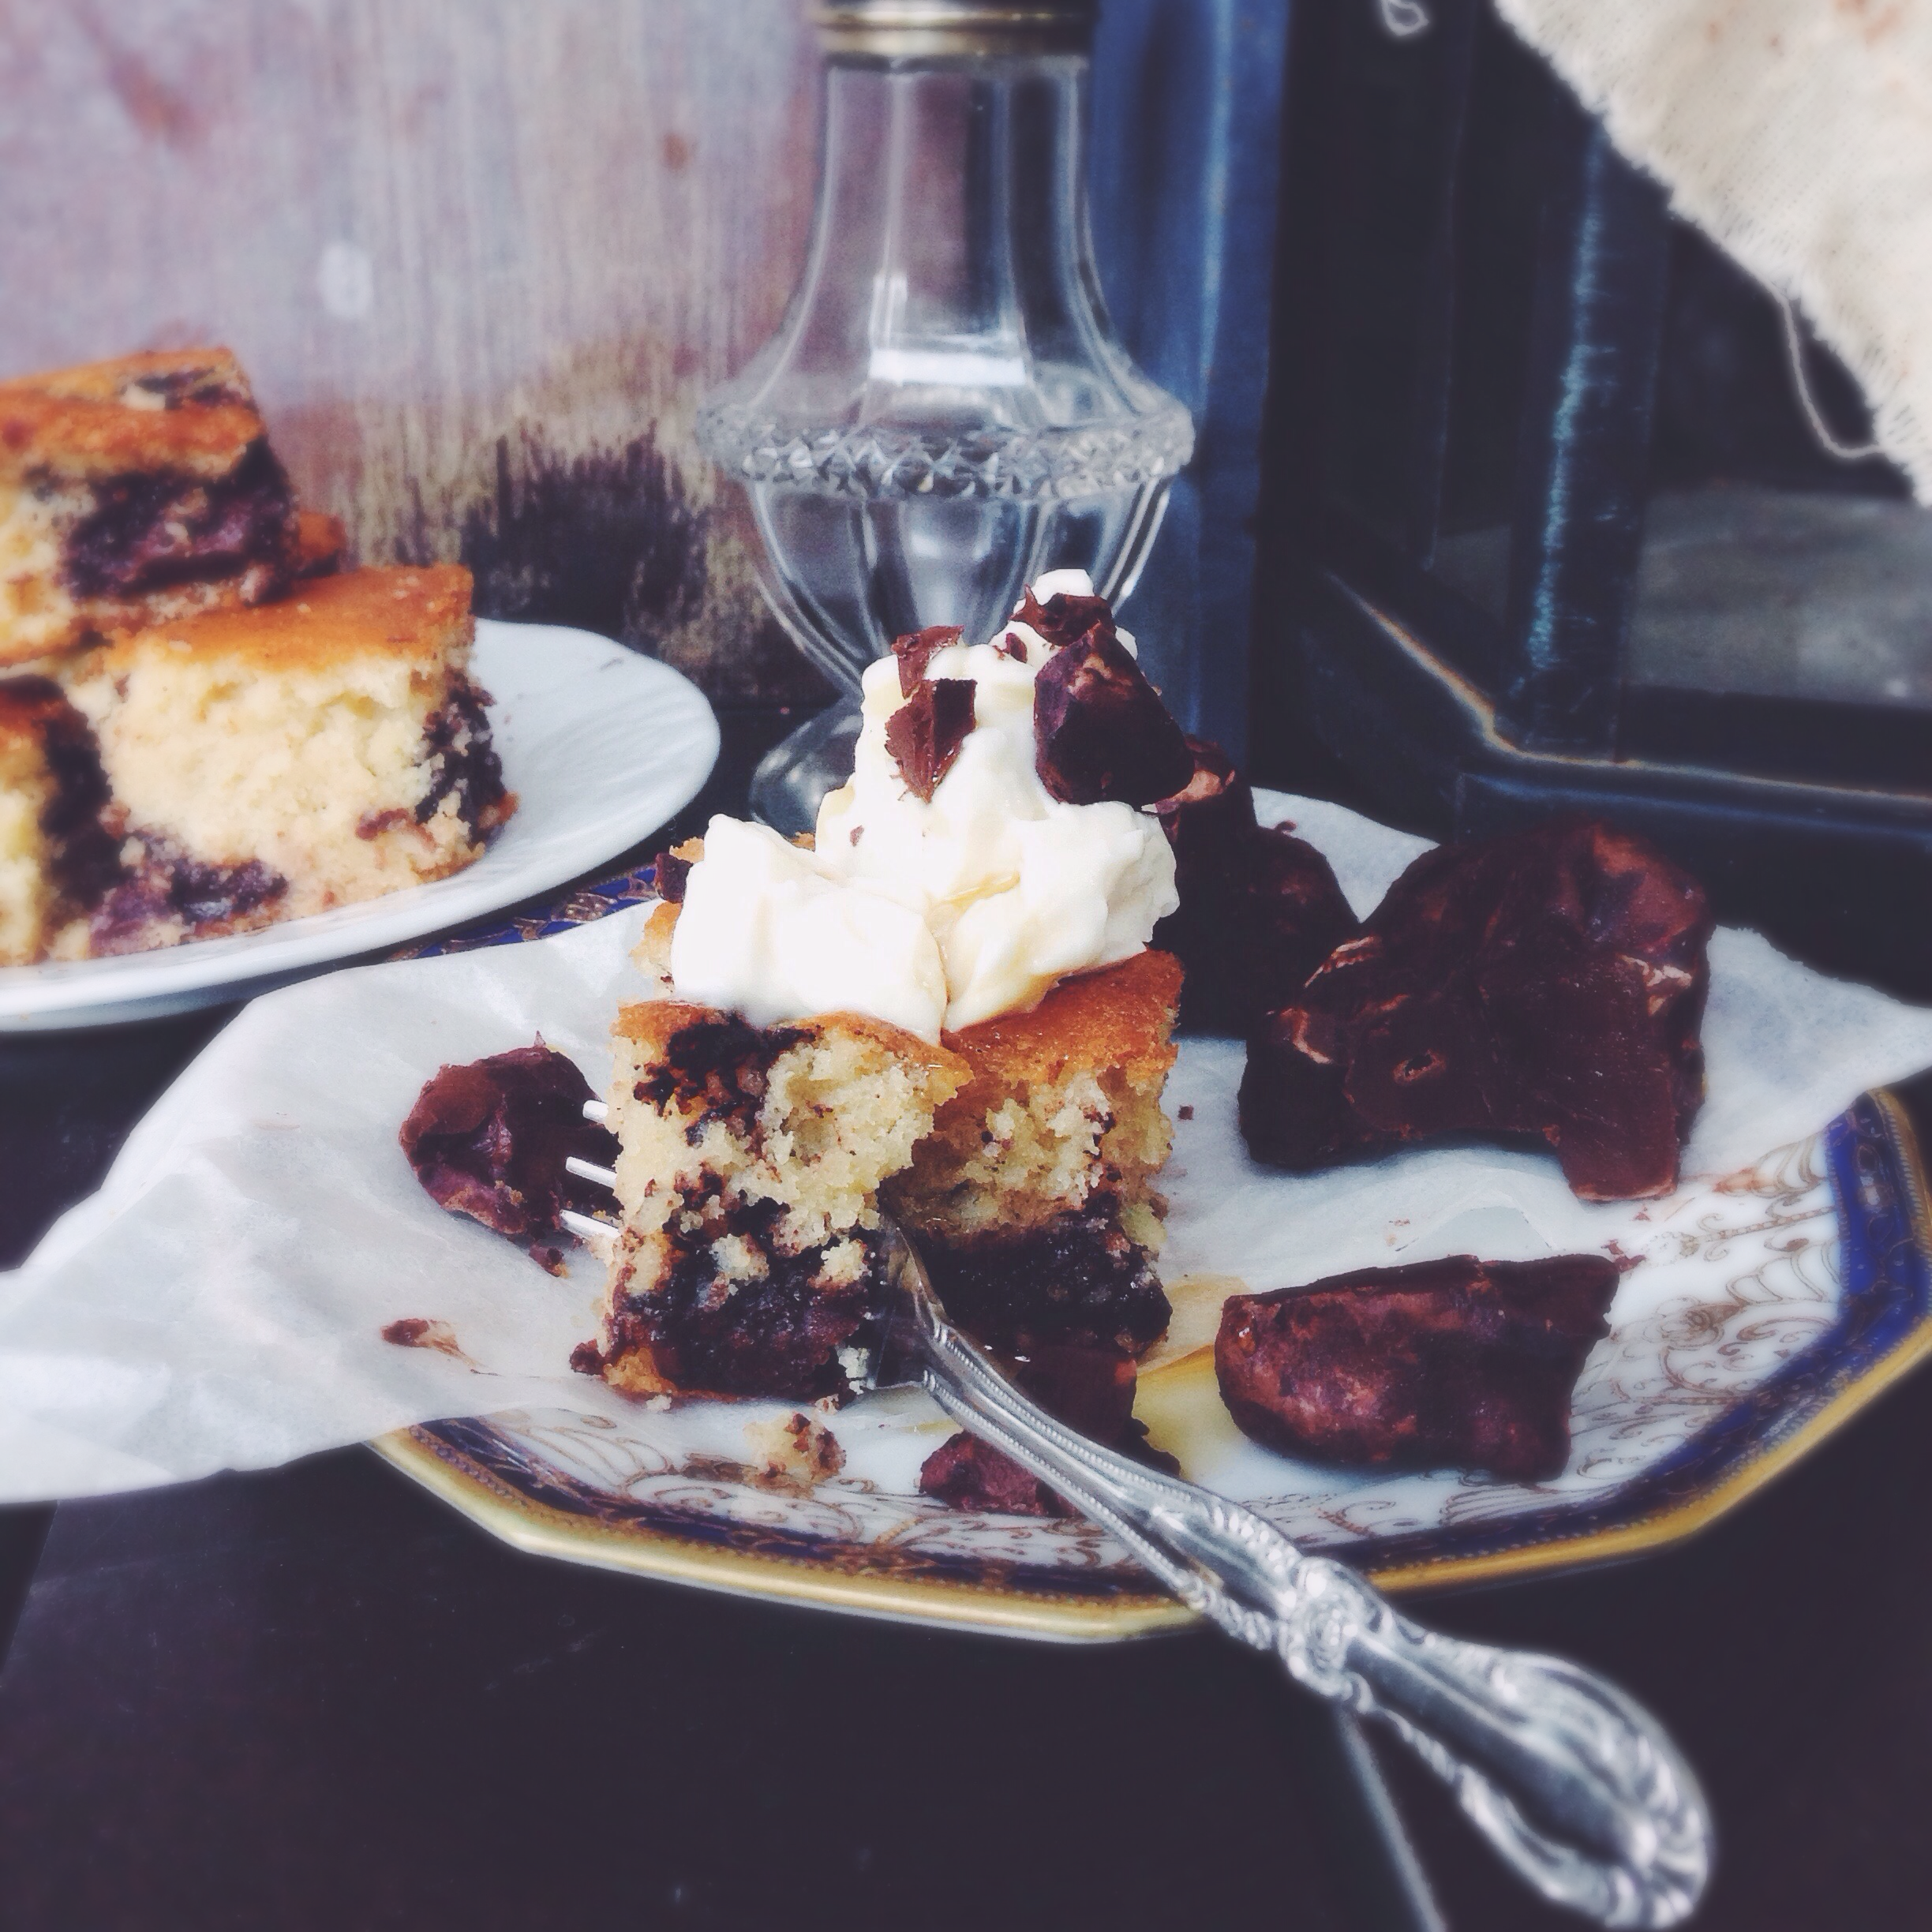
– and finally, the almost pornographic smushing together of warm cookie and cool, whipped lemon coconut cream. The combination of flavours here just can’t be beat.
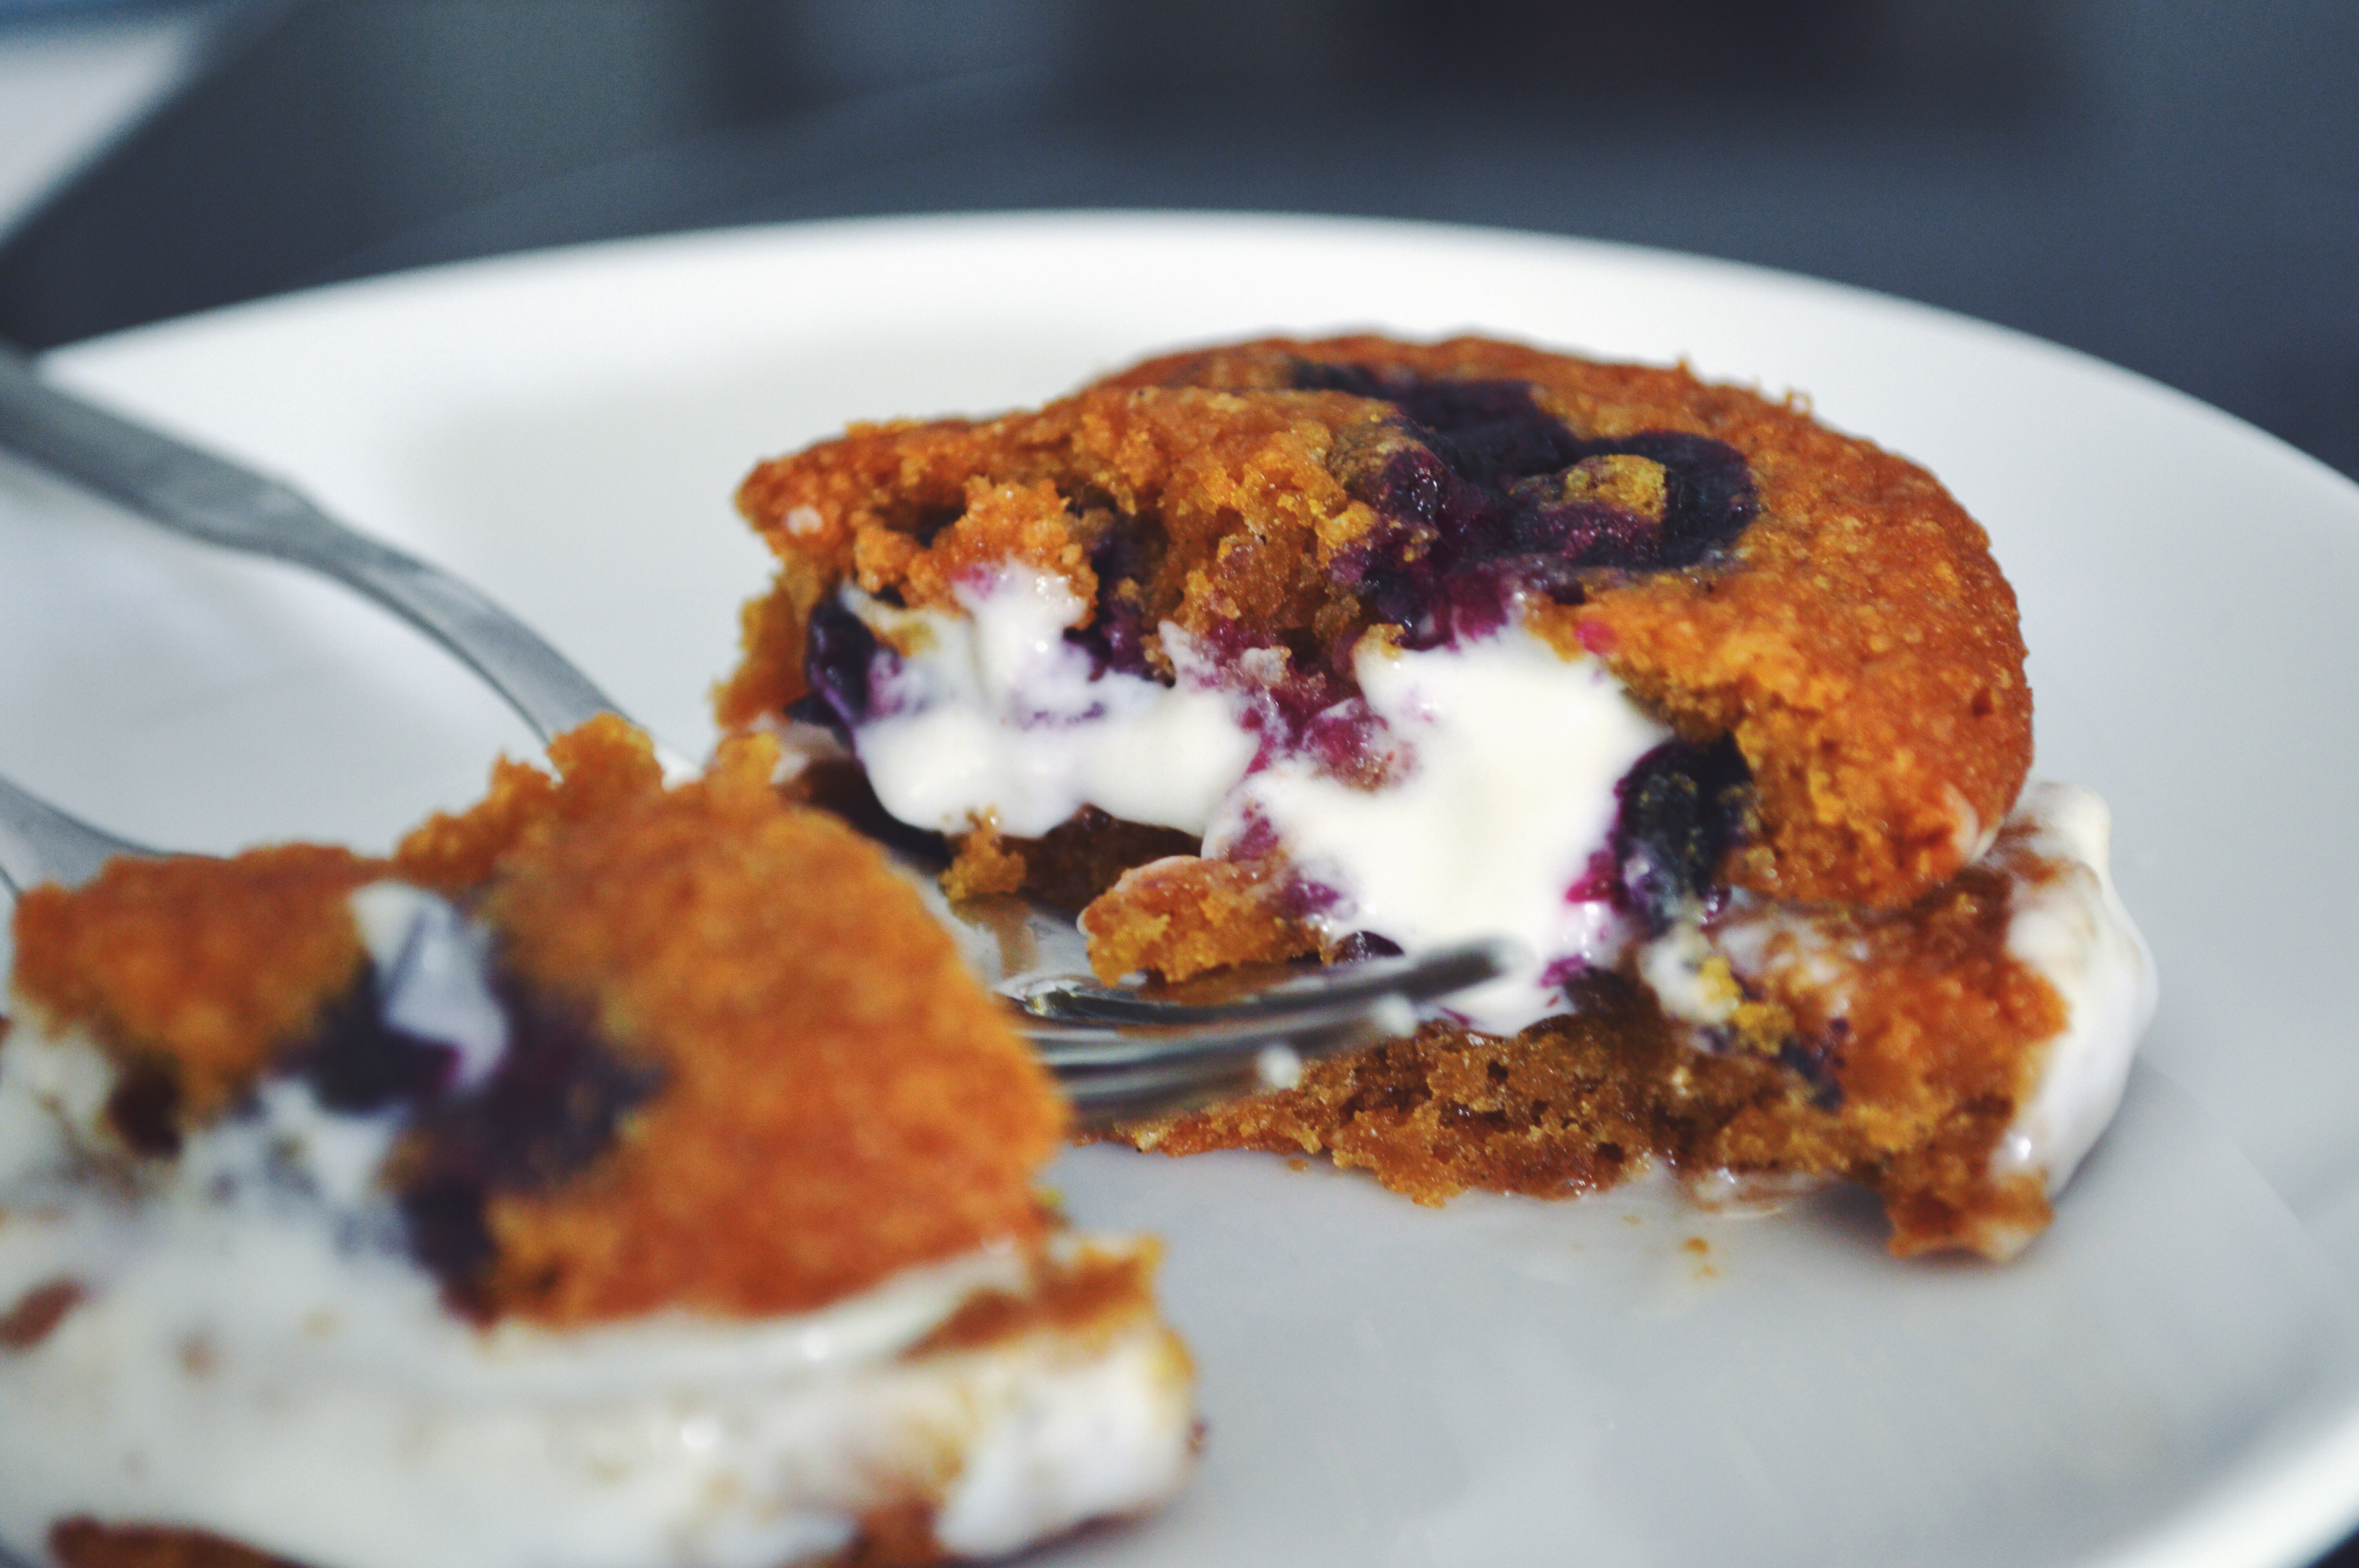
I mean, really.

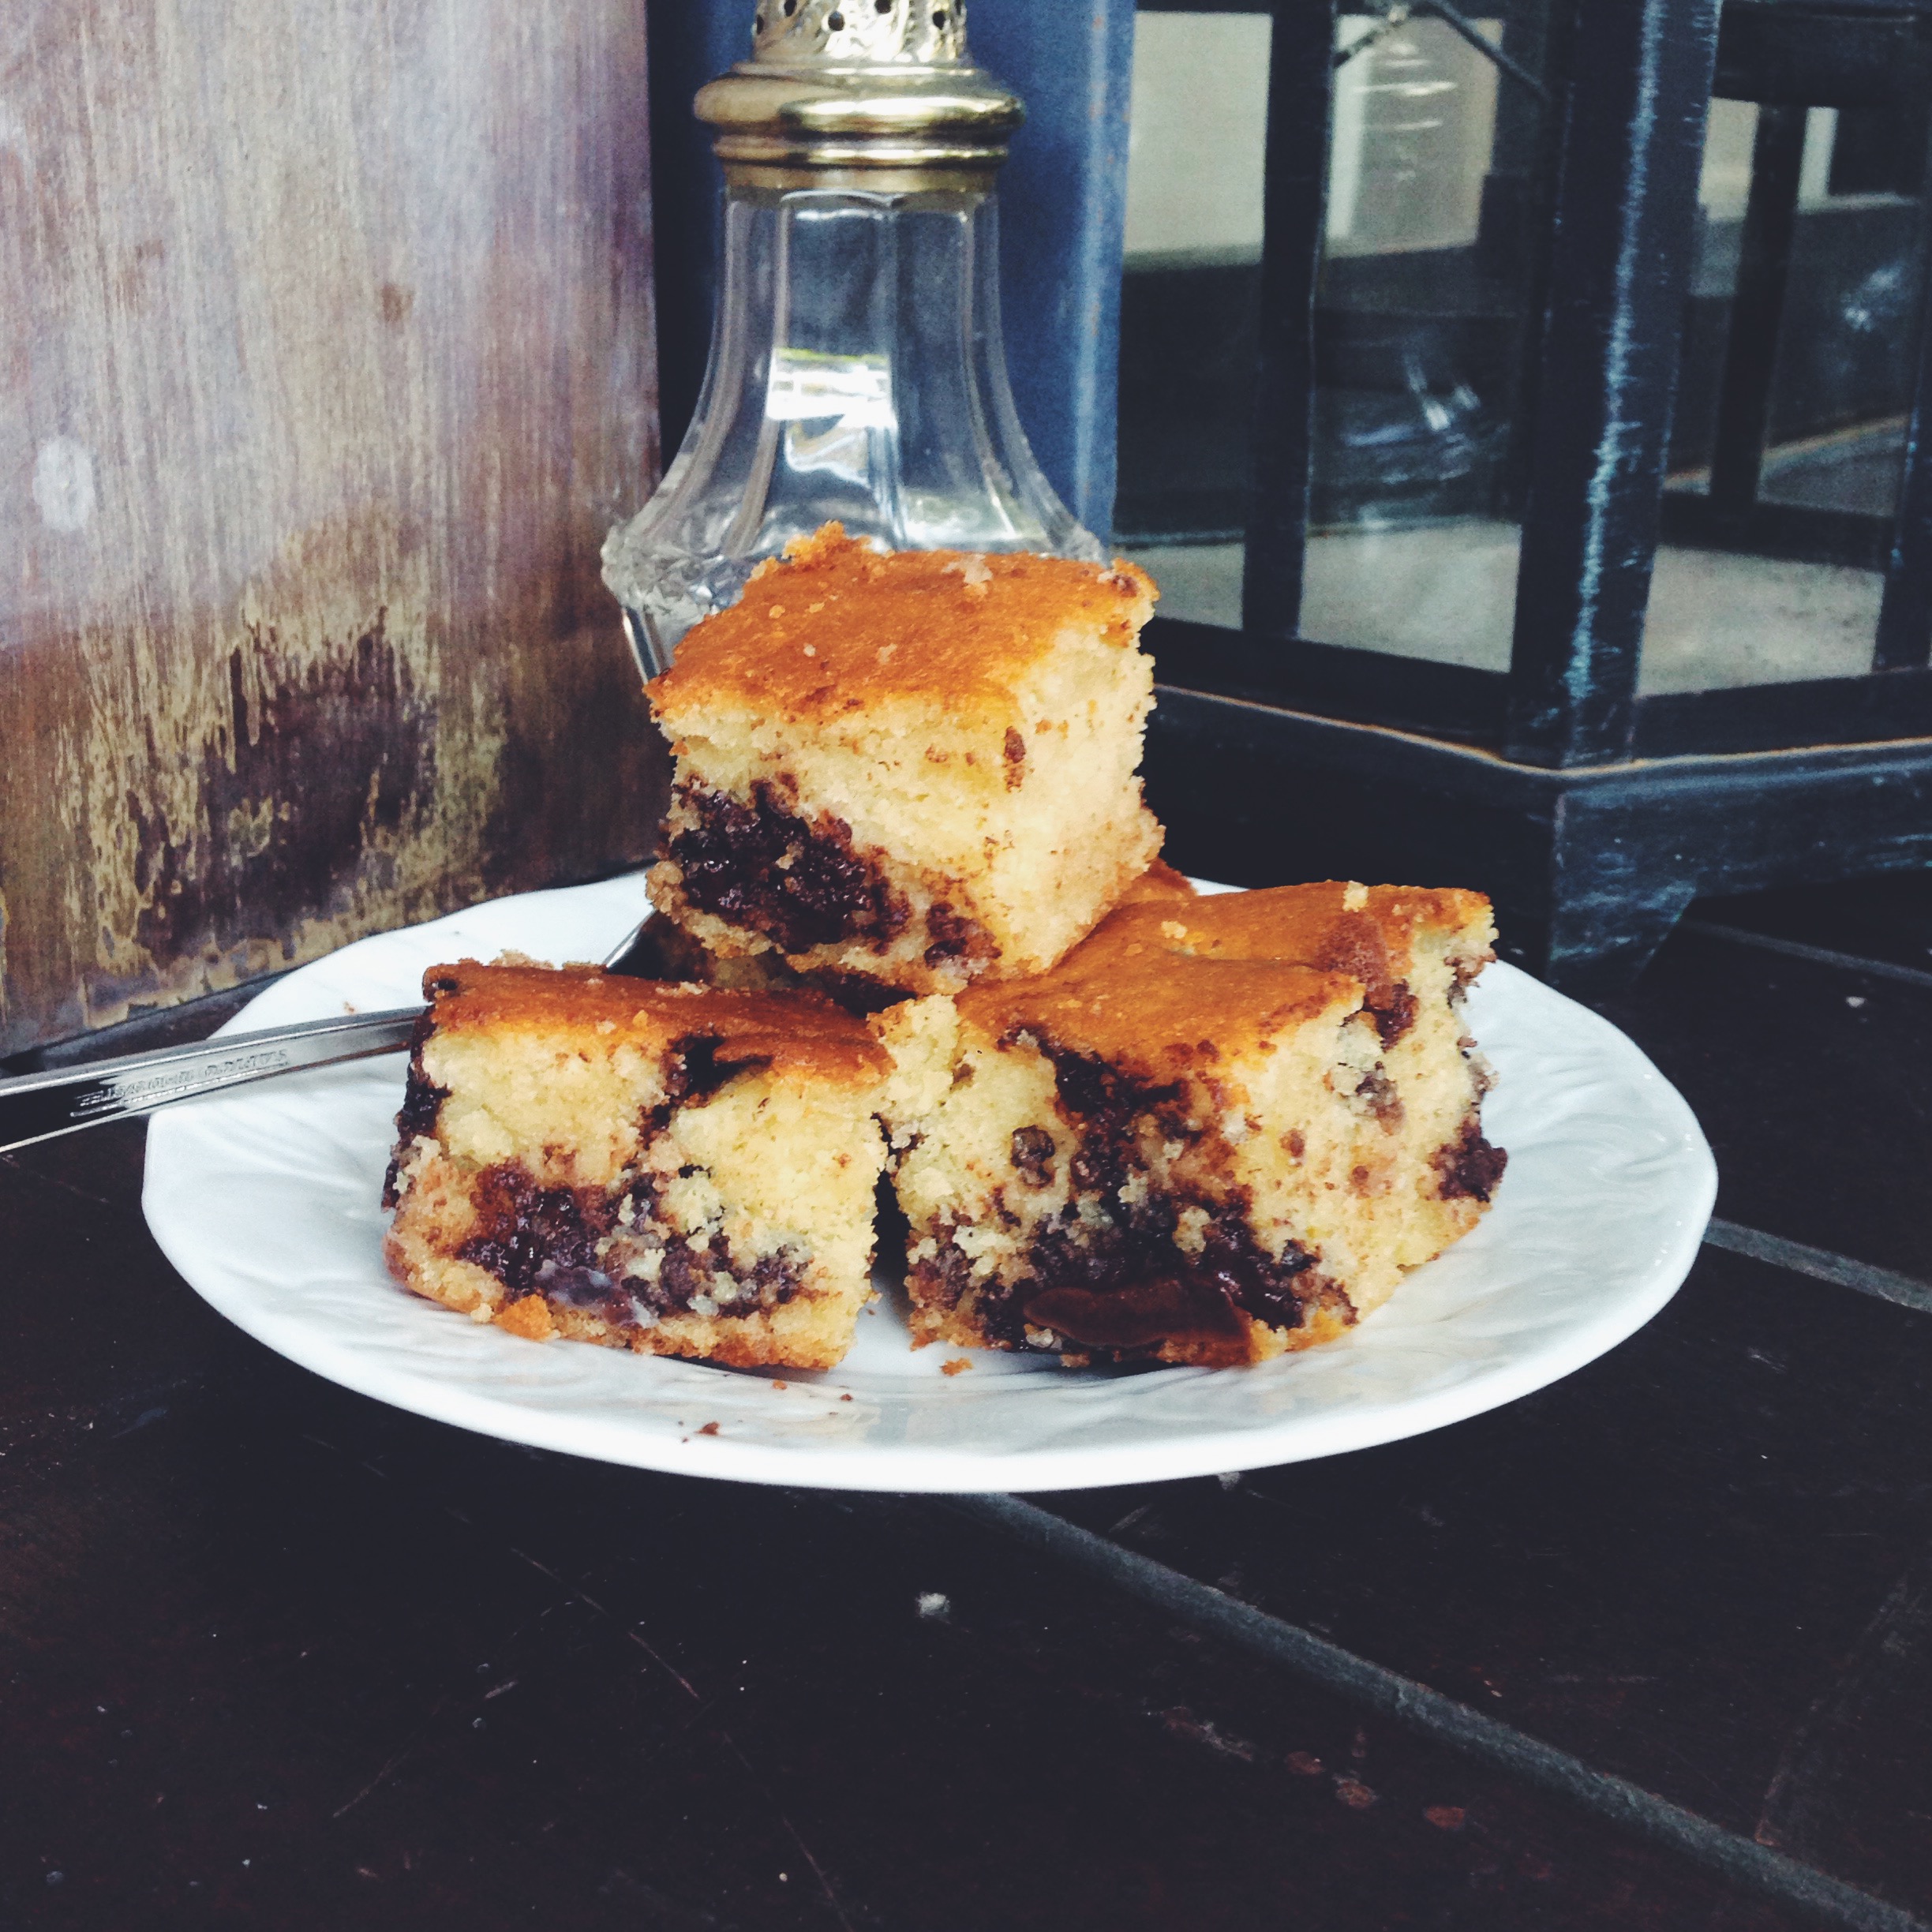
Have the cookies by themselves, in which case you won’t be missing out on much. Each cookie is charmingly ridged at the edges, character obtained only by the mandatory chilling before baking. This serves to dry out the cookie dough a little, thereby concentrating the sugars to produce a chewier, more flavourful cookie. The use of dark brown sugar in this case means that you end up with a rich hint of molasses, and a moist interior devoid of excess ‘doughiness’. The cookies also spread a little less during baking because the fat is solidified during the crucial resting process, and though one would think this would reduce the chewy factor, it only does the opposite.

Or crown them with this divine lemon curd-flavoured cream. It’s a magical dance of pina colada-esque beachside vibes and the natural purity of a chewy cookie lucky enough to be on the sunny island in the first place. I might be getting a bit carried away.

Blueberry Vanilla Bean Sandwich Cookies with Lemon Coconut Cream (makes 11-12 medium-sized, or 3-inch wide cookies; adapted from my an old cookie recipe)

Note: Feel free to double this recipe! I halved and adjusted the quantities from my previous experiment just to test it, and the first trial turned out much better than I thought. So go ahead and multiply accordingly, if you so wish.

Ingredients

For the cookies:

95g (3/4 cup) all-purpose flour

half a vanilla bean with the insides scraped out, or substitute with half a teaspoon of vanilla extract

85g (half cup) white sugar

70g dark brown sugar

115g unsalted butter, melted

1 egg

pinch of salt

1/2 tsp baking soda

70g (half cup) fresh or frozen blueberries

For the coconut lemon cream:

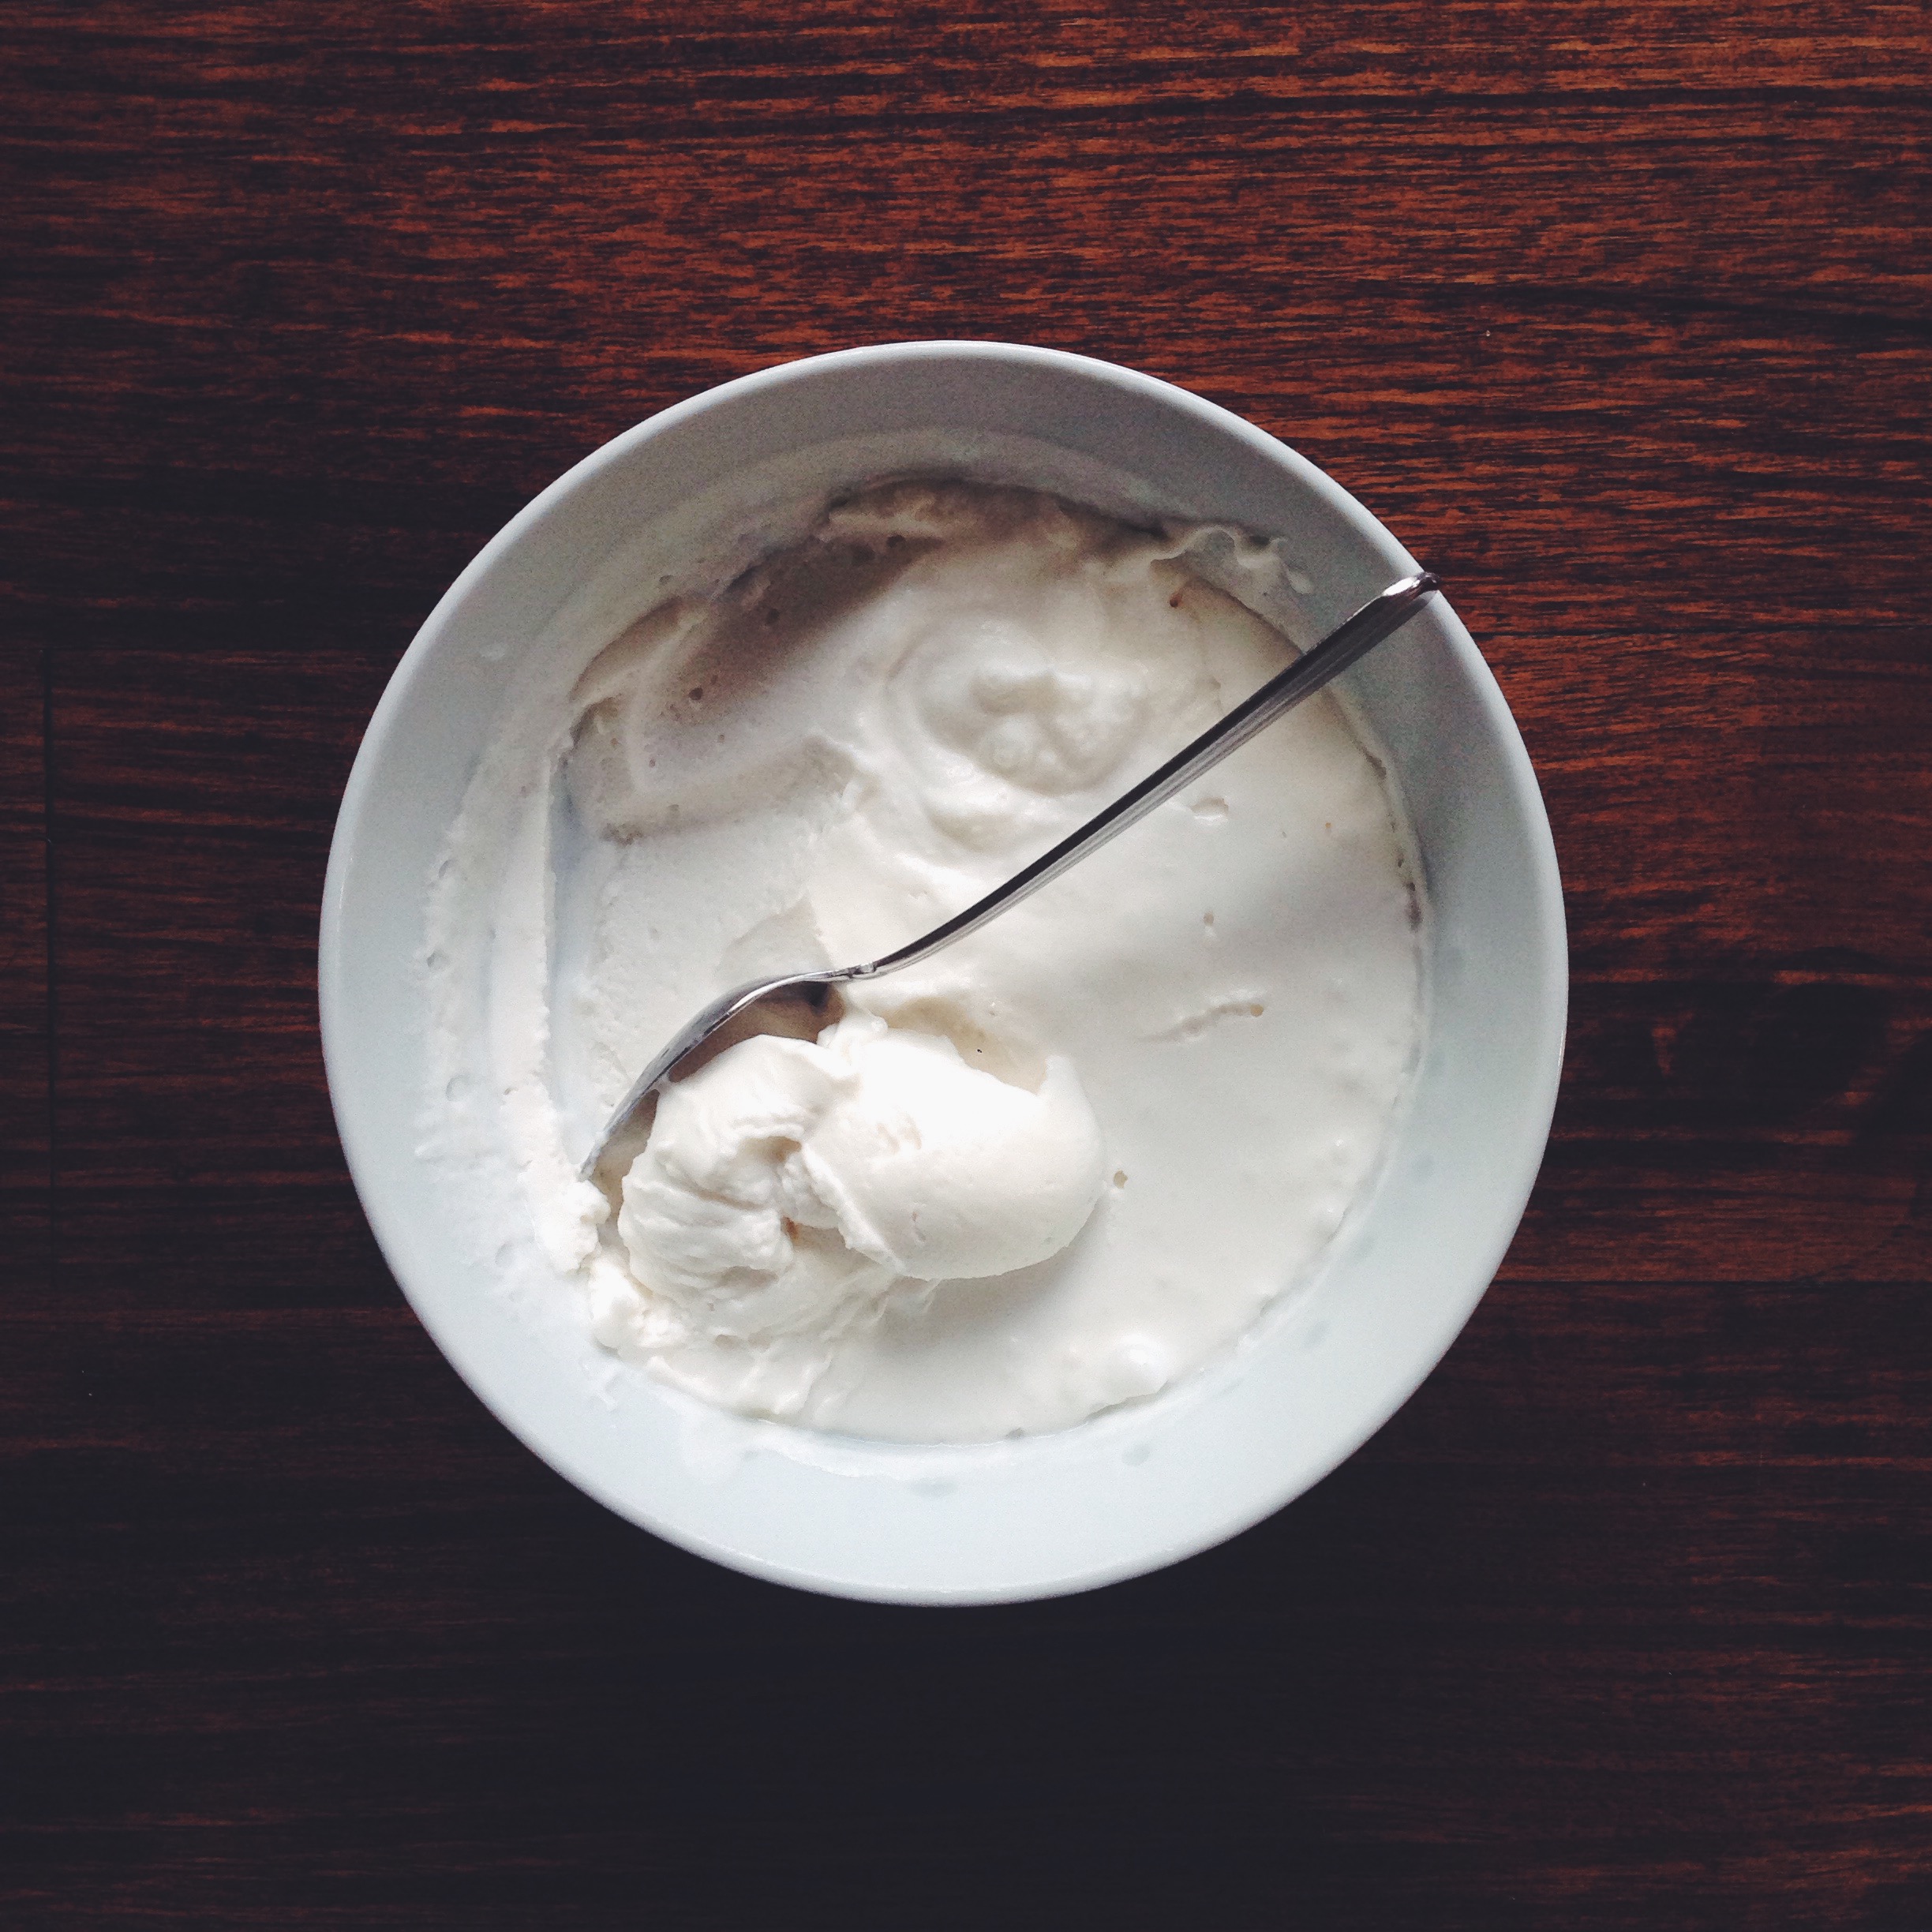
150g chilled, canned coconut milk (take a can and leave it in the fridge overnight, then open it to reveal a thick, more ‘whipped’ consistency)

50g (2 heaping tbsp-fuls) of lemon curd

Directions:

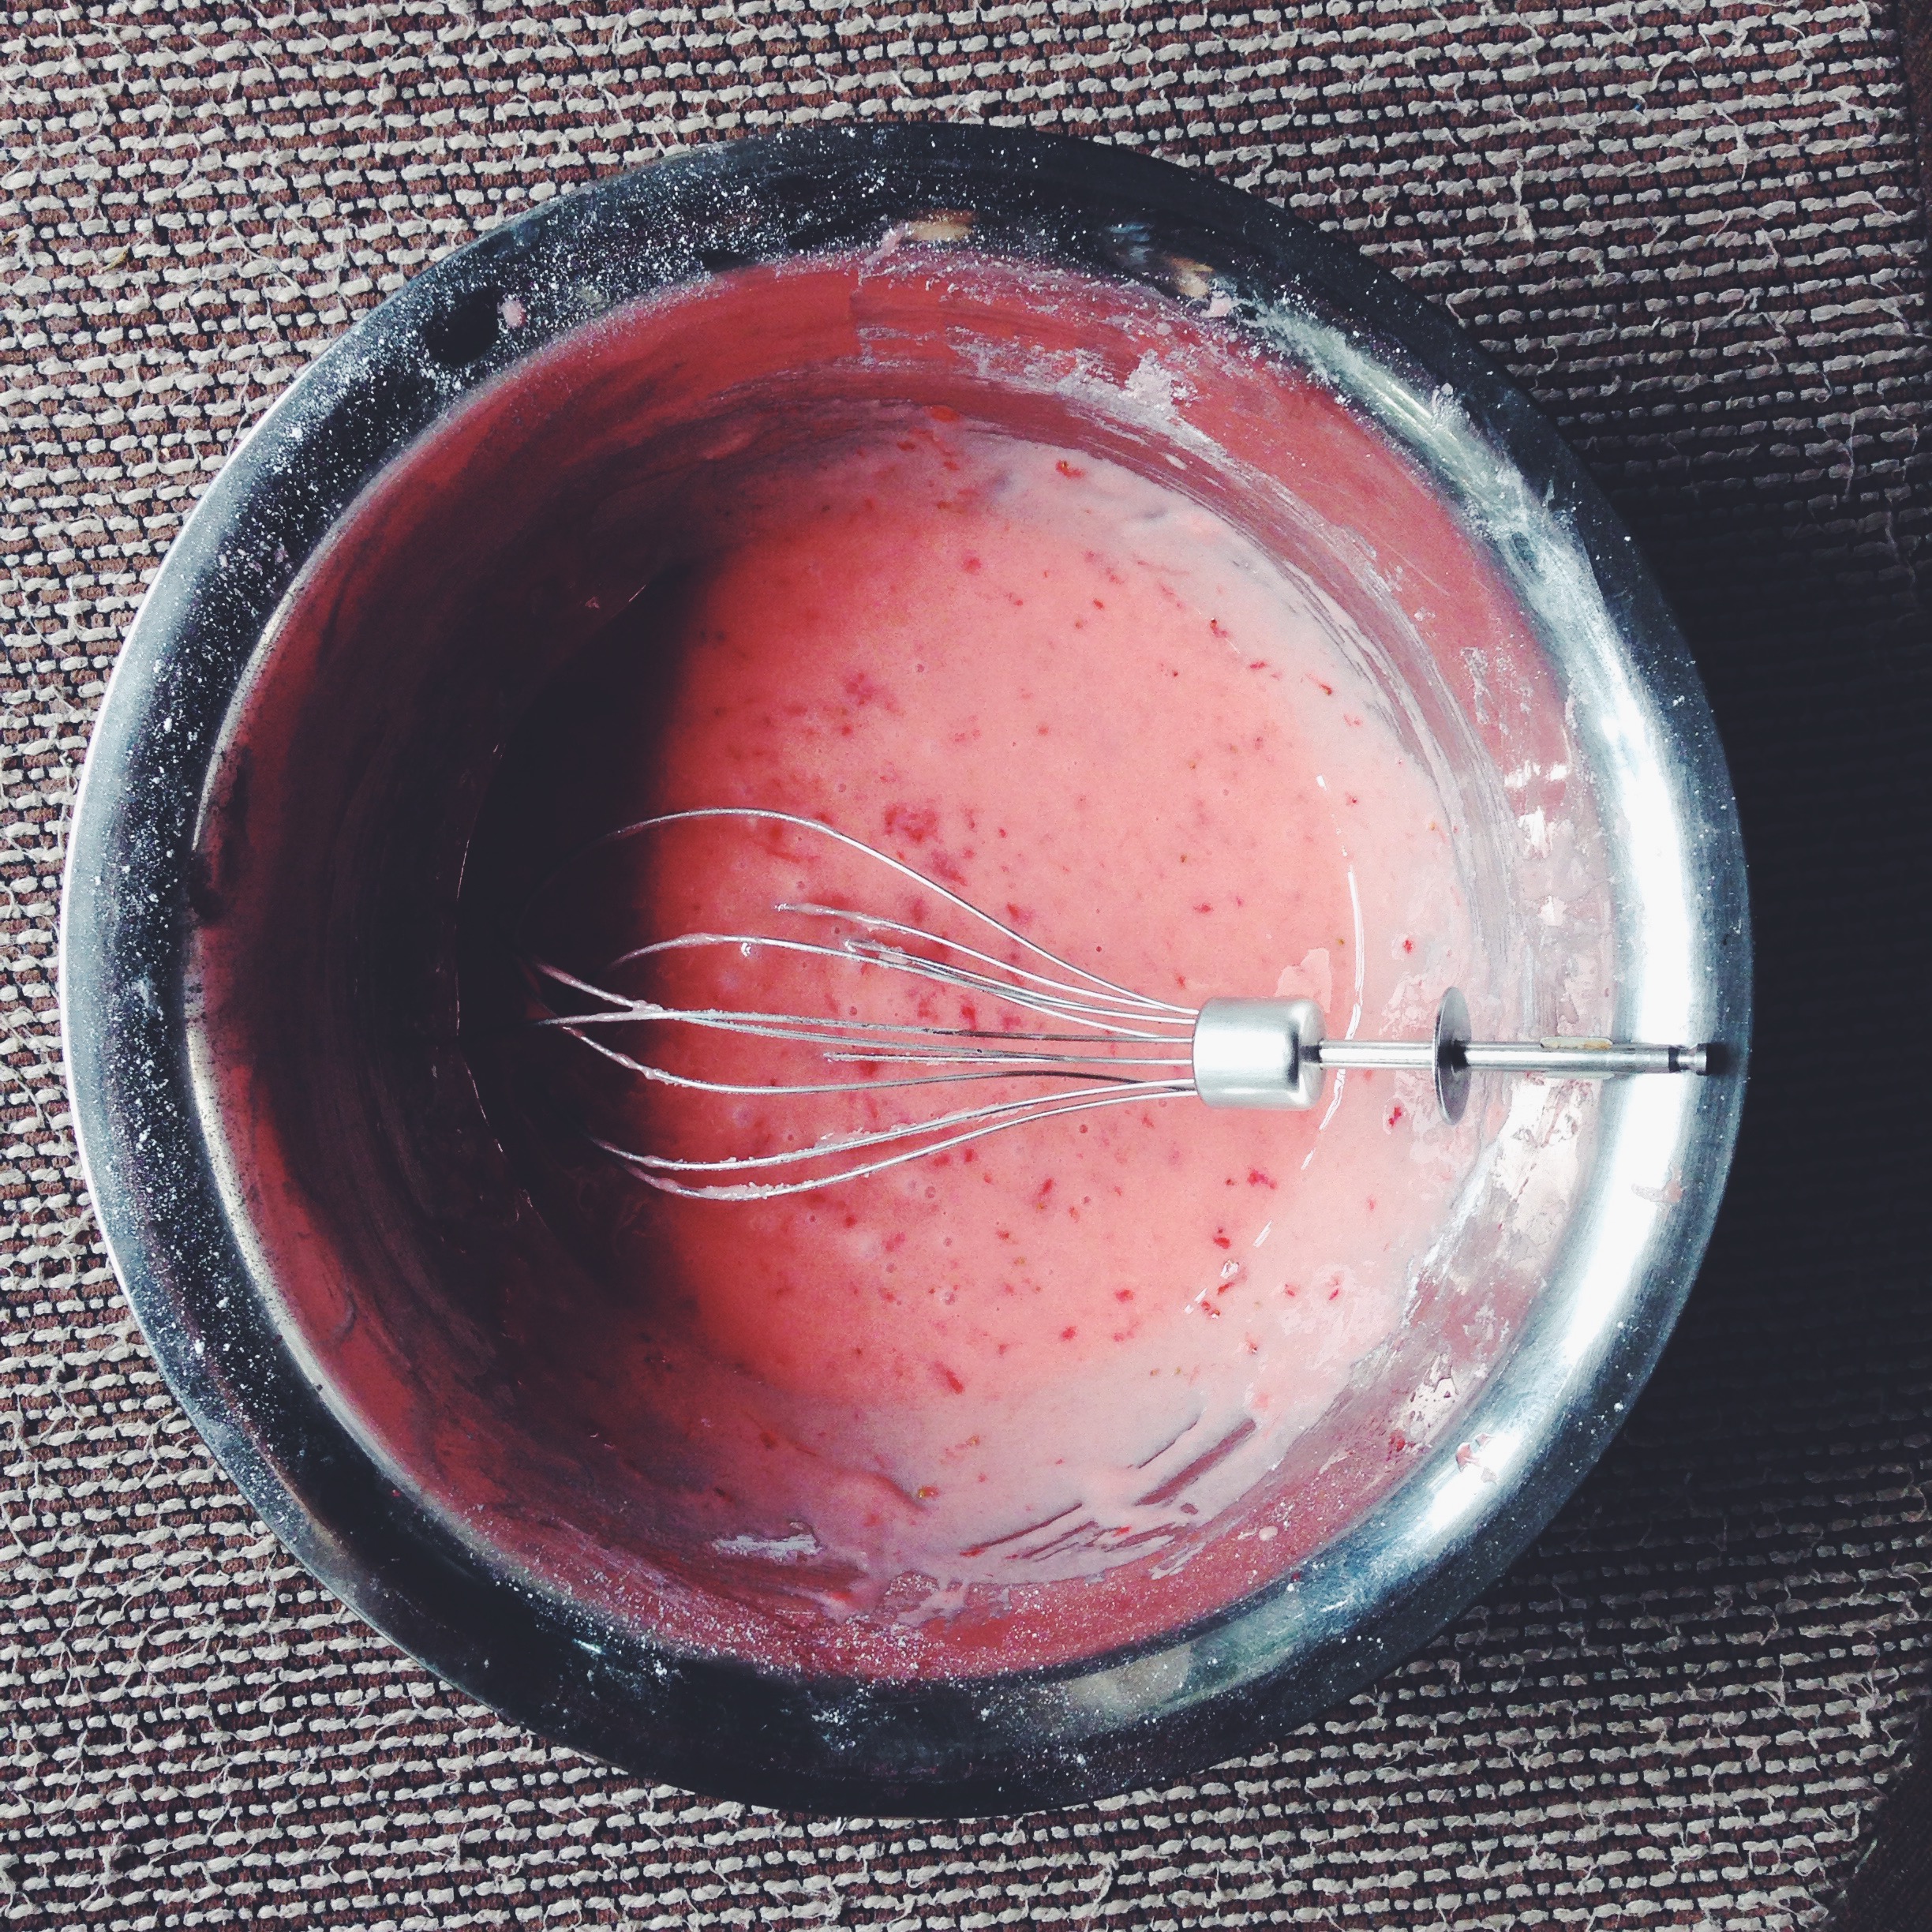
In a medium bowl, whisk together the flour, baking soda and salt. In a separate, smaller bowl, rub the vanilla bean into the white sugar. Skip this step if you don’t have vanilla bean. In a large bowl, whisk together the melted butter, dark brown sugar, white sugar speckled with vanilla bean, vanilla extract (only if you’re not using the vanilla bean, and the egg. Add the flour mix to the melted butter mix and stir briefly until just combined with a wooden spoon. Add the blueberries and quickly mix them in gently (sounds ironic, I know). A little pop here and there won’t hurt, but it’s better to let the oven to the work, creating those pockets of warm blue goo.

Cover your bowl with plastic wrap and refrigerate for at least an hour, or overnight.While waiting for the cookies to cool, make the lemon coconut cream. In a bowl with an electrical whisk, beat together the chilled coconut milk and lemon curd. Beat on high for ~1 minute, at which point the coconut milk will look thick but the mixture is still pretty runny. Place the bowl in the fridge, during which time it will thicken into a more mousse-like texture. It’s quite magical.

Preheat your oven to 190C (375F) and line a baking sheet with parchment paper. Once the cookies have rested, take them out of the fridge and use a tablespoon to scoop out the batter, then use your palms to roll gently into little balls. Place the balls on the cookie sheet and press down slightly to flatten them a little. Bake the cookies for 12 minutes.

Let the cookies cool for 10 minutes on the pan on a cooking rack before removing. Sandwich two with the chilled lemon coconut cream. Fear not, the cookie sandwich has made one hell of a comeback.

Chocolate Truffle Maple Syrup Cake

IMG_4776

Describe the taste of maple syrup.

Research informed me that it depends on the degree of roasting flavour. Typical notes are coffee, chocolate and chicory, and for the strong roasting flavour, you get hints of burnt sugar and smoke. Whatever the degree, there’s something incredibly enticing about this ingredient in particular. I use it several times a week without fail, almost always on toast and always on the occasional Sunday pancake session, yet it only recently occurred to me how deeply embedded it is in my kitchen system. It sits there day after day, use after use, so giving, so heartwarming. I love maple syrup, and there are few things I like more than chocolate and maple syrup. The sophistication of a rich, dark truffle stuck in honey-coloured, maple-flavoured fluffy cake is a welcome picture.

With so many truffles lying around the house, I thought I might as well put them to good use. The sort I use here are 60% cocoa; your standard, powdered, melt-at-room-temperature truffles. My hands were an absolute mess working with them, but the mess only enhanced the pleasure of the whole process, even as I witnessed some smaller bits melt a little into the batter before anything even hit the heat of the oven.

Your fork dives in. Zero resistance as it goes right through the pale, tender, moist body, and then maybe just a little once you hit a pocket of slightly stiffened chocolate goo. Break the cake apart. It’s a mess of black and white, a welcome juxtaposition of soft, fluffy crumbs and dangerous dark hotpockets. Sin trapped in something all too normal, all done before. No truffles? That’s ok, just use broken up bits of your dark chocolate bar. The effect won’t quite be the same with the whimsical shape irregularities and molten middles, but I would think it would be almost as delicious.

IMG_4782

Chocolate Truffle Maple Syrup Cake (makes 16 squares, heavily adapted from my cinnamon coffee cake)

Ingredients

165g all-purpose flour

1 tsp baking powder

1/4 tsp baking soda

1/2 tsp salt

55g (less than 1/4 cup) white sugar

115g unsalted butter at room temperature (or microwave cold butter in 15-second increments until it’s a little warmer and soft to touch)

120ml (1/2 cup) buttermilk, or make your own by putting half a tablespoon of distilled white vinegar into your measuring cup or jug and filling it up to the mark with whole milk (let this mix sit for 5 minutes at room temperature before using).

1 tsp vanilla extract

1 egg

100ml (1/4 cup and 1 tablespoon) maple syrup, and more for drizzling

9-11 medium-sized (around 2 inches wide) chocolate truffles, a few broken up into smaller pieces, or if you don’t have truffles, just broken up bits of a good quality dark chocolate bar.

Directions

Preheat your oven to 177C (350F), and butter and line an 8×8-inch square baking pan. What I like to do is butter the pan liberally, before placing down a piece of parchment that has 2 sides which are 8 inches, and the other 2 slightly longer so that it’s easy to pull out the bars once cool. Whisk together the dry ingredients (flour, baking powder, baking soda and salt) except for the sugar in a medium bowl.

Beat together the butter, maple syrup and sugar in a separate bowl. In a smaller bowl (yes there are 3 bowls here, but the washing up is not much pain, promise), whisk or beat together the egg, buttermilk and vanilla extract. Add half of the dry ingredient mix and half of the egg-buttermilk mix to the butter and maple syrup mix, and then beat to mix. Then add the rest and gently mix everything together, starting with a wooden spoon, and then switching to a rubber spatula to make the job easier.

Into your buttered and lined pan, add half of the batter, which should be smooth and slightly thick, and then dot the batter with chocolate truffles. Add the rest of the batter on top and smooth it out. Bake in the preheated oven for 33-35 minutes, or until a wooden skewer inserted into the centre emerges clean. The top should be slightly darker than when you first put it in, and brown around the edges. Enjoy this with vanilla ice cream or whipped and sweetened mascarpone (as in the pictures above) and a drizzle more of pure maple syrup.

Avocado Yin Yang Mousse

Black and white. OK, green and white. It’s balance, it’s harmony, it’s almost meant to be.

I’m all for avocado and all the variations it can take on. This will be a short one, because I’m aching to get the directions out; it’s ridiculously easy and delicious. Plop everything into your blender or food processor and you’re in the groove. Chocolate avocado mousse has been done before, aka the wholesome take on a classic chocolate pudding. Look, I love the green stuff, but I still think a good chocolate pudding deserves to be just that– sinfully chocolatey, donned in cream and your normal sugar. But wait! Let’s think thick, rich, glorious breakfast toast spreads here. Maybe a snack, or something along those lines. With dark chocolate done, why not experiment with white? This one here incorporates both dark and white chocolate, with a few different ingredients thrown in here and there to enhance the chocolate theme, simultaneously complementing the natural richness and creaminess of avocado.

I was pleasantly surprised by the texture of the white chocolate variant in particular. The incorporation of the special ingredient –tahini– is what made it lush, thick and deliciously spreadable. No graininess, nothing. Just ease. Smoothness, a slight hint of salt, the childlike sweetness from melted white chocolate. That’s what I love about white chocolate. It appears to lack dimension and sophistication, but it’s the perfect medium for so many other things.

Avocado Yin Yang Mousse

Ingredients

For the dark chocolate take:

half an avocado

2 tbsp cocoa/cacao powder

1 tbsp honey/ maple syrup

1 tsp milk of choice

pinch salt

For the white chocolate take:

half an avocado

30g white chocolate, melted in the microwave

2 tbsp milk of choice

1 tbsp tahini (optional, but highly, highly recommended)

pinch salt

Directions

Blend the ingredients for the respective versions together in a food processor or blender. If you wish to make both (of course!), start with the white chocolate take first so that you won’t have to wash out your blender or processor after dealing with the cocoa/cacao powder. Spread on toast or eat on its own, maybe with a couple of dark chocolate truffles, mmm. This will keep for a week in the fridge.

Strawberry Chocolate Vanilla Bean Baked Doughnuts

IMG_4497

Somewhere in between rubbing fragrant vanilla bean into sugar and popping these guys into the oven, I found myself at the beck and call of Strawberry.

Out they came, and my heart was singing. A subtle burst of tang. Gooey bursts of warm chocolate dispersed throughout the batter, little nuggets of treasure. Plump, light-as-air cakey batter to encase everything. Two bowls, whisk, an oven, done.

I was skeptical at first. Initial thoughts gravitated to classic vanilla bean with a more exotic fruity frosting, or chocolate whatnots. Some people don’t like the combination of berry and chocolate, and I get it, but I just couldn’t help myself when I saw fresh, fat strawberries sitting, beckoning in the fridge, round-butted, the promise of sweet juice pulsating under firm and uneven flesh. I thought of strawberries dipped in melted chocolate, and couldn’t get the theme out of my head. So after my good daily dose of reading and writing, I jumped up and got to work. It had to work. And I’m glad it did.

You could say the addition of vanilla bean is pompous, but goodness does it add a whole new dimension of flavour and (slight) grandeur to the whole thing. The speckles are endearing, no? It’s exotic, it’s fearless. Each little doughnut is jam-packed with bits and bobs of strawberry and chocolate, so every bite is a great deal of wonder, a different experience, a slight surprise. In between, you can savour a dandy cake-like medium, the vehicle for all those pockets of tang and sweet. A standard batter so silent and unassuming it almost feels guilt-free.

What’s a doughnut without the glaze.

The magic lies in the incorporation of puréed strawberries, without which this recipe just wouldn’t be the same. J’adore. Pink isn’t my favourite colour, and never will be, but the muted tangy notes elevate this from airy-fairy to plain wicked. Despite my not being accustomed to having real chopped fruit in a doughnut glaze, or any topping for any baked good in general, the whole experience made me realise what a difference the real deal makes.

There’s something about a simple doughnut, enjoyed alone at home or at a coffee shop with a large cup of black coffee, which makes a breakfast get-up or solitary pondering session all the more sensual. It’s homey, and pretty bad, but pretty good.

Strawberry Chocolate Vanilla Bean Baked Doughnuts (makes 16)

Ingredients

For the doughnuts:

265g (slightly less than 2 cups) all-purpose flour

170g (3/4 cup) white castor sugar

1 vanilla bean

1/2 tsp salt

1 tsp baking powder

1/2 tsp baking soda

60g melted, unsalted butter

180ml (3/4 cup) buttermilk, or take a tablespoonful of white vinegar and place it in the bottom of your measuring cup before filling it up to the 180ml-mark with whole milk

70g chopped dark chocolate

2 eggs

170g (1 cup) finely chopped strawberries

For the glaze:

60g (1/3 cup) strawberries, washed and finely chopped

230g icing sugar

pinch salt

Directions

Preheat oven to 180C (350F) and butter doughnut pans with melted butter. In a large bowl, whisk together the flour, baking powder, baking soda, chopped chocolate and salt. In a separate, slightly smaller bowl, pour in your sugar. Take a sharp knife and run it firmly down the middle of the vanilla bean, then scrape out the insides. Dump the clumps of black into the sugar. With your fingertips, rub the vanilla bean into the sugar, so most of it is evenly incorporated into the white mass. Tip the vanilla and sugar mix into the bowl with the rest of the dry ingredients and whisk everything together well, for at least 30 seconds or so.

In a separate bowl, whisk together the eggs, buttermilk (or milk and vinegar mix) and melted butter. Pour the wet mix into the dry mix and mix everything together slowly with a wooden spoon until just combined. The batter should be a little lumpy and slightly thick. Not in the least bit liquidy. Pat your chopped strawberries with a dry paper towel just to remove excess moisture, then stir them into the mix. Using 2 tablespoons, dollop the doughnut batter into the greased doughnut pan(s) (I only have one so I did this in batches). Bake in the preheated oven for 15-16 minutes.

While they are baking, make the glaze- no electrical beaters needed!!

Purée the chopped strawberries in a blender, or you could microwave them and then mash with a fork. Put the strawberries into a large bowl, then using a tablespoon, remove any extra liquid that seeped out. It won’t be much, and you need not remove all of the extra juice. Add half of the icing sugar first and the salt, and mix together with the same tablespoon until you get a wet, dark pink mixture. Add the rest of the icing sugar and continue to mix until you achieve a thick, spreadable consistency.

Once the doughnuts are baked, leave to cool in the pan on a cooling rack for at least 15 minutes before turning them out. Once fully cool (around another 15 minutes later), dip the tops of the doughnuts into the strawberry glaze, then let them rest on the cooling rack again. Store the doughnuts in the fridge, because the glaze doesn’t sit too well in a warm environment.

Pink kinda pleasure.

Black Sesame French Toast (with a twist)

If there’s one sort of breakfast I have to live off for the rest of my life, as long or short as it may be, it’s french toast.

And yes I like the good old classic stuff, whereby all you have to do is whip together eggs and milk and cinnamon and voila, you get a comforting, nourishing plate, eggy and soft and saturated, and now I use the word ‘and’ too much. Well. One of my personal favourite french toast recipes is actually eggless, and I implore you to check it out here.

But twists are welcome. Despite the familiarity of routine, twists and little leaps off of a classic theme are necessary to uphold the graciousness of the central perk. In this case, that perk is normal french toast. I love normality in that sense, all tried and true. But the addition of black sesame here, the little flick of the pen at the end of story, is the enhancement factor, serving not to distract, but uplift.

I’m a flexible eater, but I’m also the sort who thinks that if you’re going to enjoy something, you must enjoy it well. This might not be to everyone’s taste, but I do love dousing my french toast in whole milk, well accompanied by frigid coffee, because the sogginess factor makes my heart the same consistency. It all sounds a bit absurd, I know. But do what you do best, right? Adjust to taste. It’s all delicious in the end, anyway.

Black Sesame French Toast (For 1)

Directions

In a shallow bowl, whisk together one egg, a dash of cinnamon, a large splash of milk (whatever sort you prefer, I used whole) and a tablespoon of honey. Into another bowl or plate, sift 2 heaping tablespoons of black sesame powder.

Take 2 slices of sourdough/ brioche/ baguette and soak each side in your eggy batter for 10-20 seconds. Whilst waiting, preheat your pan to medium heat, and ready some butter. Once the pan is hot, butter it, making sure you hear a good sizzle upon first contact. Cook your french toast as you usually would, around 2 minutes on the first side and a little less on the second, just so it’s not rendered dry. You want a fair bit of eggy saturation in the middle (yes, even if you like drowning your french toast in milk like moi).

Once your french toast is cooked, generously slather the tops with the black sesame powder, which will go moist and a bit sticky upon contact with the heat and moisture from the toast.

*variation: To serve, place the toast on a plate, top with almond butter, chopped strawberries, a drizzle of coconut cream and, if you wish, coconut chips. The black sesame with fruit and coconut here is a divine combination!