Tahini Oat Pillow Pancakes

Time has unleashed a spawn of ideas and fresh inspiration.

Though I’m happy to finally get back into the groove of food photography and recipe development, the past couple of weeks were much needed respite. The days fuelled anticipation for Fall in London, and although I know I won’t ever be able to bake or create anything much after that time, I feel as if this blog has really grown to become a part of me, a part I can’t and never will forsake. It’s shed new meaning upon my life; I don’t feel more alive or myself when in the kitchen, fiddling with and tweaking jottings in my notebook. I have my other passions, but this will always be an inherent part of me, like a child I must help grow and nurture. Therefore, I have keenly decided that I will continue updates here, though of course much less frequently!

The plan now will be to post once or twice a week, and the focus will be shifted to creating more breakfast-type recipes. I’ve always had an inappropriate obsession with breakfast culture, and adore that combination of simple, sweet and healthy. No, my recipes are not always the healthiest, but that’s only because I don’t believe in any modern fad. Go gluten-free if you have coeliac disease, by all means, or maybe even just for fun, but don’t impose the juicing monster (which is, literally, quite green) on anyone who doesn’t feel as if tip-top wellness is a necessary factor for emotional, spiritual or intellectual growth. Or for life in general, for that matter. I recently read this article which I readily relate to and agree with, discussing the modern health obsession and its ironic correspondence with young ‘health foodies’ found everywhere online and on social media (go on, read it!). The mixing of health and science must be monitored, and diet cannot be wholly dictated by a few paragraphs you may read online written by a young pretty lady in a sports bra. Let’s just be real. One will not die eating pancakes every Sunday, and some choose not to, which is totally ok. We all know we need ‘balance’, but the point of middle ground is different for everyone, is it not?

Anyways. Despite my passion for eating and making French pastry, some varieties of which I have yet to attempt (but shall do so in due time!), I know that doing so isn’t feasible in the near future. Sometimes, practicality is sacrifice, but it’s also a means for exposure and pushing creative boundaries.

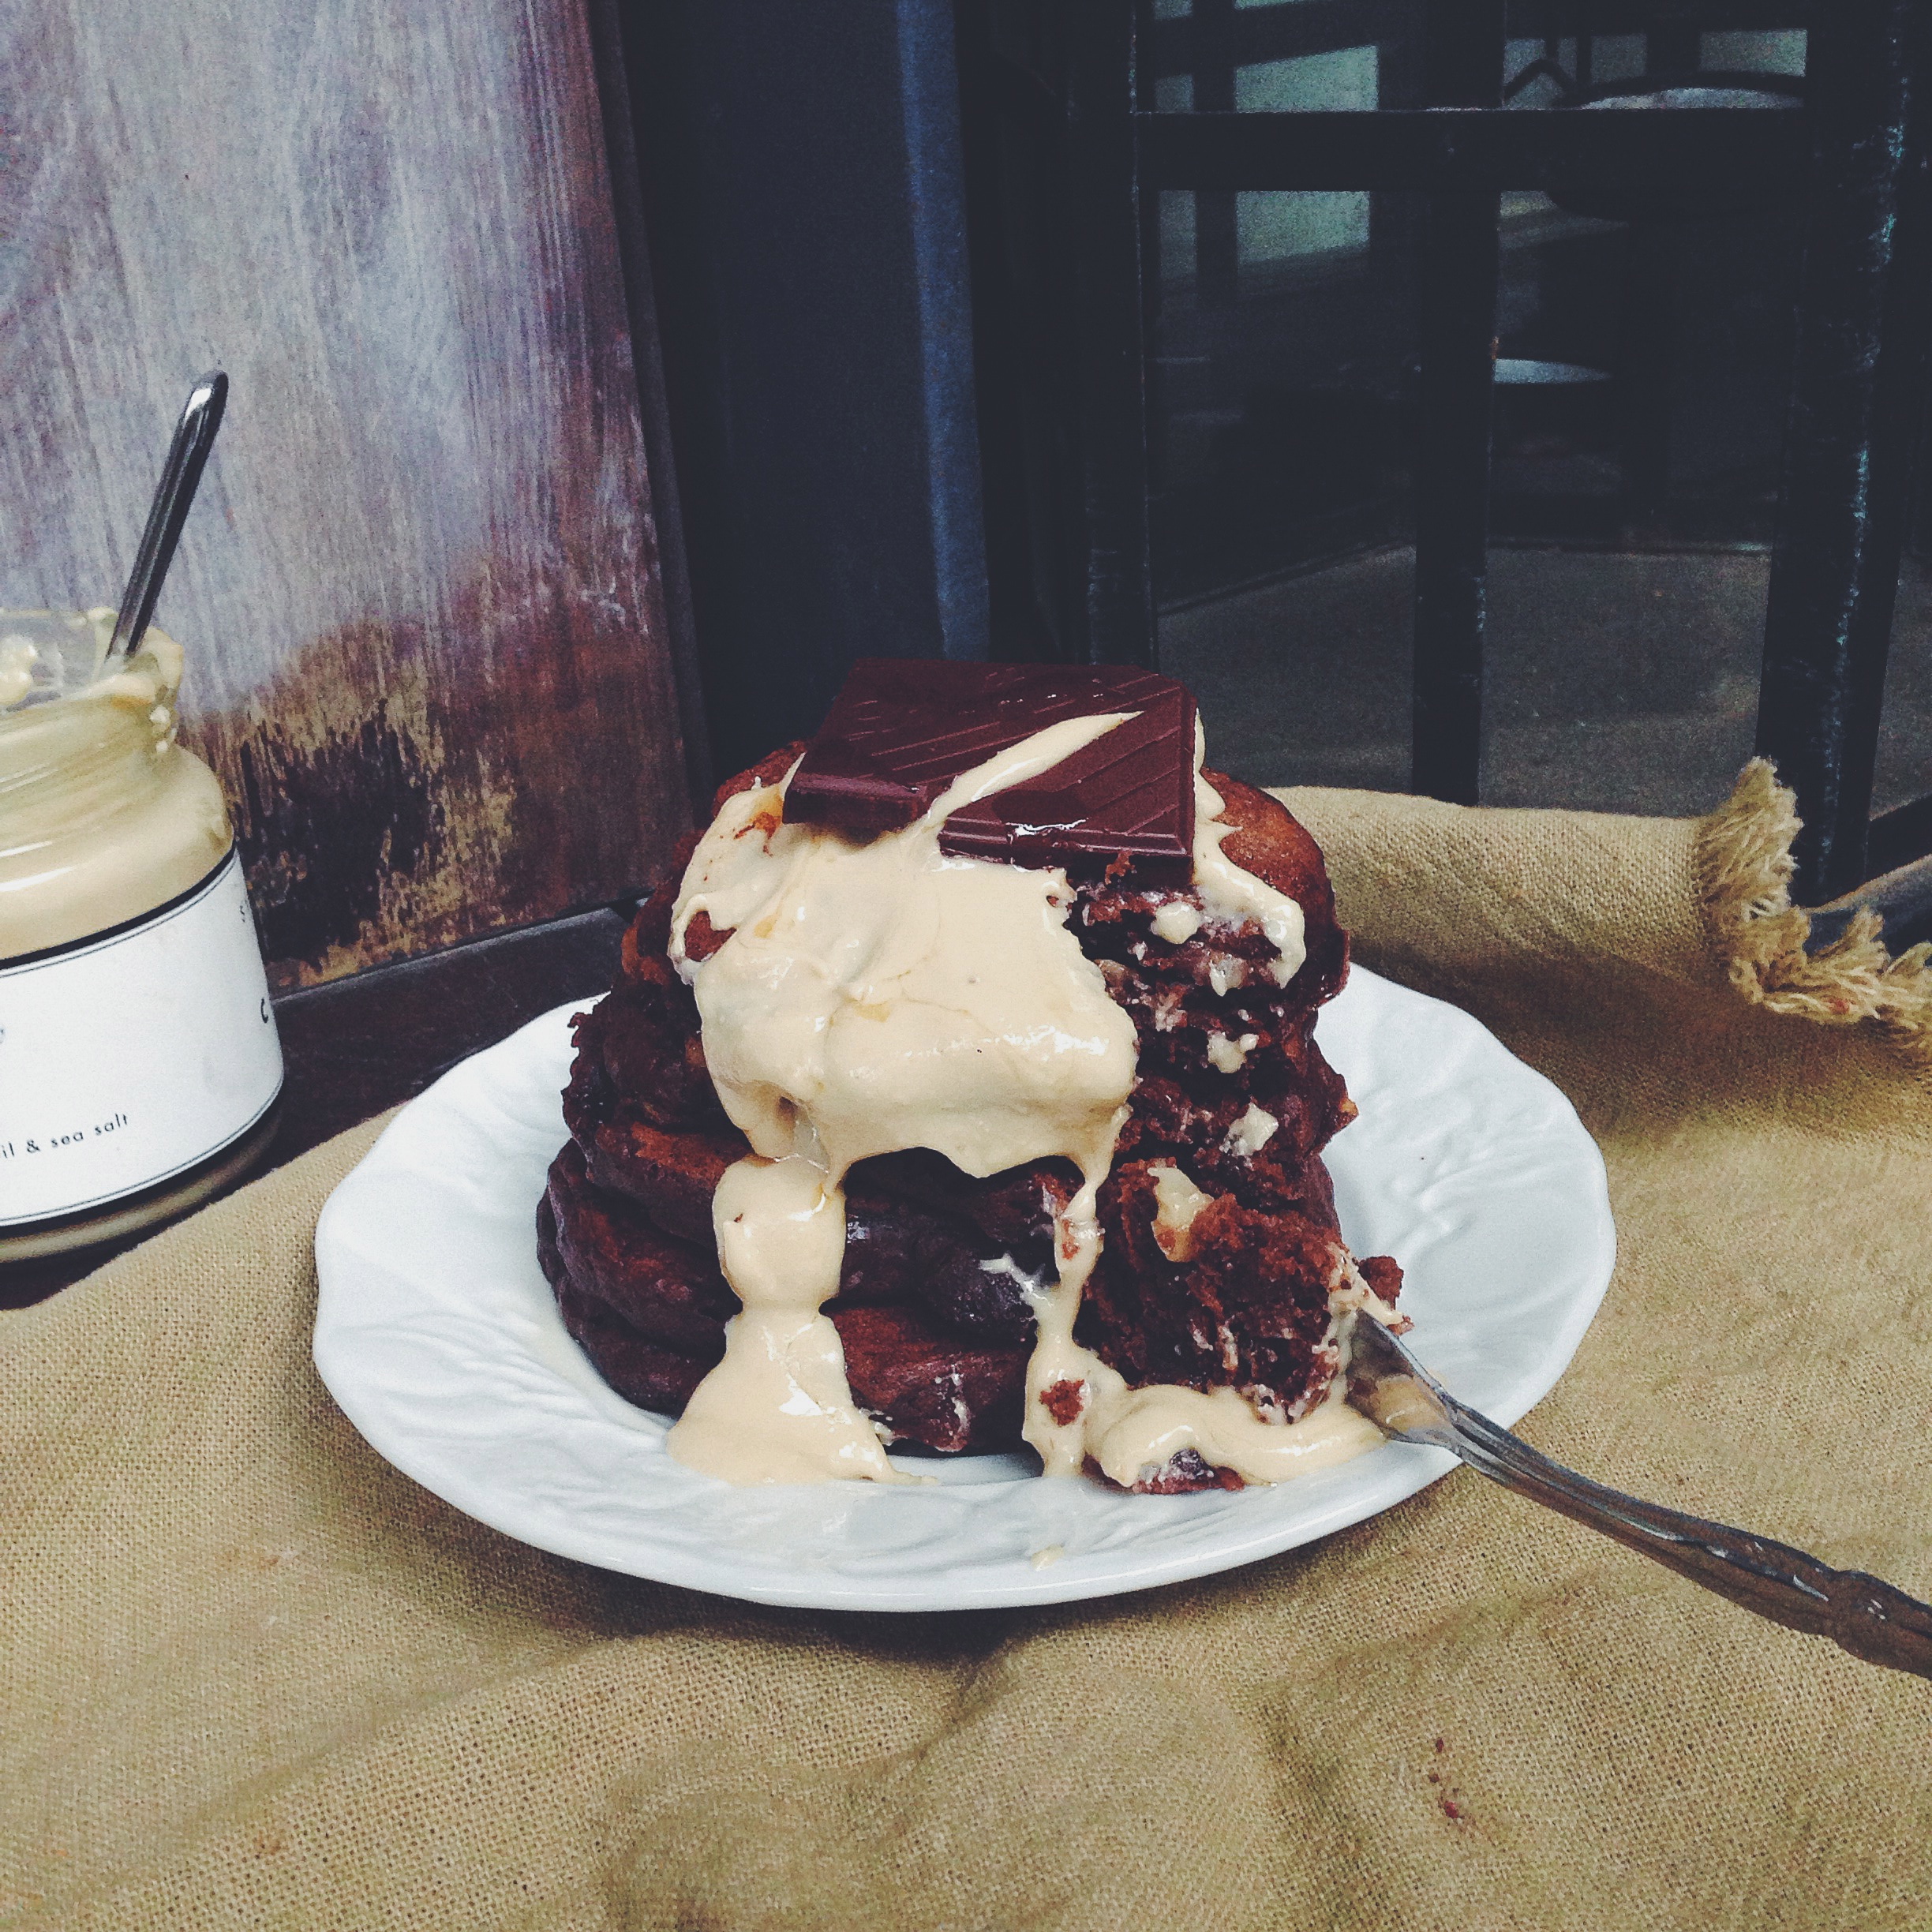
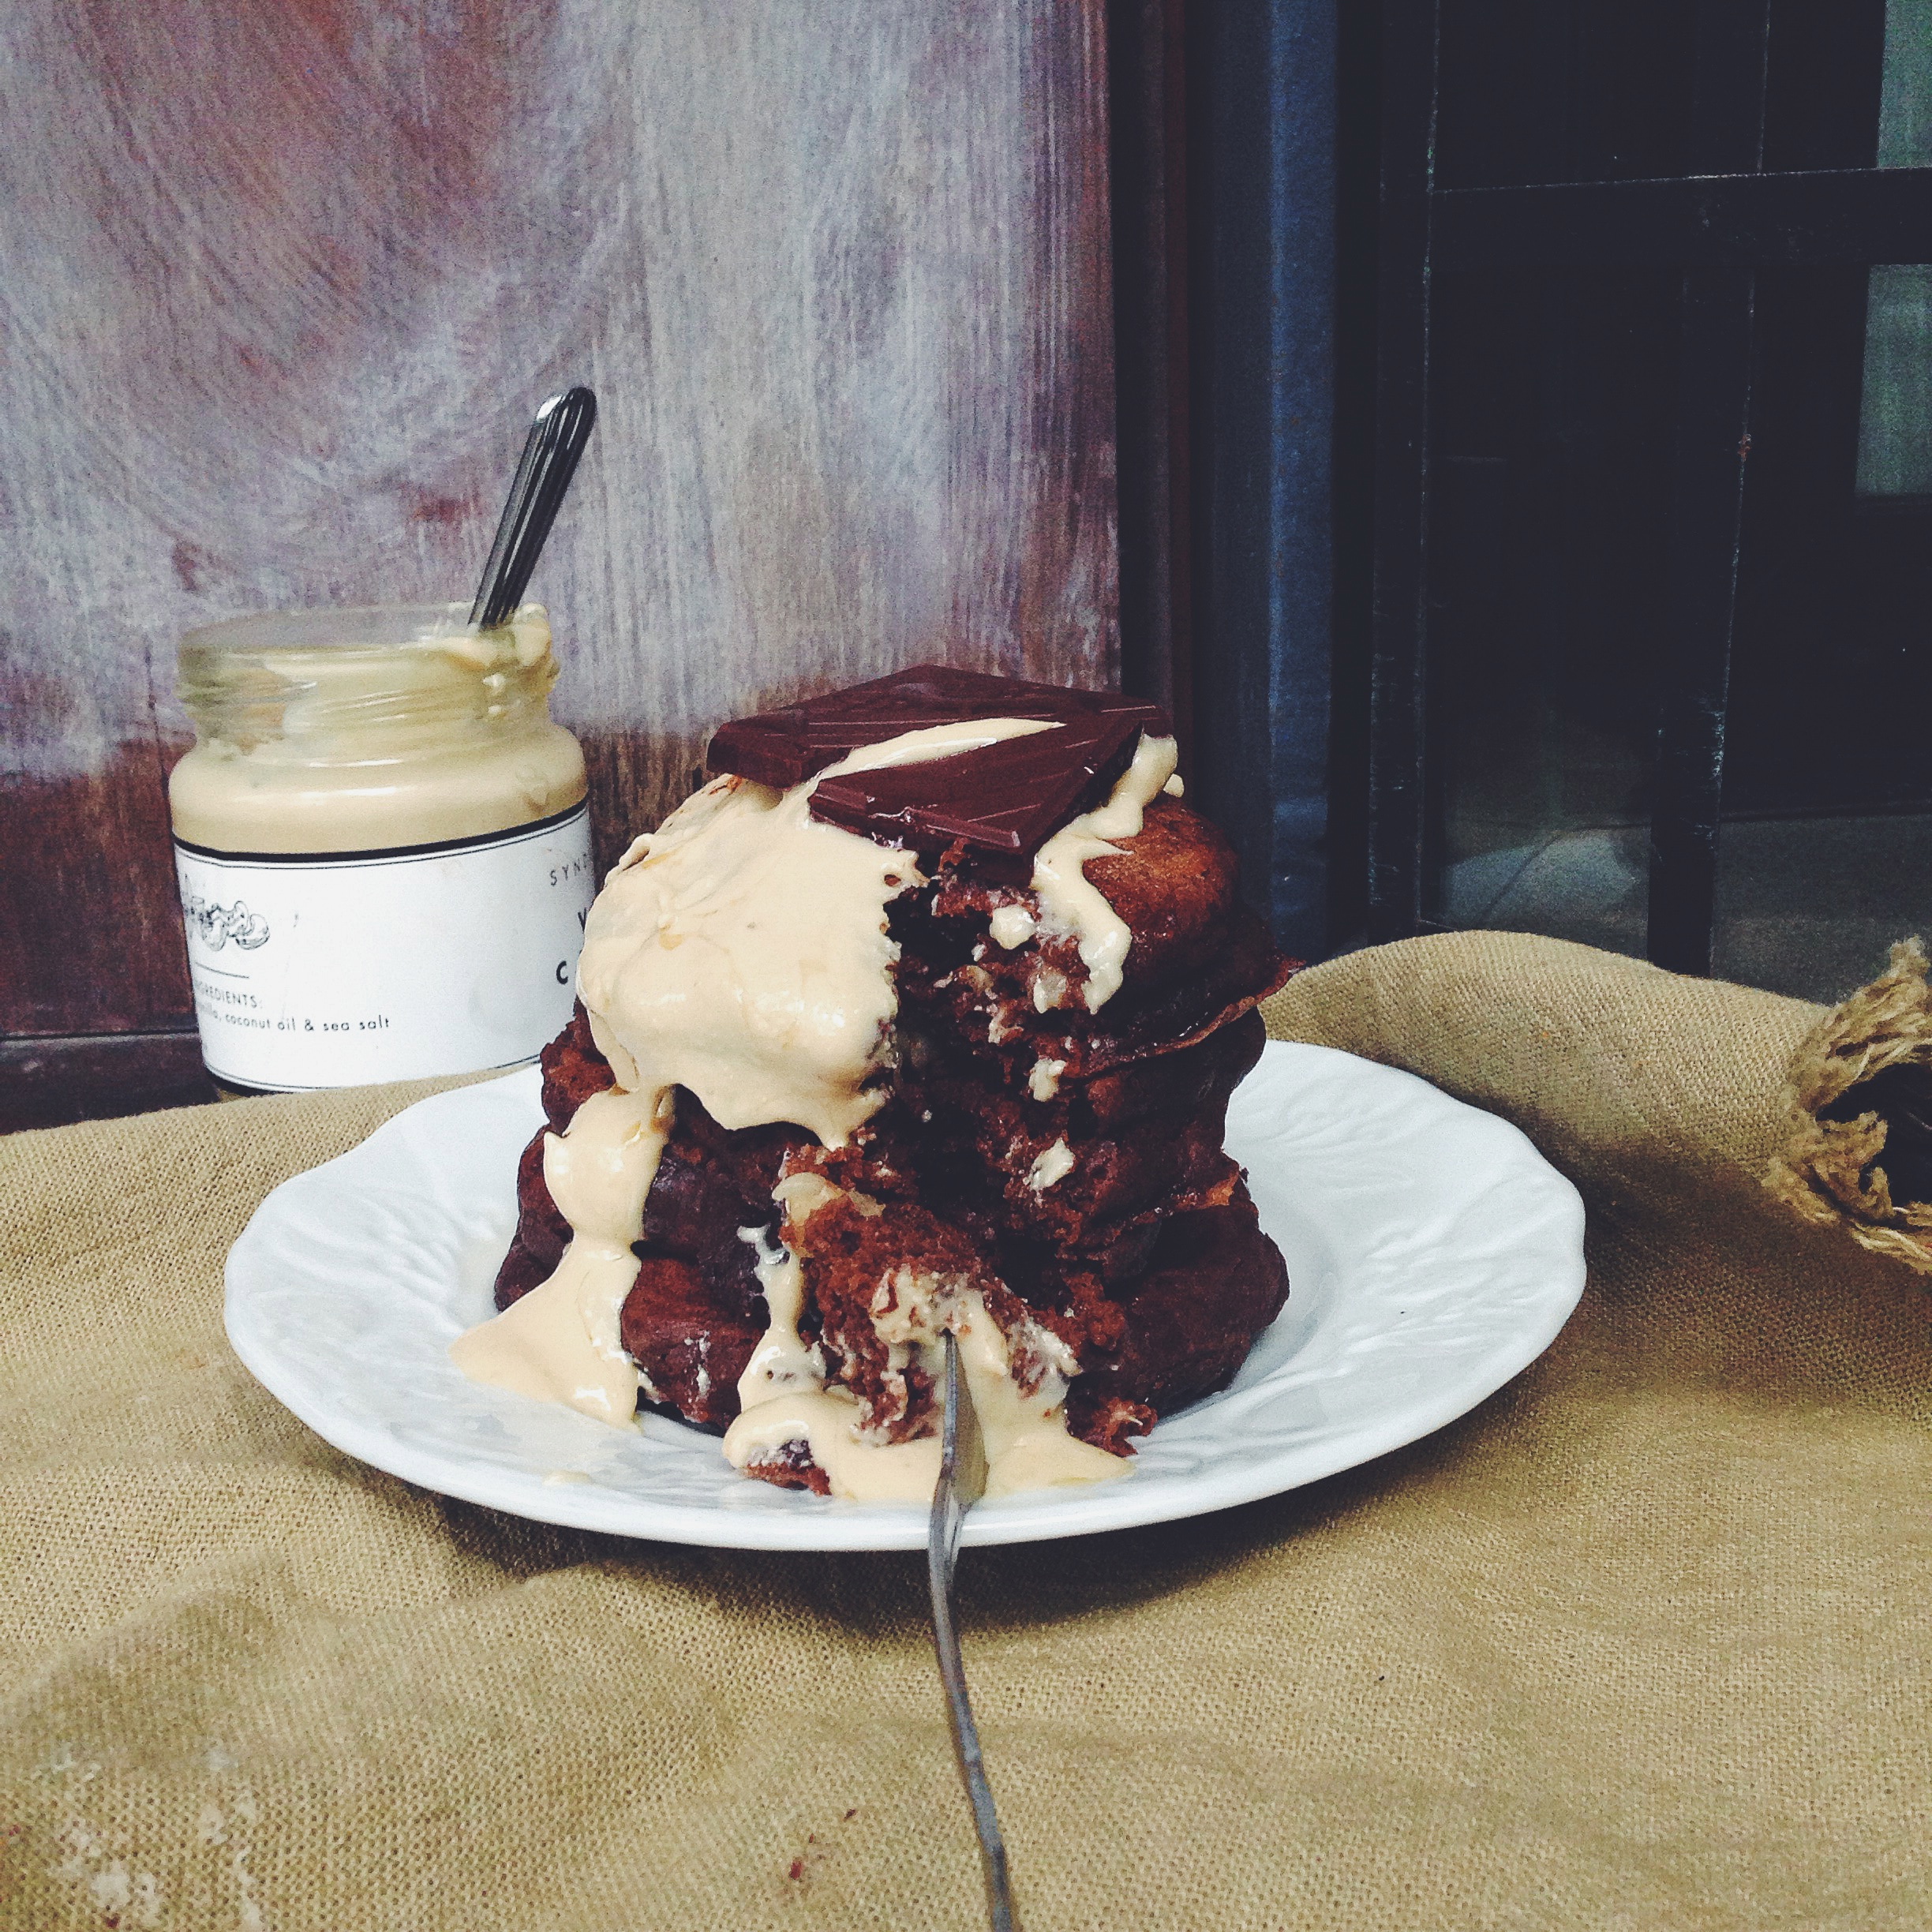
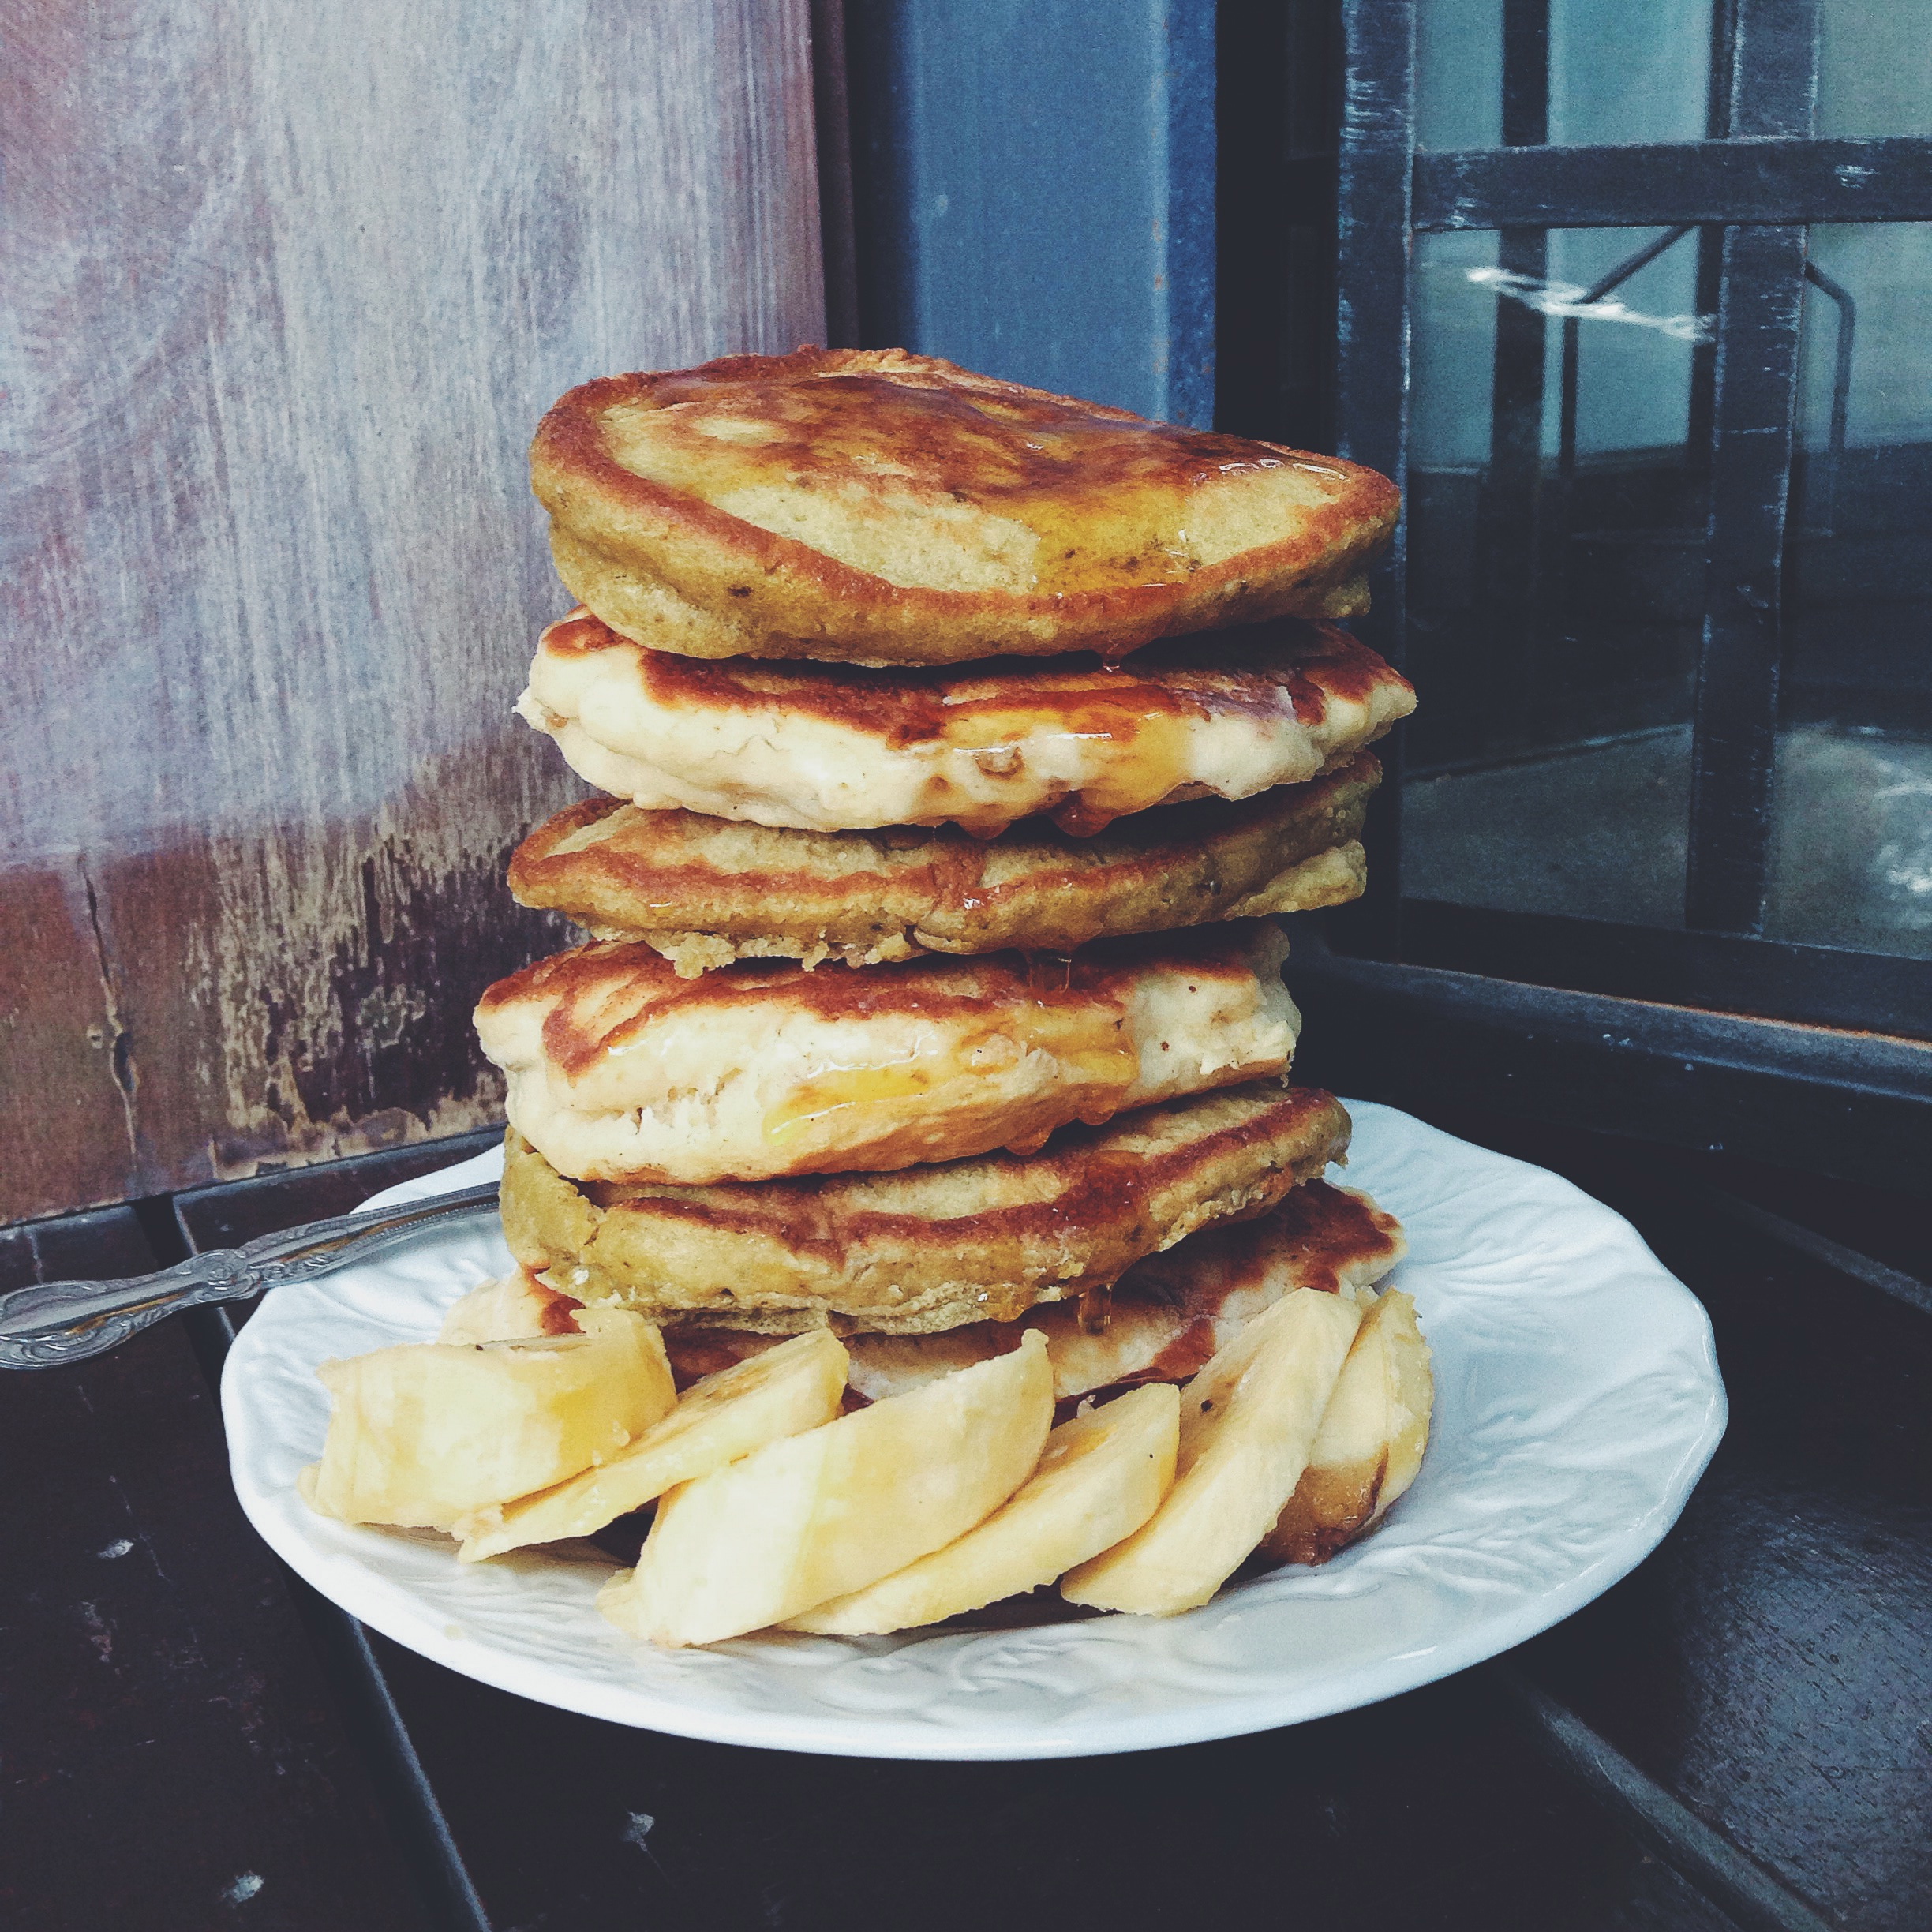
I don’t know about you, but I think it’s pancake time.

A few days ago in London, I came across the most charming café in Islington, and my good friend (hey Celeste!) and I simply couldn’t resist strolling in even after our heavy brunch (now that I recall, we had pancakes, which is so de rigueur… Then again, when is it not?). Nut butters, pre-made sandwiches and bottles of tahini lined the shelves, alongside other bits and bobs of artisan produce. I felt it a bit of a sin if I didn’t walk out with something, so tahini it was, and tahini I’m glad. A short aside here–we also enjoyed delicious coffee, tea, and the best lemon pistachio cake slice ever. I’m thinking of it now, and the thinking is pain.

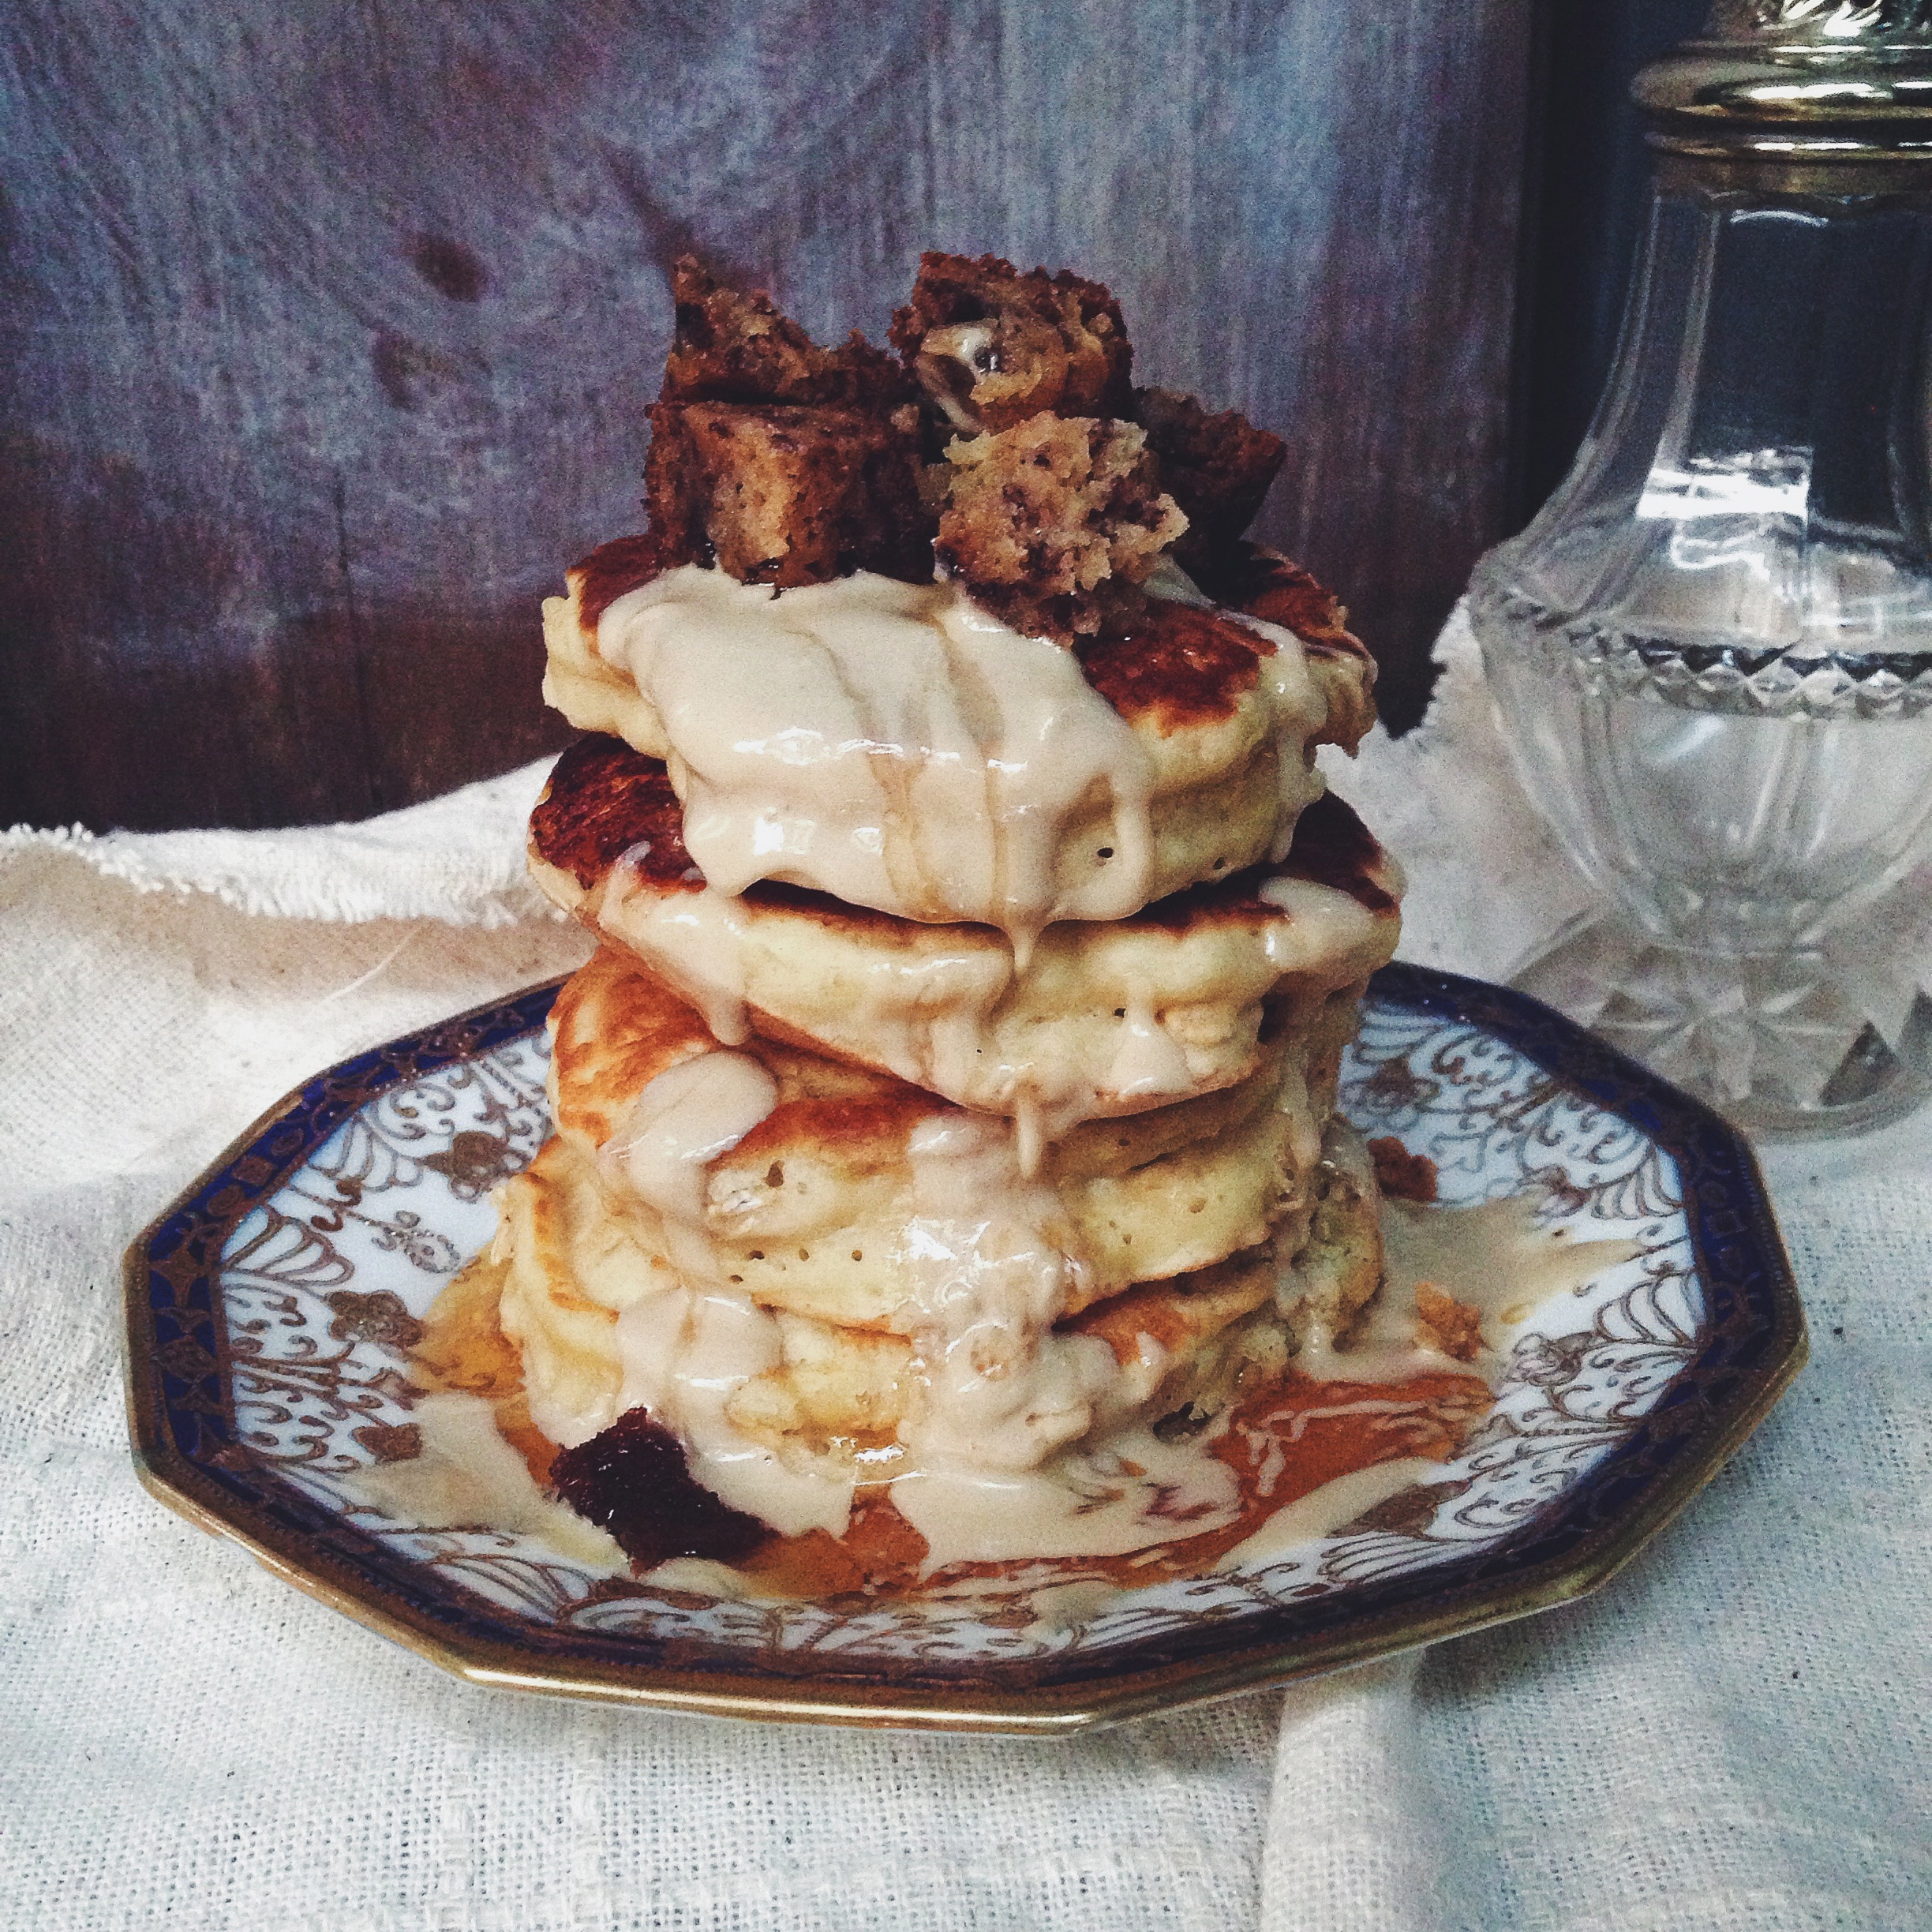
Having never properly experimented with the mildly salty sesame paste before, I decided to incorporate it into my favourite base pancake recipe, which yields the fluffiest, moreish, pillow-like texture ever. Thick and fluffy aside, a soft and tender surface may be easily broken with a fork to reveal a pale interior studded with oats. The mildly salty tahini lends perfect contrast to the sweet batter, and it also means no additional salt is needed in the recipe. Ladies and gentlemen, enjoy.

With tahini, maple syrup and chunks of homemade banana bread

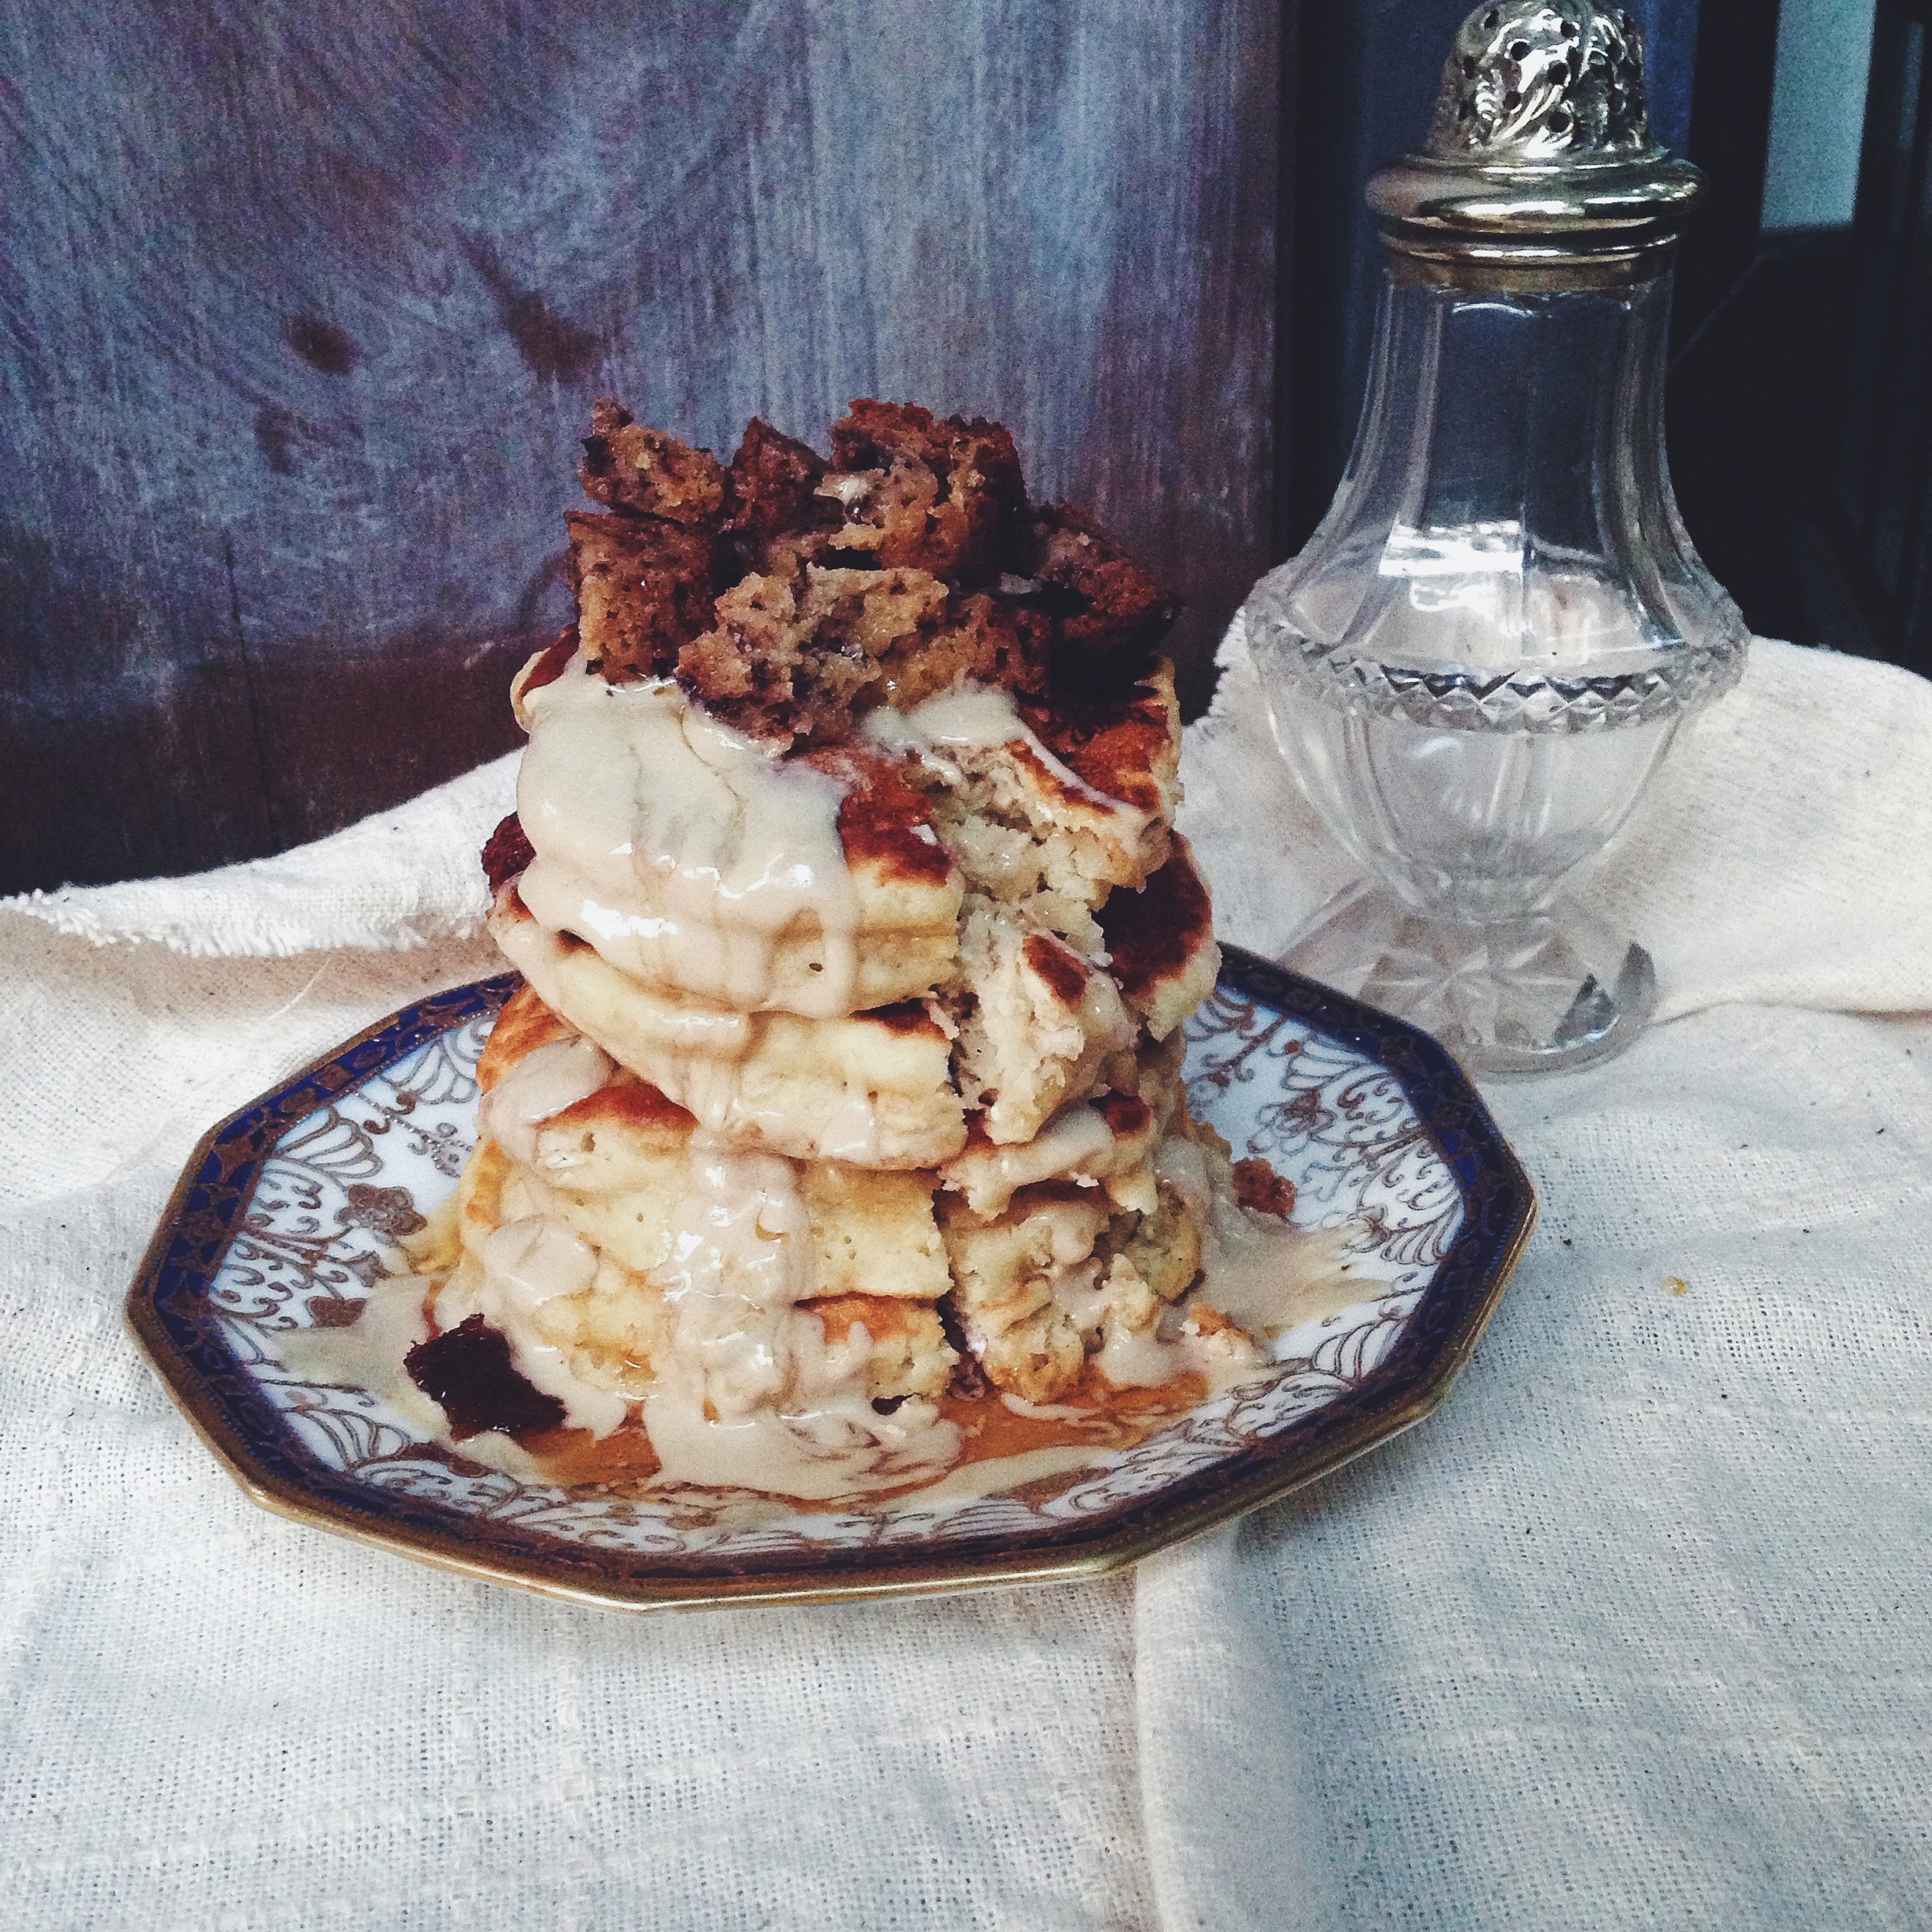
Tahini Oat Pancakes (makes 8 3-inch pancakes)

Ingredients

125g (1 cup) all-purpose flour, or half whole wheat and half all-purpose

40g (1/2 cup) whole rolled oats

3/4 cup milk of choice (I played with soy this time round)

10g unsalted butter, melted

1 tsp baking powder

1 tsp baking soda

2 tbsp tahini

1 tsp honey

2 tbsp white sugar

1 egg

splash vanilla extract

Directions

Preheat a medium saucepan on low-medium heat, and ready some butter. In a medium bowl, whisk together the dry ingredients– flour, two leavening agents and sugar. In a separate, smaller bowl, whisk together the egg, milk, honey, tahini, melted butter and vanilla extract. Pour most of the ingredients into the dry mix; I say most because you may not need all the liquid. I used all of mine and yielded a nice, thick batter, but just exercise a teensy bit of caution. You want it to be thick and slightly lumpy after mixing briefly with a wooden spoon or spatula.

Butter the preheated pan. There should be a sizzle when you flick a bit of water onto the pan. Using a tablespoon measurement (for 3-inch pancakes), ladle the batter into the pan. Once you see a few bubbles spread throughout the surface, go ahead and flip to cook the other side. Serve a couple warm on a plate, topped with more tahini, maple syrup, and whatever else your heart desires.

Double Chocolate Banana Pillow Pancakes

I do like chocolate. And in the parlance unique to all chocolate lovers… um… What about double chocolate? Yesterday morning, there was a lapse in self-control. These pancakes aren’t exactly the healthiest, but they sure are the most Sunday morning-esque, and that’s the most important thing, because a certain rainy day and time on your hands demands a lush, thick stack. Sometimes I’m partial to the whole almond-milk-and-oats sort of thing, but this particular lapse in the system of fairytale strength made me put whole milk, whole eggs, and good, rich chocolate on the counter at 6am in the morning.

Didn’t look back. Can’t look back. I keep swooning over my favouritest thick, fluffy buttermilk pillow pancakesand ever since I can’t bear to experiment with any other pancake recipe. I can’t bring myself to attempt anything off-standard. They’re magical and fluffy and pillowy; the best ones you will attempt in your lifetime. And life is so incredibly short. These are a double chocolate and banana version, with cocoa in the dry ingredients, banana in the wet, and stuffed with dark chocolate chips (use chunks if you will for full-on pleasure). The picture above shows a sweet little stack of 4 crowned with glorious, gooey, sticky cashew butter, maple syrup, and topped with a king-sized piece of dark chocolate, which melts along with the cashew butter and makes the whole bloody breakfast a fudgy and delectable brown-and-white mess. Any sort of nut butter is highly recommended, for its rich stickiness clings to the tender surface of each pancake and ups the goo-and-fudge factor considerably. Mmmm. Rich yet soft, sporadically studded with pockets of melting chocolate. Mandatory maple syrup. Double Chocolate Banana Pancakes (makes around 10 medium, or 8 large pancakes)

Ingredients

175g (slightly less than 1 1/2 cups) all-purpose flour

30g (1/4 cup) cocoa powder

3 tbsp white sugar

pinch salt

1 tsp baking powder

1 tsp baking soda

240ml (1 cup) milk of choice (I used whole)

1 egg

1 tsp vanilla extract

1 banana, mashed

50g unsalted butter, melted in the microwave (in 30-second increments), and a little more for the pan

large handful of chocolate chips or chunks (to your own discretion)

Directions

Sift the flour, cocoa, salt, sugar and both leavening agents into a large bowl. Whisk everything together well to ensure proper dispersion. In a smaller bowl, whisk together the egg, milk, vanilla extract, mashed banana, honey and melted buttter. Pour the wet mix into the dry and slowly mix together until just combined. The mix will be thick and lumpy.

Heat your pan or griddle on medium heat. It’s hot enough when you add a little butter and it sizzles audibly. Using a tablespoon measurement or a light hand with a quarter-cup measurement, pour circles of batter into the pan. Make sure there’s at least an inch of space between each dollop, because these enlarge significantly after flipping. Sprinkle chocolate chips evenly on the surface of each pancake (my own pan can only take 2 pancakes at a go), then take your spoon again and spoon more batter on top. The thickness of the batter means the bubbles won’t show up as quickly, so after 2 minutes check the bottom doneness with a spatula, and if it can slide easily underneath, give the pancakes a flip. The second side takes hardly any time at all, so wait less than a minute before removing and placing on a towel (to absorb condensation). Serve with nut butter, maple syrup and fruit, or whipped cream and maple syrup, or whatever the hell you want, really.

You can make all 8-10 pancakes before everyone is up for breakfast, just make sure to microwave them or place them in a warm oven for a while before serving. Place uneaten pancakes in a ziploc bag and into the fridge. They reheat beautifully, and are there whenever you want.

Semolina Pear Pudding Cake

In all honesty, I’m not quite sure how to kick this one off.

Because look at it.

Do you like pudding? Or cake? Maybe both? If you’re into something soft yet firm-crusted and perhaps a little gooey on the inside, then fill yourself with hope. I had this for breakfast this morning and haven’t looked back. Why did it take me so long to get to this stage of sunlit ecstasy (what does that even mean)? Embarrassingly, I have too many questions to ask myself.

It’s the 3rd day of June and I feel like having a third cup of coffee. I like looking at the stains up and along the sides of the cup, a few viscous drops never really making it halfway down the porcelain breadth. Although some things in my personal schedule have shifted a little, constants remain, like almost-selfish spaces of time to myself, spent with a good book, science literature… and, yes, absolutely random ovenputtogethers baking bonanzas. I’ll be truthful and say that I still prefer the taste and texture of traditional baked cake, but semolina, or coarse, purified durum wheat, indeed lends a more interesting albeit unorthodox flavour.

IMG_2014

Let’s go through the motions.

What we have here is a layer of pears on the bottom, then a semolina cake enriched with plenty of vanilla and a little elderflower cordial, then another layer of pear. Everything is brushed with what would seem like too much elderflower syrup after baking.

With regard to the pears, I used the soft and sweet Comice, but any sort will work perfectly here, be it the firmer variations like Bosc or Concorde, or even Green or Red Anjou. Whatever’s lurking in the closet. I was initially afraid of using the sort which is perfect eaten raw, for fear of everything disintegrating into fruity mush, but the recipe yielded a surprisingly pleasing result; the moisture of the soft pear paired wonderfully with the drier cake (pre-drizzle of course).

A few notes:

– I term this a ‘pudding cake’ only because such a label is a near-perfect representation of the final texture– that is, coarser and of a much less refined texture thanks to the semolina, yet slightly squidgy, especially around the parts of the cake near the cooked pear. The ‘pudding’ part is only achieved with the liberal drizzle of elderflower syrup, as well as the no-holds-barred addition of heavy cream later on. Which brings me to my second point:

Please do yourself a favour and have this drenched in heavy cream!

– Whilst drizzling the syrup, you will notice that you will only be able to do so on the parts of the cake not covered by the pear (obviously). That’s alright, because the moisture from the pear seeps into the surface it covers, so everything is nicely balanced.

I’m not quite sure what exactly compelled me to pair semolina with pear, but I’m glad keen instinct drove me to do so.

Semolina Pear Pudding Cake with an Elderflower Syrup Drizzle (serves 9-12)

Ingredients

113g (1 stick) unsalted butter, at room temperature or just slightly softened in the microwave

235g (1 cup) white sugar

2 eggs

120ml (half cup) milk of choice (I used a mix of whole and almond milk)

1 tsp vanilla extract

365g (around 2 cups) semolina

1tsp baking powder

1/2 tsp baking soda

pinch salt

3-4 pears of your choice (as mentioned above, I used Comice, but any sort is fine, and the amount you need will depend on the size of your pears)

For the elderflower syrup: 1/2 cup elderflower cordial mixed with 1/2 cup filtered water, mixed and warmed in the microwave for a while.

Directions

Preheat your oven to 177C (350F), and grease and line an 8×8 or 9×9-inch baking pan. In a medium bowl, whisk together the dry ingredients (semolina, salt and leavening agents) and set aside. With an electrical beater, or using a whisk and good old bicep strength, cream together the butter, sugar and vanilla extract, until pale and very fluffy. Beat in the eggs, then the milk. Pour in the dry mix you set aside and fold in using a spatula until everything is just combined. The mix will look pale, coarse and rather thick.

Core and cut your pears into slices around a 1/2-inch thick, and place a layer of slices on the bottom of the pan. Scrape the cake batter into the pan and use the spatula to make the top smooth, spreading the batter into the corners. Layer more slices on top, but make sure there’s some space between the slices for the syrup later on. Bake in the preheated oven for 25-28 minutes, or when a wooden skewer inserted comes out clean. This took me around 26 minutes. While the cake is baking, mix together the syrup ingredients.

Remove the cake from the oven and drizzle on all of the syrup. Yes, all of it! This is what will ensure the pudding-like result. To serve, scoop some of the cake onto a plate and cut in half horizontally. Sandwich 2 or 3 slices of pear in between the slices, then drench everything in heavy whipping cream. Enjoy whenever.

Matcha and Vanilla Banana Pancakes

It just demanded variation. Make it shine in a different light. I’m talking about my favourite ever recipe for supremely thick and fluffy pancakes. When I wrote that post, I found it hard to deliver the goods without feeling as if nothing I typed could truly justify how impressed I was with the outcome. The same may be said for these.

I modified the base batter a little, added matcha powder to half of it, and incorporated mashed banana into the wet ingredients. Result: Fantabulous, and that’s saying something, because I hate that word but somehow its gaudy talkshow-esque nature fits the bill here.

I talked enough about how wonderfully soft and fluffy and phenomenal these pancakes are (click the link above!!), so enough talk, more action now.

Matcha and Vanilla Banana Pancakes (makes 10-11 medium-sized pancakes)

Ingredients

188g (1 1/2 cups) all-purpose flour

1 tbsp white sugar

1 banana, mashed

2 heaping tsp green tea (matcha) powder

generous pinch of salt

1 tsp baking powder

1 tsp baking soda

1 egg

50g unsalted butter (slightly less than 4 tbsp)

1 tsp vanilla extract

2 tbsp honey

240ml (1 cup) milk of choice

Directions

In a large bowl, whisk together the dry ingredients (flour, sugar, salt and leavening agents). In a small microwave-safe bowl, melt the butter in a microwave and set it aside, letting it cool for a couple of minutes. In another medium bowl, whisk together the egg, milk, vanilla, honey, mashed banana and melted butter.

For this recipe which makes both vanilla and matcha pancakes, both the dry and wet mixes must be halved. My dry mix totalled to 210g, so I put half of that (105g) into a separate empty bowl. To one of the dry mix bowls, whisk in the matcha powder. Do the same for the wet mix (I weighed that too and found that half of the wet mix totalled to 200g, however only 180g of the liquid mixture needed to be added to the dry in order to achieve the perfect consistency). You should have 4 bowls– 2 dry and 2 wet, with one of the dry mix bowls containing the matcha powder. Pour the wet mixes into the respective dry mix bowls, and stir slowly with a metal or wooden spoon until justt combined, which means there will still be a few lumps, but no more streaks of flour. The batter will be thick and somewhat lumpy.

Preheat your pan on medium heat and ready some butter. You know the pan is hot enough when you flick a little water onto its surface and there’s a clear sizzle. At that point, generously butter the pan and ladle around a quarter cup (you might not need all of it) of batter. Shape if needed to form a nice circle. Wait for just a few little craters to form on the surface before flipping, which will take a couple of minutes. I didn’t have to wait for bubbles to pop before flipping; the batter is thicker than usual and there’s no need to wait. Flip the pancakes when you notice the edges stiffening a little, or when you can slide your spatula whole underneath the bottom of the pancake. It will rise a little upon flipping, as if that action gives it life, and hence, breath. The surface should have that familiar brown mosaic. Once the second side is done (will take no more than half a minute, usually), let cool on a paper towel or in a warm oven. As mentioned above, these freeze wonderfully, so you can make a whole batch, have one or a couple and stash the rest in a ziploc bag in the freezer. Et voila.

Dark Chocolate Jam Tart with a Black Sesame Crust

There are two reasons why I’m so excited to talk about this recipe.

1. So I scoured the corners of the internet, modified a few recipes to incorporate black sesame into a beautiful, flaky pastry crust, and failed. The second time, after readjusting the proportions and carrying on headstrong, it worked. Although I had some leftover dough, I figured one can always make a few more tarts if you have molds on hand, or simply freeze for later usage.. or eat on its own. Whatever floats your boat these days. This crust took this tongue by surprise, and I’m loving it.

2. Combinations occasionally take on surprising and welcoming turns. This is one of them. Chocolate and jam. I’ve done it on toast, and there are those bars you find lying in the dusty corners of the gourmet aisles, once glinting, too pretty to touch. We are sometimes a reluctant, frugal people, I know. This tart requires neither heartache nor skill. It’s a proper seeded attempt at something less predictable than your average dark chocolate tart (albeit some sea salt variations here and there, which once again requires no effort, if you really think about_. It’s a cut in the norm. A most welcome tart. In its glorious entirety, think rich, dark and slightly bitter chocolate sitting atop the epitome of a flaky, milky sweet, butter-breathed crust.

The pictures above display my own toppings; a sudden, spontaneous headspin– macadamia butter and more jam. In this case, I used apricot, but strawberry or orange would also work fine in this recipe. Feel free to use whatever flavour you have on hand. Whipped cream and fresh fruit on top would also serve to complement the suppressed tart notes in the tart alongside the (almost) overwhelming richness of a thick chocolate ganache, and that crusty, sweet, buttery base.

Dark Chocolate Jam Tart with a Black Sesame Crust (makes 6-7 tartlets or one long 10/11-inch rectangular tart)

Ingredients for the crust:

215g (around 1 3/4 cups, but weigh for accuracy) all-purpose flour

113 (one stick or a half a cup) cold, unsalted butter

80g (slightly less than 2/3 cup) icing sugar

1 egg yolk

large pinch salt

1 1/2 tbsp heavy cream or buttermilk (I used the latter just because I had it)

20g sesame powder (weighed after sifting), or 3 tbsp ground sesame seeds

1/2 tsp vanilla extract

Ingredients for the filling:

1 cup good quality dark overture chocolate, bar or chips (at least 60% cocoa)

240ml (1 cup) heavy cream

2 tbsp apricot (or any flavoured) jam

Cut the butter into half-inch cubes and put on a shallow plate or dish. Place the dish into the freezer to ensure the butter is at its coldest when you use it. In a small bowl, whisk together the egg yolk, heavy cream/buttermilk, salt and vanilla extract. In another larger bowl or into a food processor, sift together the flour, icing sugar and black sesame. Take the cubed butter from the freezer and plop the lot into the large bowl containing the dry mix. Using your hands (or using the processor settings), rub the butter into the flour mix. This will take a while, but try and work the butter into the flour fast because body heat causes the butter to melt much faster. Rub the butter in until it resembles a course and fine meal. Pour in the wet cream mix and lightly work into the dry mix until a dough just comes together. Shape this into a disc, wrap with cling film and then place into the fridge for an hour, or overnight if making a day ahead.

Grease your tartlet pans or rectangular pan. Take the dough out from the fridge, unwrap and place into the pan. Press the dough, which should still be pretty malleable and of a light greyish colour, into the bottom and sides of the pan. Take your time here, you want to make sure that there is a pretty thick and even layer of dough all around and up the sides. The thick padding ensures enough support during and after baking. Trim the top using a butter knife to get a clean edge. You may have some dough leftover like me, and that’s fine. Place the tart back into the fridge to stiffen a little more for 15-20 minutes.

Preheat the oven to 190C (375F). Cover the tart with aluminium foil and fill with pie weights. Bake for 22-25 minutes (I stopped at the 24-minute mark), rotating the tart halfway.

Whilst the shell is baking, make the filling. Put all the ingredients into a large bowl and microwave on high for 30-40 seconds. Remove from the microwave, then take a large spoon and stir everything together. Taste and add more jam or chocolate if necessary. Set the bowl aside for later.

After the blind bake, remove weights and foil, then bake for another 5 minutes (I only needed to bake mine for an extra 4). Just watch that the tart doesn’t look too dark around the edges whilst baking. Keep an eye on it. After baking, remove from the oven and let cool completely. Fill the tart with the ganache, then allow to set in the fridge for at least an hour before cutting and serving. Store in the fridge, otherwise the ganache will leak everywhere. It keeps well there for a week, but I doubt it will last that long…