Yesterday marked my mother’s birthday. That officially makes her 26 years older than me, the cumulative years brimming with untold betterness, wisdom, coolness. My solid, grounded, pretty momma, whose self-efficiency and absurd organisational skills combined with favourable wit and wackiness make her the paragon of cool. She probably cries at night over why I haven’t reached that particular degree of coolness.
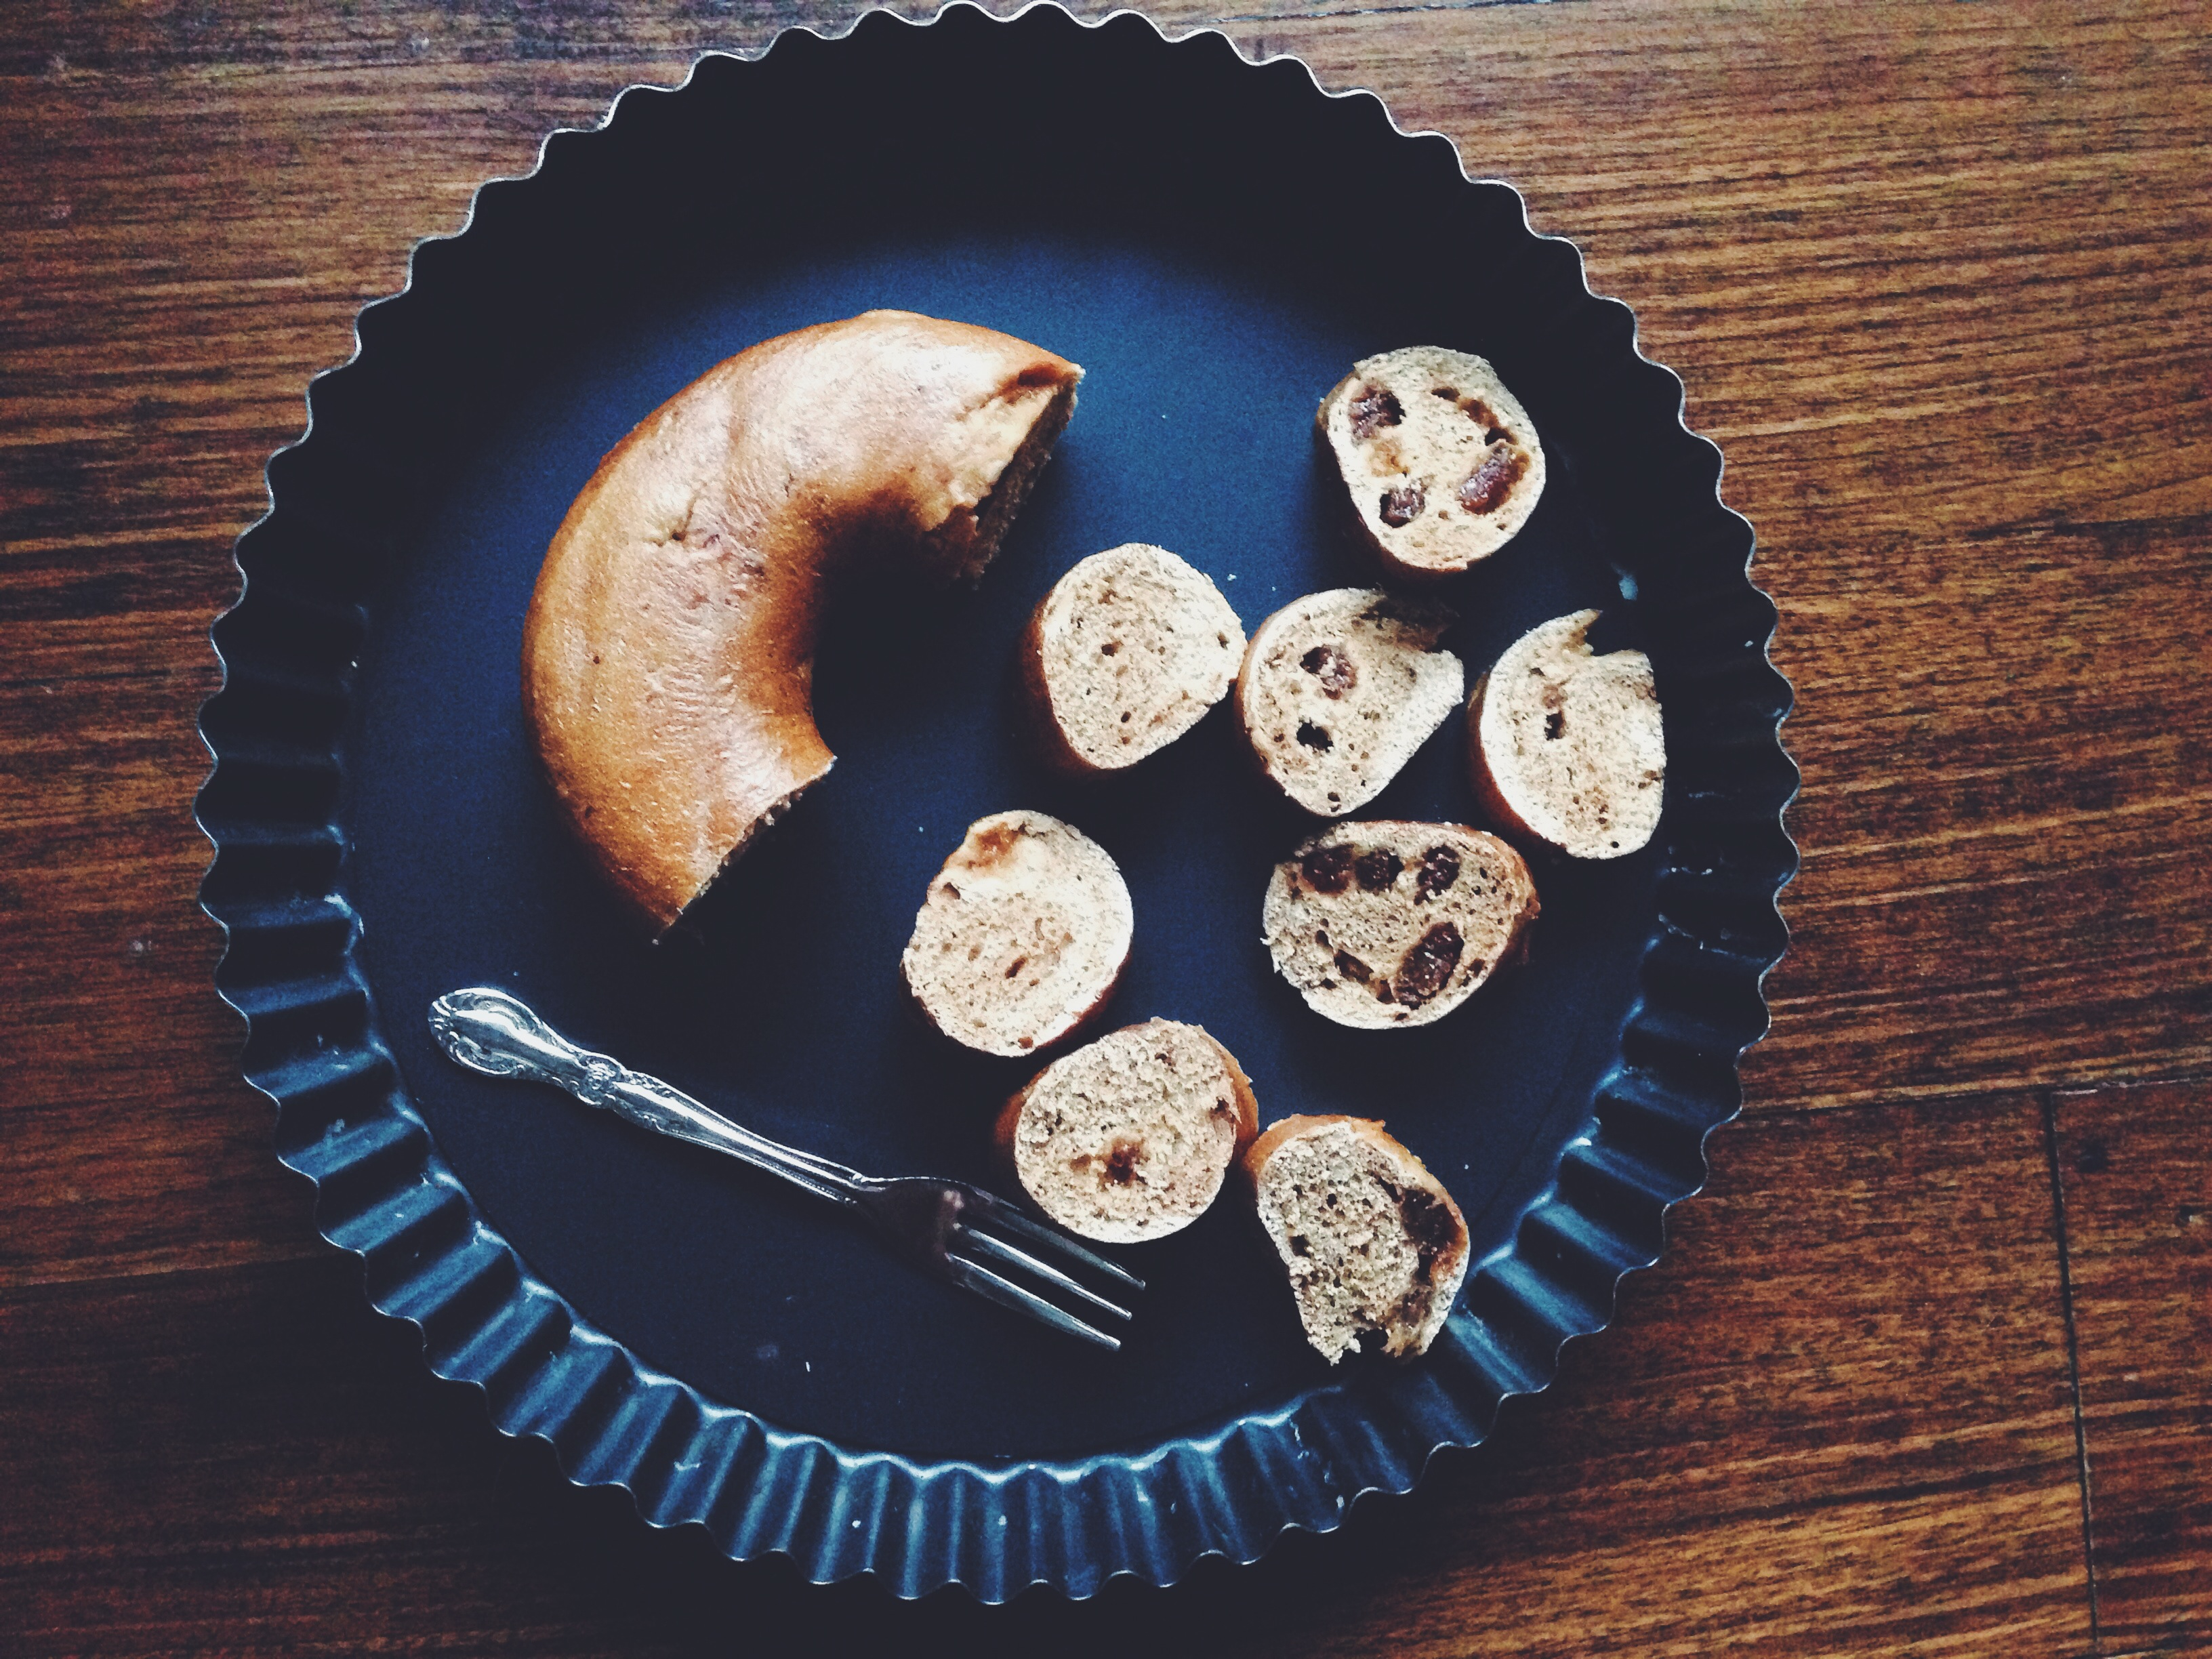
Unsurprisingly, I made cake. Cake is just a little dot in the field of foodstuffs she likes, the carb fiend that she is. She’s the sort who can sit back, legs propped on the counter, cradling a baguette stuffed with salted butter and marmalade. Lunch=sorted. She’s of solid character with an even more solid appetite. Cake to her is either meh or MMPH; she knows exactly when something is good or not. Thankfully, this sufficed, and accompanied the night’s celebration perfectly. Tip#1: I imagine that this particular cake, what with all its strawberry and apple and light-heartedness, would go superbly with a tall, thin glass of champagne!

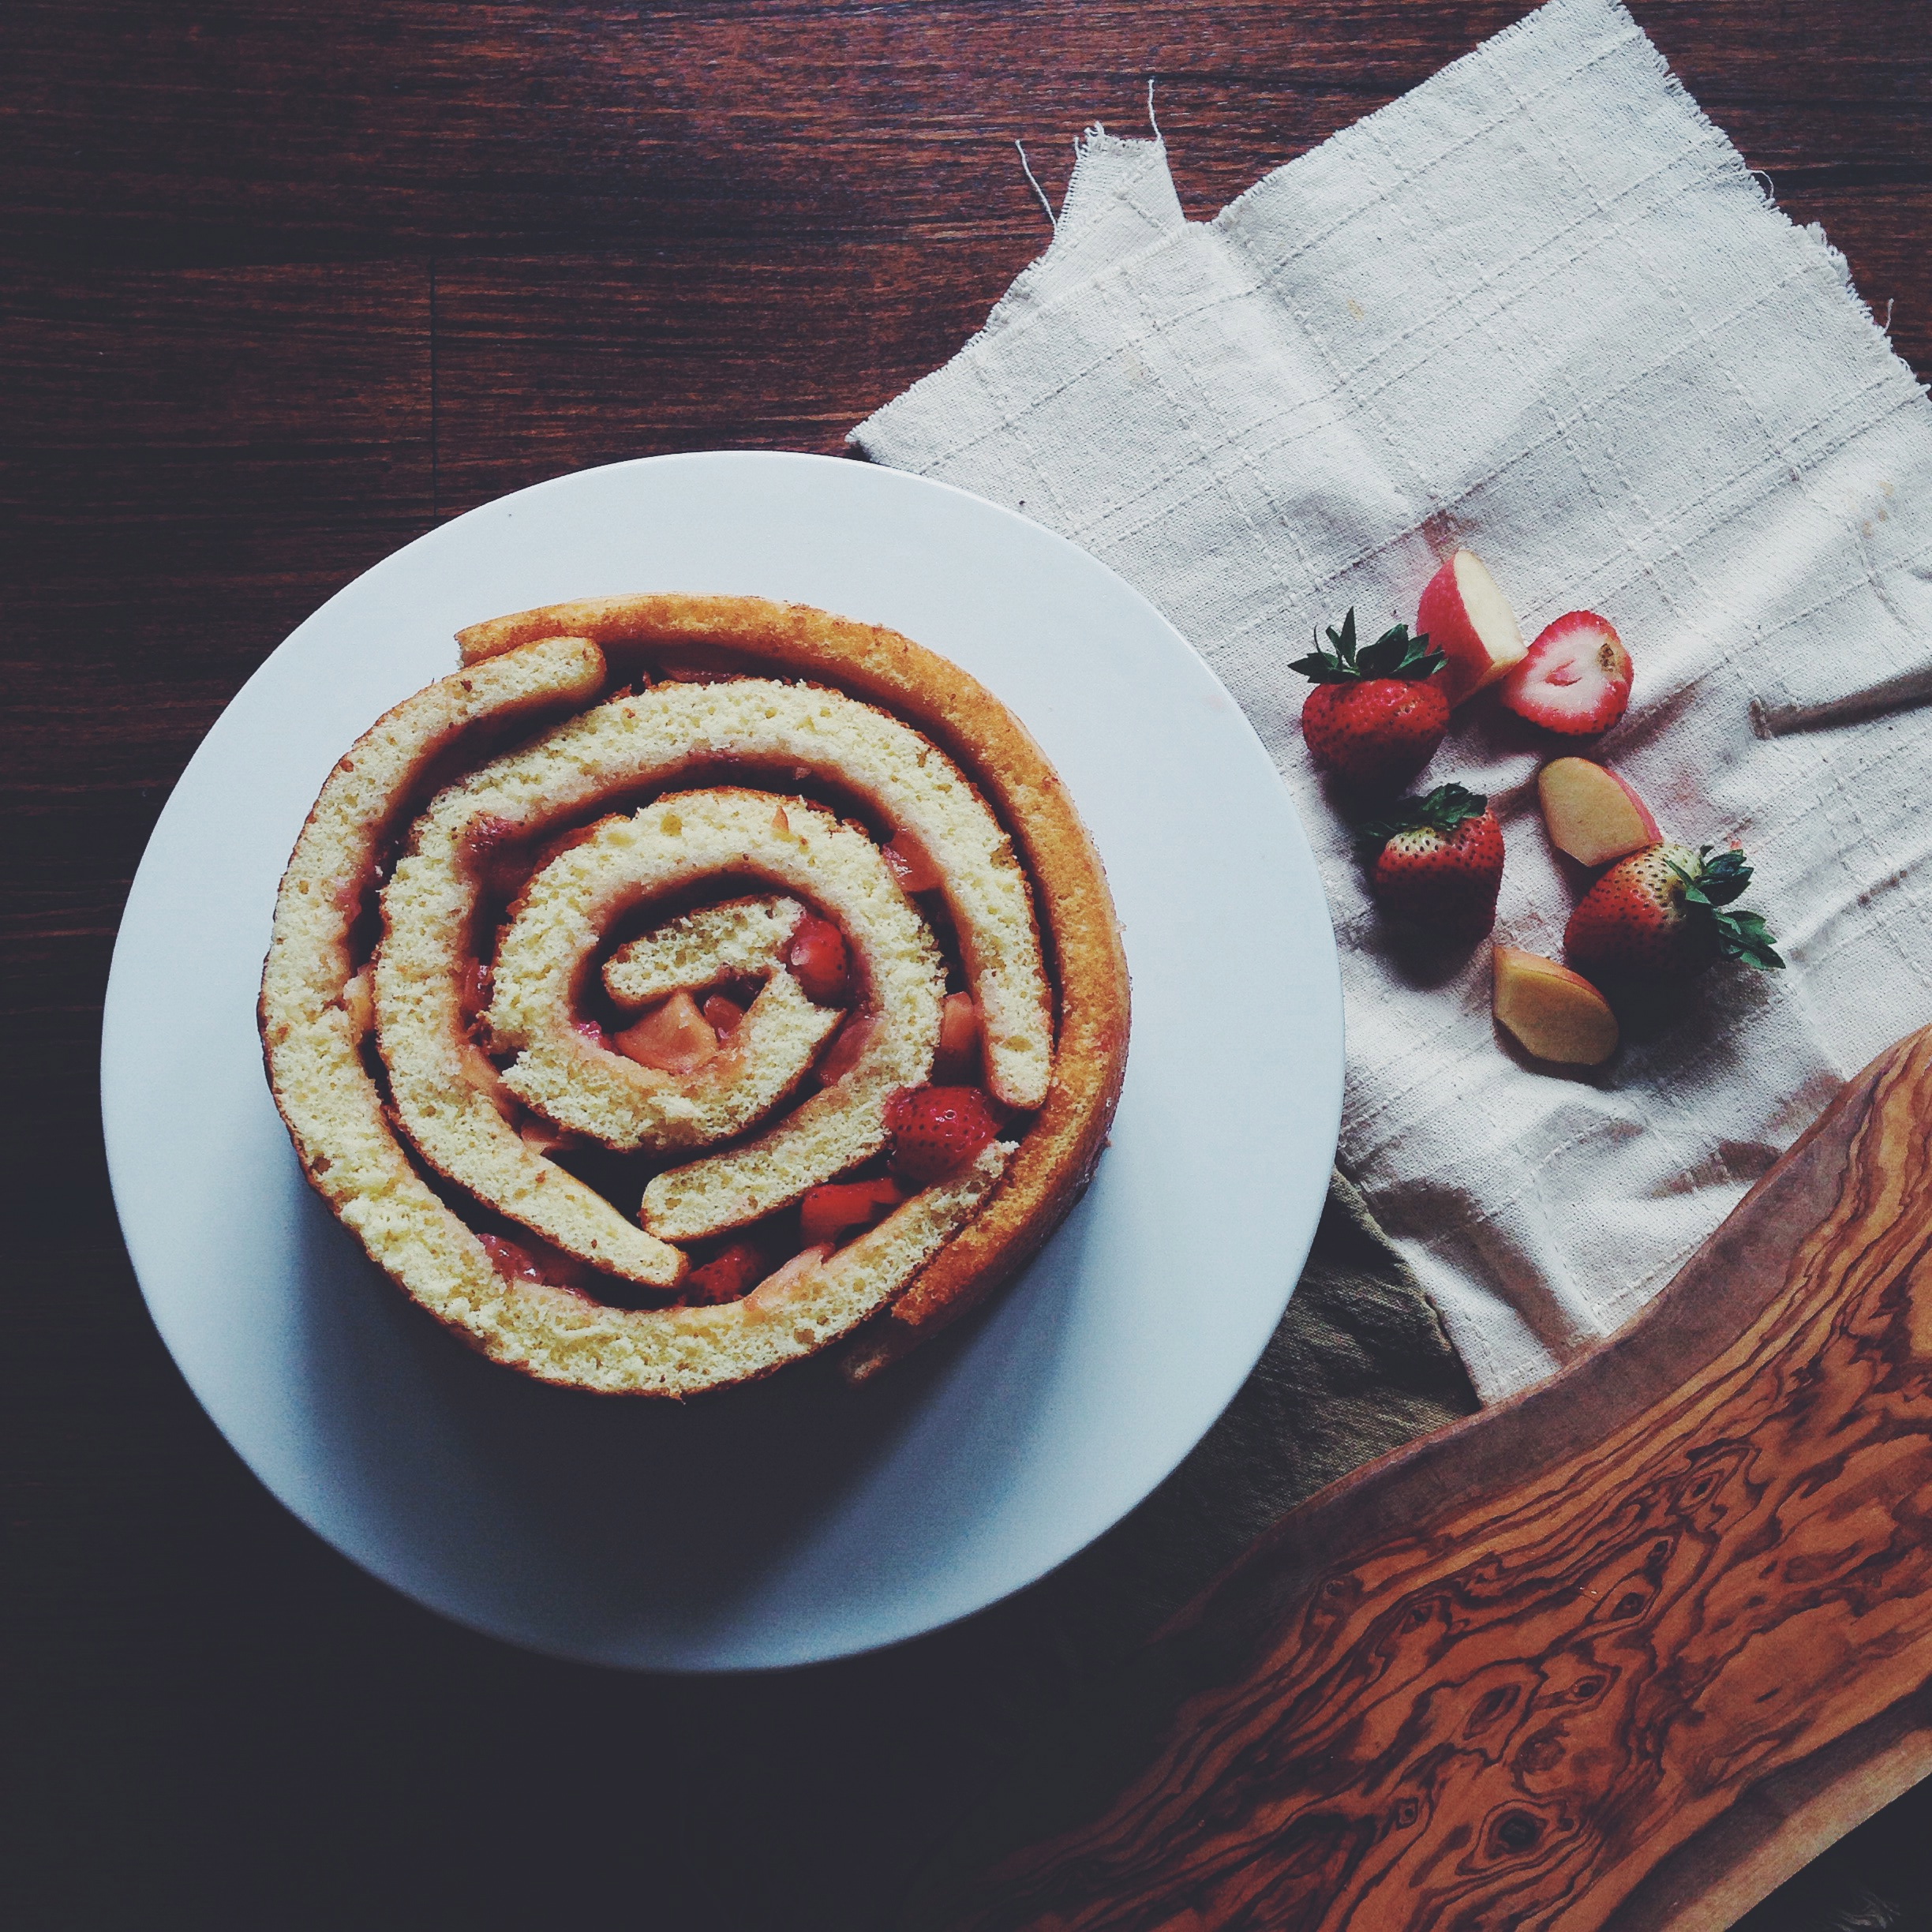
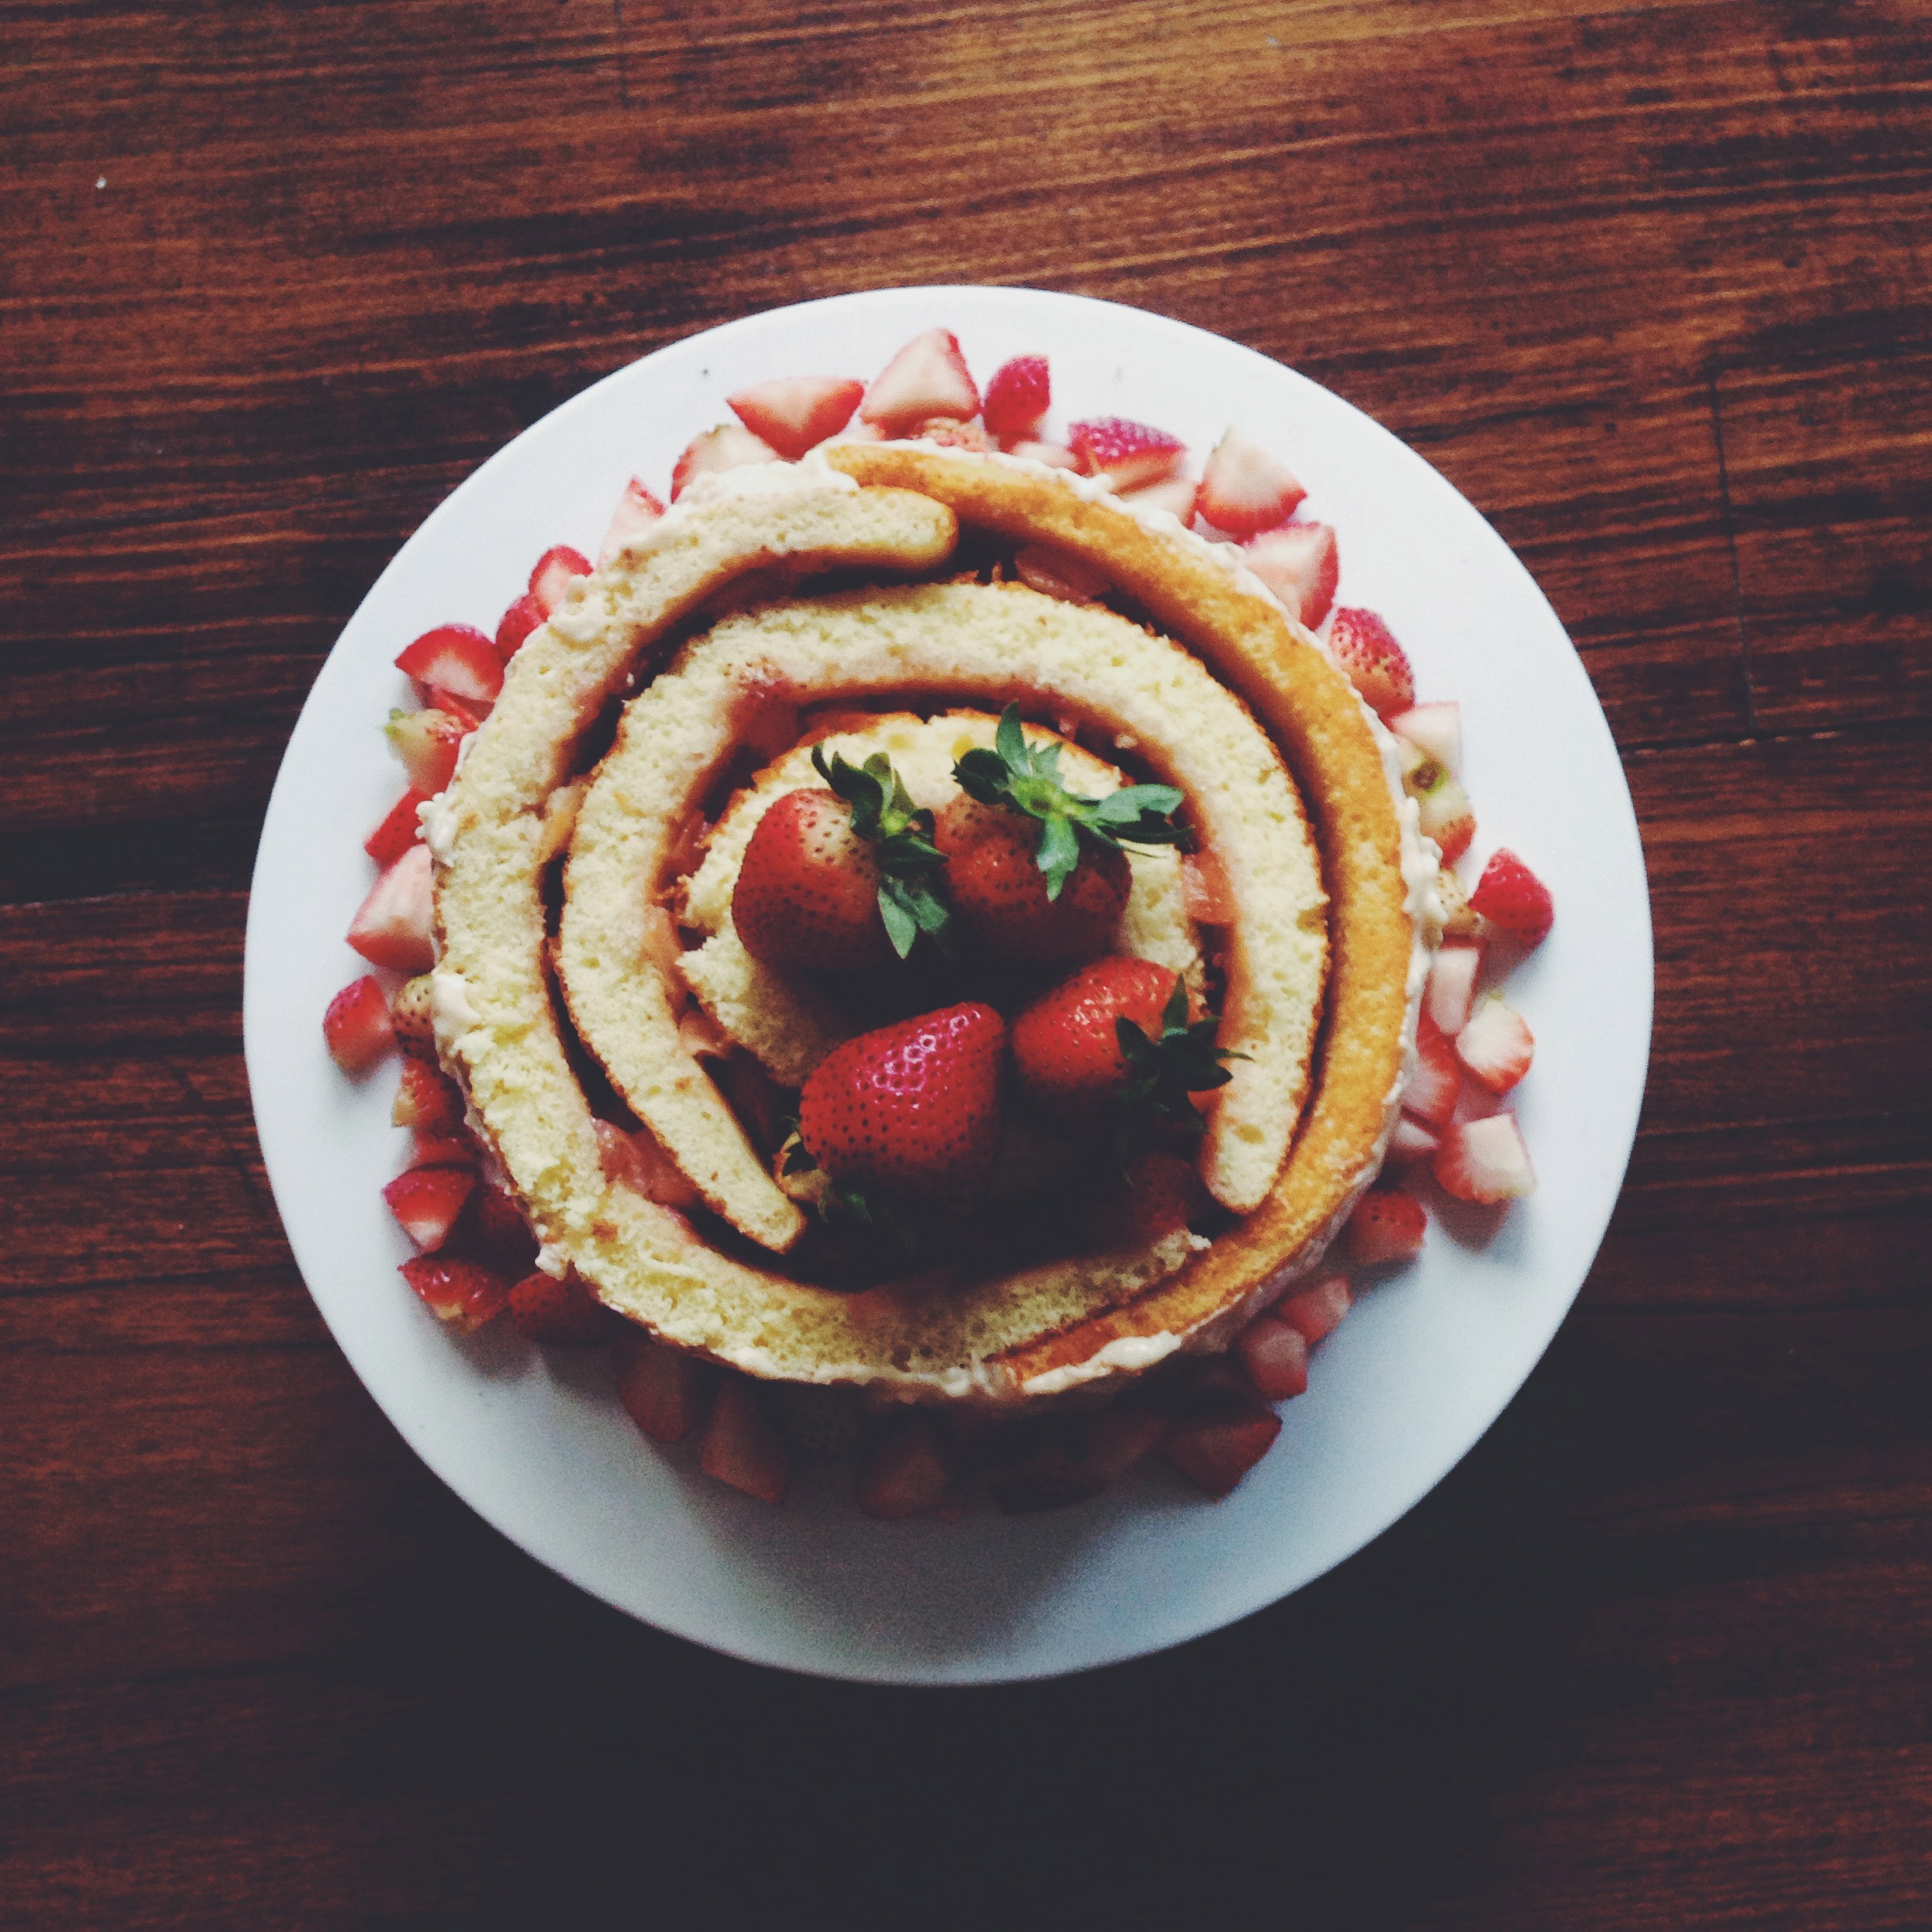
It’s funny to look at these pictures now. I didn’t intend to wax lyrical over anything, I never meant for it to work, this was supposed to be a fingers-crossed-I-hope-it’s-alright-and-thank-god-mummy-wont-give-a-damn sort of experiment. This broken-up roll cake, as I have termed it, is indeed meant to be broken up. I figured that if it resembled a monster slice of swiss roll from the top, it would be all too easy for the whole thing to unravel from a single, exposed ends. So the mind was made up; I decided to make a simple sponge, cut it into vertical strips, and roll each around one another. The best part is that if any breakage occurs (spot the slight one in the middle coil), you can slot in some cut strawberries to add to the theme, the whimsical grandeur. Rusticity doesn’t deserve any bashing.
Alone, it resembles a maze in action, but really is so easy to put together. The cake itself takes a mere 5 minutes, though the strawberry-apple compote of course takes a little while longer. Make the compote a day ahead if you wish, to ensure that it’s fully cool before using on the cake. The sponge is light, sweet, but with enough body to withstand the mild rolling, and I love how the compote moistens the tall sides, making everything ever so slightly tart.
‘Broken-up’ Roll Cake with Strawberry-Apple Compote and Strawberry Cream Cheese Buttercream (makes one 9-inch wide cake)
Ingredients for the cake:
120g (3/4 cup+ 1tbsp) all-purpose flour
1 tsp baking powder
pinch of salt
3 eggs
145g (2/3 cup) white sugar, and set aside 2 tablespoons of extra sugar in a small bowl
1/2 tbsp water
Ingredients for strawberry-apple compote:
220g apple, chopped into small pieces
120g strawberries, chopped into small pieces, and reserve a few whole strawberries for garnish.
100g (half cup) white caster sugar
1 tsp vanilla extract
2 tsp cornstarch mixed with a tablespoon of water in a small bowl.
Ingredients for strawberry cream cheese buttercream:
50g soft, unsalted butter
100g icing sugar
75g cream cheese, at room temperature (or just microwave on high for half a minute if cold from the fridge)
30g pureed strawberries (or take same mass of strawberries, microwave on high for a few minutes and then mash with a fork)
First, make the strawberry-apple compote. Put all the chopped fruit, vanilla extract and sugar in a a medium saucepan and place the pan on medium-high heat. Stir with a wooden spoon until you can see that the sugar has dissolved(no more visible crystals/lumps of the stuff). At this point, the juices from the strawberries will have started to leak. Reduce the heat to medium-low and let the mixture cook for 15-20 minutes, stirring occasionally so the heat is spread out throughout the mass of fruit and sugar. Just before taking off the heat, pour in the cornstarch-water mixture and mix in thoroughly. The mixture will thicken and lighten slightly. Take off the heat and let cool completely by placing it in the fridge. If you’re making this a day ahead, cover with cling film and let rest in the fridge overnight.
Now for the roll cake. Preheat your oven to 250C (480F) (I tried my hand at the same method used for Linda L’s vertical roll cake!). Grease and line a large baking sheet with parchment paper. In a medium bowl, whisk together the flour, baking powder and salt, and set aside. In another larger bowl and with an electrical whisk or beater, beat together the eggs and sugar until the mixture doubles in volume and is incredibly pale and fluffy. This will take around 7-10 minutes, depending on the temperature of where you live and how powerful your beaters are. The beating is done when you lift your beaters and the mixture is visibly more ‘sticky’ than how it first appeared, and leaves a ribbon-like trail before quickly dissolving into the rest of the mixture again. Once you reach this stage, tip in (or sift, if you’re anal like me) the dry mixture, add the water, and gently fold everything together using a rubber spatula. Make sure all the dry mix is evenly incorporated and you end up with a smooth, aerated, pale batter. Pour this onto your greased and lined pan and bake for 5 minutes, no more and no less, in the oven.
For the frosting, beat together the butter and half of the powdered sugar in a large bowl. then, beat in the cream cheese and pureed strawberries. The mixture will look too liquidy to handle. At this point, beat in the rest of the icing sugar, making sure to scrape down the sides with a spatula, combining everything nicely and evenly. Pop the bowl in the fridge for later usage.
Once the cake is finished, remove it from the oven and let the pan cool on a wire rack. Sprinkle the top with the 2 tablespoons of sugar you reserved at the start, and then sprinkle your counter with a little extra sugar. Once the cake is fully cool, carefully tip it onto your counter, so that the top is facing down. Remove the pan (it helps to tap the pan with a knife first) and the parchment paper. The underside of the cake should look slightly blotchy; pale and brown here and there. Spread the cooled strawberry-apple compote on the cake, using your fingers to place all the small bits of fruit evenly if you wish. Make sure all the juices soak into the cake’s entire surface. With a sharp knife, cut the cake into four strips, starting from the short side. Take one strip and start rolling normally from the top. Then, take the next strip and place one of its ends near the end of the first strip, as you can see from the picture above. Wrap it around the first strip. Repeat with the 3rd and 4th strips. Once you’re done with the last strip, wrap the sides of the cake with cling film and place in the fridge for at least an hour, or overnight if making a day ahead.
Once ready to serve, take an offset spatula and spread the strawberry cream cheese buttercream along the sides of the cake. This buttercream is softer and less malleable than your usual buttercream thanks to the puree and cream cheese, so it must be stored in the fridge (on your cake stand) right up until serving. Place a few fresh strawberries on top for extra garnish, if you wish.