Blueberry Almond Cheesecake Mousse For One (no bake, raw)

Processed with VSCOcam with f2 preset I quote again from my Instagram: clearly I was too excited to let the stuff sit properly in the fridge, hence the less-than-ideal consistency. But this yields a wonderful firm, mousse-like texture after 4 hours in the icebox! ‘Wow Alex. There’s no cheese in here but it tastes like cheese? It’s GOOD.’-Dad With a magnificent almond-date crust. Am I out of my mind? Not quite. I think you’ll be as pleased with how easy and bloody delicious this is as I. The raw phenomenon has taken the world by storm, and although I initially wished to be left out of the craze, inspiration and my own health inclinations have gotten the better of this selfish shunning. Dearest Emily is a huge raw fan, and her sweet vegan recipes always look too inviting. How could I not give something a go. What better way to get into the raw groove than by experimenting with my own stock of nourishing ingredients? It’s funny, these phenomenons, these supposed fads. You think it all insubstantial, lets-be-pseudo-health-nuts. No. I’m not saying I’m the healthiest eater out there, but I make it a point to treat my body well most of the time. I’m as partial to oatmeal, fruit and vegetables as I am to brioche and mounds of butter and jam. Eating well has become part of me; whipping up something nourishing and delicious is never, ever a chore. Simply second nature. Processed with VSCOcam with f2 presetProcessed with VSCOcam with f2 preset 
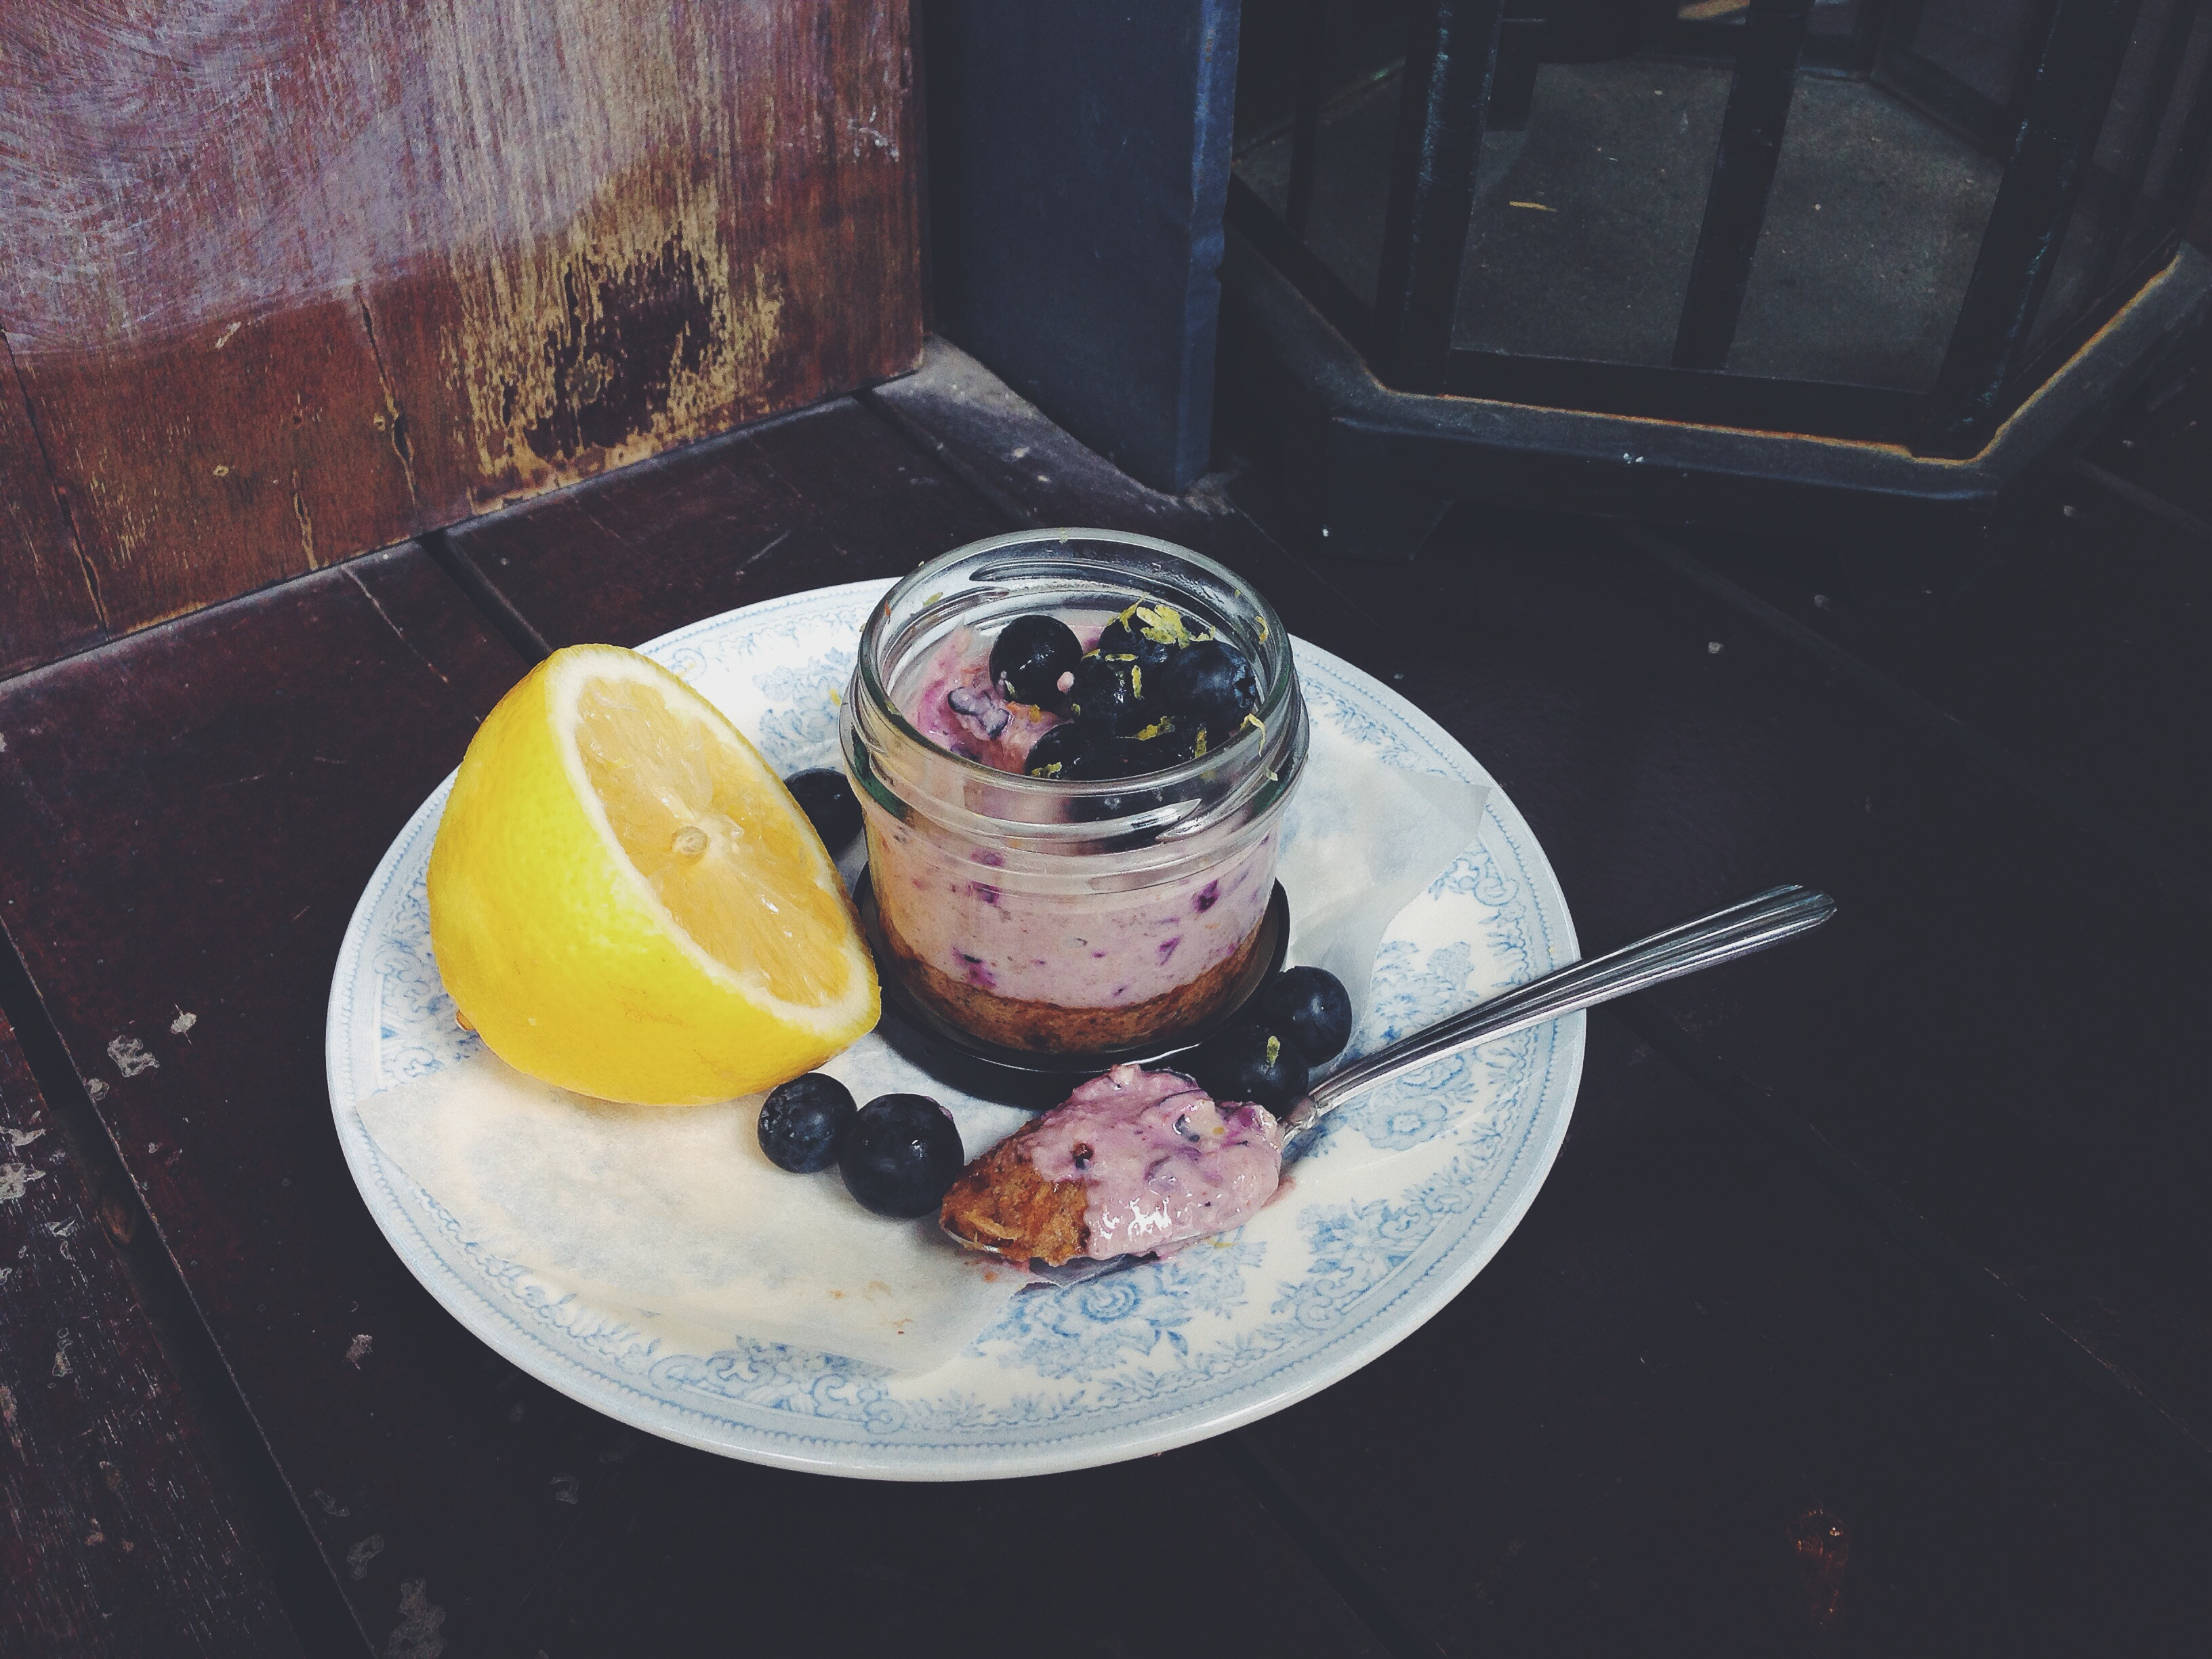
You take a bunch of fresh, nourishing ingredients, throw it together in a blender, and 5 minutes later (or less, actually) you’ve got a Mini Jubilee Jar. All for yourself. Share if you have to, share the joy. The lemon in this recipe works splendidly against the sweet, dense almond-date crust, which is really just a bit of almond butter and one date blended together. The good thing about this recipe is that I found it a pleasure to eat even with little bits of blueberry or almonds in the mousse, not seamlessly blended together, and streaks of date at the bottom. Perfection within imperfection.

Blueberry Almond Cheesecake Mousse for One (fits in one mini 4-inch wide mason jar)  For the cheesecake mousse:

25g fresh or frozen blueberries

10g raw almonds (optional, for crunch)

juice and zest of half a lemon

1 heaping tablespoon of almond butter

1tsp milk of choice (I used coconut)

For the crust:

one teaspoon almond butter

one date

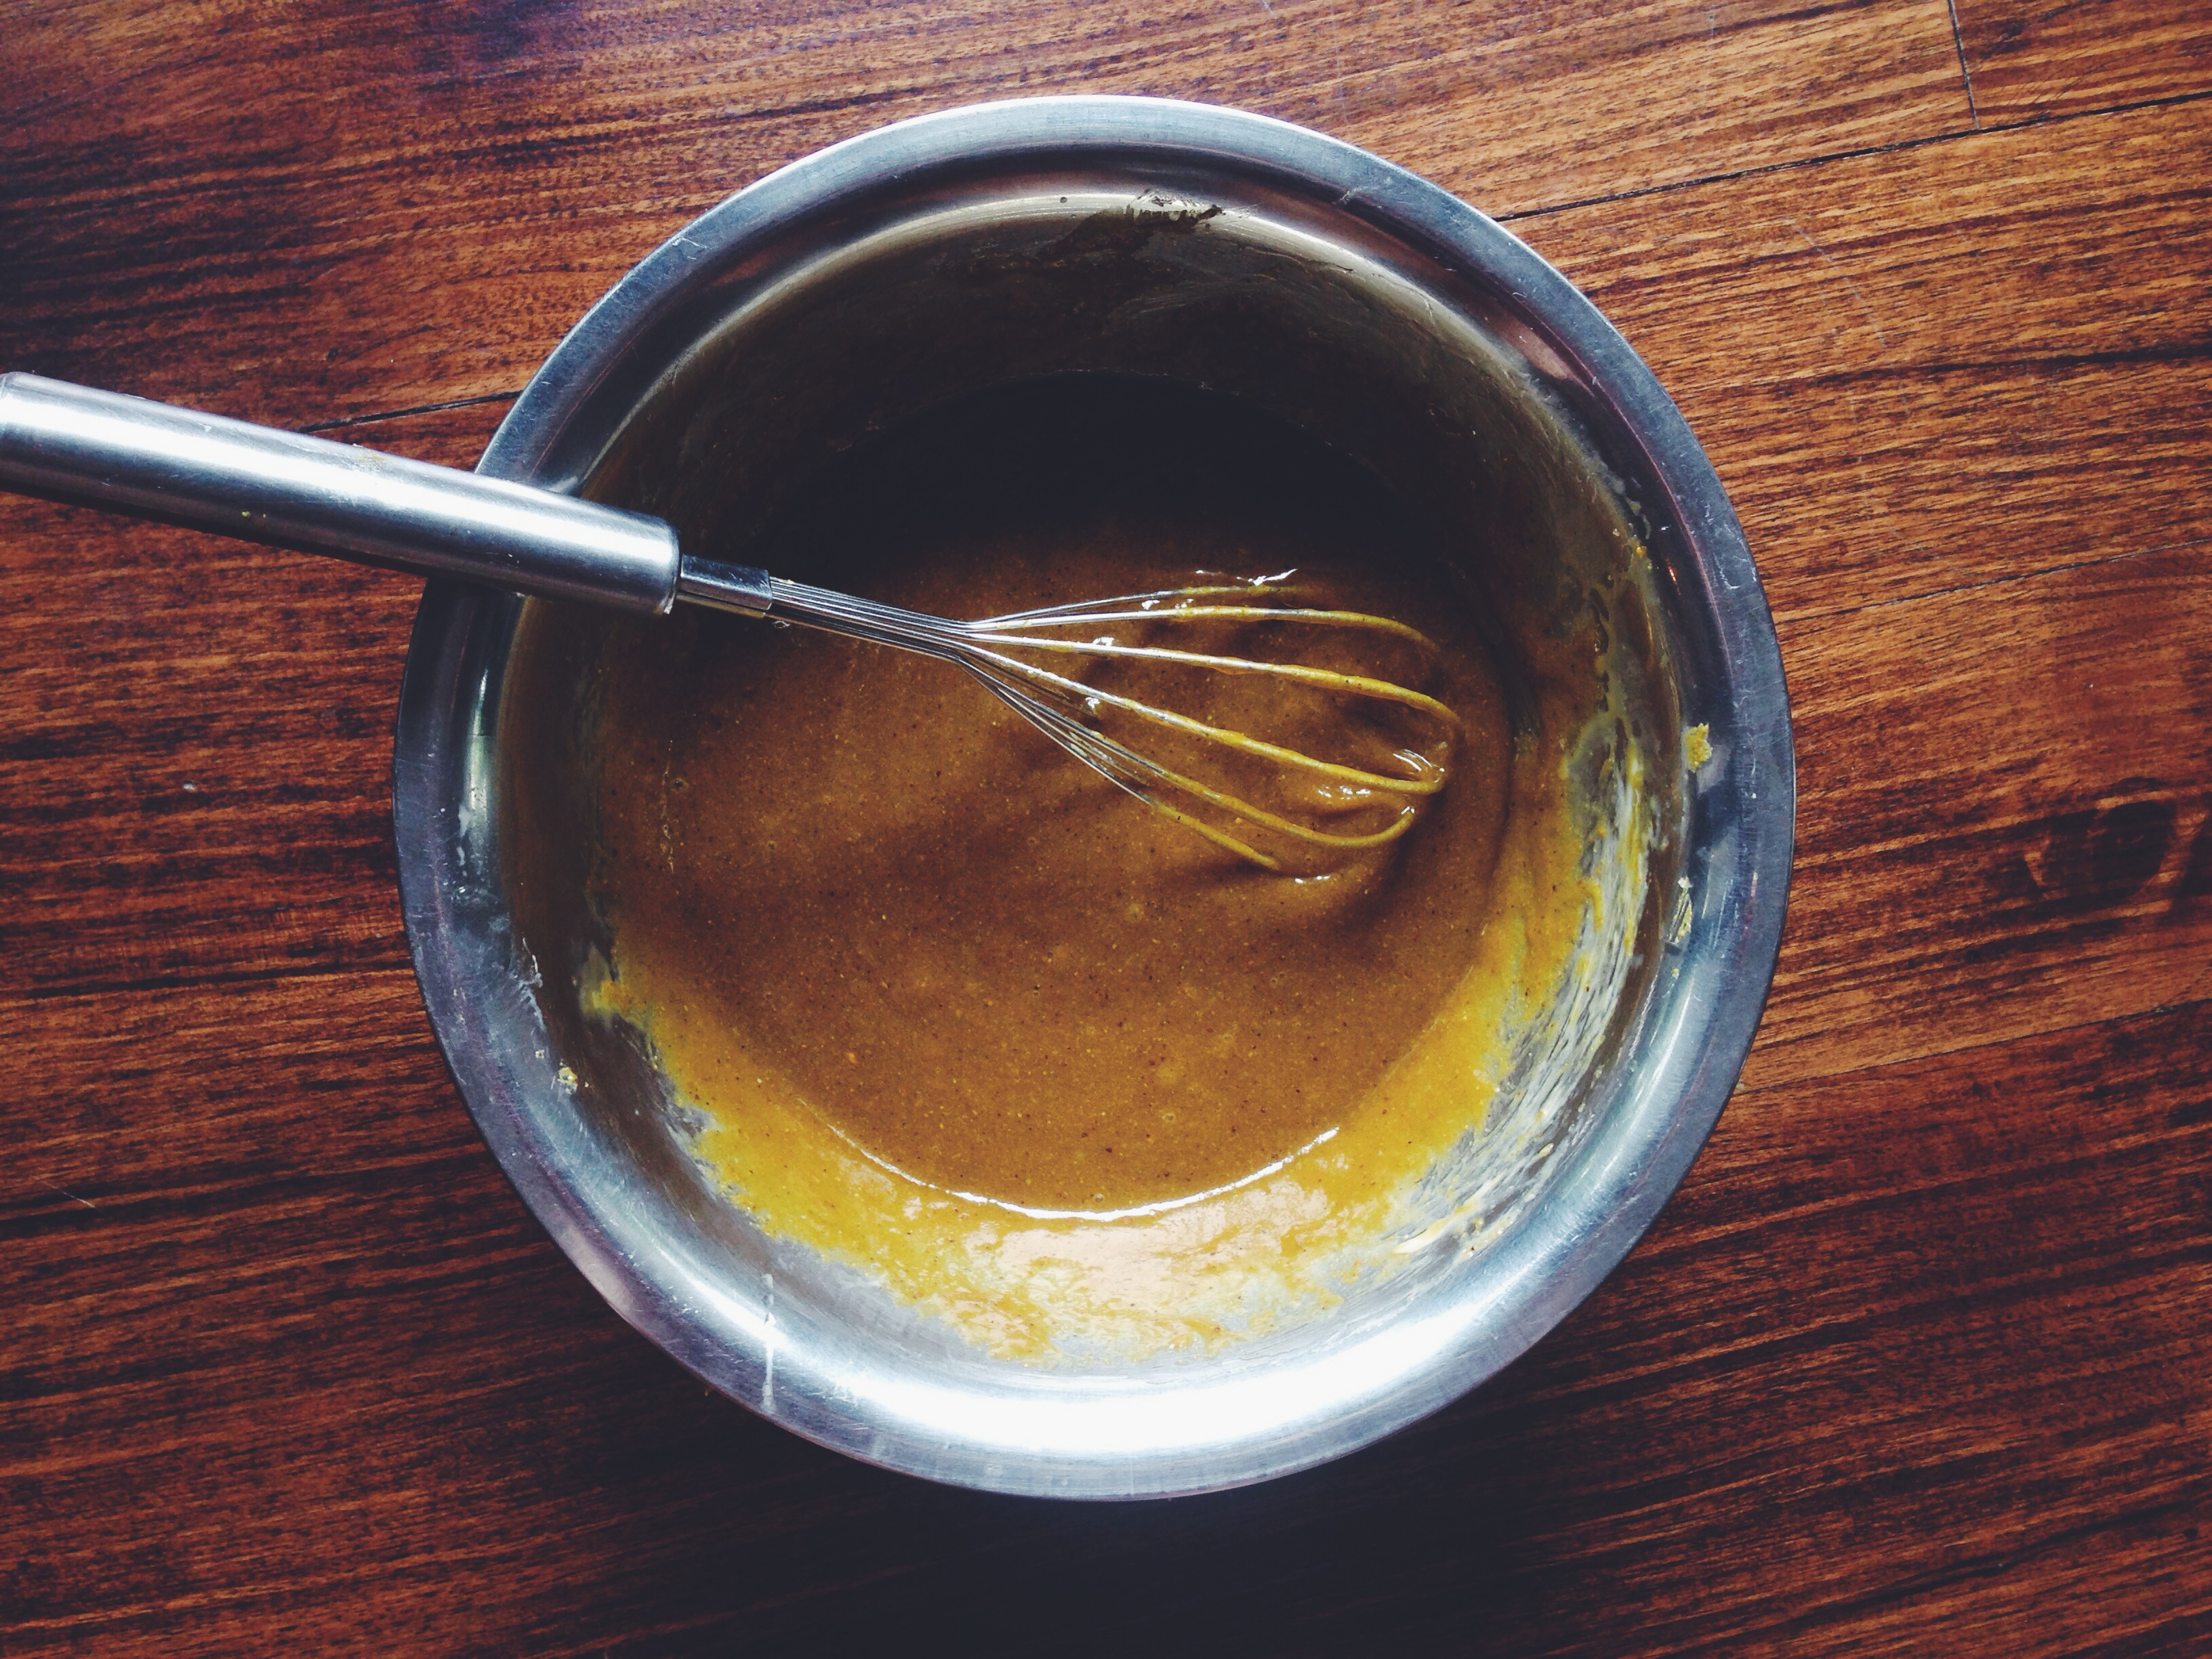
In a blender or food processer, blend together the crust ingredients (date and almond butter) until everything is well blended (or not, it’s up to you and the world is your oyster). Scrape the contents of the blender into your mini jar and press down into an even layer. Pop the jar in the fridge to set whilst you put together the cheesecake mousse. Don’t wash the blender! There’s no need.

Throw in the ingredients for the cheesecake mousse and blend everything together well. I liked the addition of raw almonds for a bit of crunch, but you can leave those guys out. Once everything is well blended, pour the mix, which should be thick but slightly wet, into the mini jar. Let this set in the fridge for at least a couple of hours. This actually makes a rather good breakfast treat so make this the night before, and the rest is blissful history! Before eating, top with fresh blueberries and more lemon zest. I imagine some yoghurt and a bit of honey would be lovely too.

Mini Lemon Bundts

Processed with VSCOcam with f2 preset

Lemon’s taking up all the oxygen in the room. It’s a good thing. If you’re as obsessed with the ingredient as me, that is.

Processed with VSCOcam with f2 preset Processed with VSCOcam with f2 preset Processed with VSCOcam with f2 preset

FYI, I cut the tops off the guys before removing them from the pan just for the picture; it’s twice as efficient to remove them with their domes first (I may be dim but not toooo dim)!

There’s something so endearing about each mini bundt I popped out of the pan. This recipe yields exactly 12 light, springy, lemon-filled balls of sponge. Sponge of medium density, of average sophistication, of half-cake-half-gooey-sponge pleasure. The secret lies in the use of plain yoghurt, which made the little cakes moist but not doughy, and sufficiently dense but well-risen. I adapted the recipe from Nigella’s cookbook, and it’s my personal go-to for something simple, light, lemony, and pleasing. See the tops I cut off? Oh goodness, please save those. The tops boast the sugary, browned crusts, sharp and bit stiff when bitten into, giving way to the most pleasurable, mildly sweet and lemony bite. Coo for crust. These have it all.

Mini Lemon Bundts (makes 12 4-inch wide mini bundts)

150g all-purpose flour

1 1/4 teaspoon baking powder

75g melted, unsalted butter, cooled slightly

zest of one lemon

juice of half a lemon

2 eggs

110ml natural yoghurt or sour cream

large pinch of salt

125g white caster sugar

For the icing: 170g icing sugar, one teaspoon vanilla extract and the juice of one lemon (do this to taste)

Preheat the oven to 170C. In a large bowl, sift together the flour, sugar, salt and baking powder. In a measuring jug or smaller bowl, whisk together the eggs, melted butter, lemon zest, juice and yoghurt. Pour the wet into the dry mix and slowly mix everything together, transferring from a wooden spoon to a spatula. the batter should a little thick, of spoon-dropping consistency. Make sure that there are no lumps or streaks of flour at the bottom. Grease your mini bundt tin and pour the batter into the molds. Bake in the preheated oven for 23-25 minutes.

Whilst waiting for the buns in the oven, make the icing. In a medium-sized bowl, whisk together the icing sugar, vanilla and lemon juice. The mix should be thick and runny, not too opaque, and  won’t harden after a few seconds of stirring in the bowl. If you need more liquid, add more water, drop by drop. Once the bundts are done, remove from the oven and let cool on a cooling rack. Pour the icing on once they’re cool; it’s actually fine to do so when they’re still a little warm because the heat will help the icing along down the sides.

Breakfast Special: Try This Now

Processed with VSCOcam with f2 preset

The gap in your knowledge must be filled. Certain Eureka! moments cannot, must not cease to be conveyed to the masses (however small my audience is; don’t want to sound all high and mighty here). I like discoveries and surprises, be it with regard to random tidbits of information I come across on the net or in books, or when I put two and two together in the kitchen and suddenly I get five but it works. Unless you dislike bananas or yoghurt or, well, butternut squash (sigh), I’m (almost) on my knees begging you to put the three together.

What you see above, friends, is really a simple construction: a thick slice of the bestest, moistest, chocolate chip banana bread cut in half and stacked, topped with homemade butternut squash candy puree (oh you just wait), drizzled with plain yoghurt, and a crumbled leftover brownie. I have already posted the recipe for two of those components, the only thing left is the squash candy purée. I learnt the recipe from a family member, after watching her cook the stuff and label it a ‘Filipino delight’. It was a little hard to adapt this because she doesn’t measure anything, however after just one spoonful of the delightful stuff, I can see why she does it the way she does– it’s all according to taste, and how sweet your butternut squashes are in the first place. What you get is a rich, thick, sweet plateful of orange purée. It’s like a healthy orh nee, or yam paste, but with a distinct squash flavour and undertones of coconut!

Processed with VSCOcam with f2 preset Processed with VSCOcam with f2 preset

You may find the recipes for the moist banana bread (the recipe yields a plain loaf, but I threw in a cup of chocolate chips for extra goo and decadence; the chocolate also makes the perfect pairing with the banana here) and the brownie here and here. The brownie recipe was written to incorporate an additional cream cheese swirl, but I used salted caramel in place of that this time. Bits and bobs of sweet, salty goo. You may also leave that out, or you may wish to leave out the brownie component altogether, which would be just as sublime (see pictures right above).

Butternut Squash Candy Purée (makes enough for 2 servings)

one large butternut squash

240ml water

200-240ml coconut milk

3-5 tablespoons of light/dark brown sugar (range is due to difference in taste and the natural sweetness of the butternut squash you have on hand)

half teaspoon of salt

In a heavyset saucepan, add the water, salt and butternut squash, turn on the heat and let everything come to a boil. This will take around 10-15 minutes. Once boiled and the butternut squash is soft and tender, use a large spoon or potato masher and mash the butternut squash in with the water. Reduce the heat a little to medium and add the coconut milk once most of the water has evaporated. At this point, add however much sugar you want, according to taste. Mix on medium heat for another 5-10 minutes, until the mixture is thick and smooth. Pour into a container and let cool before serving. I personally think this is best served cold, so if you wish, make this a day ahead and scoop it right out of the fridge the following morning.

Assembly: Take one slice of moist banana bread, top with the cold (or hot) squash purée, then drizzle on some plain yoghurt (vanilla or Greek works well), and top with broken bits of brownie.

Hot Cross Cake Cookies

Processed with VSCOcam with f2 preset

Sometimes things get to your head. Sometimes you mean for something to turn out one way, but thanks to some tiny, sudden instinct, or some recent experience with another different but wonderful foodstuff, elements which you never meant to blend together end up doing just that. Sometimes, that’s ok. Like this cookie.

Processed with VSCOcam with f2 preset Processed with VSCOcam with f2 preset Processed with VSCOcam with f2 preset

I never was a fan of fluffy, cakey cookies. I am a hard advocate of pin-thin, dense, chewy cookies, all nicely ridged round the edges and squidgy, half-baked in the middle. You could press the middle and your finger mark will stay. That chewy and squidgy (I love the word squidgy). I felt like doing something over the Easter weekend, but the entire of Saturday and Sunday was a blur, a hectic mess. A jumble of egg hunts, a scramble to feed my sisters and her friends breakfast (pancakes, if you’re wondering), a desperate longing for time cooped up reading in my room. Monday morning called for something dedicated to this holy occasion, but nothing too orthodox. Without much time on my hands, I resorted to cookies, a category I haven’t played with in what feels like forever. I had a gorgeous slice of sponge cake from (goodness knows) somewhere over the Easter weekend, and I guess that theme of airy lightness fed into this experiment. But I’m grateful for the mistake– I think the fluffy nature of this cookie (hence the ‘cake’ before the ‘cookie’ in the title) allows the more stuff to be, well, stuffed into each little cookie. Ah, the stuff. Good stuff. I’ll talk about the stuff.

Processed with VSCOcam with f2 preset Processed with VSCOcam with f2 preset Processed with VSCOcam with f2 preset

Specifically, soft nougat+dried fruit+chocolate. I personally prefer hard nougat, the sort which you’re afraid might make your teeth crack, but it’s the soft ones which work best in this buttery, cinnamony batter, for after the oven action, what you get are gorgeous, chewy, caramelised nougat residue, gooey and melted, with little bits of crushed almond and peanut strewn throughout (depends on the sort of nougat you’re using of course, I think pistachio would be lovely here). The lemon icing on top of the cooled cookies are quite literally the icing on the cake (cookie). The ‘hot cross’ theme limits just how much icing you can smother on these guys, but go ahead and dip one side of the cookie into the icing if you wish, for better indulgence. Processed with VSCOcam with f2 preset

Stuffed Hot Cross Cake Cookies (makes 15-18, adapted from here)

For the cookies:

240g all-purpose flour

100g light brown sugar (or white, if you don’t have any brown on hand)

1 egg

1 teaspoon vanilla extract

200g unsalted butter at room temperature

1 teaspoon each of baking powder and cinnamon

quarter teaspoon nutmeg

100g dried fruit/sultanas/raisins

50g each of soft nougat (chopped into small pieces), and dark chocolate chunks or chips

large pinch salt (half a teaspoon)

For the icing:

120g icing sugar and the juice from half a lemon

Preheat your oven to 180C and grease a couple of baking pans. In a large bowl and with an electrical or normal whisk and bicep action, beat together the softened butter and brown sugar until light and fluffy. Add the egg and vanilla extract, and whisk to incorporate. In a separate smaller bowl, whisk together the flour, baking powder, cinnamon, nutmeg and salt.

Chop your nougat into small pieces and coat them with a teaspoon of the flour mix, so the edges stop sticking to each other. Add the rest of the flour mix to the butter and sugar mix, then stir with a wooden spoon to form a soft dough. Add the chocolate, dried fruit/sultanas/raisins, then the nougat. Mix everything to combine.

Dollop batter onto the pans using two tablespoons or with your hands. Each cookie should be the size of a ping pong ball. Bake for 10 minutes in the preheated oven. You may have to do this in batches. While the cookies are baking, make the icing by mixing together (I use a mini whisk or a little fork) the powdered sugar and freshly squeezed lemon juice. You might not need all the juice from half a lemon. Put the icing into a small ziploc bag and set aside. Once the cookies are done, leave to rest in the pan on cooling racks for at least 15 minutes. Snip off the end of the ziploc bag and ice the cookies, drawing a cross on each one. Reinforce the ‘stripes’ by piping over the crosses again.

Pistachio Fudge Bars

Processed with VSCOcam with f2 preset

Not sure if any of you can tell, but I’ve been a bit down with the pistachio bug lately. It’s almost unhealthy. A few mornings ago, I was relishing one of my favourite, unbeatable toast combinations: homemade pistachio butter, honey and coarse sea salt. Curiosity arose from this delicious ritual, and I researched recipes with the dominant theme of pistachio (and other random facts, such as how these guys have a 14% saturated fat content, and a chemical named aflatoxin may be found in poorly harvested kernels. Did you know that the pistachio tree can survive in 50C weather? Anyways). I decided, the toast fiend that I am, to kick the current bar/brownie game up a notch.

Anything, my friend, can be turned into bars.

Processed with VSCOcam with f2 preset Processed with VSCOcam with f2 presetI can see how this recipe may come across as inaccessible. It’s true, the main component of these bars is pistachio butter, but I insist that you try making the stuff at home. It’s like bread. Make a loaf at home and you’ll never turn back to the packaged stuff. I’m lucky enough to have a supply of this divine concoction at home, since my mum occasionally makes a batch, and what you essentially do goes as follows: you roast a large batch of pistachios (around 200g is enough for this recipe, and you will have quite a bit leftover, which is perfect!), skin the babies, and grind for a good while in a food processor or other professional grinding device (cough a blender cough) with sugar and salt to taste. If any of you have experience making any sort of nut butter, then you know that the procedure is simple and completely worth it. This nut butter will make all your mornings golden and glimmering. It makes Skippy cower in fear.Processed with VSCOcam with f2 preset

The little air bubbles you see are thanks to a bout of carelessness; I recommend dropping the pan containing the batter before actually baking it, in order to rid your batter of excess air bubbles. Yes, mistakes are abound in this one woman kitchen.

This is a pistachio fudge bar. ‘Fudge’ because of its texture and prominent pistachio flavour. Dense, squidgy, with a slight chew around the edges, the pistachio offering an earthy, naturally sweet touch. I topped it with a simple dark chocolate drizzle to highlight these notes and add a chimerical flair to the otherwise plain pistachio base.

Pistachio Fudge Bars (makes 16 in an 8×8-inch pan)

70g all-purpose flour

2 eggs

113g (half a cup, or one stick) melted, unsalted butter

1 1/2 teaspoons vanilla extract

120g (around half a cup) pistachio butter

190g light brown sugar

half a teaspoon of salt

Preheat your oven to 177C (350F). Grease and line an 8×8-inch baking pan and set aside. In a large bowl and with a wooden spoon, mix together the pistachio butter and sugar. The mix should look clumpy, but will come together after a few seconds of mixing (see above). Add the melted butter, eggs and vanilla extract. Mix until smooth. The mix should be sticky and easily drop off your spoon. Add your flour and salt, and mix until combined. That’s it! That’s all there is to it. Pour the sticky gloop into your greased and lined pan, and drop the pan onto your counter a few times to get rid of any air bubbles. Pop it into the oven for 18-20 minutes. My batch was done after 18, so check it at this point. A wooden skewer inserted into the middle should come out dry, but the presence of little clingy crumbs at the tip are fine.

Let the pan cool on a cooling rack. Meanwhile, melt 70g of milk/dark chocolate in the microwave, using 20 seconds bursts and mixing in between, to prevent the chocolate burning and causing an unnecessary temper explosion in the kitchen. Put the melted chocolate into a small ziploc bag. Once the bars are cool, snip the tip off one of the two corners of the ziploc bag and drizzle the chocolate all over the cooled bars. Slice the batch into 16 equal pieces. These bars can be kept at room temperature for up to 3 days. Store remaining in the fridge and reheat whenever necessary, or store them in the fridge after the bars have cooled, if you wish.