No-bake Chocolate Peanut Butter Tahini Oat Bars

Kind of a mouthful. The good sort.

Processed with VSCOcam with f2 preset Processed with VSCOcam with f2 preset

Some breathing time during the week makes way for occasional creative insight. The early morning heralds possibility, and it’s only when my head hits the pillow that I realise how startlingly tired I am from the events of the day. The night pulls you in. Processed with VSCOcam with f2 presetProcessed with VSCOcam with f2 preset Processed with VSCOcam with f2 presetProcessed with VSCOcam with f2 presetProcessed with VSCOcam with f2 preset Processed with VSCOcam with f2 preset

There are so many things that make life sweet. Like this recipe. But there are also the cute coffee shop corners, insightful nutrition links I keep finding online, and inspiring folk everywhere. Here in London especially, there’s just no shortage of things to do, eat and see.

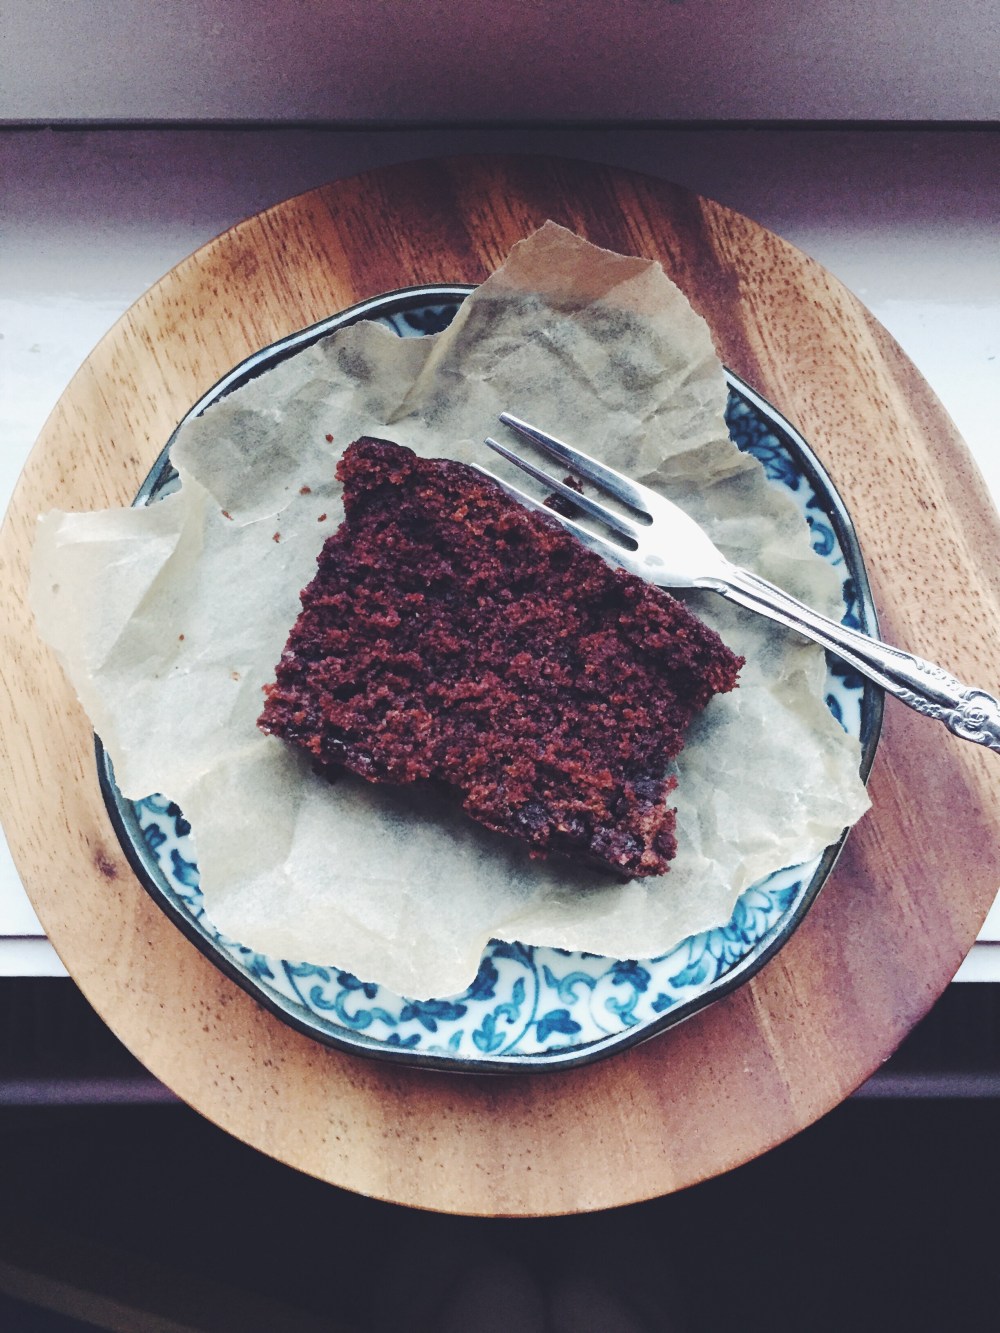
But yes. There’s just so much yes in this recipe.

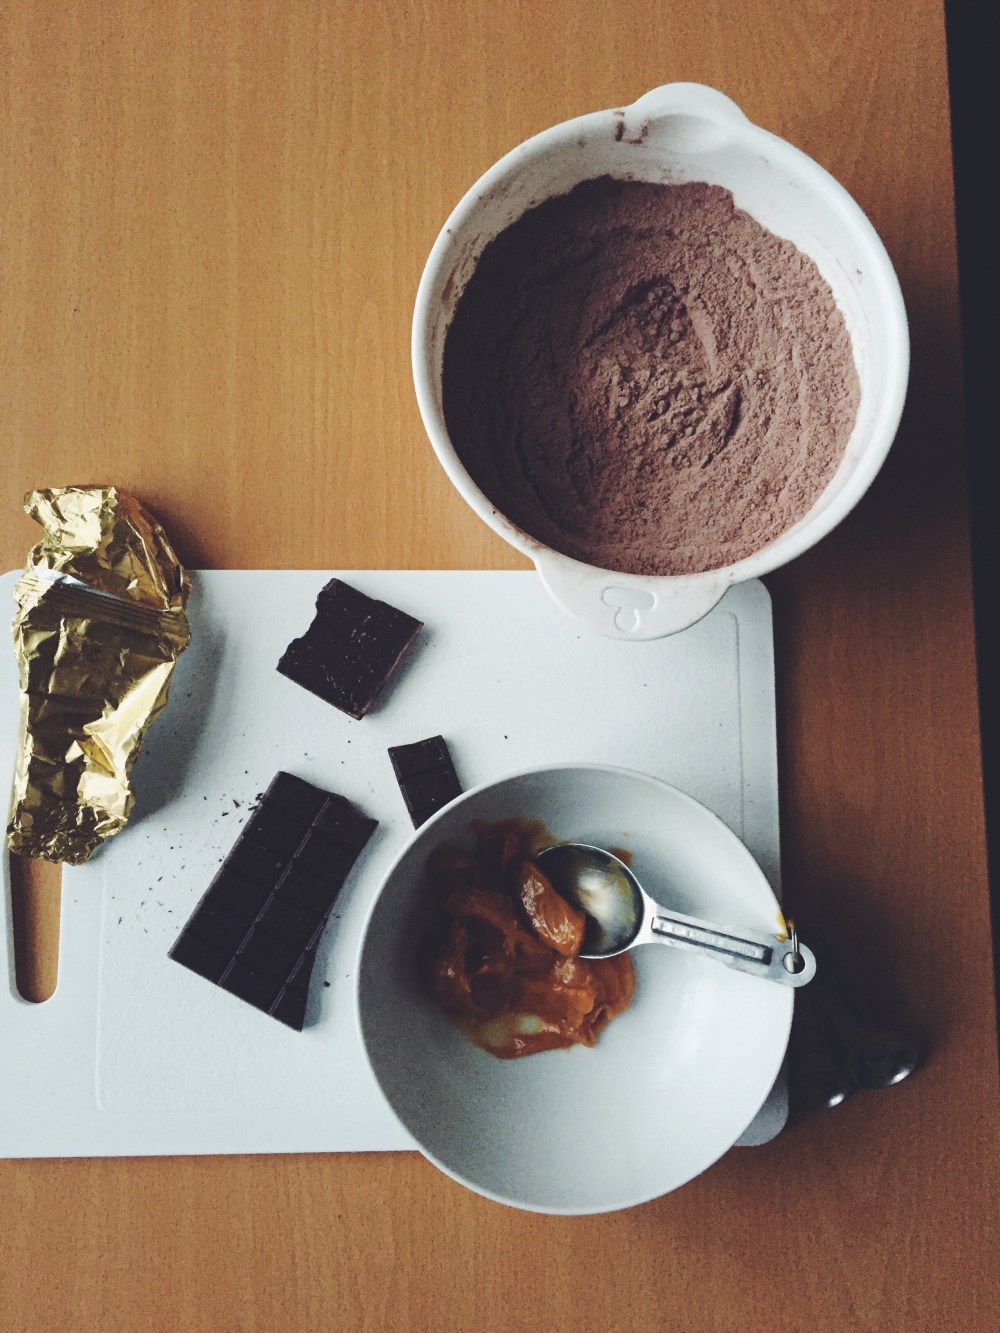
No-bake chocolate peanut butter oat bars, bound together with earthy tahini, maple syrup and oats. 

There’s:

  • no flour
  • no egg
  • no sugar (as in your typical white sort, but the maple syrup provides all the goodness, and a wonderful flavour dimension)

and heck, even though I love all these things, it just means another 3 things you don’t have to lack and cry over. Easy.

The formula is simple, the taste lush. You don’t need much to handle in the first place. In fact, it’s so simple I won’t even provide a proper list of ingredients. Just some instructions, with a few cup measurements thrown in here and there. Oh right, and you need a pan. But I thought you would’ve figured that out.

Processed with VSCOcam with f2 preset Processed with VSCOcam with f2 presetProcessed with VSCOcam with f2 preset

No-bake Chocolate Peanut Butter Tahini Oat Bars (makes 36 medium bars in a 9×9-inch baking pan)

Grease (line if you wish) a 9×9-inch baking pan. In a saucepan over low heat, melt together 100ml (a little more than 1/3 cup) maple syrup, 113g (one stick) salted butter, 270g (1 cup) peanut butter (smooth or chunky, do as you wish) and 180g of chopped dark chocolate. This will take about 3-5 minutes.

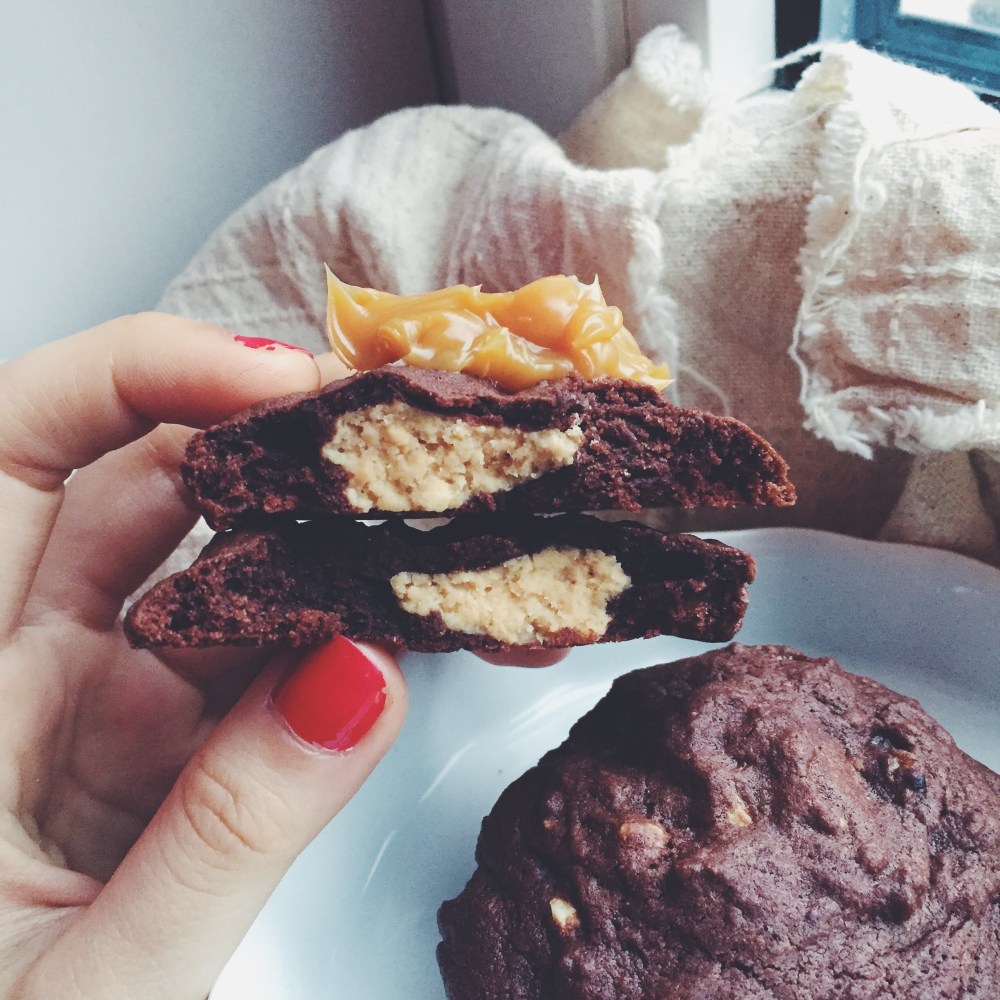
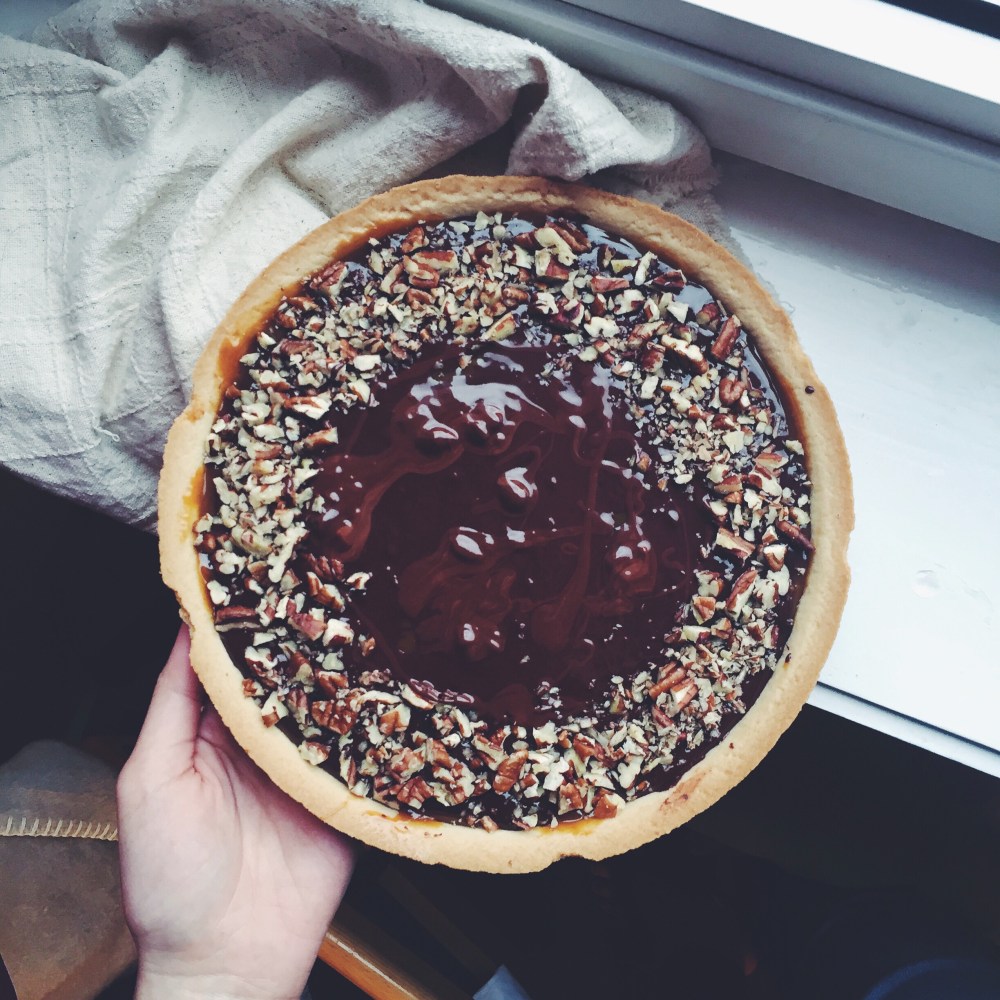
Take off the heat and stir in 80ml (1/3 cup) tahini, a half cup of chopped nuts (or more chopped chocolate), and 135g (1 1/2 cups) whole rolled oats. Pour the thick mix into your pan and let sit in the fridge until firm– around 30 minutes (yes that’s it!)

Cut into bars with a sharp knife and have a ball. There’s no real need to dress these up with anything, but I imagine them nice with chocolate hazelnut spread or more peanut butter on top.

Chocolate Coffee ‘Mochi’ Cake

Processed with VSCOcam with f2 preset

I guess I should stop with the chocolate some time. Some time. In the future. Not now.

It’s been weeks since I left Japan, but I occasionally find myself reminiscing bits and parts of it. The little alleys, and corners, and scarily magnanimous people. Oh right, and the food. That.

I remember strolling into a little sweets shop with the rest of the family, and we were greeted by mile-high packs of mochi– little rice cakes made with Japanese glutinous rice. Mochi’s kind of like a magic food, consisting of polysaccharides, proteins, lipids and water. All weaved together to form this sticky, chewy, yet delicate mass. The gel-like consistency is actually due to lack of amylose in the starch grains of mochi rice, and it’s that sort of texture I wanted to recreate in this cake.

When I came across Food 52’s recipe for a chocolate mochi snack cake, I knew I had to give it a shot (and a little twist). Now I didn’t have the sort of rice necessary to make traditional mochi, but rice flour came close enough. And so rice flour it was.

I know I know, it’s a chocolate cake. Yet it’s much more than that. It’s akin to something bolder, and brighter, yet lighter. The crumb is so fine, yet each slice is perfect and straight-edged, holding its own, each bite one of chocolatey integrity.

This cake has:

  • an almost-crisp, sugary, crusty top
  • a soft, incredibly fine-crumbed interior
  • oozing pockets of chocolate chunks
  • a slightly squidgy, chewy middle
  • me smitten

Processed with VSCOcam with f2 preset Processed with VSCOcam with f2 preset

The secrets here are the addition of coffee, use of confectioner’s sugar, and the melting of chocolate, butter and honey as one of the first steps. Take your time making this– it’s simple but harbours close precision. I couldn’t resist adding a dash of coffee into the wet mix, and the result was moist and fragrant. You won’t regret dashing out to get that extra pack of confectioner’s sugar either– it yields the most fine and delicate cake crumb.

Yeah, pretty ethereal.

Processed with VSCOcam with f2 preset Processed with VSCOcam with f2 preset

Chocolate Coffee ‘Mochi’ Cake (adapted from Food 52’s chocolate mochi snack cake recipe; makes a thick 9×9 pan of cake)

Ingredients

325g (2 cups) rice flour (I used Doves Farm)

190g ( 1 1/2 cups) confectioner’s sugar

1 tbsp baking soda

pinch coarse salt

180g (1 heaping cup) dark chocolate (70% cocoa), chopped into chunks

1.5 tbsp honey

1 tsp vanilla extract

2 eggs

500ml (2 cups) whole milk

120ml (1/2 cup) coffee (I used instant– one tablespoon dissolved in half a cup of boiling water, but use the better stuff if you can!)

113g (1/2 cup) salted/unsalted butter

160g (slightly less than a cup) chopped dark chocolate, mixed with 2 tbsp extra of rice flour

5 tbsp maple syrup/honey (for the topping)


Directions

Preheat your oven to 180C (350F) and grease and line a 9×9-inch brownie pan.

In a medium-large bowl, whisk together the rice flour, sugar, baking soda and salt. Put the 180g of chopped dark chocolate, butter and honey into another bowl and microwave for 1 minute. Take it out and stir until you get a smooth, homogenous mixture. Alternatively, do the same in a saucepan and over a low-medium heat.

Scrape the smooth chocolate mix into a large bowl (large because it’s going to hold quite a volume), then stir in the 2 eggs, milk, coffee and vanilla extract. Add the dry mix and fold into the wet mix until you get a smooth, rather wet, light brown batter. Probably much wetter than what you would expect, but not as sticky or glutinous as your typical brownie batter. Then stir in the extra 160g of chocolate chunks mixed with the extra 2 tbsp of rice flour.

Scrape the batter into your greased pan, and bake for 50 minutes in the preheated oven. Once out of the oven, pierce random parts of the cake with your fork or knife, then drizzle over the honey/maple syrup. Leave to cool for half an hour, then cut and serve. This cake can be kept for a week in an airtight container in the fridge, but as the original recipe from Food 52 states, it does taste better at room temperature (ah, what are microwaves for). Serve on its own, though it’s also delicious with a heavy hand of chocolate spread (as shown above) or whipped cream.

Classic Pancakes

Currently (sadly) alternating between periods of intense revision and:

  • wondering what Leonardo da Vinci’s Snapchats would be like
  • researching the nutrition of scallops and uni, in other words my two current favourite types of seafood
  • embarking on The Kitchn’s baking school program, which is definitely one of the most interesting and exciting things I’ve started in a long time.

Busyness aside, there will always be time for a good settle-down in the kitchen. Like a good breakfast. Something like this:

Processed with VSCOcam with f2 preset

thin, tender, lacey (English) pancakes (here topped with fresh ripe banana, drizzled with almond butter and salted caramel walnuts+melted matcha chocolate I saved all the way from Japan)

For creativity and mood’s sake, I gave in to the whole almond-matcha theme the first time round. It’s one of those things I’ve done before, loved, and you can check it out right here. Admittedly, the day after, I reheated a couple of extra pancakes and went for the classic, ever-loved combo of freshly-squeezed lemon juice and sugar. Deliciousness= lemon and sugar soaking into thin pancake flesh, into every crevice of the crumpled carpet. That being said, there’s also something magical about the combination of a fresh, warm pancake with a creamy slather of almond butter. The melted matcha chocolate hits everything with a sweet and slightly bitter kick.

Processed with VSCOcam with f2 presetProcessed with VSCOcam with f2 preset

Sorry– trypophobics beware.

Having made plenty of American pancakes, the sort which fluff up and bounce and you top with butter and maple syrup, I thought it fitting to try something else. That’s when I came across Nigella Lawson’s recipe for classic crepes. And so another question popped up:

  • what’s the difference between a crepe and a pancake?

After trying out the recipe and doing the research, I had a hard time deliberating whether the final result was more akin to one or the other. The nuances of the recipe made this more a pancake than crepe, so pancakes it was. The main difference lies in waiting time, so calling it a crepe wouldn’t be sacrilege.

These pancakes are a real treat any morning. Very thin, lacey, and have a light brown, crispy underside. The great bit? You can put them together in a pinch and any leftovers can be chucked in the fridge and reheated the next morning/ whenever you want.

Took a while for me to get these pancakes as thin and lacey as possible, but a few good tricks to have up your sleeve are:

  • when putting melted butter into the pan before ladling of the pancake batter, do not use a paper towel to remove excess butter– add a generous amount of butter, let melt and swirl around. This will promote excellent browning and crispiness at the edges.
  • I repeat– generous amount of butter.
  • use medium-high heat– should hear a mild sizzle when batter hits the pan and a heavier-bodies sizzle when batter is ladled into pan.
  • After ladling, lift the pan off the heat to swirl it around evenly. This prevents any batter that’s already been ladled from cooking too fast and lets you swirl everything nicely and thinly.

Processed with VSCOcam with f2 preset

Classic pancakes (makes 8–10 medium pancakes; adapted from Nigella’s crepes recipe)

Ingredients

150g plain, all-purpose flour

2 tbsp white sugar

pinch salt

28g (2 tbsp) melted, unsalted butter, plus more for the pan during cooking

1 large egg

340ml milk of choice (I used both whole and almond milk on 2 occasions and both worked perfectly)

Directions

Preheat your pan or crepe pan on medium-high heat and ready some butter for cooking. In a large bowl, tip in the flour, salt, sugar, milk, egg and butter, in that order, and whisk everything together. Continue whisking until no lumps remain, and the batter is pale and silky. Use a small ladle to ladle in a little batter and immediately swirl in a circle formation to spread the batter evenly in the pan. As mentioned earlier in the post, you should hear a heavy-bodied sizzle upon the application of melted butter to the pan, and a mild batter when the batter actually hits the pan and starts cooking.

Your first and second pancakes might be a little dodgy, but it gets better as you go along (promise). Once the edges of the pancakes crisp up and brown, slide your spatula underneath and flip. Cook for up to 45 seconds on this side, then remove from the pan and place on a paper towel. When cooking the pancakes/crepes, layer paper towels between each to absorb the condensation.

Serve warm with more butter and honey/maple syrup, or lemon juice and sugar. Try out the combination in the picture above too– does wonders for your tastebuds, friends.


Peanut Butter Stuffed Salted Brownie Cookies

Processed with VSCOcam with f2 preset

Cancelled morning lectures obviously means whining here about it being the last week of term and waxing lyrical about all things chocolate (once more). A bit on that later. If I start on chocolate now, I’ll probably forget to add other mundane details about my life, and who would want that right? The ‘first day of the last term’ is a funny thing to say; it really didn’t feel all that long ago when I was panicking to my mother about basic things I might or might not be able to do, like laundry, bedsheets and having enough Asian fare in uni to keep me sane, because the impulsive decision to buy Tesco meal deals doesn’t quite cut it most of the time. It’s all just whizzed by much too fast. The Friday flight home is both an ecstatic and nauseating thought to me.

Despite my pension for café fare, I’m embarrassed to say that not once have I had my favourite alone-time at any one café, though I’ve definitely had the chance to visit some must-see places on my list. I should do a write-up about one of them soon, before I forget and the tides of life push me far ahead, me in blissful oblivion, once more.

Processed with VSCOcam with f2 preset Processed with VSCOcam with f2 presetProcessed with VSCOcam with f2 presetProcessed with VSCOcam with f2 preset Processed with VSCOcam with f2 preset

The other day I bought the loveliest little tub of peanut-speckles cashew butter, and just knew I had to use it another mind get-up. It’s practically peanut butter because of all those peanut bits, and since not everyone likes cashew butter and peanut butter is easier to find in stores, I decided to put peanut butter in the recipe title instead of what it really is. It’s not even the processed sort, which some recipes insist on for better results, but really you get a perfect peanut-buttery flavour upon first bite even with the natural unprocessed stuff.

The densest, fudgiest brownie cookie with white chocolate and dark chocolate bits, filled with peanut butter (and in this case, for the sake of aesthetic and flavourful pleasure, salted caramel spread on top). 

I like food hybrids like cruffins and cronuts and whathaveyous. Brownie cookies are on the list. The shape and form resembles that of a cookie, but the texture is all of what you want in a good fudgy brownie– this is not quite the chewy sort, but more dense and fudge-like. Definitely more than what you would guess the texture is akin to in the first picture above. The middle is soft, the edges still squishable. Best part? Adjacency of salt and sweet. Nothing beats it. Yes, my description vocabulary needs a bit of a boost, but squishable is still a word. And an accurate one here, at that.

Processed with VSCOcam with f2 presetProcessed with VSCOcam with f2 presetProcessed with VSCOcam with f2 preset Processed with VSCOcam with f2 preset

Peanut Butter Stuffed Salted Brownie Cookies (makes 18-20 medium-sized cookies)

Ingredients

125g (half cup) creamy/chunky peanut butter (natural or processed; either works fine)

30g (1/4 cup) powdered sugar (doesn’t need sifting)

large pinch salt

1/2 tsp vanilla extract

210g (slightly less than 1 3/4 cups) all-purpose flour

35g (1/2 cup+couple of tablespoons) cocoa powder, doesn’t need sifting (I suggest Green and Black’s here)

1/2 tsp baking powder

1/2 tsp salt

115g (1/2 cup or 1 stick) salted butter (unsalted works too, but flavour is enhanced with salted)

230g (1 packed cup) dark brown sugar

60g (a heaping 1/3 cup white sugar

2 eggs

1/2 tsp vanilla extract

110g (one heaping half cup) of dark chocolate chips or chopped chocolate

*optional: an extra handful of white chocolate chunks/chips (30g) and one heaping tablespoon of salted caramel sauce


Directions

Preheat your oven to 180C (350F) and grease (line if you want) 2 baking trays. In a medium bowl, mix together the first 4 ingredients to make the peanut butter filling. Roll into small balls; you should have around 20 balls, if not more or less. Place the balls on a small baking tray and place in the freezer while you work on the brownie cookies.

In another bowl, whisk together the flour, cocoa powder, baking powder, chopped chocolate (both white and dark) and salt. In a large bowl, whisk together the butter, eggs, two sugars and vanilla extract (add the heaping tablespoon of salted caramel here, if you wish!). Pour the dry mix into the wet mix and mix until just combined. Take out the frozen balls of filling from the freezer. Scoop a heaped teaspoon of dough onto a baking tray, then place one ball of filling in the centre, press down a little, then take another teaspoonful of dough and place on top, smushing around the sides of the filling ball so it’s nicely covered. Repeat until the balls are all enclosed within the gooey chocolatey dough you made.

Bake in the preheated oven for 10 minutes– resist baking for longer even though the cookies look and feel weak to the touch after such a short baking time. If you happen to have made very large cookies, then bake for 11-12 minutes, but nothing more than 12. Leave to cool for at least half an hour before eating. These cookies will keep in an airtight container for up to 5 days, but they’re best eaten within 2 days, during which they retain the ultimate taste and texture. Eat with coarse salt sprinkled on top or more salted caramel sauce.

Chocolate Caramel Nougat Tart

Processed with VSCOcam with f2 preset Processed with VSCOcam with f2 preset

Sweet shortcrust pastry filled with dark and milk chocolate, melted chocolate nut bars, caramel, topped with chopped pecans and peanuts

There’s little space for mistake(s) when it comes to food pairings made for each other. Rich, dark chocolate filling, chewy bits of nougat, the occasional crunch, smooth caramel. Contemplating the meaning of life earlier on this week whilst scavenging my brain for some coherent essay material, I knew I needed to make something sweet, and good, soon. The brain needs glucose, after all.

Magic results lie in the temperature of your butter (cold cold cold, please), and the speediness of all the hand work involved. It all seems a bit of a hassle at first, but I encountered nothing more therapeutic the past week. The movement of my hands in a bowl, rubbing butter into flour and salt and the works is like a welcome slowing down of all the motions you’re forced to go through in life. If you just take an hour out for yourself, make something, have a cup of coffee, or even just think about nothing, everything around you, everything you experience, becomes brighter and more beautiful. I’d hate to sound too much of a yogi because I’m no more the wiser, but the truth only came with experience.

Also, you’re probably wondering why there’s one picture in this entire blog post. Now I know as a blogger one is obligated, expected to take a million photos of the entire process, for the reader’s pleasure and benefit. It’s true, I know, but having hall-mates all around means the lifespan of anything baked (especially with chocolate) is circa half an hour, if not just a little less.

It was too delicious for too many shots. The waiting had to wait. I’ll leave it at that, and hopefully the next time I won’t disappoint.


Chocolate caramel tart (makes one 9-inch tart)

Ingredients

For the crust: ingredients may be found here, minus the black sesame powder

70g dark chocolate, broken up into large chunks

60g milk chocolate, broken into large chunks

one large chocolate nut candy nougat bar (Snickers works well), or substitute with 10g more milk chocolate and a handful of chopped peanuts  (though you won’t get the bits of sticky nougat this way)

14g (1 tbsp) unsalted butter

50g (around 1/3 cup) chopped pecans and peanuts (optional)

For the salted caramel: ingredients and procedure may be found here. You will need 80ml (1/3 cup) of the stuff.


Directions

Prepare pie crust as stated in aforementioned recipe. At the bit where it says ‘preheat the oven and cover with aluminium foil’ preceding the blind bake, don’t! Just bake it normally, then remove once done and let cool, during which time you can prepare the other components. Prepare salted caramel and let cool for a half hour, so it solidifies just a little.

In a medium microwave-safe bowl, melt together both types of chocolate, butter and the chocolate bar in 30-second intervals, until everything has nicely melted together. There will be a few sticky bits if you’re using a Snickers bar  thanks to the nougat, but that’s what makes it all the more pleasurable. Into the cooled tart crust, pour in the salted caramel and spread into an even layer. Then pour in the chocolate mixture, and sprinkle chopped pecans and peanuts around the edges (optional). This tart need not set in the fridge, but leave to set and stiffen more at room temperature for at least half an hour. Cut using a sharp knife, wiping with a wet towel between each slice.

Serve on its own or with whipped cream and more chopped nuts.