Soft Matcha Cookies

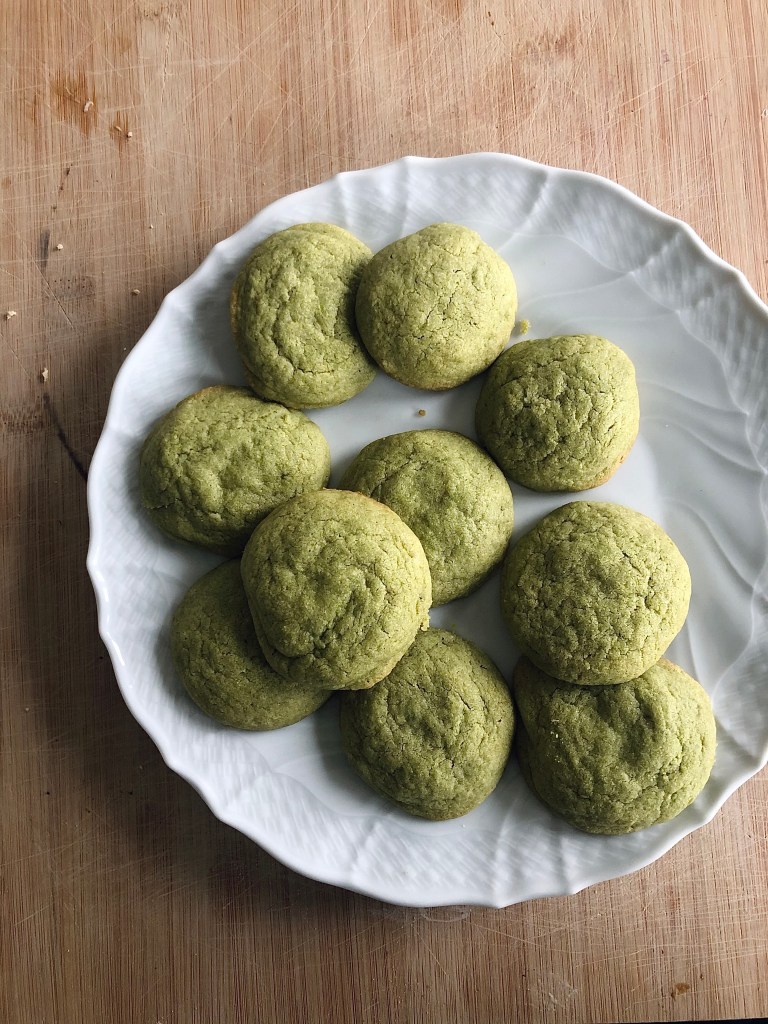
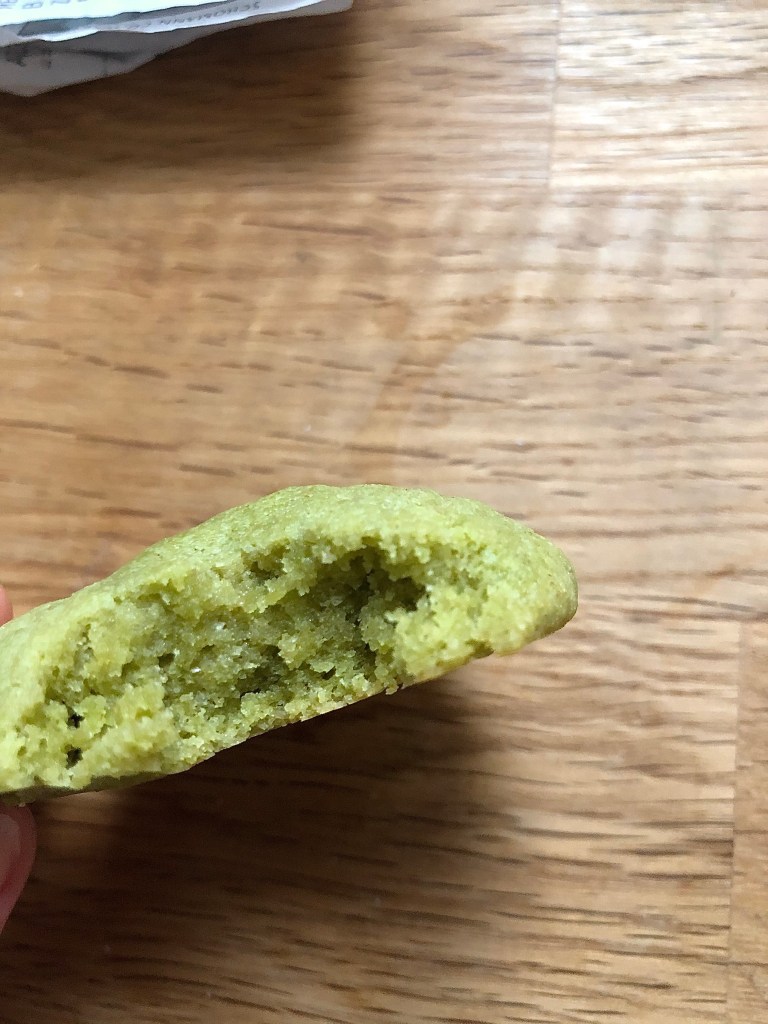
The first of 2021, and the first of many to come. This cookie has a beauty that one must taste to find, much like how you have to look closer at someone to realise the delicate point of a nose or dual-toned eyes. A soft, even-toned cookie, the silent, good kid at the front of the classroom. An experiment born from the convenient coincidence of craving something simple and light, while lacking ingredients to make something more complex anyway. It is plain, without even a hint of vanilla. Just the slightly bitter, grassy notes of matcha laced into a cookie, sugar still painted with the earth from which it came.

Some brief German sightseeing over the festive period while going walkabout

I think I won over my boyfriend’s housemates with these soft, mildly chewy matcha cookies. Matcha is not a huge deal here in Germany, much unlike the overly priced matcha lattés you find in almost every café in London or Singapore. The amount of matcha powder added is just right for 12 small-medium cookies, about the same amount needed to make a potent cup of matcha tea.

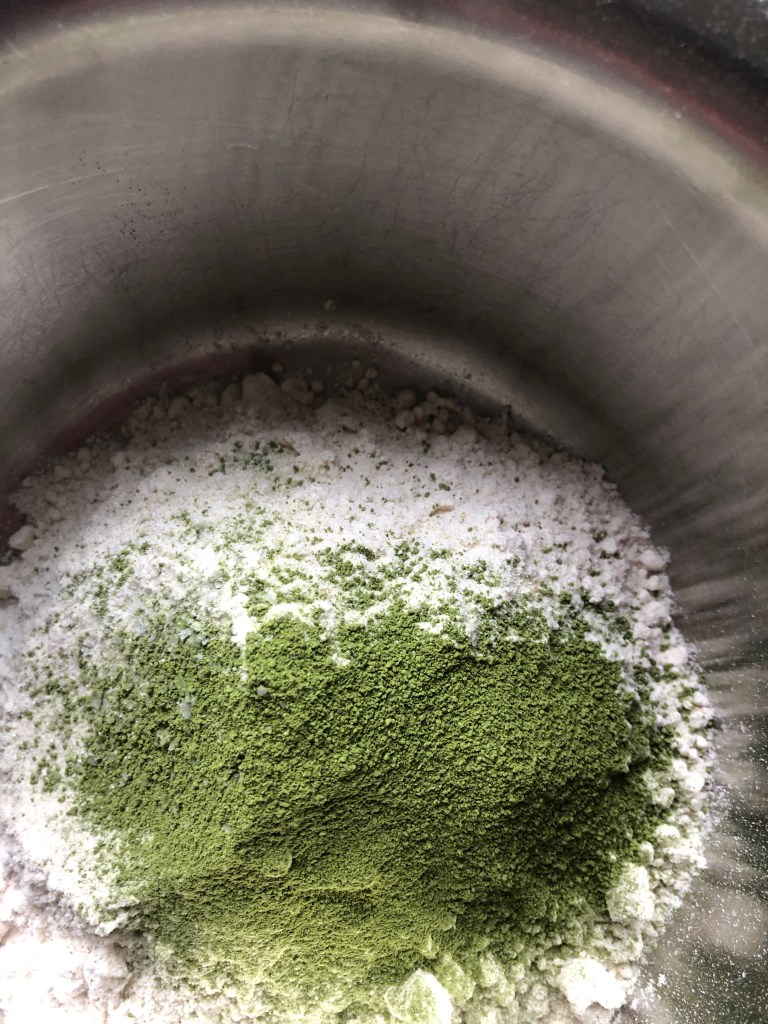
Recently I re-discovered this matcha powder, which I first used 2 years ago after being introduced to it here in Germany. It is sharp and earthy enough, and works brilliantly in tea or baking, while being extremely affordable. Highly recommend.

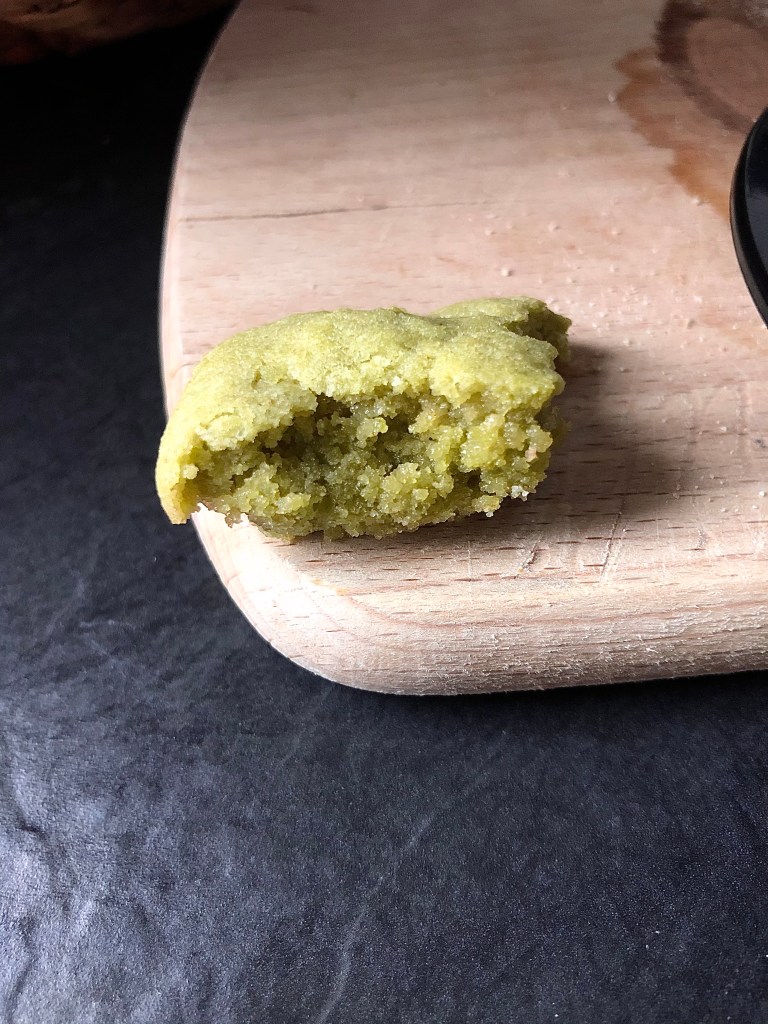
Look at those juice insides. I hope you like these delicate, delicious matcha cookies as much as I do.

Soft and Chewy Matcha Cookies

Ingredients (makes about 12 small cookies)

1 tsp matcha powder

165g plain flour

Pinch salt

1 tsp baking powder

165g white sugar

113g soft butter (vegan substitution: same amount of vegan butter/margarine)

1 egg (vegan substitution: 2 flax eggs– mix 2 tbsp ground flaxseed with 5 tbsp water in a small bowl and set that aside to gel for 2-3 minutes before using)

Directions

Preheat your oven to 190C and line a baking tray with baking paper. You may need two baking trays if yours are thin or small.

In a large bowl, cream together the soft butter and sugar until pale and fluffy, using a whisk or spatula. I used a metal fork and then switched to a rubber spatula to really work the two into each other. This will take 2-3 minutes. Whisk in the pinch of salt and the egg.

Place a sieve over this bowl and sieve in the flour, baking powder and matcha powder. Using a rubber spatula, fold in your dry ingredients until you get a smooth, playdoh-like consistency. It may be easier to use your hands towards the end. It should be soft and pliable, the dough holding together easily when squeezed, neither too dry nor too sticky and wet.

Roll small balls of dough with your hands and place the balls on your prepared baking tray. You should get around 10-12 balls. Slightly flatten the tops with two fingers. The cookies will not spread much, so you do not have to worry about placing the cookies far apart. Bake them in the preheated oven for 10 minutes and let them cool for another 10 before serving. Best served plain, with black coffee.

Processing…
Success! You're on the list.

24

Living through the last week of being 23 feels like waiting for a chapter that’s meant to close. Those were the exact words I told a close friend recently. 

The past few months have seen the world turned upside down. The enforced solitude, which I have grown to mostly enjoy by implementing a good routine and rewards to look forward to, has forced myself to uncover the roots of some of the biggest problems we face as a global community now, as well as some problems within myself that I have neglected. A few old demons, namely shades of anxiety and depression, may have arisen during the past month, but I’ve grown a lot by attempting to process emotions, past events, my relationships and academic endeavours. Bushy-tailed as I was when I matriculated at Oxford last year to start my PhD, I couldn’t help but feel rather lost and aimless when the virus abruptly took hold of the world, and I hazard a jab at saying that it has impacted most others in the world, too.

I could say I have learnt a few things this year:

  1. Learning a new language is hard, but fun. The more effort I put into it, the more enjoyable the process becomes. Having a strong reason as to why you want to learn makes it all the more worthwhile. 
  2. My relationship with social media has changed, and probably for the better. I find myself easily bored with many platforms now, such as Instagram, Facebook and Twitter, mainly because its constant stimulation has finally dwindled the dopamine rush I get from it. I will take another long break from Instagram soon, I think, because this period of abstinence is akin to a rebirth, while birthing more time into my day, to invest in other priorities such as learning, reading, and actually writing more lengthy posts on this blog. I personally still read blogs, but I feel less inclined to properly read lengthy articles after long bouts of social media usage- it’s just not as fun or stimulating. Yet I know that such an attitude is harmful in the long-term due to the way in which social media rewires the brain, as Cal Newport will also readily say. As much as I love the ability to share my life and engage in things my friends are doing, real life has so much to offer outside of my various blue screens. And real relationships, for me at least, lie in long conversations, over video chat or real life, hearing someone’s voice, so much more profound than the pings of hearts and emojis. Reduced social media usage has allowed me to shape my own opinion on things without forcing Facebook or Insta ads down my throat first, and I can walk around without a phone and just think, and enjoy plain, clean air. I also want to be able to read books in the evenings again, with candles and wine, instead of scrolling through various comments on what other people think about someone else’s boyfriend etc. I could go on and on about the hazards of shamelessly, constantly putting out a highlight reel for the world, but I think my point has been made. 
  3. Relationships have clarified and I am really grateful to those close to me, who constantly inspire, motivate and challenge me. 
  4. Oh my goodness, cooking is really fun. It’s become something I look forward to most nights. I typically have gotten into the routine of cooking a small batch of something 2-3 times a week, because cooking something fresh for one person every night is a little more than necessary, and I find this amount is just right. Very grateful for a freezer, I must say. Lately I’ve been making a lot of this and malai kofta from my friend’s new food blog– she does lots of vegan Indian recipes so do check it out!!

November’s orders for London are still up and running as usual, and you can email me at alimyun@protonmail.com for more details and questions. The stars are nut butter-stuffed brownie cupcakes and PB&J blondies (pictured just above here), and a box contains 4 cupcakes and 2 large blondies. Have received good feedback for both and it truly means a lot to me, even if it’s just coming from one person!

Peanut Butter Banana Marshmallow Grilled Sandwich

Having woken up from a deep heady nap that lasted all of 1 hour, I finally feel motivated to share this. Sometimes I get ideas that I know may have been attempted before or seem too simple to write about, but even these should never be left behind, especially if they taste this good. I struggle to remember that it’s not about whether your idea has been attempted before, it’s about how well you do it.

I recently read an article about why people with anxiety or depression should not be eating processed, inflammatory foods so as not to increase inflammation in the body- one of the root causes underlying the mechanisms of neurological disease is inflammation. I have always known this, and would not stir at the accusation of me being something of a hypocrite, waxing lyrical the good fortune of nutrition and a plant-based diet, while I myself write lengthy blogposts about sugar. I understand, I do, but having experienced the terrifying nature of what restricting entire food groups can do to my own health (orthorexic tendencies, heightened anxiety in social situations centred around a meal), and trying to cut out sugar entirely many times, I know that such drastic measures do not cut it, at least for me. Which is why I promote these recipes not to promote diabetes, but rather a sense of moderation, to let people know that yes, it’s ok to have this cookie once in a while, and you won’t die. And of course you can whip out the stevia or trivia as substitutions if that suits you better…

Sandwich time. Speaking specifically about toasties, I ate these regularly in primary school, and was relieved to not have to pack lunch in high school because God forbid I got another one. Only kids eat these anyway, right? Yet, squidged between my regular Asian lunches of mixed economy rice, I found myself buying the occasional (tuna mayo) sandwich. Then university rolled round. One of my close friends offered to share his delicious-smelling toastie with me. I reluctantly tried the deceivingly simple concoction of cheese and tomato, and could not help the wave of nostalgia rippling through my body as I sunk my teeth into the pressed, golden bread, glossy on the underside with the perfect hit of mayonnaise, and I do feel that mayonnaise is the underdog in a lot of classic favourites. Here I replicate something similar for the sweet tooth- you can do this in a toastie maker of course, but I decided to do it on a stovetop for adaptability.

Why not jazz it up by pressing a croissant with the same combination too?

Ah, an unreal crisp. Golden, buttery bread giving way to a soft, goo-on-goo inside. Once again, so simple, such child’s play. And yet, so satisfying. Given the pandemic and all the political nonsense in the world now, it feels good and right to return to what grounded us as children- a safe and familiar haven. As humans we like to seek out patterns and familiarity, to some degree. This may be an element of that. Little things like making toasties and sharing them with coffee may even help us rewire our brains for positivity and excitement.

Note: you can use bread that is not white of course, but white toasting bread is usually the optimal shape for toastie making, readily absorbing the melted butter that you brush on top and letting the heat penetrate its pores when the toastie maker is ready.

Peanut butter Marshmallow Toastie

*indicates a vegan or gluten-free substitution that will be mentioned below the recipe

Ingredients

2 thick slices of white bread*

1 tbsp butter*

2 tbsp peanut butter

half a banana, sliced

handful of marshmallows, each sliced in half*

*vegan sub: use vegan butter or vegetable oil instead of butter (I suggest staying away from avocado oil as the flavour is too strong and will overwhelm the rest of the flavours). Use vegan marshmallows instead of regular marshmallows.

*gluten-free sub: use gluten-free bread

Directions

Take one slice of bread and spread one side with butter. Repeat with the other slice of bread (around 0.5 tbsp butter on each slice). If you’re using a toastie maker, use slightly less butter. Make sure your butter is soft before spreading. Then spread 1 tbsp of peanut butter on the other side of each slice of bread. Now have your two slices facing you with the peanut butter sides facing upwards. Put the banana slices on one slice of bread and the cut marshmallows on the other. Then sandwich the bread slices so that the banana and marshmallows face each other on the inside of the sandwich.

Heat your pan on medium heat and press the sandwich down. Use a spatula to press it. After around 4 minutes check the underside of the sandwich with your spatula- it should be golden-brown and the marshmallows should look melty. Flip the sandwich over and press down again. Cook for another two minutes. The banana should be soft and the peanut butter and marshmallows should be soft and melty. Cut whichever way you want and enjoy alone or with a strong coffee.

Classic Cinnamon Rolls


Processed with VSCO with f2 preset
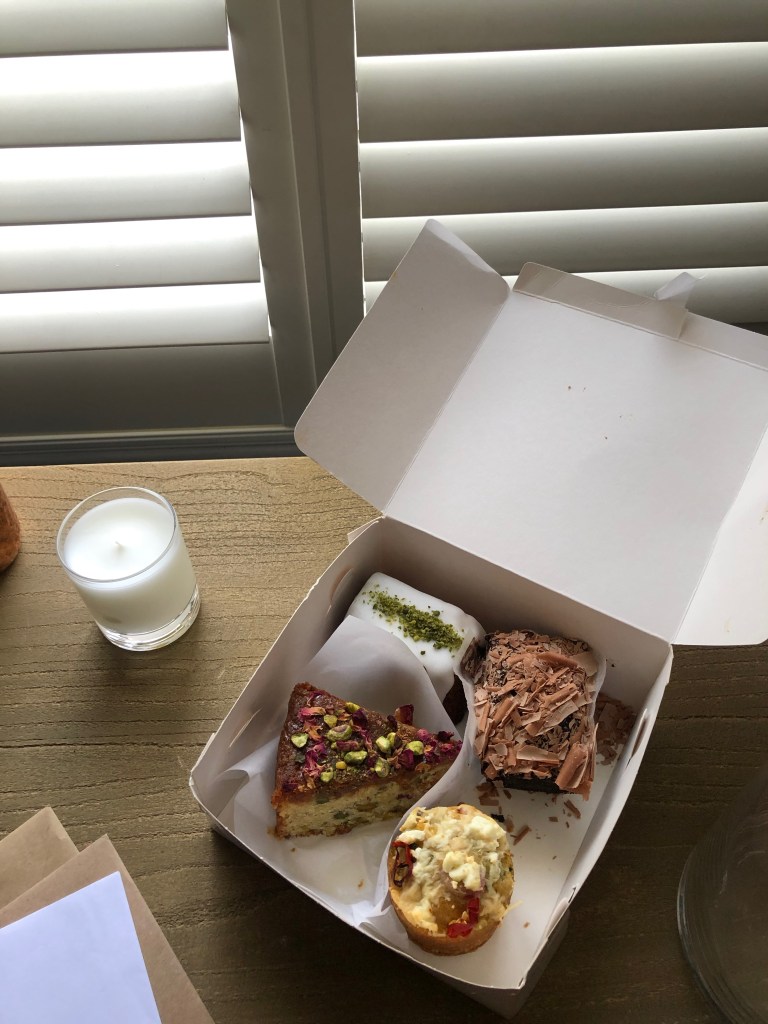
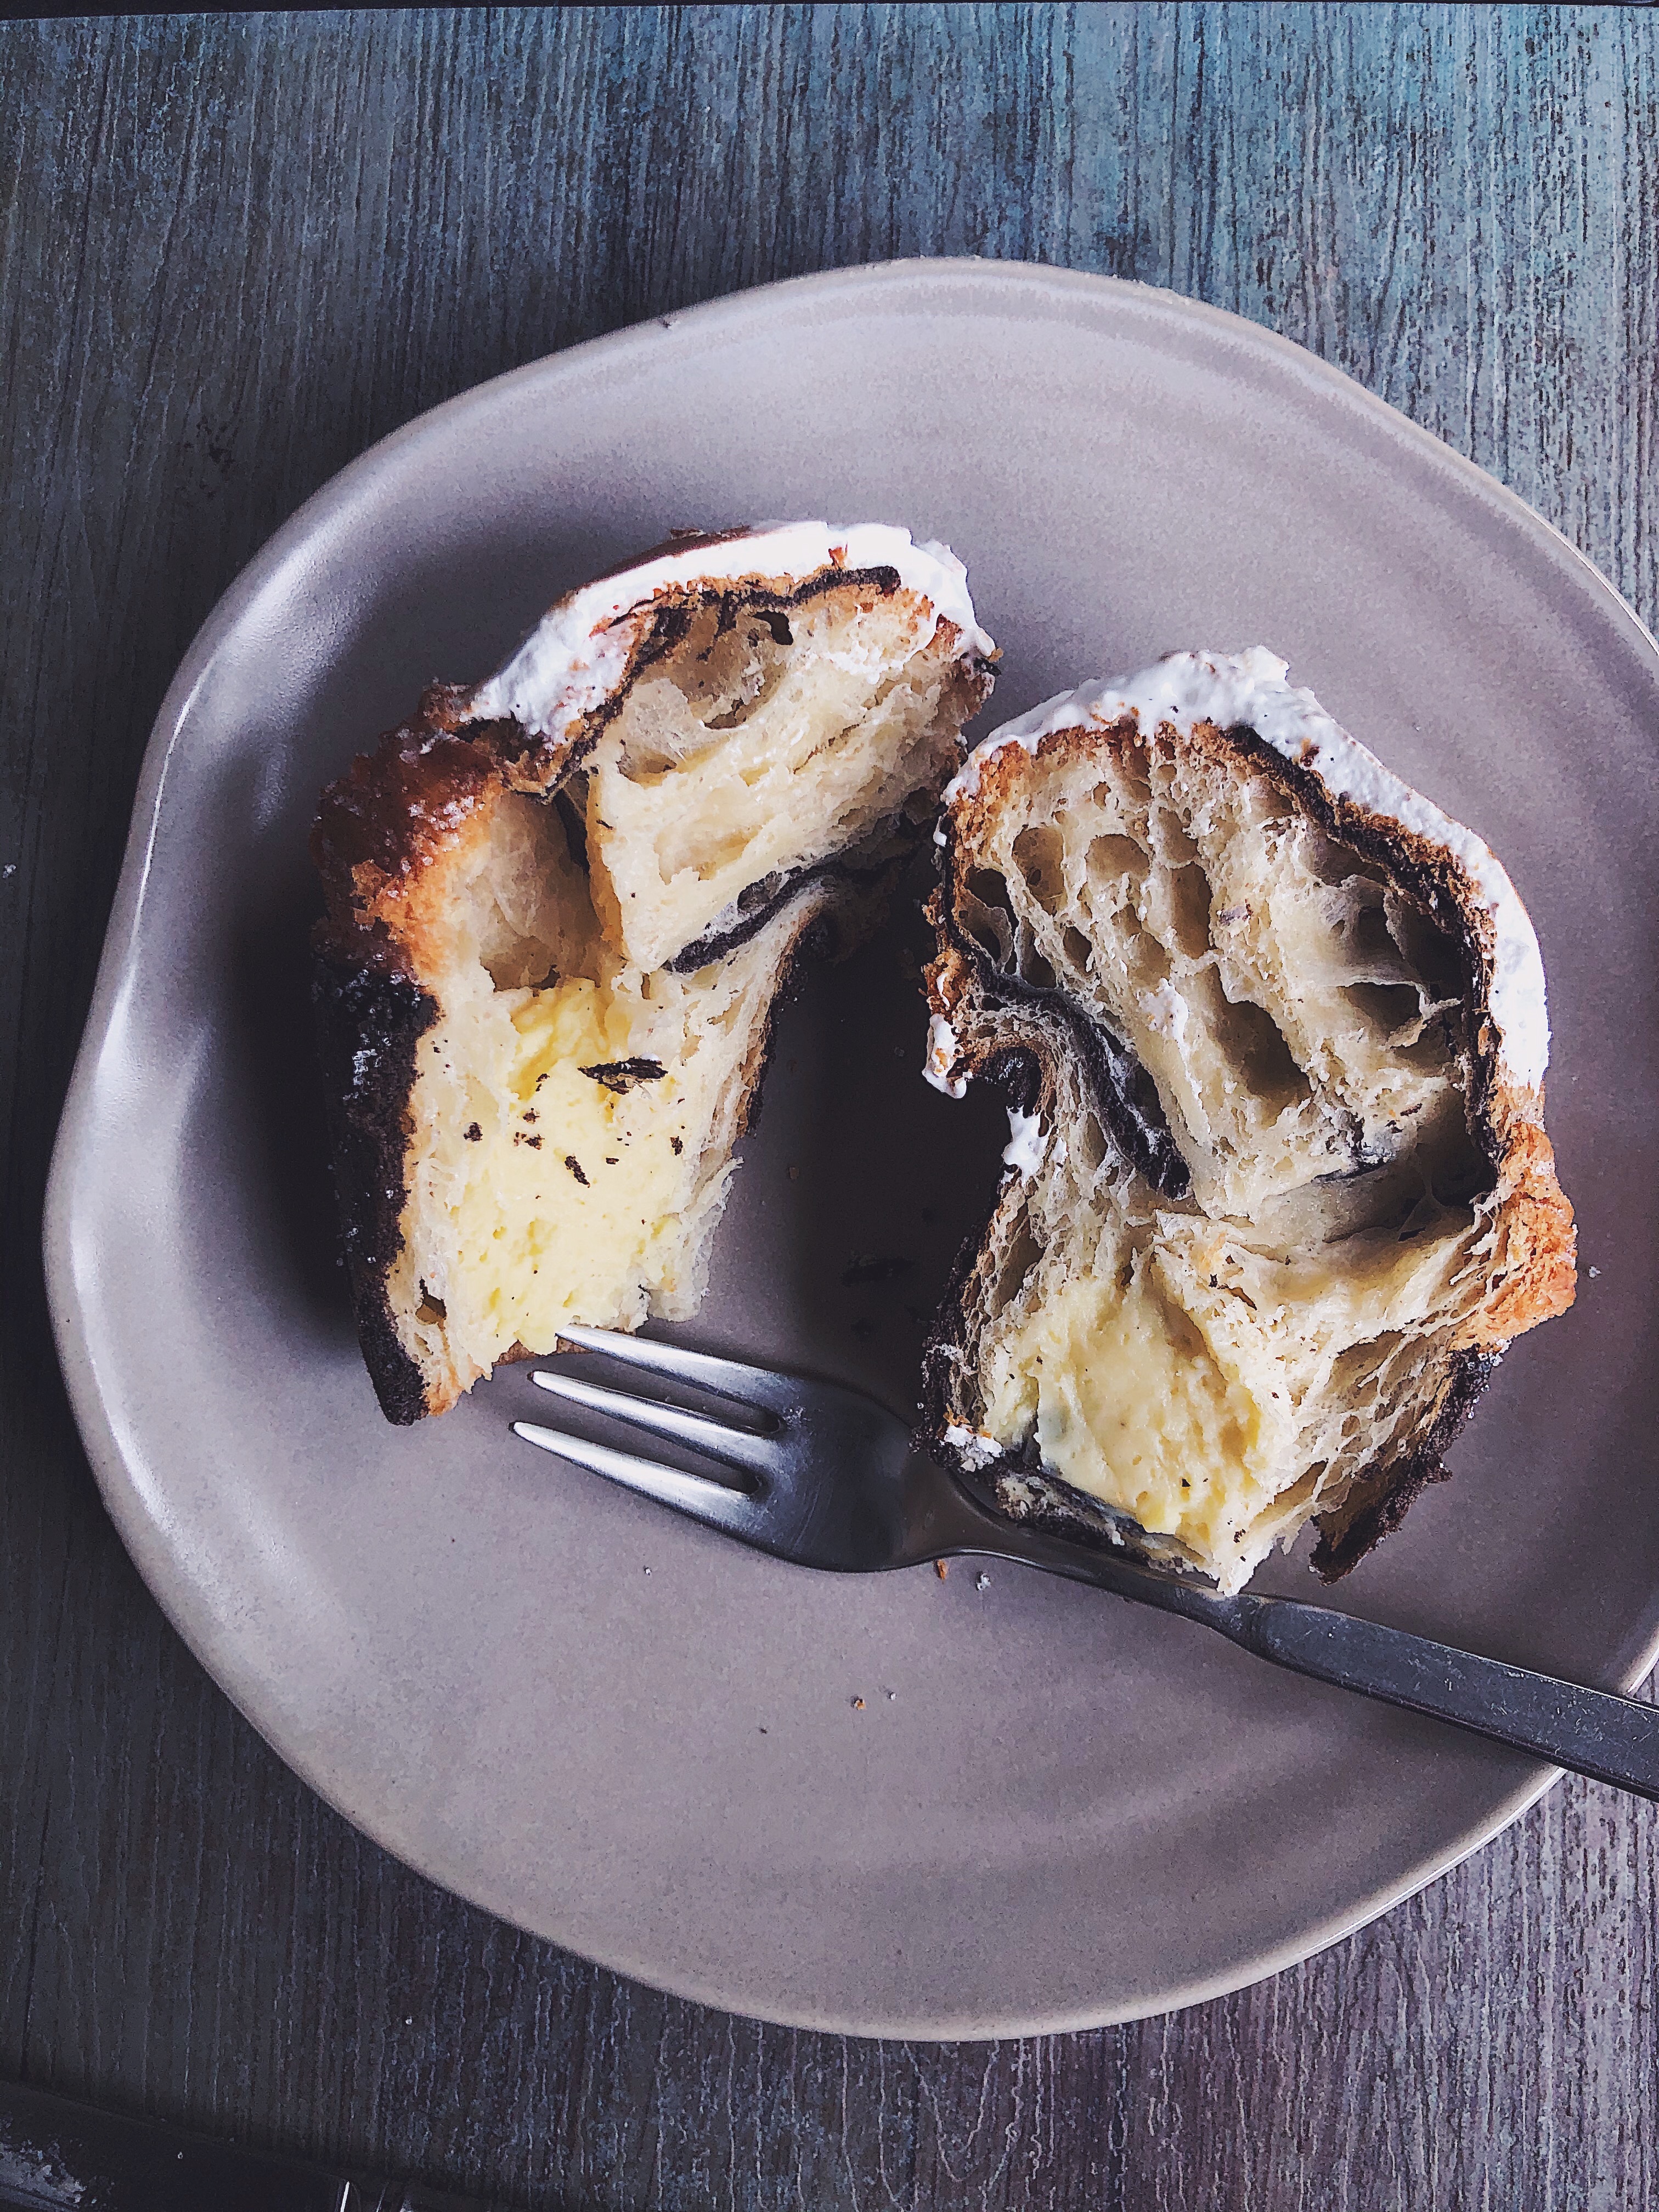
Lately I’ve found it hard to wrap my head around the concept of balance and moderation, realising that I’m pretty wired to think about everything in black and white. I either have a totally intellectually fulfilling day or I don’t. I either eat extremely healthy one day or I don’t. Clearly balance is something I’m still trying to conquer as a habit, as elementary as that may sound. Translating this lack of moderation to my creative endeavours, sometimes I’m so focussed on creating something new and exciting that I forget the roots of my baking pleasure– classic favourites. I get a high from riding on this streak of new things that I forget the magic of a simple classic. I’ve been putting this particular recipe off for a while. Cinnamon rolls are a tried and true classic and I don’t know anyone who doesn’t enjoy a bite of these gooey, cinnamony treats. I made these the first time almost 5 years ago using a random online recipe and loved them best with a cream cheese frosting. Aside from cinnamon rolls, I’ve enjoyed and made a few things that I’ve really enjoyed the past few weeks:

Processed with VSCO with f2 preset
Rye strawberry balsamic brownies from Woodlands Sourdough

Processed with VSCO with f2 preset Processed with VSCO with f2 preset
Smoky cruffin from Maxi bakery by Bearded Bella

Processed with VSCO with f2 preset Processed with VSCO with f2 preset
A naked salted caramel cake for my mum’s 50th! 

Processed with VSCO with f2 preset

Back to rolls. I know the classic version doesn’t have the (Americanised) cream cheese frosting, but I must say that this is the version I prefer. The tangy cream cheese pairs perfectly with the sweet bun, which can get too cloying if not cut through with something a little sharper. I recently tried making them again. Although the buns themselves were heavenly- all airy and light, it was missing the element of moist tenderness which I believe a good cinnamon bun should have. So I modified it to have a shorter baking time and, as most good baking recipes have it, more butter. Quite a bit more. It’s also a good idea to cover the rolls before baking with a layer of aluminium foil so that the tops of the rolls do not burn from the direct oven heat. You get these golden-brown, soft, delicious cinnamon rolls with very little effort. You don’t need a standing mixer to make them but it made my life a hell of a lot easier (and cleaner)! You can also just use some elbow grease and knead these for a little longer, just 10 minutes. It’s a good workout, at least.

IMG_2739Processed with VSCO with f2 preset

Classic Cinnamon Rolls (makes 8-9 rolls)

Ingredients

For the dough:

240ml (1 cup) milk

2 tsp active dry yeast

4 tbsp white sugar

1 egg

60g (0.25 cup) salted butter, melted

0.5 tsp salt

250g (2 cups) cake flour

200g (1.5 cups + 3 tbsp) all-purpose flour


For the filling:

2 tbsp ground cinnamon

150g (0.75 cup) dark brown sugar

60g (1/4 cup) unsalted butter, at room temperature


For the cream cheese frosting:

150g cream cheese

0.5 tsp vanilla extract (or vanilla bean paste for a richer vanilla flavour)

150g white sugar


Directions

Pour the milk into a microwave-safe bowl and microwave on high for 2 mins. It should feel warm but not scalding to the touch. If it’s very hot then wait a minute for it to cool down a little. Add the yeast and wait for it to activate, or around 3 minutes. It should have a light brown froth on top. It is ready when there’s a light brown froth on top. Pour this yeast-milk mixture into the bowl of your standing mixer (or just a large bowl if you’re doing this by hand) and add the sugar, egg, salt and melted butter. Whisk together. Then add the two flours and on medium speed, let the standing mixer knead the mixture well for 6-7 minutes. If doing this by hand, knead the mixture a little bit in the bowl first to let all the ingredients come together, before tipping it onto a well-floured surface and knead for 10 minutes. If the dough is too sticky or is sticking to the bottom of the mixing bowl, add more flour. Add enough flour so that you have a pliable and slightly sticky but not too sticky consistency. Shape the dough into a rough ball, place it back into the bowl and let it rise for at least an hour with a damp cloth, to keep the dough moist while the yeast does its work to expand it.

Right before this hour is up, mix together the room temperature butter, brown sugar and ground cinnamon in a small bowl. Once the dough has risen (an hour later), tip the dough out onto a floured surface and use a rolling pin to gently roll it out into a 9×14-inch (22x35cm) rectangular piece of dough. Use a spatula to smear the brown sugar-cinnamon mixture onto the flattened dough, leaving a half inch border around the edges. It may initially seem like a lot but it really is just enough!

Tightly roll the rectangle lengthwise and place the log so that the edge is at the bottom. Use a serrated knife or piece of floss to cut the rolls into 1-inch pieces. You may have to cut off the two edges first as they don’t have much filling. Place the rolls in a greased 9-inch round or square baking pan, cover these and leave them to rise for half an hour. Preheat your oven to 180C (350F) in the meantime. Once the half hour is up, cover the rolls with a piece of aluminium foil and place them in the oven to bake for 16 minutes. While they are baking, make the frosting by mixing the cream cheese with sugar.

Once the rolls are finished, leave them to cool for 10 minutes before smearing a generous amount of cream cheese frosting onto each roll. These are best served the same day they are made, warm and fresh. They can also be kept in an airtight container for up to 3 days, but microwave before serving to make sure they are warm and the insides stay gooey.