Peanut Butter Chocolate Chip Cookies

Processed with VSCO with f2 preset

It feels good to settle into routine in another country. The air is clean and fresh here, the experiences full. There are so many things that I easily take for granted on a daily basis, like walking in the public gardens nearby, or having access to clean water and delicious food at any moment. As much as I love the UK, Germany is beautiful, quaint and interesting in its own ways. Some things I’ve really been enjoying have been:

  • Grocery shopping in Germany. There’s always high-quality food at decent prices, even at the more ‘upmarket’ stores.
  • Evening reading with a drink
  • Of course, the bakeries here. Nussecken and Rosinenschnecken are a couple of my favourites, alongside the classic franzbrötchen.
  • The app Freedom which has (finally) allowed me to melt into phases of deep work on a daily basis, and I can’t recommend it highly enough.
  • This movie and this movie. I’ve learnt and remembered so much during each.
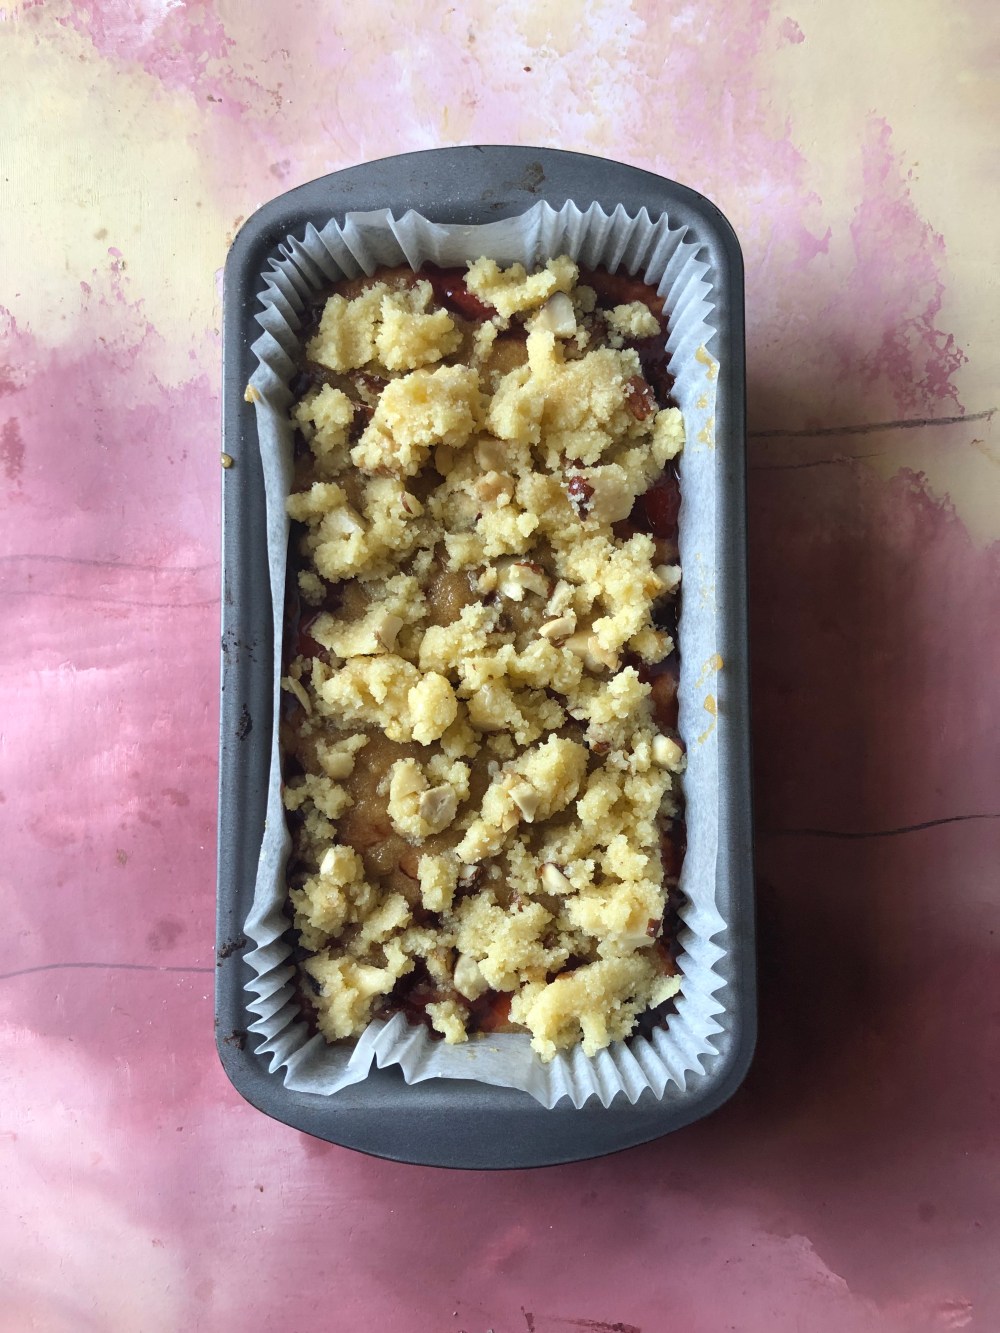
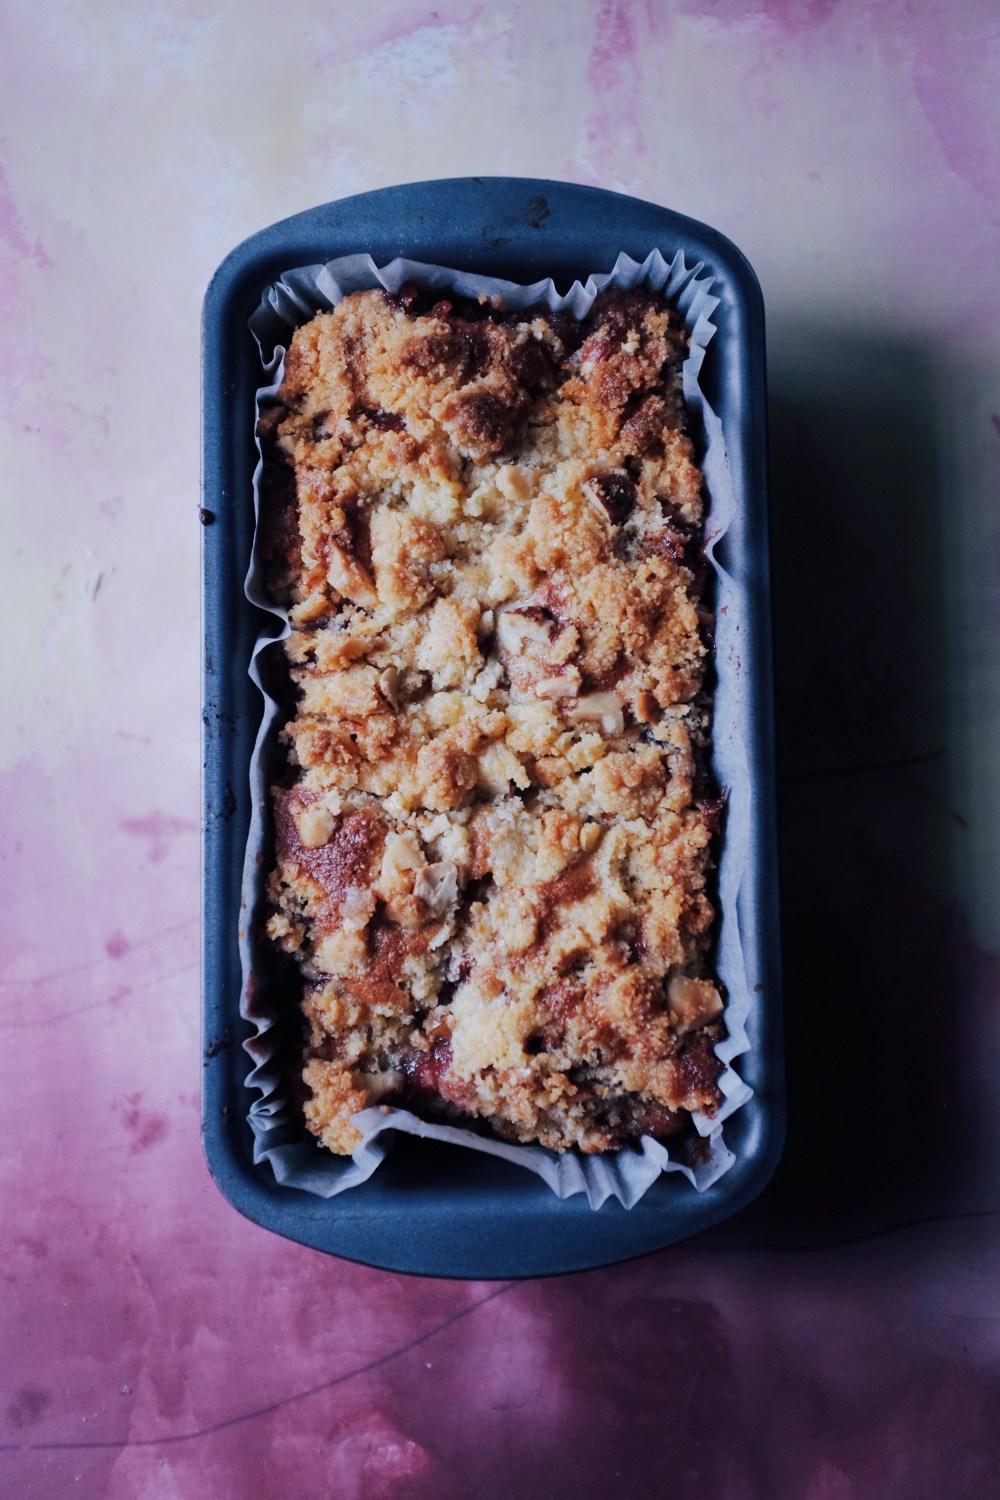
  • Making a page each, every month, for ‘Memories’, ‘Gratitude’ and ‘Recipes to Try/Recipes I loved’ in my bullet journal. They’re simple pages, lined at the border with the dates, 1-30/31, and it’s so fun to fill them in every day, even if there’s nothing or not much to write at all. The very act of putting it in the bullet journal is still fulfilling since it makes me want to fill up each day with something anyway. For the Recipes one so far this month, I currently have my boyfriend’s zucchini lemon pasta and these cookies on it…!

Processed with VSCO with f2 presetE09A67E5-C7CE-4A39-89BA-9D0448C4B0E4-A50F3D83-4D25-4127-9932-3AFCB16117D9Processed with VSCO with f2 preset

It’s a classic peanut butter chocolate party. I’ve played with many variations of this tight-knit couple over the years which you can find over at the recipe index. I have a lot to say about this cookie and I’m not sure why, perhaps it’s because I felt like a child making and eating it, with the simple use of white sugar and milk chocolate, no frills and no special ingredients. I didn’t even have baking soda, for goodness sake. But there I was standing in the middle of the kitchen, suddenly five again, happy to have made something delicious yet deceivingly simple.

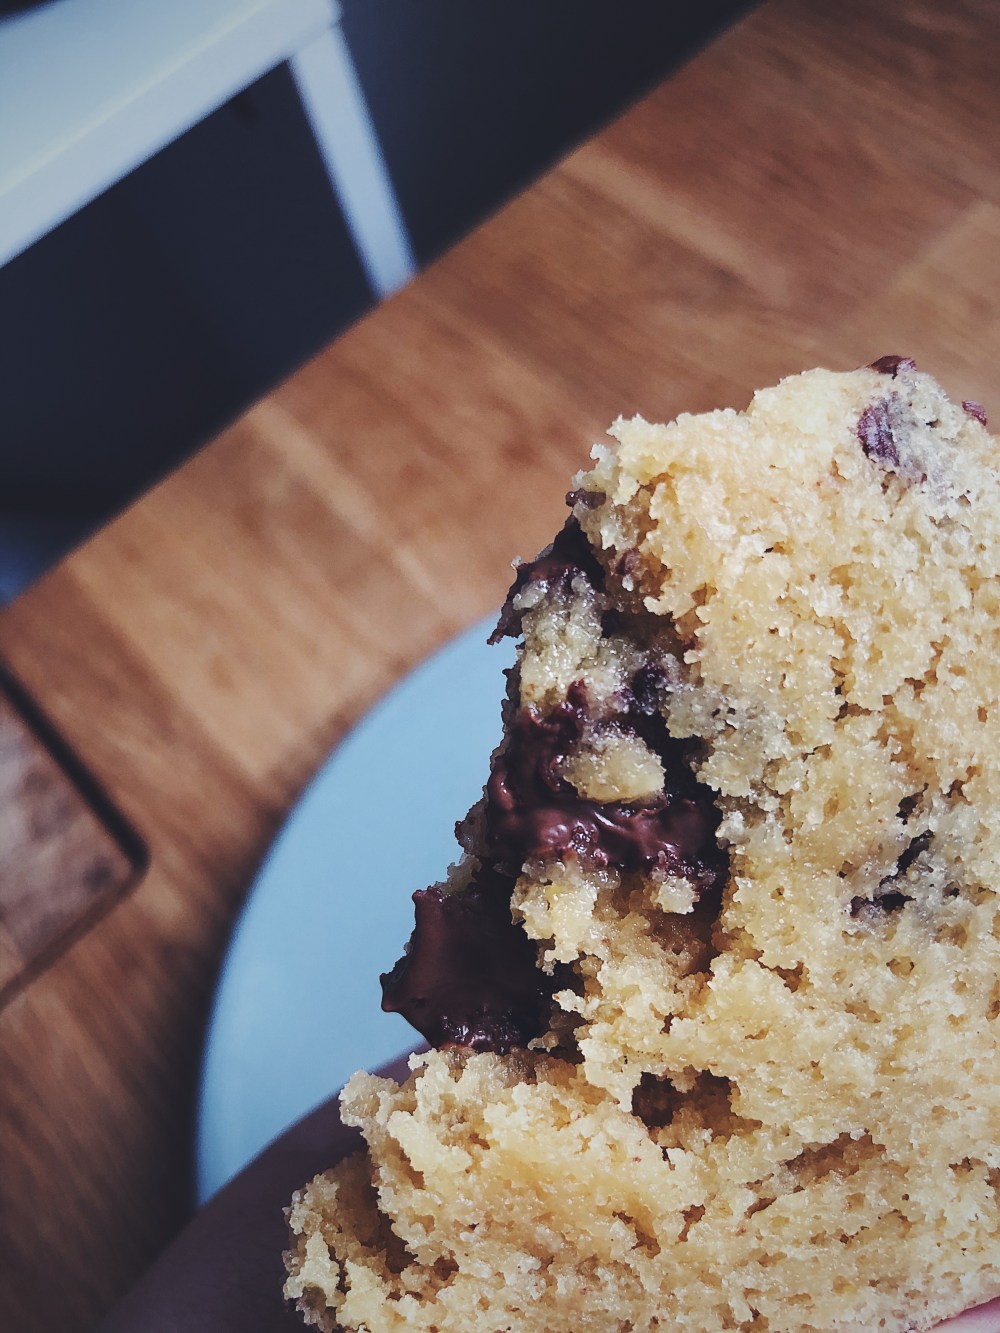
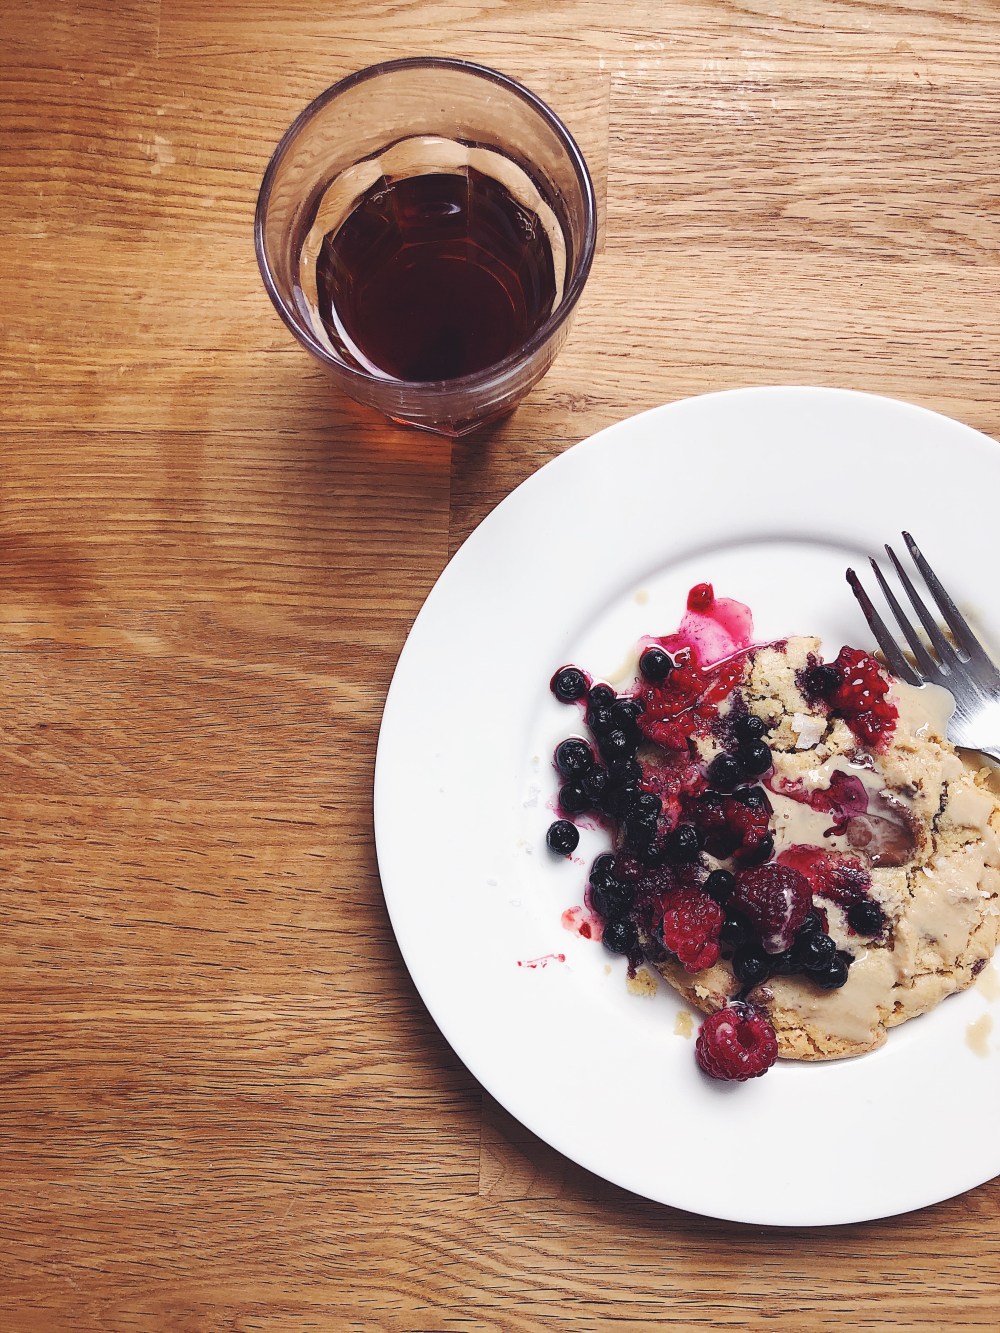
My first bite was linked to this thought: wow, chewy reached a whole new level. Call me stupid or childish but breaking into one of these cookies was tantamount to tears-of-joy-ecstasy. I couldn’t explain it while standing there in a kitchen so I’ll just babble here. Made a small batch first to test and it came out beautifully, albeit one minor flaw, and I knew I had to share the recipe this week. Puddles of melted chocolate, a gooey, saturated, buttery centre, crisp and chewy edges. I originally planned to make something totally different, but I was craving and wanted to test this successful cookie again months after making them, and the happiness these cookies brought me sent me over the edge, so these are taking the cake this week.

The original recipe I wrote up uses brown sugar and olive oil, the latter of which I used for a more interesting depth of flavour. They’re less crisp around the edges and more of a dense, fudgy cookie, whereas these are slightly lighter with its use of the classic duo- butter and white sugar. The use of white sugar makes for a very craggy surface, which is both aesthetically pleasing and fun to bite into. In most of my recipes I like to use both white and brown sugar for flavour and a dense texture, but the use of solely white sugar here did not compromise on anything since the flavour focus falls on the peanut butter anyway. Try and use that natural, grainy, unsweetened peanut butter; the processed stuff would work well too but try and make sure it’s unsweetened. White sugar may be replaced with cane sugar and brown sugar, but you will end up with a less texturally complex cookie that’s less chewy overall. Finally, as with all good chocolate chip cookie recipes, coarsely chopping the chocolate will make for a more pleasurable eating experience, and the unevenly sized pockets of melted chocolate on a craggy white surface are a visual wonder to behold.

Processed with VSCO with f2 preset

Processed with VSCO with f2 preset
one of the cookies, warmed up, with tahini, honey and mixed frozen berries, wow

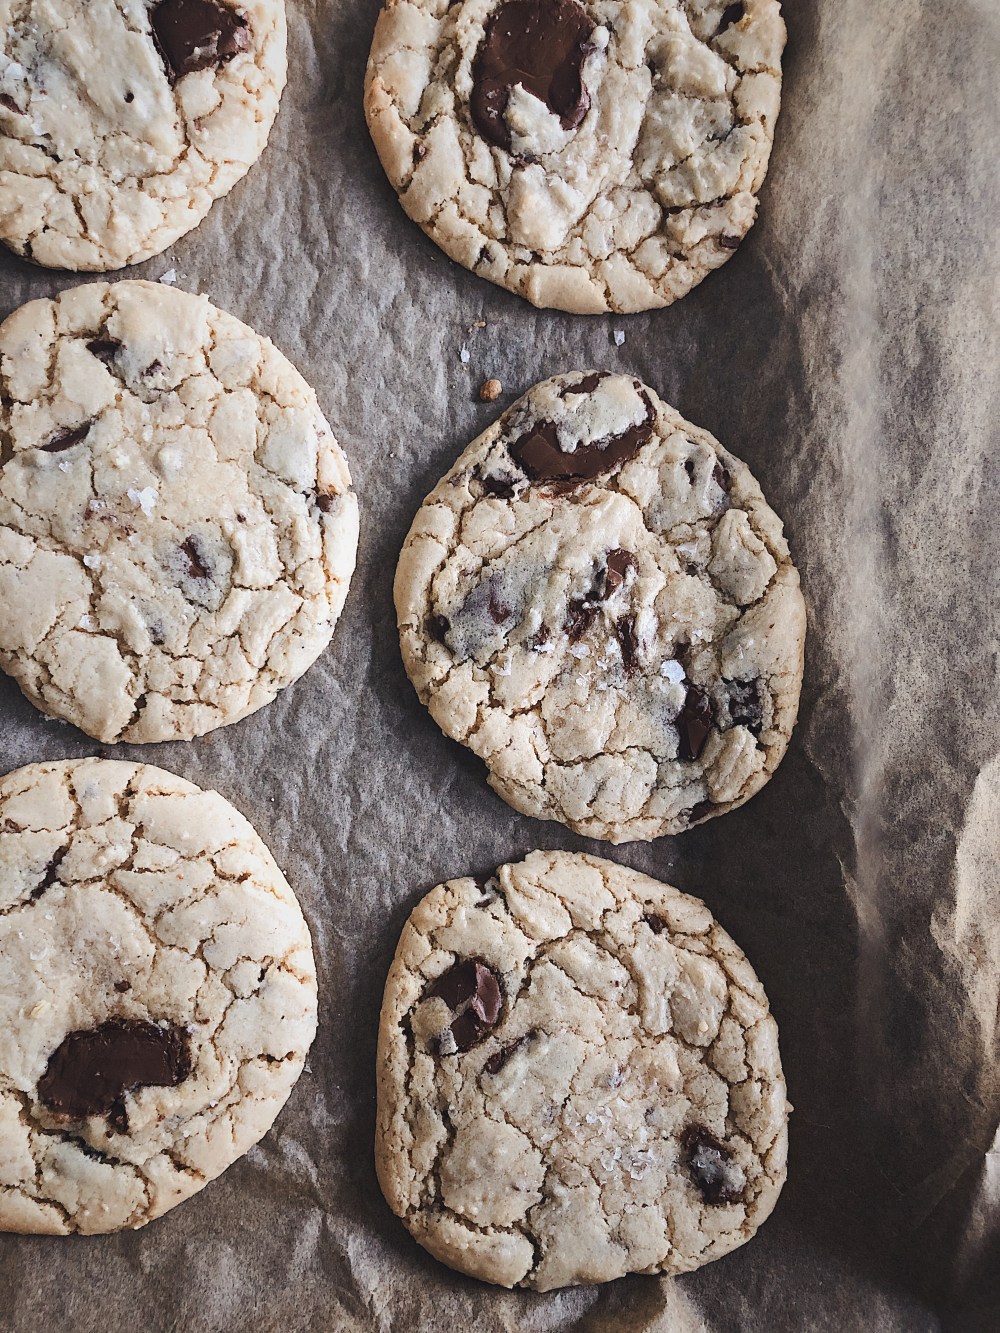
Peanut Butter Chocolate Chip Cookies (makes 6 medium cookies, can be scaled up as needed)

*indicates a vegan or gluten-free substitution that is mentioned below the recipe

Ingredients

60g (1/3 cup) butter, unsalted (*vegan sub)

1 tsp fine salt

140g white sugar

1 egg (*vegan sub)

70g (1/4 cup) peanut butter (I used smooth, but you can use whatever texture you prefer)

130g (1 cup) all-purpose flour (*gf sub)

1 tsp baking powder

80g (almost a whole bar) milk chocolate, coarsely chopped (substitute with dark chocolate here if you prefer)

Coarse salt (such as Maldon) for sprinkling


*vegan sub: instead of regular butter use the same amount of vegan butter or margarine

*vegan sub: 1 flax egg: make this by mixing 1 tbsp ground flaxseed with 3 tbsp water in a small bowl, and let that gel for a while before you use it

*gluten-free sub: substitute the all-purpose flour for the same amount of gluten-free flour blend or 250g of almond flour (I don’t recommend using coconut flour here)


Directions

Preheat your oven to 180C (350F) and line a baking tray with parchment paper. In a small microwave-safe bowl, melt the butter on high heat for 30 seconds, or until melted. Let that cool for 2 minutes. Then tip the melted butter into a larger bowl, add the sugar and salt and mix well with a whisk. Add the egg and whisk that in well too.

In a separate medium bowl, briefly whisk together the flour, baking powder and chopped chocolate, then tip that into the wet mix. Stir well with a spatula or wooden spoon until everything is just combined. You should have a sticky, thick, but soft and pliable consistency.

Use your hands or a large spoon to scoop batter into golf ball-sized pieces and place them onto the prepared baking tray. You should get 6 cookies exactly. Flatten the cookies slightly and sprinkle with coarse salt. Place the tray in the oven and bake for 12 minutes exactly. The cookies should still look soft when you take them out of the oven, but the edges should look slightly darker- that’s when you know they’re done. If not, bake for 1 minute longer. Leave them to cool for at least 10 minutes before digging in. These are of course best enjoyed warm but can be kept for a few days in an airtight container or freeze and reheat whenever you want.


Strawberry Streusel Cake

453FA7BA-4CC0-48D8-969C-D9950CFB3E2D

This is, briefly and simply put, absolutely sublime. When I shared this loaf with my godparents, my mother and godsister, they all exclaimed it was incredible, especially doused in some heavy cream, after a lighthearted meal over denser conversation. And I do agree.

I’ll say it first before you get to the ingredients: This is a gluten-free cake. Yes, it is gluten-free, but. A but. I’ve recently become more aware of the effects of gluten not just in myself, but in others. I love my bread and might never stop eating it, however one too many a slice and I will feel it. The bloat, you get it. The carbohydrate may be the most demonised item in this current era of food-demonising, and it’s hard to determine what we could or should eat, if we end up eating anything at all. But this article puts things into nice perspective. That being said, the effects of refined flour cannot be denied and I too have to force myself to take it slow with the not-so-great stuff. There will always be room for dessert, just not every day of the week.

3728111 Processed with VSCO with e3 presetIMG_06153943549 Processed with VSCO with e3 preset

Therefore, the side effects of a Saturday morning’s adventurous spirit include stepping outside of my little box of refined flour and sugar and trying things like almond flour. And how simple, plain and easy, it was. How joyous, to mix something as nondescript as almond flour with eggs and then boom, a perfectly intact cake is born.

The cake is moist without being gluey, with that perfect golden-brown all over after the single hour in the oven. I used strawberries here but feel free to use any berries you have on hand, and the same goes for the streusel topping which has mixed nuts, in which case you can use whatever nuts you like.

4349530 Processed with VSCO with f2 preset Processed with VSCO with e2 preset453FA7BA-4CC0-48D8-969C-D9950CFB3E2D

Strawberry Streusel Cake (makes one 9×5-inch loaf)

Ingredients 

For the filling:

2 cups strawberries (fresh or frozen), stems cut off and diced

100g (0.5 cup) sugar

1 tbsp freshly squeezed lemon juice

0.5 tsp cornstarch


For the streusel topping:

45g (0.5 cup) almond flour

handful of chopped nuts (I used a mix of almonds, cashews, brazil nuts and walnuts)

90g (little less than 0.5 cup) sugar

35g (0.15 cup) salted butter, melted


For the cake:

3 eggs

50g (0.25 cup) light brown sugar

60g (0.25 cup) caster sugar

150g (around 1.5 cups+ 2 tbsp) almond flour

0.5 tsp baking powder

0.5 tsp baking soda

1 tsp vanilla extract

*Substitution notes:

VEGAN: Make 4 flax or chia ‘eggs’ in replacement of the 3 eggs, made by mixing 4 tbsp ground flaxseed or chia seeds with 8 tbsp water, and setting that aside to gel up for a bit. Substitute the butter with vegan butter.

KETO: Substitute the half cup of sugar with half cup xylitol or two-thirds cup erythritol


Directions

Preheat your oven to 180C (350F). We start with the juicy berry filling: In a saucepan heated on medium heat, add the strawberries, cornstarch, sugar and lemon juice and cook until the mixture turns glistening and sticky.

Now for the cake. In a bowl, whisk together the eggs, sugars, vanilla extract, baking powder and baking soda. Then add the almond flour and whisk. The mixture should look pretty wet, but don’t worry since this will set nicely in the oven once it is finished baking.

Make the streusel topping by whisking all the streusel ingredients together with a fork in a separate bowl. Grease a 9.5-inch loaf pan, then add half of the cake mixture. Add the mixed berry mixture evenly on top, and then add the rest of the cake mixture, and then finally the streusel topping. Bake in the oven for 1 hour exactly. Remove and let the cake cool in the pan before serving (with powdered sugar and doused in heavy cream, preferably).

Goreng Pisang on Toast

2910193 Processed with VSCO with f2 preset

There are too many things, upon my arrival in the homeland, this special little red dot, that I was much too eager to get into again (jet lag came, stole all my energy and enthusiasm. But now that that’s gone, each day seems a refreshing beam of light, a hopeful promise). But yes. Café hopping, family and friends aside, it’s all about food. Old flavours, fun memories, revisited. That’s what I missed. There’s always something to be aware of, to be curious and excited about. Right now I’m deeply appreciating, here in Singapore, access to good food at much cheaper prices, and the cool and quirky Asian/pan-Asian delights one can find anywhere, in the basement of any big mall (my favourite is the Takashimaya one, for the record).

9D0A5220-7CEE-47F9-AEBA-5718BB6BF8F5
A recent tea party I had with my dear friend Charlie at an Airbnb café– how cool are these? They specially made vegan chocolate avocado mousse for me, and the accompanying chai tea was sublime. 
3570212 Processed with VSCO with f2 preset
My favourite place for good sourdough– The Bakery by Woodlands Sourdough at Bukit Timah. Thick almond butter and honey on thick, crusty toast. The sort of thing I actually will pay for once in a while, it’s that good.

It’s a time to revisit, guiltlessly, all the sweet flavours I missed. Black sesame, durian, matcha galore. Endless. Gorgeous! One of my favourite food thingys that I used to have on a regular basis, aside from durian puffs and dark chocolate taiyakis, was goring pisang (fried banana). My grandmother still occasionally buys them from the hawker centre, and are too, too perfect with a cold dollop of vanilla bean ice cream, or just on their own as they are.

It feels downright weird to be back. With no dissertation to complete, I am officially a graduate (ok not entirely, the graduation is in October, but still). Now, there’s a space in my head, one that need not necessarily be filled all the time. A space to feel, to think, to scroll through all the emotions that have been mashed together for too long in the days leading up to some exam, or assignment, or thesis. Because sometimes scrolling through emotions means putting rationality on the back-burner. This feels so free. This feels like a good, long, abdominal breath. And true enough, it is important to take time, intentionally, to do this daily, or at least weekly. But it’s also good to get away from it all entirely, take a break even from blogging, as I did the past two weeks. Routine, a good one, is a conscientious way of re-organizing one’s priorities. But sometimes a little break from routine allows for reflection on the meaning of the routine itself, instead of being on autopilot all the time. It’s sort of like atoms in a certain structure. The bits that make up the structure may be strong and sturdy, but breaking away and re-organizing them in a smarter and more efficient manner may leave you with a structure even stronger than before).

Now let’s go bananas. It’s all about the right banana and the right batter. The two must complement each other– too ripe a banana will leave you with mushy bits of nothing, while the batter should comprise ice-cold water, rice flour and corn starch for the perfect degree of crispiness. Then everything is fried, and I don’t think you can go wrong by either shallow or deep-frying, because it’s still a fried banana, and you can’t go wrong with that, can you?

Traditionally, these golden beauties are eaten with ice cream or with a custard, but that Monday I decided to bung it on some toast layered with fresh, thick coconut yoghurt, peanut butter and jam, and my taste buds were on absolute fire. The combination of the creamy yoghurt, tangy and sweet with peanut butter and jam, cradled the crisp, wispy outer layer of goring pisang batter. You think about it, and the whole thing seems or sounds a little silly. I mean, fried anything can’t really go wrong. Or just leave the poor banana alone, for goodness sake. Why coat it, why ruin it? But that’s the fun of experimentation, is it not? I’ll breathe down the back of the traditionalist for as long as I can, challenging the norm. If we can fry bananas, or mars bars, or friggin’ tea bags, then why not put them on something and call it a meal? Like your usual pb&j toast. The coconut yoghurt really is just for fun. The whole thing is just fun and delicious, so let’s just leave it at that.


Ingredients

2-3 ripe (but not too ripe!) bananas, sliced in half (along the breadth, not down the long centre)

40g plain flour

2 tbsp each of rice flour and cornflour

¼ tsp baking powder

pinch of salt

5 tbsp ice-cold water

vegetable oil for deep frying, of which a tablespoon you will mix into the batter

*optional accompaniments: bread slices (use whatever bread you like but whole-wheat or sourdough is preferable), coconut/soy yoghurt, peanut butter, jam


Directions

Mix all batter ingredients (everything listed above except for the bananas) in a shallow bowl. The batter should be smooth, without any lumps. This can be done by adding the water slowly, in thirds, and whisking well in between. The batter should not be all that thick– if it is, add a little more water to thin it out.

Add your cut bananas to the batter and coat them well with the help of a fork or spoon. Meanwhile, heat 1.5-2 inches of vegetable oil in a wok/frying pan. Add enough so that the bananas will be just covered. You can also save some oil by using less oil and turning the bananas halfway through. Once the oil temperature has reached 180C (320F), and you can do this with any candy thermometer, add the coated bananas and fry until they are visibly golden-yellow. 2-3 bananas are perfect for this recipe because too many will make the temperature of the oil drop a little. Once visibly golden and crispy, take the bananas out with a pair of tongs and place them on a paper towel to drain the excess oil. Be careful this whole time, the oil may spit and hurt you. These are best eaten immediately or at least the same day they are made. For this twist, toast your bread slices, then add a tablespoon each of coconut yoghurt, peanut butter, and finally the jam. I like strawberry jam, but that bit’s up to you. Then cut your fried bananas in half lengthwise, then put them on the piece (or pieces) of toast. Take a bite. Savour that. Love that.

Apple Strudel

3023365 Processed with VSCO with a5 preset Processed with VSCO with f2 preset

Things to be grateful for the past week:

  • Billie Holiday. Happy belated, you star.
  • Extended periods of concentration
  • My mum’s lipstick (oops).
  • Discovering new, creative inspiration all around me, in the air, sights, people (Instagram aside, of course).
  • Daily yoga practice. Still trying to get better at certain inversions and balances. Nothing else truly grounds and invigorates me.
  • Love. Everywhere. Phone calls or video calls. Precious and genuine.
  • Making mistakes, and distinct feelings of unease. And then letting the right balance of stoicism and determination kick in. Feel, embrace, face obstacles, before trying to untangle and change them.
  • Coming across the cutest café (named Moreish) near the Wellcome Collection full of delicious vegan options, including vegan gelato!!
  • Coming up with more easy, AMAZING new recipes which I am so excited to release week after week! And just refining some sweet (literally) cult classics whenever I can. Snickerdoodles, red velvet cake, carrot cake, fudgy brownies galore. These things just can’t go wrong.My most recent experiment was particularly exciting and got me squealing on my knees at 10pm last night. Seriously.

Over the Easter weekend I was privileged enough to be hosted by my boyfriend’s family in Austria. On the plane ride back, my hands were itching to start playing with the Austrian cult classic– yes, the one and only apple strudel. I remember my first encounter with the traditional Austrian pastry before I went vegan so distinctly, The first bite was an explosion of thick-cut chunks of tender, stewed, cinnamony apple, enveloped in light-as-air, flaky pastry. Drenched in vanilla sauce (you usually douse your pastry in either this or vanilla ice cream if you have it), each vanilla speckle visible in pure, vivid ivory, if ivory could be so vivid. It’s the perfectly flaky pastry encasing soft apple, firm yet two steps away from being mush upon the pressure of your spoon, that I wished to replicate the past weekend.

And that I did.

3799083 Processed with VSCO with a5 preset Processed with VSCO with f2 preset

487AEAAF-EC54-4E1B-AFA1-C6B679EBA769.jpg

This easy vegan apple strudel is about an hour away from you if you feel like buying some filo tonight. Seriously, it’s so darn easy and delicious I can’t possibly think of what is stopping you. Since I was only making this for me and my uncle last weekend, the strudel I ended up with was a rather small thing of a sausage, but nevertheless satisfying in portion. Double the ingredients if you wish to make this for a larger party or, say, 5 or more friends who are more cautious than carefree when it comes to dessert after a hefty dinner of pot stickers and the likes on a Saturday night. I personally enjoy any dessert a la mode, as opposed to drenching it in custard or vanilla sauce. Ice cream any day for me, who’s with me?? I also drizzled over some of my homemade salted caramel sauce of extra pizzaz, though any sauce is of course optional, if you’re the sort who also hates stuff like sweet chilli sauce. Is that even possible?

Filo pastry actually comes in so handy for these types of dessert– I like to chuck mine in the freezer and let it thaw for at least 3 hours or overnight in the fridge to be used the next day.

3020716 Processed with VSCO with a5 preset Processed with VSCO with f2 preset

Apple Strudel (makes one 4×8-inch strudel. enough for 2-3 people)

Ingredients

2 large apples, diced

juice of half a lemon

1 tbsp ground cinnamon

2 and a half sheets of filo pastry, with the 2 larger ones cut in the middle along the longer edge, so you end up with 5 halves. If you’re using frozen filo pastry

A handful, or about 30g of chopped nuts (or buckwheat groats, as I used in my case since I didn’t have many nuts lying around– sacrilege!), and some extra for sprinkling later on

4 tbsp vegan butter, melted in the microwave

4 tbsp brown or coconut sugar

Directions

Preheat your oven to 180C (350C). In a bowl, mix together the chopped apple, cinnamon, lemon and nuts. If you don’t have any nuts or buckwheat groats, granola or any trailer mix sort of thing works well too. Set the bowl aside.

Place a piece of parchment paper that fits a standard baking tray, and place the paper on the tray. Flour the parchment and lay down one sheet of filo pastry. Carefully (filo pastry is quite delicate) brush on some vegan butter, then sprinkle on a tablespoon of brown or coconut sugar, then some of your finely chopped nuts/granola/something crunchy basically! Then lay down your second piece of pastry and repeat. Repeat until all five sheets are used up. Place the filling in the middle of the pastry, leaving a border of an inch from the shorter edge (breadth) and 2 inches from the longer edge (length). Refer to the pictures above for a clearer idea of what I’m saying. Using a sharp knife, roughly cut lines going from the edge of your filling to the length of the pastry, spaced 2 cm away from each other and parallel to each other. The lines should match up to each other on both sides of the filling.

Carefully fold the strips of pastry towards the middle, using the extra melted butter to stick any overlapping bits together. Continue doing this along the length of the strudel until you reach the bottom. Brush the top of the pastry with more melted butter, sprinkle on some brown sugar, and bake in the preheated oven for 25 minutes. The pastry should not be dark, but crispy all the same. Serve with a healthy dollop of vegan vanilla ice cream, and more nuts for crunch. This can be kept in the fridge for a few days


Chocolate Chip Waffles

3975678 Processed with VSCO with a5 preset Processed with VSCO with f2 preset

Things to note this past week:

My class’s Friday book/film club is adorable and is the perfect excuse to bake every Thursday night if not being lazy.

The National Gallery is an underrated treasure here in London.

Another underrated food is caramelised banana.

Learning is the right balance of acceptance and curiosity.

The bright and vivid, dark ink of a new pen is almost orgasmic.

I picked at a mostly dry stack of buckwheat pancakes the other Saturday and am now afraid of ordering pancakes or waffles somewhere ever again. Today’s post is thus born out of a love for the neglected kitchen, a strong tribute to the homemakers of the century– who needs waffles outside when you can make amazing ones within the warm comfort of your home, to accompany a freshly brewed Nespresso cuppa, a book or probing documentary, and mountains of whatever toppings you would like?

Now that the first huge set of assignments are done, I’m relaxing with my waffles, already on my second cup of coffee. As I type, some doughnuts hibernate behind me. A free Wednesday is therapeutic and needed, sometimes. I think I spend all my money on flour and nothing else. Flour, frozen berries, bread and veggies. Those top the list. What else is required for a happy life; what else is needed to dedicate concentration to the hours that don’t make up breakfast, lunch and dinner?

DE359B6F-0C97-4C3C-B943-772AC23A323A3428588 Processed with VSCO with a5 preset Processed with VSCO with f2 preset

These waffles. They’re thick. They burst and bubble with specks of chocolate, all crisp round the edges and mildly chewy everywhere else. The rims and ridges are sharp and taut, ravines ready to catch your lashings of maple syrup (didn’t have any syrup this time sadly, so used blackstrap molasses which did the trick anyway). You probably can’t tell, but the first picture shows a plain version, the second is chocolate chip-stuffed. Depending on your mood, make either, but at your own caution, for chocolate, melting and caught between each crevice, really makes all the difference.

Vegan Chocolate Chip Waffles For One (scale up for more people as needed)

Ingredients

25g rolled oats

120g plain flour (or whole-wheat if you prefer)

35-40g chopped dark chocolate

1 tsp baking powder

pinch of salt

120ml (1/2 cup) almond milk, or any other plant milk (soy/coconut/oat) you have

3 tbsp olive/coconut oil/vegan butter (doesn’t have to be melted, as long as it’s soft or at room temperature)

3 tbsp maple syrup/blackstrap molasses/rice syrup (use honey if you’re not vegan)


Directions

Tip all ingredients into a bowl and mix until all is well combined. The mixture should be like a thick cake batter; add more flour if it isn’t. You could do this the night before and pop the bowl into your fridge so you save a little time in the morning when you make it!

Preheat your waffle iron according to its instructions, grease with whatever fat you used in the batter itself (in this case I used coconut oil) and pour the batter in, making sure not to exceed the tips of the iron ridges. Cook until the surfaces are lightly browned. My waffle iron doesn’t require me to flip the waffles over, but if you feel the heating is uneven, go ahead and do just that after 3-4 minutes, depending on how fast and strong your iron is. This recipe makes about 2 thick waffles, a generous serving for one person, but sharing with someone else works too. Freeze any extras and toast in your toaster when you want to have them again. Soooo good with thick and creamy soy yoghurt, berries, caramelised banana (see above) and maple syrup.