Avocado milkshake

Processed with VSCOcam with f2 preset Processed with VSCOcam with a6 preset

I love avocados, you know.

Its nourishing green-ness (it’s officially a word now), its thick, fatty, buttery consistency. Yes, that’s it, it’s a healthy butter. Most people hate its slippery meatiness, its grassy and lightly sweet consistency, but to me, it’s practically life in another form. Apart from being mashed thickly on toast with a drizzle of good honey and coarse sea salt, it’s wonderful in this shake. In my opinion, a shake or smoothie should only be thick. So ridiculously thick that you might as well eat it, not drink it, with a spoon, if there were no such thing as fat stripey straws. It makes the process all the more pleasurable, and almost cheeky.

You don’t need much, I promise. And extremely glad my mother owns a Vitamix!

Avocado milkshake (for 2-3 servings)

1 ripe avocado (I used a Hass for this)

1 small or half a large frozen banana (you can use a normal banana, just increase the amount of ice to 2 cups)

1.5 cups ice

1 teaspoon vanilla extract

1 teaspoon each of salt and cinnamon

half cup milk of your choice (I used a blend of almond and whole)

Blend everything together until you get a rich, thick and delectably creamy consistency.

Avocados are worth the life hype.

Flourless Chocolate Cake

It deserves the thing.

AKA a well-deserved post dedication. Chocolate deserves it all. Chocolate is love because chocolate is basically the centre of the universe and everything else hovers in serf-like subservience bound to drifting orbits in honour of the magic lying before them.

Processed with VSCOcam with f2 preset


It’s flourless because of the ground almonds incorporated into the rich and decadent, chocolatey batter. I’m glad I made time just to bake this, in between all the schoolwork and studying, because firstly, it’s hell simple, and secondly, the end result was absolutely worth it. Some people think baking is a serious waste of time, but it’s utterly therapeutic and I love how I get to hone both my skill and concentration in the process. The cake is rich without being too cloying or fudgy in texture, the almonds offering a wholesome crumble and lift in body, dispersed evenly throughout. The quality of chocolate used here is of utmost importance. I used Ghirardelli chips here, because I had some left over from a previous baking spree and I wishd to ensure only the best possible final product. There’s… There’s no room for Hershey’s here, lads. Oops. Try as you might, you just won’t obtain the same glorious melt-in-your-mouth-brownie-style bite.

IMG_1245 Processed with VSCOcam with f2 preset Processed with VSCOcam with f2 preset

Its semi-provocative flavour pairs superbly with a scoop of plain vanilla ice cream, straight out of the freezer and melting like frothy clouds on the surface. The original recipe called for 100% white sugar, but I replaced 50g with dark brown sugar instead to get that gorgeous molasses, treacly flavour. Which reminds me– I really need to get around making a treacle tart soon…


Flourless Chocolate Cake, adapted from Elizabeth David’s Flourless Chocolate Cake (which I’ve been meaning to attack for ages)

Ingredients

5 eggs, separated, with whites in a large and clean, stainless steel or glass bowl

100g ground almonds (or almond flour)

250g good quality dark chocolate (60% cocoa or above), in chips or broken into chunks

1 teaspoon vanilla extract

1 teaspoon salt

150g unsalted butter (or eliminate the one teaspoon of salt and use salted butter instead)

100g white sugar, 50g dark brown muscovado sugar

icing sugar for the topping

Preheat your oven to 180 degrees C (or 350 degrees F). Grease (no lining needed, hoorah!) and lightly flour a 9-inch cake pan with a removable bottom tin, or simple use a normal round cake tin. The cake itself isn’t hard to remove from the tin, so you shouldn’t be worried about having difficulty (as the story is with so many brownie recipes I have tried in the past) to remove it after cooling, post-bake.

Half fill a medium saucepan with water and bring it to a boil. Place a bowl containing the chocolate and butter on top to create a double-boiler system. Use a wooden spoon to stir and melt it all together, and once most of it has melted, add the sugars and continue stirring until it’s all been dissolved. Remove from heat and stir in ground almonds. Make sure to break apart any clumps or clusters. Stir in the five egg yolks.

In the large bowl containing your egg whites, beat with a hand mixer until you reach reasonably stiff peaks. Soft, but not completely stiff. The original recipe said ‘stiff’, but I yielded a perfectly good mixture afterwards even with slightly softer peaks. Definitely past the baby froth stage, but you’re not quite going for a pavlova-style mountain range. Use a spatula to gently fold the egg whites into the chocolate and egg yolk mixture. Take your time here– be patient and wait for a couple minutes until it comes nicely together. Believe me, I was initially extremely skeptical during this stage, as the first few folds seemed to make the mixture split and turn watery. I panicked. But I willed the thing to work (for heaven’s sake, right?) and it all came together beautifully in the end. The ribbons of white will lighten the mixture both in colour and texture, and you end up with a sort of heavy mousse. Just be patient with the folding.

Pour mixture into cake tin and smooth out the top. Place in the middle of your preheated oven and bake for 40-45 minutes. Mine was fine by 40. Check yours with a skewer at 40 minutes– if the stick comes out with moist crumbs then take it out, if it’s wet then leave it in for another 3 minutes or so. Leave to cool on a rack, before dusting some icing sugar on top. Serve this warm with some vanilla ice cream and nothing else, because just this pairs makes for the perfect afternoon treat. Have it for breakfast. Have it for… um, anything, really.

Processed with VSCOcam with f2 preset Processed with VSCOcam with f2 preset

This flourless chocolate cake can be kept at room temperature in an airtight container for a couple of days, or store it in the fridge and it will reheat nicely.


15-minute French Toast Casserole

Processed with VSCOcam with f2 preset

This is for anyone who finds pleasure in breakfast bread pudding.

This is for anyone who, like me, thinks french toast makes the perfect pre-study whip-up.

This is for anyone who delights in obtaining 100% satisfaction with a dash of rustic decadence after a mere 15-20 minutes.

Ok, it’s for anyone. Make it. It’s just so dead easy. My sisters thanked me, and they’re pretty picky eaters.

I was thinking of what to make this morning with the leftover brioche we had– no, not the good, grand sort found in artisan bakeries, but the pre-sliced, white-as-ice, chemically-laden stuff (I’m cringing as I type) from the cheap side of Cold Storage. Yes. My friends, work with what you have. I did just that. No regrets whatsoever. Of course, use the good sort if you have it. You’ll probably get less of the ‘wobbliness’ post-bake, a less sloppy (though I enjoy the wild messiness of a lovely pudding consistency) underneath, with better form and a crust which doesn’t burn as easily as the one I made. It just so happens that the brioche I used was slightly stale after being left in our Cold Room for quite a bit, so it was the perfect alternative for something all lush and fluffy and swanky, or a day-old French loaf or baguette. Make do. Happiness awaits.

This french toast casserole is chimerical and childlike in flavour, bearing a modern sweetness with the addition of good quality maple syrup at the bottom of the pan, and a thick, swelling custard which renders the bread all nice and gooey after a generous soak and bake. Plump, fluffy, sweet and magnificently soft. Sweet eggy clouds hiding beneath a brown sugar-crusted toasty top. Topped with more maple syrup, double cream and berries. Oh, that glorious crust. I mentioned this is only 15 minutes right?

What I like about this is that it’s more of a base recipe than anything. Appropriate toppings cover a wide range– caramelised bananas, pineapple and blackberries, orange/lemon zest, apple chunks coated in cinnamon, and if you want, sprinkle on a good handful of small cream cheese cubes to add a little more zing and a dash of creaminess between each bite. The sole reason for my happiness right now is this french toast right here. No kidding.

Processed with VSCOcam with f2 preset

French Toast Casserole (serves 4-5)

Ingredients

3 and a half large, torn-up slices of brioche/ 2.5 cups of cubed bread of choice (sliced white/challah/French or Italian loaf/baguette)

3 eggs

1.5 cups whole milk

1 tsp cinnamon

1/2 tsp salt

1 tsp vanilla extract

2 tbsp white sugar

2 tbsp light brown/ demerara sugar

1/3 cup good quality maple syrup (not Aunt Jemima’s this time)

Preheat your oven to 220 degrees C (that’s 428 degrees F), and grease an 8×8 inch pyrex dish, or any square brownie pan you have, with cooking spray. Pour the maple syrup into the dish and move it around a bit so it’s coated nicely on the bottom. For the custard, in a medium bowl, whisk together the eggs, milk, white sugar, salt, vanilla, cinnamon.

Place your bread into the dish with maple syrup. It can be random or if you’re one of those neat freaks, go ahead and place your neat little cubes in pretty little layers. Pour the custard on top and press the bread down so all surface area, including the top, is in contact with the egg mixture. The very top would not be soaking in the custard, though.

Sprinkle the two tablespoons of light brown/demerara sugar evenly over the top, to yield the wonderful, crisp top after baking. Place the pyrex dish into the middle of the preheated oven and set the timer for 15 minutes. Serve the casserole hot, drizzled with cold double cream, more maple syrup and berries. If it’s a dessert, please take out the best vanilla ice cream you have!

Of course, since this is my first time trying this 15-minute wonder, I cannot guarantee a perfect bake after this period of time for everyone, due to different ovens, climates and the sort of bread you use. If the top is not golden and there is too obvious a wobble when you shake the dish a little, give it another 5-10 minutes. Most recipes actually require 30-40 minutes of baking, but the volume of bread and custard here is smaller than a typical serving for 6-8 people, and I’m only using an 8×8-inch pyrex dish.

That being said, this recipe is extremely versatile, so just keep an eye on the browning process and make sure everything in the dish is lovingly soaked. For french toast is love in itself, isn’t it?

Cinnamon sour cream coffee cake

Processed with VSCOcam with f2 preset


I delight in this cake for two reasons.

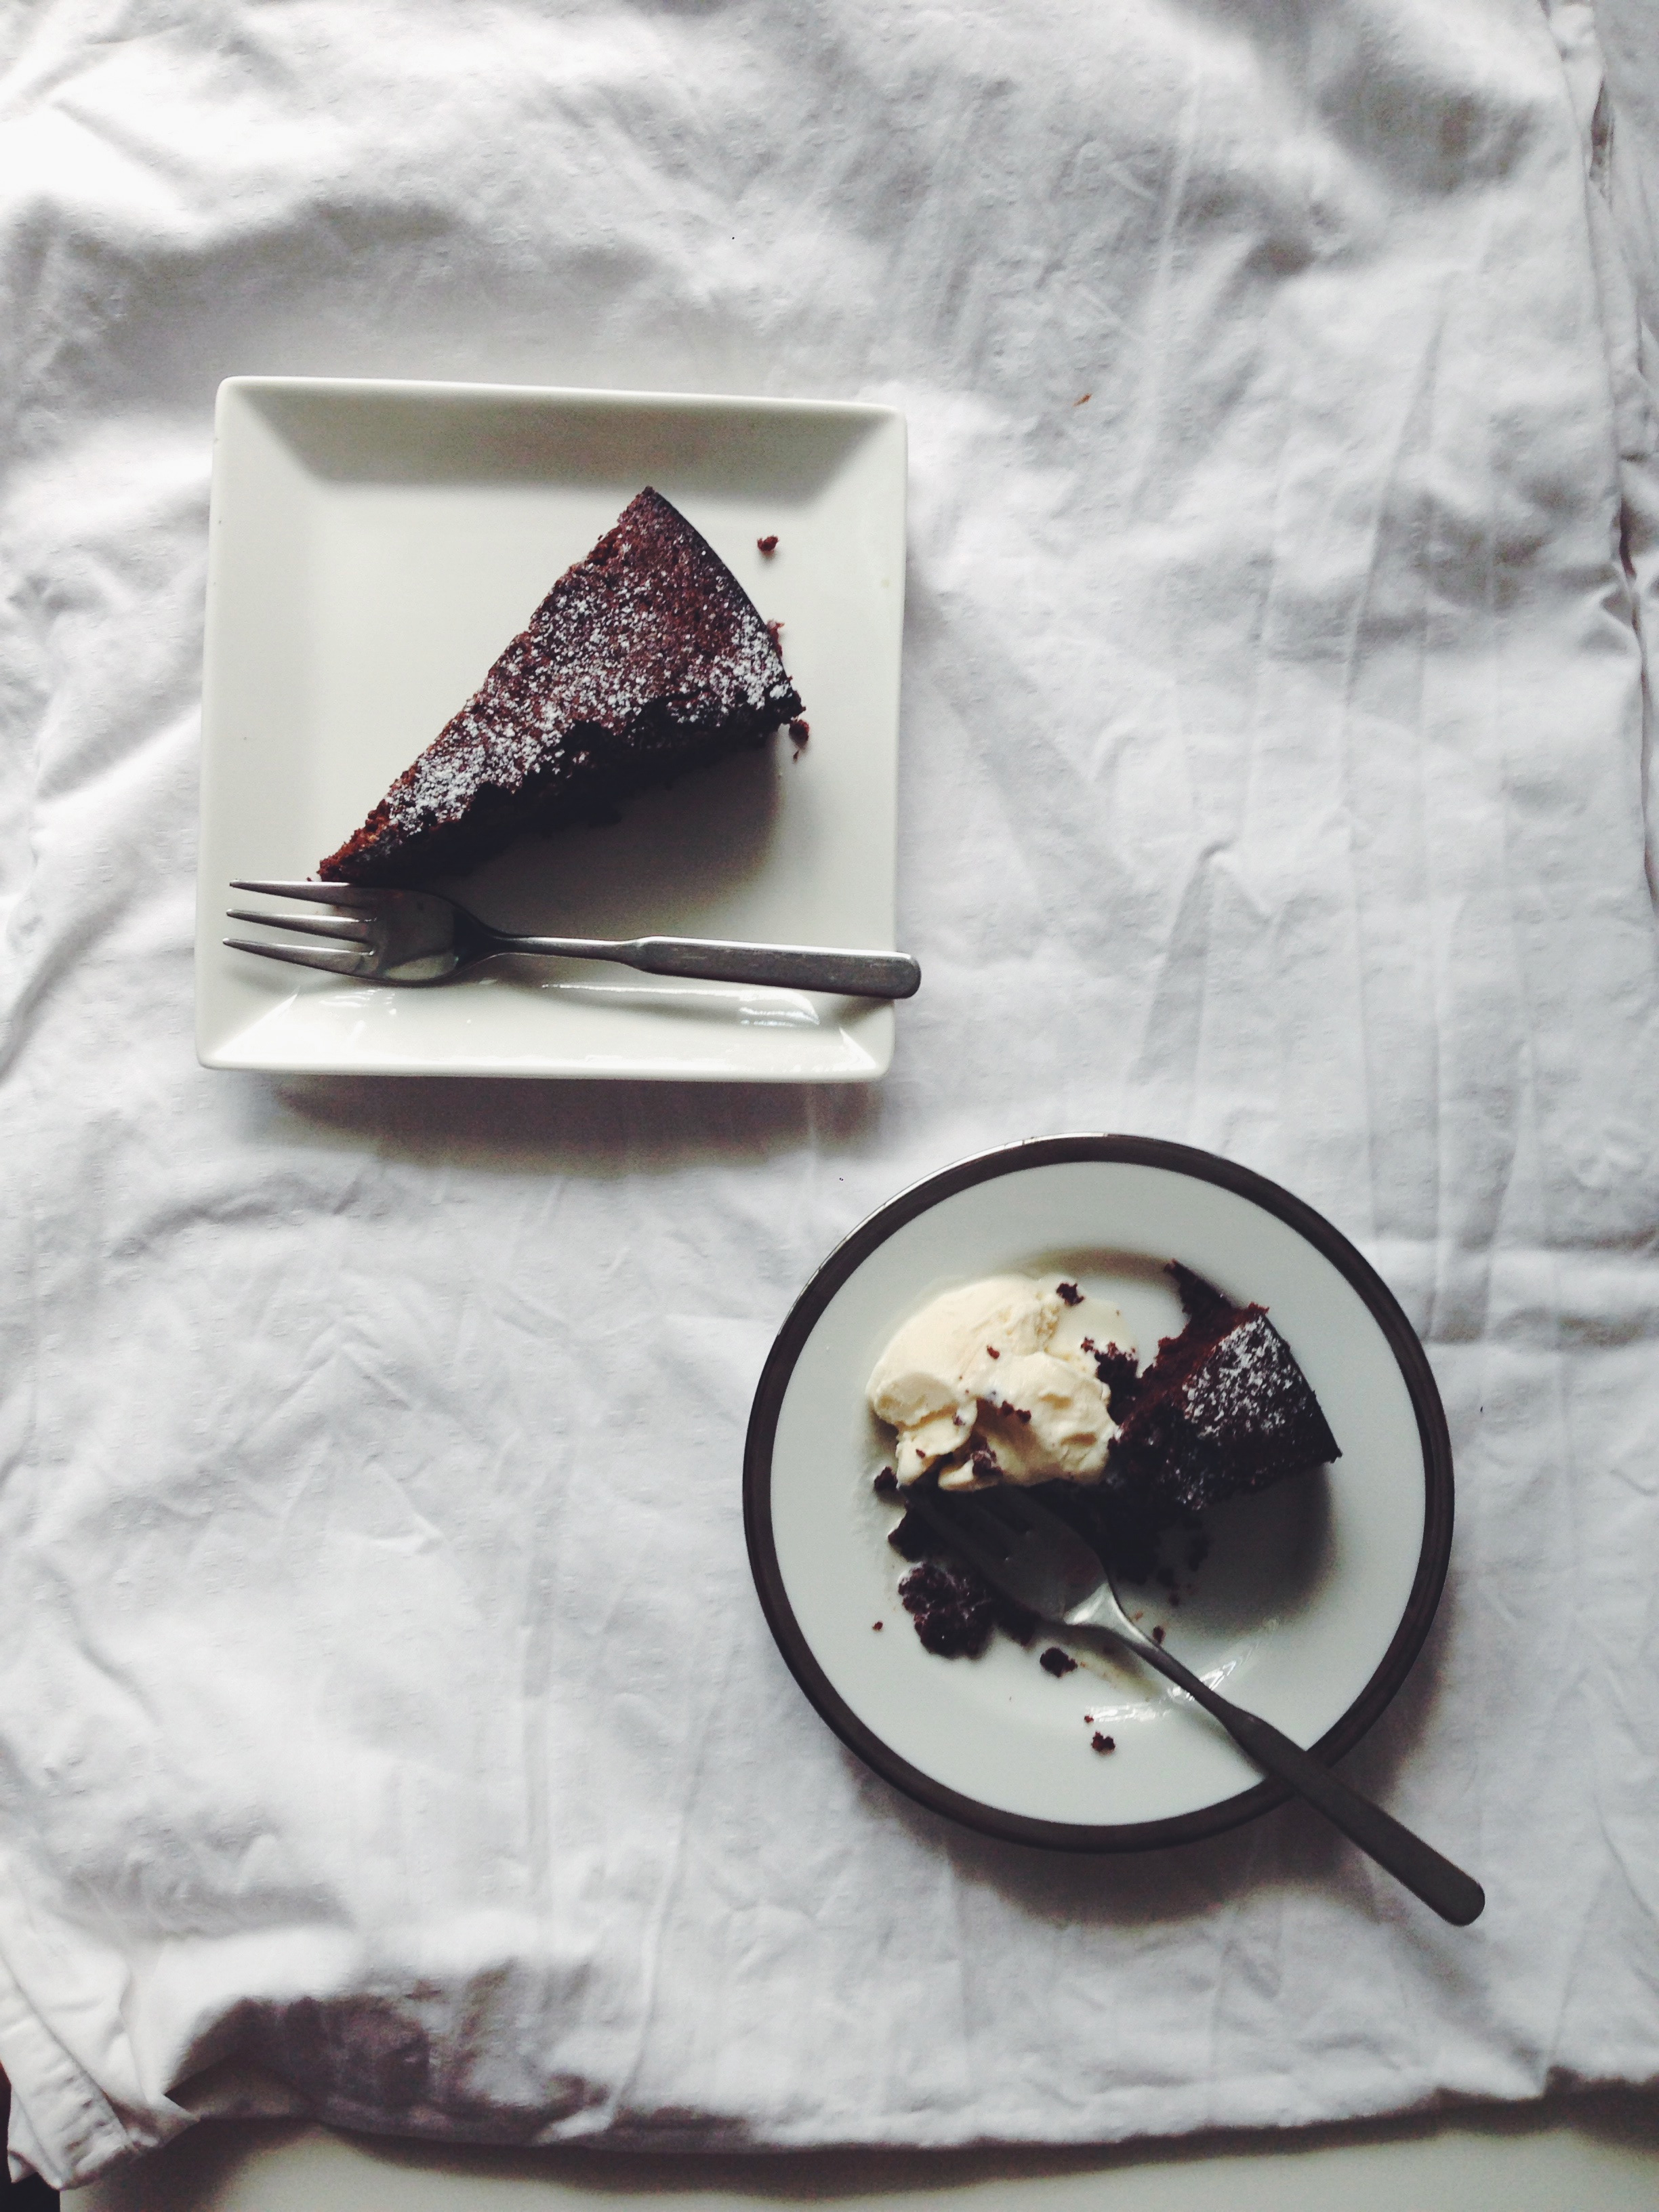
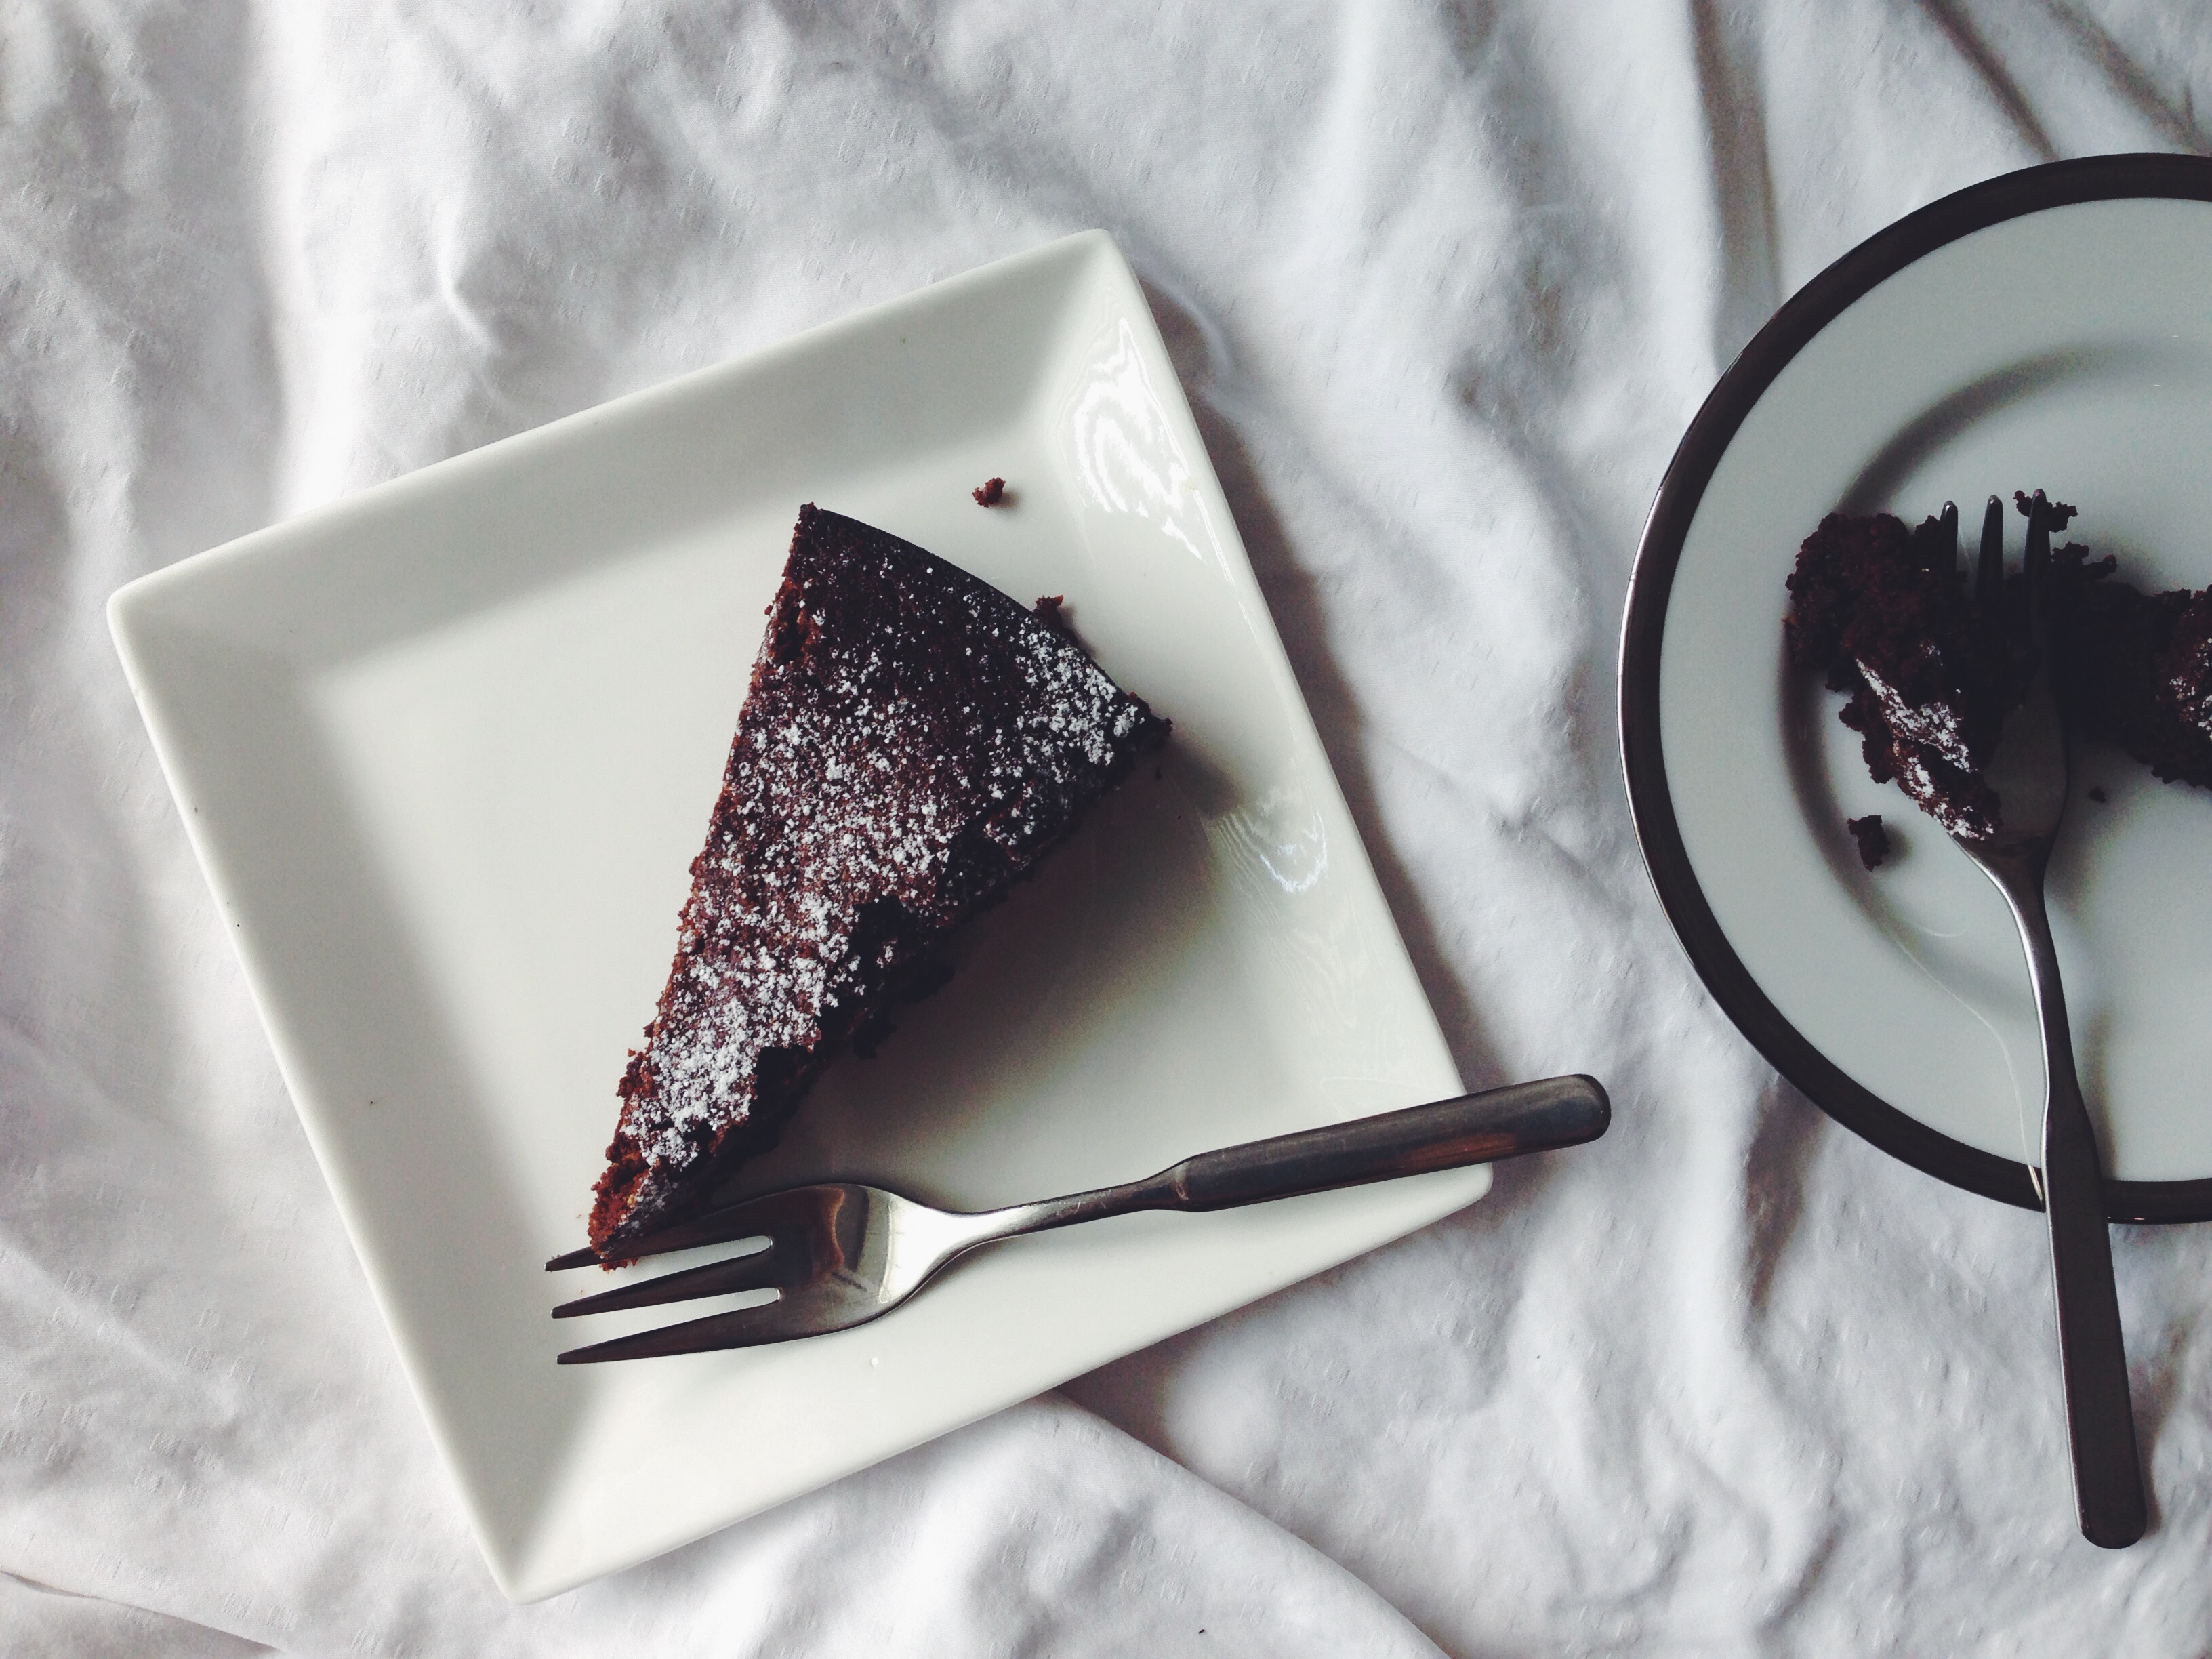
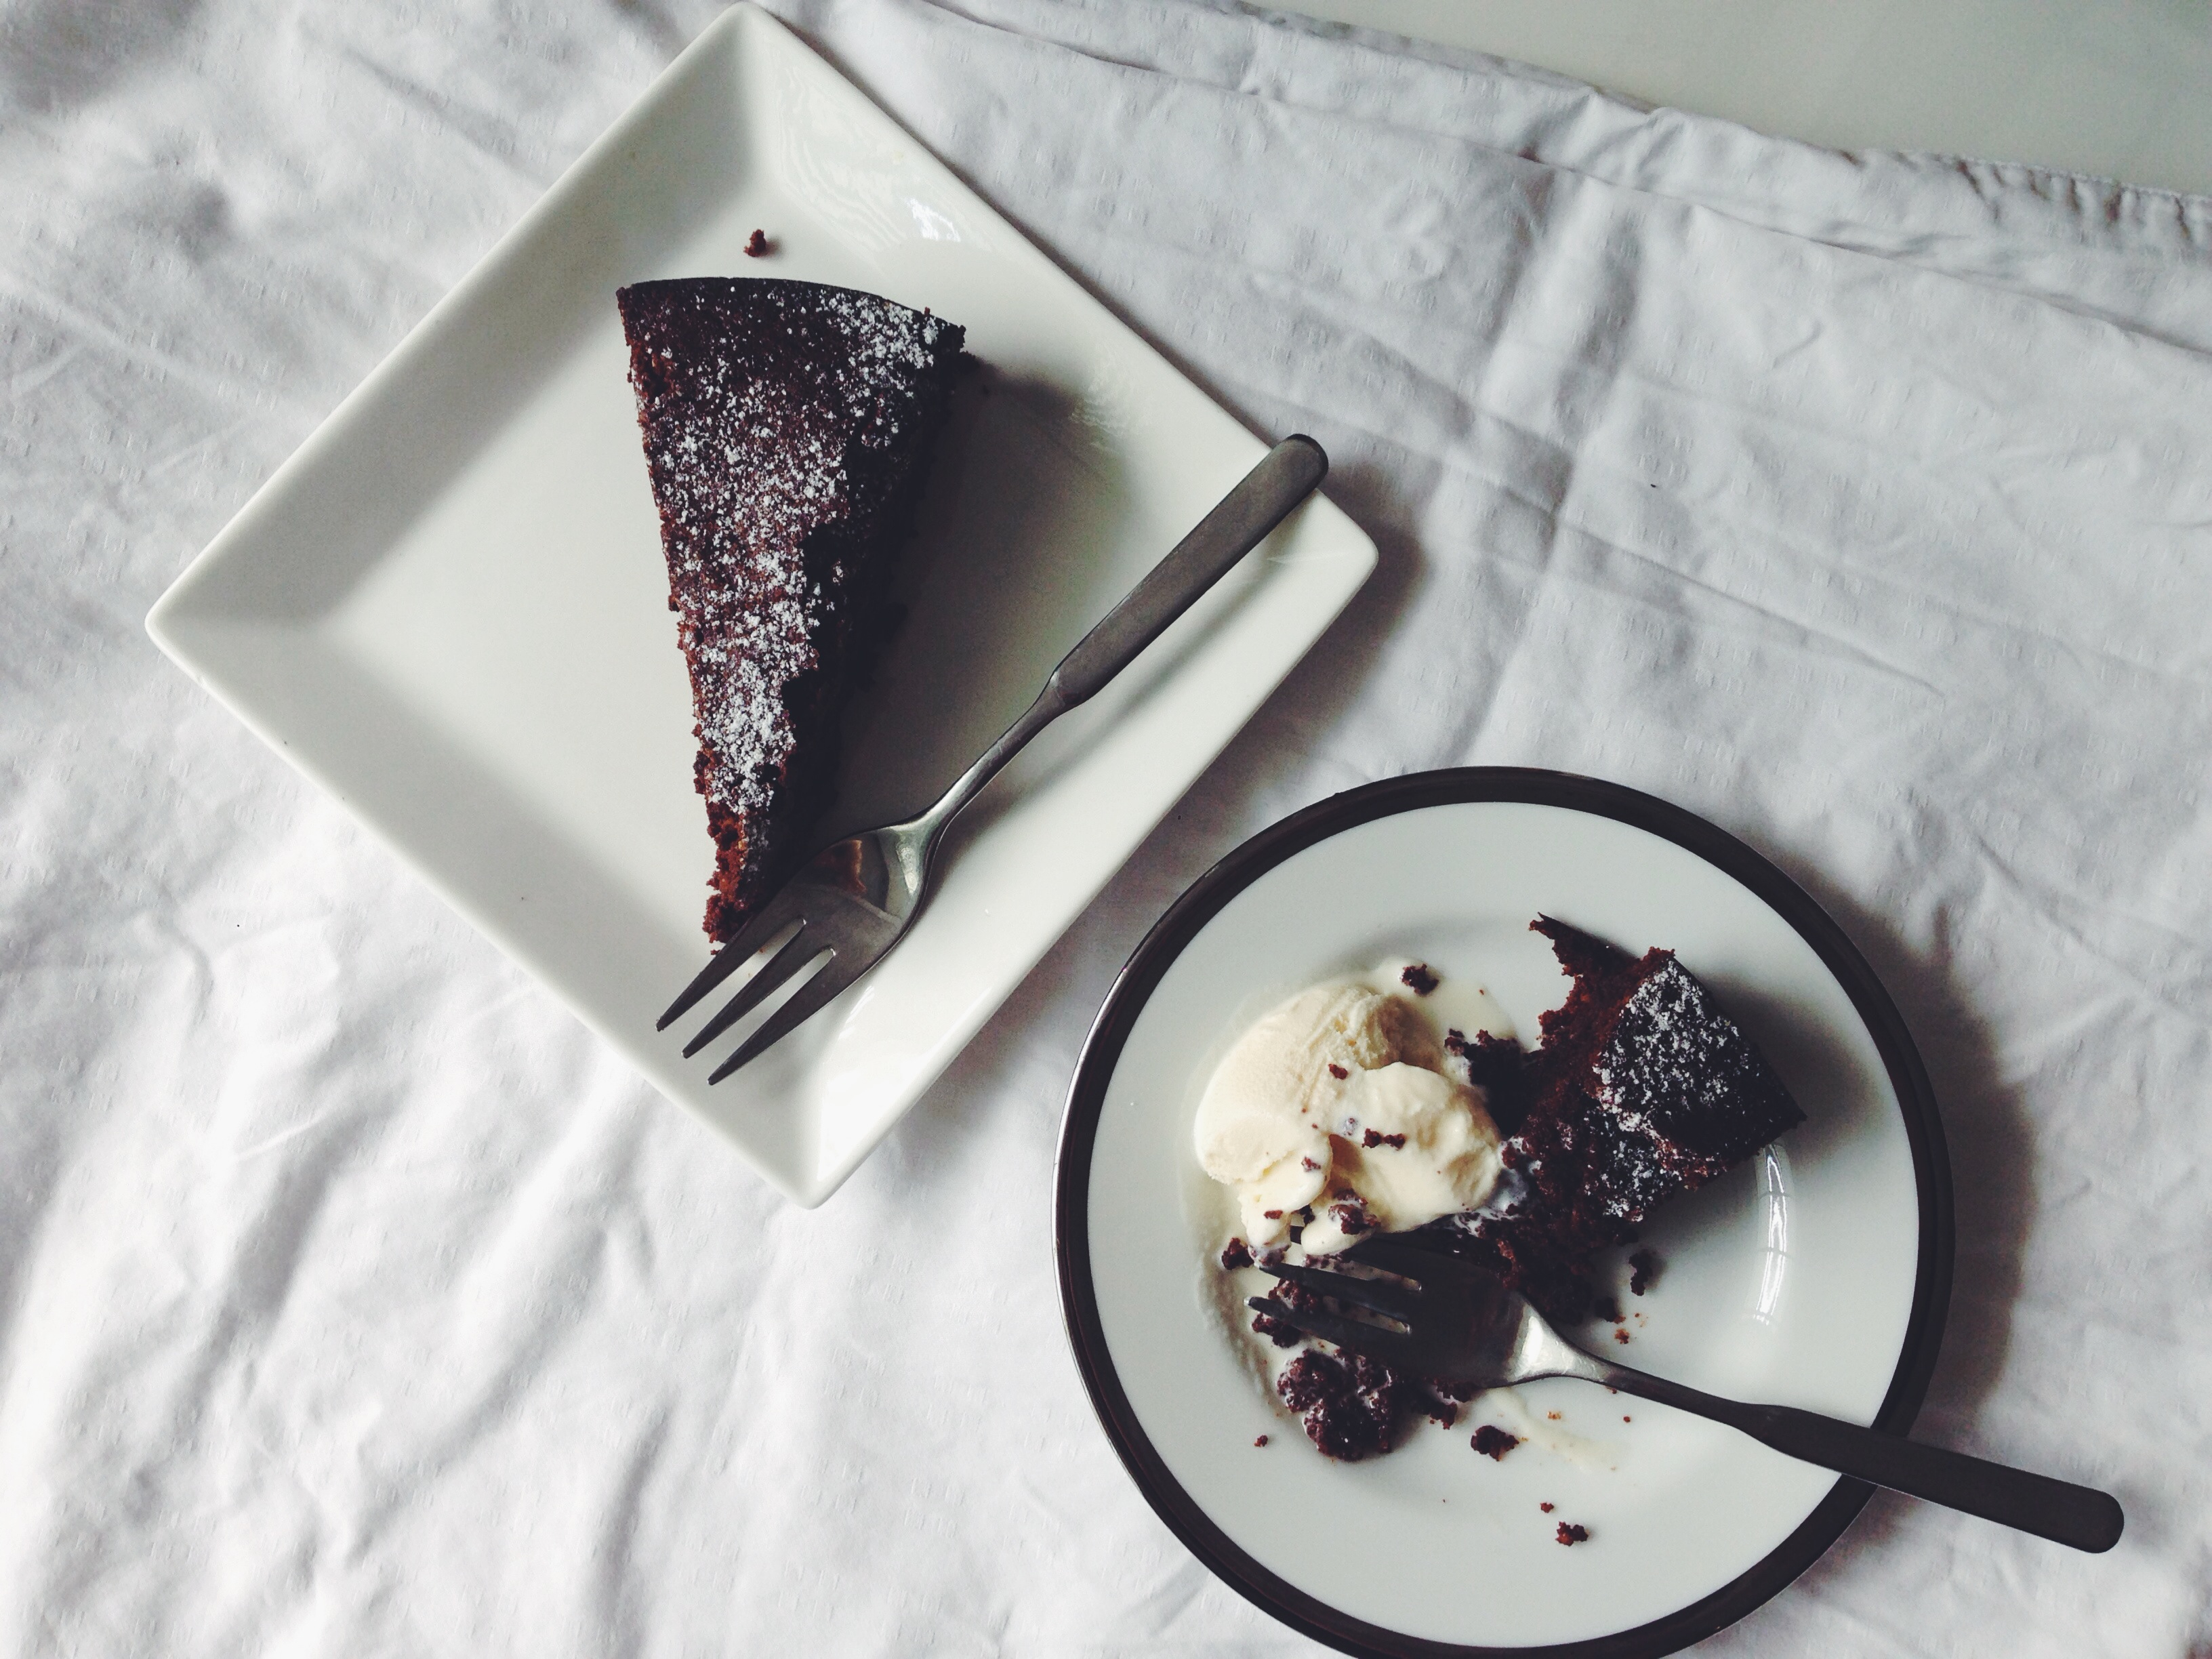
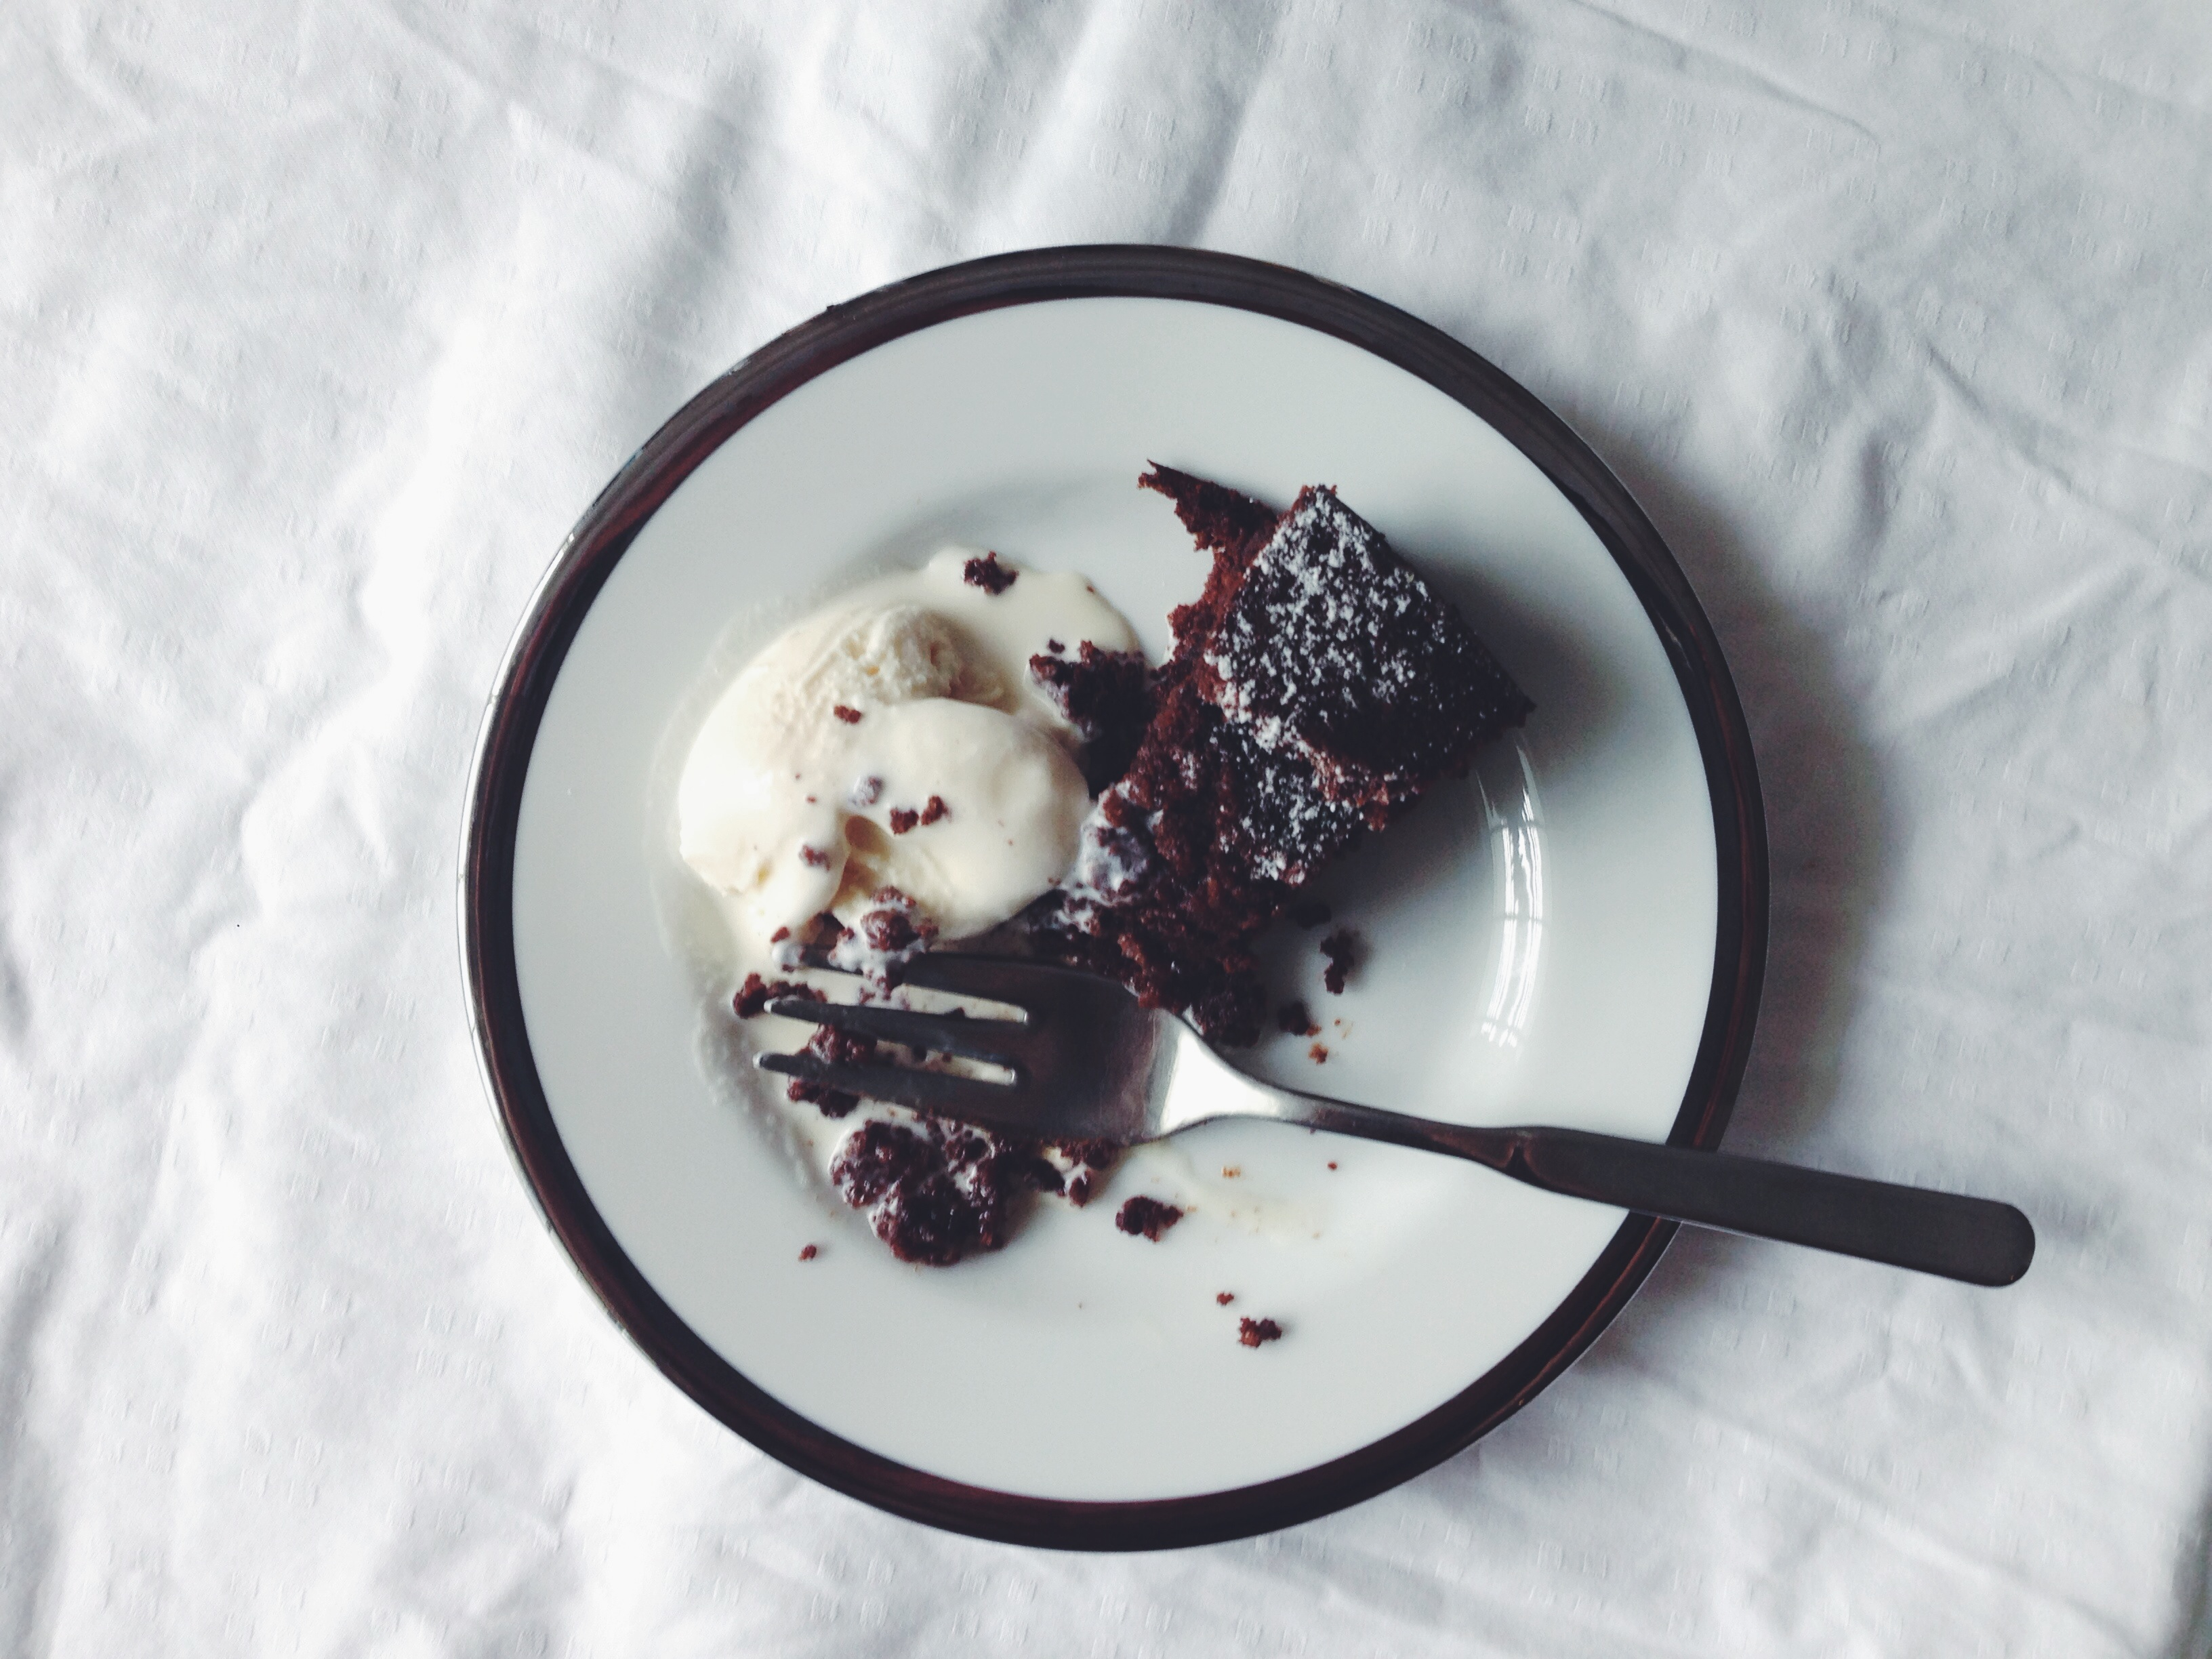
Firstly, it’s got this ridiculous cinnamon sugar crumble magic on top, and it was the hardest thing (well, not as hard as if I were to make brownies), to stop picking at the stuff. Secondly, the flavour eagerly showcases the use of sour cream, which I love, so it’s not too mild and airy-fairy like a typical sponge cake. It’s a slightly denser cake than normal, and goes wonderfully with even more sour cream or vanilla ice cream, perhaps topped with a dash of cinnamon and in this case, a good drizzle of manuka honey.

I adapted this recipe from Entertaining with Beth which can be found here. Made quite a few alterations because my first experiment with it yielded too dense a final result, the crumb not as tender as I hoped for. Cinnamon is the vice of Man. The earthy sweetness rounds off many other traditional flavour notes. I added a little brown sugar to the cake mix because the slight tinge of molasses goes well with the cinnamon filling in between the two layers, and changed the cinnamon filling and crumb topping recipe completely because the melted butter used in the original recipe just didn’t work as a nice streusel topping in this temple-banging, sun-raging weather. Curse this humidity.

Processed with VSCOcam with f2 preset

What I like best is how you don’t have to make two separate layers before getting down to some sandwich business- what’s one to do with just one 9-inch pan? We make easy for the world. Saving on some dishwashing liquid too, actually. Moving on.


Cinnamon Sour Cream Coffee Cake


For the cake:

2 1/4 cups all-purpose flour

115g salted butter at room temperature (unsalted is fine, just add more salt later)

2 room temperature eggs

half cup white sugar, half cup light brown sugar

1/2 teaspoon baking soda

2 teaspoons baking powder

1 1/2 teaspoons salt

1 1/2 cups sour cream (you may substitute this with Greek yoghurt, not anything low-fat or plain)

1 1/2 tablespoons vanilla extract


For the cinnamon filling and crumb topping:

1/3 cup packed dark brown sugar (this has a high molasses content and will thus yield a more earthy, sultry flavour, but light will work fine. You might have to add an extra tablespoon or so, though)

1/2 cup plain flour

3 teaspoons ground cinnamon (yum)

1/2 teaspoon fine salt

57g (4 tablespoons) cold, unsalted butter, cut into one-inch pieces. Stick this in the fridge right before use.

optional– chopped pecans/walnuts/almonds


You ready? I am. So. Dead. Easy.

Firstly, get all the dry stuff together. Then preheat your oven to 176 degrees C, or 350 degrees F, with the rack in the middle.

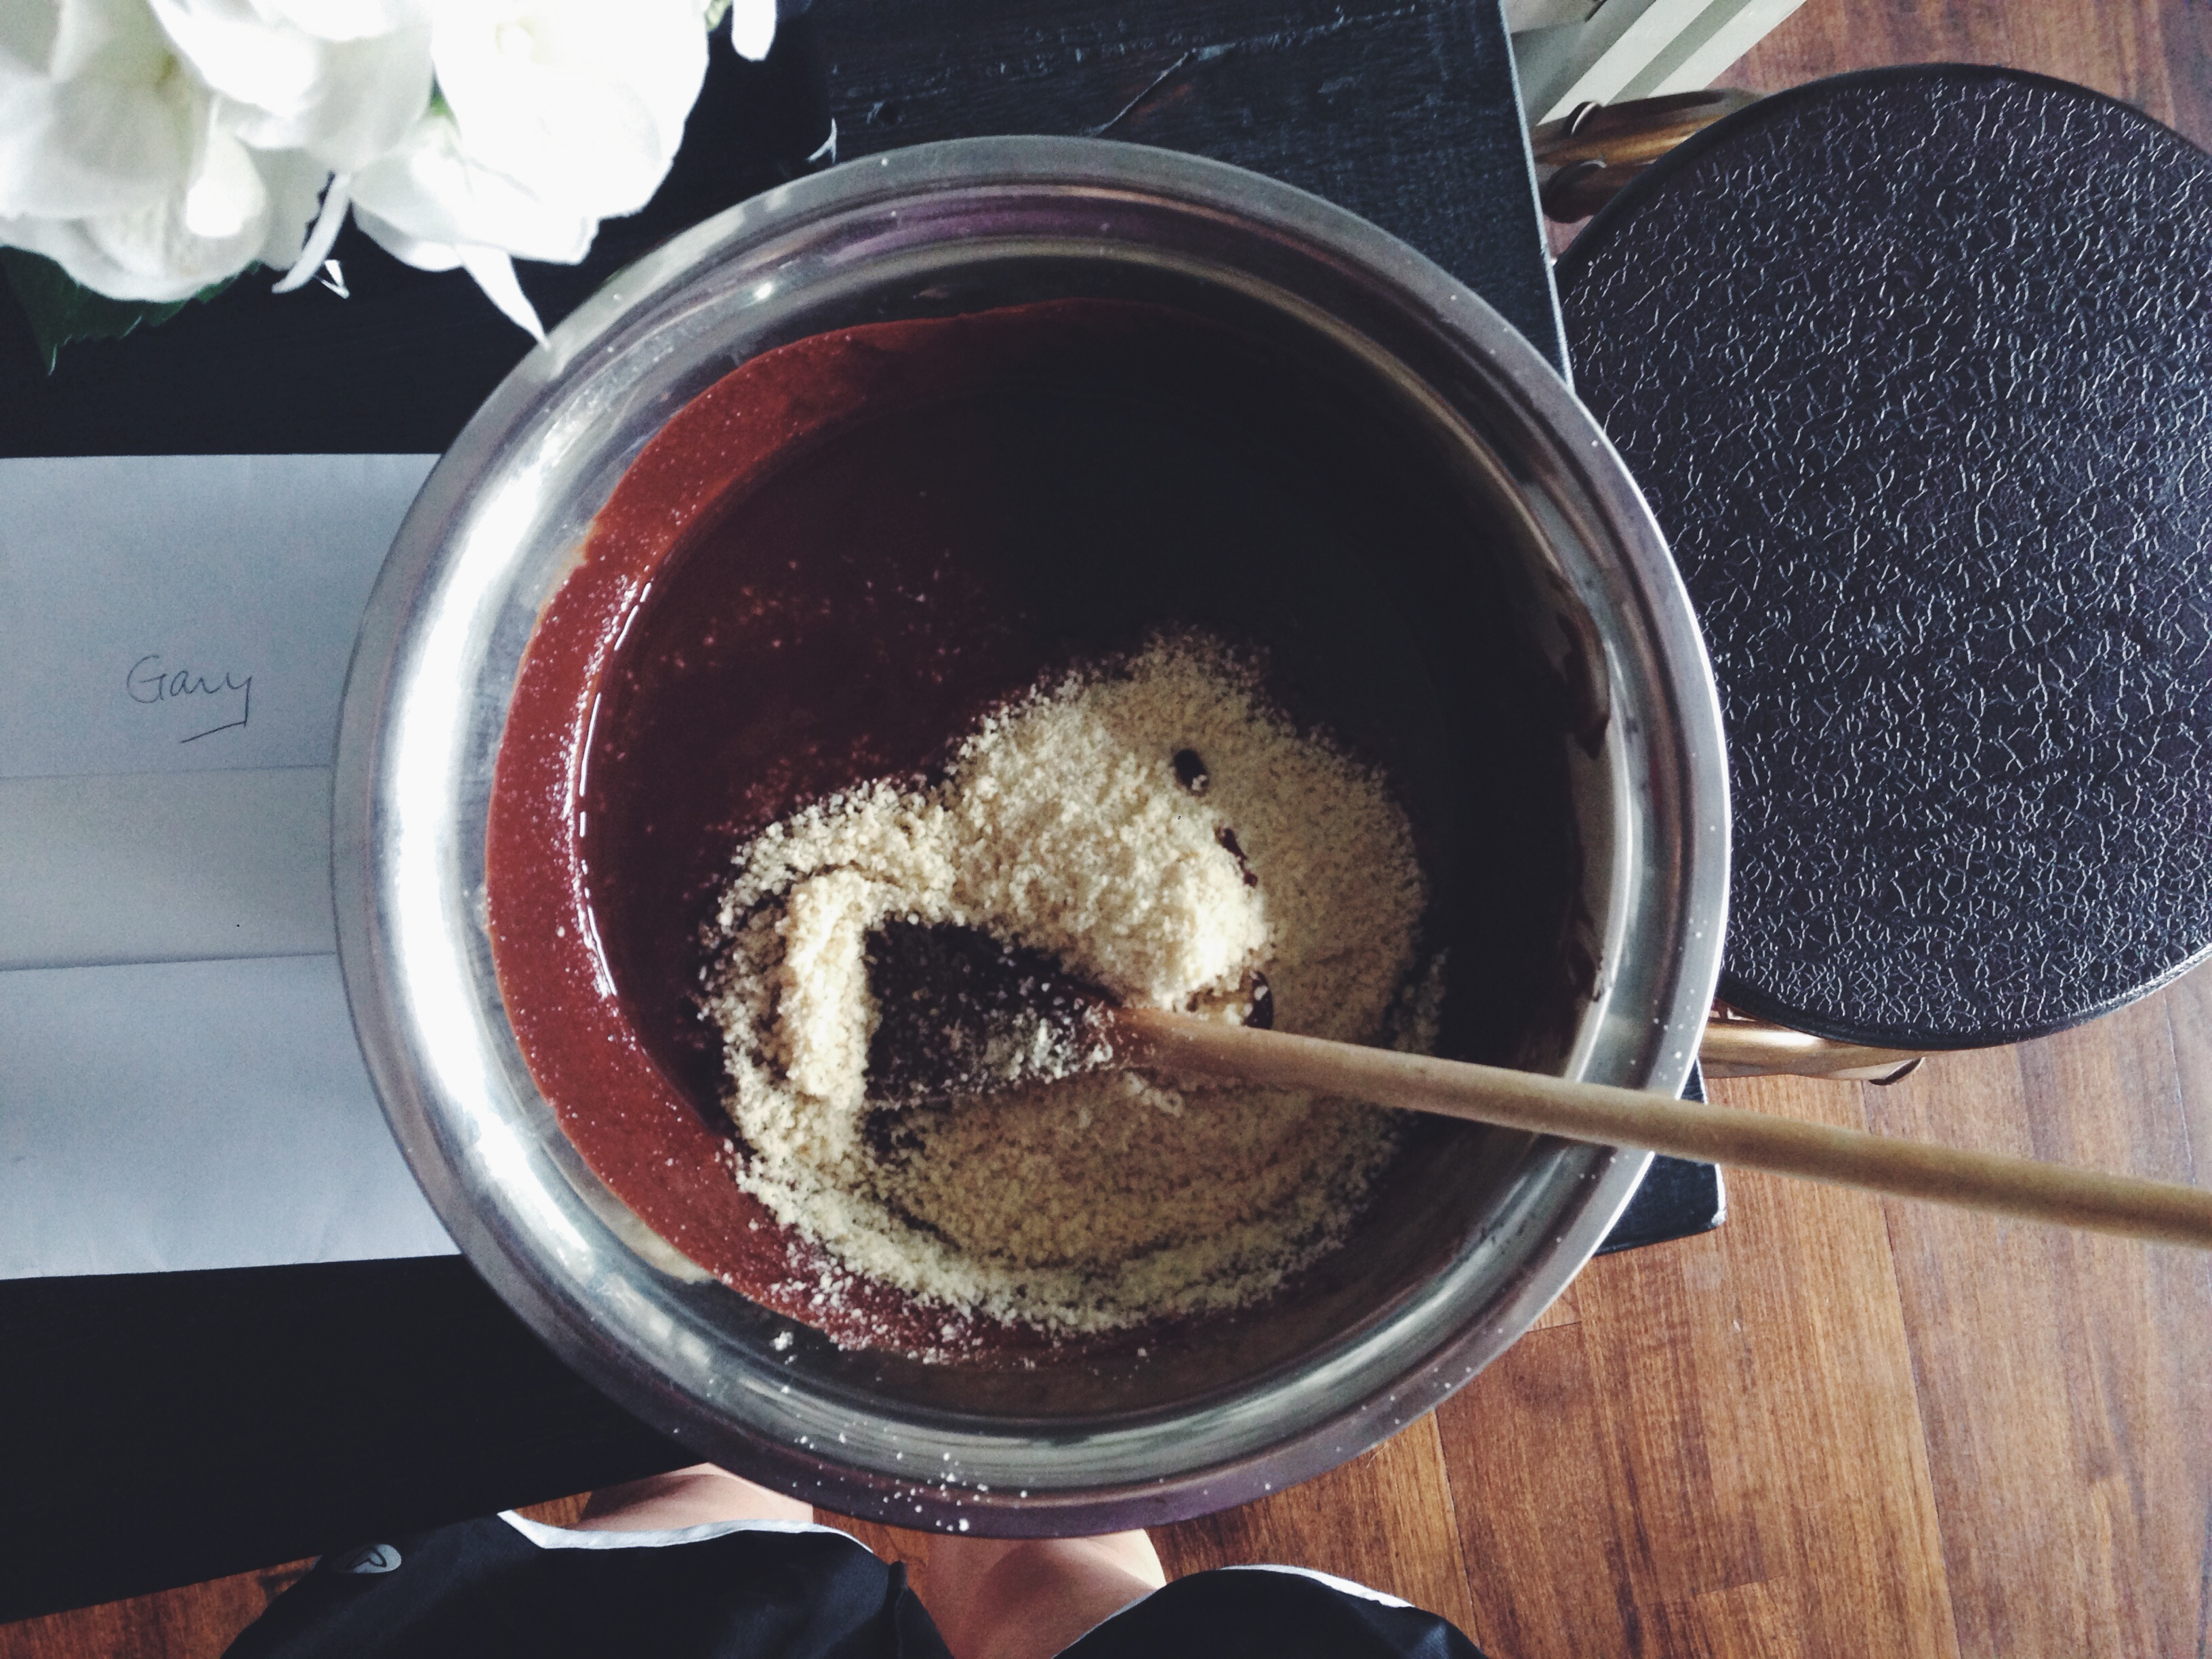
In a big bowl, cream together, either using an electric mix or your good old biceps and a sturdy whisk, the butter, two sugars and vanilla extract. Crack in the eggs one by one, whisking after each addition.

In another smaller bowl,  whisk together the flour, baking powder, baking soda and salt. Fold the sour cream into your sugar-butter mixture (I almost said complex) halfway, then add the flour mixture. I switched to using a wooden spoon at this point. The resulting batter should be sticky, smooth pale yellow, with a thick dropping consistency. If it’s too thick, add 1-2 tablespoons whole milk, but careful as this might alter the final taste of your cake. Whatever you do, don’t overmix!

How easy was that? Grab and throw. Done and dusted.

Now for the lovely crumble. Mix together the flour, sugar and cinnamon, then get in there with your hands and rub in the cold butter. Slightly larger-than-normal clumps are ok. If you wish, add more or less cinnamon, and play around with chopped nuts. If you do so, chop them up finely so as to keep the traditional texture of a streusel.

Spray a 9-inch cheesecake pan with a removable bottom tin with cooking spray. Don’t overdo it or else you’ll risk making the bottom unnecessarily greasy. Turn out half the batter into the tin, then sprinkle half the cinnamon streusel on top. Turn out the remaining batter and sprinkle on the rest.

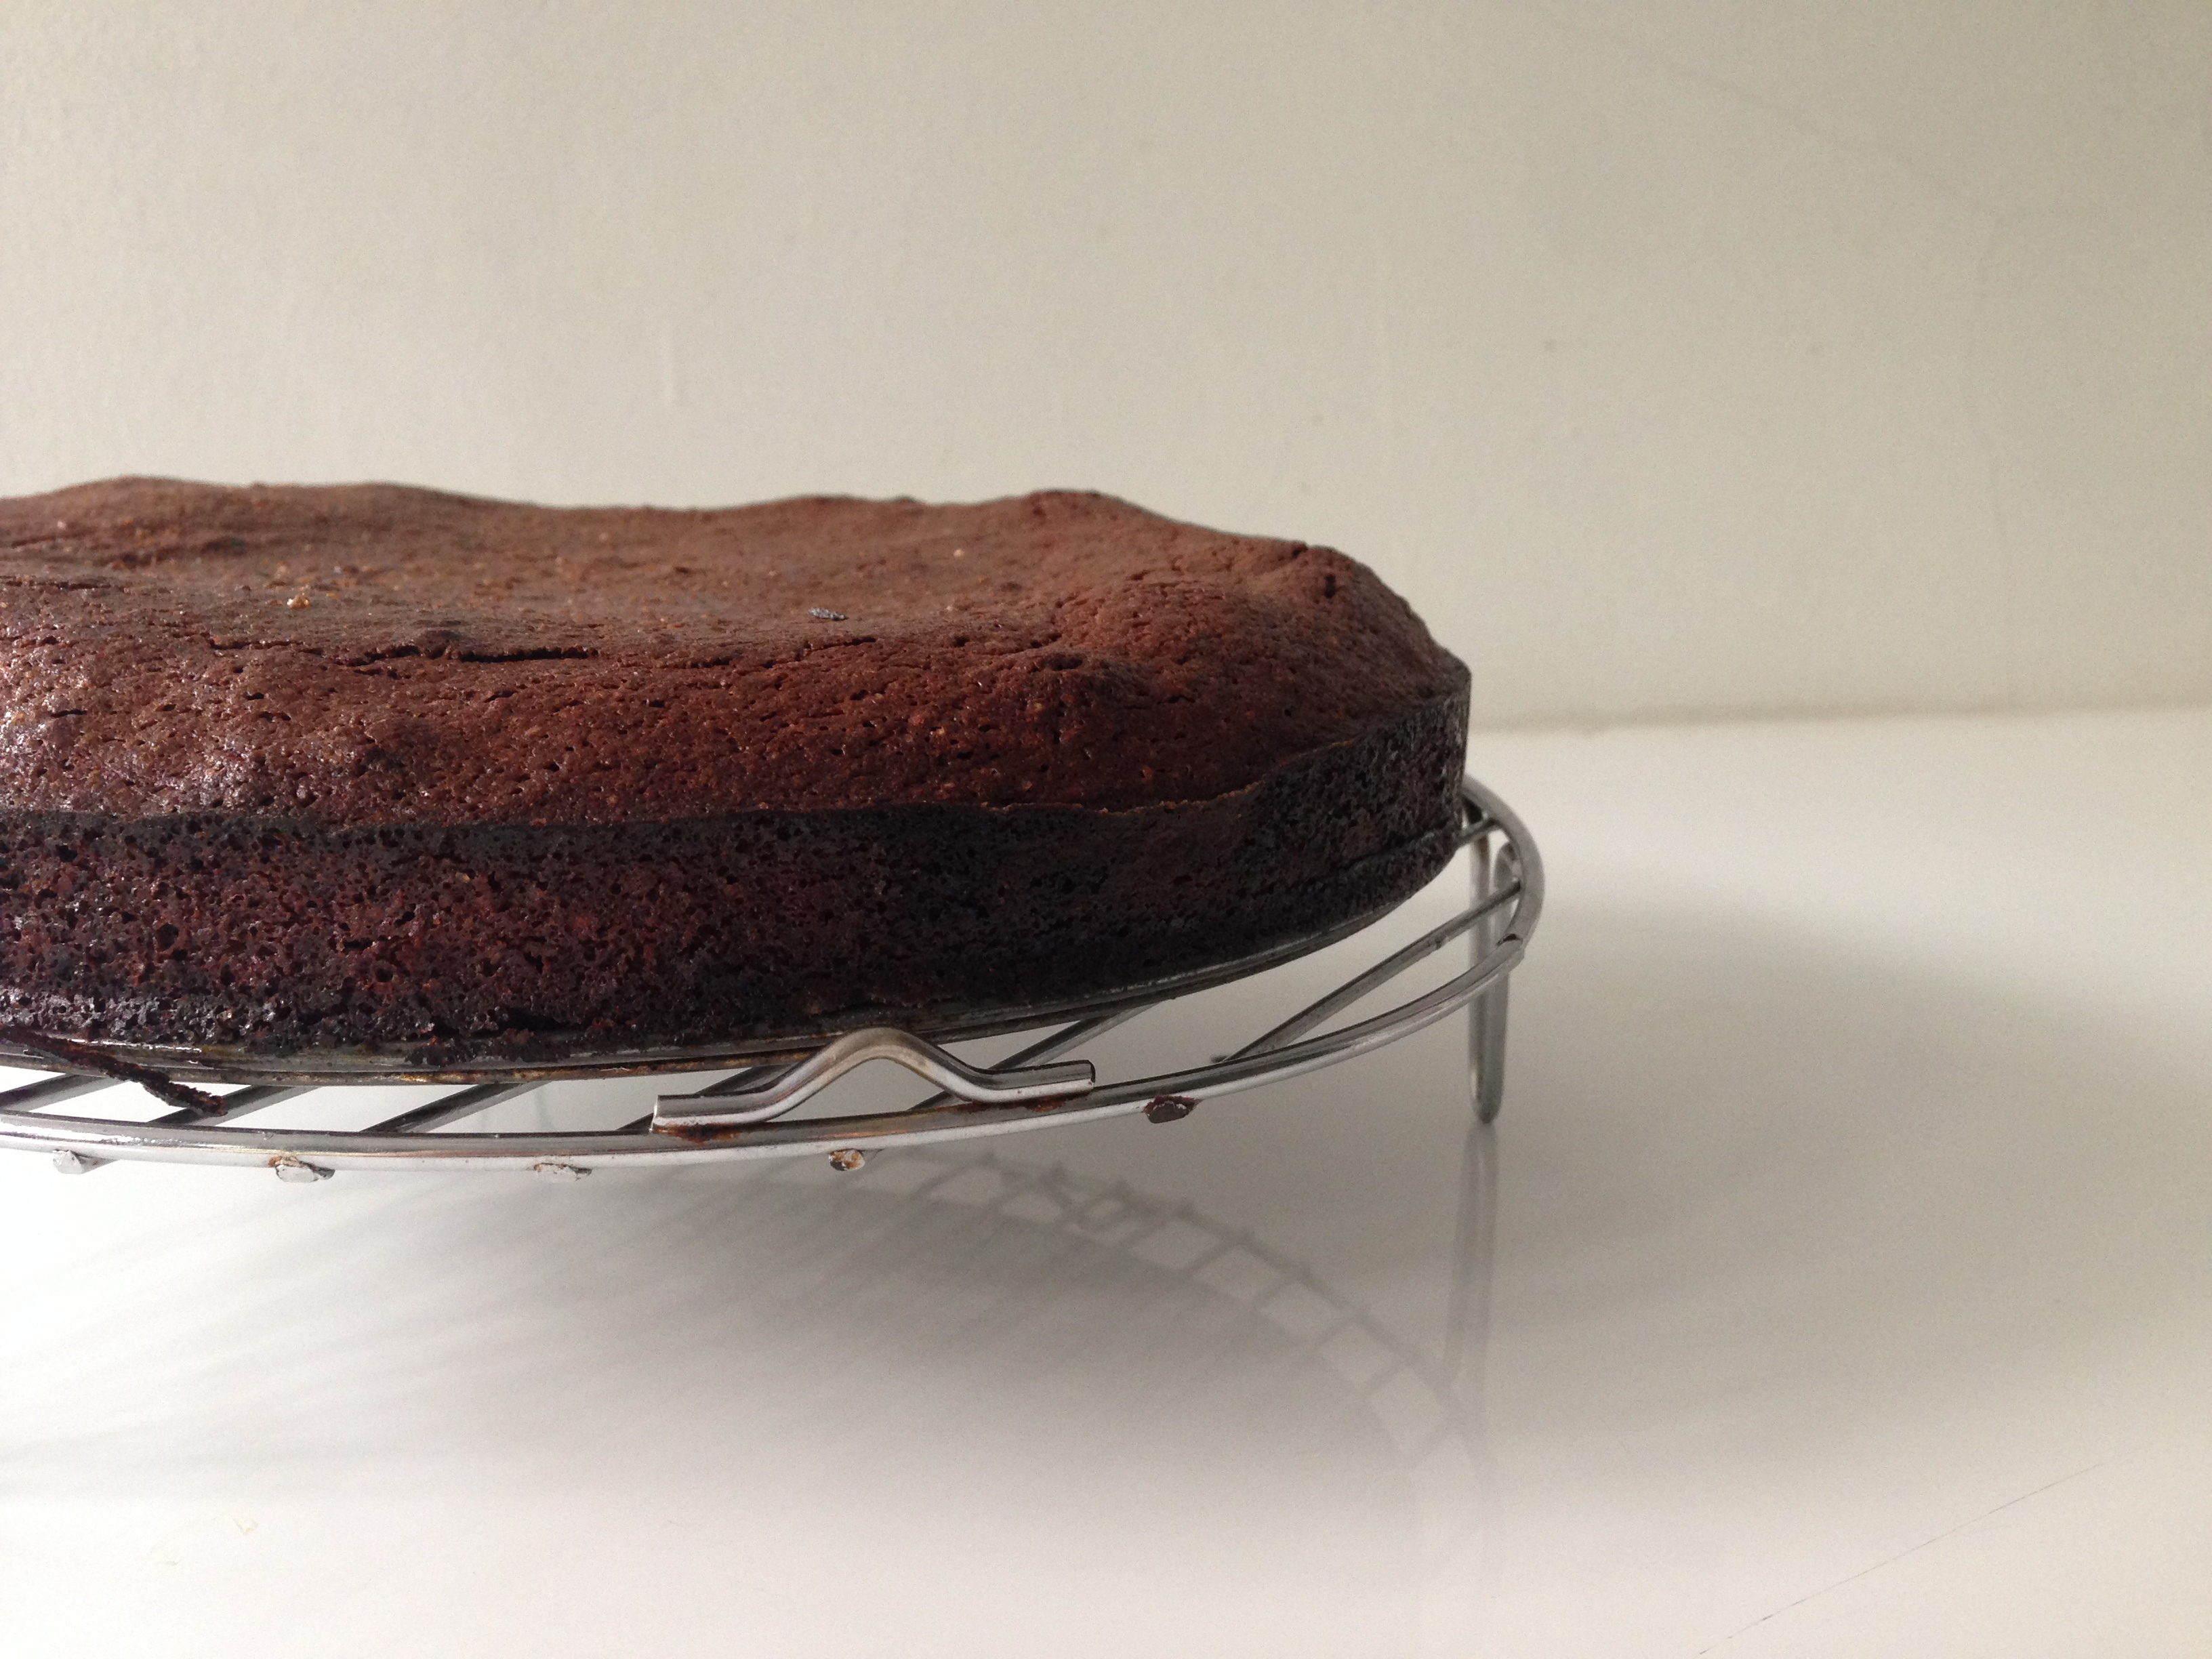
Bake the mixture in your preheated oven for 55 minutes, after which if you insert a wooden skewer it should emerge clean, with a few dry crumbs sticking to it. Remove the bottom tin and place on cake stand, and if you want to be all fancy, sprinkle on some icing sugar. Don’t be afraid of excess and lather on the sour cream and honey on a warm slice.


Dark chocolate and sea salt on toast

No, this does not need a recipe. I’d just like to revel in the glory of two of my favourite things in the world– dark chocolate and toast. Just.

Processed with VSCOcam with f2 preset Processed with VSCOcam with f2 preset

I don’t think it’s right not to have this at least once in your life.

I bought a new loaf of campagne yuzu bread yesterday on impulse, because that thing looked too good to pass up. It just sat there, lonely, cold, at the display counter. How could I not?

Here is what you need:

  • your favourite bread, whatever that might be. Grab a white bloomer if that satisfies you!
  • couple squares good quality dark chocolate (70% is ideal)
  • sprinkle of coarse salt (I used pink Himalayan)
  • a toaster
  • I’ll stop here
  • too simple

I always have dark chocolate around. Somewhere. Anything less than 70% might just be child’s play, but nothing against that.

Literally take the chocolate, pop it on your favourite slice, slide into the toaster or broiler for 3 minutes until crusty and darkened. Sprinkle on pinch of coarse sea salt, before doing your business.

That’s all I have to say (!)