Beetroot Raspberry Porridge

Processed with VSCOcam with f2 preset Processed with VSCOcam with f2 preset

There was a sort of comfortable weirdness when I woke up and powered through a few weekdays, one of which I had to endure after 3 or so hours of sleep. It’s nice to trick oneself into thinking one is being productive burning the midnight oil, disastrously accompanied by bad snacks and waking up much earlier than everyone else, but the truth is that there’s always some form of give and take. So although I relish the time when no one else in halls is awake, it just doesn’t permit copious reckless nights. Yeah, you can’t have everything. Funny though, the routine has instilled within me a sense of adventure, a branching out of my little cocoon. The familiarity of routine does the same too, and has been proven to inherently generate creativity let alone being almost enlightening on certain occasions, but its disruption has so far proven to be worth it.

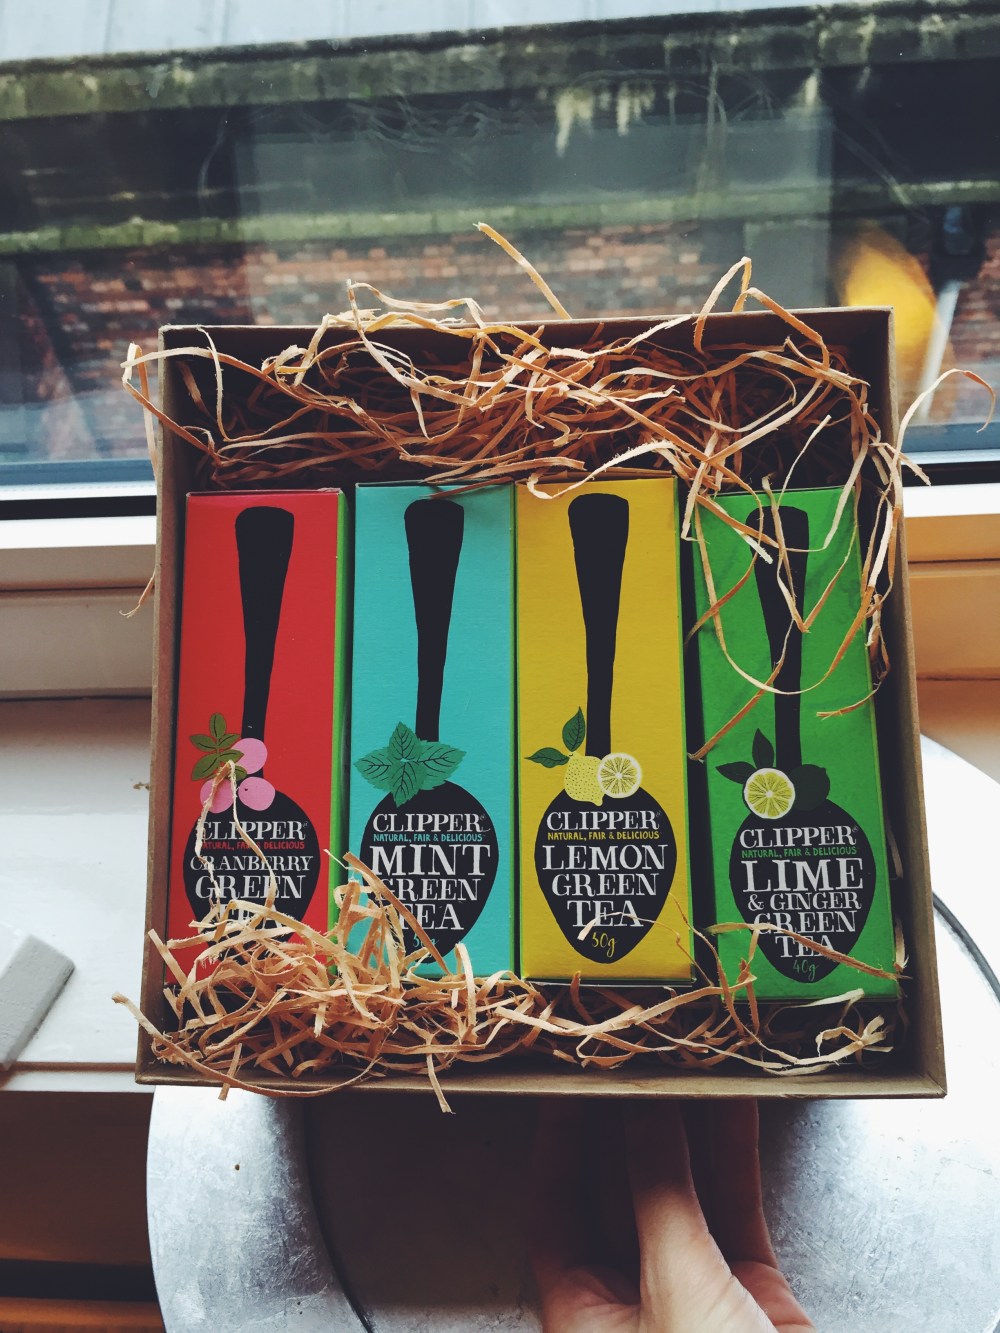
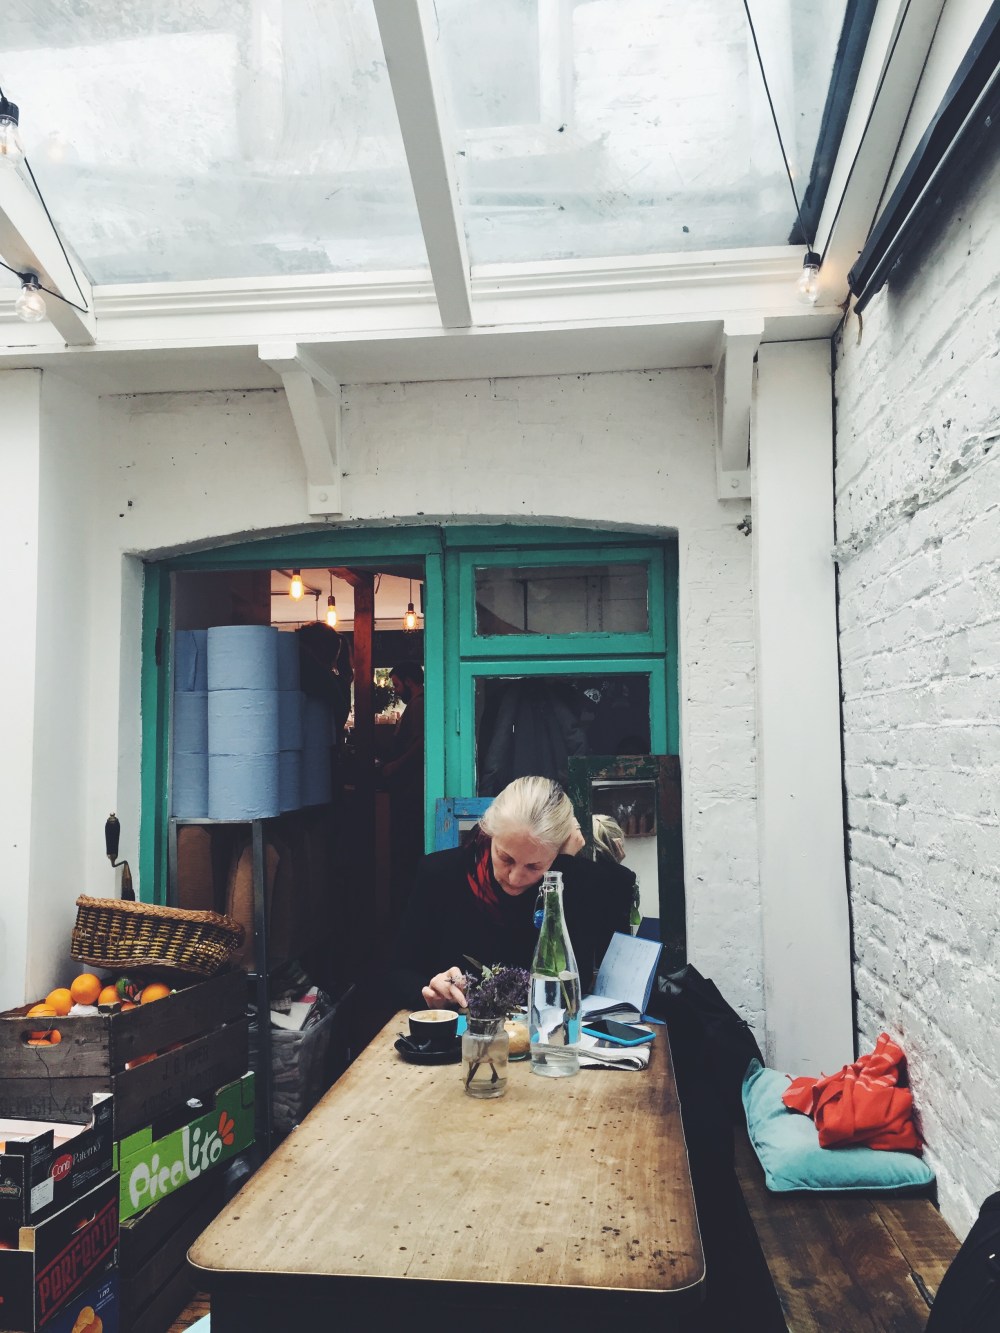
Late nights aside, sometimes random events re-instill that keen sense of belonging in the world. Almost self-regenerating. There are pockets of insight, creativity and adventure in every new street I wander, every friend I have over (hi Ruru!), every new café I visit, every baking adventure, every book I open. Do check the link out– Eagleman is an expert in his field and in the art of writing.

Processed with VSCOcam with f2 preset
The gorgeous Ruru, who may here be observed drinking green juice like the true Cali girl she is

Processed with VSCOcam with f2 presetProcessed with VSCOcam with f2 preset Processed with VSCOcam with f2 preset

Processed with VSCOcam with f2 presetProcessed with VSCOcam with f2 preset

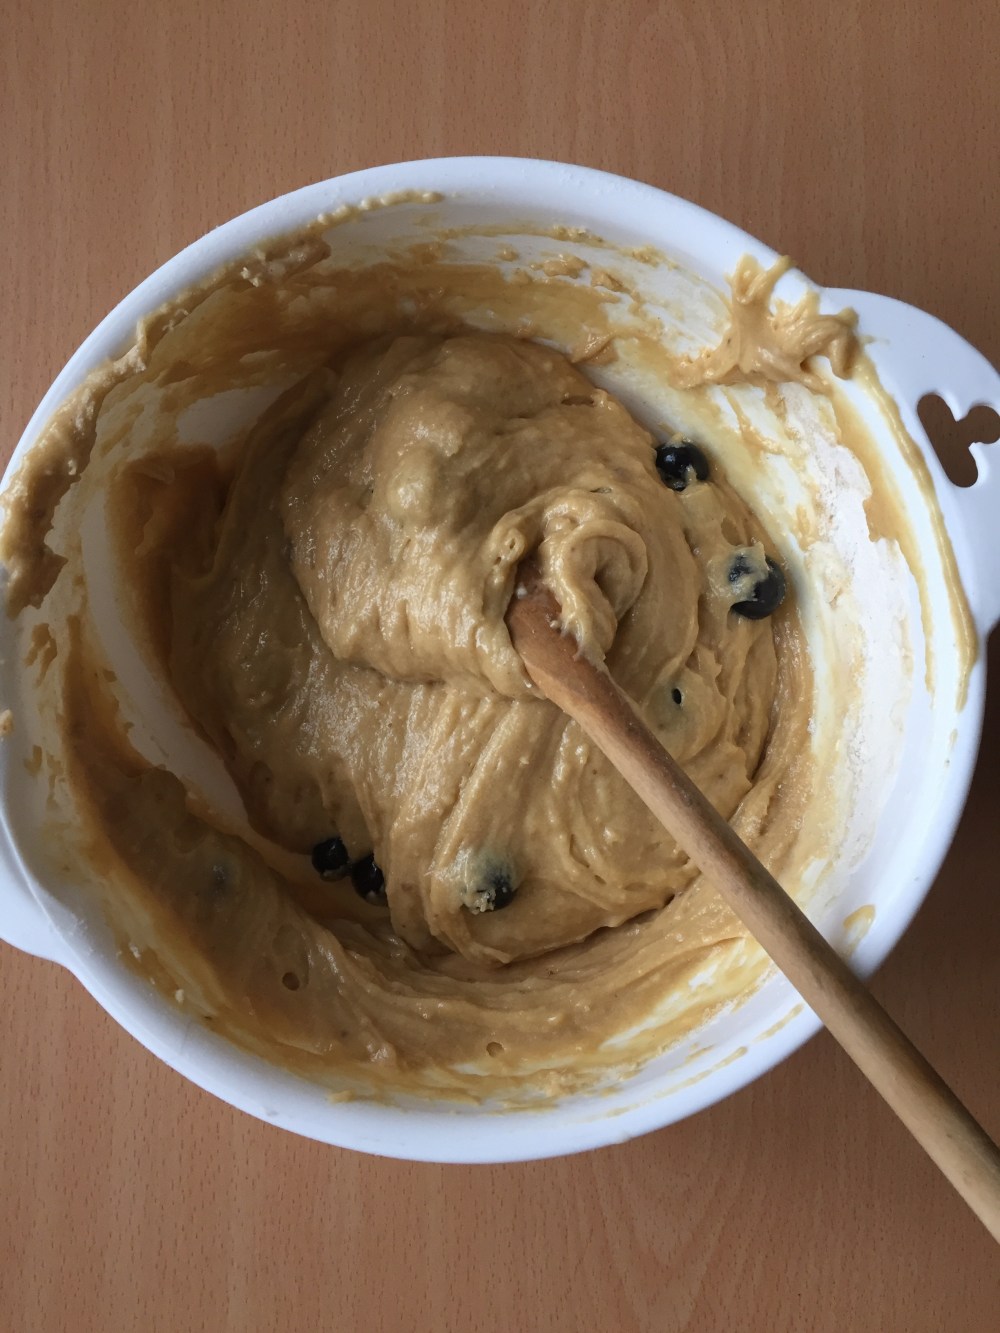
Just a little update on my french toast series– the french toast scene has been seriously overwhelming!! It’s what I’ve been getting up to when I’m not trying to memorise various facts on the Biology of Integrated Systems. I won’t reveal specific details or my personal opinion on the dishes for the sake of a comprehensive bird’s-eye view of everything in the future. So that’s that.

Going back to what I was referring to in the first paragraph on sleep cycles, there’s nary a fixed opinion on whether it’s best to be up much earlier or much later. I’m always up incredibly early, and one of my fallback breakfasts before the full light of day chucks me into the reality of (thankfully enjoyable) lectures, tutorials and lots of cold, is porridge. Usually toast, sometimes porridge, but when I do make the latter, it’s the most warm and delicious satisfying bowl of goodness. London always seems to be awake, but somehow there’s a sacred, solid peace just before the sun rises, usually between 7 and 7 30am.

This is when I hit the stove or microwave with my new favourite porridge oats, which I know sounds like child’s play but there’s simultaneously such satisfaction in a simple bowl of ready-made porridge, and what with having to travel with Charing Cross now and then, there’s less time to hover over the stove with totally unprocessed oats on the hob. This recipe is a simple twist on my favourite oatmeal recipe since forever, which utilises mashed banana and a simple method for optimum flavour and texture. Click on that link if you wish to try a classic oatmeal recipe that won’t fail your morning tastebuds.

Processed with VSCOcam with f2 preset Processed with VSCOcam with f2 preset

Beetroot raspberry porridge (serves 1)

If using a microwave:

Mash half a banana with a fork in a microwave-safe bowl, then add a half cup (40-50g) of porridge oats or rolled oats, half a cup (120ml) of milk of choice (I used almond here), and half a cup of water. Add a teaspoon of beetroot powder, or if you don’t have that on hand, a tablespoon of beet juice works just as well. Add a handful of fresh raspberries, then briefly stir everything together so the beet powder dissolves into the liquid. Microwave on high for 3-4 minutes; check after 3 minutes and stir a while, if it doesn’t thicken up as much then chuck it back into the microwave and heat for another 30 seconds, or until you get your desired consistency.

If you prefer the hob:

Do the same as above, except have all ingredients in the saucepan. Bring everything to a boil on high heat first, then when the bubbling gets rather vigorous, bring the heat down to medium and continue stirring until you reach your desired consistency.

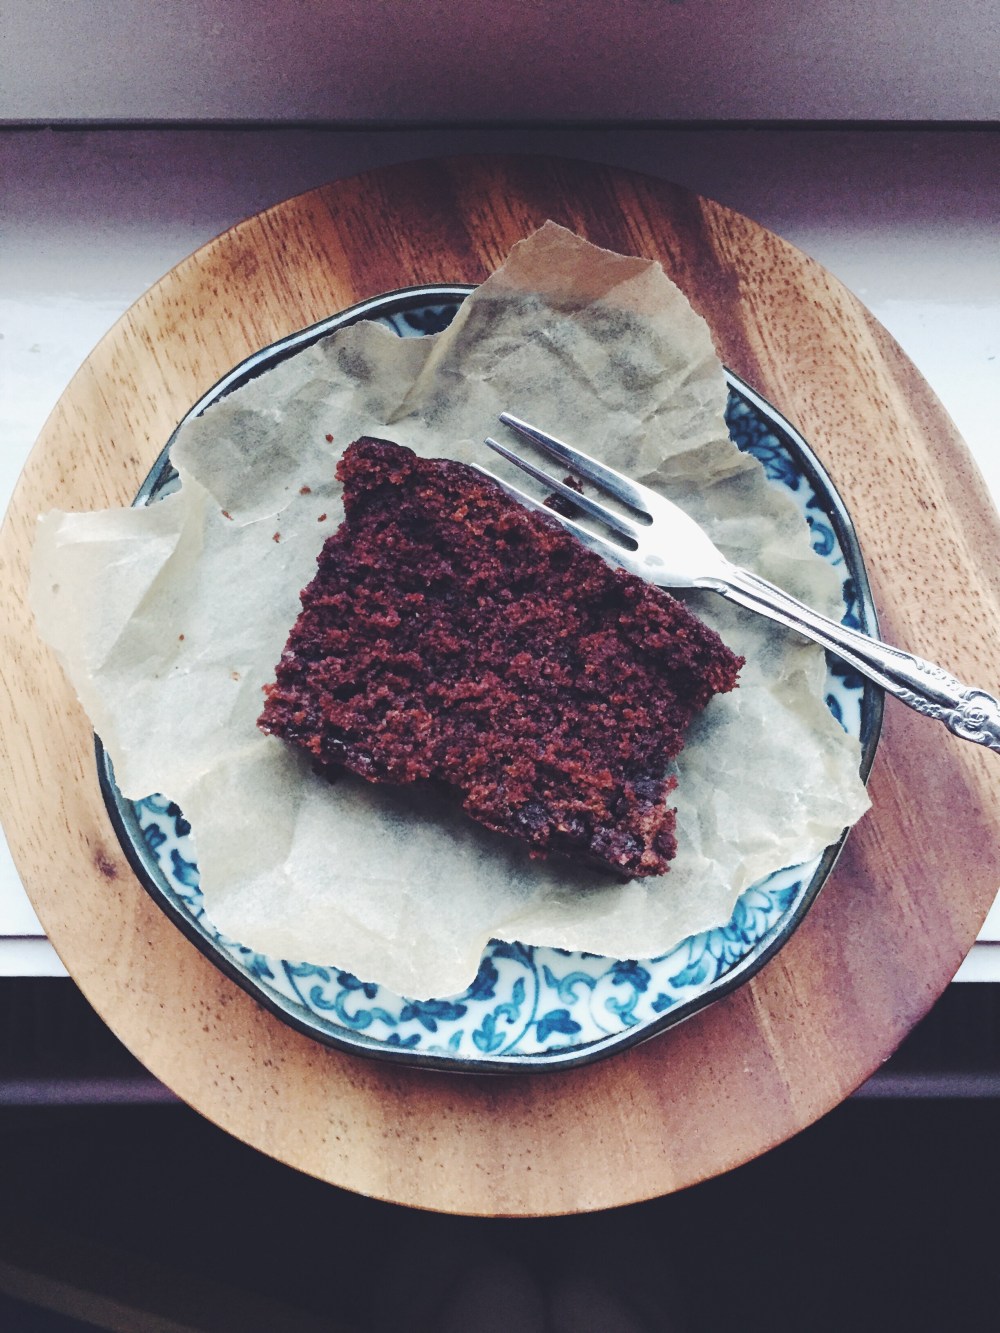
Serve with chocolate, more berries and maple syrup. The pairing of chocolate with berries and beetroot is marvellous, I tell you.

Tahini Blueberry Muffins

Processed with VSCOcam with f2 preset Processed with VSCOcam with f2 preset

I know the words tahini and blueberry make this sound pretty much holy, but the taste of these muffins are as lascivious as muffins can get. Not that muffins are meant to be lascivious or anything– they’re always taken as the granny-pants-boring stuff; the complete opposite. I abhor incorrect grammar and the use of words like lascivious in inappropriate contexts, but the fluff on this thing, flavours and textures made me think of that very word, so that they shall be. These muffins are so good, so simple, so delicious (and sexy).

IMG_4615Processed with VSCOcam with f2 preset

I think spontaneous, successful experiments call for celebration. It almost feels like a good replacement for the lack of dirty hands-on lab practicals the past week, though I’m eternally grateful for that one incredibly eye-opening introduction to anatomy dissections. As I peered under each vertebrate (cervical, thoracic, lumbar and coccygeal), fiddled with the moist muscle (sorry for the unappealing alliteration right there) and poked and prodded at the nerves and meningeal layers, I witnessed the magic that is the human form. I crave more of it now. There’s something grossly satisfying in touching something which you know is all you, and at the same time, everyone else. It’s universal, it’s each of us, it’s everyone.

The hands-on itch was a bit delayed– got home and had the blinding urge to experiment and yield results. Delicious results And seeing that I was visiting my fellow foodies Emily and Ella that night (!!), to make something not akin to your typical baked product felt quite appropriate. With lots of tahini and blueberries on hand, these babes were born.

I’ve recently been reading up a lot on our attitudes towards food, health and nutrition, and even with all the information and resources around us, am still boggled by the fact that so many of us are tricked into what I call ‘fake healthy’ eating. Different things may work for different people, but ultimately even the whole notion of ‘striving for balance’ proves to be an inherent problem. We all possess different gut flora, different sets of genes, different intolerances– how are we to rely on anything we hear, see and touch? Is the market trustworthy, justifiable? Diet. Oh, that contentious word.

Yes, it’s good to experiment and see what works for you (no meat, no eggs, etc), but I think it’s high time we stop believing everything we hear, and start listening to our bodies. I know, that phrase is so repeated it’s practically proverbial. And yet, it’s the one thing we must always remember. Chowing down on that Special K and sugary yoghurt isn’t a crime, but advertising betrays the truth, and unless your reward circuitry systems are truly messed up, there’s no saving anyone. All that sugar is practically like lifting up your shirt sleeve and injecting cocaine. So as much as I love sugar, sugar and more sugar, I’ve also become keenly aware on what’s right, and what’s just downright harmful (basically excessive consumption).

These muffins aren’t 100% healthy, but I’m ok with that, and you should be, too.

Because it’s a bloody muffin, guys.

Processed with VSCOcam with f2 preset

Tahini Blueberry Muffins (makes 6 large muffins, lightly adapted from my nut-butter-stuffed matcha cupcake recipe)

Ingredients

130g (1 cup) plain flour

70g (1/3 cup) white sugar

75g (1/3 cup) packed dark brown sugar

1 1/2 tsp baking powder

1/4 tsp baking soda

pinch salt

2 eggs

113g (1/2 cup) unsalted butter

80ml (1/3 cup) tahini

1 tsp vanilla extract

50g (1/2 cup) fresh blueberries


Directions

Preheat your oven to 170C (340F) and line a muffin tin with liners, or simply place some cupcake/muffin liners on a baking tray.

In a medium bowl, briefly whisk together the flour, two leavening agents and salt. Dump in your blueberries and lightly toss to coat in flour.

In another large microwave-safe bowl, microwave your butter for 20 seconds until partially melted. Whisk the butter and two sugars in this bowl (quick creaming method) to aerate the mixture slightly, for at least a minute. Add the 2 eggs, vanilla and tahini, and whisk everything together well. Pour the dry mix into the wet mix, and use a wooden spoon or spatula to gently fold in the dry mix until everything is just combined.

Spoon the batter into 6 muffin liners, and bake in the preheated oven for 25-28 minutes. The muffins are large ones, so they need time to rise and brown. Check them at the 25-minute mark– a wooden skewer inserted right in the middle should come out clean. They should have a medium brown, almost caramelised and slightly domed top. You might even need a whole half hour. The insides will be fluffy and tender.

These muffins are best served the day they’re made, but you can keep them for an extra 1-2 days in an airtight container. Otherwise, freeze any uneaten ones in the freezer and microwave when the mood hits.

Chocolate Coffee ‘Mochi’ Cake

Processed with VSCOcam with f2 preset

I guess I should stop with the chocolate some time. Some time. In the future. Not now.

It’s been weeks since I left Japan, but I occasionally find myself reminiscing bits and parts of it. The little alleys, and corners, and scarily magnanimous people. Oh right, and the food. That.

I remember strolling into a little sweets shop with the rest of the family, and we were greeted by mile-high packs of mochi– little rice cakes made with Japanese glutinous rice. Mochi’s kind of like a magic food, consisting of polysaccharides, proteins, lipids and water. All weaved together to form this sticky, chewy, yet delicate mass. The gel-like consistency is actually due to lack of amylose in the starch grains of mochi rice, and it’s that sort of texture I wanted to recreate in this cake.

When I came across Food 52’s recipe for a chocolate mochi snack cake, I knew I had to give it a shot (and a little twist). Now I didn’t have the sort of rice necessary to make traditional mochi, but rice flour came close enough. And so rice flour it was.

I know I know, it’s a chocolate cake. Yet it’s much more than that. It’s akin to something bolder, and brighter, yet lighter. The crumb is so fine, yet each slice is perfect and straight-edged, holding its own, each bite one of chocolatey integrity.

This cake has:

  • an almost-crisp, sugary, crusty top
  • a soft, incredibly fine-crumbed interior
  • oozing pockets of chocolate chunks
  • a slightly squidgy, chewy middle
  • me smitten

Processed with VSCOcam with f2 preset Processed with VSCOcam with f2 preset

The secrets here are the addition of coffee, use of confectioner’s sugar, and the melting of chocolate, butter and honey as one of the first steps. Take your time making this– it’s simple but harbours close precision. I couldn’t resist adding a dash of coffee into the wet mix, and the result was moist and fragrant. You won’t regret dashing out to get that extra pack of confectioner’s sugar either– it yields the most fine and delicate cake crumb.

Yeah, pretty ethereal.

Processed with VSCOcam with f2 preset Processed with VSCOcam with f2 preset

Chocolate Coffee ‘Mochi’ Cake (adapted from Food 52’s chocolate mochi snack cake recipe; makes a thick 9×9 pan of cake)

Ingredients

325g (2 cups) rice flour (I used Doves Farm)

190g ( 1 1/2 cups) confectioner’s sugar

1 tbsp baking soda

pinch coarse salt

180g (1 heaping cup) dark chocolate (70% cocoa), chopped into chunks

1.5 tbsp honey

1 tsp vanilla extract

2 eggs

500ml (2 cups) whole milk

120ml (1/2 cup) coffee (I used instant– one tablespoon dissolved in half a cup of boiling water, but use the better stuff if you can!)

113g (1/2 cup) salted/unsalted butter

160g (slightly less than a cup) chopped dark chocolate, mixed with 2 tbsp extra of rice flour

5 tbsp maple syrup/honey (for the topping)


Directions

Preheat your oven to 180C (350F) and grease and line a 9×9-inch brownie pan.

In a medium-large bowl, whisk together the rice flour, sugar, baking soda and salt. Put the 180g of chopped dark chocolate, butter and honey into another bowl and microwave for 1 minute. Take it out and stir until you get a smooth, homogenous mixture. Alternatively, do the same in a saucepan and over a low-medium heat.

Scrape the smooth chocolate mix into a large bowl (large because it’s going to hold quite a volume), then stir in the 2 eggs, milk, coffee and vanilla extract. Add the dry mix and fold into the wet mix until you get a smooth, rather wet, light brown batter. Probably much wetter than what you would expect, but not as sticky or glutinous as your typical brownie batter. Then stir in the extra 160g of chocolate chunks mixed with the extra 2 tbsp of rice flour.

Scrape the batter into your greased pan, and bake for 50 minutes in the preheated oven. Once out of the oven, pierce random parts of the cake with your fork or knife, then drizzle over the honey/maple syrup. Leave to cool for half an hour, then cut and serve. This cake can be kept for a week in an airtight container in the fridge, but as the original recipe from Food 52 states, it does taste better at room temperature (ah, what are microwaves for). Serve on its own, though it’s also delicious with a heavy hand of chocolate spread (as shown above) or whipped cream.

Tea Drinker?

Processed with VSCOcam with f2 preset

Tea? Me?

My typical early mornings comprise a bleary-eyed kettle-boiling-plus-toast-making session. In a few minutes I have toast and black coffee. In less than half an hour the sun is way up there and I’m ready to do whatever it is that I have to get on with. Tea rarely makes the cut.

But when I received a lovely assortment of teas from the enthusiastic guys of Clipper Teas, I knew I’d be ready to make a change to this morning agenda. Read: I’m never one for aimless advertising. I have to seriously love a brand’s aesthetic or flavour, or support their cause, or both. So why Clipper?

Before you read any further, please take a minute to click on this link.

Doo doo doo.

Da dum.

Processed with VSCOcam with f2 preset

Done? OK.

Shocked? Disconcerted? Yeah, same here. What it really boils down to is this:

Do you know what’s in your tea?

So many of us buy bags and bags of the stuff each week, not once considering how we’re cheating ourselves. I too was completely unaware of the reality of the industry. Though I’m not the biggest tea drinker, I have friends who drink copious amounts of tea every day, and, if not the usual black, green tea is what accompanies those stressful revision sessions.

With Clipper, which also became the UK’s first Fairtrade tea company in 1984, you can be sure to get every bang for your buck, every brew fresh and free of anything artificial. Their mantra is ‘it’s what’s on the inside that counts’, and I completely agree. No bleaching of tea bags, no quarter-filled bags, no chemicals, nothing. Just pure, unbleached, natural goodness in a cup.

Processed with VSCOcam with f2 preset
A breakfast to complement this hot, flavourful cup of tea. My mother’s amazing homemade pistachio butter, which I here paired with caramelised banana, is one of the best things your lips will touch.

This early morning I enjoyed their lemon green tea, which exudes a bright, true flavour. Knowing the story and aim of Clipper made every sip all the more enjoyable. Here you can find the whole range of their delicious and reasonably priced teas! I’m already planning to smuggle as many flavours as possible back home to Singapore for the family to try.

Next time you think of having a cuppa (tea) or need something to accompany that slice of cake, just remember:

It’s what’s on the inside that counts.


Classic Pancakes

Currently (sadly) alternating between periods of intense revision and:

  • wondering what Leonardo da Vinci’s Snapchats would be like
  • researching the nutrition of scallops and uni, in other words my two current favourite types of seafood
  • embarking on The Kitchn’s baking school program, which is definitely one of the most interesting and exciting things I’ve started in a long time.

Busyness aside, there will always be time for a good settle-down in the kitchen. Like a good breakfast. Something like this:

Processed with VSCOcam with f2 preset

thin, tender, lacey (English) pancakes (here topped with fresh ripe banana, drizzled with almond butter and salted caramel walnuts+melted matcha chocolate I saved all the way from Japan)

For creativity and mood’s sake, I gave in to the whole almond-matcha theme the first time round. It’s one of those things I’ve done before, loved, and you can check it out right here. Admittedly, the day after, I reheated a couple of extra pancakes and went for the classic, ever-loved combo of freshly-squeezed lemon juice and sugar. Deliciousness= lemon and sugar soaking into thin pancake flesh, into every crevice of the crumpled carpet. That being said, there’s also something magical about the combination of a fresh, warm pancake with a creamy slather of almond butter. The melted matcha chocolate hits everything with a sweet and slightly bitter kick.

Processed with VSCOcam with f2 presetProcessed with VSCOcam with f2 preset

Sorry– trypophobics beware.

Having made plenty of American pancakes, the sort which fluff up and bounce and you top with butter and maple syrup, I thought it fitting to try something else. That’s when I came across Nigella Lawson’s recipe for classic crepes. And so another question popped up:

  • what’s the difference between a crepe and a pancake?

After trying out the recipe and doing the research, I had a hard time deliberating whether the final result was more akin to one or the other. The nuances of the recipe made this more a pancake than crepe, so pancakes it was. The main difference lies in waiting time, so calling it a crepe wouldn’t be sacrilege.

These pancakes are a real treat any morning. Very thin, lacey, and have a light brown, crispy underside. The great bit? You can put them together in a pinch and any leftovers can be chucked in the fridge and reheated the next morning/ whenever you want.

Took a while for me to get these pancakes as thin and lacey as possible, but a few good tricks to have up your sleeve are:

  • when putting melted butter into the pan before ladling of the pancake batter, do not use a paper towel to remove excess butter– add a generous amount of butter, let melt and swirl around. This will promote excellent browning and crispiness at the edges.
  • I repeat– generous amount of butter.
  • use medium-high heat– should hear a mild sizzle when batter hits the pan and a heavier-bodies sizzle when batter is ladled into pan.
  • After ladling, lift the pan off the heat to swirl it around evenly. This prevents any batter that’s already been ladled from cooking too fast and lets you swirl everything nicely and thinly.

Processed with VSCOcam with f2 preset

Classic pancakes (makes 8–10 medium pancakes; adapted from Nigella’s crepes recipe)

Ingredients

150g plain, all-purpose flour

2 tbsp white sugar

pinch salt

28g (2 tbsp) melted, unsalted butter, plus more for the pan during cooking

1 large egg

340ml milk of choice (I used both whole and almond milk on 2 occasions and both worked perfectly)

Directions

Preheat your pan or crepe pan on medium-high heat and ready some butter for cooking. In a large bowl, tip in the flour, salt, sugar, milk, egg and butter, in that order, and whisk everything together. Continue whisking until no lumps remain, and the batter is pale and silky. Use a small ladle to ladle in a little batter and immediately swirl in a circle formation to spread the batter evenly in the pan. As mentioned earlier in the post, you should hear a heavy-bodied sizzle upon the application of melted butter to the pan, and a mild batter when the batter actually hits the pan and starts cooking.

Your first and second pancakes might be a little dodgy, but it gets better as you go along (promise). Once the edges of the pancakes crisp up and brown, slide your spatula underneath and flip. Cook for up to 45 seconds on this side, then remove from the pan and place on a paper towel. When cooking the pancakes/crepes, layer paper towels between each to absorb the condensation.

Serve warm with more butter and honey/maple syrup, or lemon juice and sugar. Try out the combination in the picture above too– does wonders for your tastebuds, friends.