Chocolate and Banana Mug Cake

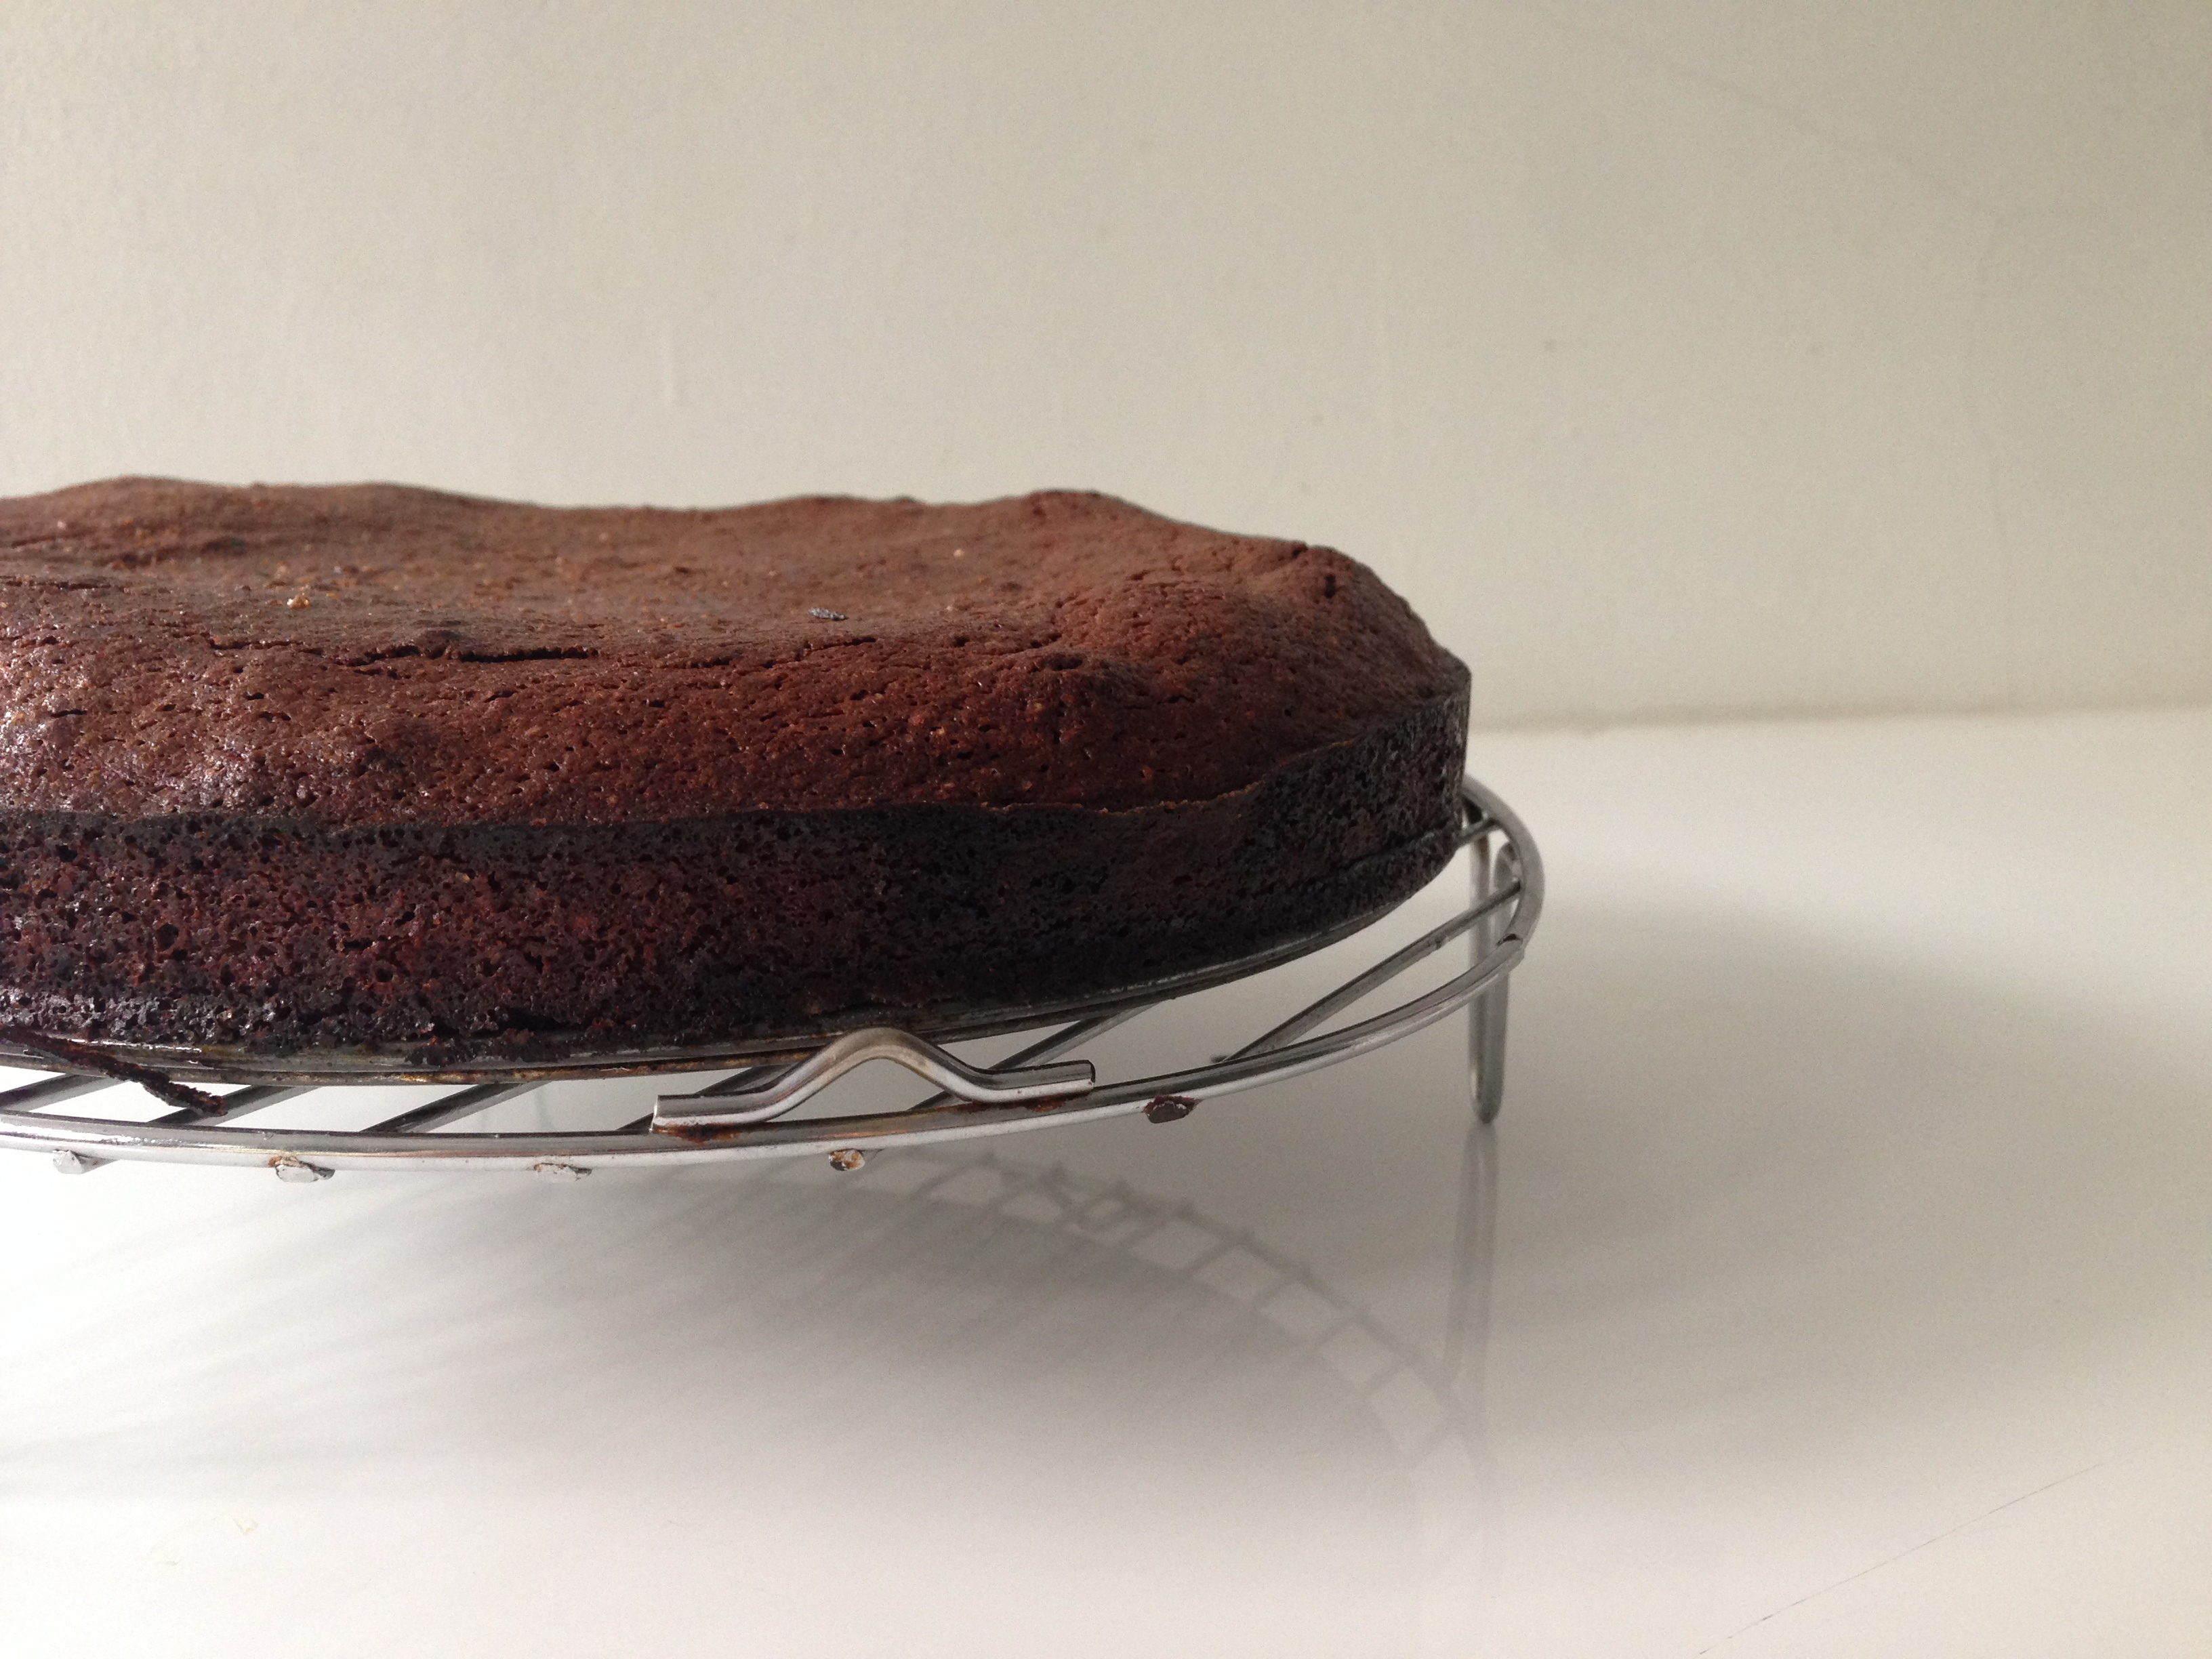
It’s a big one, literally and metaphorically.

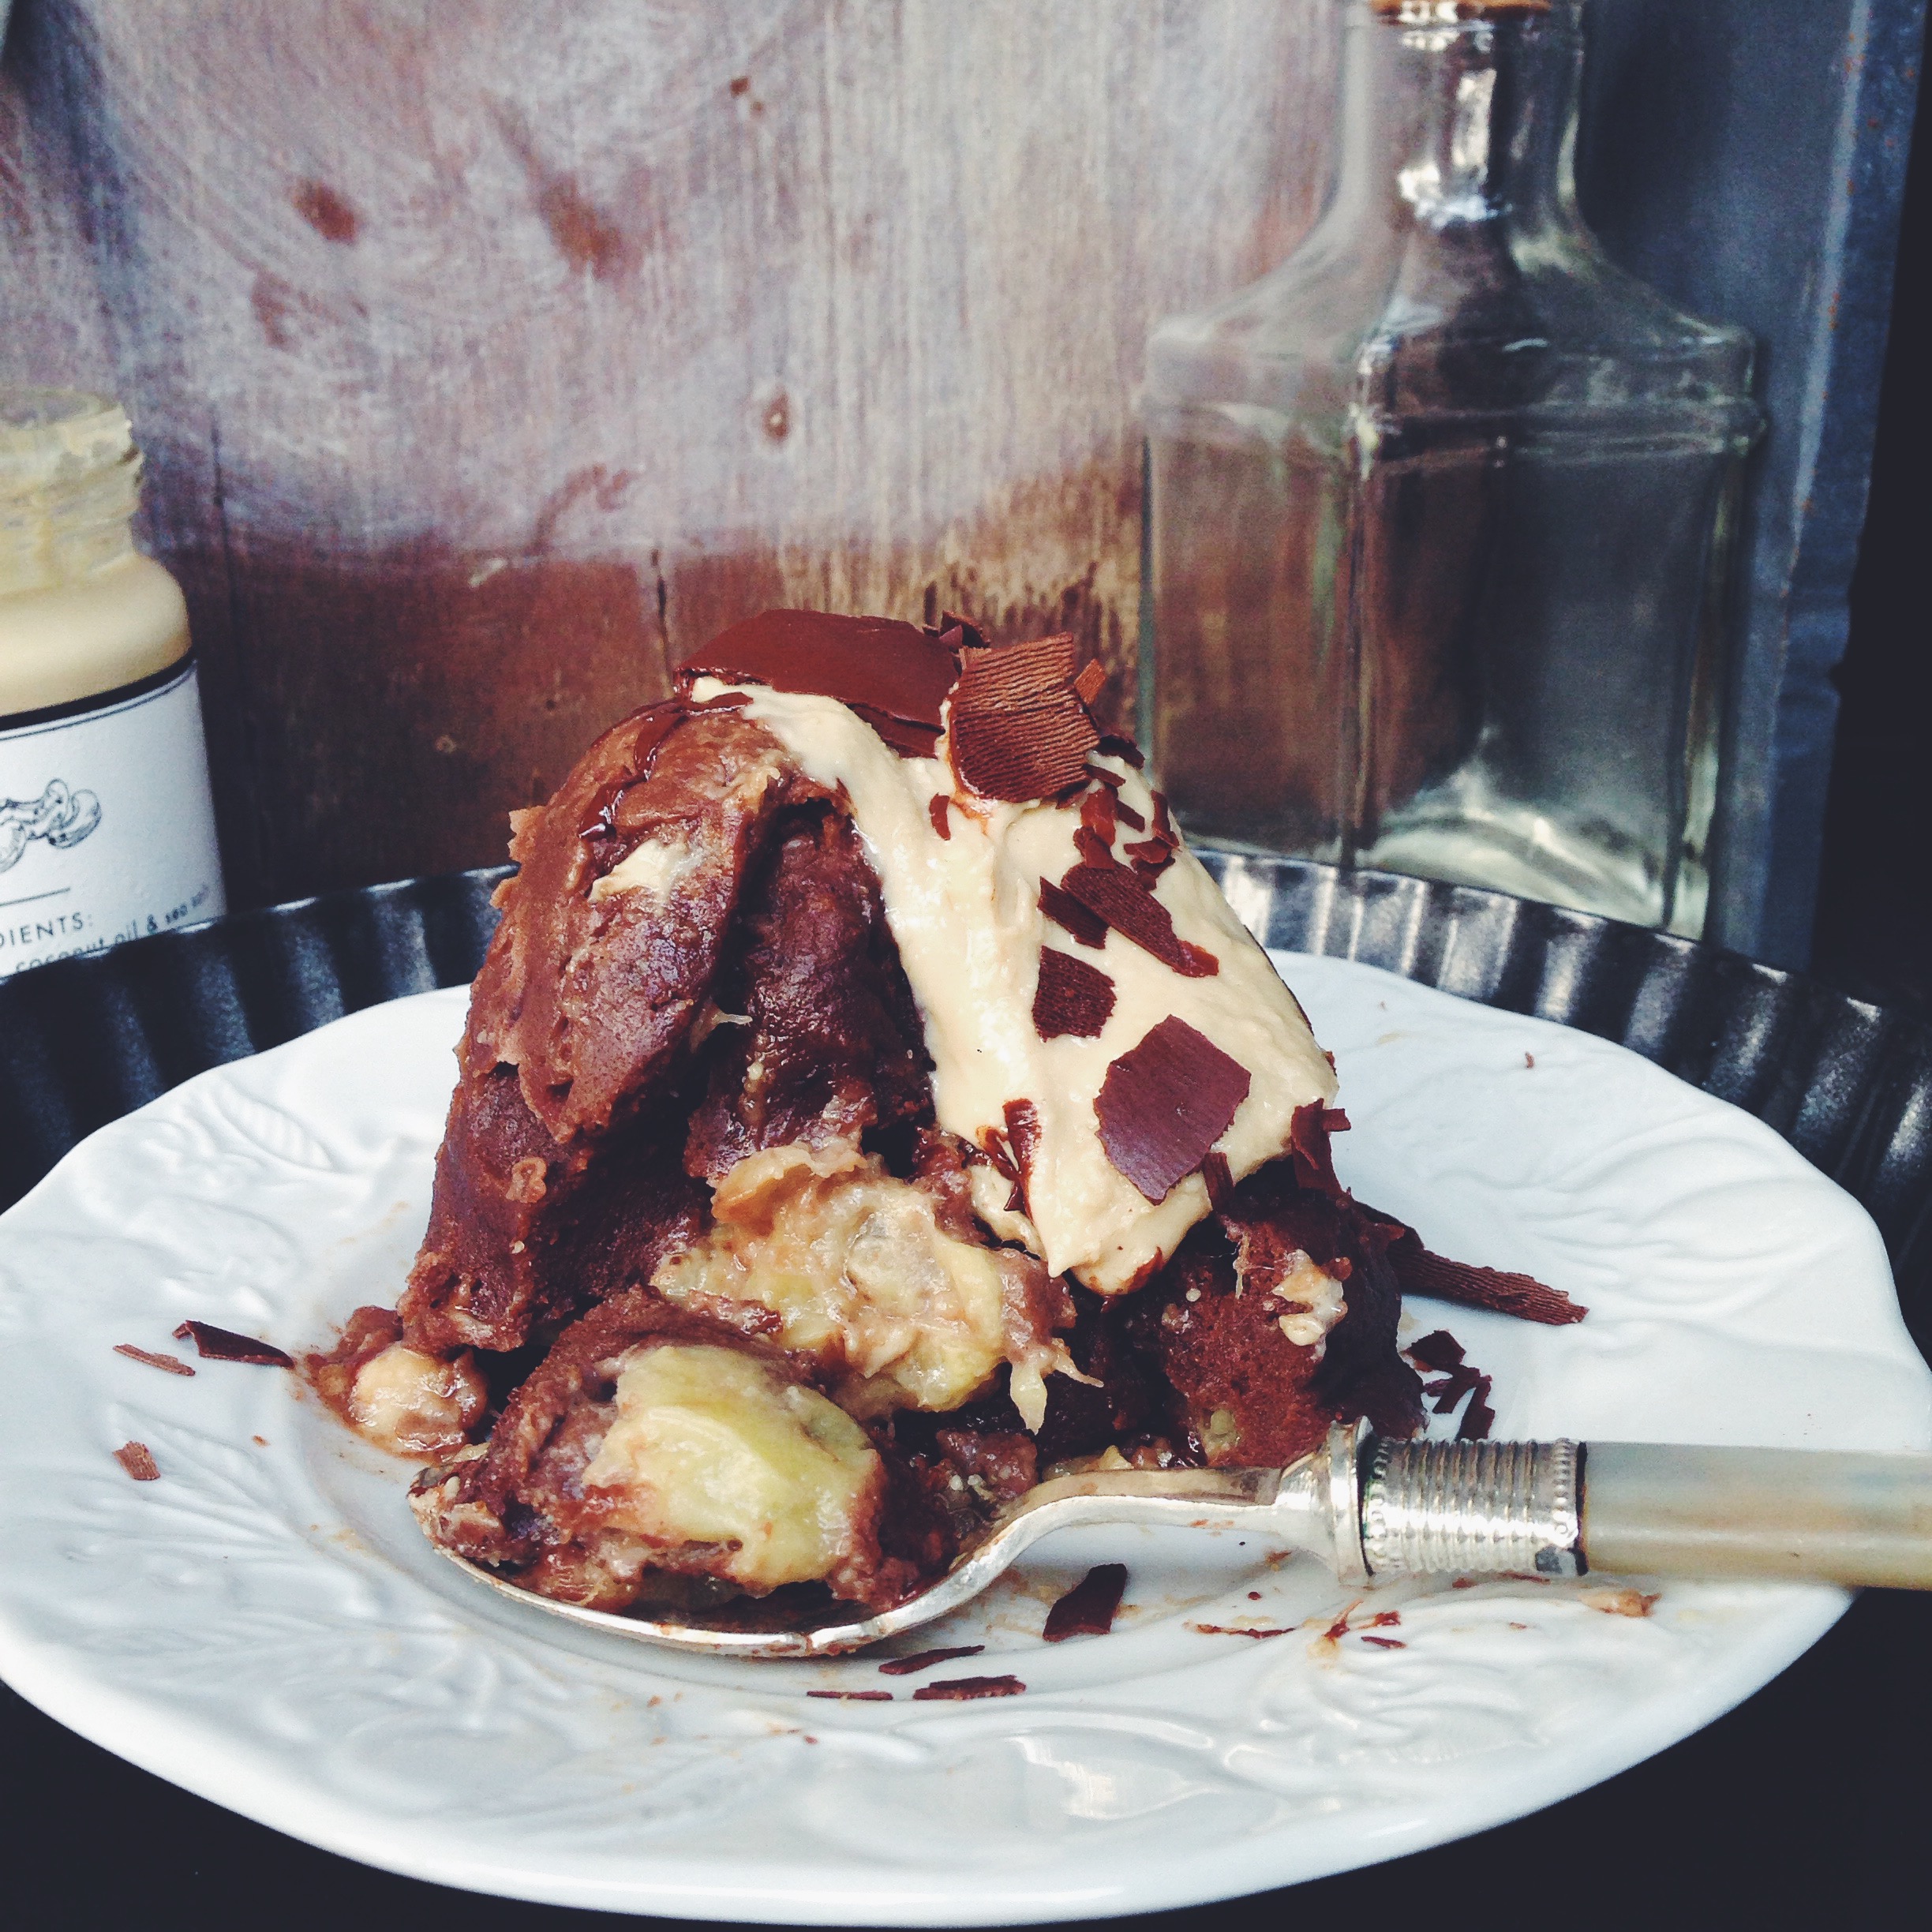
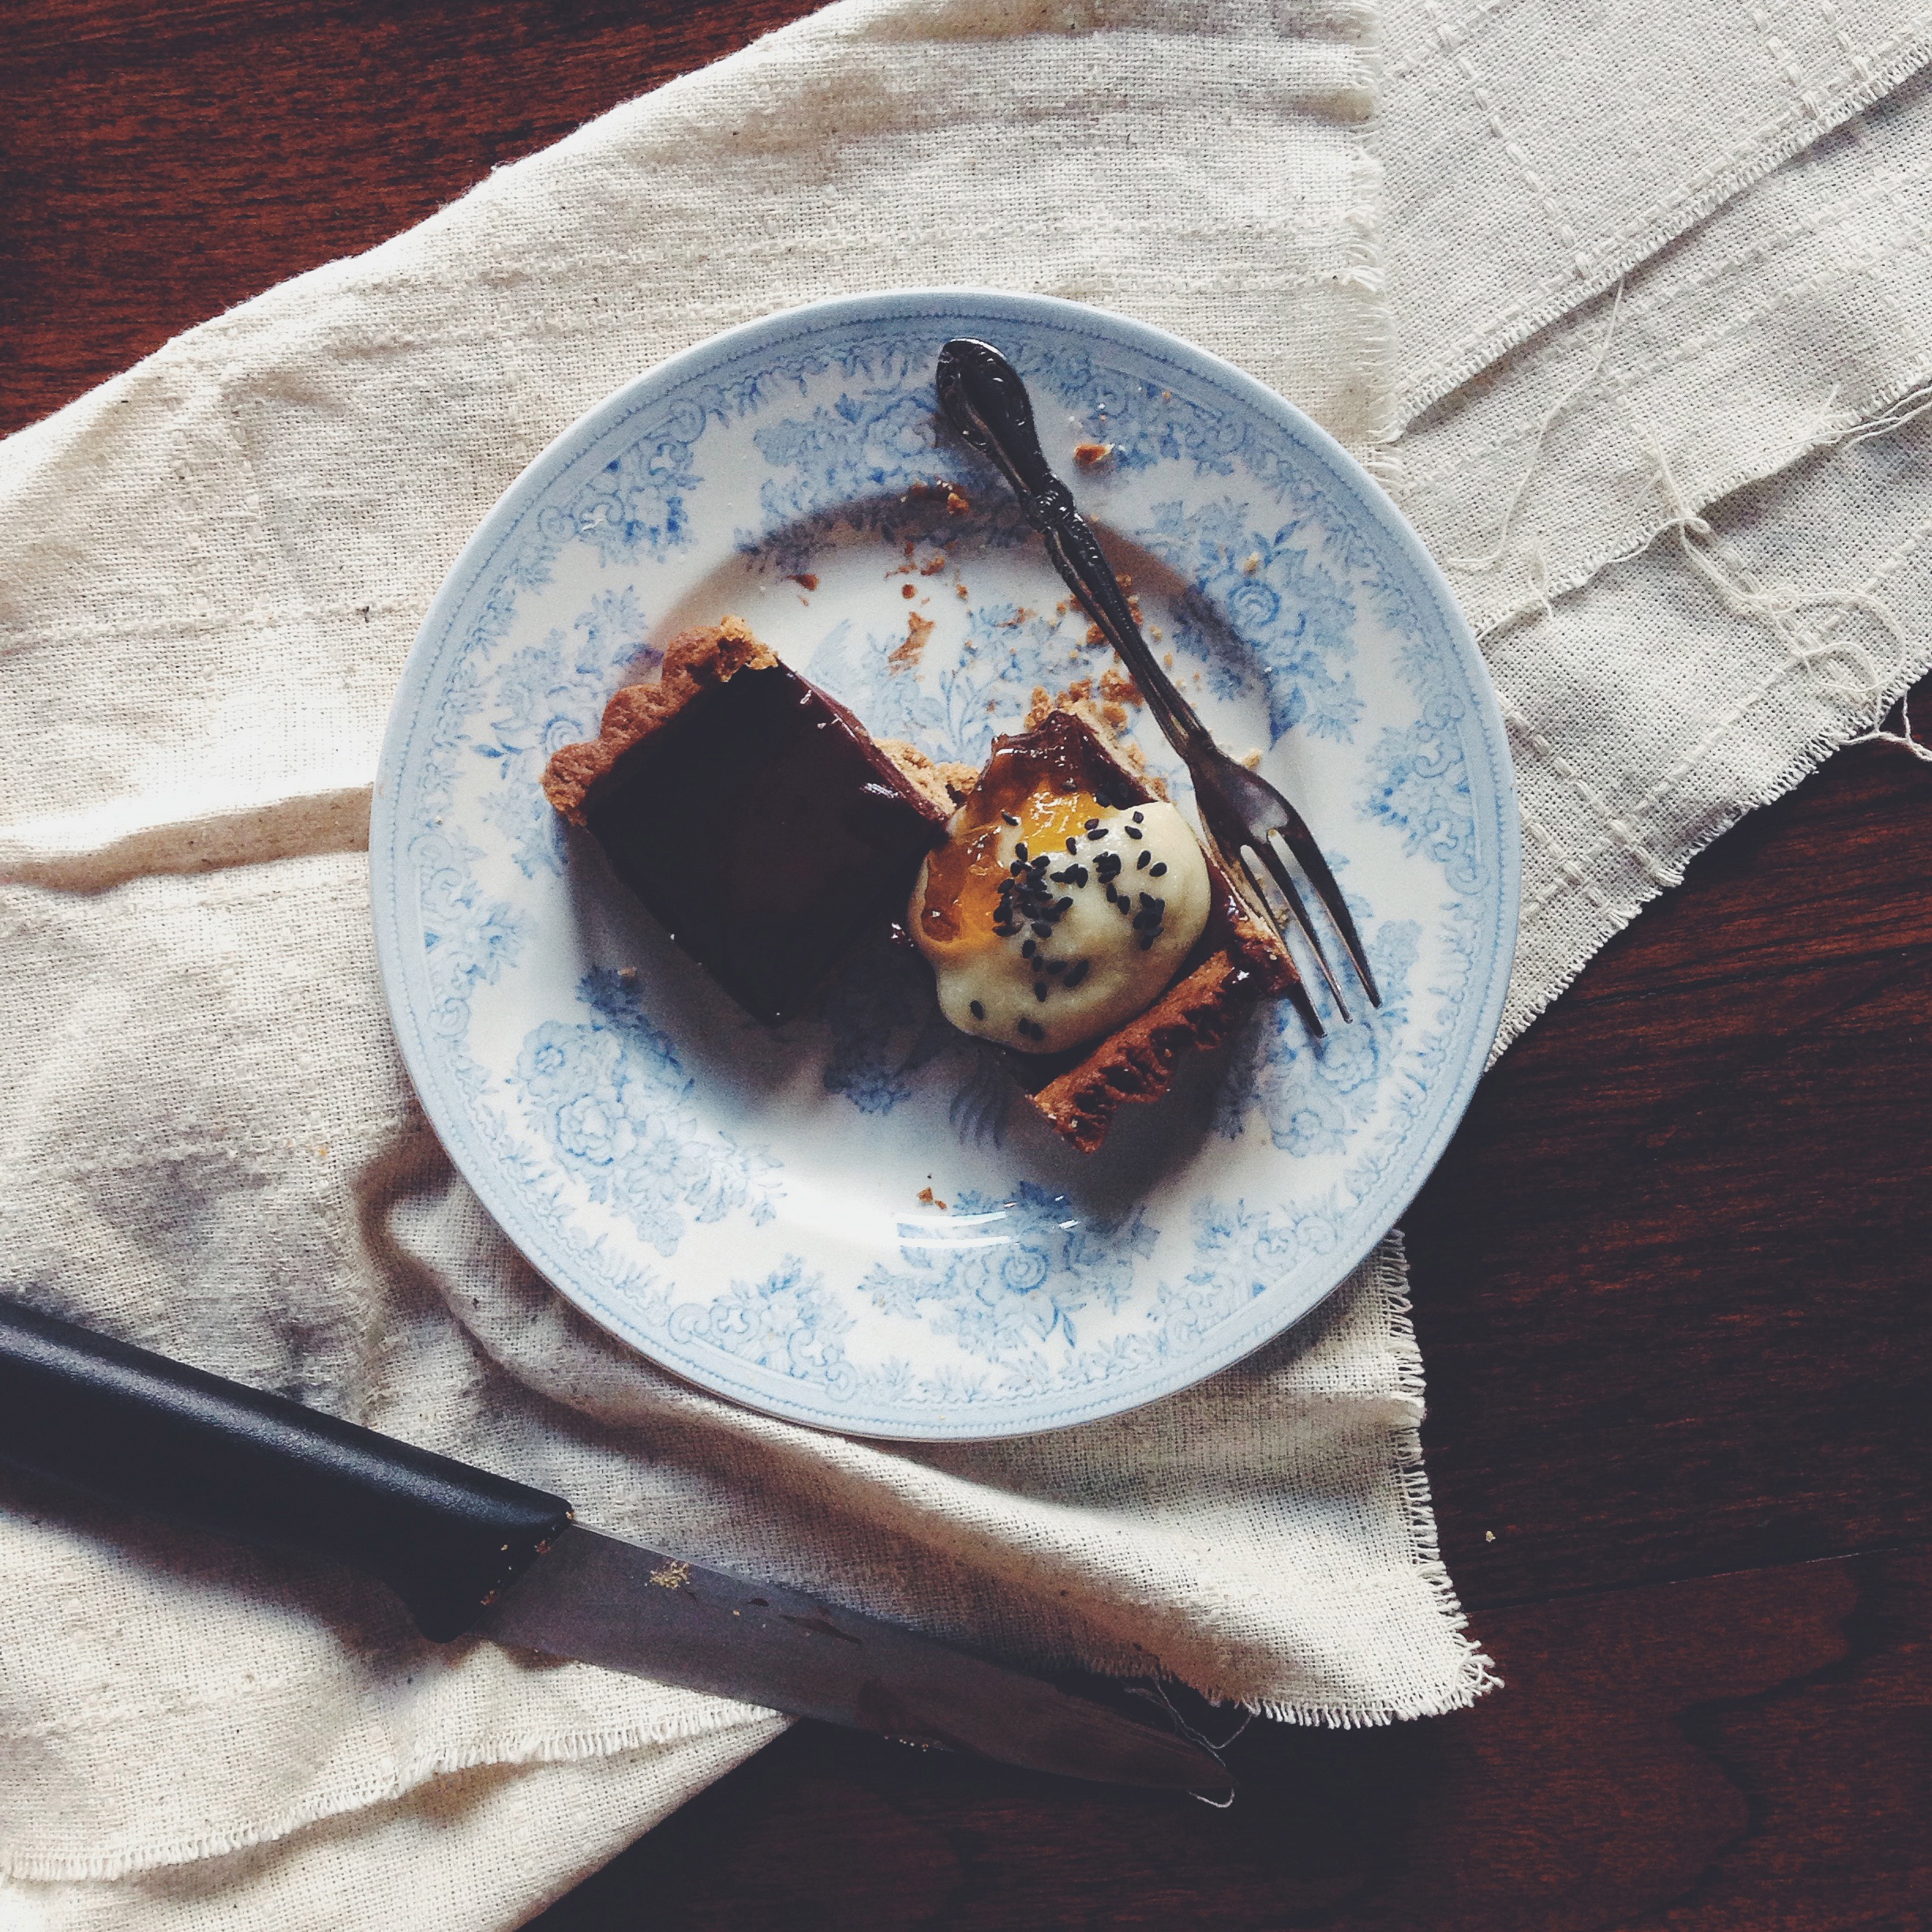
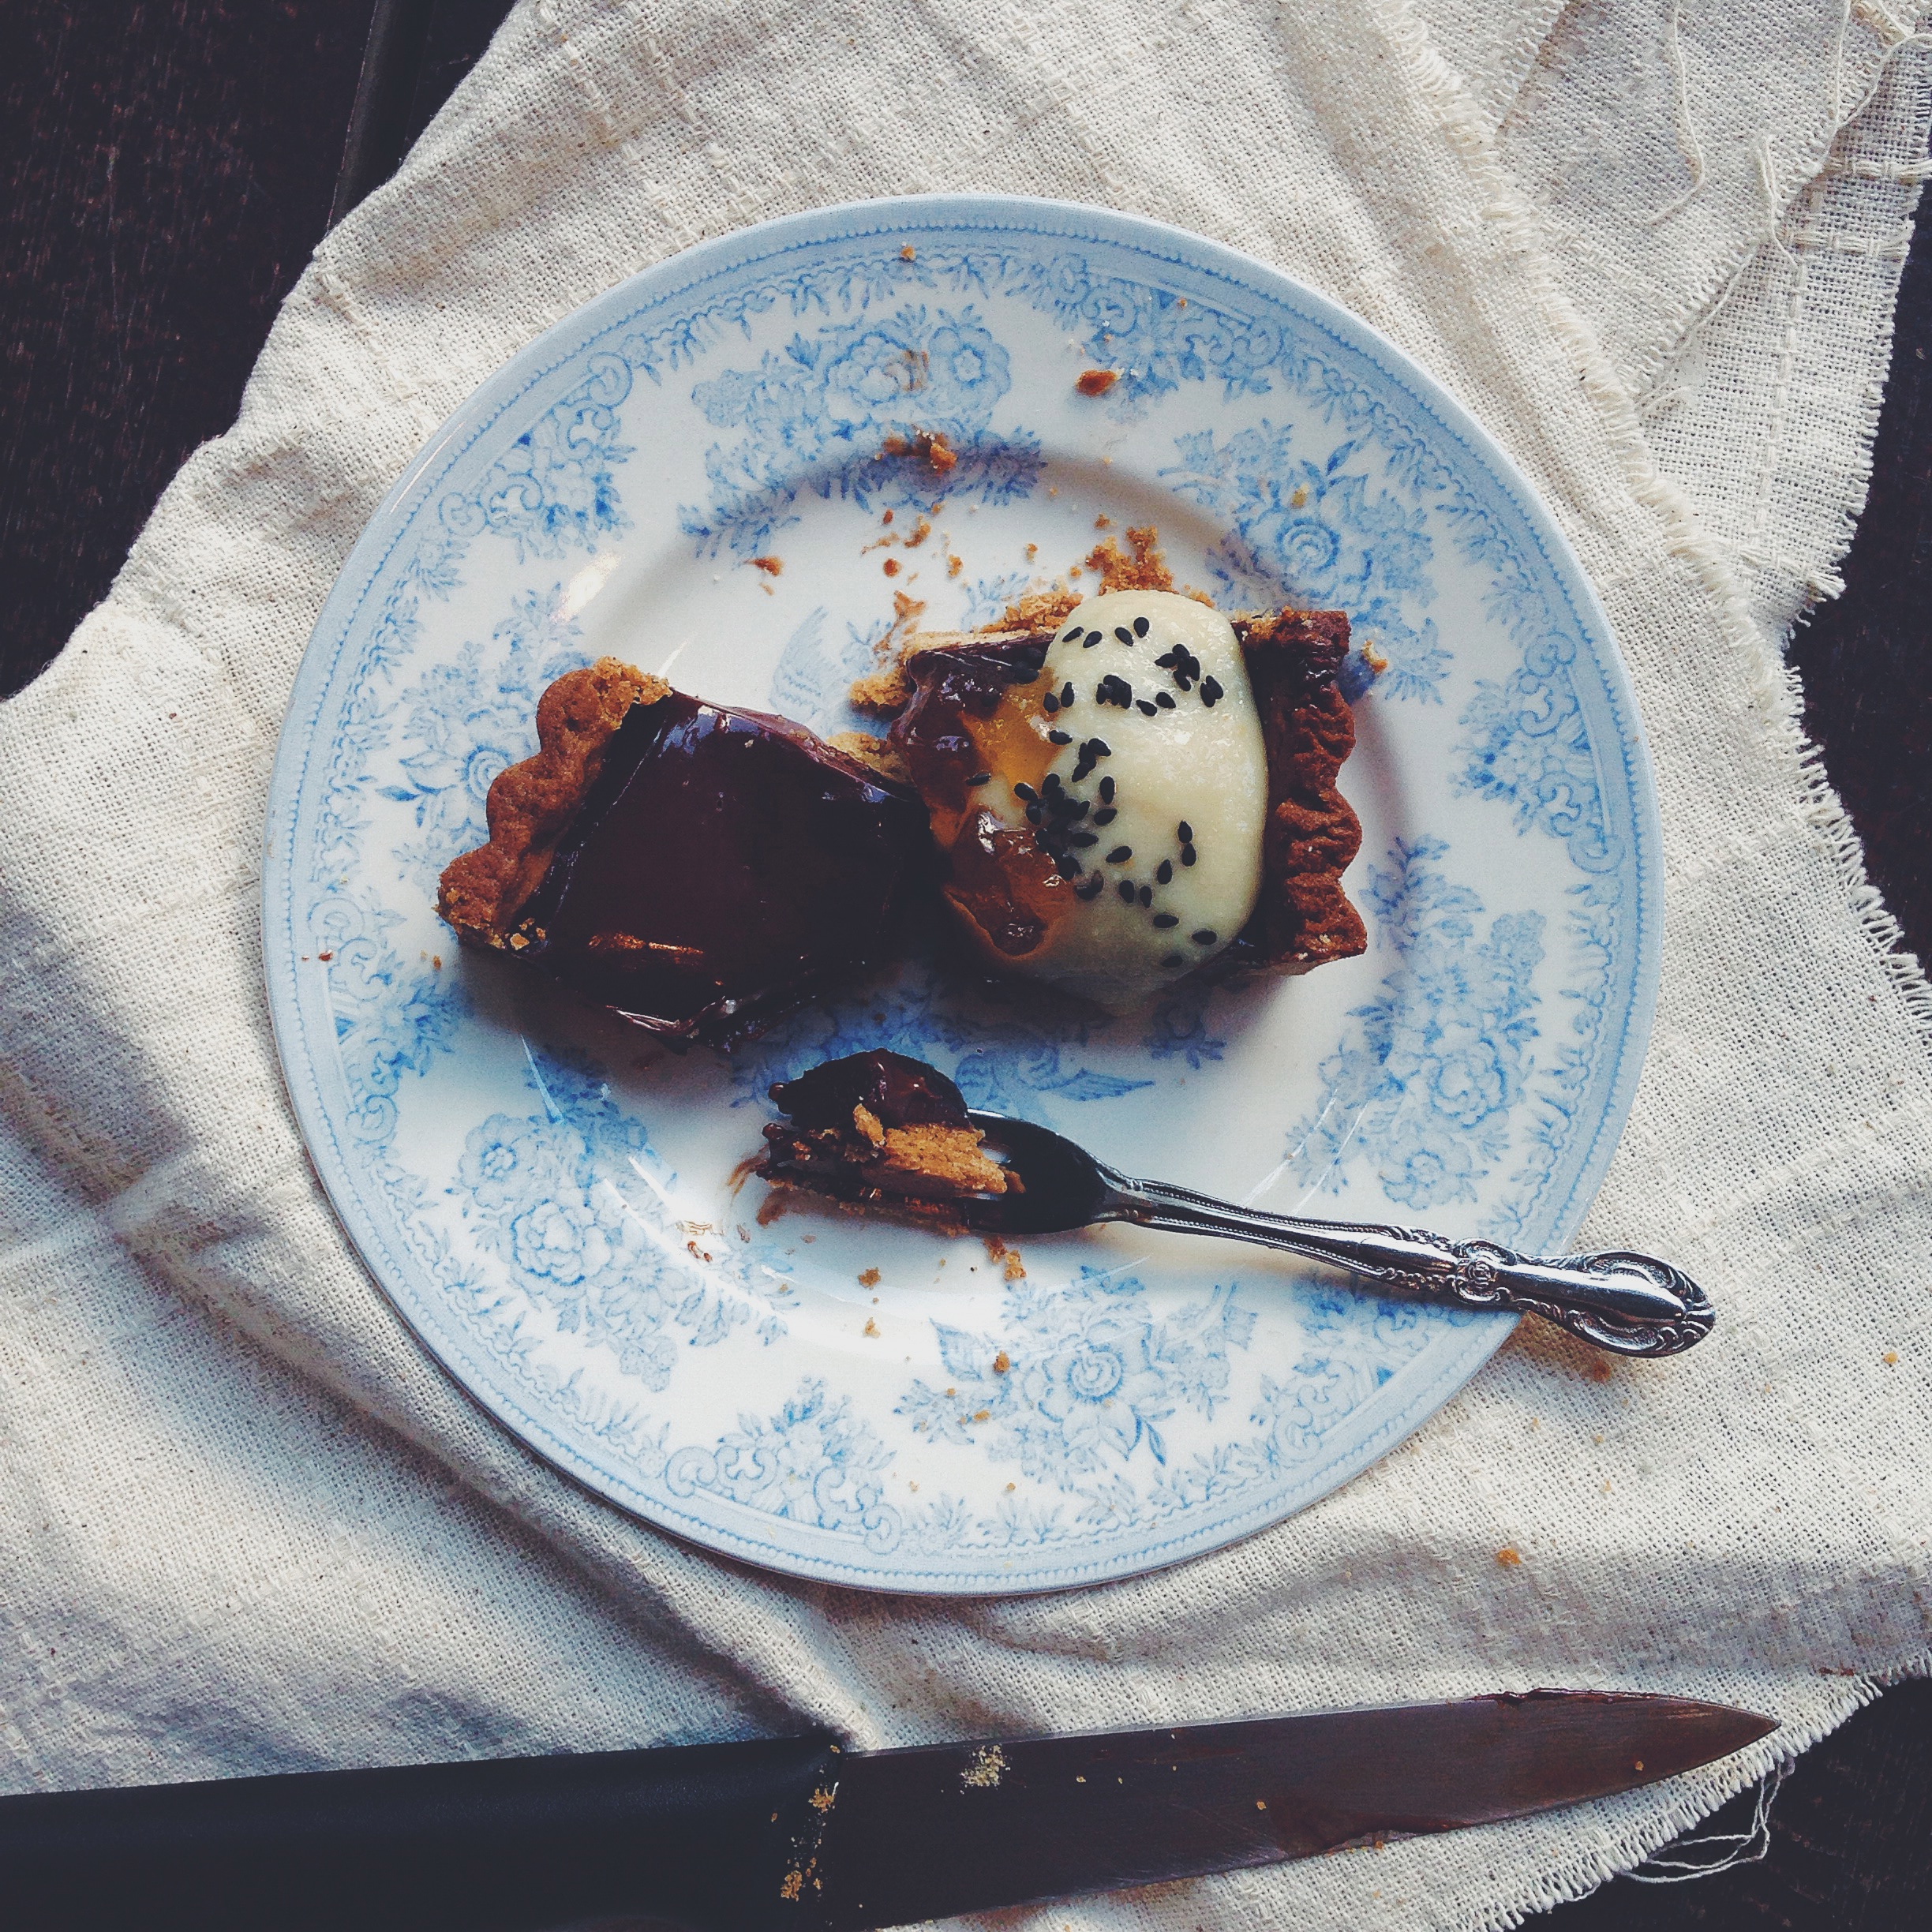
Above you may observe chocolate in one of its natural habitats (for it has many, obviously), with a cashew butter topping and chocolate shavings.

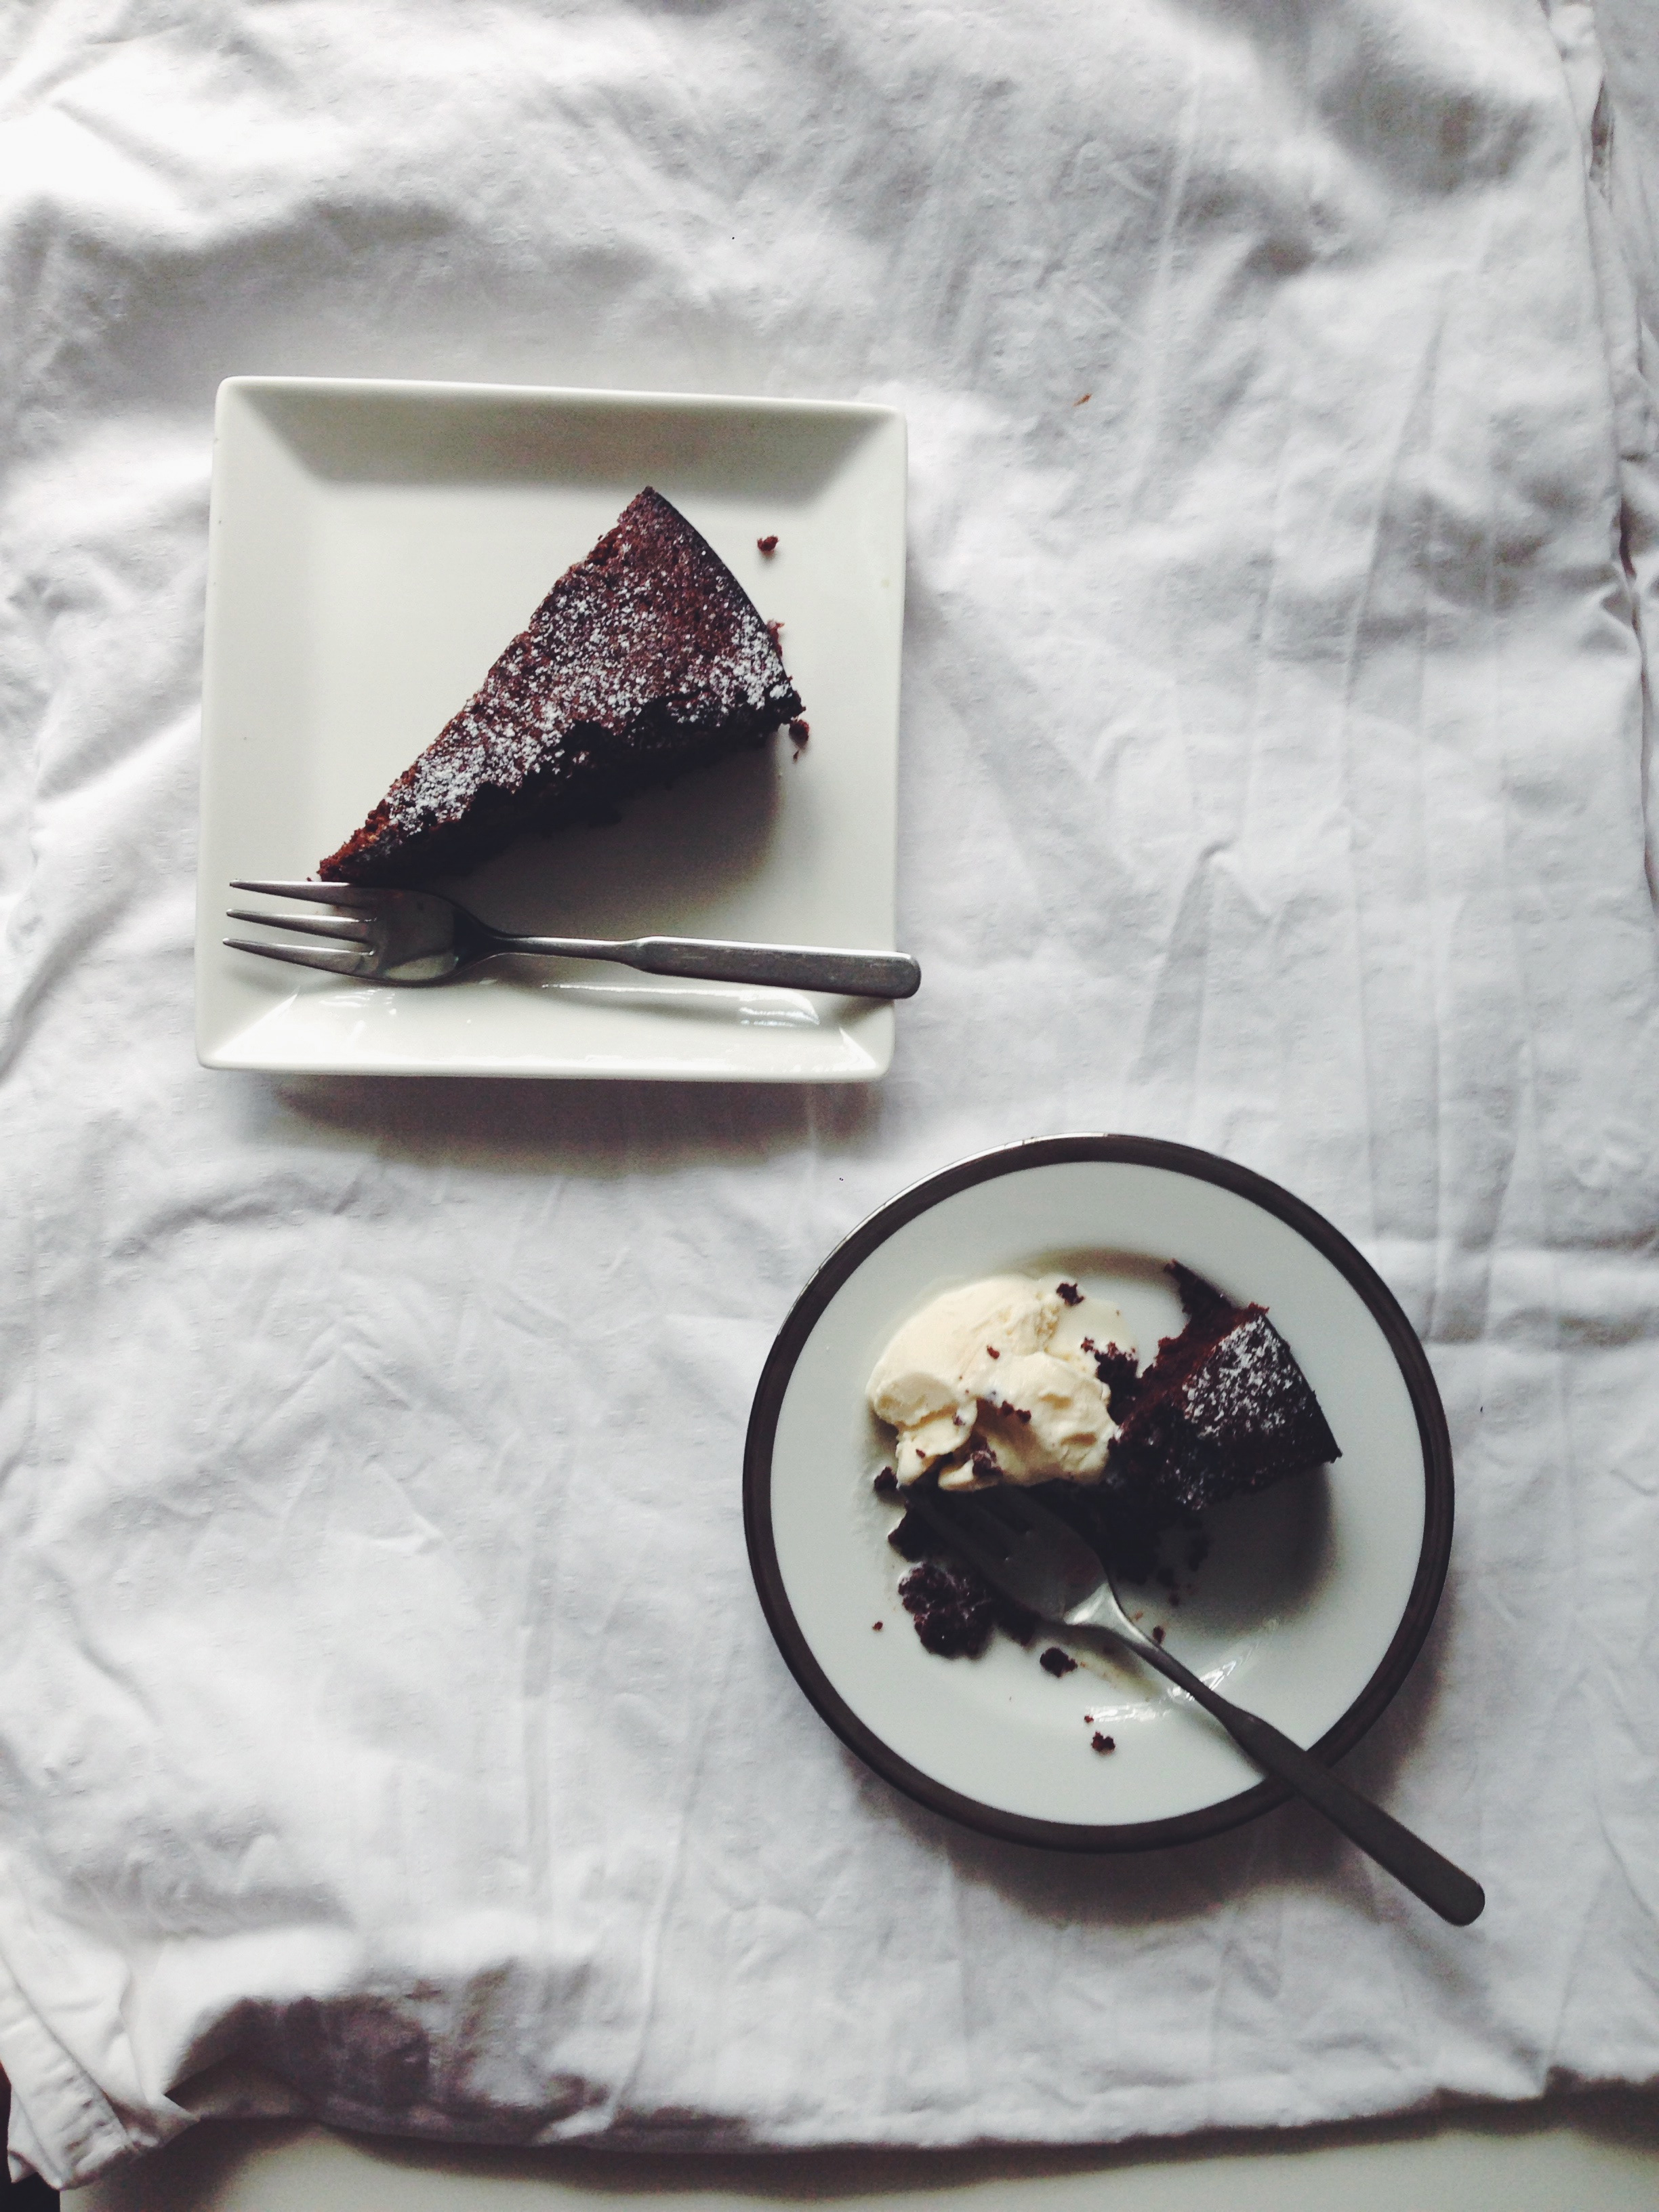
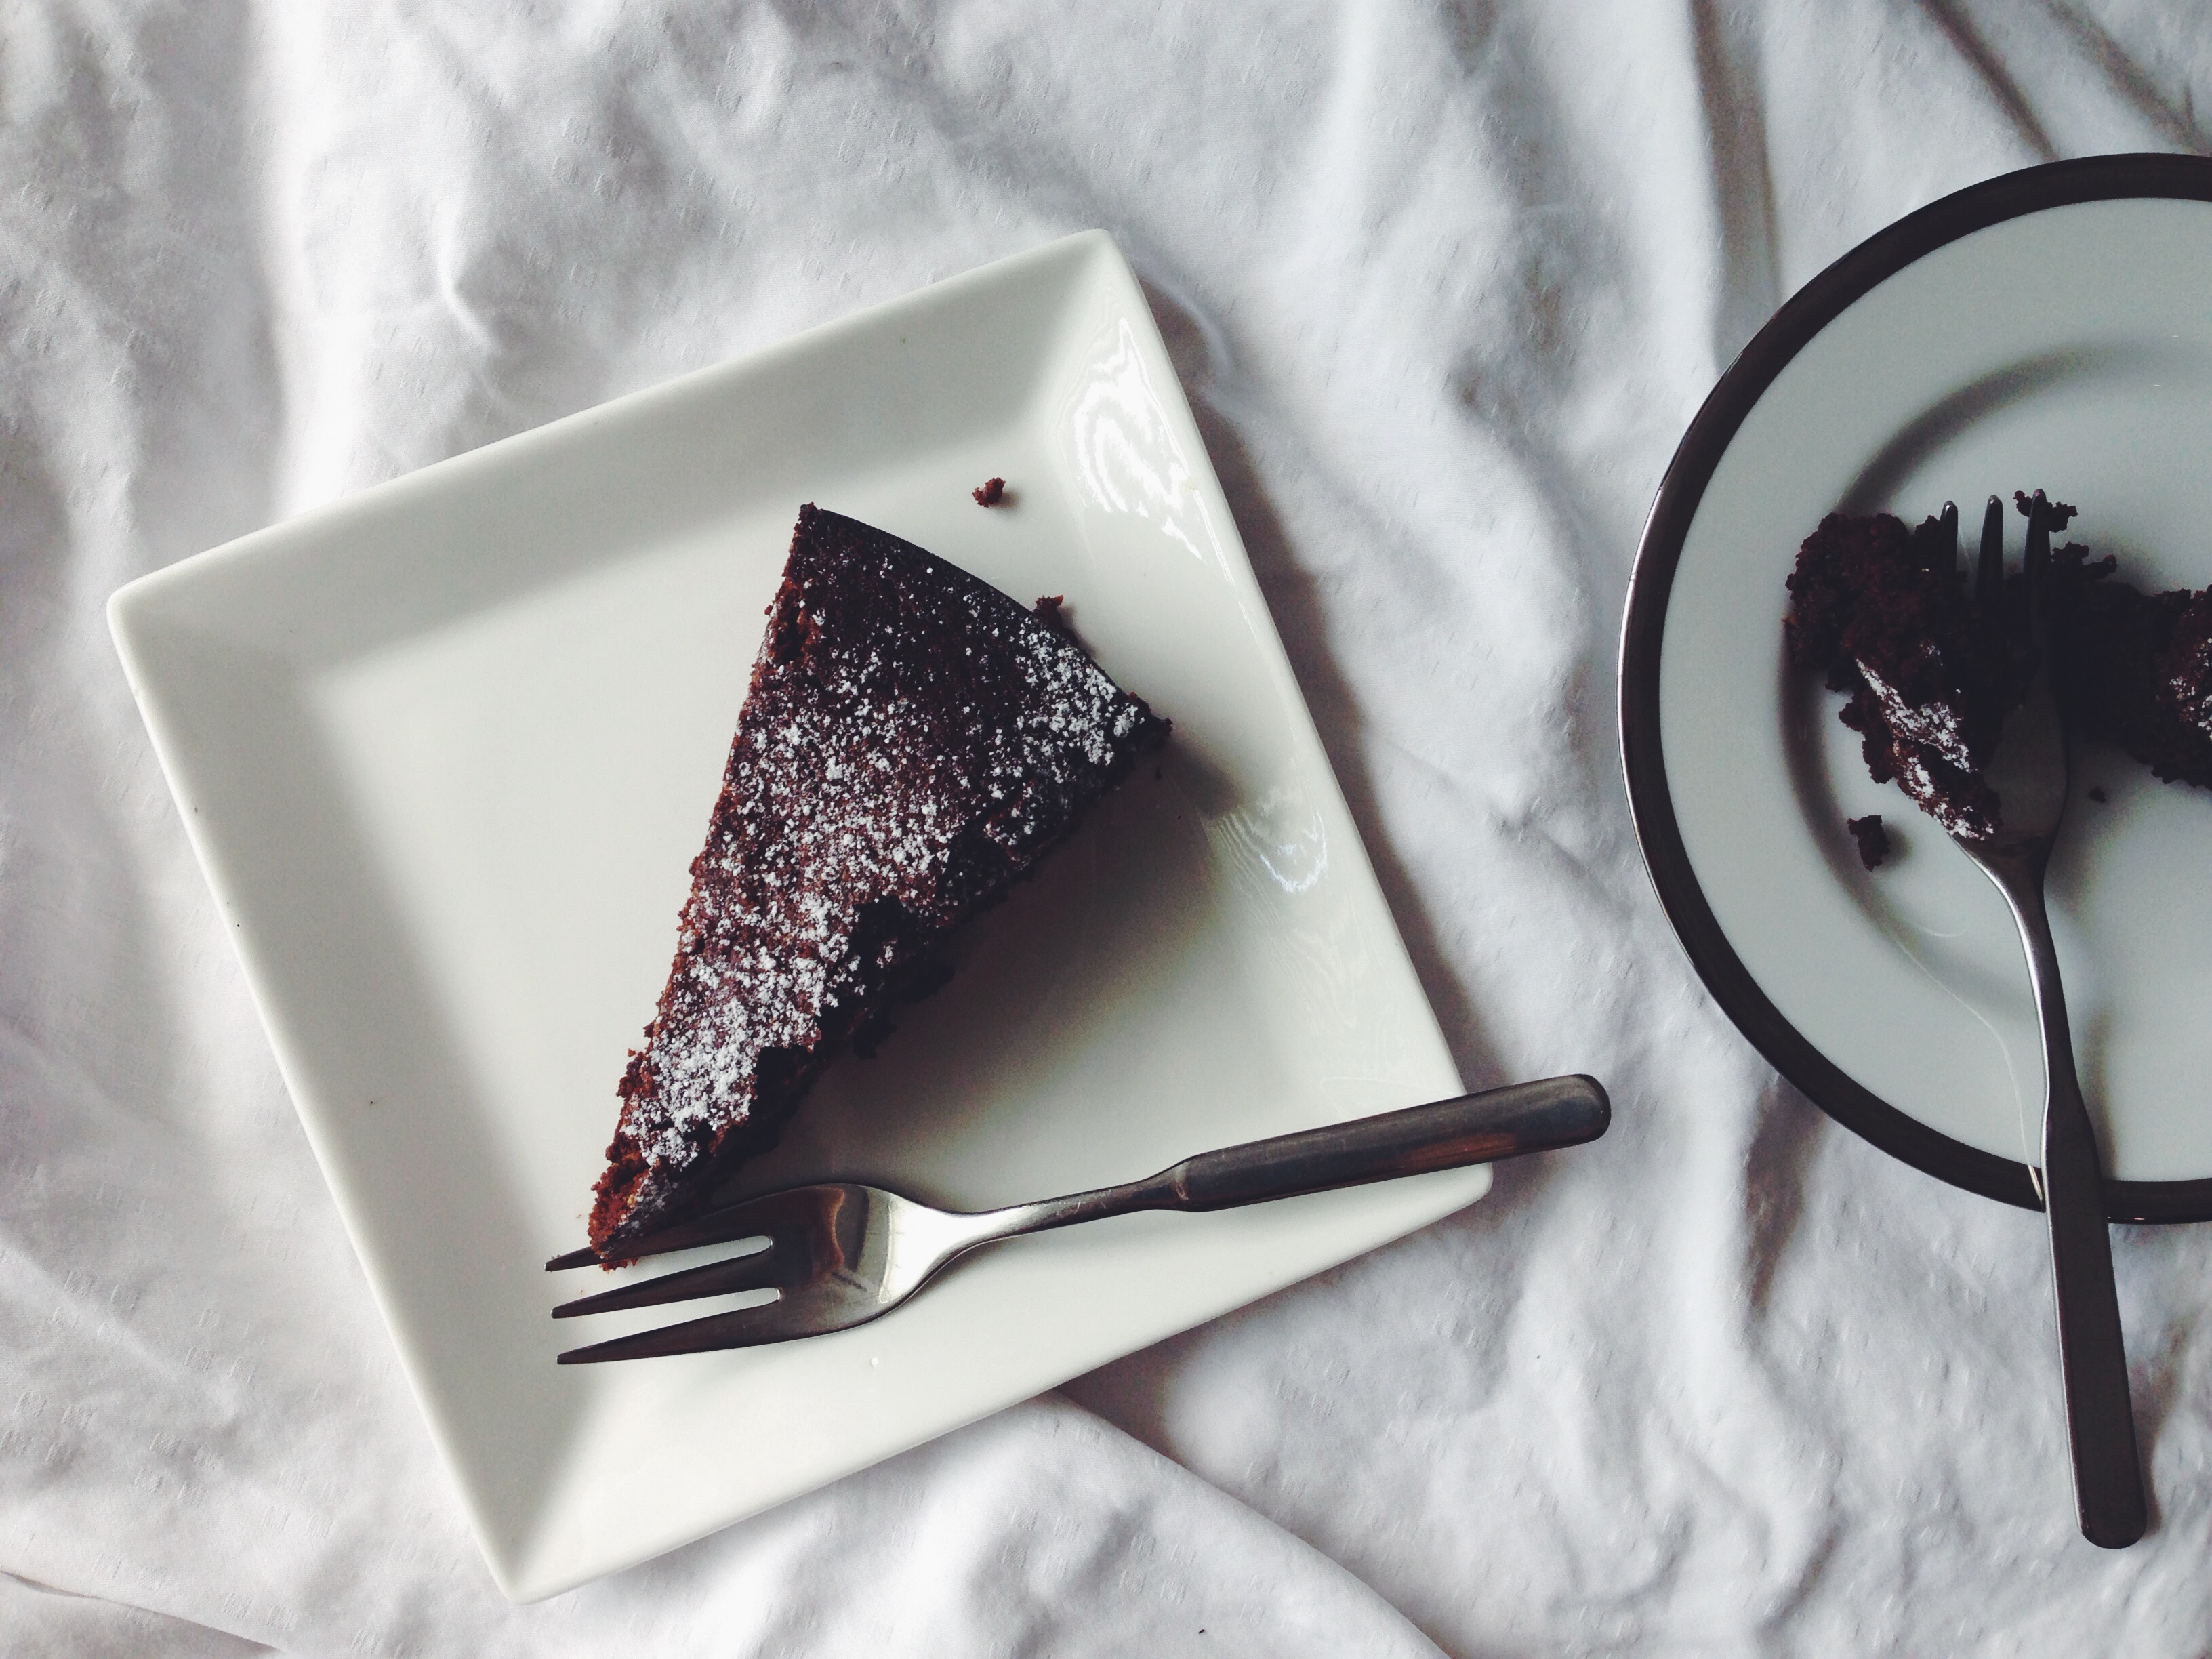
A moist, fudgy-in-the-centre mug cake, with mashed banana in the centre for optimal gooeyness. A little firmer on the surface, but easy to break into to reveal a tender, soft belly. I don’t think there’s anything much that beats a piping hot, warm, fudgy chocolate treat first thing in the morning, especially if the whole mixing and microwaving process is this easy. Maybe I should spill the beans upfront– I’ve never made a mug cake before. I always felt as if doing so is a total, embarrassing cop-out; why microwave (does that word chill you to the bone and bring to mind grease-framed images of ready-made meals or bad takeout?) when you can put to good use your lovely and probably very expensive oven?

Although I appreciate and prefer a traditional fudge cake made in the oven, all 50’s aprons and 30-minute labours, this sort of recipe is perfect for one those mornings when you want to feel indulgent, but just… Don’t want to spend all that long being a princess.

Chocolate and Banana Mug Cake (serves 1 very hungry person)

Ingredients

25g all-purpose flour

2 tbsp cocoa or cacao powder

2 tbsp white sugar (I used coconut date sugar)

1 egg

3 tbsp milk (any sort; I used almond here)

2 tbsp veg or coconut oil, or melted butter

small handful of mini chocolate chips

half a banana, mashed

Directions

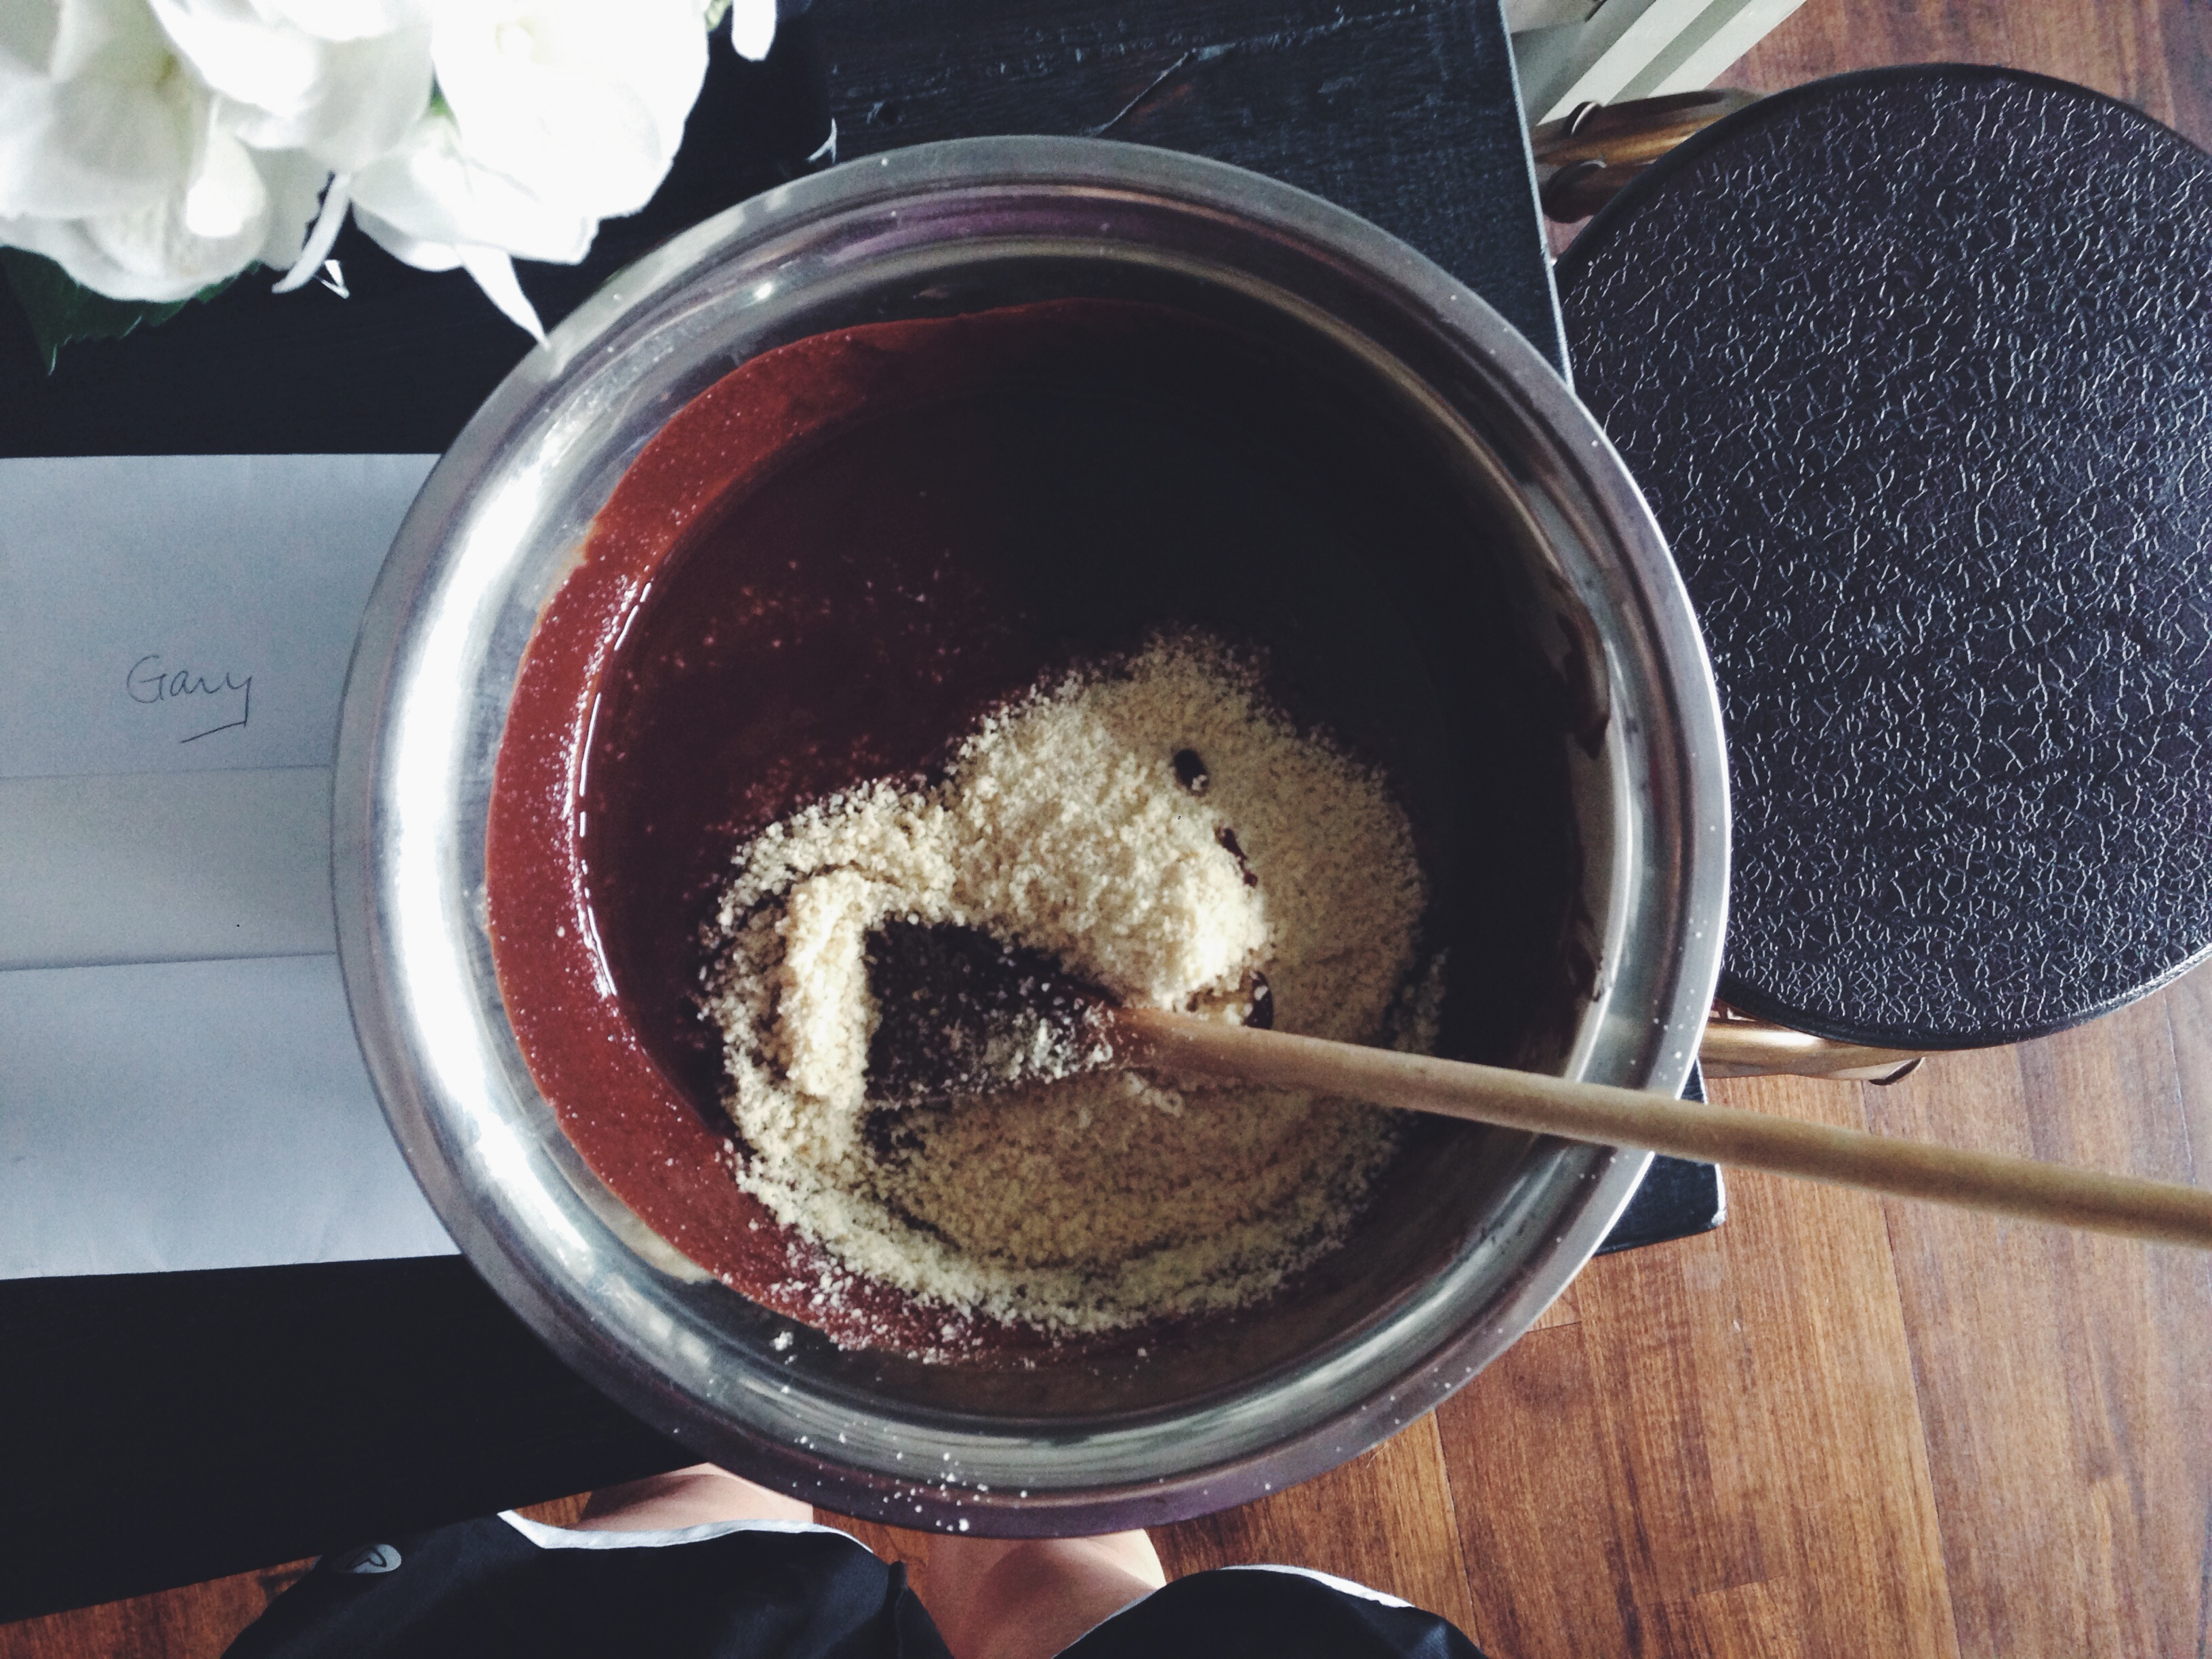
In a bowl (not the mug you’re making the cake in), whisk together the flour, sugar and cocoa/cacao powder. Take a tablespoon of this dry mix and toss it with the chocolate chips in a separate saucer, just so they’re coated with the flour mix. Mix in the rest of the ingredients except for the mashed banana (egg, milk and oil, then the chocolate chip and flour mix).

Grease your mug and pour in half of the chocolatey mix. Put the mashed banana on top, then add the rest of the chocolate mix. Microwave this on high for a minute, or check the doneness with a spoon at the 45-second mark. Poke and prod to see if it’s done to your liking; take it out a little earlier if you like that little extra fudge! Keep in mind that you must watch it like a hawk because this cake does rise a little, and if you’re not careful, it might collapse or overflow, especially if your microwave is on a particularly high heat setting.

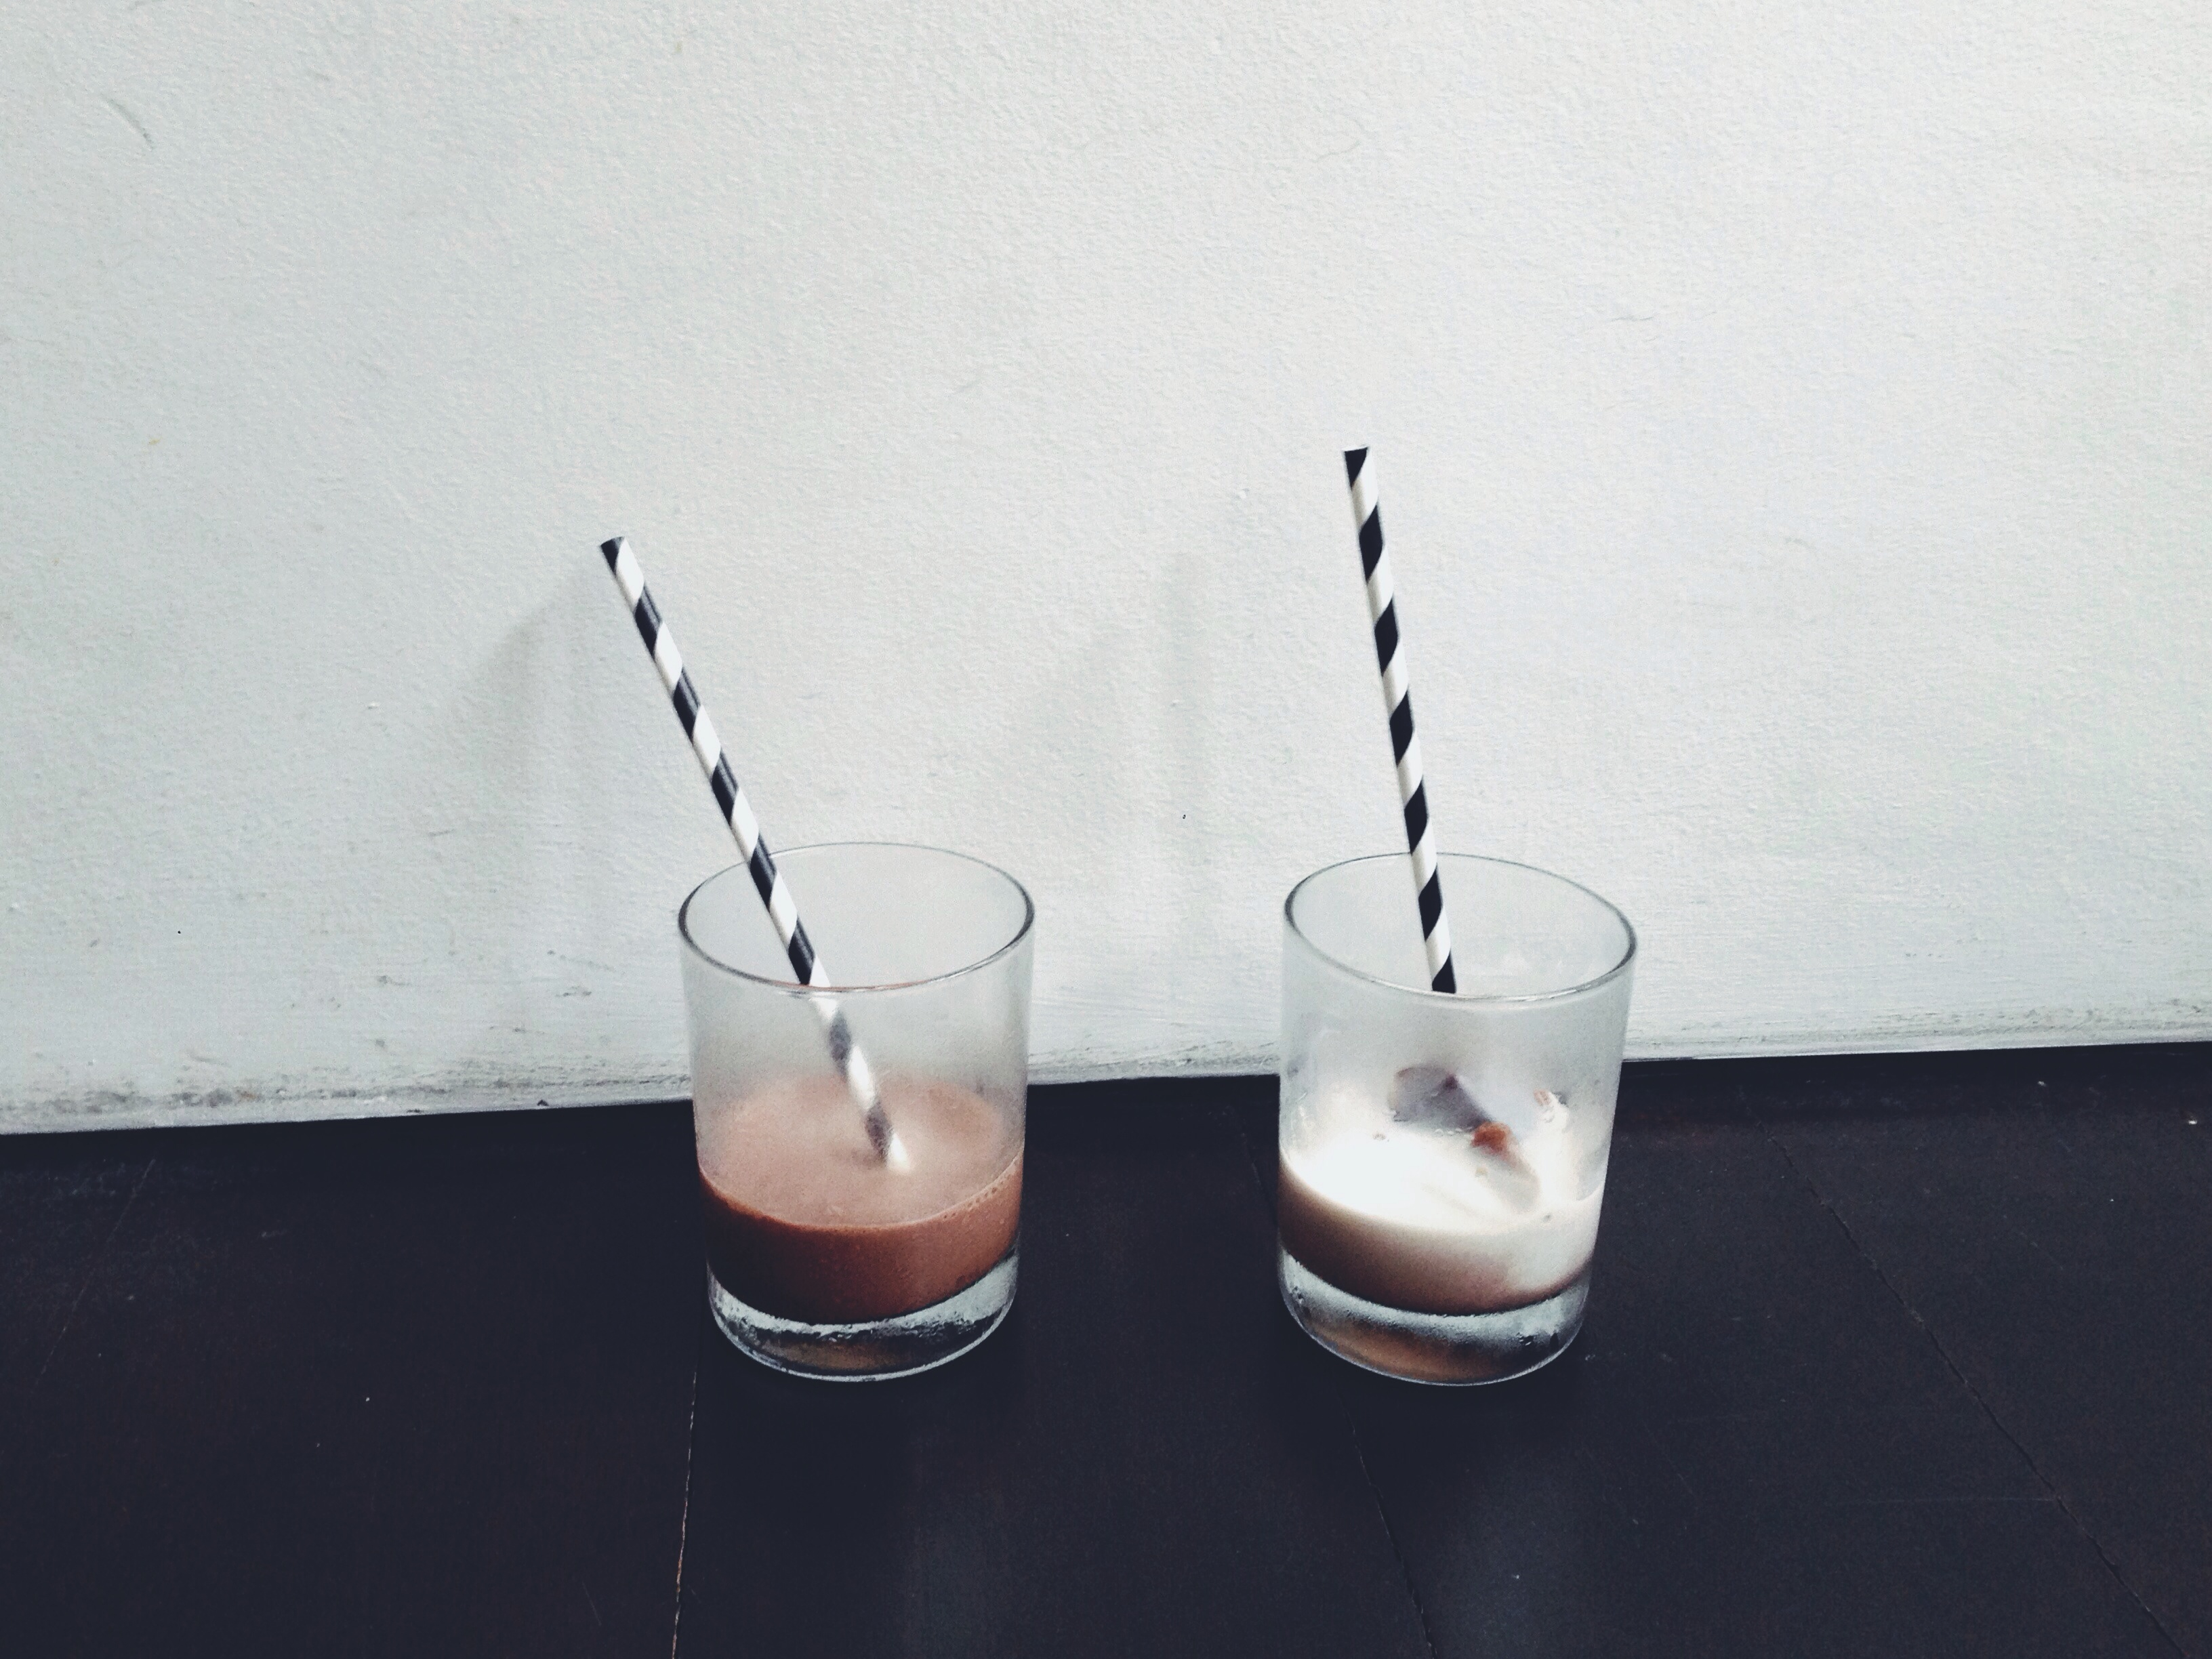
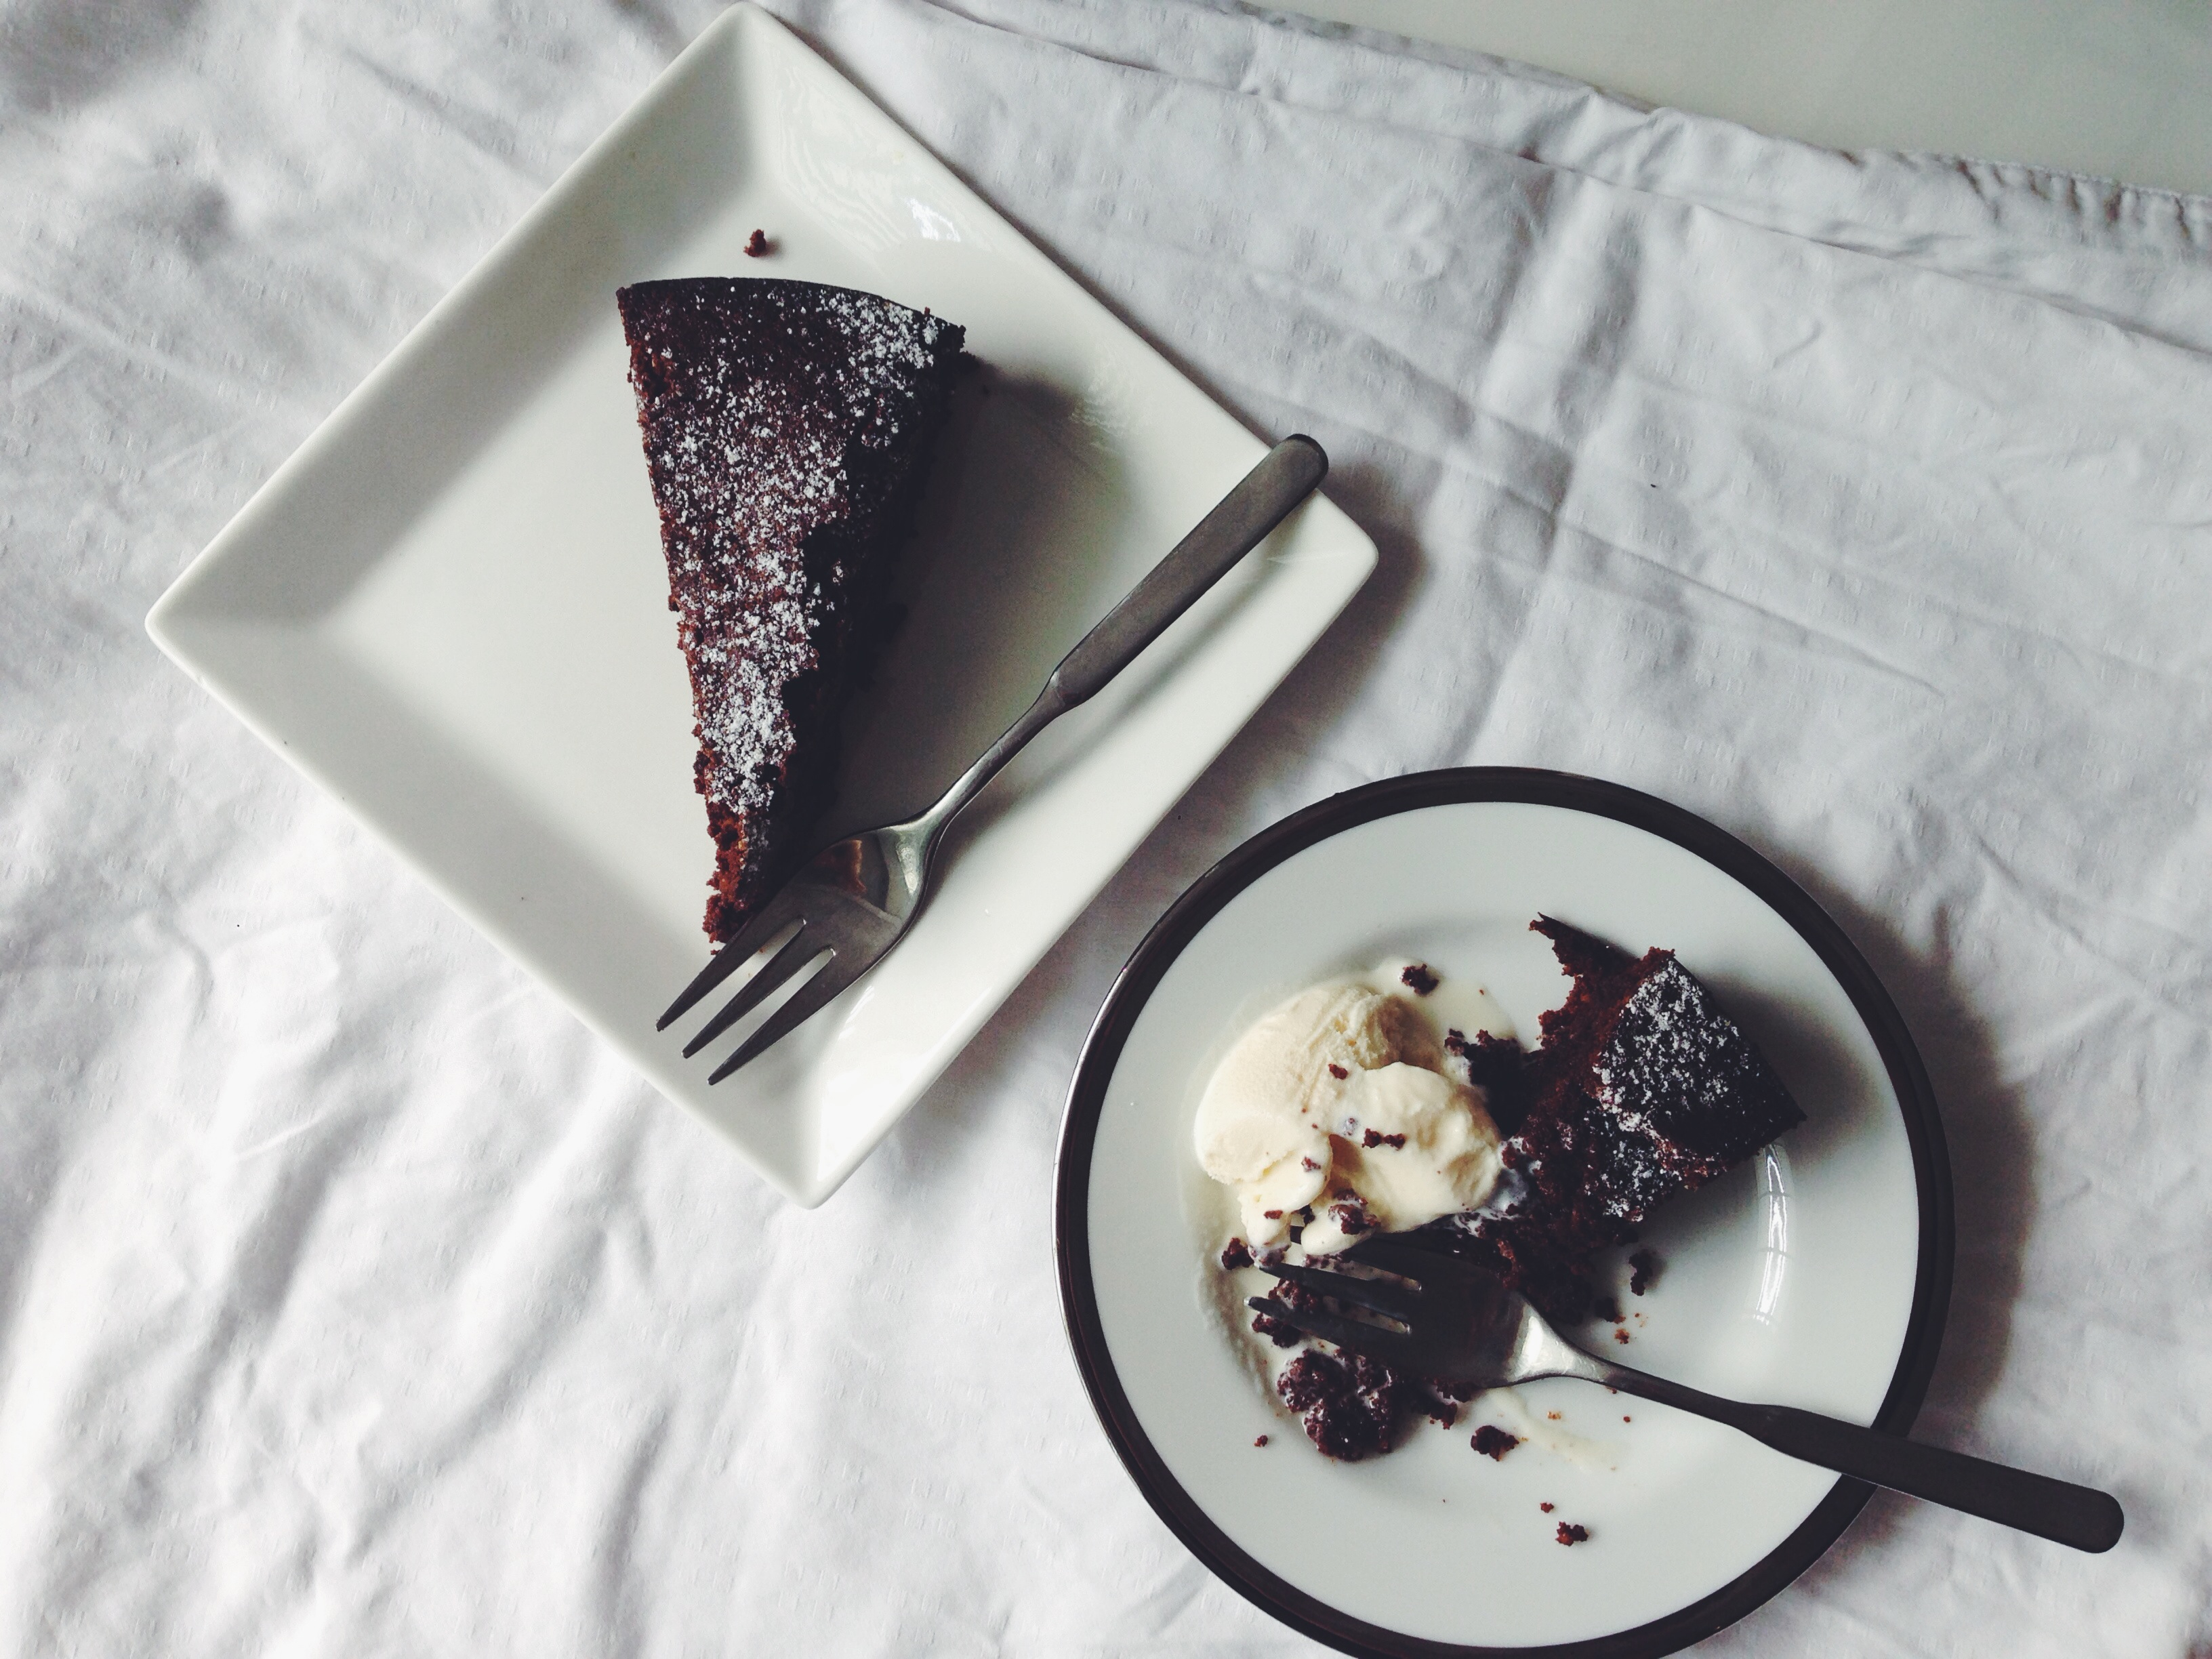
Top with whipped cream, or nut butter, and enjoy with iced coffee or a glass of cold milk. Alternatively, douse the entire thing in cold milk and enjoy as a sort of bread pudding! It’s perfect for breakfast. Or have some as a small snack and keep the rest for later, for some things are never too late to microwave.

Dark Chocolate Jam Tart with a Black Sesame Crust

There are two reasons why I’m so excited to talk about this recipe.

1. So I scoured the corners of the internet, modified a few recipes to incorporate black sesame into a beautiful, flaky pastry crust, and failed. The second time, after readjusting the proportions and carrying on headstrong, it worked. Although I had some leftover dough, I figured one can always make a few more tarts if you have molds on hand, or simply freeze for later usage.. or eat on its own. Whatever floats your boat these days. This crust took this tongue by surprise, and I’m loving it.

2. Combinations occasionally take on surprising and welcoming turns. This is one of them. Chocolate and jam. I’ve done it on toast, and there are those bars you find lying in the dusty corners of the gourmet aisles, once glinting, too pretty to touch. We are sometimes a reluctant, frugal people, I know. This tart requires neither heartache nor skill. It’s a proper seeded attempt at something less predictable than your average dark chocolate tart (albeit some sea salt variations here and there, which once again requires no effort, if you really think about_. It’s a cut in the norm. A most welcome tart. In its glorious entirety, think rich, dark and slightly bitter chocolate sitting atop the epitome of a flaky, milky sweet, butter-breathed crust.

The pictures above display my own toppings; a sudden, spontaneous headspin– macadamia butter and more jam. In this case, I used apricot, but strawberry or orange would also work fine in this recipe. Feel free to use whatever flavour you have on hand. Whipped cream and fresh fruit on top would also serve to complement the suppressed tart notes in the tart alongside the (almost) overwhelming richness of a thick chocolate ganache, and that crusty, sweet, buttery base.

Dark Chocolate Jam Tart with a Black Sesame Crust (makes 6-7 tartlets or one long 10/11-inch rectangular tart)

Ingredients for the crust:

215g (around 1 3/4 cups, but weigh for accuracy) all-purpose flour

113 (one stick or a half a cup) cold, unsalted butter

80g (slightly less than 2/3 cup) icing sugar

1 egg yolk

large pinch salt

1 1/2 tbsp heavy cream or buttermilk (I used the latter just because I had it)

20g sesame powder (weighed after sifting), or 3 tbsp ground sesame seeds

1/2 tsp vanilla extract

Ingredients for the filling:

1 cup good quality dark overture chocolate, bar or chips (at least 60% cocoa)

240ml (1 cup) heavy cream

2 tbsp apricot (or any flavoured) jam

Cut the butter into half-inch cubes and put on a shallow plate or dish. Place the dish into the freezer to ensure the butter is at its coldest when you use it. In a small bowl, whisk together the egg yolk, heavy cream/buttermilk, salt and vanilla extract. In another larger bowl or into a food processor, sift together the flour, icing sugar and black sesame. Take the cubed butter from the freezer and plop the lot into the large bowl containing the dry mix. Using your hands (or using the processor settings), rub the butter into the flour mix. This will take a while, but try and work the butter into the flour fast because body heat causes the butter to melt much faster. Rub the butter in until it resembles a course and fine meal. Pour in the wet cream mix and lightly work into the dry mix until a dough just comes together. Shape this into a disc, wrap with cling film and then place into the fridge for an hour, or overnight if making a day ahead.

Grease your tartlet pans or rectangular pan. Take the dough out from the fridge, unwrap and place into the pan. Press the dough, which should still be pretty malleable and of a light greyish colour, into the bottom and sides of the pan. Take your time here, you want to make sure that there is a pretty thick and even layer of dough all around and up the sides. The thick padding ensures enough support during and after baking. Trim the top using a butter knife to get a clean edge. You may have some dough leftover like me, and that’s fine. Place the tart back into the fridge to stiffen a little more for 15-20 minutes.

Preheat the oven to 190C (375F). Cover the tart with aluminium foil and fill with pie weights. Bake for 22-25 minutes (I stopped at the 24-minute mark), rotating the tart halfway.

Whilst the shell is baking, make the filling. Put all the ingredients into a large bowl and microwave on high for 30-40 seconds. Remove from the microwave, then take a large spoon and stir everything together. Taste and add more jam or chocolate if necessary. Set the bowl aside for later.

After the blind bake, remove weights and foil, then bake for another 5 minutes (I only needed to bake mine for an extra 4). Just watch that the tart doesn’t look too dark around the edges whilst baking. Keep an eye on it. After baking, remove from the oven and let cool completely. Fill the tart with the ganache, then allow to set in the fridge for at least an hour before cutting and serving. Store in the fridge, otherwise the ganache will leak everywhere. It keeps well there for a week, but I doubt it will last that long…

Dark chocolate ice cubes (chocolate slushy shortcut)

I thought up this idea when I was drinking my special, potent daily brew of iced coffee.

I hate, no, loathe overly diluted coffee. The delicate roast and finish is lost in the watery jiggliness of whatever is left behind, the robust body of the bean practically eliminated from the equation altogether. It hurts, it saddens!

Until I got this baby together. Now, my coffee shall never suffer. This turned my brew into a chocolate coffee dream, the finishing sips thick and sublime. I first came across this genius of a put-together here (no, I refuse to call it a recipe, because the steps are too excruciatingly simple for that tiresome label). And trust me, they work a dream. Each little cube, no matter what size or shape your mould, is like a little frozen chocolate treat, rich and chocolatey, retaining the perfect degree of creaminess without yielding its form too quickly. 

Processed with VSCOcam with f2 preset
left– after the potion has melted a little, around 15 minutes after pouring over cold milk and leaving in the fridge to thaw just a little

Processed with VSCOcam with f2 preset

Dark chocolate ice cubes, from here

1/4 cup good cocoa powder

2 cups hot, recently boiled water

1/4 cup agave syrup/ liquid sweetener of choice

1 teaspoon each of vanilla extract and salt (optional)

Steep the cocoa in the boiled water and syrup, or alternatively heat ingredients in a saucepan until you reach the boiling point. Once this point is reached, bring heat down to a simmer. Add the vanilla and salt if you want. The original recipe does not call for either but I found it really gave it the extra pizzaz. Leave the mixture to cool for 5 minutes before pouring into an ice cube tray. Mine made around 14 large ice cubes, and this was after I cleverly managed to spill some of the mixture from the saucepan. Well done, Alex.

Leave for a few hours or overnight, and there you’ll have the most delectable, convenient chocolate treat. Eat it by itself (no teeth breaking included, hoorah!) or pour over your favourite iced coffee blend. I think the best way to have it is in a small glass of cold milk. Leave it to thaw for a few minutes before going in with a teaspoon or firm straw, and hack at it like child’s play. I swear, it makes the best chocolate slushy, or, I dare say, de-caffeinated frapp.

Flourless Chocolate Cake

It deserves the thing.

AKA a well-deserved post dedication. Chocolate deserves it all. Chocolate is love because chocolate is basically the centre of the universe and everything else hovers in serf-like subservience bound to drifting orbits in honour of the magic lying before them.

Processed with VSCOcam with f2 preset


It’s flourless because of the ground almonds incorporated into the rich and decadent, chocolatey batter. I’m glad I made time just to bake this, in between all the schoolwork and studying, because firstly, it’s hell simple, and secondly, the end result was absolutely worth it. Some people think baking is a serious waste of time, but it’s utterly therapeutic and I love how I get to hone both my skill and concentration in the process. The cake is rich without being too cloying or fudgy in texture, the almonds offering a wholesome crumble and lift in body, dispersed evenly throughout. The quality of chocolate used here is of utmost importance. I used Ghirardelli chips here, because I had some left over from a previous baking spree and I wishd to ensure only the best possible final product. There’s… There’s no room for Hershey’s here, lads. Oops. Try as you might, you just won’t obtain the same glorious melt-in-your-mouth-brownie-style bite.

IMG_1245 Processed with VSCOcam with f2 preset Processed with VSCOcam with f2 preset

Its semi-provocative flavour pairs superbly with a scoop of plain vanilla ice cream, straight out of the freezer and melting like frothy clouds on the surface. The original recipe called for 100% white sugar, but I replaced 50g with dark brown sugar instead to get that gorgeous molasses, treacly flavour. Which reminds me– I really need to get around making a treacle tart soon…


Flourless Chocolate Cake, adapted from Elizabeth David’s Flourless Chocolate Cake (which I’ve been meaning to attack for ages)

Ingredients

5 eggs, separated, with whites in a large and clean, stainless steel or glass bowl

100g ground almonds (or almond flour)

250g good quality dark chocolate (60% cocoa or above), in chips or broken into chunks

1 teaspoon vanilla extract

1 teaspoon salt

150g unsalted butter (or eliminate the one teaspoon of salt and use salted butter instead)

100g white sugar, 50g dark brown muscovado sugar

icing sugar for the topping

Preheat your oven to 180 degrees C (or 350 degrees F). Grease (no lining needed, hoorah!) and lightly flour a 9-inch cake pan with a removable bottom tin, or simple use a normal round cake tin. The cake itself isn’t hard to remove from the tin, so you shouldn’t be worried about having difficulty (as the story is with so many brownie recipes I have tried in the past) to remove it after cooling, post-bake.

Half fill a medium saucepan with water and bring it to a boil. Place a bowl containing the chocolate and butter on top to create a double-boiler system. Use a wooden spoon to stir and melt it all together, and once most of it has melted, add the sugars and continue stirring until it’s all been dissolved. Remove from heat and stir in ground almonds. Make sure to break apart any clumps or clusters. Stir in the five egg yolks.

In the large bowl containing your egg whites, beat with a hand mixer until you reach reasonably stiff peaks. Soft, but not completely stiff. The original recipe said ‘stiff’, but I yielded a perfectly good mixture afterwards even with slightly softer peaks. Definitely past the baby froth stage, but you’re not quite going for a pavlova-style mountain range. Use a spatula to gently fold the egg whites into the chocolate and egg yolk mixture. Take your time here– be patient and wait for a couple minutes until it comes nicely together. Believe me, I was initially extremely skeptical during this stage, as the first few folds seemed to make the mixture split and turn watery. I panicked. But I willed the thing to work (for heaven’s sake, right?) and it all came together beautifully in the end. The ribbons of white will lighten the mixture both in colour and texture, and you end up with a sort of heavy mousse. Just be patient with the folding.

Pour mixture into cake tin and smooth out the top. Place in the middle of your preheated oven and bake for 40-45 minutes. Mine was fine by 40. Check yours with a skewer at 40 minutes– if the stick comes out with moist crumbs then take it out, if it’s wet then leave it in for another 3 minutes or so. Leave to cool on a rack, before dusting some icing sugar on top. Serve this warm with some vanilla ice cream and nothing else, because just this pairs makes for the perfect afternoon treat. Have it for breakfast. Have it for… um, anything, really.

Processed with VSCOcam with f2 preset Processed with VSCOcam with f2 preset

This flourless chocolate cake can be kept at room temperature in an airtight container for a couple of days, or store it in the fridge and it will reheat nicely.


Dark chocolate and sea salt on toast

No, this does not need a recipe. I’d just like to revel in the glory of two of my favourite things in the world– dark chocolate and toast. Just.

Processed with VSCOcam with f2 preset Processed with VSCOcam with f2 preset

I don’t think it’s right not to have this at least once in your life.

I bought a new loaf of campagne yuzu bread yesterday on impulse, because that thing looked too good to pass up. It just sat there, lonely, cold, at the display counter. How could I not?

Here is what you need:

  • your favourite bread, whatever that might be. Grab a white bloomer if that satisfies you!
  • couple squares good quality dark chocolate (70% is ideal)
  • sprinkle of coarse salt (I used pink Himalayan)
  • a toaster
  • I’ll stop here
  • too simple

I always have dark chocolate around. Somewhere. Anything less than 70% might just be child’s play, but nothing against that.

Literally take the chocolate, pop it on your favourite slice, slide into the toaster or broiler for 3 minutes until crusty and darkened. Sprinkle on pinch of coarse sea salt, before doing your business.

That’s all I have to say (!)