Pineapple Condensed Milk Loaf Cake

IMG_5376

If there’s one thing you make this week, make it this.

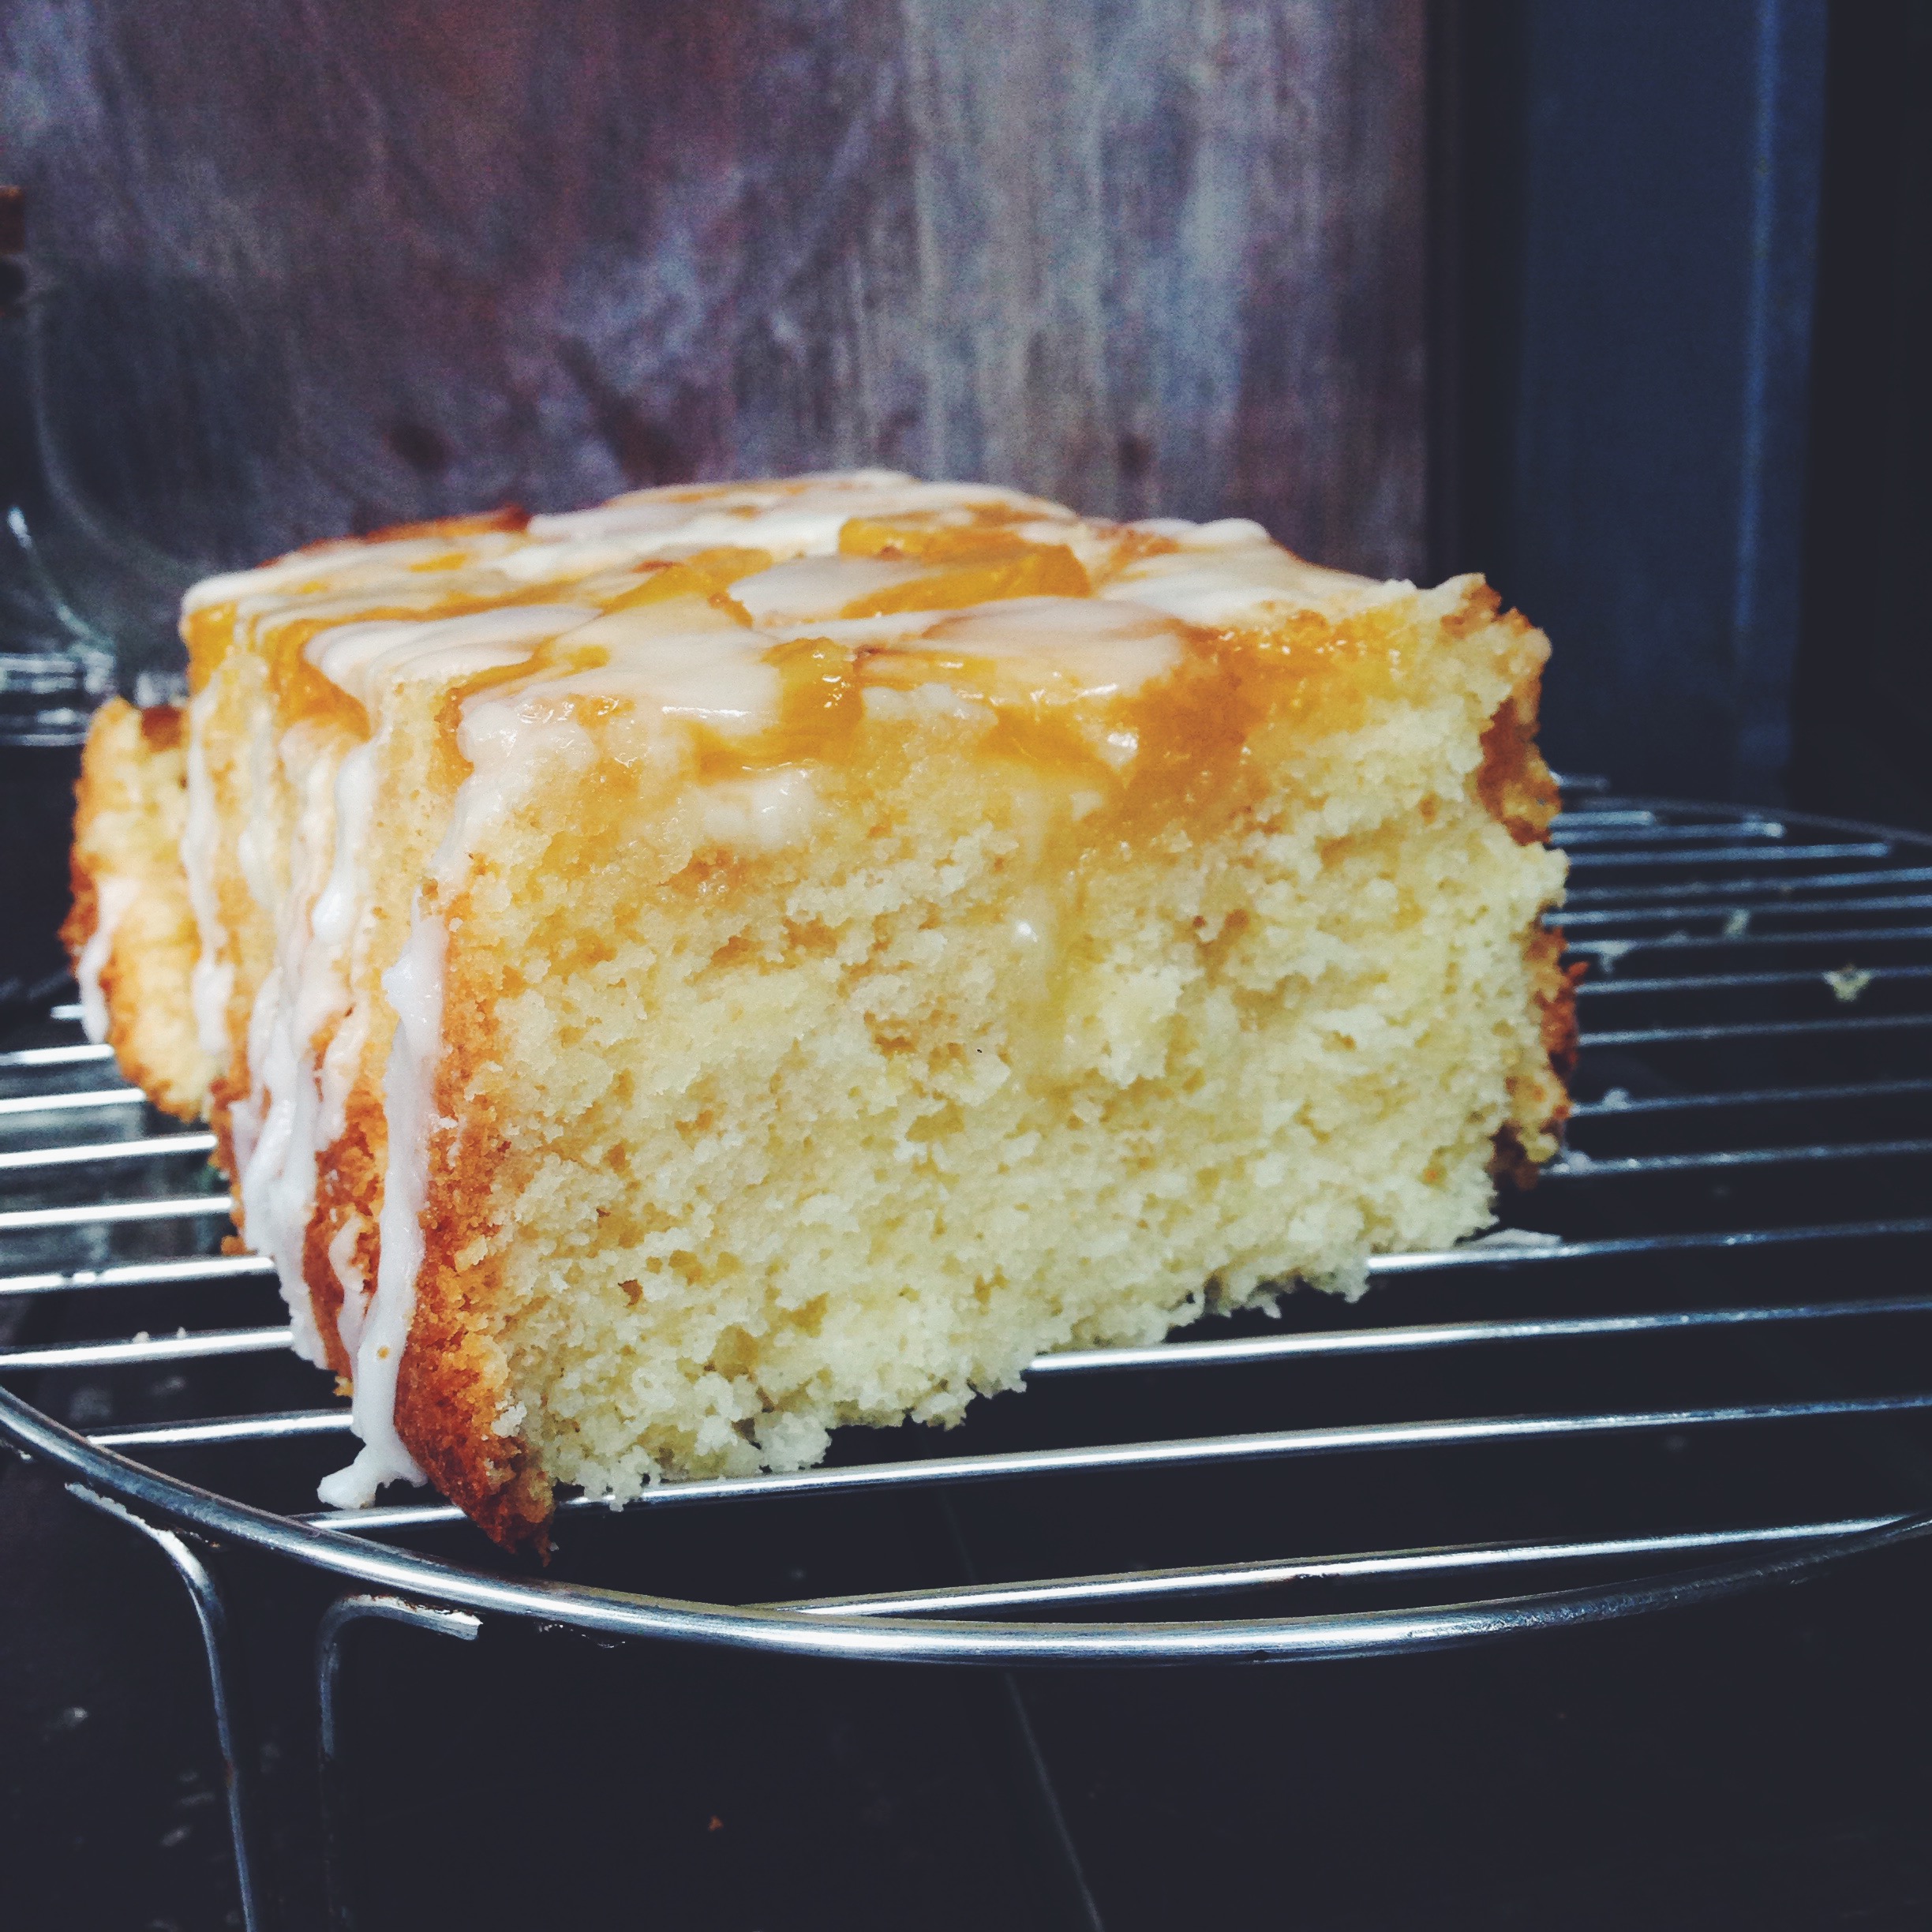
A fluffy pineapple condensed milk loaf cake, studded with fine bits of pineapple, topped with fresh pineapple slices and a lemon-pineapple glaze. 

Sometimes my ideas are like branches with dead ends and no coherence. Since this blog is all about delicious, easy bakes, I didn’t want to throw random curveballs, but I didn’t want to overestimate the charms of conformity either. Basic, but not too basic. A degree of subtle complexity, and certainly no plain jane taste.

Scavenging the kitchen left me with some leftover pineapple from last night’s dessert and, well, not much else. Pineapple loaf cake has been done before, upside-down variations galore, and my finding of condensed milk in the fridge led to this mild twist. I must say it was fun to play around with the ratios; it turned out to be the perfect balance of sweet from the condensed milk and tangy from the use of both fresh pineapple and pineapple juice. Here, there’s not much flamboyance, and hardly any finesse. Funnily enough, it’s exactly this lack of properness that provides the right amount of charm.

IMG_5363

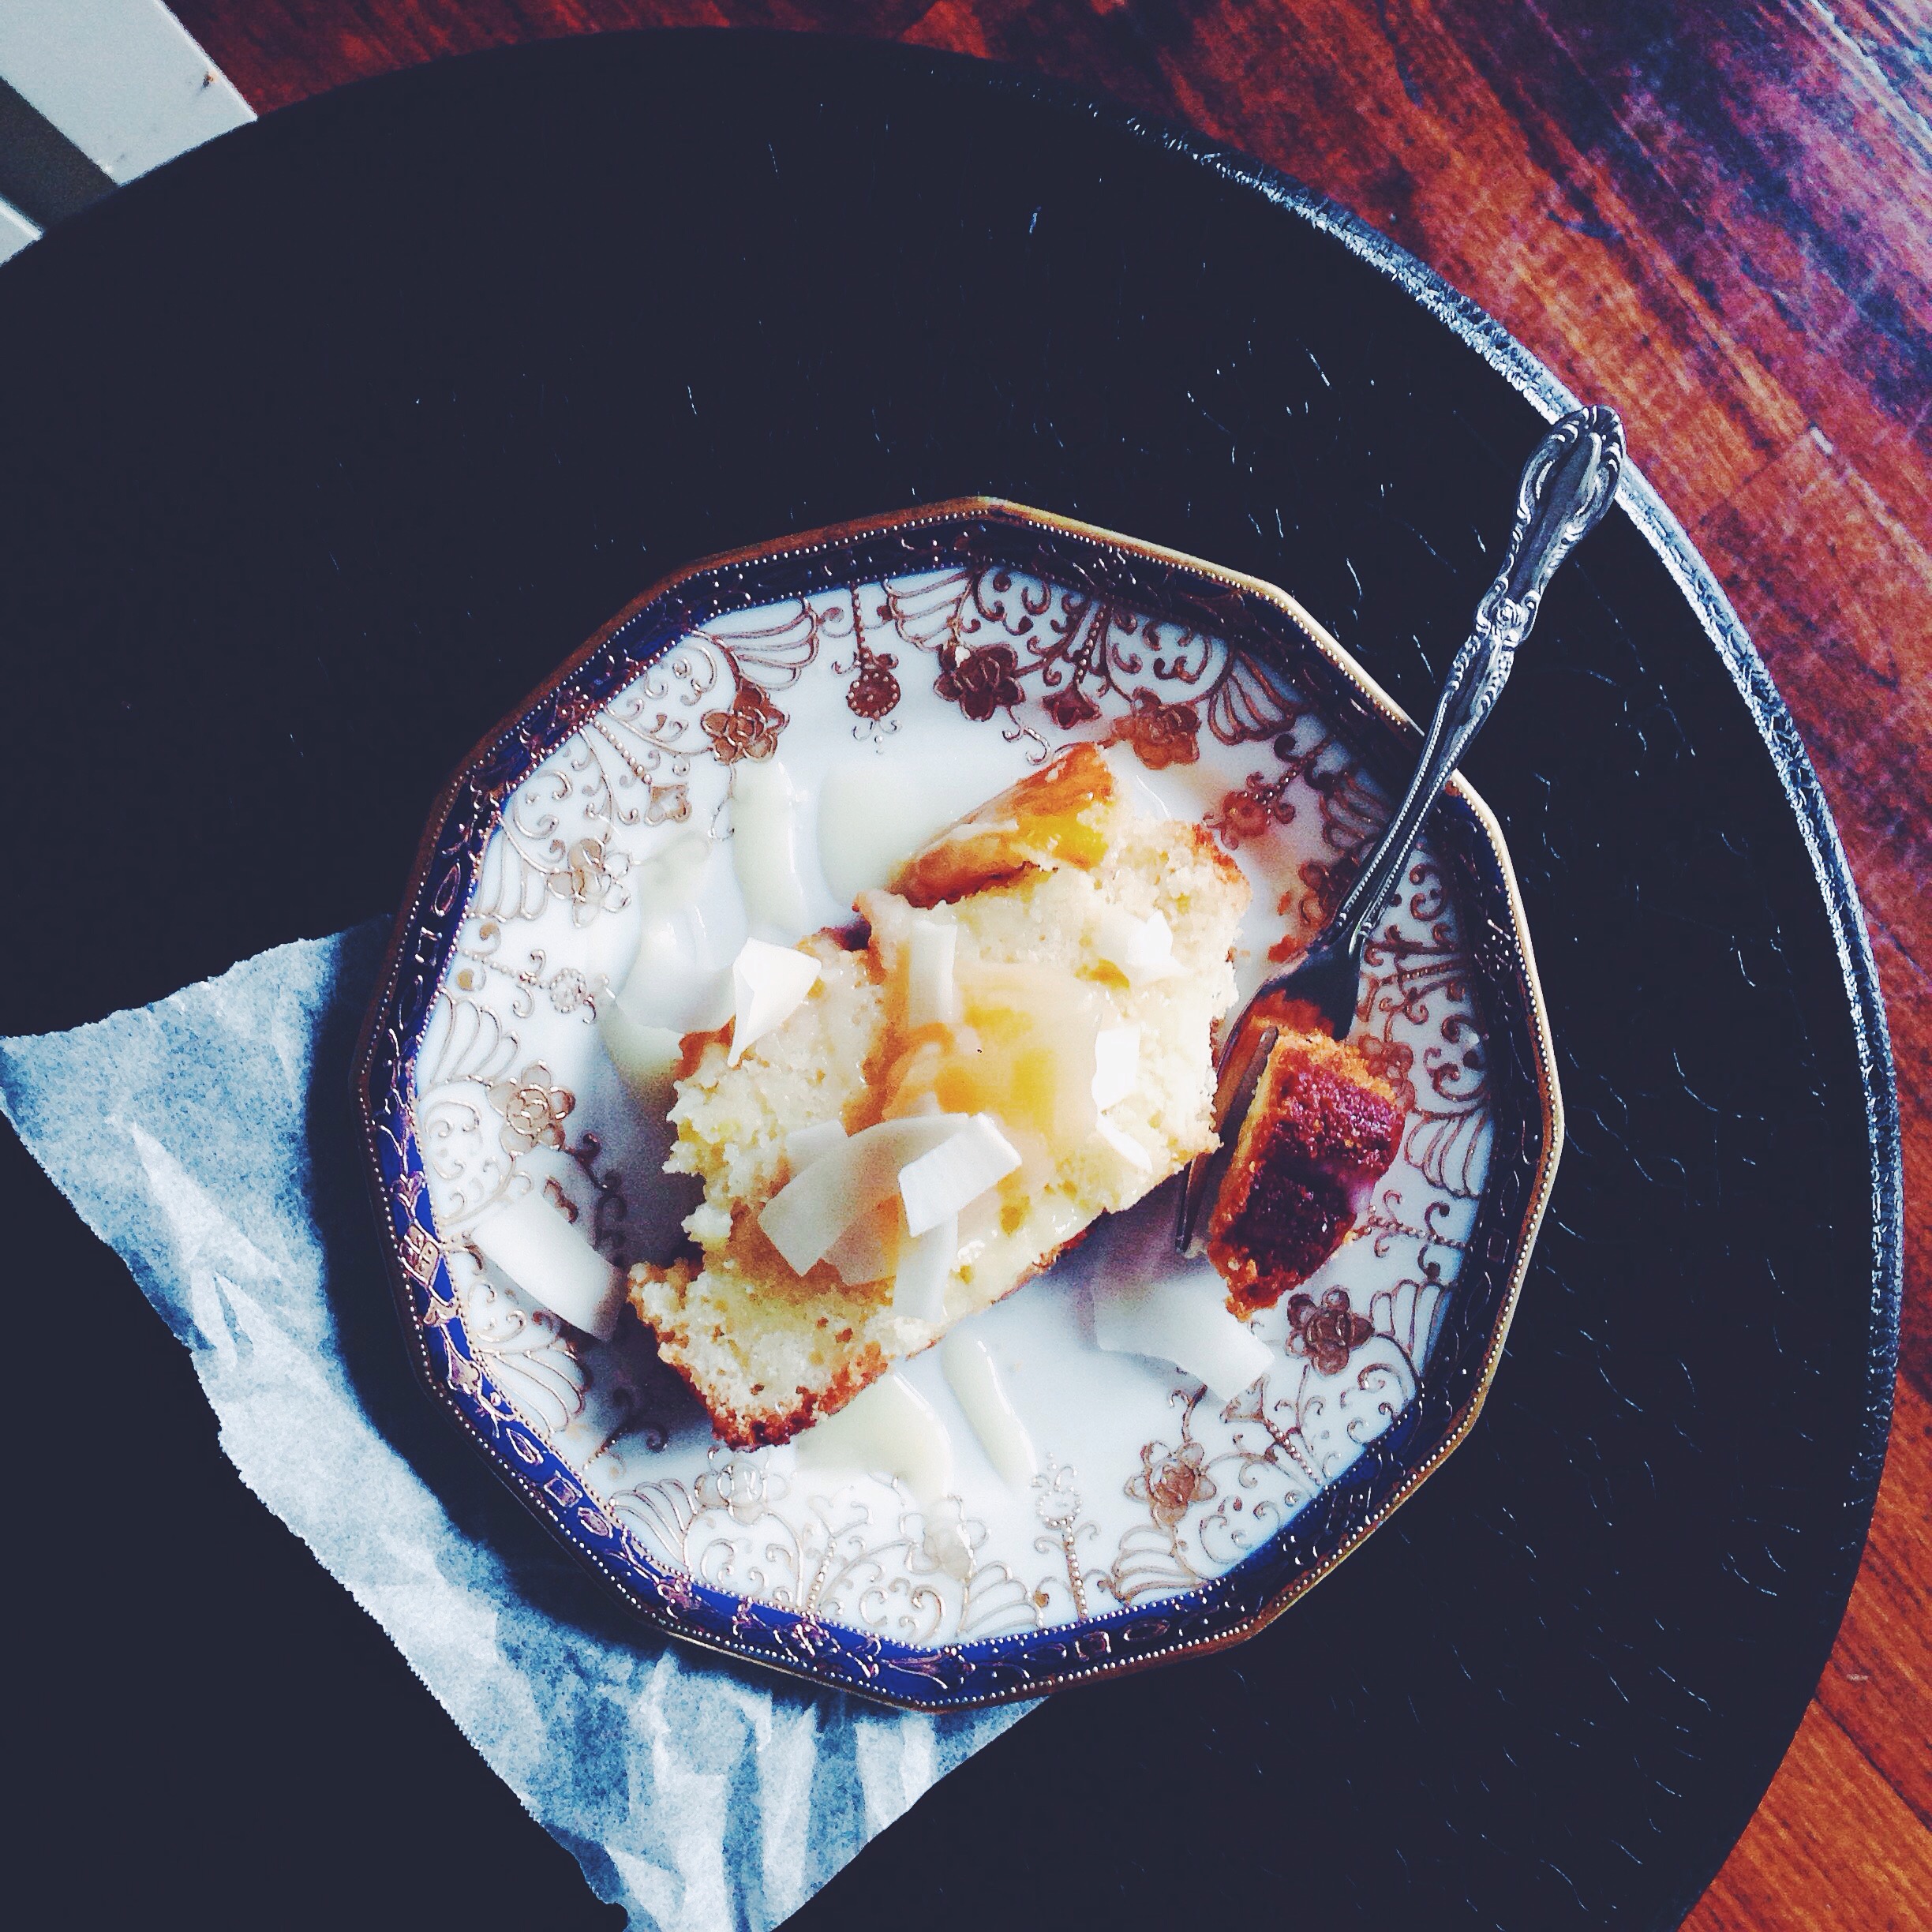
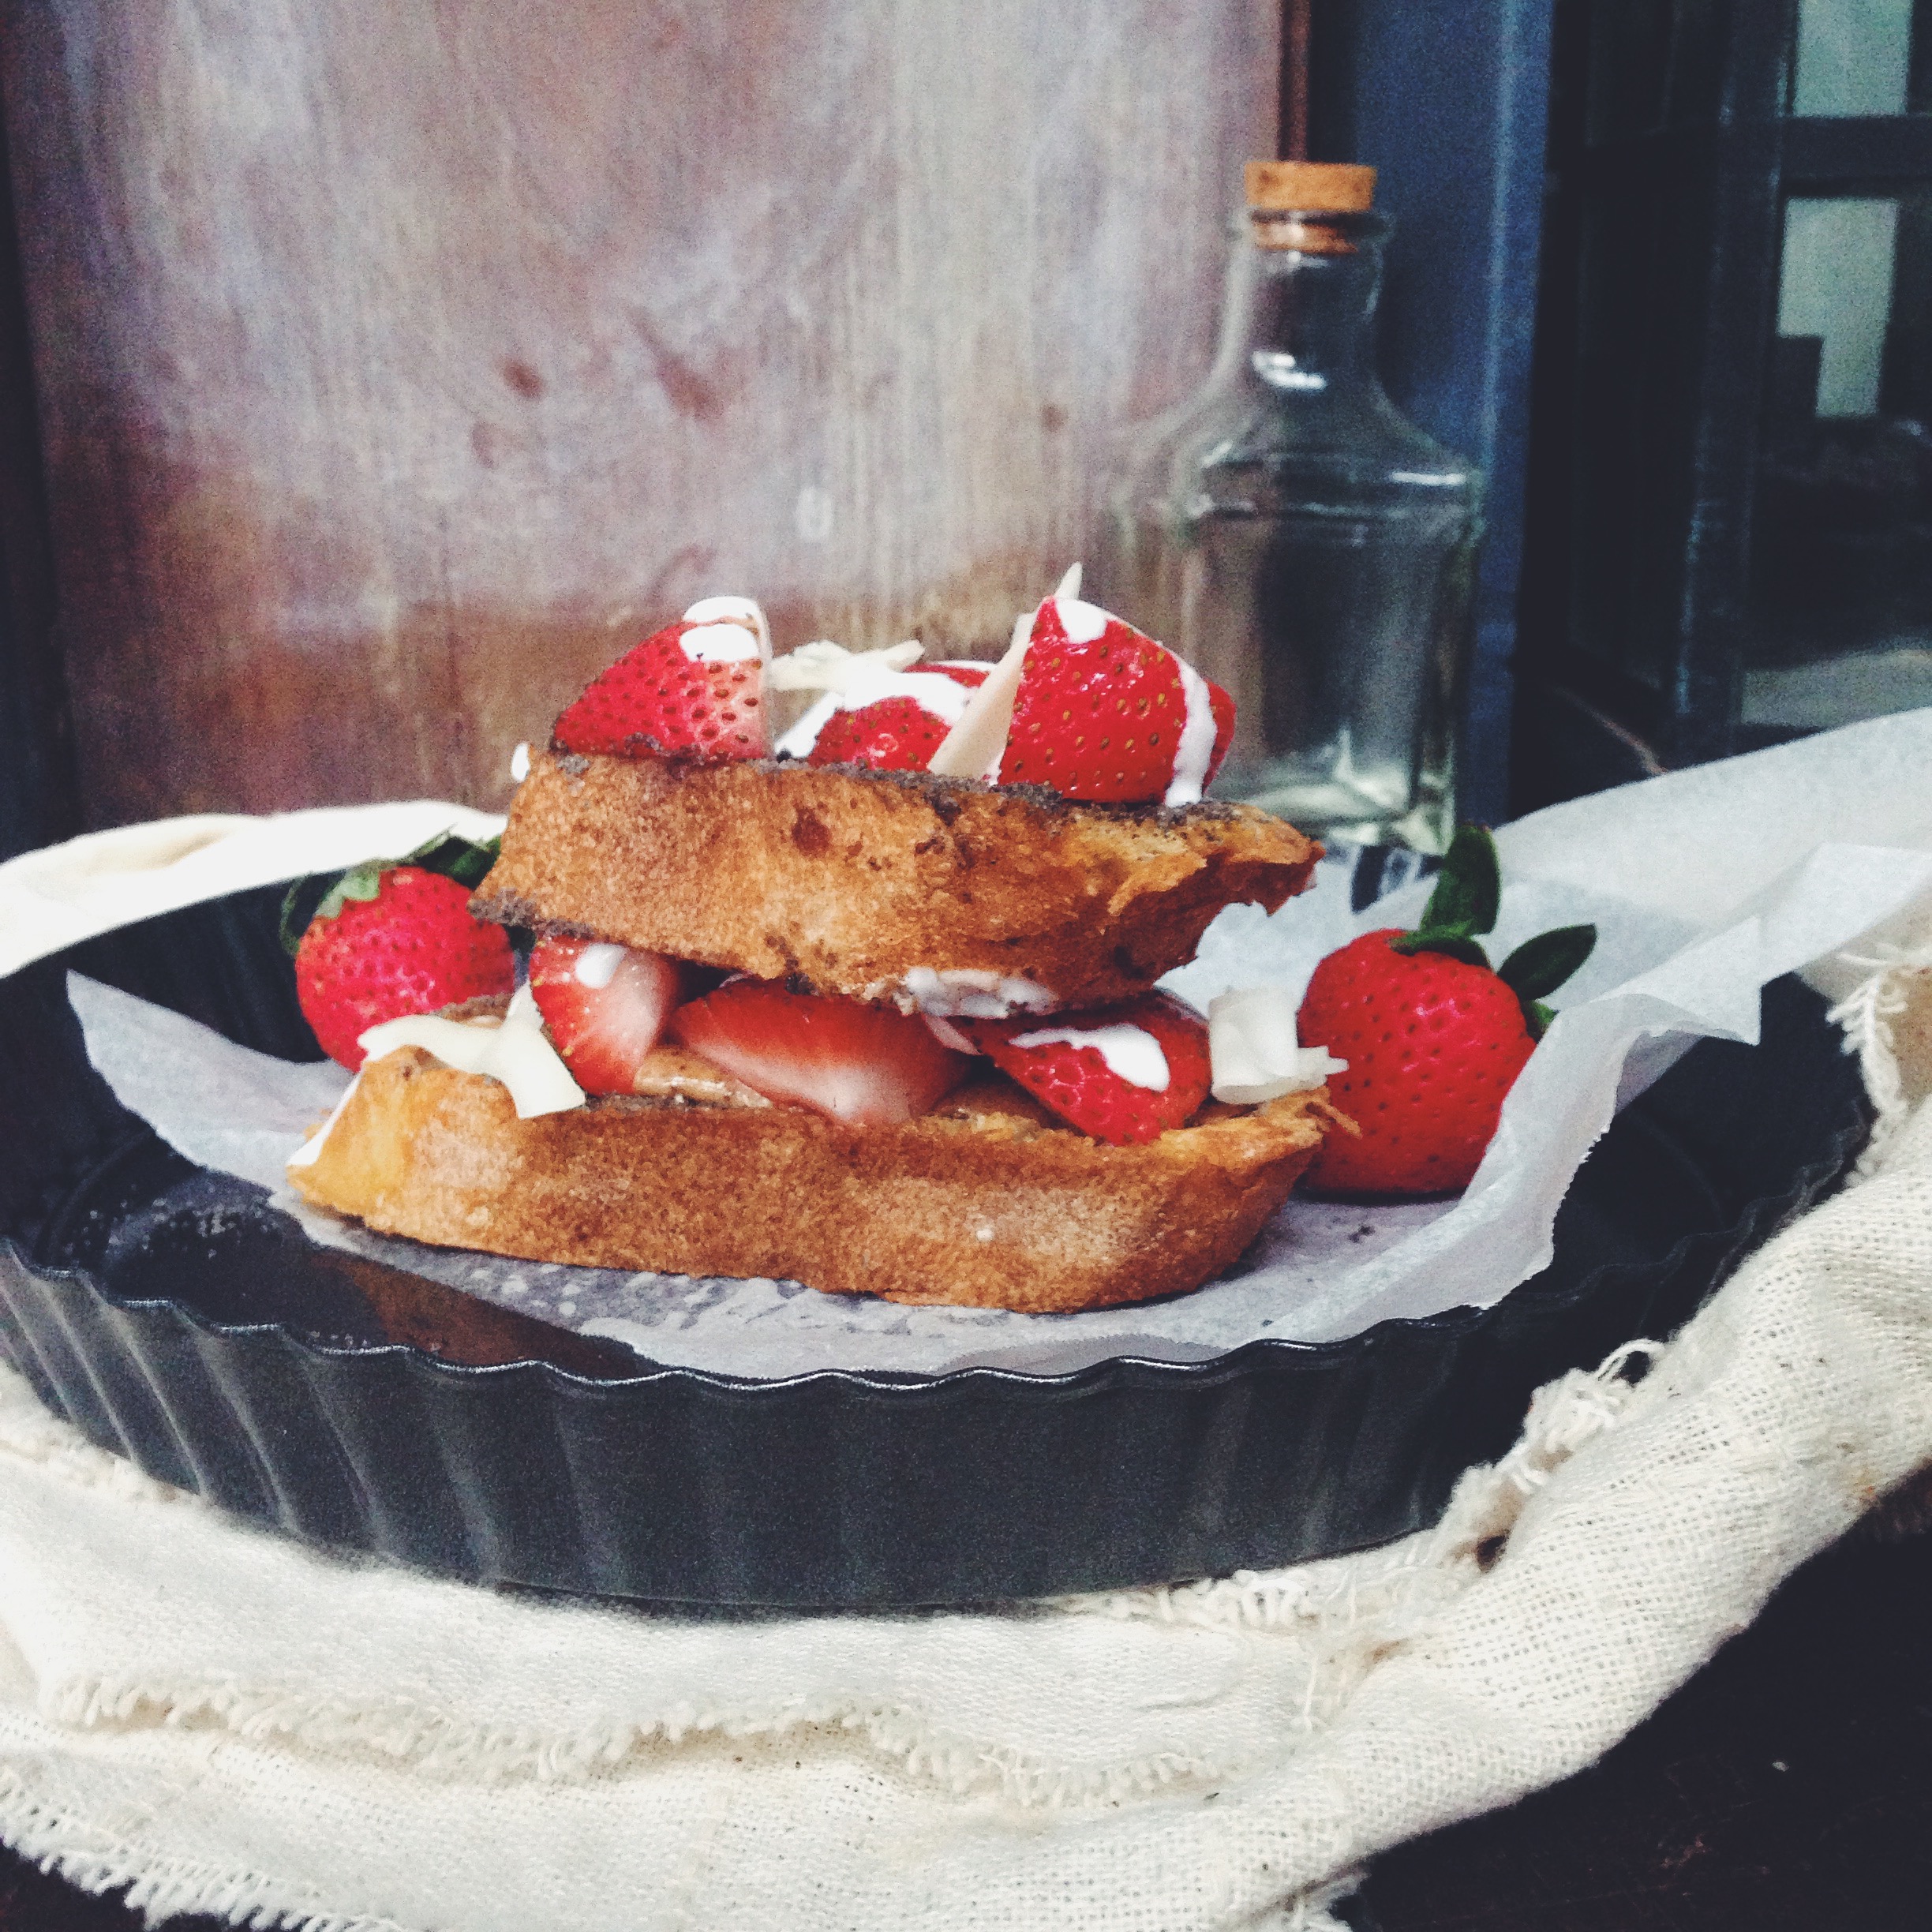
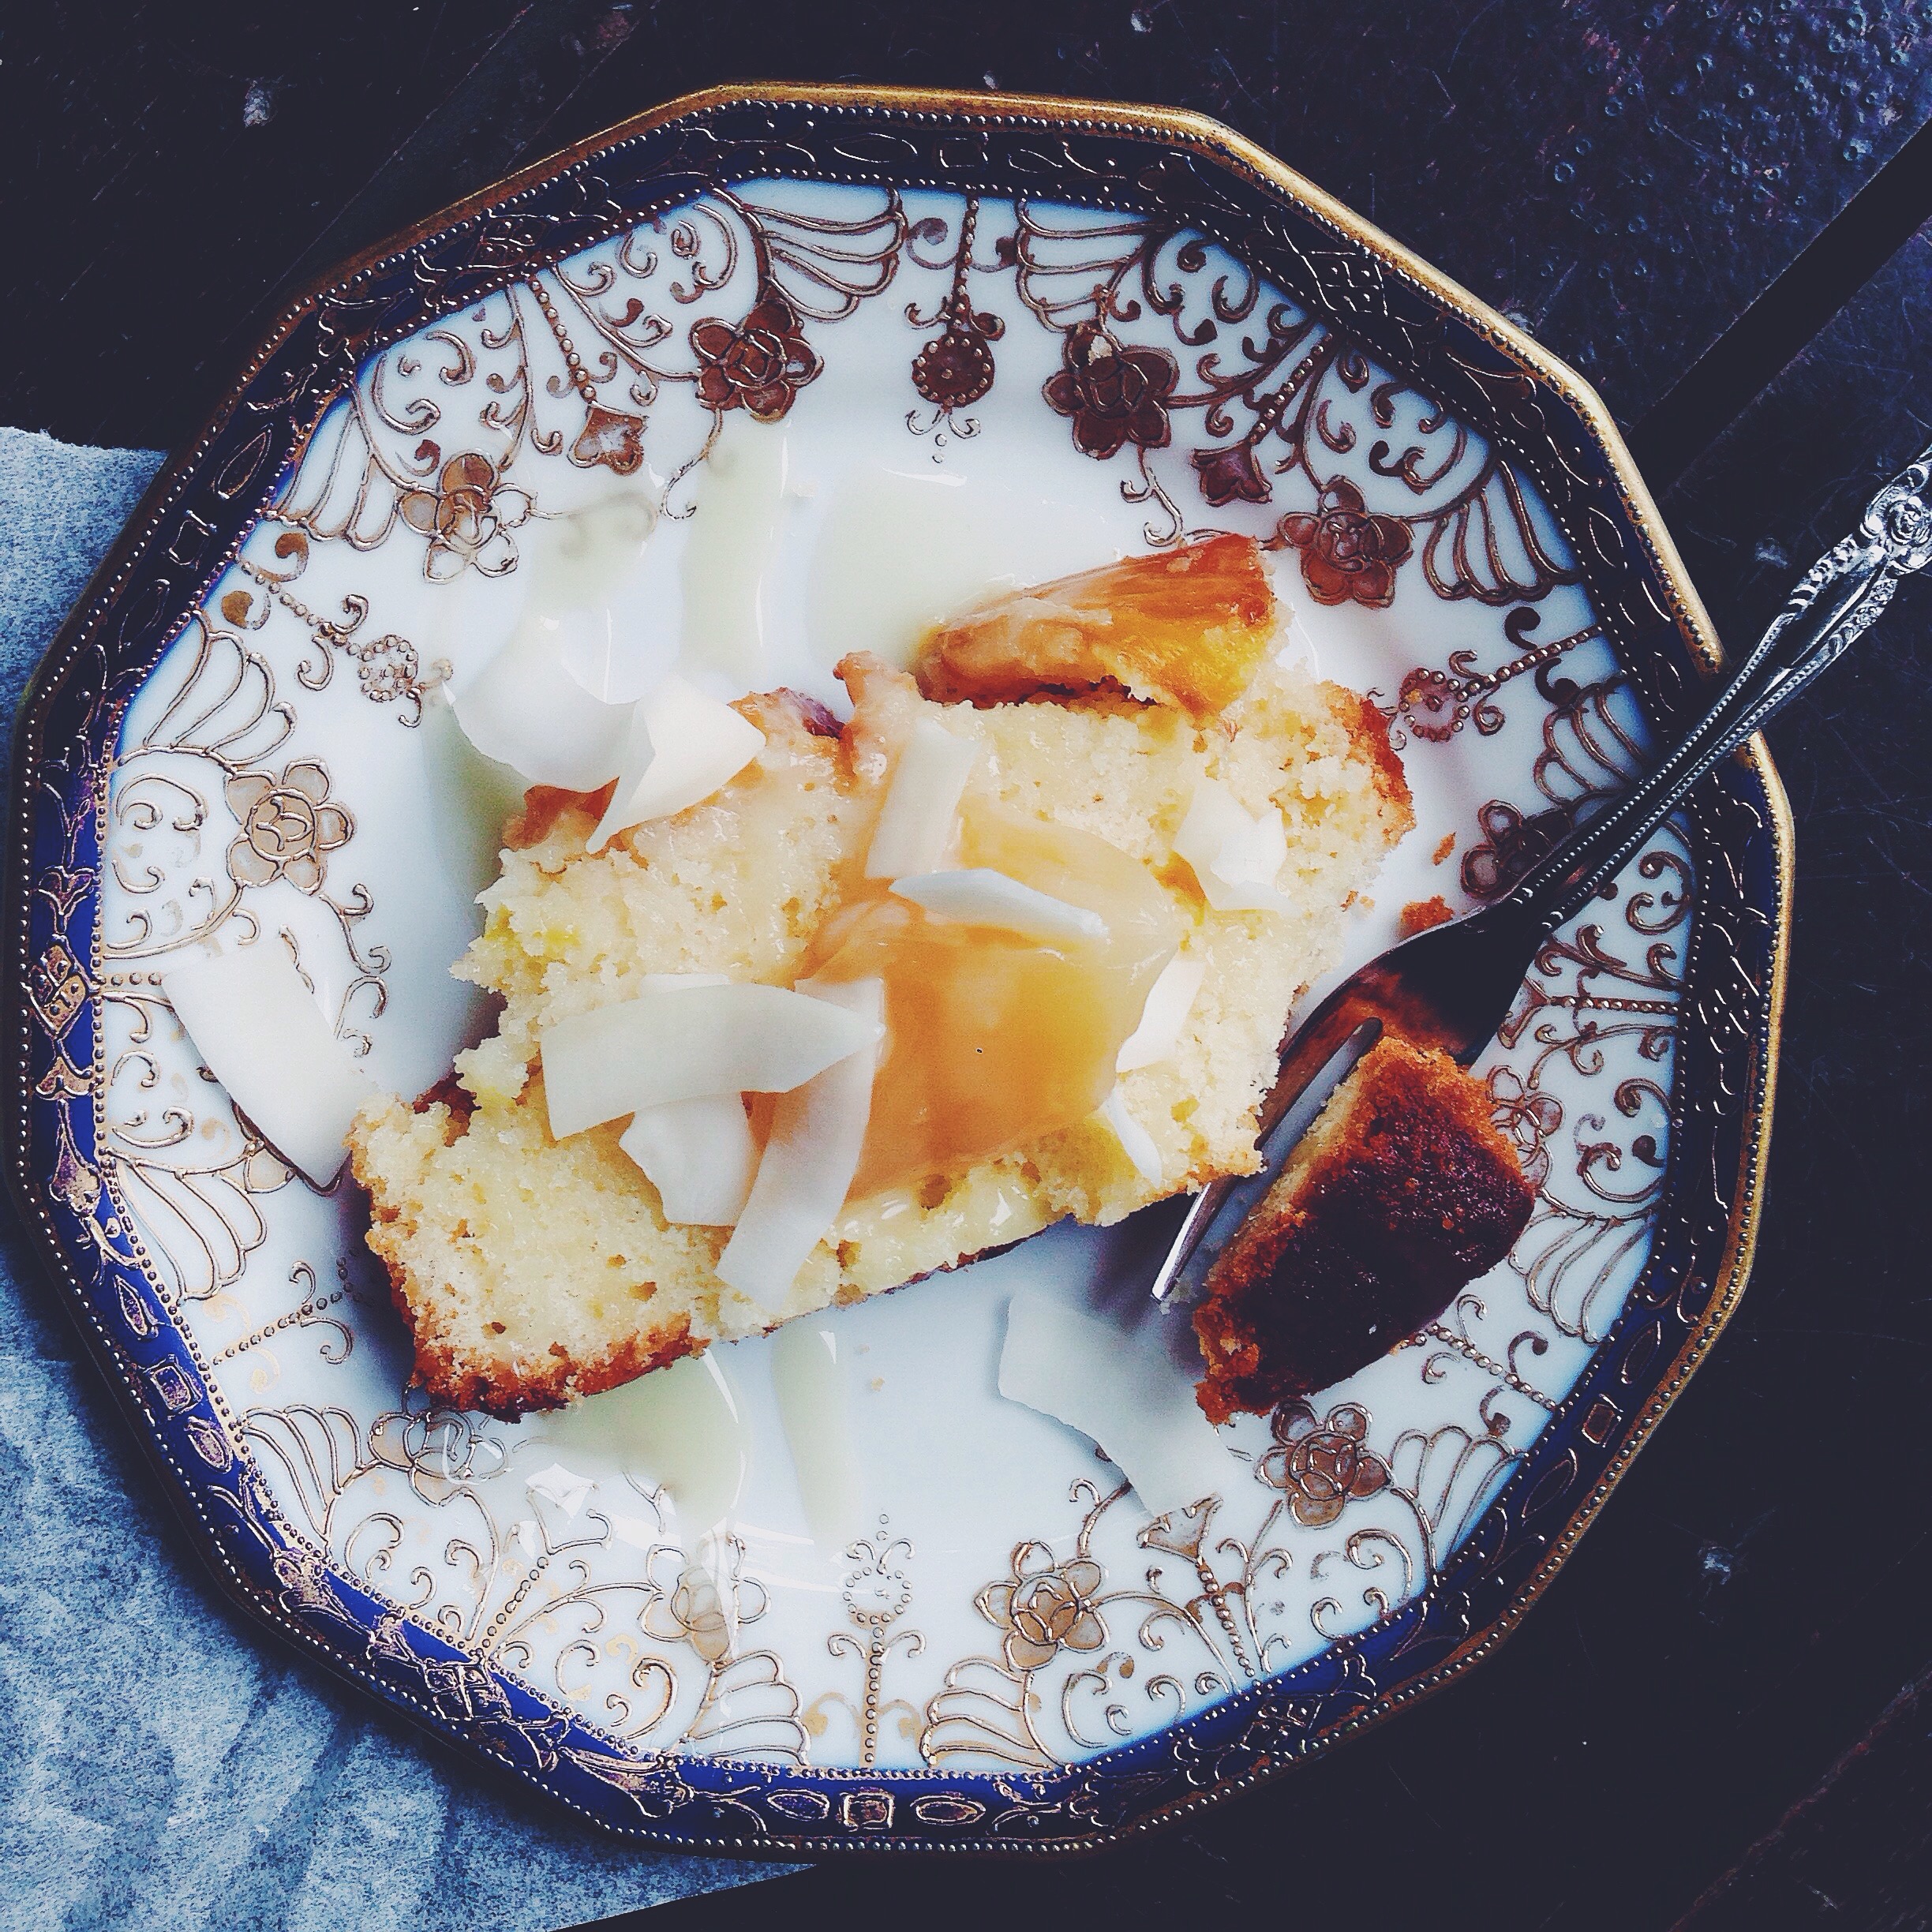
{Above: served warm with lemon curd, a drizzle of condensed milk, and coconut chips}

It’s messy, sticky, glorious. A little of the juice from the fresh pineapple layered on top mixes with the lemon-pineapple glaze, and together with the fresh pineapple both on and inside the cake, forms the perfect topping to the fluffy cake base. And goodness is this fluffy. Fork work is no work. The condensed milk, other than its more unorthodox flavour in the cake, provides a satiating density without weighing anything down. Tender is the night crumb.

Ingredients

For the cake:

175g cake flour (or substitute with the same amount of all-purpose and add 2 extra tablespoons, and be sure to whisk the dry mix all the more thoroughly later)

1 1/2 tsp baking powder

1/2 tsp baking soda

large pinch fine salt

115g white sugar

110g (around a stick) soft, unsalted butter

1 egg

1 tsp vanilla extract

150g fresh pineapple, cut into even chunks, around 1cm thick

60ml (1/4 cup) condensed milk

60ml (1/4 cup) pineapple juice (freshly squeezed, or you can buy those cans which state ‘100% pineapple juice’), or substitute with 30ml lemon juice and 30ml water

freshly squeezed juice of one lemon

For the lemon-pineapple glaze:

75g icing sugar

juice of half a lemon (the remaining lemon juice)

1 tsp pineapple juice, or substitute with more lemon juice

Directions

Preheat your oven to 177C (350F) and grease a 9×5-inch loaf tin. Separate your pineapple chunks into two clumps– one that’s 100g (to place at the bottom of your pan) and another that’s 50g. Finely chop this latter clump into small pieces. Sprinkle some white sugar on the bottom of your greased loaf tin, then place the chunks (100g in total; refer to picture above) of pineapple at the bottom. Set aside your loaf tin.

In a large bowl, cream together the butter and white sugar for at least 30 seconds. Beat in the egg, vanilla extract and condensed milk. In a separate smaller bowl, whisk together the flour, salt, baking powder and baking soda. To the butter-sugar mix, add half of the flour mix, then half of the pineapple juice. Use a wooden spoon to mix everything in briefly (streaks of flour are fine), then add the rest of the flour, remaining pineapple juice, half of the lemon juice, and the finely chopped pineapple. Mix everything together until just combined. The mixture should be yellow-ivory with a thick dropping consistency.

Tip batter into the loaf tin and bake for 40-45 minutes; mine took 42. Insert a wooden skewer into the middle of your loaf at the 40-minute mark– leave it for another couple of minutes if the skewer emerges wet and sticky, but take it out if it comes out dry. A few moist crumbs at the tip are fine, for the pineapple chunks at the bottom make it stickier and wetter than the other parts of the cake. While the cake bakes, make the glaze. In a bowl and with a fork or spoon, mix together the lemon juice, pineapple juice (or more lemon juice) and icing sugar. Play around here; you should have an opaque, white glaze. It should easily run when you hold the spoon at a height, but the stream would become reluctant once it starts thinning.

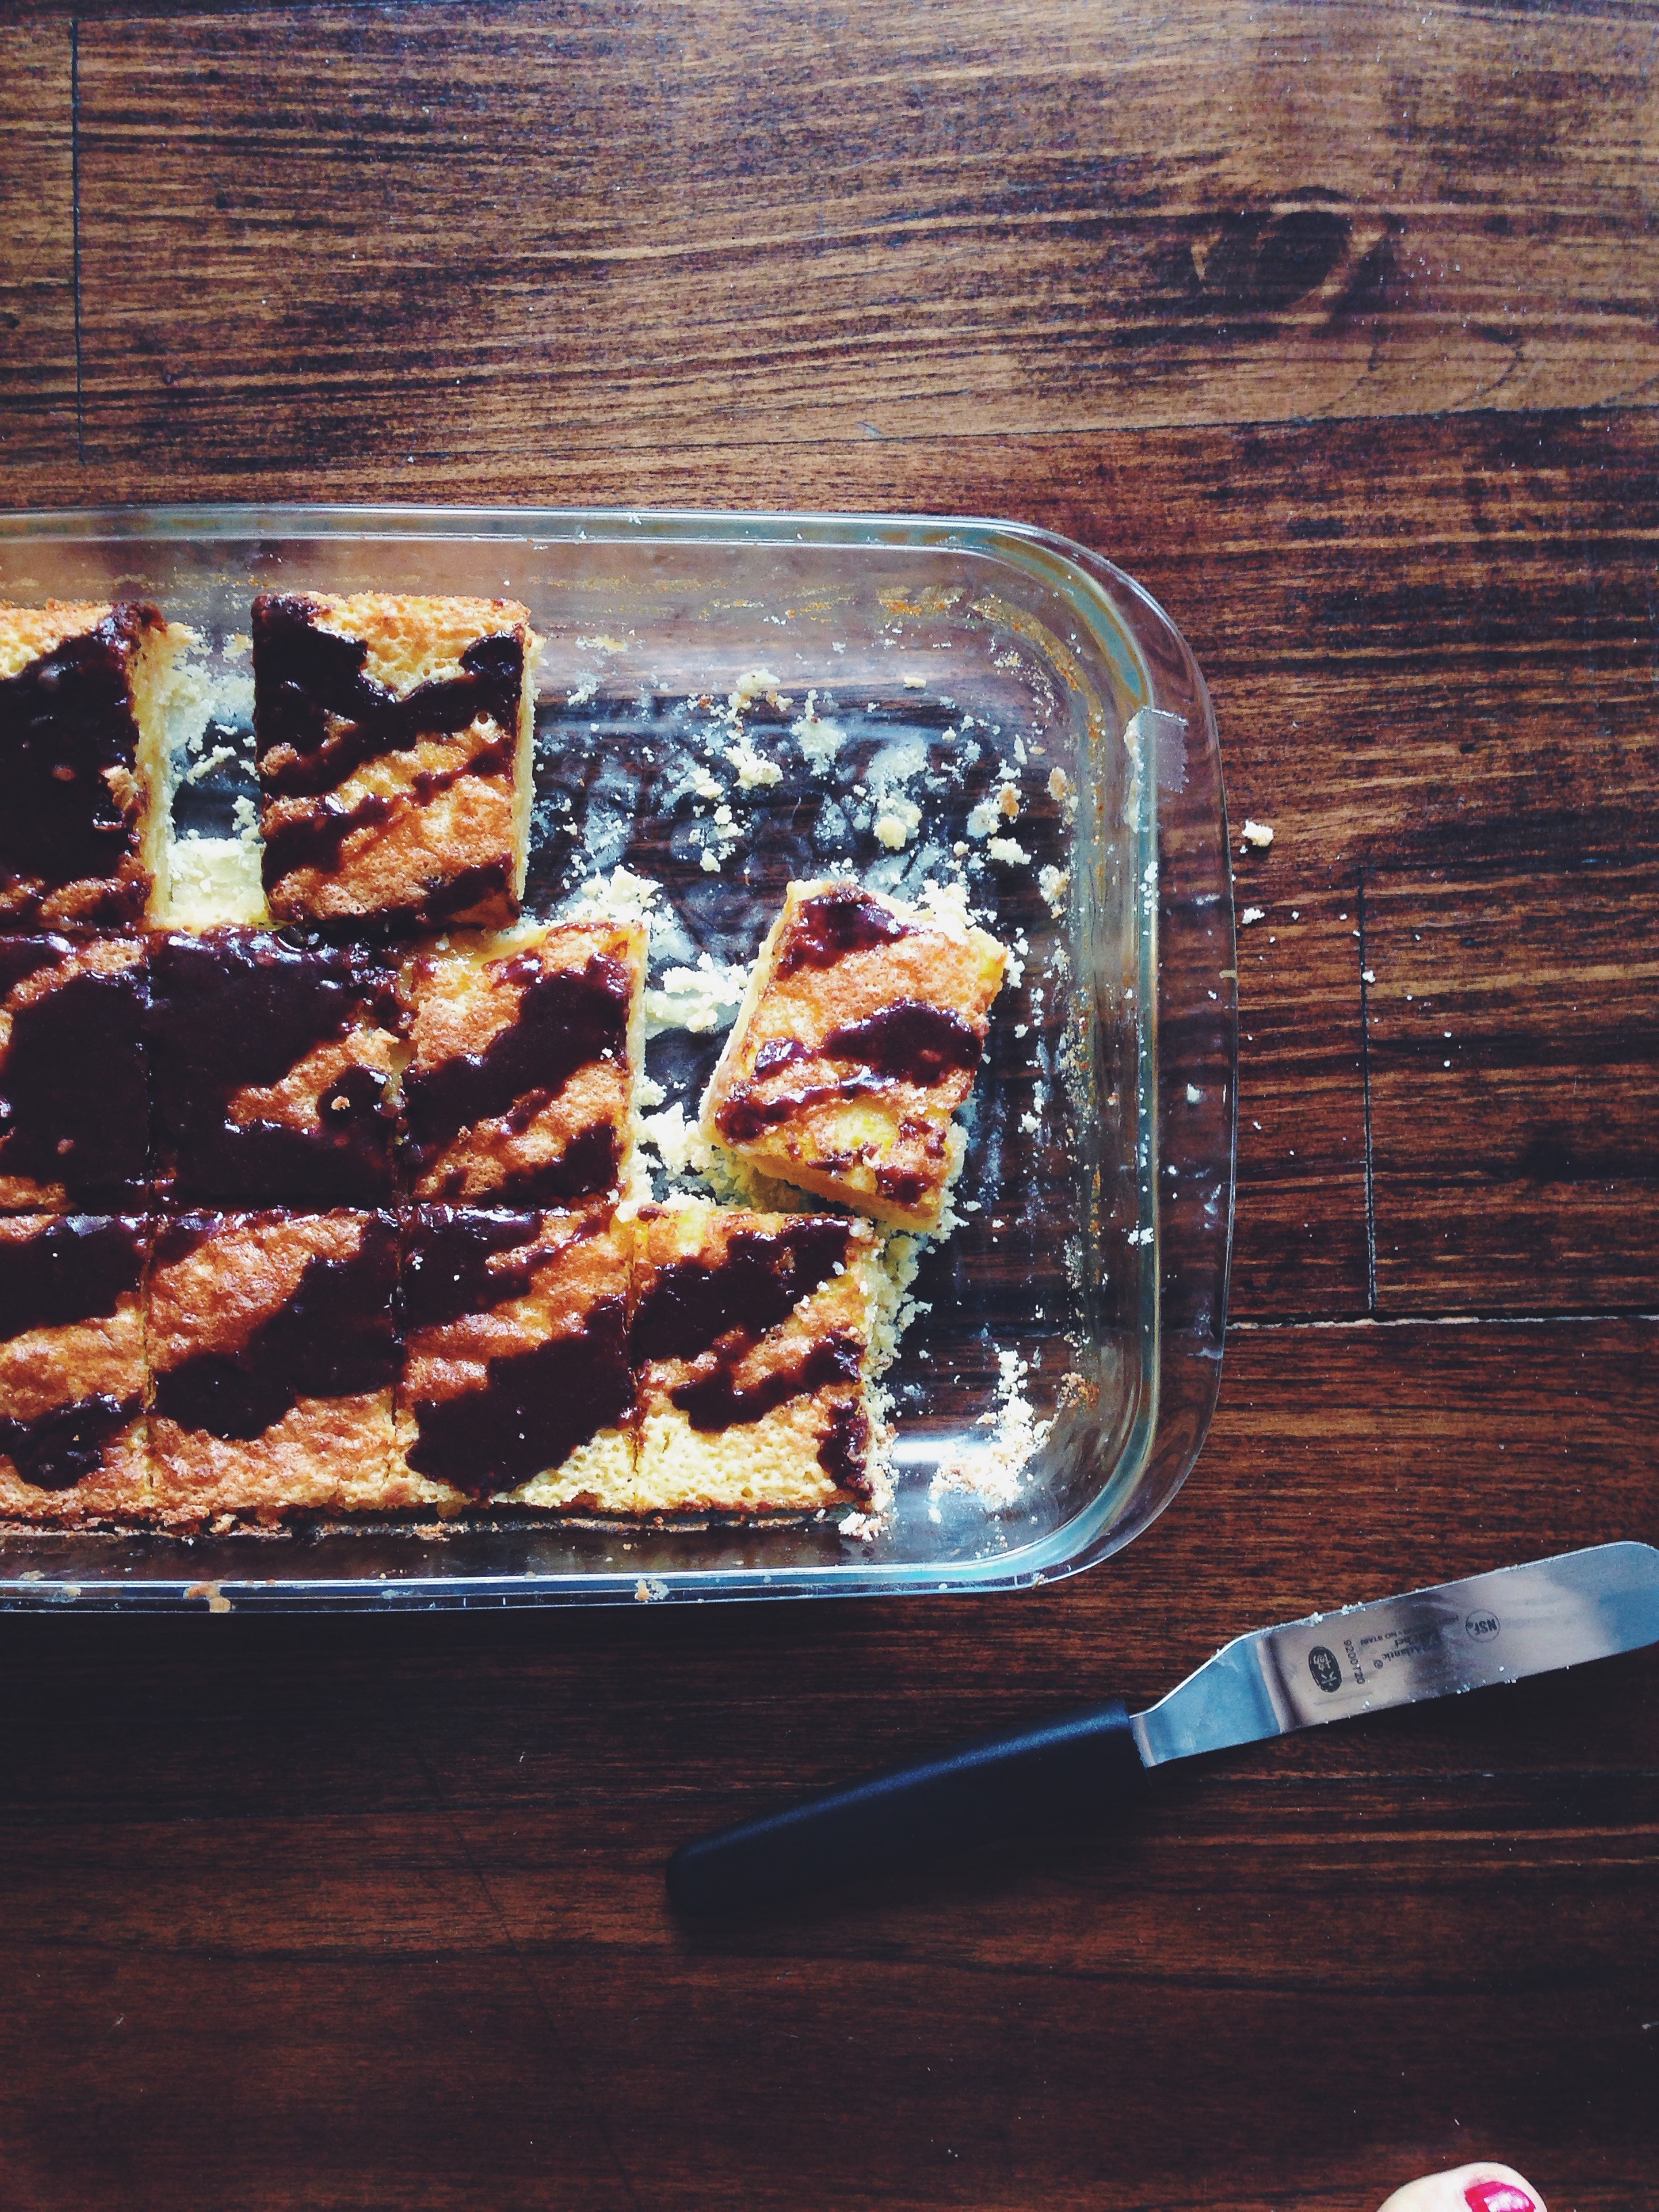
After removing the tin from the oven, leave the cake to cool on a cooling rack for an hour or so before removing. To remove, wear heatproof gloves and tip out your loaf cake, setting it down on your counter the way you put it in the oven (pineapple side down). Using a serrated knife, cut off the top of the cake, so both the top and bottom are flat (tip: the bits you cut off are wonderful, crusty and perfect with marmalade and tea). Flip the loaf cake so the pineapple side is on the top this time. Drizzle with the lemon-pineapple glaze.

Serve warm with lemon curd and more condensed milk. Store the rest in an airtight container and place in the fridge for up to a week.

Avocado Yin Yang Mousse

Black and white. OK, green and white. It’s balance, it’s harmony, it’s almost meant to be.

I’m all for avocado and all the variations it can take on. This will be a short one, because I’m aching to get the directions out; it’s ridiculously easy and delicious. Plop everything into your blender or food processor and you’re in the groove. Chocolate avocado mousse has been done before, aka the wholesome take on a classic chocolate pudding. Look, I love the green stuff, but I still think a good chocolate pudding deserves to be just that– sinfully chocolatey, donned in cream and your normal sugar. But wait! Let’s think thick, rich, glorious breakfast toast spreads here. Maybe a snack, or something along those lines. With dark chocolate done, why not experiment with white? This one here incorporates both dark and white chocolate, with a few different ingredients thrown in here and there to enhance the chocolate theme, simultaneously complementing the natural richness and creaminess of avocado.

I was pleasantly surprised by the texture of the white chocolate variant in particular. The incorporation of the special ingredient –tahini– is what made it lush, thick and deliciously spreadable. No graininess, nothing. Just ease. Smoothness, a slight hint of salt, the childlike sweetness from melted white chocolate. That’s what I love about white chocolate. It appears to lack dimension and sophistication, but it’s the perfect medium for so many other things.

Avocado Yin Yang Mousse

Ingredients

For the dark chocolate take:

half an avocado

2 tbsp cocoa/cacao powder

1 tbsp honey/ maple syrup

1 tsp milk of choice

pinch salt

For the white chocolate take:

half an avocado

30g white chocolate, melted in the microwave

2 tbsp milk of choice

1 tbsp tahini (optional, but highly, highly recommended)

pinch salt

Directions

Blend the ingredients for the respective versions together in a food processor or blender. If you wish to make both (of course!), start with the white chocolate take first so that you won’t have to wash out your blender or processor after dealing with the cocoa/cacao powder. Spread on toast or eat on its own, maybe with a couple of dark chocolate truffles, mmm. This will keep for a week in the fridge.

Black Sesame French Toast (with a twist)

If there’s one sort of breakfast I have to live off for the rest of my life, as long or short as it may be, it’s french toast.

And yes I like the good old classic stuff, whereby all you have to do is whip together eggs and milk and cinnamon and voila, you get a comforting, nourishing plate, eggy and soft and saturated, and now I use the word ‘and’ too much. Well. One of my personal favourite french toast recipes is actually eggless, and I implore you to check it out here.

But twists are welcome. Despite the familiarity of routine, twists and little leaps off of a classic theme are necessary to uphold the graciousness of the central perk. In this case, that perk is normal french toast. I love normality in that sense, all tried and true. But the addition of black sesame here, the little flick of the pen at the end of story, is the enhancement factor, serving not to distract, but uplift.

I’m a flexible eater, but I’m also the sort who thinks that if you’re going to enjoy something, you must enjoy it well. This might not be to everyone’s taste, but I do love dousing my french toast in whole milk, well accompanied by frigid coffee, because the sogginess factor makes my heart the same consistency. It all sounds a bit absurd, I know. But do what you do best, right? Adjust to taste. It’s all delicious in the end, anyway.

Black Sesame French Toast (For 1)

Directions

In a shallow bowl, whisk together one egg, a dash of cinnamon, a large splash of milk (whatever sort you prefer, I used whole) and a tablespoon of honey. Into another bowl or plate, sift 2 heaping tablespoons of black sesame powder.

Take 2 slices of sourdough/ brioche/ baguette and soak each side in your eggy batter for 10-20 seconds. Whilst waiting, preheat your pan to medium heat, and ready some butter. Once the pan is hot, butter it, making sure you hear a good sizzle upon first contact. Cook your french toast as you usually would, around 2 minutes on the first side and a little less on the second, just so it’s not rendered dry. You want a fair bit of eggy saturation in the middle (yes, even if you like drowning your french toast in milk like moi).

Once your french toast is cooked, generously slather the tops with the black sesame powder, which will go moist and a bit sticky upon contact with the heat and moisture from the toast.

*variation: To serve, place the toast on a plate, top with almond butter, chopped strawberries, a drizzle of coconut cream and, if you wish, coconut chips. The black sesame with fruit and coconut here is a divine combination!

Try This Toast Combination Now

When the going gets tough, it’s easy to give up on a lot. But fret not, for you’ll have a slice of toast that will get you over that hump.

It’s the perfect little snack, or breakfast if you have a birdy appetite, like me on some days. I can attest to its pre-yoga workout effectiveness. Energy boosting, almost wholesome. Here is a slice of whole wheat toast, half slathered in tahini, maple syrup and salt, half with a generous coat of butter and marmalade. 

The second bit is a classic, the sort of thing you might fall back on at an endless breakfast buffet (or if you’re a plain old novice). I love love love butter and jam on most days, and some days it’s good old almond/peanut butter, honey and a pinch of maldon salt. Today demanded a switch in routine, and so this was born.

Directions (because the ‘Ingredients’ bit isn’t necessary, right?)

Take one slice of any sort of bread you like (preferable whole wheat, sourdough or a dark rye), and toast in your toaster. Cut in half any which way, then top half with butter and marmalade (or jam, if you don’t have any marmalade, but marmalade is still the best option!), and the other half with tahini, maple syrup, and  apinch of coarse salt (Maldon). Eat the halves separately or, for optimal pleasure, sandwich together and bite. Savour that crunch, then the nuttiness mixing with the sweet jammy middle. A tick of salt at the end. Savour, swallow, maybe repeat.

Orange Chocolate Bars with Mascarpone and Honeycomb

This morning, my fork did all the talking, and I let it. Let’s get to the meat before I lose your attention.

The four main components here may sound frivolous, but get along like four great friends. Anyone else here like Terry’s chocolate oranges (insert happy girl with hands over her head emoji here)? If you do, I kid you not, these will satisfy you any time of day, and this batch makes quite a lot, so the satisfaction isn’t short-lived. Here we have a sweet and sticky baked citrus batter topped with a rich chocolate glaze (all delectable frozen goo and sludge), on a double butter crust, topped with mascarpone (no, I didn’t make this, ha), and honeycomb.

I want to call them tiger bars because that’s exactly what they ended up looking like, with the stripes and all. A most desirable marriage of chocolate and orange. As you can tell from the picture below, I was a bit too excited to cut everything up and slather stuff on, hence the slipshod effect. By the way, this double butter crust is bloody good. But bad. And messy. Either way it’s all good.

Processed with VSCOcam with f2 preset

Sweet on sweet on sweet, right? Well, not totally. The flavours here all meld into one another in a manner more sophisticated than what I expected, but I do think the mascarpone is necessary to soften excess cloy. This was my first time making honeycomb, and this batch turned out desirably sweet, light and crisp, like the chewier end bits of the inside of a Crunchie bar. Hopefully with time, I will master the art of thicker, ‘holier’ honeycomb. Slightly less deep in colour, less chew, more whimsical and airy-fairy. The golden shards offer a brighter mien to the whole dessert get-up. A sort of ‘ooh, what was that? YES’ kind of crunch. With the layers of texture and flavour established, the final addition of mascarpone cheese on top ties all the components together, like the ribbon on a present. A blander, but necessary note, a complementary creaminess.

Orange Chocolate Bars with Mascarpone and Honeycomb (makes 12 bars)

Ingredients

For the crust:

160g unsalted butter, cold and cut into small half-inch cubes

210g all-purpose flour (around 1 1/3 cups)

pinch salt

50g icing sugar, sifted (slightly less than a half cup)

For the orange filling:

zest and juice of 1.5 large oranges (120ml or half a cup of freshly squeezed orange juice)

juice of half a small lemon

230g (1 cup) white sugar

large pinch salt

50g all-purpose flour

1 tsp baking powder

4 eggs

For the chocolate glaze:

1 tbsp water

15g unsalted butter

1 tbsp unsweetened cocoa

1 tbsp milk

50g (or more, this is according to taste) of sifted icing sugar

For the honeycomb (adapted from BBC good food’s traditional take):

180g white caster sugar

5 tbsp golden syrup

2 tsp baking soda

Directions

Preheat your oven to 177C (350F). In a large bowl, whisk together the flour, pinch of salt and icing sugar. Rub the cold, cubed butter into this mix until you get coarse crumbs, and they are able to stick together in clumps when you squeeze the mix in your palm. Press this mixture into the bottom of a greased 9×13-inch pan, and then place into the preheated oven and bake for 11-13 minutes (I took mine out at 12).

Next, make the filling, which is the easiest bit!! In a large bowl, whisk together the juice of the oranges and one lemon, zest of the oranges, sugar and eggs. In a smaller bowl, whisk together the flour, baking powder and pinch of salt. Add this flour mix to the wet mix and mix well to combine. You will probably find little clumps of flour post-mixing, but they will go after whisking for a while. You should have a smooth, slightly viscous, wet mass of orange. Once the crust is done baking, remove from the oven and let cool for 5 minutes on the cooling tray. Pour the orange filling batter into the pan, then carefully (because the batter is predominantly liquid) place the pan back into the oven. Bake for 17-20 minutes, or until you can see the top go a medium brown in colour. I took out my pan at 19 minutes, when there was a visible dark brown rim around the edges, and the surface was mottled with bits of brown. When you take out the pan, the inside will still be mostly wet, or moist at most. Leave to cool for 15 minutes, before placing in the fridge to allow it to fully set.

Make the chocolate glaze. Again, easy peasy stuff. In a medium microwave-safe bowl (I always use my handy Chinese porcelain dinner bowls, so convenient), add the butter (it can still be cold from the fridge), water and cocoa powder. Microwave this on high until you get a smooth chocolate mix, at least 30 seconds or so. At this point, at a tablespoon of milk, and then add 50g of sifted icing sugar. You might add more if you want a slightly sweeter chocolate glaze; 50g yields a deeper overall chocolate flavour. Drizzle this chocolate glaze all over the orange bars.

Time for the honeycomb. The recipe I used here is classically British, incorporating the use of golden syrup instead of light corn syrup. You can find a myriad different honeycomb recipes online, and though this is a nice, safe one to start with, don’t be afraid to try others out. I’m eyeing Joy the Baker’s one next! Grease a 9×9-inch baking pan and set aside near your stove and saucepan. In a medium saucepan, add the sugar and golden syrup. Melt everything together on a low heat, mixing briefly with a wooden spoon in the beginning, and wait until the sugar crystals have visibly dissolved. Don’t touch or stir it at this point. Try not to let the mixture boil because this will change the structure of the crystals before you have a chance to aerate everything with the baking soda. Once the sugar has dissolved, turn up the heat just a little and let simmer for 2-4 minutes, or until you can see that the mixture has turned slightly deeper in colour, a light amber shade. At this point, add the baking soda and quickly whisk it into the mixture. It will go thick, slightly paler and foamy (it’s beautiful), but slightly darker again once you whisk. Immediately pour the mix into the pan you greased, and then set your pan under cold running water in your sink to dissolve any caramel that might’ve stuck to the sides.

The mix will set after around an hour. Since it’s always so bloody hot here, I left mine at room temperature for half an hour, before placing in the fridge for another half hour. At this point, take out your pan and overturn it onto your counter. Hit the pan hard with your hand or a large spoon to release the honeycomb onto the counter, and this will simultaneously break it into large chunks. You may then proceed to break it up further into shards of whatever size you wish.

Assembly: Cut the orange bars into 12 with a sharp knife, cleaning the knife with a paper towel after each slice. Top with mascarpone and homemade honeycomb, and send yourself to heaven.