Salted Honey Espresso Baked Doughnuts

Processed with VSCO with f2 preset

A doughnut embodies whimsicality, but sometimes it just seems like all the dovetailing attempts have been done through and through. As I type, my mind is bathed in a blur of facts and complicated scientific concepts in preparation for the upcoming finals, like little entangled confused tendrils. However, this idea of whimsicality pulled me through a short while, sparked by an unanticipated café encounter. Being in the kitchen getting my hands dirty is more therapeutic than anything; I never saw it as something I feel obliged to do for the sake of this blog’s up keeping. Such breaks seem to serve as mind-remodelling moments, themselves acting as platforms upon which motivation is furthered and concentration enhanced. That being said, it will probably be a while before my next post, because the library beckons far too often nowadays.

Ah right, that unanticipated encounter. The other day I was at one of the most popular coffee hits around Covent Garden with a good friend, and was particularly inspired by a bucket of Joe and Seph’s posh caramel and espresso popcorn. Enamoured me so much so that I just had to buy a bucket of the stuff.

Processed with VSCO with f2 preset

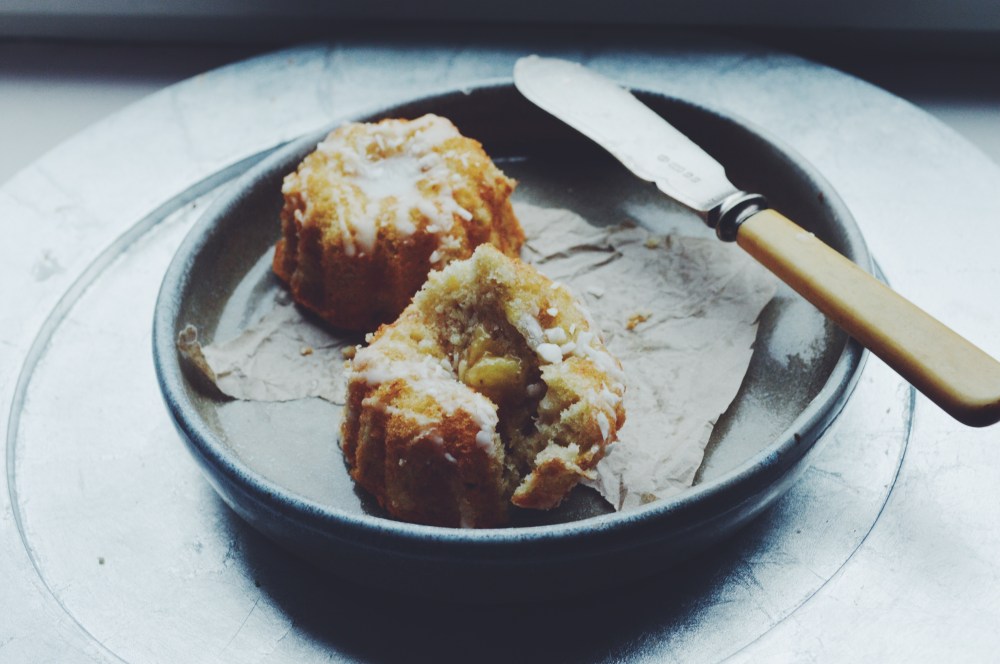
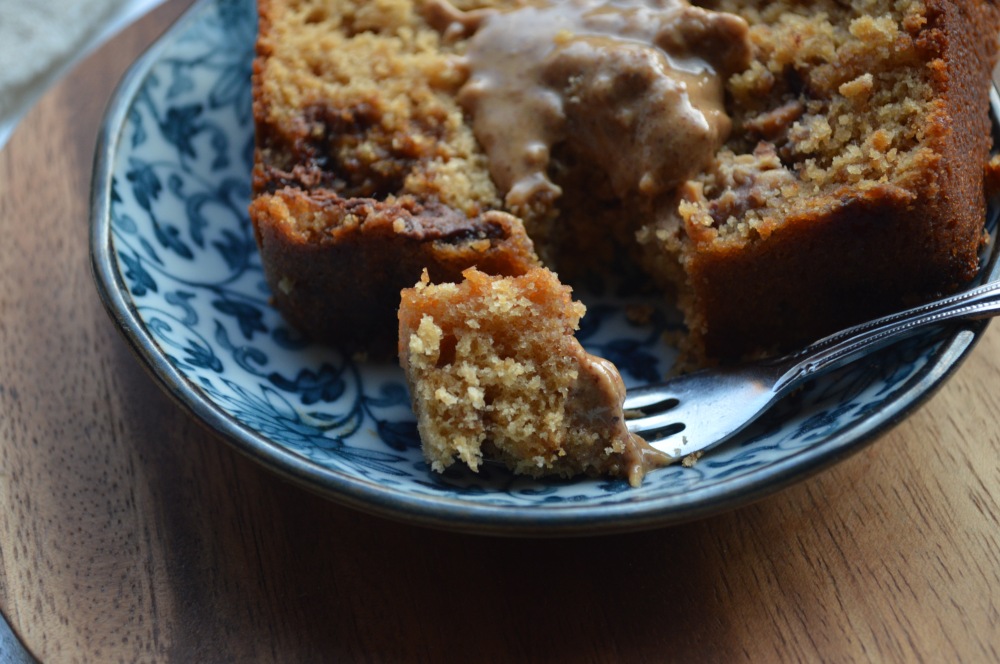
Well the whole baking attempt ended with me sprinkling chopped up bits of popcorn on top (alongside whole ones right into my mouth, of course), which is an optional addition. I simply did so whilst reminiscing the root of this flavour combination. The sugary hit of caramel and espresso reeled me in, and I wanted to recreate that sweet-bitter juxtaposition in this doughnut recipe.

It’s simple and takes just 15 minutes to bake, and who doesn’t adore that? I’ll never get tired of these simple and crazy quick recipes. I’ll just let the pictures do most of the talking.

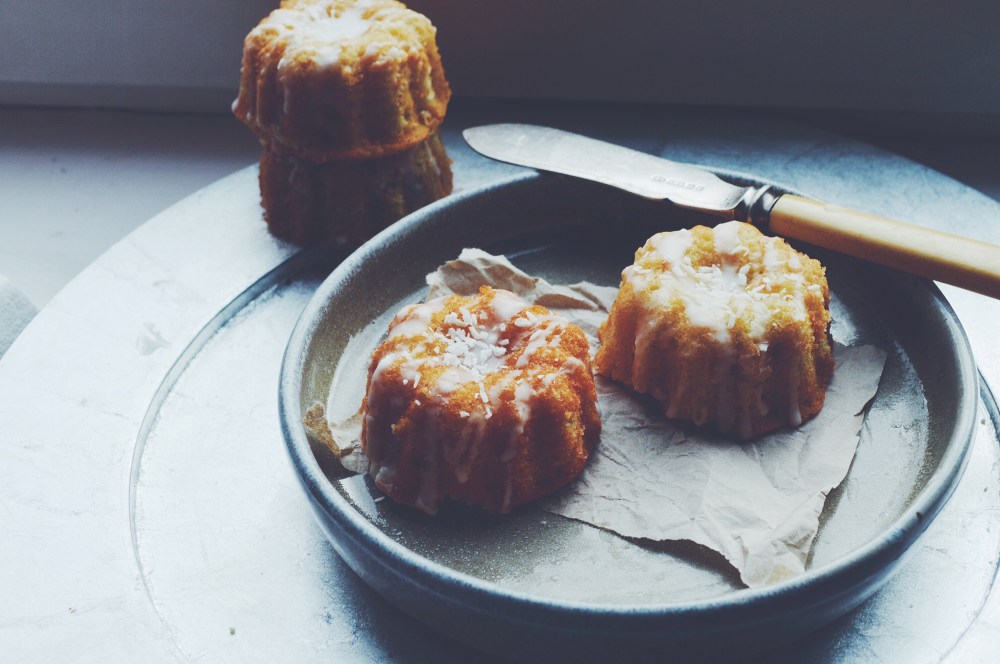
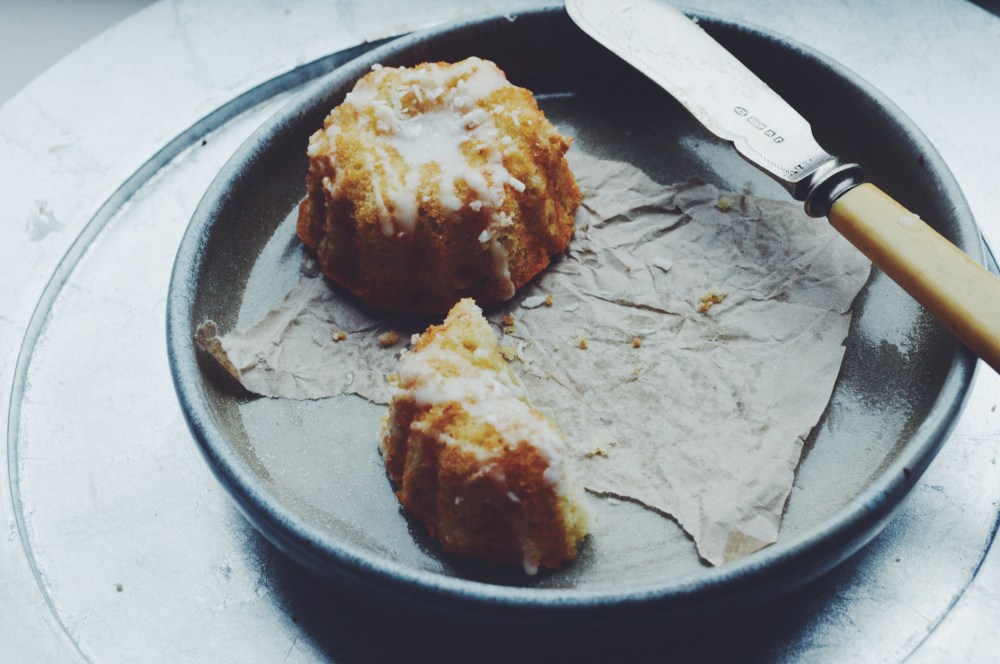
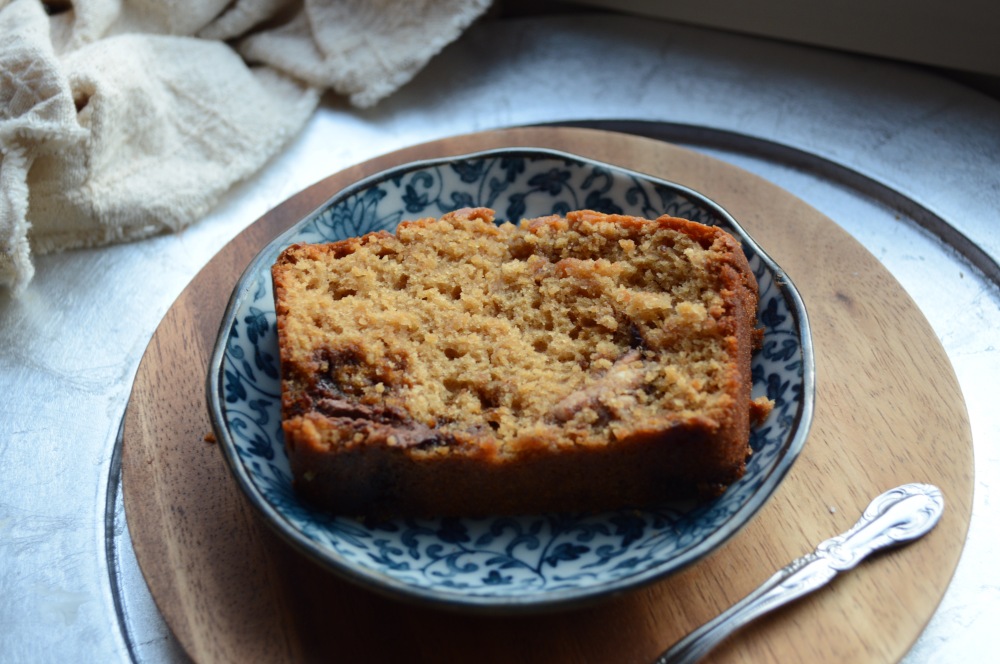
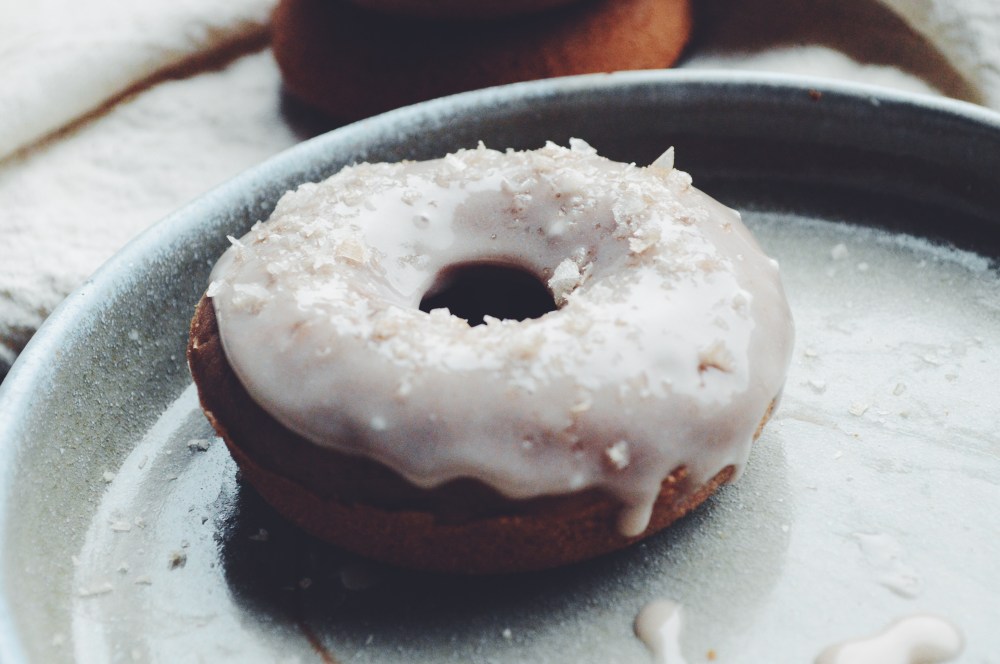
Soft and fluffy, espresso and honey-infused baked doughnuts, topped with a honey glaze and coarse salt

Processed with VSCO with f2 presetProcessed with VSCO with f2 presetProcessed with VSCO with f2 presetProcessed with VSCO with f2 presetProcessed with VSCO with f2 preset

Coarse salt doesn’t adulterate the final texture, serving only to enhance the sweetness and soft bite of just-baked dough. The idea of the cake doughnut doesn’t get old to me, because ease of make aside, there are just too many possibilities, and you can top them with anything, and can’t go wrong.

Processed with VSCO with f2 presetProcessed with VSCO with f2 preset

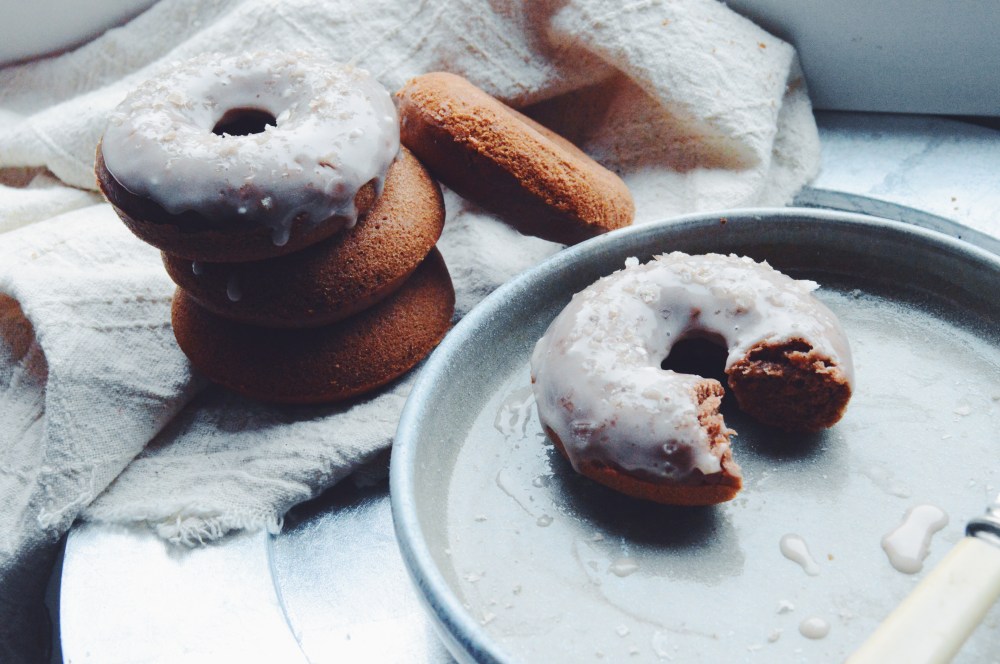
Salted honey espresso baked doughnuts with a salted honey glaze (makes 6 mini doughnuts)

Ingredients

For the doughnuts:

145g (1 cup + 3-4 tbsp) self-raising flour, or use all-purpose flour and add 1/2 tsp of baking powder and 1/4 tsp baking soda

pinch salt

2 tbsp cocoa powder

1/2 tsp cinnamon

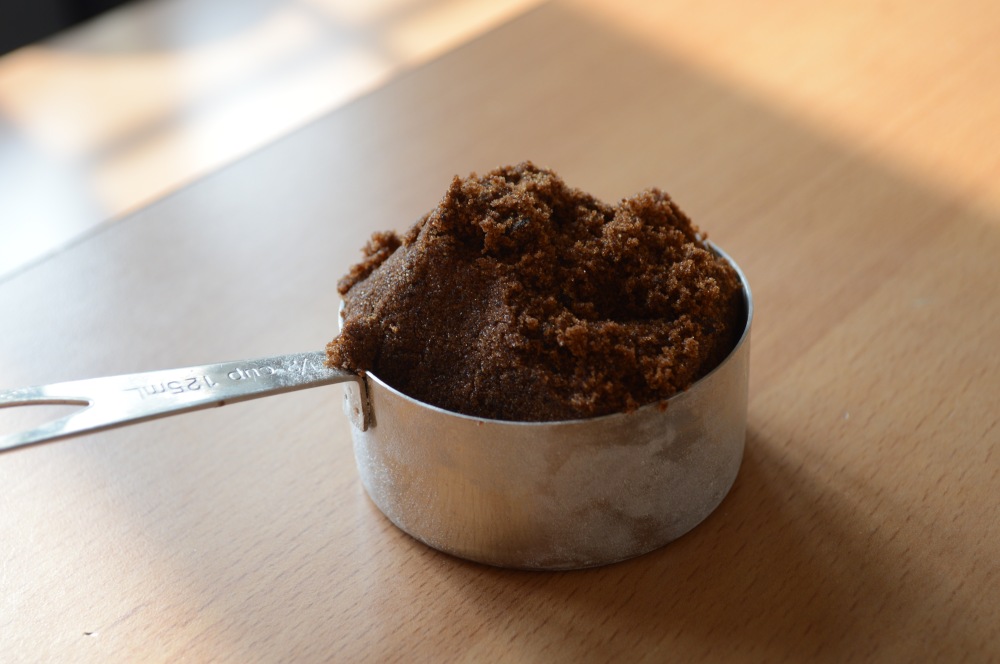
50g (1/4 cup) white sugar

30g (2 heaped tbsp) melted butter

60ml espresso (1/4 cup) –instant powder permitted, but straight from the bean is your best shot

1 egg

60ml (1/4 cup) milk

2 tbsp runny honey


For the glaze:

1 tbsp honey

1 tsp cocoa powder

85g icing sugar

pinch salt

coarse salt for sprinkling

3-5 tbsp milk


Directions

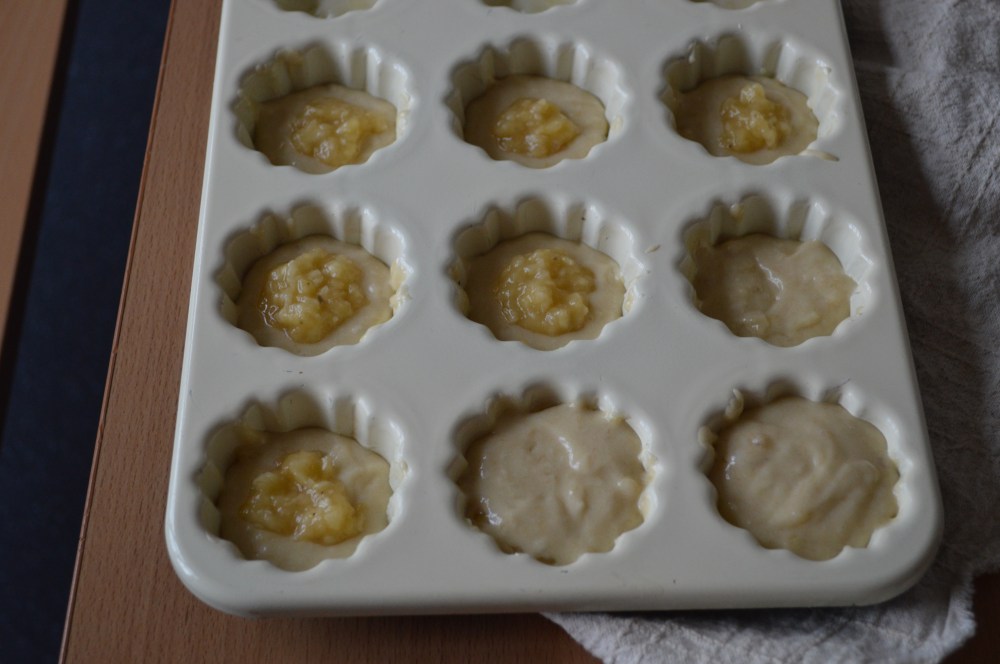
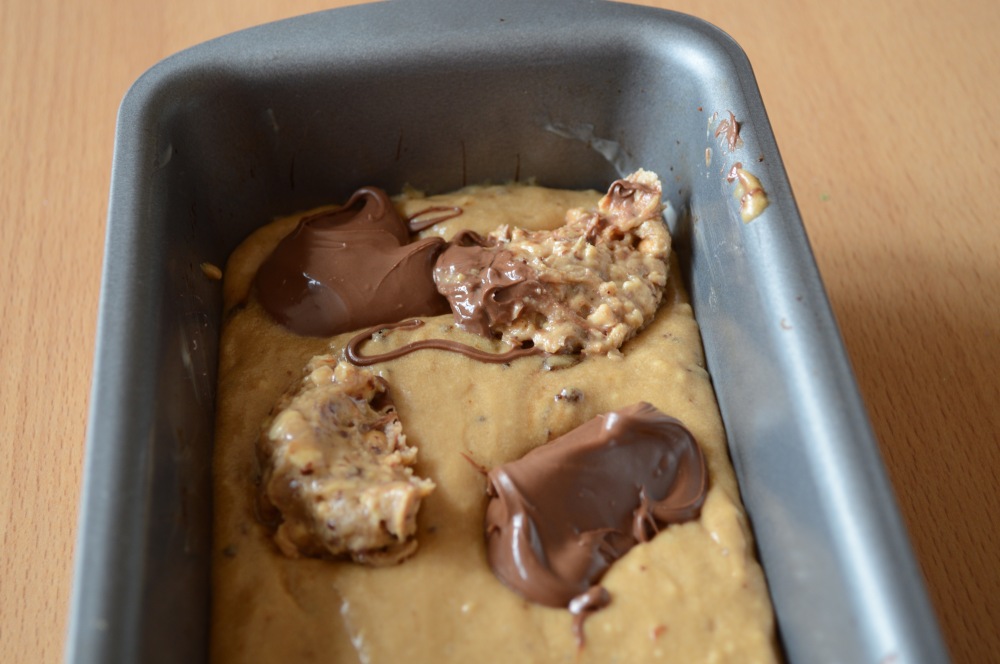
Preheat your oven to 177C (350F) and butter a 6-doughnut pan. In a large bowl, sift together all the dry ingredients– flour and necessary leavening agents, sugar, cinnamon, cocoa powder and salt.

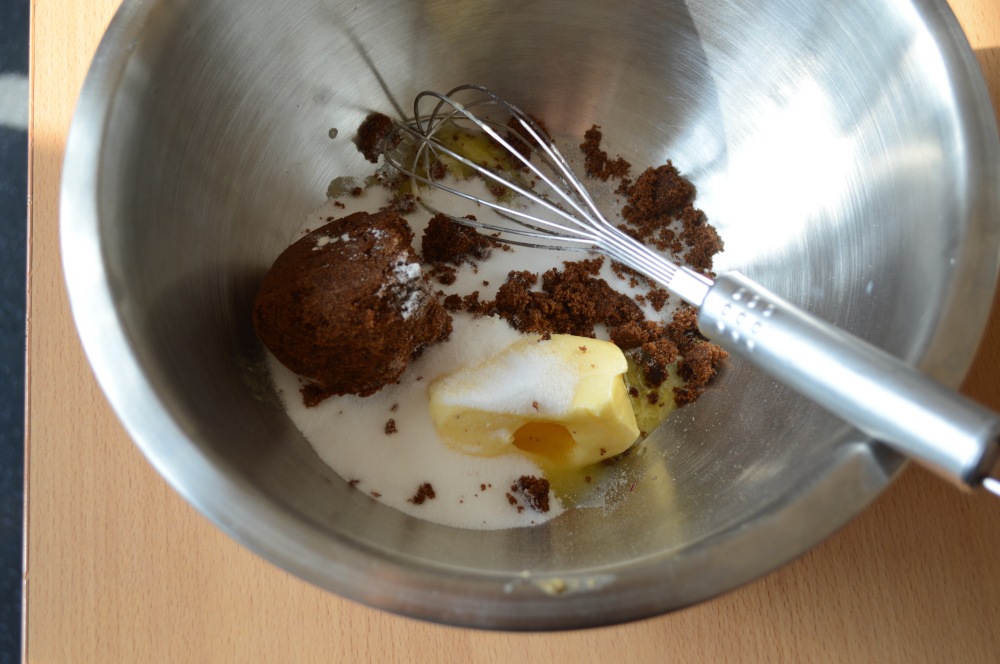
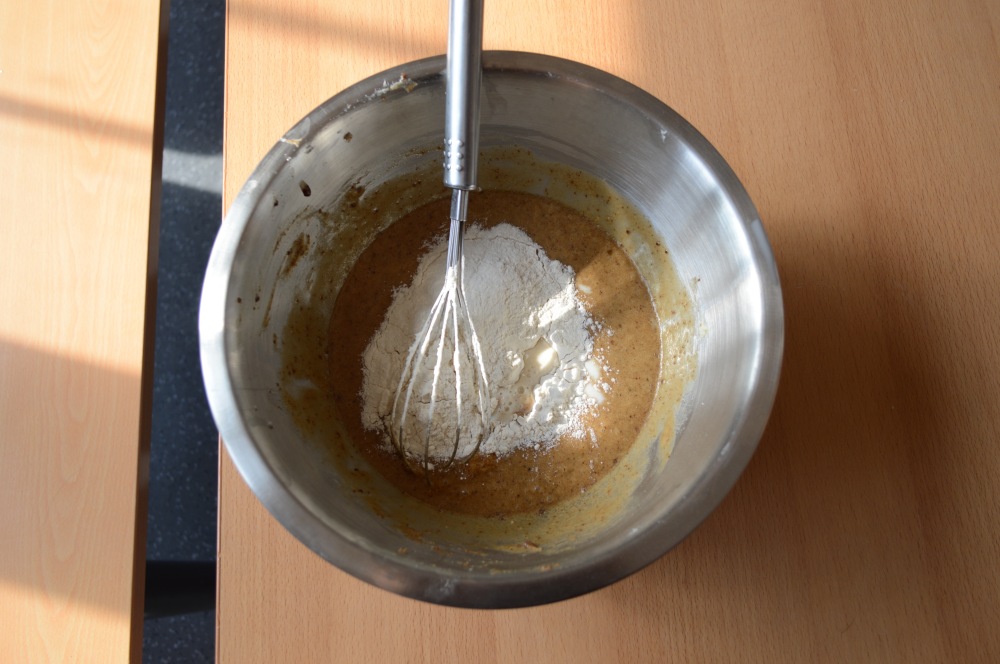
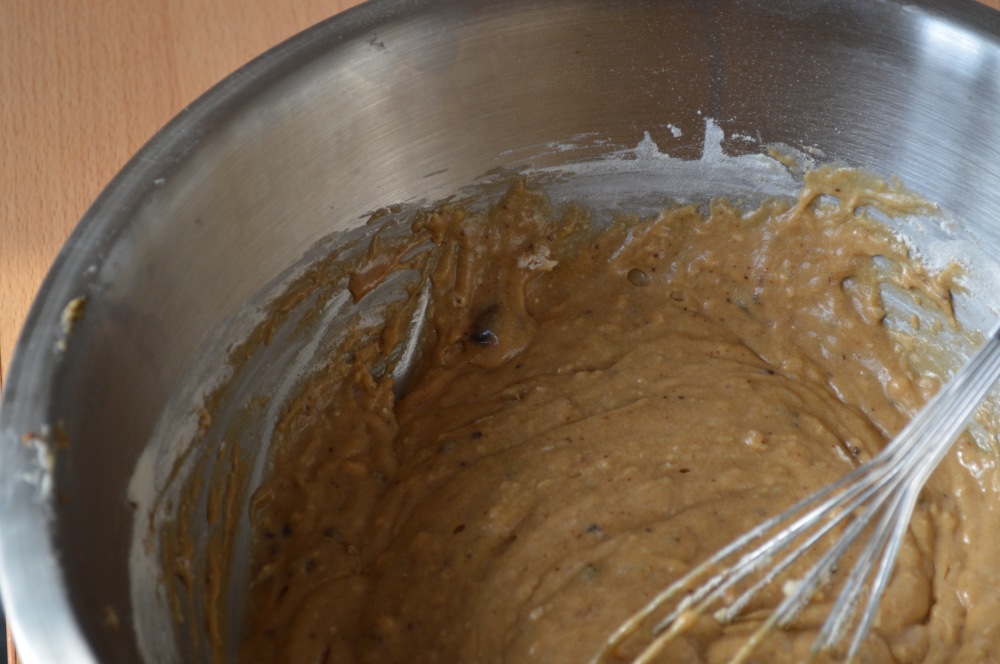
In a separate, smaller bowl, whisk together the melted butter (that’s been left to cool a while, so you don’t end up cooking the egg!), egg, espresso, milk and honey, until everything is nicely incorporated. Pour the wet mix into the dry and mix until everything is just combined.

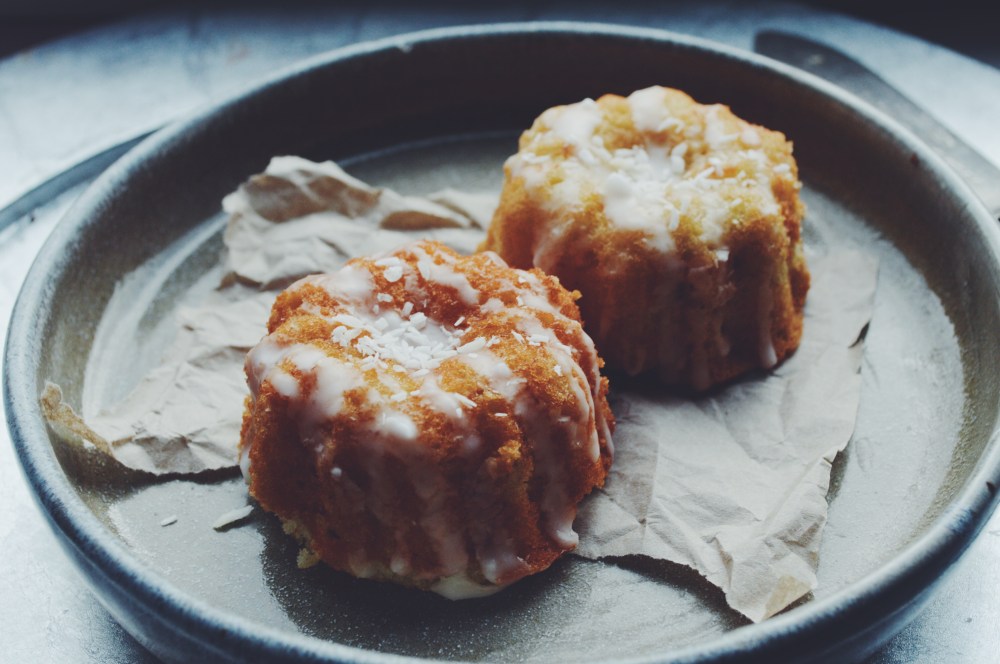
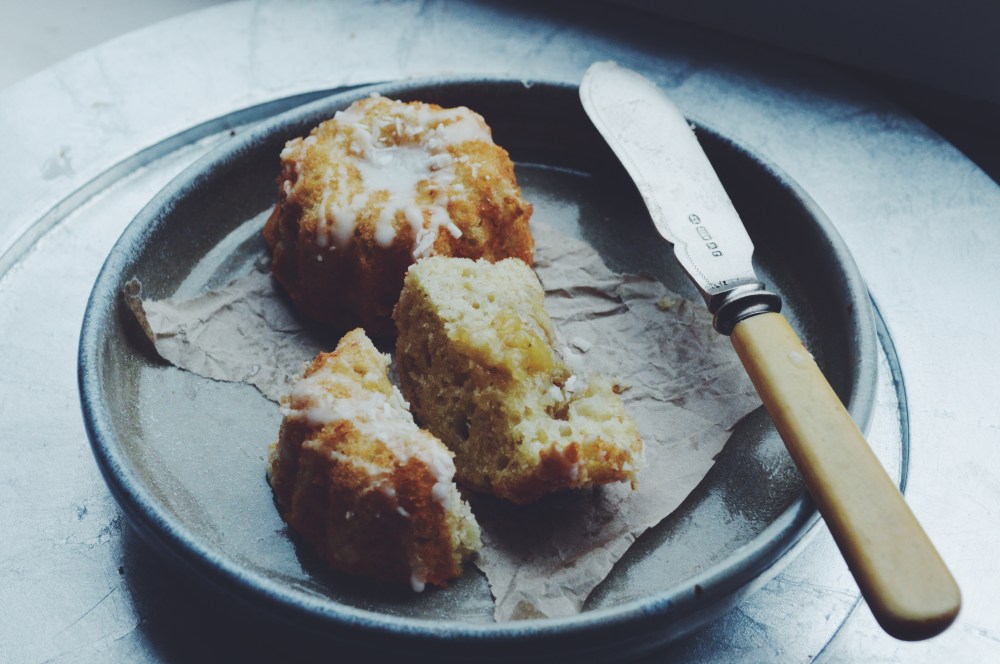
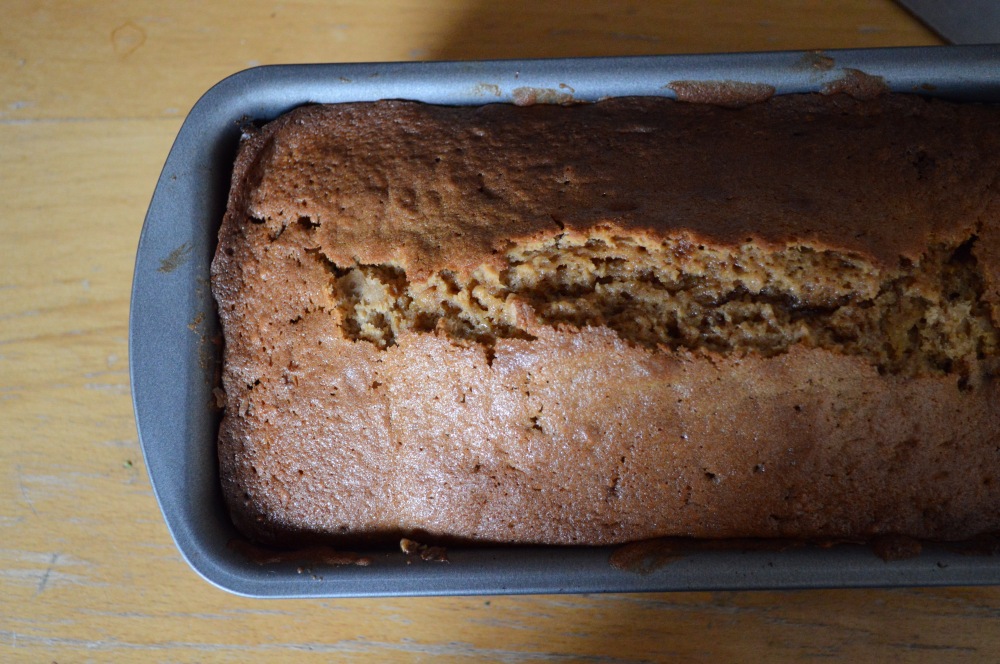
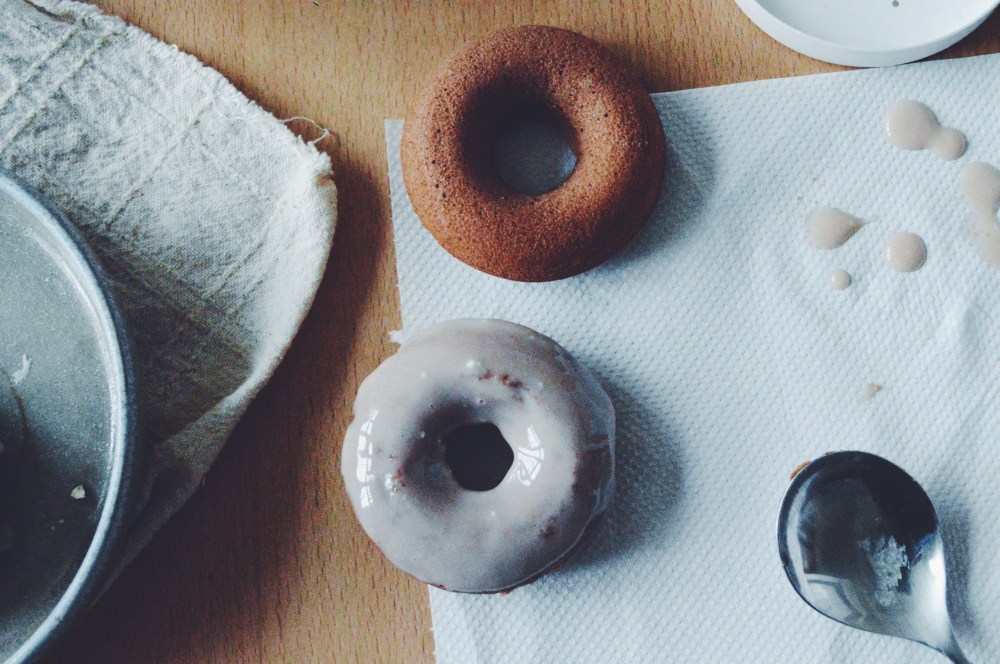
Bake the doughnuts for 12-15 minutes; test with a wooden skewer at 12 minutes. If it comes out clean, you’re good to go. While they’re baking, whisk together the icing ingredients with a fork. You should have a thick and runny, light brown-pink glaze.

Once the doughnuts are done, leave to cool in the pan for a while before removing. Dip the top in the glaze, then sprinkle with coarse salt. YUM GUYS.

Check out my other baked doughnut recipes!

Brown butter maple bacon doughnuts

Strawberry chocolate vanilla bean doughnuts

Maple syrup doughnuts (with glaze variations)

Hot cross cookie butter doughnuts

Spiced nutella-stuffed doughnuts


Double Banana Pillow Pancakes

Processed with VSCO with f2 preset Processed with VSCO with f2 preset

Pancakes are easy science. There’s really nothing more to them than mixing your wet with your dry, then plopping spoonfuls into a hot pan. You’re done in a few minutes, happier than the heavens with a drizzle of good maple and all the toppings your heart desires.

Fluffy pillow pancakes made with mashed banana, studded with soft banana coins. 

Your usual dose of weekend fluff, heavily inspired by these babes. I remember really enjoying the addition of mashed banana to the actual batter in this particular recipe, and it’s hard to imagine I made them that long ago. I wanted to recreate that pleasurable experience in a different light– something more straightforward but still just as moreish.

There’s a lot of fun in making a ‘double’ anything. Because that means 2 dimensions. It means depth, intensity. No space or time for something normal. I mean normal can be good, and tradition is bliss sometimes, but a little extra oomph is love and light, too. Adding the banana coins before flipping the pancakes cooks and softens them a little, remodelling your little stack into something with additional texture, a little hint of caramelisation perfusing each bite . Soft banana bits all cosied up in fluff.

Processed with VSCO with f2 presetProcessed with VSCO with f2 preset Processed with VSCO with f2 preset

Double Banana Pillow Pancakes (makes 12 medium pancakes)

Follow the recipe for my double chocolate banana pillow pancakes, but leave out the cocoa powder, and have a couple additional bananas on hand to slice into coins. Place 2-3 banana coins onto the batter after ladling the pancake batter into your pan, before flipping to cook the second side.

Highly recommended to eat this with greek yoghurt, chocolate shards, peanut butter, and plenty of maple syrup. This is your morning.


Strawberry Cheesecake French Toast

DSC_4194

Surreal. There’s no other way to describe it.

Yeah I’m talking about the french toast, but more so the fact that a whole term, just like that, in the scary blink of an eye, has come, passed, loved, and gone. Well, almost, with the imminent hurdle of exams, that glint of mild doom, but it’s always worth trying to look at the glass half full, and contemplate a rising, not falling.

DSC_4189DSC_4193

Breakfast is served, everyone. A soft, fluffy french toast sandwich stuffed with strawberries and a yoghurt-based cream cheese batter, topped with a digestive biscuit crumble. 

Was pondering this article earlier, acknowledging the benefits of not forcing oneself or others to eat breakfast in the morning. Many studies finally show that there is indeed no point thrusting yourself into routine if your gut is not up for that rude awakening at 7 30am. It once again points to the rather misleading nature of nutrition and health research; there are too little trials with too many variables to control.

Having always been an advocate of breakfast, both on a nutritional and creative level, I’ve extrapolated this idea to the fact that it’s actually ok to eat things like strawberry cheesecake french toast once every while. It’s alright to be unhealthy once a week, perhaps once a day. It’s a cut in the system, but breaking out of self-serving routine (e.g. the morning ‘kale juice fuel’ mindset categorising breakfast as something to always be healthy and the same thing every day) could well be good for just practicing day-today flexibility. Less rigidity, more creativity, more quiet time. Just you and breakfast (or no breakfast at all, which is perfectly fine). I noticed and was stunned by a slight reluctance on my part when I was thinking of what to make with fresh, in-season strawberries my aunt handed me earlier on in the week– I used to be more inclined to ideas letting them take over the mornings, let the flow take hold, creativity carving some scaffold of structure and stability for the rest of the day.

It struck me that rigidity, despite the calmness of its structure and how it makes more brain space for more things to worry about in the mornings, also can be a barrier in succumbing yourself to little joys in life, like finding a pocket of cheesecake batter-covered strawberry in the soft, fluffy insides of a well-made french toast sandwich, or finding a quote in a book (the one I’m reading now is The Diet Myth by Benedict Carey– fantastic so far and I’m just eating it up!) that you can really relate to. It’s the little things that spark glee, and let you look out for other little cute or glee-inducing things later on in the day, that perhaps inject a little more hope and happiness into other aspects of your life.

DSC_4195

Strawberry Cheesecake French Toast (serves 1)

Ingredients

2 slices challah/brioche bread

large handful fresh strawberries

2 heaping tablespoonfuls of cream cheese (softened)

2 tbsp icing sugar

60ml (1/4 cup) greek yoghurt

1 egg

splash of milk of choice

1/2 tsp ground cinnamon

1 tbsp butter (for cooking)

*optional topping: 1 crumbled digestive biscuit, mixed with a teaspoon of melted butter

mandatory topping: maple syrup


Directions

Preheat your pan on medium heat and ready a paper towel on your plate to place your french toast on afterwards. In a bowl, whisk together the egg, milk and cinnamon, and set aside.

In another smaller bowl, whisk together the cream cheese, icing sugar and yoghurt. The mix should be thick and spreadable, which is why greek yogurt is preferable in this case. Chop your strawberries lengthwise. Spread half of the cream cheese mix on one slice of the bread, and the rest on the other slice. Layer the strawberries on top, then sandwich the 2 slices together.

Add the tablespoon of butter to your pan and let sizzle. The butter should not burn or turn brown; turn down the heat if that’s the case. Dip one side of the sandwich into the french toast batter and let it soak for half a minute, then flip it over and do the same for the other side.

Fry each side in the hot pan for half a minute– you don’t want a full cook all the way through as this will result in a more rubbery, less soft and forkable final texture. Top with the digestive biscuit crumble, more yoghurt, strawberries and maple syrup.


One Bowl Banana Coconut Mini Bundts


Processed with VSCO with f2 preset

Sitting here at midnight, only thinking about the transience of so much. Day by day, shadows work their way around my feet. Before I’ve even come to terms with fact that term time is almost up, people in other unis have started summer, champagne bottles are being popped. Hyperactivity everywhere.

With all the frantic house-hunting and exam stress (and worrying over the efficacy of actual study technique), there’s comfort in the close strong bonds you know you always have with loved ones, and the smell of something warm and sugary rising in the oven. I knew I had to use my one precious, scratched mini bundt pan at some point before the end of first term. I hauled all my stuff from Singapore for a reason, right? Yeah, it’s been a while, but mea culpa.

Before I move on, a few things that’ve caught my eye this week. I do feel more inclined to share what I read regularly on this platform, which is pretty much everything nutrition/science-related:

Fascinating

Darya keeps linking the best, most informative and relevant articles

‘good science writing is not just about about turning over conventional wisdom about complex things.’ So much yes.

Love this man. A great retelling

And now.

DSC_4155Processed with VSCO with f2 presetDSC_4161Processed with VSCO with f2 preset

The fluffiest, softest mini cakes you will ever make, stuffed with mashed banana, topped with a coconut milk icing.

Now with blogging comes honesty. I’m not kidding when I add the ‘you will ever make’ bit, because they really truly are.  I just can’t kid when it comes to this sort of thing. Despite its ease and speed, this recipe has yielded the softest cake texture I have attempted by far. Stuff of cloudy dreams. I hate overhyping something, but the excitement is all too real right now. THE absolute best bit?

It’s all made in one bowl, just a bit of mixing, no elbow grease or sweat or fiddling whatsoever. No worrying about whether you have to ‘make time’, because you will have the time.

Processed with VSCO with f2 presetProcessed with VSCO with f2 presetProcessed with VSCO with f2 presetProcessed with VSCO with f2 presetProcessed with VSCO with f2 preset

These little cakes really are quite special. Perhaps it’s the irresistible fluff factor, or the mashed banana in the middle, making it a triple-layer banana hit. Probably both, not forgetting the slightly balmy, creamy addition of coconut. The next time I make these, I’ll add more coconut extract for an extra exotic kick. The delicacy of the crumb in this cake deserves the trueness of flavour.

You definitely don’t need a mini bundt pan for these, and can do the same thing in a mini muffin tin, or spread the batter in a square tin and bake for the same amount of time, then cut little squares/whatever your wild heart desires out of the final product.

And if you’re in the mood for more…

Feeling like cookie butter?

Or perhaps a little lemony?

Clearly I’ve run out of humour.

Processed with VSCO with f2 preset

One Bowl Banana Coconut Mini Bundts with Coconut Icing (makes 12-14 mini cakes)

Ingredients

For the cakes:

60g soft, unsalted butter

1 1/2 mashed bananas (should amount to a half cup)

an additional 2 mashed bananas for the filling

225g (1 cup) white sugar

2 eggs

60ml each of coconut cream and coconut milk

1 teaspoon vanilla extract

190g (1 1/2 cups) all-purpose flour mixed with a half tsp of baking powder (alternatively, use self-raising flour)

quarter teaspoon of salt


For the coconut milk icing:

2-3 tbsp coconut cream (or use coconut milk)

75g icing sugar


Directions

Preheat your oven to 180C (350F) and butter your mini cake/bundt/muffin tin. In a microwave-safe bowl, heat the butter and mashed banana together in a microwave to add a little caramelised effect to your already-ripe bananas, around 20 seconds. Pour contents into a larger bowl (makes mixing a bit easier later on), then add all the other ingredients for the cake, except for the 2 mashed bananas which you need for the filling afterwards.

Spoon a tablespoonful of batter into the bottom of a well in your tin, add a teaspoon of mashed banana in the middle, then fill the rest of the well with batter. Bake in the preheated oven for 18-20 minutes (mine were fine at 18). Whilst they are baking, mix the icing ingredients in a bowl and set aside. It’s hard to test for doneness due to the moist banana filling, but a little poke into the sides with a wooden skewer should reveal a mostly clean tip. A few moist crumbs clinging to the tip are fine; these cakes are pretty fragile and need to rest in the tin for a good 20 minutes before removing anyway.

If using a mini bundt pan, use a serrated knife to cut the tops off (these make wonderful little snacks). Loosen the edges with a blunt knife (just use a normal dinner knife), then tip the pan over to remove the little cakes. You don’t need to do this if using a normal muffin or cake tin. Drizzle with the coconut icing and top with coconut flakes. Fragile, sugarplum fairy-esque teatime treats await.


Spotted Brown Sugar Peanut Butter Loaf Cake

DSC_4147

Simon and Garfunkel– Cecilia. Now I’m ready.

It feels good to just sit and write, even if it’s something completely unrelated to course content. The mind can think and meander, explore different routes, modes, moods. Creative inspiration seems much more inclined to approach a weary mind when you’re willing to let a bunch of different feelings and experiences coalesce. To just let yourself go.

DSC_4145

Fluffy, moist brown sugar pound cake ‘spotted’ with dark brown sugar bits, peanut butter and chocolate spread. 

I personally have nothing against the word moist, which I think describes this perfectly, along with sweet, treacly and buttery. Are those last 3 ok? I actually recently read an article on word aversion which I could fully relate to. I have zero aversions to any word. I just love English. And words. But I do have an aversion to word aversion.

Right smack in the middle of exam season, and everyone is jostling in the library. Noses to books, noses to screens, pen to paper. I can feel the heat emanating from everyone’s bright and burning brains almost immediately upon stepping foot in the silent arena. A battle zone of books. There seems to be little time for anything now, but having just a little time in the kitchen to experiment has become a priority to me. The other day I came across a well-known brown sugar pound cake recipe by one of my favourite lady bakers, so I couldn’t resist the opportunity, when it struck unexpectedly one free day, to give it a go and perhaps see where my creative endeavours led me down the road.

DSC_4104DSC_4105DSC_4112DSC_4114

I used an especially dark, treacly, molasses-y brown sugar (oh, what is English?). You’re probably wondering what’s with the ‘spotty’ label, and I figured that the picture right above provided an appropriate example– something which arose from chance rather than prediction. You take thick chunks of sticky dark brown sugar, and crumble it with your hands. The result? Some larger chunks (not too large) some sandy pools, some little peas.

DSC_4118DSC_4119DSC_4122

You make the batter, pour half into the pan, dot with blobs of peanut butter (I used all-natural chunky) and chocolate spread, spread on the other half, BAKE.

I term this ‘loaf cake’ instead of ‘pound cake’ because I did have to modify the recipe a little with the quantity of brown sugar I used. The ‘spotted’ factor makes it all the more rich without being sickly. The rise and density of the loaf is spot on. Though it doesn’t have quite the same sharp crust as my favourite-ever banana bread recipe, the flavour is there, all you want and more. There’s a real nice split down the middle as it bakes, relatively even, revealing a little of the sticky, soft inside. Like the formation of the primitive streak during gastrulation in embryo formation. Hope that didn’t sound too weird.

You might die of joy from the smell, but then you’ll take a bite. Life, welcomed. Relish all the fused flavours, all that nutty, brown sugary goodness, hit the tender middle with speckles of brown sugar and chocolate and peanut butter which seeps right into the batter. Pick at the caramelised edges and tops, which are always the best bits.

DSC_4148

Spotted Brown Sugar Peanut Butter Loaf Cake (makes one 9×5-inch loaf, adapted from Yossy’s brown sugar pound cake)

Ingredients

200g (a little more than 1 1/2 cups; used slightly more than stated in the original recipe) flour

1/2 tsp baking powder

1/4 tsp salt

3 eggs

110g (1/2 cup) white caster sugar

220g (1 cup) dark brown sugar, the darkest you can find at your store, packed

200g (7 oz) unsalted butter, softened at room temperature

1 tsp vanilla extract

120ml (1/2 cup) whole milk

3 heaping tbsp peanut butter of choice

3 heaping tbsp chocolate hazelnut spread


Directions

Preheat your oven to 170C (325F). Butter your loaf pan and set aside.

In a medium bowl, whisk together the dry ingredients. In a separate, larger bowl, whisk together the softened butter (has to be soft!!) and white sugar. You could use an electrical whisk here if you wish as well, but I just like to use a standard wire whisk. Take your brown sugar and crumble it into the butter and white sugar mix, leaving some large and some small clumps. Whisk briefly so as not to break up those larger lumps.

Whisk in the eggs and vanilla extract. Pour the dry mix into the wet, add the milk, then whisk everything together. Pour half of this batter into your loaf pan, then dollop blobs of peanut butter and hazelnut spread on top. Spoon the rest of the batter into the pan. Bake for 45-50 minutes; take out when a wooden skewer inserted in the middle has moist (and peanut buttery) crumbs clinging to it. Leave to cool, then serve. As the original recipe states, wrap and store this at room temperature for 4 days (mine just didn’t last as long; thank you fellow floor mates).

Perfect for breakfast, tea, those tiny breaks between lectures. Ho yes.