Maple Pearl Sugar Brioche

Processed with VSCOcam with f2 preset

There’s nothing wrong with reverting to the classics. I’m a serious fan of innovation and weird mismatches that actually work (referring to my previous post here), but I was overcome by the staunch determination to conquer something truly ubiquitous, something most of us rely on the real professionals for. I’m only an amateur baker who does all this whizzing, whisking and whipping in the kitchen for pure fun, but knowledge of and experience with the classics is required for any further exploration, right?

I’ve made brioche pretzels before, dived right in the deep end, no basic loaf or anything first, just a ‘ah-how-posh-and-fun’ kind of feel. Even added some chocolate chips and lemon zest to add to the childish fun. However, thanks to underestimation of the proofing and kneading time, I merely scraped by with a pseudo-brioche. Flat, dense, and just a little too hard on the bottom. The inside was fluffy, but the exterior betrayed a better could-be texture. Think I’ve got it this time, but the method I use here is adapted from something a little more unorthodox, whereby it’s all in the hand work, and the kneading time isn’t too horrid. I also used a little less yeast, because the first loaf I got using the original recipe was a tad too yeasty and the rise wasn’t as perfect as could be. Making this bread is actually fun, if you like to get down and dirty. It’s going to be sticky, wet and yellow, but that’s the magic of excess fat, eh? Rich, eggy, sublime.

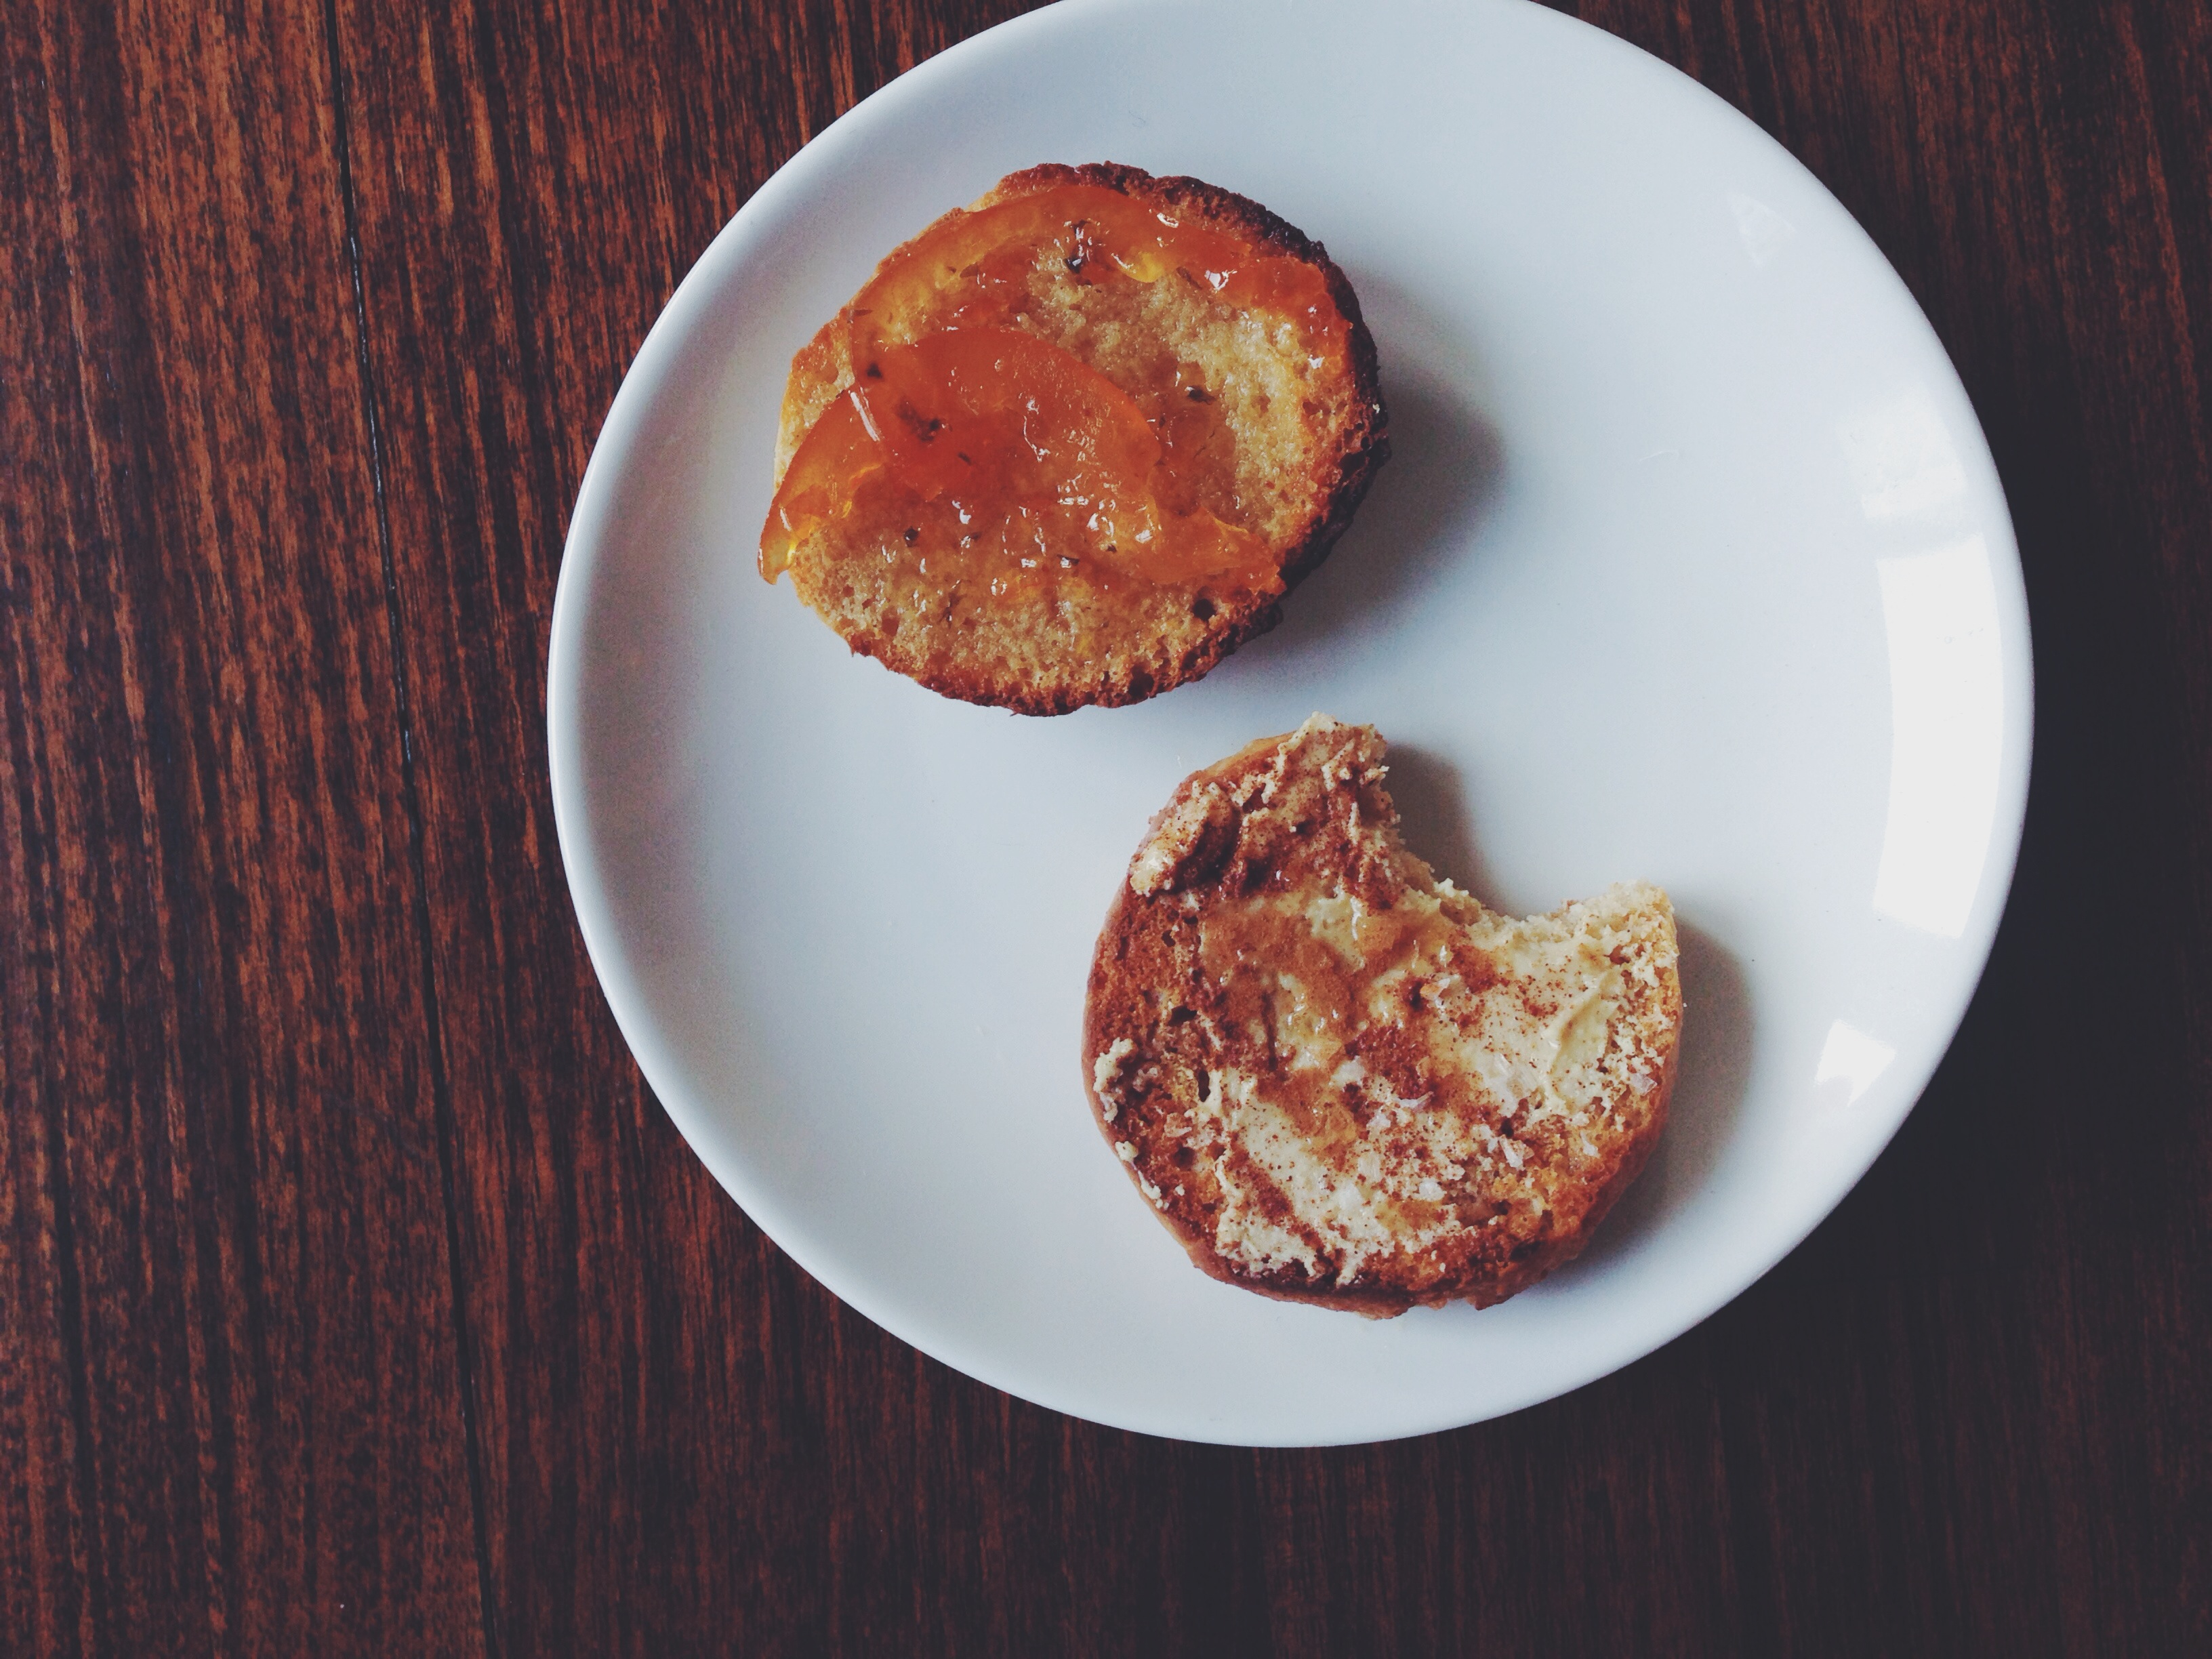
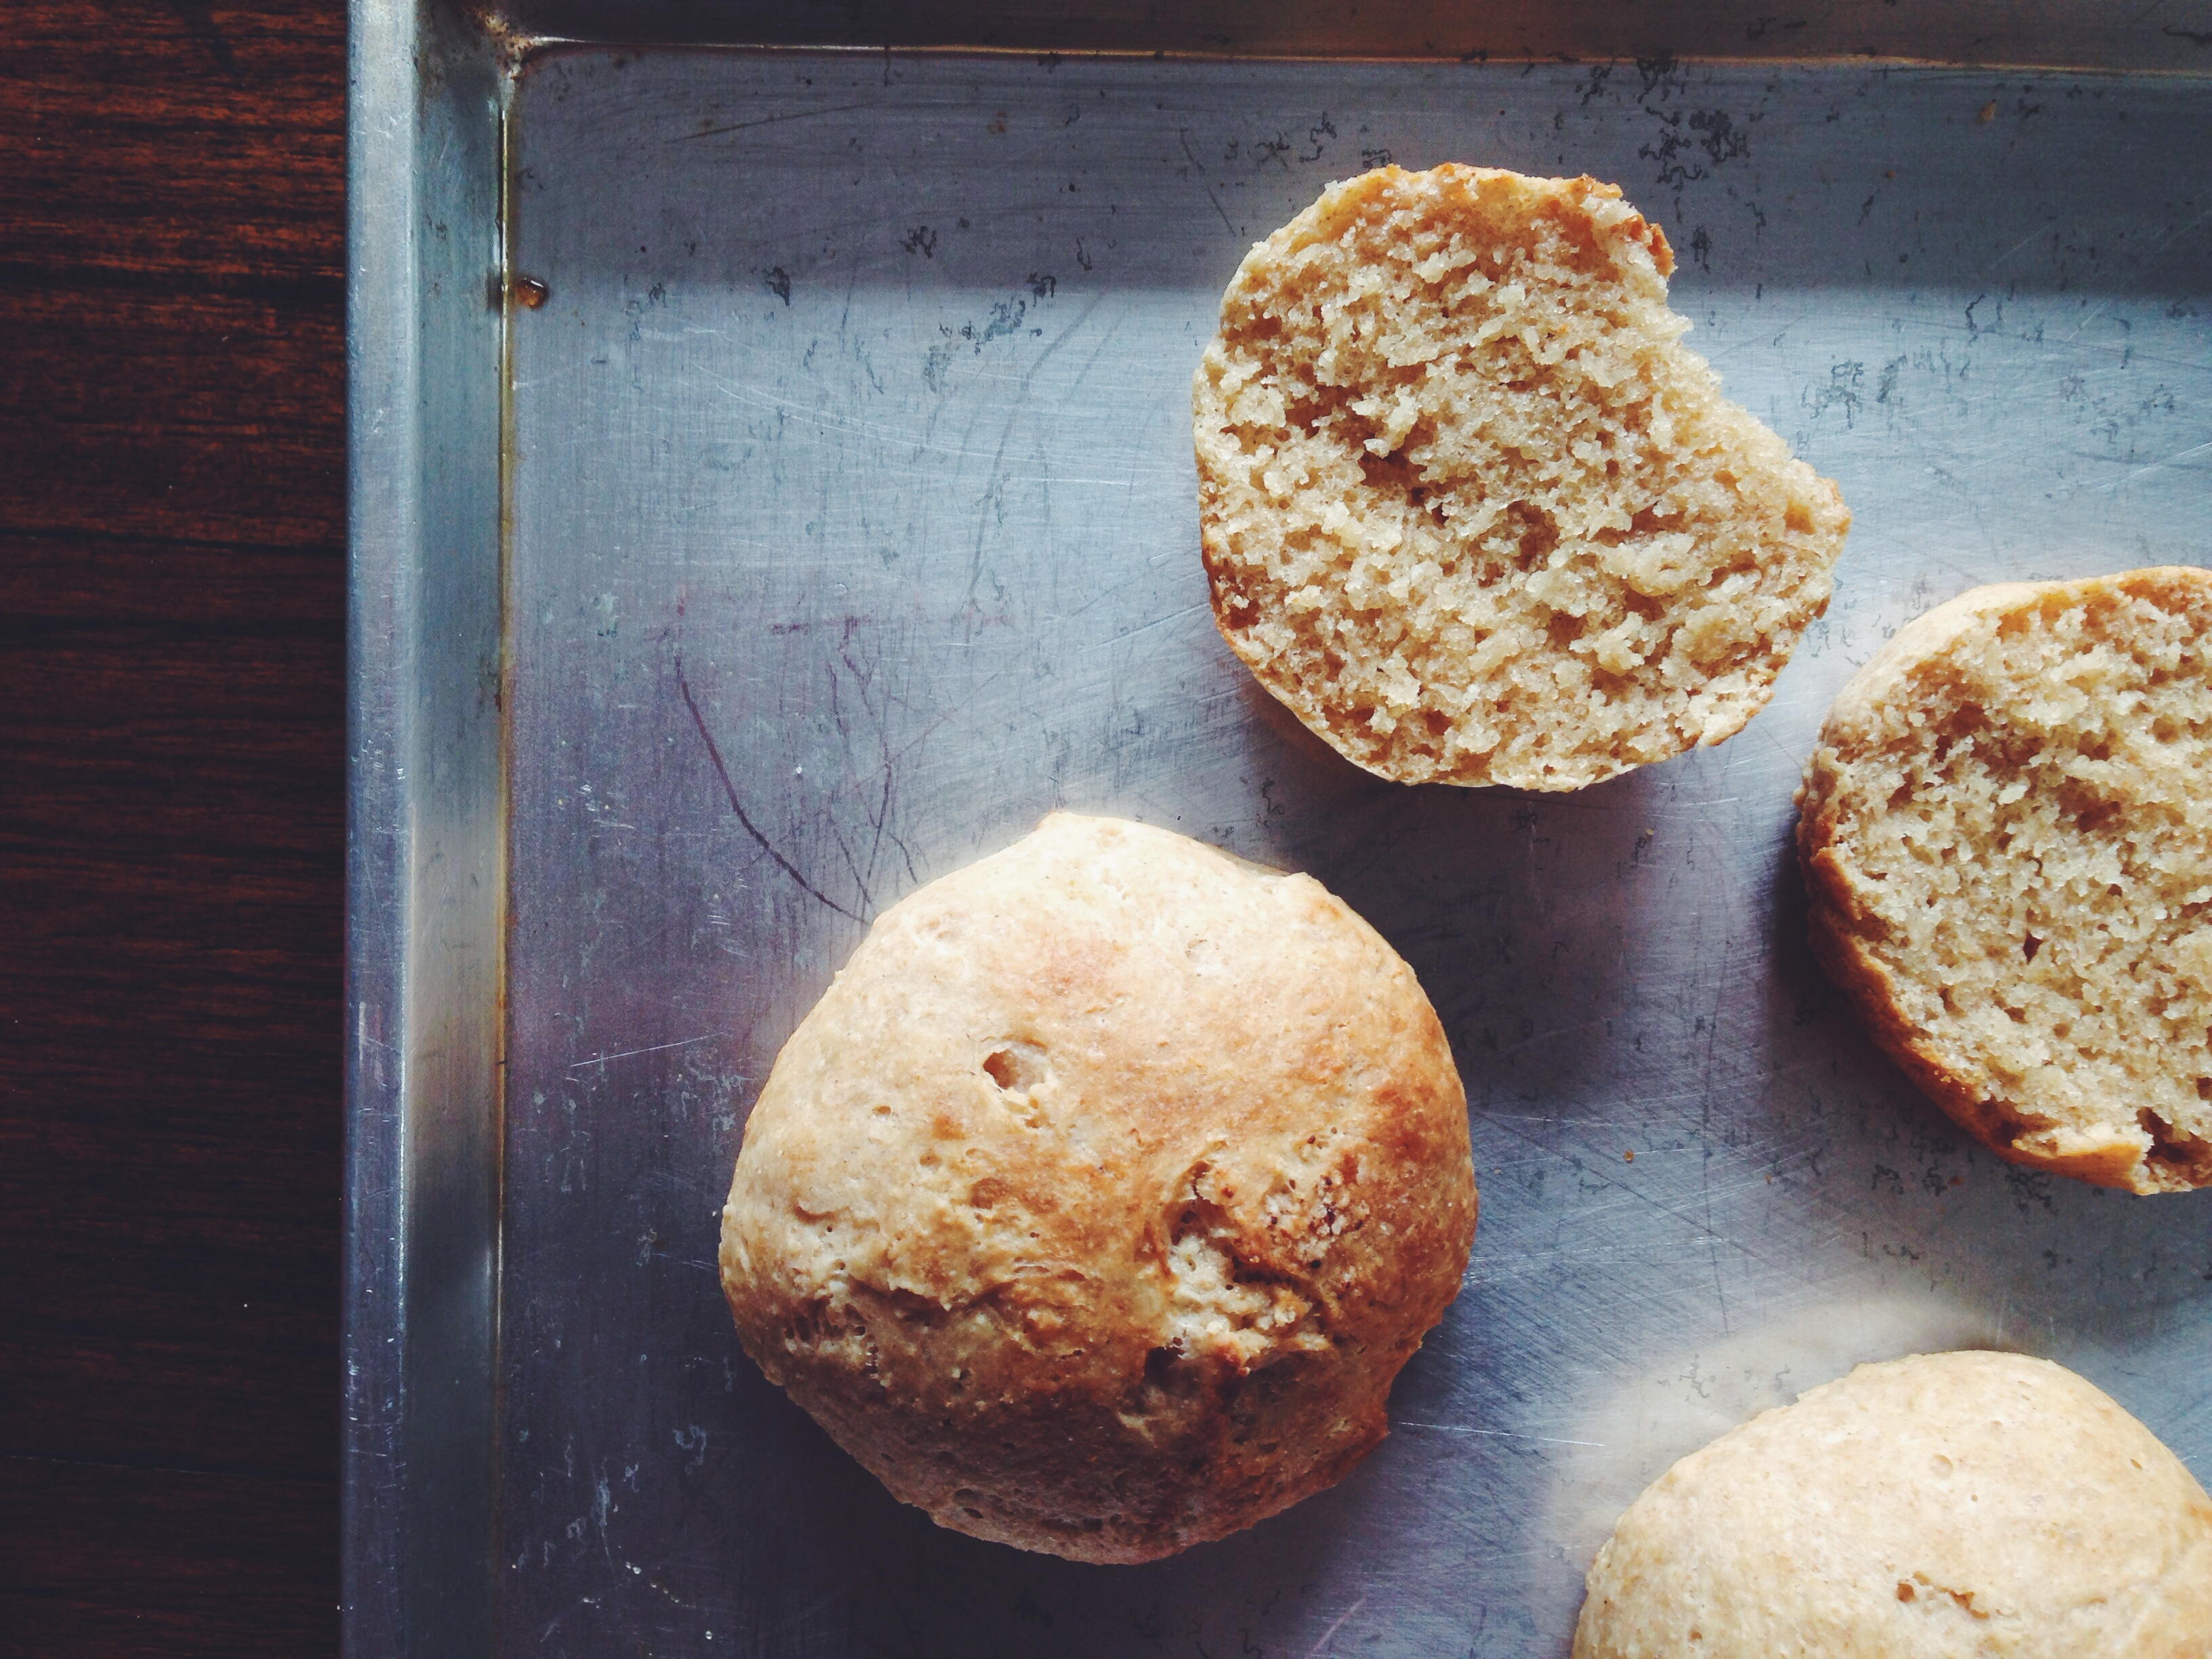
The crumb is light and tender, with the slightest stretch, though never feeling or tasting under proofed. The final result will look yellow. Easy to freeze, then microwave and cut for whatever you want really, be it toast, topped with good butter and honey or maple syrup, or dunked in freshly whipped eggs for a french toast morning.

Processed with VSCOcam with f2 preset

Brioche (makes one standard 9×5-inch loaf, adapted from La Tartine Gourmande)

For the loaf:

210g all-purpose flour

5g instant yeast

78g unsalted butter at room temperature, cut into medium-sized chunks.

2 tbsp white sugar

pinch salt

80ml milk, warmed slightly in the microwave

2 eggs

1 egg for the egg wash before baking

For the maple pearl sugar:

60g white sugar

1tsp maple syrup

The day before you make the brioche or earlier in the day, make the maple pearl sugar. Mix the sugar and maple syrup in a bowl using your fingertips. It should be wet and clumpy. Tip the maple sugar on a plate and flatten using your fingers, about a half-inch thick. Cover the plate with cling wrap and leave in the fridge to set. After 4-6 hours, the sugar will have formed a malleable, solid layer, which can be broken up into smaller chunks, similar to that of pearl sugar. Yum yum. Leave it in the fridge before using.

Now for the brioche. Use a mixer if you wish, but I used my hands for everything. In a large bowl, whisk together the flour, sugar, salt and yeast. Make a little well in the centre and, with your hands or a wooden spoon, mix in the warm milk briefly. Work in the butter (I find it easier to use your hands for this part) chunk by chunk, making sure each chunk is mostly incorporated before adding the next. It will be sticky and oily, but don’t fret.

Add in the eggs one by one. Stir the first egg in with a wooden spoon, then use your hands to really work it in. It will look messy and clumpy at first, but keep trying to incorporate the dough and egg together. I ended up working the dough when it was suspended in the air, stretching it then folding it over itself again, like kneading in mid-air. It worked, and I saved myself a lot of clean-up hassle later on. Do the same for the second egg. It will be very sticky, difficult and incredibly wet. That’s exactly what you want.

Once the eggs are worked in, dump the soft, yellow mass of dough into the same bowl and continue to ‘knead’ with a wooden spoon. Beat it with your wooden spoon, mimicking the kneading action in the bowl. Knead for a good 5-7 minutes. The dough will look like a pale baby’s bottom, smooth, taut, flawless, but still very sticky. After kneading, leave the dough in bowl (it’s already greased enough), cover and let the dough rise for an hour. After an hour, put the dough in the fridge and leave for another 2 hours, or overnight.

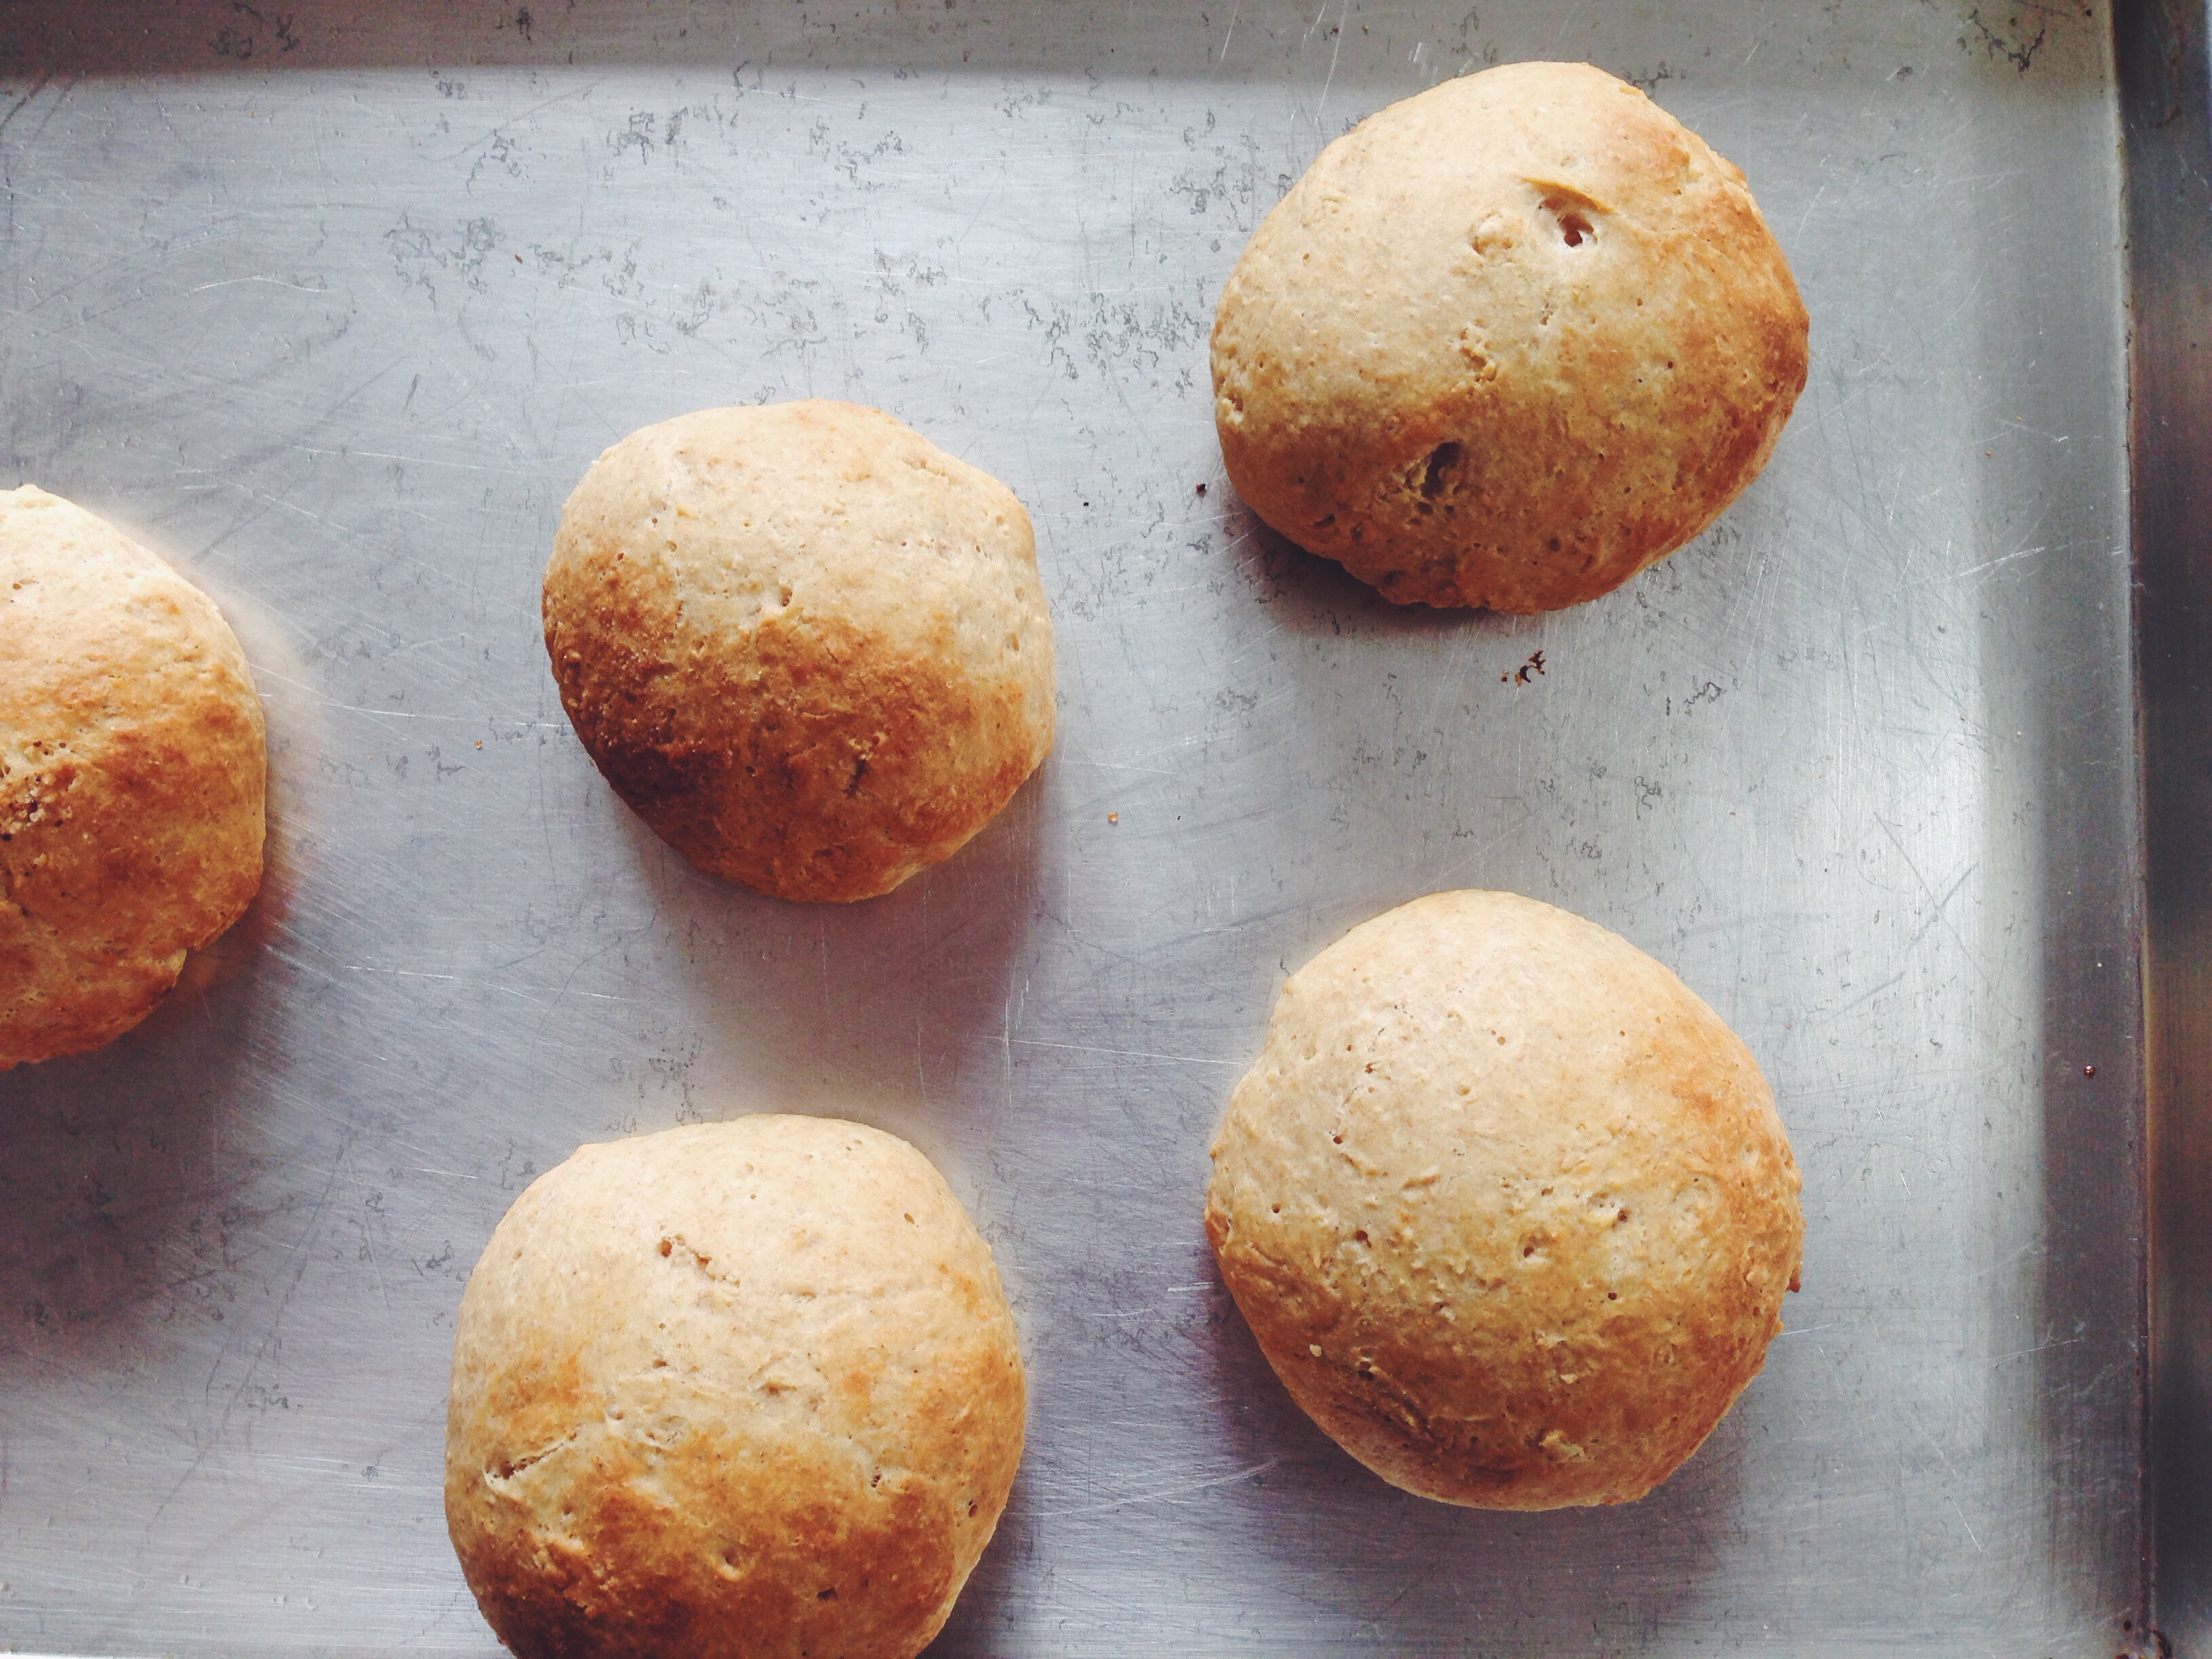
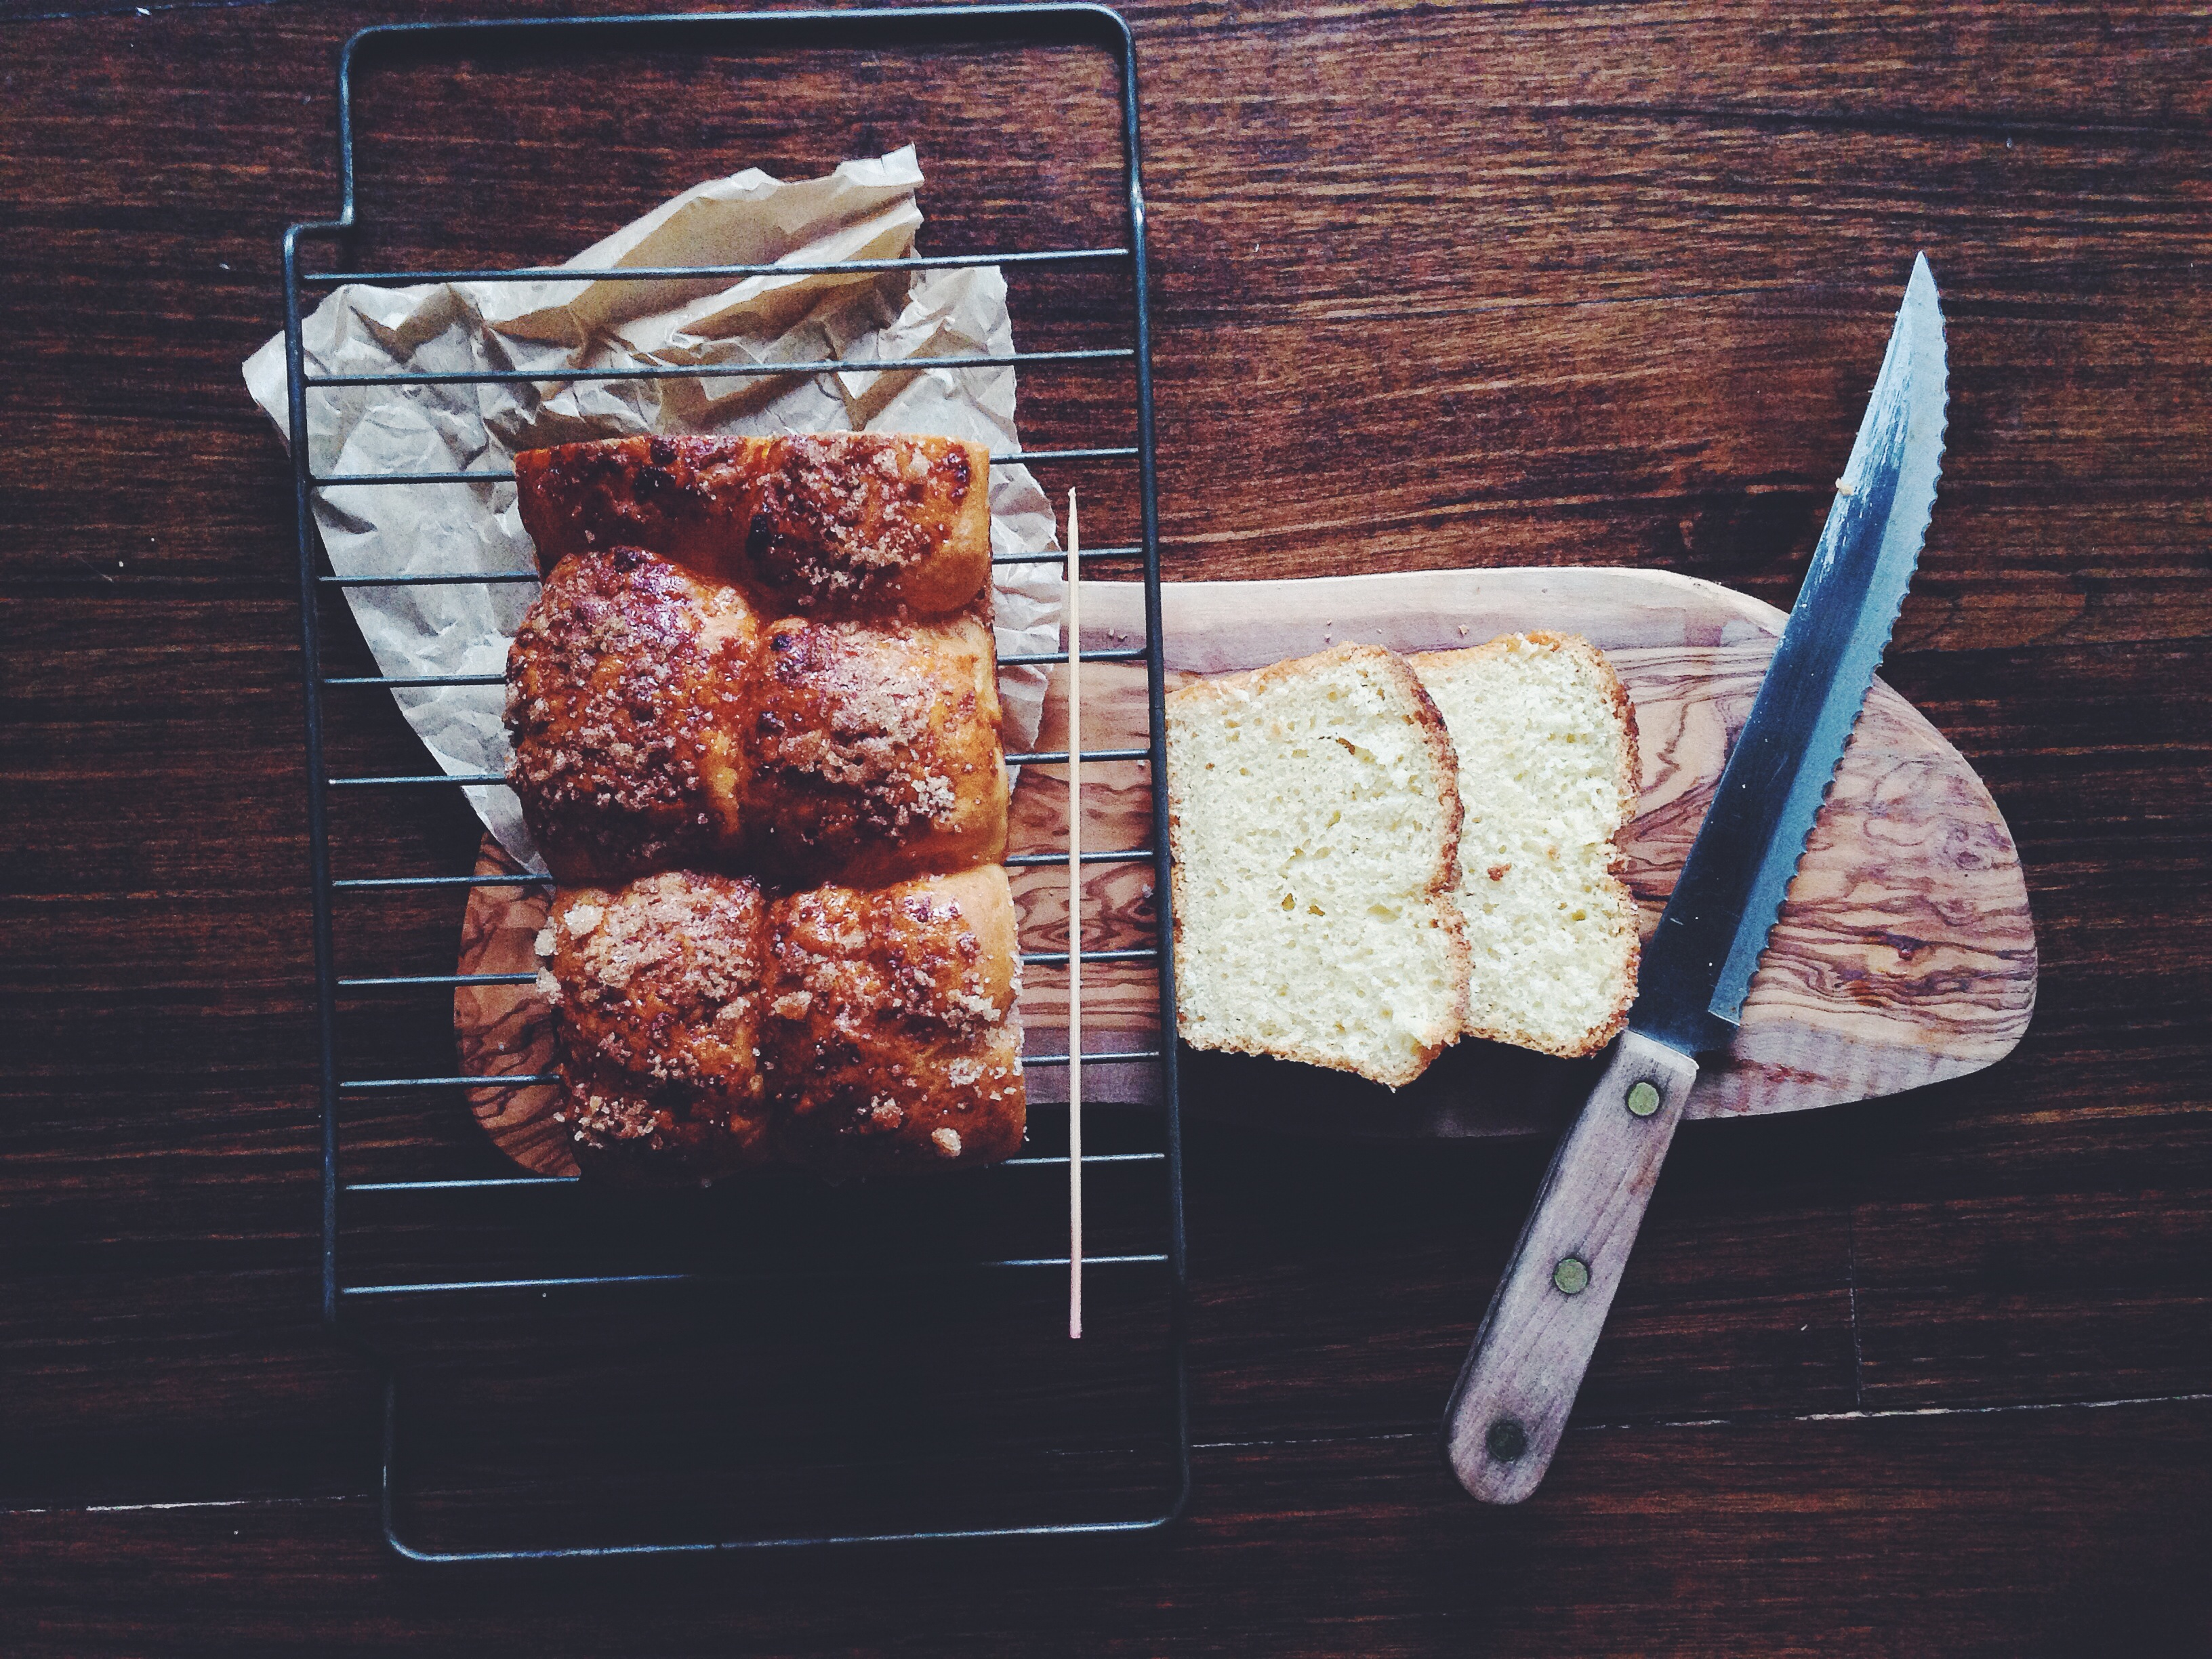
After the couple of hours, take the dough out of the fridge and the bowl. Preheat your oven to 190C and grease a 9×5-inch loaf tin. Punch the dough down a little, then weigh the dough and divide it into 6 equal pieces. My dough weighed around 450g total, so each piece was 75g. The cold dough is a dream to touch and work with. Roll each piece into a ball and pop into the greased loaf pan. After rolling all the pieces into balls of the same size, you should get a 2×3 row of balls in the loaf pan. Beat an egg and brush the top of the loaf with the egg wash. Finally, take the maple pearl sugar and sprinkle it on top of the loaf. You will get pea-sized chunks as well as normal sprinkles.

Bake the loaf for 30-35 minutes. If you wish, take a piece of aluminium foil and cover the top of the loaf after 15 minutes to prevent over-browning. I used the middle mark and stopped the baking after 33 minutes, and it turned out perfectly.

This loaf can be put in a freeze-safe container and left in the freezer for a couple of months. It can be left at room temperature for 1-2 days and nothing more (especially in this bloody hot weather). Whenever you want a nice, slightly sweet treat, just take the loaf out, microwave on high for 20 seconds, cut with a bread knife, then toast or dunk in egg for… Well, does french toast need any explanation anyway?

No-bake Honey Avocado Tartlets

Processed with VSCOcam with f2 preset

I’ll break it down for you. What you see is basically mashed avocado, honey and cream cheese, sitting atop a gingersnap crust. A little shaved chocolate on top. Weird? Ew? Yeah, the rest of my family thought so too. Until they tried it… And loved it. My sister included, and she scoffs at anything that ‘tries too hard’ or ‘just doesn’t work’. Thankfully, this ‘works’. There’s none left in the fridge now, and that makes me happy.

It’s tiny revelations like these that make me determined to carry on pursuing a growing creative streak, egging me on, to keep experimenting with wacky combinations, as well as the tried-and-true stuff. I know I’m typically all about easy, but what’s striking about this particular combination of avocado and gingersnap is its hidden complexity. Look, I had leftover gingersnaps that looked pretty neglected, all the other choccies and biccies stealing the limelight, simple M&S stuff tucked away in the very corner of the fridge. And then, of course, the avocados. On the brink of mild brownness, tenderness (yes, ok, rottenness). Everything was so simple, so random. Nothing to lose. I’ve seen a few avocado frosting recipes before on some health blogs and decided to give the touch of cream cheese a go, though I chucked in some honey, instead of powdered sugar, which was a strong contender as I sat in the kitchen wondering what really would go best with what I had.

The cream cheese in the filling luxuriates what would otherwise simply be avocado on very sweet toast. The gingersnap offers some bite to sharpen its creamy, wholesome counterparts- lots of good unsalted butter and the ripe avocado. Each tartlet is small but rich, holding up its worth. Have two or three the morning after you make them for pure pleasure. Best straight out of the cold fridge, when the filling is slightly stiffer, and the flavours, especially that of the honey, taste fresh and distinct. Creamy, dense, delightful.

Honey Avocado Tartlets (makes around 12 mini 2-inch tartlets)

10 gingersnaps, crumbled (90g after a good smashing)

20g melted butter

half an avocado (around 65g)

50g cream cheese, softened

1 tablespoon thick honey

Either in a food processor or ziploc bag with a rolling pin, bash/whizz the biscuits till you get fine crumbs. Mix this with the melted butter. I used a rolling pin to bash the biscuits, then mixed the butter in by hand. Hand work is so therapeutic. The end result should feel like wet sand.

In a 12-mold tart pan (or if you would like bigger tarts, you can use a muffin tin), press around a tablespoon and a half of the mix into the molds. It took me a good 15 minutes to do this for all 12, but patience is key. Press, press, press. Just try not to let the sweat drip into your work.

In a small bowl, mash the avocado, honey and softened cream cheese together. If your cream cheese is as hard as a block from the fridge, microwave it for a minute or so, or until it’s much softer and pliable. Using a teaspoon measure or your fingers, put (or pipe, if you’re feeling all posh) the filling into the centre of each mold. Place the tart pan into the fridge and let them rest there for at least 4-6 hours. Pop each tartlet out to enjoy later on in the day or the next morning. The crust will be firm and almost crisp. If you want, add some chocolate shavings on top by using a knife and a block of good dark chocolate (thank you extra Mast Brothers goodies), the knife scraping bits off away from you, almost like how you would sharpen a knife. Drizzle more honey on top. These last 3-4 days in the fridge.

Soda Water Waffles

Yeah. you heard right. And yes, it works.

Processed with VSCOcam with f2 preset

I first came across the idea on Entertaining with Beth, aka one of the few domestic channels I bother to watch on Youtube. This wonderful lady labours tirelessly in the kitchen to find the perfect formula for the most basic whip-ups, be it pancakes, waffles, cupcakes or brownies, and I admire her efforts to help us peasants. But! I was hesitant to try this out for a few reasons:

– I don’t have a proper belgian waffle maker. There. I said it. So how on earth was I to recreate some glorious dish without the proper instrument? I live with Child No. 1, who’s Swedish (Sevren), thin, with scalloped edges. It’s not the same (on the point that I don’t have a belgian waffle maker.. yeah, something must change).

– Secondly, I always have a problem with timing… and storage. I was worried about how well these would freeze and toast up, and how long it would take for the same crisp factor to be achieved in a very different waffle maker.

– Third… okay fine, it’s just two.

Processed with VSCOcam with f2 preset

I obtained the desirable crunch factor on my third waffle… By accident (above picture). Third try. During the first two tries, I got some lovely crisp ones, but they were thick and still a little dense in the middle. It was only on my third go, with hardly any batter left, that I realised that the trick to The Rich Crisp, if you’re using this waffle maker, is to use less than half a cup of batter, so that there are still holes and gaps are pouring into the mold. It’s only this way that the entire waffle can get nice, dark and crisp.

They are light, slightly tender in the middle, and the edges are thin enough to break off like gingersnap. The magic lies in all that butter and soda water, providing tenderness and lift respectively. The base batter itself is plain and versatile, so go crazy with the toppings in the morning.

Processed with VSCOcam with f2 preset

Soda Water Waffles (makes 6-7 thin waffles)

180g white flour

1 tbsp baking powder

3/4 tsp baking soda

pinch salt

1 tbsp brown sugar

2 eggs

1 cup (240ml) milk of choice (I used almond)

80g melted, unsalted butter

1 1/2 tsp vanilla

1 cup (240ml) soda water

Preheat your waffle iron according to the manufacturer’s instructions. In a large bowl, whisk together the dry ingredients– flour, leavening agents, salt and sugar. Add the egg, milk, vanilla extract, melted butter and lastly, the soda water. Cook in the preheated iron according to the iron’s instructions. In my Sevren waffle maker, it took 4-5 minutes before the edges went crisp and golden.

These freeze wonderfully. Let the waffles cool on a cooling rack, before layering them with pieces of parchment between each waffle so they don’t stick together when you take them out the next morning. The next morning, take them out, microwave for 20 seconds, then stick in the toaster until golden and crisp again.

Topping suggestions:

– a cookie crumbled on top (I used Lotus caramelised cookies), chopped fruit, sprinkled with some coarse salt and maple syrup

– good old salted butter and maple syrup

– nut butter, banana and honey

Treat the little fellas like toast and have a b.a.l.l.

Whole wheat buns

Processed with VSCOcam with f2 preset

Featuring my new Daniel Wellington watch! Which I do admit, looks rather incongruous in this picture. But I’ve been lusting after one of these babies for the longest time, so to receive this in the mail really was the highlight of the week. Now before I get on to one of the shortest and easiest recipes known to man, I feel like bringing up a book which I think everyone should read– The Story of the Human Body by this brilliant chap named Daniel L. Lieberman.

Although I am a Christian, I strongly admire the way Lieberman notes and discusses how evolution has played a gargantuan role in the making of our physicality, in our attitudes and cultures as well. What I appreciate about his writing, despite my own religious beliefs, is its systematic yet personal approach. I know I’m deviating from baking and whatnot here, but I truly found the last few chapters (particularly ‘The Hidden Dangers of Novelty and Comfort’) relevant to our attitudes towards food and diet, something most of us think very little of. You see, we have grown to lust after comfort, prized indulgence to the point that we have practically eliminated the usefulness of challenge and gruff. What do I mean? I mean we have shoes, kitchens and… delicious, processed foods right at our fingertips. That sounds like a bit of an oxymoron; how can ‘delicious’ and ‘processed’ be in the same sentence? I would agree, but I’m speaking on behalf of most of the population who favour store-bought goodies, which, sadly, are usually highly processed and jam-packed with unnecessary chemicals. The thing is, it is exactly these sugary, fatty foods which our ancestors craved back when there was no such thing as convenience stores and people like Ben Cohen and Jerry Greenfield. There’s no harm having all this once in a while, but I’m a much stronger advocate of real food. As in, I would much rather buy ingredients to bake a lovely batch of brownies or cookies rather than spend my arse off at the grocery store. People so commonly walk down those glistening aisles, enticed by the pleasure of convenience (look! 4 mini bags of sugar puffs for $2?!) and then, like giggly robots, keep on giving the cash, trapped in an endless cycle of artificiality.

Now I’m not saying that buying junk is bad, nor does doing so make you a bad person. Hey, we’re people of a modern world right? We hurry here and there, always pressed for time, and who has hours at a go to indulge in some good old-fashioned kitchen time? Pass on the tim-tams? Ok, but wait. All this is fine as an occasional treat, but I believe more of us should make an effort to buy quality food and indulge in quality pleasure, to make up for all the lost quality in, perhaps, other aspects of our lives, and to feel good about the whole process. It saddens me to see parents buy mountains of junk, junk and more junk for their children. The thing is, they have been conditioned to enjoy the flavour of processed foods. We have become so used to these treats that the pleasure has been replaced by normalcy, and, unfortunately, excess. In the book, we glamourise comfort– we love soft beds but they are indeed bad for our backs, we love shoes when really they have caused harmful interaction between our genes and the environment, so things like flat feet or weaker Achilles heels have cropped up. And with food, we have prized the artificial so much that we forget its long-term effects. Perhaps in the future, if we go with the flow, we might become more immune to these debilitating consequences, but is not the ruggedness of physical activity and healthy, real food better than the typical sedentary, 21st century, filled with fake fad diets those horrid ‘fat-free’ labels (which, by the way, actually make one even fatter since these products are full of sugar and other chemicals to make up for the lost fat, therefore wreaking havoc on your blood sugar levels)? There is nothing wrong with having brownies baked with real chocolate, to have home-baked brioche doused in eggy batter and fried for a glorious Saturday morning french toast-themed perk-up. There is nothing better than the real stuff. The real deal. That must be said now, in a world which profits from the opposite.

Alright. I’ve done lots of ‘easy’ posts before, especially the strictly breakfast-themed ones, but this is by far the easiest. Talk about shortcuts. I started out wanting to make Semlor, the Swedish dessert comprising crisp little buns filled with almond paste and choked with whipped cream. However, along the way, I discovered that the base recipe, which I adapted from a few previous personal trials, made for the perfect whole wheat buns. They are incredibly versatile and work with any sort of topping– my favourite must be the ‘fake semla’, which you can see above, toasty and crisp, topped with whipped cream and icing sugar, as well as these little babes below. Bressert, anyone?

top: butter and marmalade bottom: almond butter, maple syrup, cinnamon and sea salt flakes
top: butter and homemade marmalade
bottom: almond butter, maple syrup, cinnamon and sea salt flakes

They are on the denser side. I think I shall experiment more with the addition of brown sugar the next time round. Slightly sweet, very robust, and go wonderfully crisp and crusty with the heat from your toaster.

Processed with VSCOcam with f2 preset Processed with VSCOcam with f2 preset

Whole wheat buns (makes 5-6)

120g white all-purpose flour, 60g whole wheat flour

5g insteant yeast

40g unsalted, melted butter

120ml (half cup) milk of choice (I used whole), at room temperature

1.5 tbsp white sugar

pinch salt

1 egg, beaten, for the egg wash

In a large bowl, whisk together the melted butter and milk.

In a medium bowl, whisk together the flour, sugar, salt and yeast. Be careful to have the yeast and salt on opposite sides of the bowl, because salt is hygroscopic and induces osmotic stress on the yeast, thereby killing the poor guys.

Add half the flour mix to the wet and stir with a wooden spoon to combine. Add the rest of the flour, but be careful here as you might not need all of it. It should be soft and workable, not too sticky (definitely more robust than your typical brioche or cinnamon roll dough) or moist. Roll into a ball and leave in the same bowl to rise for an hour.

If you’re making the ‘fake semla’, then here you may wish to whip up some cream (best ratio is 200ml of cream and 1 tbsp powdered sugar). Preheat the oven to 225C. After the hour, take chunks of dough and roll into balls. Mine were around 70g each. Put the balls onto a greased baking pan. Cover them and let rise for another hour. You can do this step overnight, just make sure to remove the dough at least a half hour before baking in the morning. Brush the tops of the buns with the egg wash.

Bake the buns in the preheated oven for 8-11 minutes. Mine took 9 exactly, The tops will be golden-brown, shiny and crusty. Once cool, which doesn’t take long at all, you may freeze these for later consumption. Before eating, slice one lengthwise, pop in the toaster, and have a toast-themed morning. I think these go especially well with butter, honey and cinnamon. Cinnamon and whole wheat anything is a yes, please.

Tiong Bahru Bakery Valentines Day Special

It has been a long, painful while since I’ve done a tasting review. Well, any review, for that matter. You can imagine my excitement when I was invited for this one in particular, because the images of the new Valentines Day Special creations by the one and only Gontran Cherrier looked so moreish I swear there were drool pearls on my keyboard. No exaggeration here. Welcome to TBB.

Chocolate and hazelnut kouign amann ($4.50); pineapple and coconut tart ($8.50)
Clockwise: Chocolate and hazelnut kouign amann ($4.50), chocolate and orange marble cake ($18 a loaf, $4.50 a slice), and pineapple and coconut tart ($8.50)

If there’s anything so dangerous as to put a huge ‘DANGER: DEATH BY BUTTERY DELECTABLE CHOCOLATE PASTRY’ sign on it, then this chocolate and hazelnut kouign amann is it. It’s pronounced ‘queen’, by the way. I learnt that the hard way and got mildly embarrassed. This is it, friends. A monster, the provocative cousin of the sweet, light and fair original. Made with rich French chocolate and generous chunks of chopped hazelnut stuffed like sardines in between the multitude of buttery, flaky layers. The best bit is definitely the middle of the humongous chocolate snail– soft and almost squidgy, yet yielding just enough crunch to (almost) rival the incredibly, shatteringly crisp outer layers. At $4.50, it really isn’t too bad. You can be all good one day and have half. It’s about the saving. Be clever about it. It’s too good to wolf down in one shot anyway.

My favourite, I must say, was the pineapple and coconut tart. The ring of white chocolate on top was the almost de rigueur addition to the perfectly set pineapple mousse sitting atop a buttery, sugar pastry disc. I admit it looked a tad gaudy to me at first; I knew they wished to replicate the feel of actual pineapple rings, but I felt the tart would have fared better in my books (looks-wise) if the hole was filled with, well, more mousse. The filling was delicate without falling apart like my friend’s virgin, failed attempt at an airy-fairy chocolate mousse. It could have been a little tarter, yes, and the coconut chantilly cream was so lost in the world of pineapple that the minuscule piping on top of the chocolate did little for its flavour or acknowledgement. On the whole, this tart caters well to the masses, and is a little less sinful than the former mention with enough chocolate to render you senseless.

I was looking forward to the cake, but sadly, the little bite on my tongue felt like a mass of dry bubbles. Perhaps this was just a one-off mistake, a lost little batch, but I think more needs to be done to improve the moisture setting. It may indeed go well with a cup of tea or coffee (or kopi), doused in some overly sweet, caffeinated beverage, but I think the classic combination of orange and chocolate demands its own crowning without the need for anything extra to compensate. Pity.

Nougat and strawberry macaron ($8.50)

If you’re anything like me and have a penchant for anything jaw-aching, be it sweet or sour, then you’re in for a treat with this one. Ok, it’s not exactly jaw-aching, but I revere nougat as a complement to anything, so that addition was much appreciated and welcome in my books. The fluffy chew of nougat played up the hard, outrageously hot pink shell, and real fresh strawberries cut through the sweet on sweet. I was offered that lovely, fresh grapefruit juice too, so I guess I managed to tolerate half the macaron without feeling overwhelmed by the candy-cane-happiness of it all, for it can get sickly. If this were less sweet and artificial-looking, it would have had a better chance at beating the lovely pineapple mousse tart. Ah, the details do matter.

Hop over to Tiong Bahru bakery to try at least a few of the new specials, because they won’t last forever! I must say, the original branch at Eng Hoon Street is still my favourite, with its slightly industrial, I-came-all-the-way-here-because-I’m-worth-it vibe. Small tables, smooth coffee, little snippets of conversation getting caught in the air, everything baked in-house.

Tiong Bahru Bakery

56 Eng Hoon Street

6220 3430

Open daily from 8am-8pm, closes at 10pm on Fridays and Saturdays