Pandan Waffles

Processed with VSCO with f2 preset Processed with VSCO with f2 preset

Really a pretty great thing.

After a long day at the lab (currently participating in a long but fascinating internship involving incredibly novel anticancer research, and I couldn’t be more grateful at this point in time), I relished a wholesome family dinner, then tried to resist a nighttime urge to bake, or do anything at all in the kitchen. As usual, I failed miserably.

I don’t like to stick to a certain theme more than once or twice at a go, but after making kaya mochi just a few days ago, there lingered the odd inclination to play around with one of my favourite childhood spreads once again. Kaya, if you don’t know already, is the most delicious South East Asian coconut pandan spread, which to me is right on par with drippy, sweet, delicious almond butter or a lovingly homemade marmalade– yes it’s that sublime. Pandan is the tropical leaf from which kaya is made from. Earthy, sticky, sweet. There are lots of made-for-toast spreads out there that I adore, but kaya is childhood, kaya is rich nonchalance. What I spread on my burnt toast with butter, each bite a sticky mess of equal parts green and white (from unmelted butter).

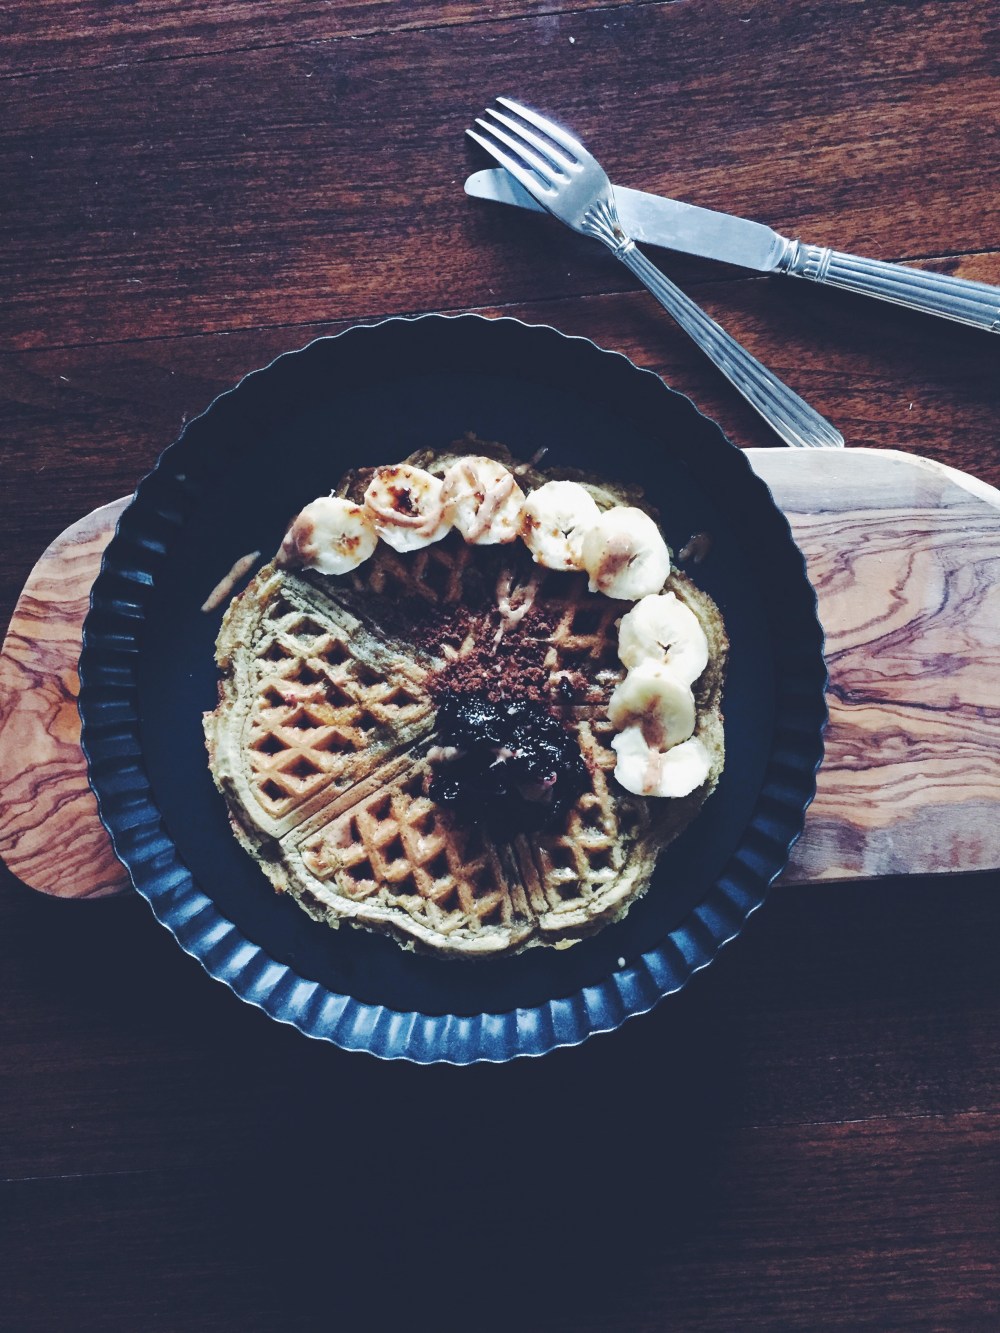
This recipe is based on one of my favourite personal recipes– soda water waffles! Clickidy click that link for a classic version, or if you don’t really have a thing for kaya/anything pandan-flavoured. It’s the soda water that breathes life into the batter, added just before the kiss of heat, making the final result as light and airy as ever. Another perk? Made using sweet potato flour as a rather haphazard and weird experiment, it’s entirely gluten-free. Haphazard because this is my first time experimenting with sweet potato flour, which is one of the finest, almost delicate flours I’ve come across. Everything made with it will be of a relatively thin consistency, permeated with an au natural chew. Definitely looking into using it more, for what I’m not sure just yet; I’m only excited to incorporate more gluten-free options to accommodate any of you coeliacs out there. Of course, you can substitute this with normal flour, and this will yield a slightly less chewy and probably more refined-looking waffle. Indeed, this isn’t the prettiest of waffles, but goodness the outside crisp is outrageous. The chew on this is also slightly ridiculous, and funnily enough reminds me of that kaya mochi I made not too long ago. An eerie similarity resulting from subconscious fashioning of the past. Processed with VSCO with f2 preset

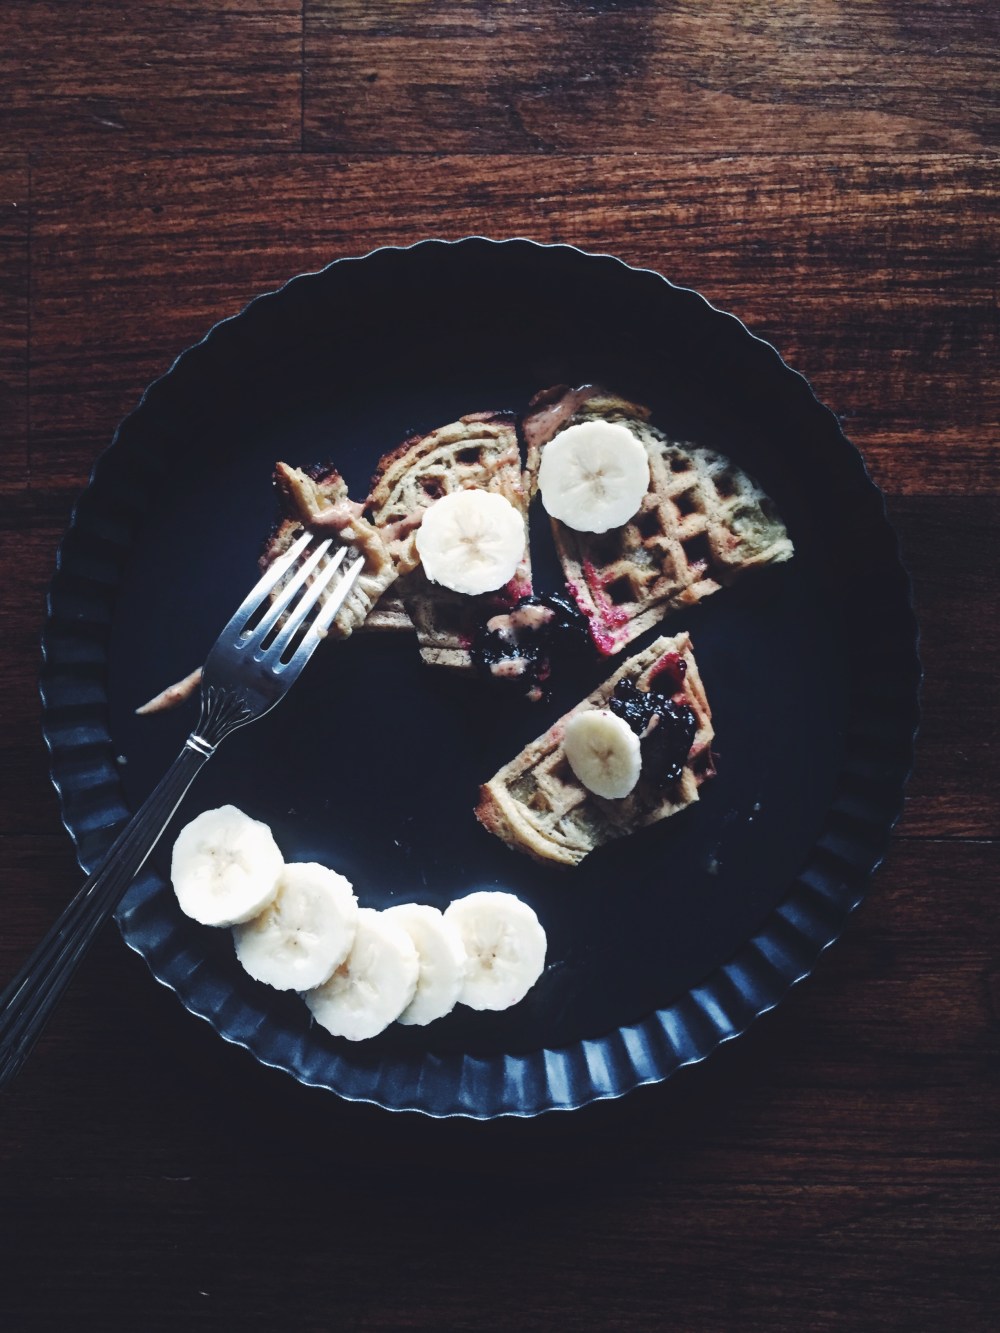
Pandan waffles (makes 6-7 thin Swedish waffles, modified from here)

Ingredients

240g sweet potato flour (substitute with 200g all-purpose flour)

1 tbsp baking powder

1/2 tsp baking soda

pinch salt

2 tbsp coconut sugar (or brown sugar)

2 eggs

1/2 cup milk of choice (I used almond)

3 heaping tbsp store-bought or homemade kaya

1 drop pandan extract (bought at your local oriental store)

80g melted, unsalted butter

1 cup soda water


Directions

Preheat your waffle iron according to the manufacturer’s instructions. In a large bowl, whisk together the dry ingredients– flour, leavening agents, salt and sugar. Add the egg, milk, pandan extract, melted butter, kaya, and lastly, the soda water. Cook in the preheated iron according to the iron’s instructions. In my Sevren waffle maker, it took 4-5 minutes before the edges went crisp and golden.

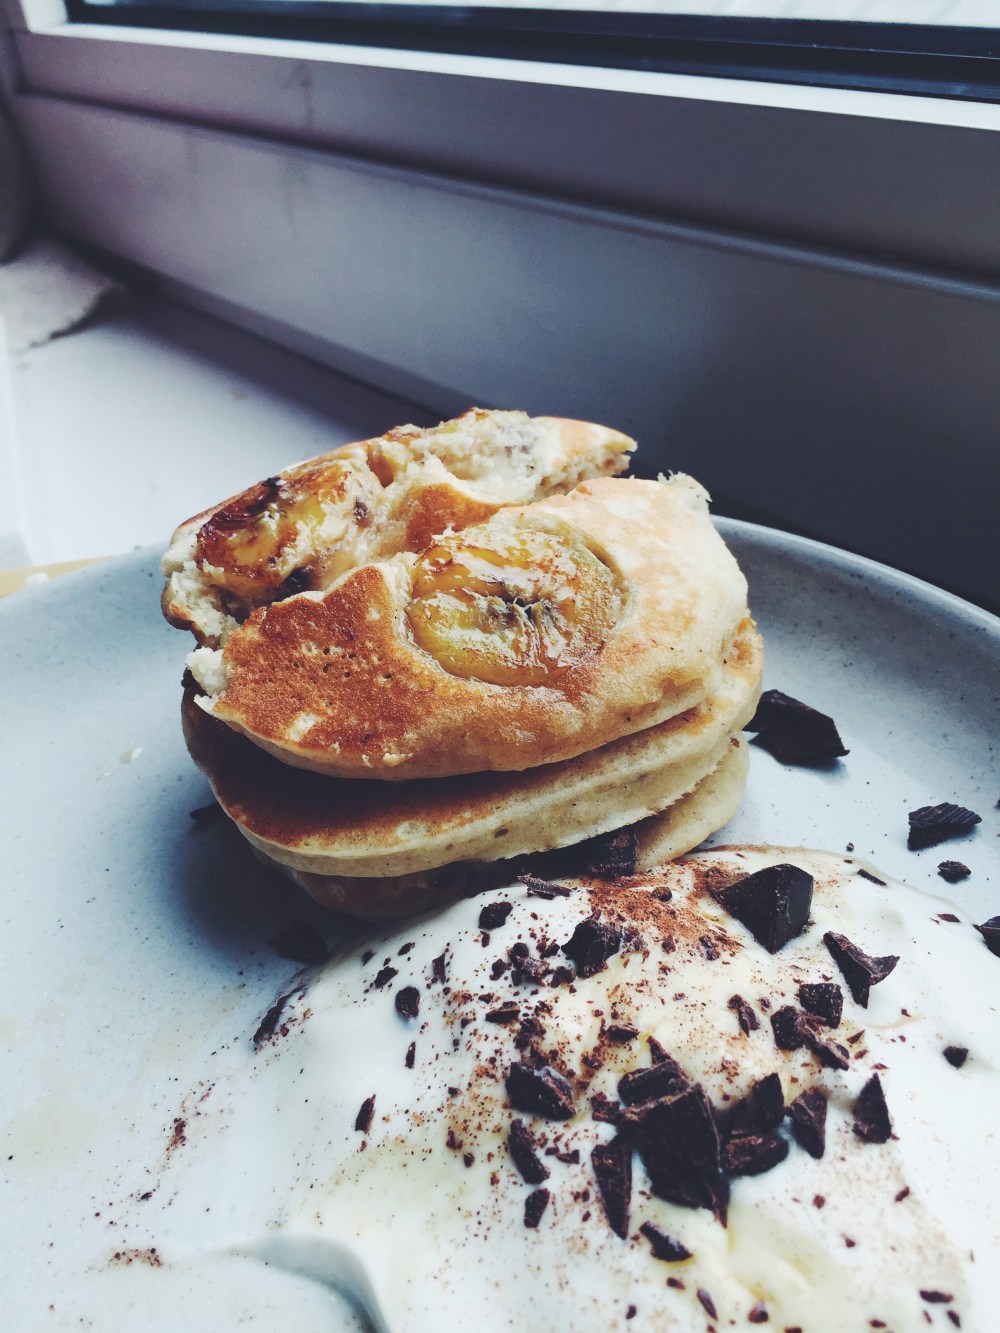
These freeze wonderfully. Let the waffles cool on a cooling rack, before layering them with pieces of parchment between each waffle so they don’t stick together when you take them out the next morning. The next morning, take them out, microwave for 20 seconds, then stick in the toaster until golden and crisp again. Go wonderfully with banana, anything coconut-themed (I used coconut sugar), and peanut butter!

Date Custard Tart with a Pistachio Crust

Processed with VSCO with f2 preset

In spite of all the pre-planning in the world, my usual baking endeavours still entail some degree of dilly-dallying beforehand. Well, not this time. I was standing in the kitchen, and knew I wanted a tart. A good tart with a finely baked crisp crust, and some sort of fudgy, gooey middle. Something with depth and exuberance and sin all round.

Put simply: I’ve been sooo into dates recently. Nothing really beats a huge, gooey medjool date. Peel one open and you get an untidy split down the middle, unveiling a thin seed and bountiful, sweet, sticky flesh. Yum. So… Date, custard, pistachios? A combination you would perhaps find in a specialty baking store, and a combination I almost haphazardly threw together. A combination that works.

Processed with VSCO with f2 presetProcessed with VSCO with f2 presetProcessed with VSCO with f2 preset

Little Maddie was all too keen on having her nose pressed up against the side of the tart shell. I look at her differently now, especially after finishing Eating Animals by Foer. I personally hold many strong views on meat-eating now, but that’s a whole other story that deserves its own section or post.

The crust itself is made of just a few things, and is completely eggless– roasted pistachios, flour, butter, sugar and salt. Et Voila. All you really need is a food processor, otherwise you could really just buy ground pistachios and mix the rest in by hand. And the custard? Another story of ease.

Processed with VSCO with f2 presetProcessed with VSCO with f2 presetProcessed with VSCO with f2 presetProcessed with VSCO with f2 preset

Dates smushed in the middle of a dense custard, offering perfect contrast to the hard exterior. The crust is buttery and flaky, holding little resistance to any give, thanks to the lack of eggs. What I like is that you can eat this tart alone hot or cold, or with ice cream/ cold whipped cream. I had a thin slice straight out the oven with a scoop of plain vanilla ice cream, which was absolute heaven. The next day, I tried it cold as I put the remains in the fridge, and that was equally sublime. The custard was more set, but if you prefer it a little more warm and watery, all you have to do is microwave it for a couple of minutes.

Processed with VSCO with f2 presetProcessed with VSCO with f2 presetProcessed with VSCO with f2 presetProcessed with VSCO with f2 preset

Date Custard Tart with a Pistachio Crust (makes 2 9-inch round tarts, or one 9-inch round and one 4×11-inch rectangular, adapted from here)


Ingredients:

For the crust:

290g (around 10oz or 2 cups) roasted, de-shelled pistachios (salted/unsalted)

260g (2 cups) plain flour

225g (1 cup) white sugar

pinch salt (not needed if you’re using salted pistachios)

250g (2 sticks+13g) unsalted butter, at room temperature


For the filling:

9 medjool dates

300ml heavy cream

1 tbsp vanilla bean paste, or 2 tsp vanilla extract

2 heaping tbsp greek yoghurt (can substitute with more heavy cream or sour cream)

4 egg yolks

3 tbsp sugar


Directions:

In a food processor, grind your pistachios until you get a coarse meal. Chuck in the flour, sugar and salt, and pulse until everything is well incorporated. Tip the mixture into a large bowl and whisk (or mix with a wooden spoon) everything, making sure the pistachio meal is evenly distributed in the dry mix. Add the softened butter, get your hands in and mix everything together. This shouldn’t take too long. The dough will be easy to break apart, yet dense and moist. Put the bowl containing the dough into the fridge for 20 minutes. Preheat your oven to 180C (350F).

After 20 minutes, take the dough out and ready your tart tins. Greasing isn’t necessary because all the butter in the dough does just the job, but if your tart molds are old and not very trustworthy, then go ahead and give them a light greasing. Break your dough in half (or store half in the freezer if you’re just making one tart) and press into your tart mold, making sure to have a thick enough layer on the bottom and sides. Bake the tart for 15 minutes.

While the crust is baking, make the filling. Whisk together the egg yolks and sugar for 5 minutes straight, or until visibly light, runny and fluffy. Whisk in the cream, yoghurt and vanilla. Once the tart crust is half-baked, remove from the oven and press in you (de-seeded) dates as shown in the picture above. The heat of the oven will soften them even more, making the insides even gooier, if such a word could exist. Pour the custard on your tart(s), then put back carefully in the oven and bake for another 10-12 minutes. Check the tart at 10 minutes– the top might have some soft brown, caramelised patches. The tart should still hold a little wobble when nudged at the side.

Remove from the oven and set on a heatproof mat or stand to let cool for a while before cutting. Eat hot with ice cream, or store in the fridge for a while, before tucking into it cold.

Salted Honey Espresso Baked Doughnuts

Processed with VSCO with f2 preset

A doughnut embodies whimsicality, but sometimes it just seems like all the dovetailing attempts have been done through and through. As I type, my mind is bathed in a blur of facts and complicated scientific concepts in preparation for the upcoming finals, like little entangled confused tendrils. However, this idea of whimsicality pulled me through a short while, sparked by an unanticipated café encounter. Being in the kitchen getting my hands dirty is more therapeutic than anything; I never saw it as something I feel obliged to do for the sake of this blog’s up keeping. Such breaks seem to serve as mind-remodelling moments, themselves acting as platforms upon which motivation is furthered and concentration enhanced. That being said, it will probably be a while before my next post, because the library beckons far too often nowadays.

Ah right, that unanticipated encounter. The other day I was at one of the most popular coffee hits around Covent Garden with a good friend, and was particularly inspired by a bucket of Joe and Seph’s posh caramel and espresso popcorn. Enamoured me so much so that I just had to buy a bucket of the stuff.

Processed with VSCO with f2 preset

Well the whole baking attempt ended with me sprinkling chopped up bits of popcorn on top (alongside whole ones right into my mouth, of course), which is an optional addition. I simply did so whilst reminiscing the root of this flavour combination. The sugary hit of caramel and espresso reeled me in, and I wanted to recreate that sweet-bitter juxtaposition in this doughnut recipe.

It’s simple and takes just 15 minutes to bake, and who doesn’t adore that? I’ll never get tired of these simple and crazy quick recipes. I’ll just let the pictures do most of the talking.

Soft and fluffy, espresso and honey-infused baked doughnuts, topped with a honey glaze and coarse salt

Processed with VSCO with f2 presetProcessed with VSCO with f2 presetProcessed with VSCO with f2 presetProcessed with VSCO with f2 presetProcessed with VSCO with f2 preset

Coarse salt doesn’t adulterate the final texture, serving only to enhance the sweetness and soft bite of just-baked dough. The idea of the cake doughnut doesn’t get old to me, because ease of make aside, there are just too many possibilities, and you can top them with anything, and can’t go wrong.

Processed with VSCO with f2 presetProcessed with VSCO with f2 preset

Salted honey espresso baked doughnuts with a salted honey glaze (makes 6 mini doughnuts)

Ingredients

For the doughnuts:

145g (1 cup + 3-4 tbsp) self-raising flour, or use all-purpose flour and add 1/2 tsp of baking powder and 1/4 tsp baking soda

pinch salt

2 tbsp cocoa powder

1/2 tsp cinnamon

50g (1/4 cup) white sugar

30g (2 heaped tbsp) melted butter

60ml espresso (1/4 cup) –instant powder permitted, but straight from the bean is your best shot

1 egg

60ml (1/4 cup) milk

2 tbsp runny honey


For the glaze:

1 tbsp honey

1 tsp cocoa powder

85g icing sugar

pinch salt

coarse salt for sprinkling

3-5 tbsp milk


Directions

Preheat your oven to 177C (350F) and butter a 6-doughnut pan. In a large bowl, sift together all the dry ingredients– flour and necessary leavening agents, sugar, cinnamon, cocoa powder and salt.

In a separate, smaller bowl, whisk together the melted butter (that’s been left to cool a while, so you don’t end up cooking the egg!), egg, espresso, milk and honey, until everything is nicely incorporated. Pour the wet mix into the dry and mix until everything is just combined.

Bake the doughnuts for 12-15 minutes; test with a wooden skewer at 12 minutes. If it comes out clean, you’re good to go. While they’re baking, whisk together the icing ingredients with a fork. You should have a thick and runny, light brown-pink glaze.

Once the doughnuts are done, leave to cool in the pan for a while before removing. Dip the top in the glaze, then sprinkle with coarse salt. YUM GUYS.

Check out my other baked doughnut recipes!

Brown butter maple bacon doughnuts

Strawberry chocolate vanilla bean doughnuts

Maple syrup doughnuts (with glaze variations)

Hot cross cookie butter doughnuts

Spiced nutella-stuffed doughnuts


Double Banana Pillow Pancakes

Processed with VSCO with f2 preset Processed with VSCO with f2 preset

Pancakes are easy science. There’s really nothing more to them than mixing your wet with your dry, then plopping spoonfuls into a hot pan. You’re done in a few minutes, happier than the heavens with a drizzle of good maple and all the toppings your heart desires.

Fluffy pillow pancakes made with mashed banana, studded with soft banana coins. 

Your usual dose of weekend fluff, heavily inspired by these babes. I remember really enjoying the addition of mashed banana to the actual batter in this particular recipe, and it’s hard to imagine I made them that long ago. I wanted to recreate that pleasurable experience in a different light– something more straightforward but still just as moreish.

There’s a lot of fun in making a ‘double’ anything. Because that means 2 dimensions. It means depth, intensity. No space or time for something normal. I mean normal can be good, and tradition is bliss sometimes, but a little extra oomph is love and light, too. Adding the banana coins before flipping the pancakes cooks and softens them a little, remodelling your little stack into something with additional texture, a little hint of caramelisation perfusing each bite . Soft banana bits all cosied up in fluff.

Processed with VSCO with f2 presetProcessed with VSCO with f2 preset Processed with VSCO with f2 preset

Double Banana Pillow Pancakes (makes 12 medium pancakes)

Follow the recipe for my double chocolate banana pillow pancakes, but leave out the cocoa powder, and have a couple additional bananas on hand to slice into coins. Place 2-3 banana coins onto the batter after ladling the pancake batter into your pan, before flipping to cook the second side.

Highly recommended to eat this with greek yoghurt, chocolate shards, peanut butter, and plenty of maple syrup. This is your morning.


Strawberry Cheesecake French Toast

DSC_4194

Surreal. There’s no other way to describe it.

Yeah I’m talking about the french toast, but more so the fact that a whole term, just like that, in the scary blink of an eye, has come, passed, loved, and gone. Well, almost, with the imminent hurdle of exams, that glint of mild doom, but it’s always worth trying to look at the glass half full, and contemplate a rising, not falling.

DSC_4189DSC_4193

Breakfast is served, everyone. A soft, fluffy french toast sandwich stuffed with strawberries and a yoghurt-based cream cheese batter, topped with a digestive biscuit crumble. 

Was pondering this article earlier, acknowledging the benefits of not forcing oneself or others to eat breakfast in the morning. Many studies finally show that there is indeed no point thrusting yourself into routine if your gut is not up for that rude awakening at 7 30am. It once again points to the rather misleading nature of nutrition and health research; there are too little trials with too many variables to control.

Having always been an advocate of breakfast, both on a nutritional and creative level, I’ve extrapolated this idea to the fact that it’s actually ok to eat things like strawberry cheesecake french toast once every while. It’s alright to be unhealthy once a week, perhaps once a day. It’s a cut in the system, but breaking out of self-serving routine (e.g. the morning ‘kale juice fuel’ mindset categorising breakfast as something to always be healthy and the same thing every day) could well be good for just practicing day-today flexibility. Less rigidity, more creativity, more quiet time. Just you and breakfast (or no breakfast at all, which is perfectly fine). I noticed and was stunned by a slight reluctance on my part when I was thinking of what to make with fresh, in-season strawberries my aunt handed me earlier on in the week– I used to be more inclined to ideas letting them take over the mornings, let the flow take hold, creativity carving some scaffold of structure and stability for the rest of the day.

It struck me that rigidity, despite the calmness of its structure and how it makes more brain space for more things to worry about in the mornings, also can be a barrier in succumbing yourself to little joys in life, like finding a pocket of cheesecake batter-covered strawberry in the soft, fluffy insides of a well-made french toast sandwich, or finding a quote in a book (the one I’m reading now is The Diet Myth by Benedict Carey– fantastic so far and I’m just eating it up!) that you can really relate to. It’s the little things that spark glee, and let you look out for other little cute or glee-inducing things later on in the day, that perhaps inject a little more hope and happiness into other aspects of your life.

DSC_4195

Strawberry Cheesecake French Toast (serves 1)

Ingredients

2 slices challah/brioche bread

large handful fresh strawberries

2 heaping tablespoonfuls of cream cheese (softened)

2 tbsp icing sugar

60ml (1/4 cup) greek yoghurt

1 egg

splash of milk of choice

1/2 tsp ground cinnamon

1 tbsp butter (for cooking)

*optional topping: 1 crumbled digestive biscuit, mixed with a teaspoon of melted butter

mandatory topping: maple syrup


Directions

Preheat your pan on medium heat and ready a paper towel on your plate to place your french toast on afterwards. In a bowl, whisk together the egg, milk and cinnamon, and set aside.

In another smaller bowl, whisk together the cream cheese, icing sugar and yoghurt. The mix should be thick and spreadable, which is why greek yogurt is preferable in this case. Chop your strawberries lengthwise. Spread half of the cream cheese mix on one slice of the bread, and the rest on the other slice. Layer the strawberries on top, then sandwich the 2 slices together.

Add the tablespoon of butter to your pan and let sizzle. The butter should not burn or turn brown; turn down the heat if that’s the case. Dip one side of the sandwich into the french toast batter and let it soak for half a minute, then flip it over and do the same for the other side.

Fry each side in the hot pan for half a minute– you don’t want a full cook all the way through as this will result in a more rubbery, less soft and forkable final texture. Top with the digestive biscuit crumble, more yoghurt, strawberries and maple syrup.