Red Velvet Cake Bars

IMG_5558

Truly no frills.

And way too hard to mess up, to be perfectly honest. There are a few reasons why I’m in love with this red velvet cake recipe. Why? A list seems appropriate, yes. These cake bars (or mini circular-sort cakes, if you would like, those work too) are:

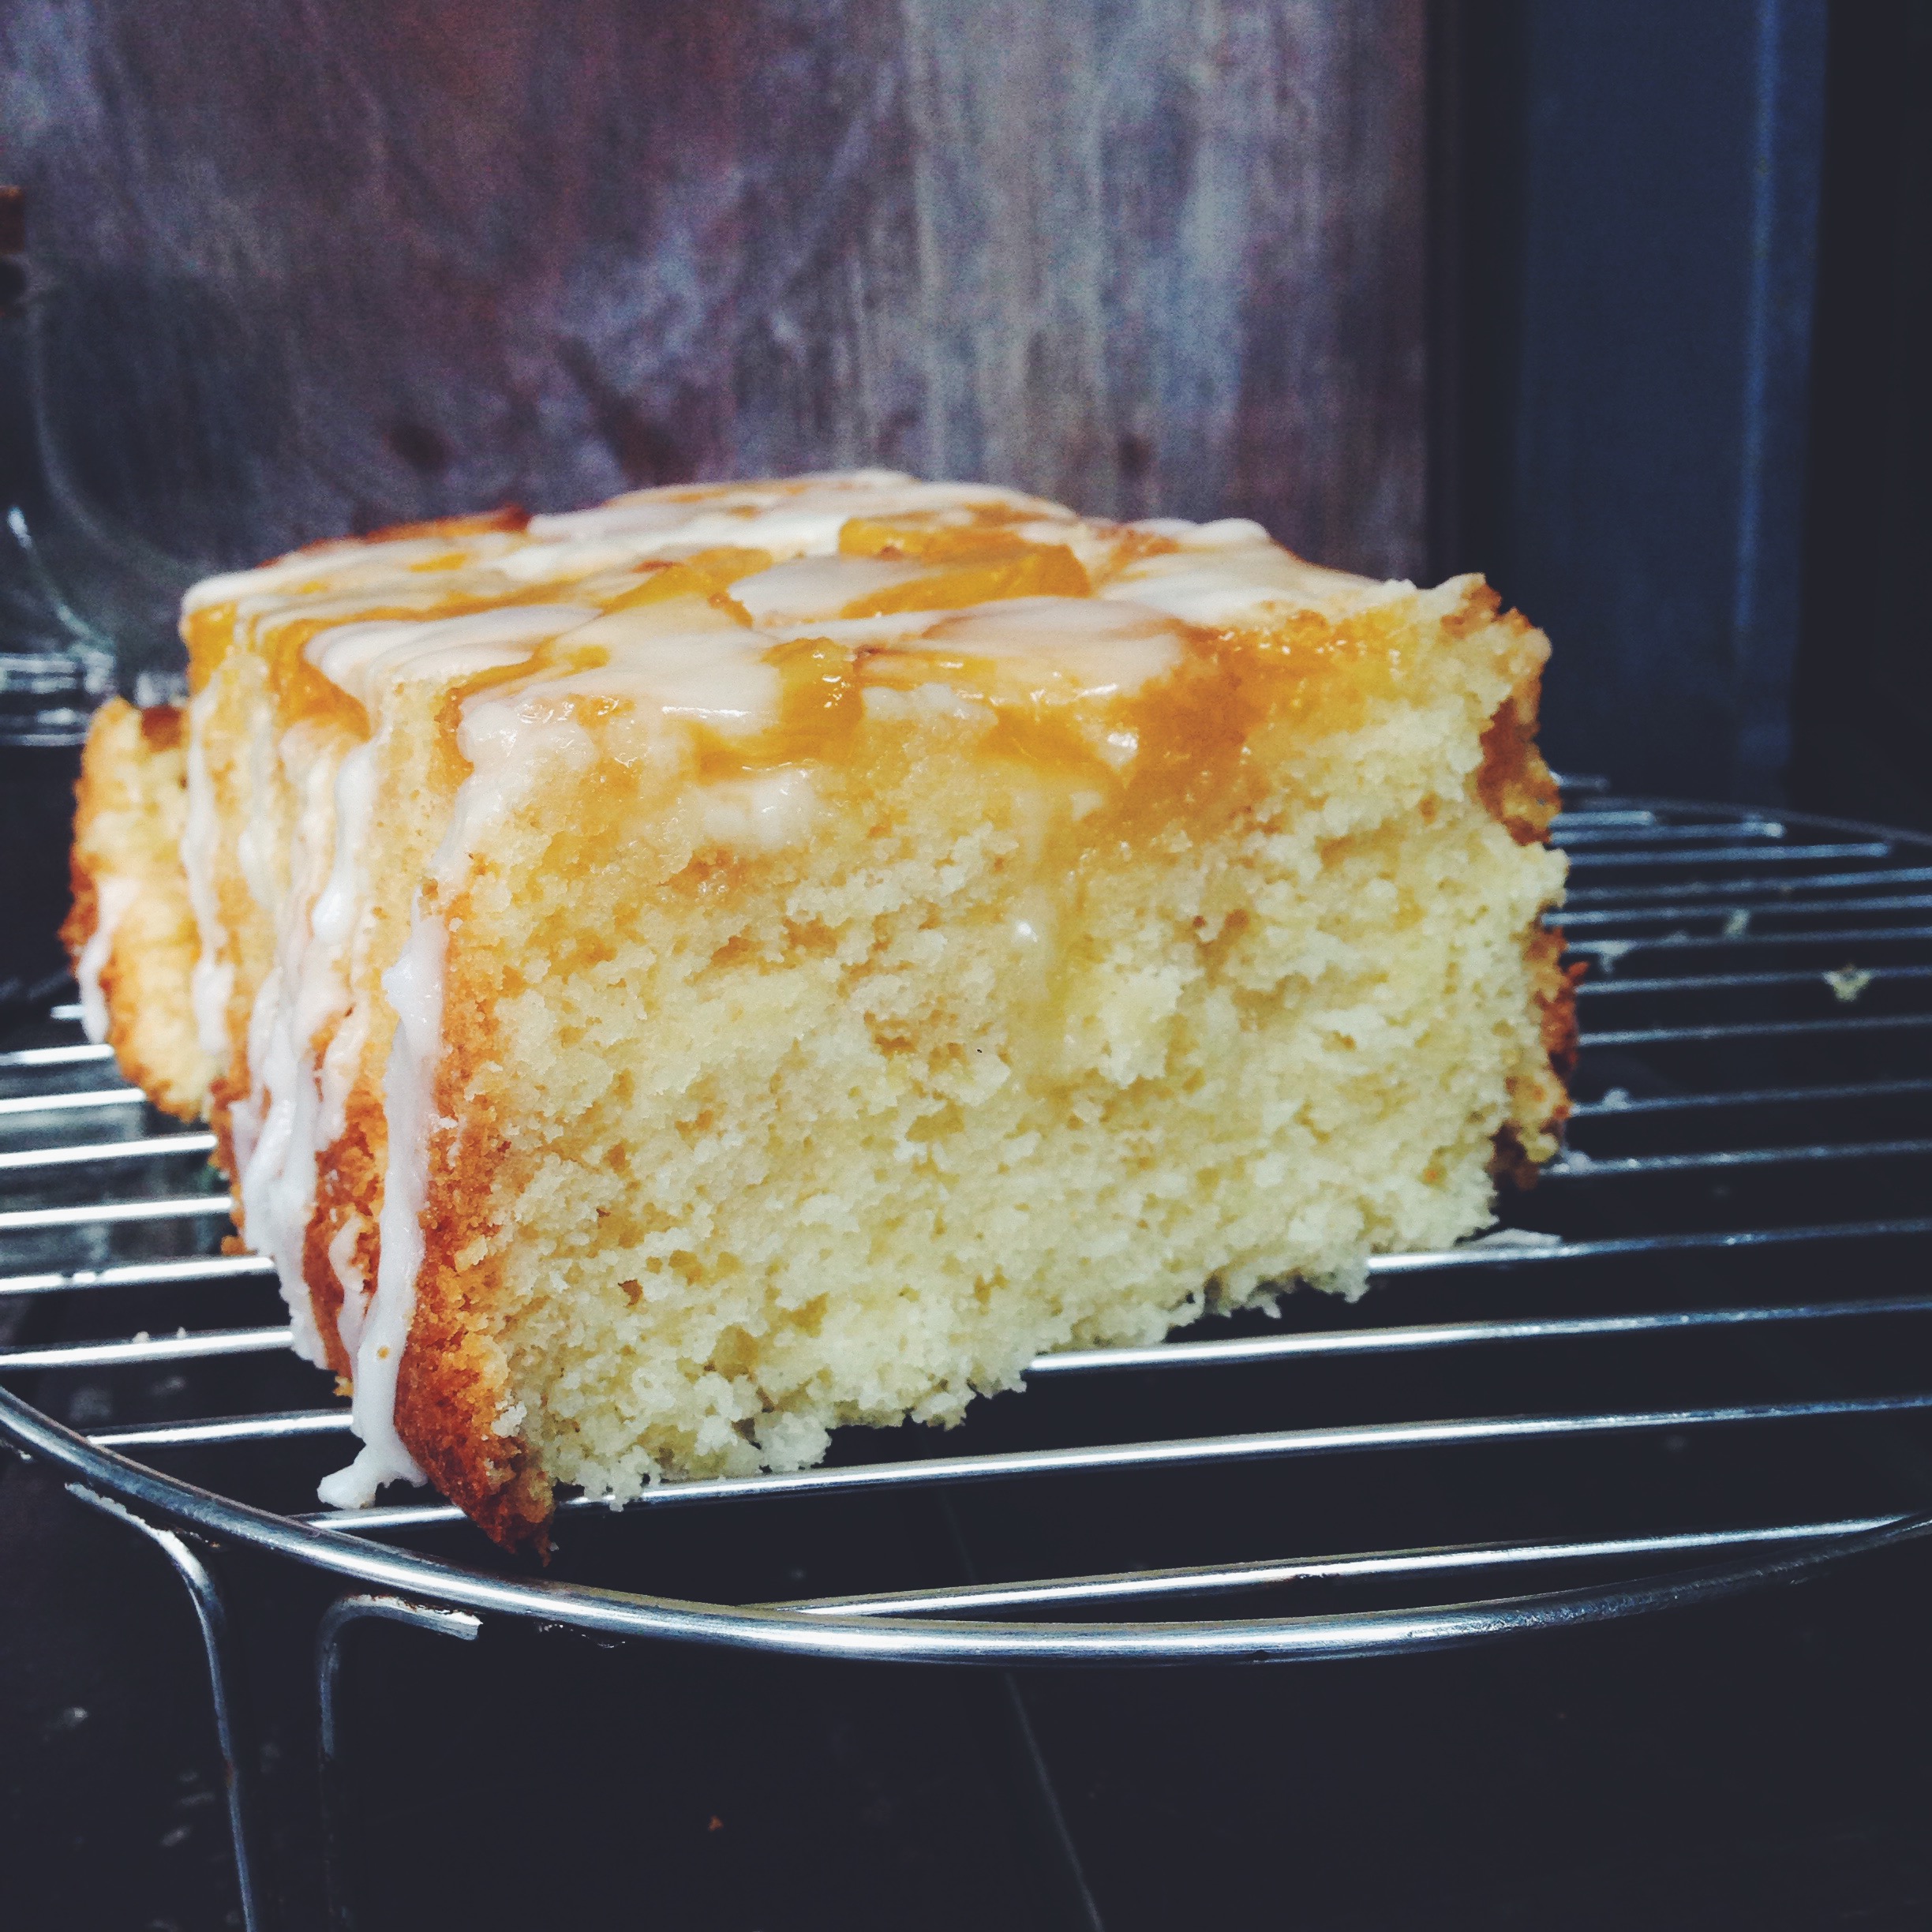
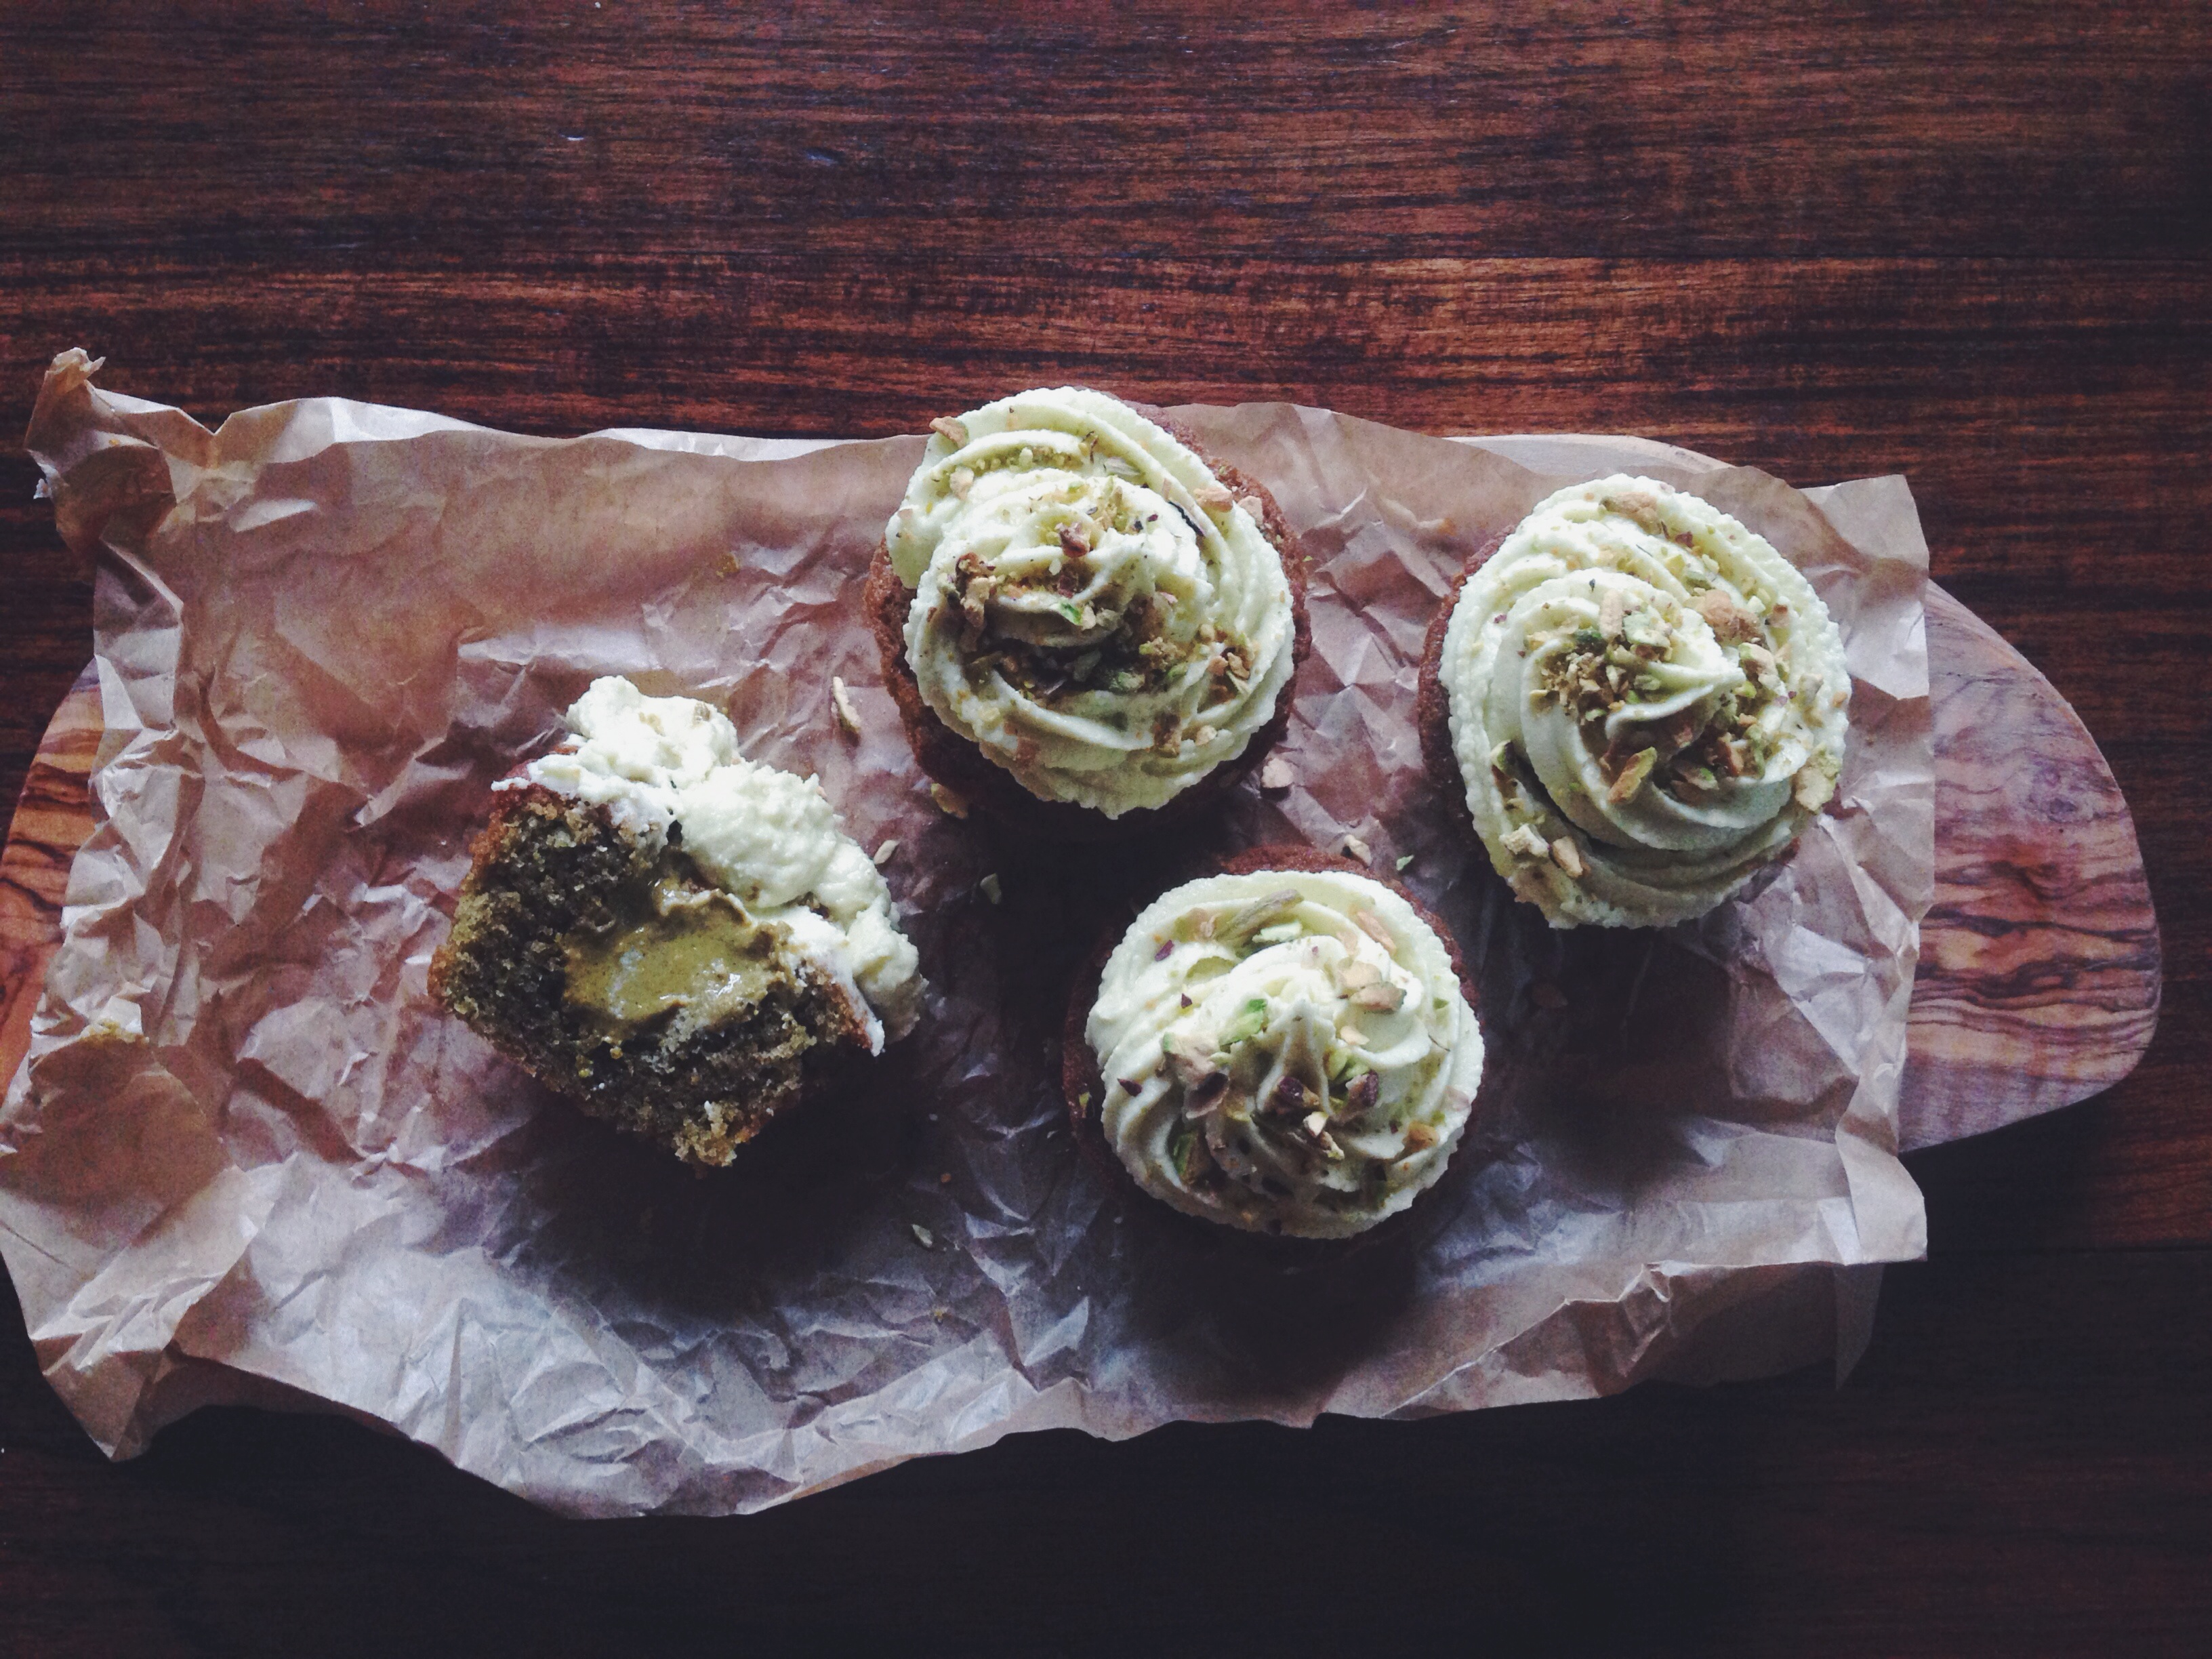
  1. The most moist, fluffy and tender red velvet cake bars your lips will ever meet.
  2. Have a deeper chocolate flavour than most red velvet cake recipes
  3. Have actual melted chocolate in the batter (!!)
  4. Cream cheese frosting. That is all.
  5. Thick, creamy, vanilla bean-ified frosting.
  6. Frosting.

Red velvet has gotten quite a bit of flak recently. Most everyone has tried these dainty red cakes slathered in cream cheese frosting. However, due to its perceived nature of artificiality and lack of distinct flavour thanks to too many a sticky-topped, mass-produced factory version, people have come to believe the one true hero of the eponymous red velvet is really just that cream cheese frosting… and not much else. If I may quote someone from my favourite TV series– red velvet is a lie!

The chocolate notes have been forgotten, abandoned, and what was once known (I remember the trend hitting hard around 2-3 years ago) for unbeatable moistness and tenderness has been passed off as that unnecessary trendy thing with too much red food dye. 

With this recipe, hopes have been revived.

IMG_5573

I found it in my mother’s huge collection of cake recipes (quite literally a huge grey file labelled ‘CAKES’), and modified it to taste and texture. The red velvet batter has the perfect hint of chocolate, and the cream cheese frosting is rich, cram-jammed with real vanilla bean and the right amount of tang. I could go on about this cake and how easy it is, but I don’t think I need to bore you with the details. Let’s get to it, because life is short and there’s no point wasting time wasting time.

Ingredients (makes enough for 3 batches of cake bars in an 8×8-inch pan, or 3 6-inch cake layers)

For the cake bars:

120g soft, unsalted butter

330g castor sugar

300g all-purpose flour

2 eggs

50g cocoa powder

1 heaped tablespoon red gel food colouring

1 tbsp vanilla bean paste (or substitute with the same amount of vanilla extract)

50g bittersweet chocolate, chopped (preferably from a bar, but chips are fine here too) and melted in 30-second increments in a microwave

250ml buttermilk (or mix 240ml whole milk with one tablespoon of white vinegar, and leave to rest for a while before using– the mixture should be slightly curdled)

pinch of salt

2 tbsp white vinegar

1 1/2 tsp baking soda (bicarb soda)

For the cream cheese frosting (enough for the tops of 3 batches; make double this amount if you wish to frost the sides as well):

42g unsalted butter, at room temperature

1 tsp vanilla bean paste (or sub with vanilla extract)

180g cream cheese, at room temperature

200g icing sugar

pinch of coarse salt

Directions

Preheat your oven to 180C (350F) and grease and line your cake pans, be it 8×8-inch square baking pan(s) or 3 6-inch round cake pans. Melt your chopped plain chocolate in the microwave and set aside for the time being. Take your cream cheese out from the fridge so it has time to come to room temperature. If you’re making your buttermilk (because you’re like me and can’t be bothered to run to the grocery store just to buy that packet of buttermilk), mix together the whole milk and white vinegar in a bowl and set aside as well.

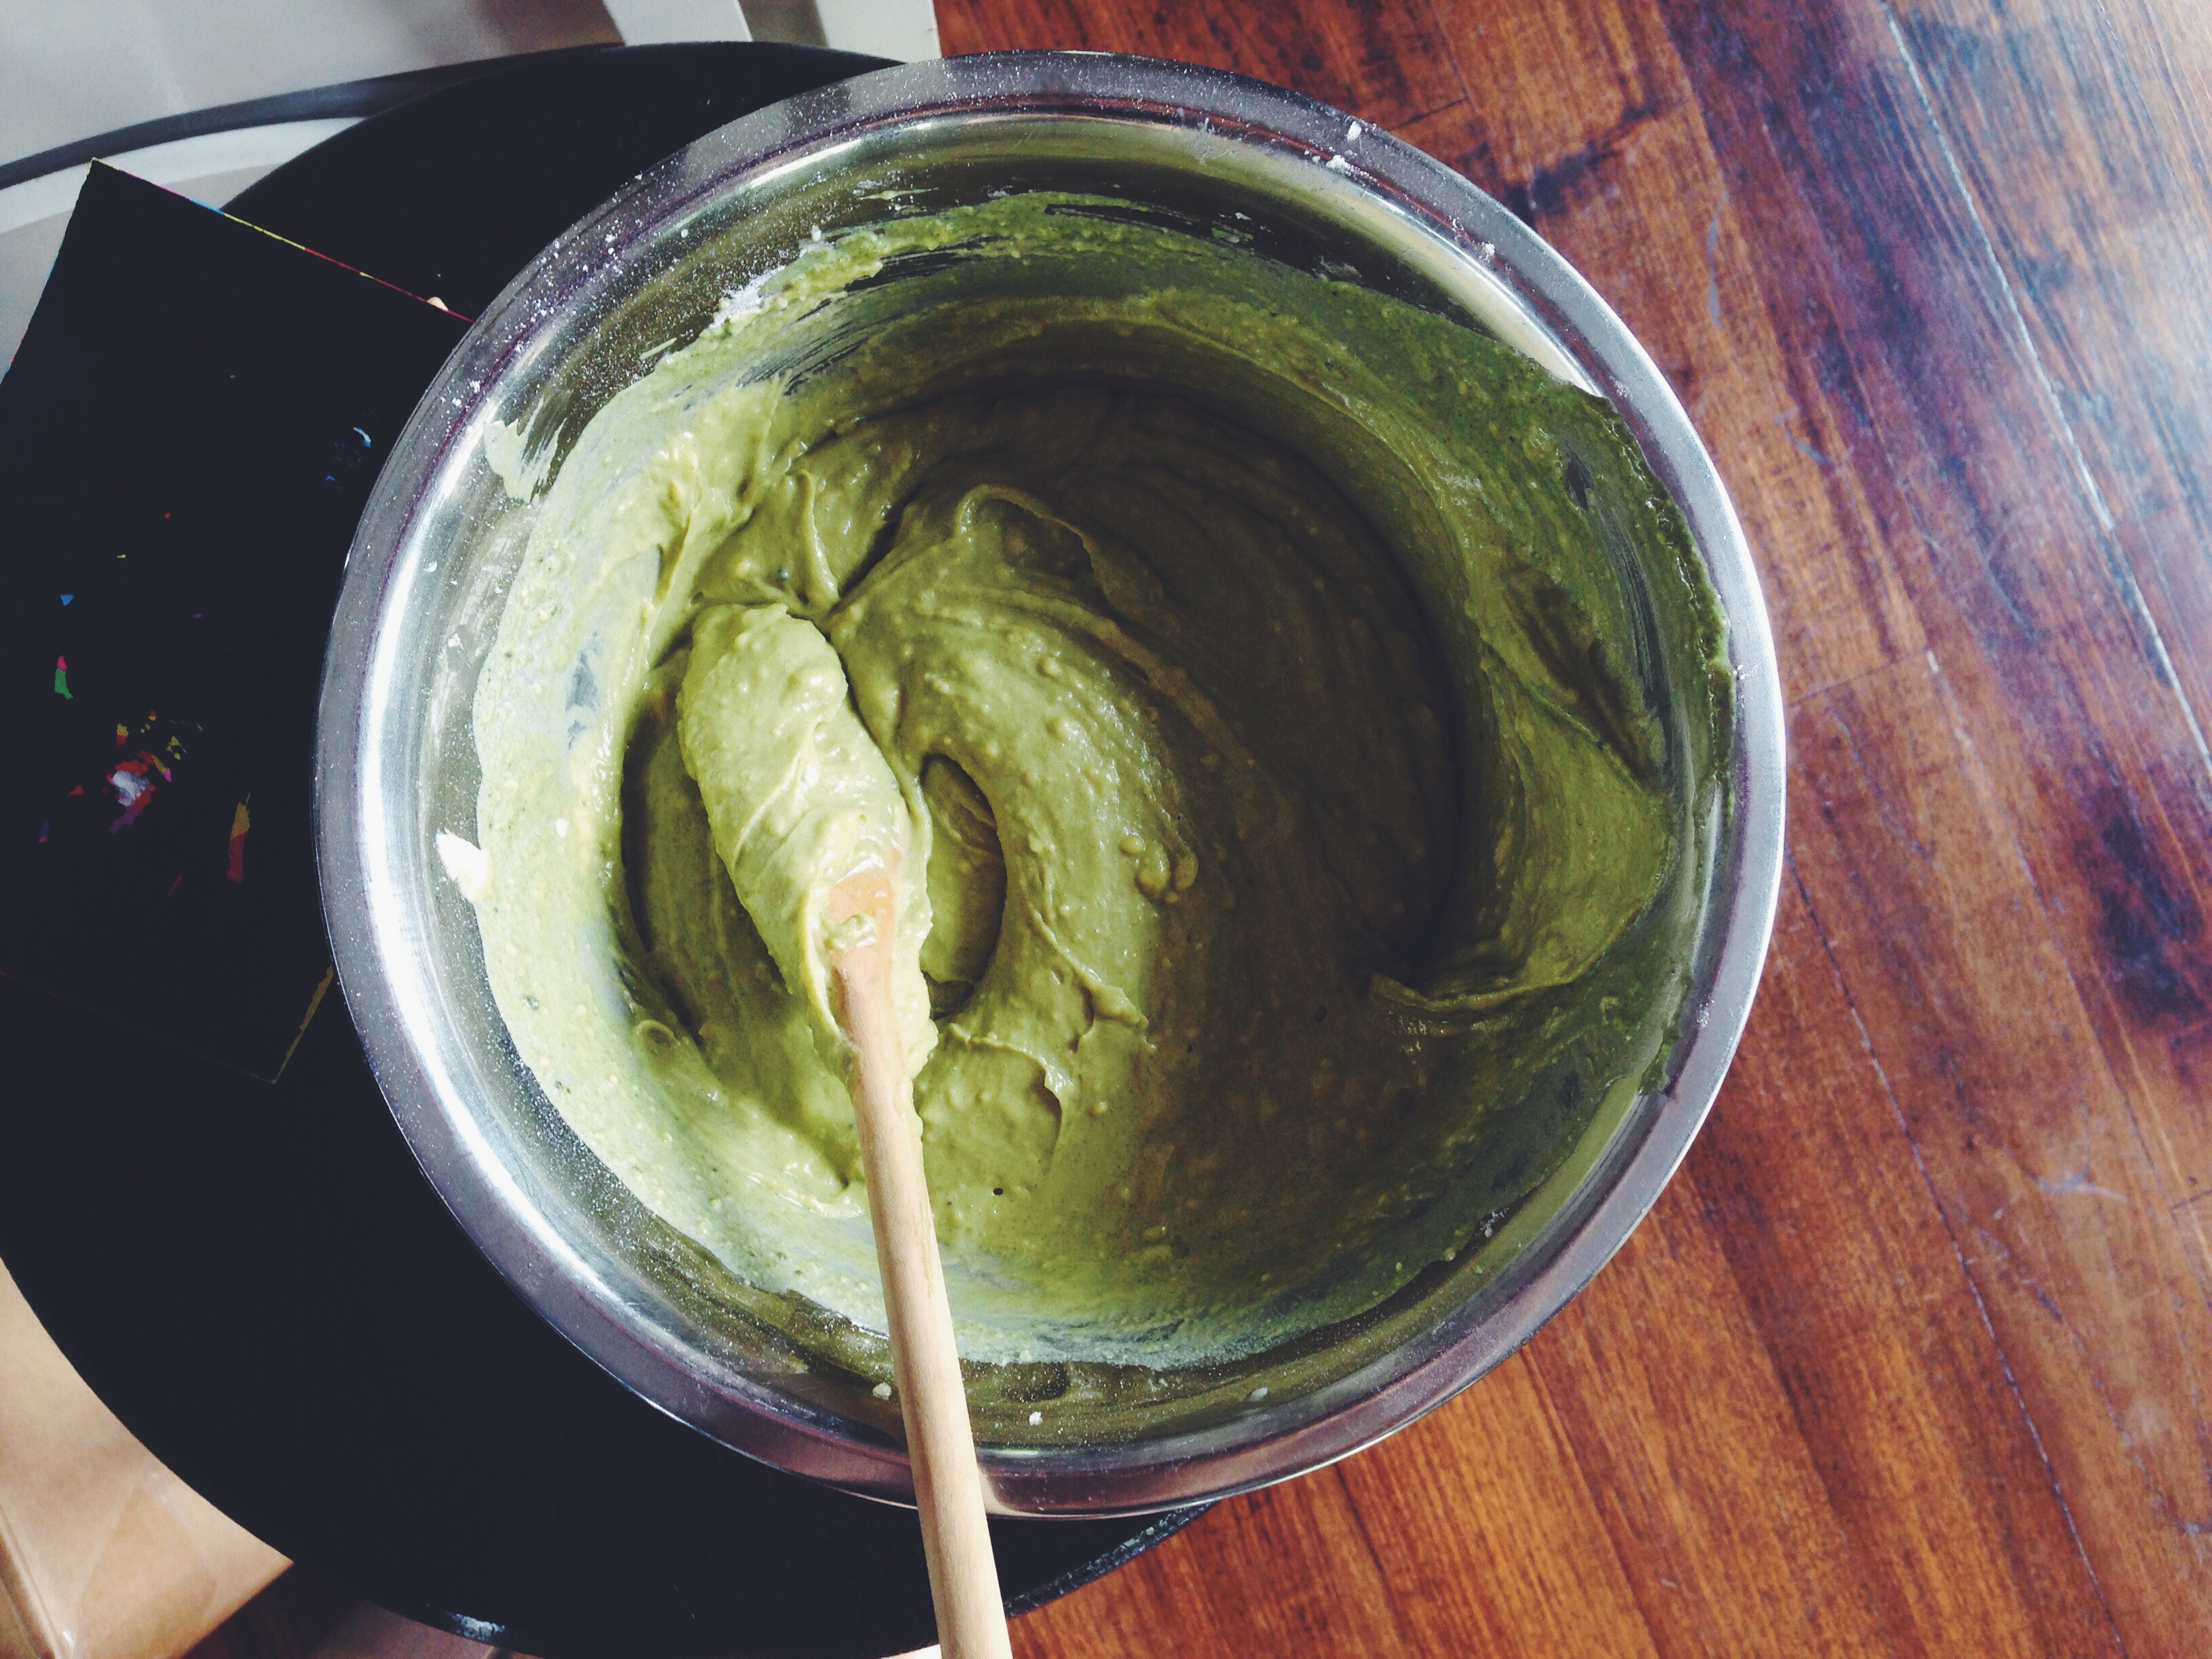
In a large bowl and with an electrical whisk or Kitchenaid if you have one, beat together the softened, unsalted butter and white castor sugar. Beat until pale and fluffy, at least 30 seconds or so. Add the eggs one at a time and beat between each addition. Add the vanilla bean paste at this point, and then sieve in the cocoa powder. When sieving, I find it handy to place your bowl on a weighing scale and then sieving in the cocoa powder until you reach the 50g mark. Beat the vanilla bean paste, cocoa powder and your melted chocolate on a low speed until it’s all combined. You should have a thick, sticky, dark batter.

At this point, add your red gel food colouring. I used a heaped tablespoon, but you may want more or less depending on colour preference. Start with a teaspoonful of food colouring and then work from there. I find that a heaped tablespoon (I used a ‘Christmas Red’ hue) does the trick, producing a rich, deep, carnation red, nothing too pink or too dark.

In a separate, smaller bowl, whisk together the flour, salt and half a teaspoon (it’s part of the amount stated in the ingredients list above) of fine salt. This is the dry mix. Add half of this to the chocolate-butter mix you just put together, then add half of the buttermilk. Beat on low speed briefly, then add the rest of the flour and the rest of the buttermilk. Using a spatula, scrape down the sides and make sure all the batter is evenly mixed, folding from the bottom  and coming up through the sides and middle.

Now for the kinda magical bit, and what gives the batter a final kick and ridiculous level of moisture! In a small saucer, mix together the remaining 1 tsp of baking (bicarb) soda and 2 tsp of white vinegar. The mixture will fizz up. Immediately tip it into the batter and mix in thoroughly with a wooden spoon.

Pour the batter into your cake pans and bake in the preheated oven for 20-22 minutes. If you’re using 6-inch cake pans, check at the 20-minute mark– insert a wooden skewer into the middle of the cakes; if they emerge with wet red batter then bake for 5 more minutes. With an 8×8-inch cake pan, these will be done by 20 minutes, but every oven is different, and they may take 2 minutes more or less.

While the cakes are baking, make the cream cheese frosting. In a large bowl and with an electrical whisk, beat together your soft, unsalted butter and cream cheese. Then, beat in the vanilla bean paste, icing sugar and salt.

Once the cakes are baked, leave to cool on cooling racks for at least half an hour before removing from the pans and cutting off the tops (the cutting off part is unnecessary if you’re baking these in an 8×8-inch cake pan). If you’re using the square baking pan, spread on the cream cheese frosting, then cut into bars. If you are using 3 6-inch cake pans, spread on a large dollop of cream cheese frosting on one layer, then stack with the second layer, and repeat. If you’re making a cake this way and you’re done with the last layer, immediately let the cake set in the fridge, for the cream cheese frosting will start to melt all over the place otherwise. With the amounts stated above, I could make a stacked 2-tier cake and one 8×8-inch square cake (with lots of leftover cake from the tops!). These cakes can be stored in the fridge in an airtight container for up to a week.

Tender is the crumb.

Pineapple Condensed Milk Loaf Cake

IMG_5376

If there’s one thing you make this week, make it this.

A fluffy pineapple condensed milk loaf cake, studded with fine bits of pineapple, topped with fresh pineapple slices and a lemon-pineapple glaze. 

Sometimes my ideas are like branches with dead ends and no coherence. Since this blog is all about delicious, easy bakes, I didn’t want to throw random curveballs, but I didn’t want to overestimate the charms of conformity either. Basic, but not too basic. A degree of subtle complexity, and certainly no plain jane taste.

Scavenging the kitchen left me with some leftover pineapple from last night’s dessert and, well, not much else. Pineapple loaf cake has been done before, upside-down variations galore, and my finding of condensed milk in the fridge led to this mild twist. I must say it was fun to play around with the ratios; it turned out to be the perfect balance of sweet from the condensed milk and tangy from the use of both fresh pineapple and pineapple juice. Here, there’s not much flamboyance, and hardly any finesse. Funnily enough, it’s exactly this lack of properness that provides the right amount of charm.

IMG_5363

{Above: served warm with lemon curd, a drizzle of condensed milk, and coconut chips}

It’s messy, sticky, glorious. A little of the juice from the fresh pineapple layered on top mixes with the lemon-pineapple glaze, and together with the fresh pineapple both on and inside the cake, forms the perfect topping to the fluffy cake base. And goodness is this fluffy. Fork work is no work. The condensed milk, other than its more unorthodox flavour in the cake, provides a satiating density without weighing anything down. Tender is the night crumb.

Ingredients

For the cake:

175g cake flour (or substitute with the same amount of all-purpose and add 2 extra tablespoons, and be sure to whisk the dry mix all the more thoroughly later)

1 1/2 tsp baking powder

1/2 tsp baking soda

large pinch fine salt

115g white sugar

110g (around a stick) soft, unsalted butter

1 egg

1 tsp vanilla extract

150g fresh pineapple, cut into even chunks, around 1cm thick

60ml (1/4 cup) condensed milk

60ml (1/4 cup) pineapple juice (freshly squeezed, or you can buy those cans which state ‘100% pineapple juice’), or substitute with 30ml lemon juice and 30ml water

freshly squeezed juice of one lemon

For the lemon-pineapple glaze:

75g icing sugar

juice of half a lemon (the remaining lemon juice)

1 tsp pineapple juice, or substitute with more lemon juice

Directions

Preheat your oven to 177C (350F) and grease a 9×5-inch loaf tin. Separate your pineapple chunks into two clumps– one that’s 100g (to place at the bottom of your pan) and another that’s 50g. Finely chop this latter clump into small pieces. Sprinkle some white sugar on the bottom of your greased loaf tin, then place the chunks (100g in total; refer to picture above) of pineapple at the bottom. Set aside your loaf tin.

In a large bowl, cream together the butter and white sugar for at least 30 seconds. Beat in the egg, vanilla extract and condensed milk. In a separate smaller bowl, whisk together the flour, salt, baking powder and baking soda. To the butter-sugar mix, add half of the flour mix, then half of the pineapple juice. Use a wooden spoon to mix everything in briefly (streaks of flour are fine), then add the rest of the flour, remaining pineapple juice, half of the lemon juice, and the finely chopped pineapple. Mix everything together until just combined. The mixture should be yellow-ivory with a thick dropping consistency.

Tip batter into the loaf tin and bake for 40-45 minutes; mine took 42. Insert a wooden skewer into the middle of your loaf at the 40-minute mark– leave it for another couple of minutes if the skewer emerges wet and sticky, but take it out if it comes out dry. A few moist crumbs at the tip are fine, for the pineapple chunks at the bottom make it stickier and wetter than the other parts of the cake. While the cake bakes, make the glaze. In a bowl and with a fork or spoon, mix together the lemon juice, pineapple juice (or more lemon juice) and icing sugar. Play around here; you should have an opaque, white glaze. It should easily run when you hold the spoon at a height, but the stream would become reluctant once it starts thinning.

After removing the tin from the oven, leave the cake to cool on a cooling rack for an hour or so before removing. To remove, wear heatproof gloves and tip out your loaf cake, setting it down on your counter the way you put it in the oven (pineapple side down). Using a serrated knife, cut off the top of the cake, so both the top and bottom are flat (tip: the bits you cut off are wonderful, crusty and perfect with marmalade and tea). Flip the loaf cake so the pineapple side is on the top this time. Drizzle with the lemon-pineapple glaze.

Serve warm with lemon curd and more condensed milk. Store the rest in an airtight container and place in the fridge for up to a week.

London Breakfast Diary

After a week with the family in London, I spent almost 4 whole days traipsing around town with a good friend searching out breakfast and brunch spots. Though we didn’t manage to eat our way through the city entirely, I was satisfied after each little adventure, assured of accomplishment, eager for new sunlight to signal another stomach-filling session.

Ozone Coffee Roasters' flat white and gluten-free orange almond cake
Ozone Coffee Roasters’ flat white and gluten-free orange almond cake

IMG_3526

A personal favourite. Sitting in the corner of the wood-tiled, pseudo-industrial interior, I sipped on a delicious, creamy flat white, and nibbled on an unexpectedly pleasing orange and almond cake, grainless at that, although the white frosting got a little sickening after a while. Expect only the hippest coffee customers here, and ready your laptop or a good book.

Granger and Co's ricotta hot cakes
Granger and Co’s ricotta hot cakes and bircher muesli

Only the fluffiest in London, with pockets of ricotta, honeycomb butter and lashings of maple syrup to make it all the more carnal. My flat white was on the more bland and milky side, and it’s hard to hear yourself sometimes, with a few tables nuzzled up against one another. It might even be a little hard to call over a waiter, what with the gazillion Hermes bags swishing everywhere, dangled off the thin arms of the blonde and beautiful. But these pancakes, right?? Come on. They’ve got heart and soul and rhythm. This bircher muesli was also a star in its own right– sweet, tangy, and creamy.

SUNDAY Café: Foreground– French toast with bruleed  banana, creme fraiche and caramel Background– Portobello and poached egg on homemade sourdough
SUNDAY Café: Foreground– French toast with bruleed banana, creme fraiche and caramel
Background– Portobello mushroom and poached egg on homemade sourdough

Sunday is one of those places which you just don’t want to leave because it’s so darn pretty, with the cosiest outdoor garden dining area and a lush, warm interior. The cook on everything was sublime, although I have had better French toast; this one wasn’t sufficiently saturated and the caramel was rendered glass-like and brittle. That aside, I can definitely see myself here a lot in the future, because the staff make it feel like you’ve known them long before, and their cakes (we tried the lemon iced pound cake) are stupendous. They’re the sort of the people you want to see, and the sort you want to see improve, if need be the case.

Piccolo and the best ever lemon pistachio cake from APPESTAT Café in Islington

Ah, Appestat. And how fitting a name, because it did readily whet my appetite. The white nook full of surprises, and thankfully where you will most probably get a space to think, with lovely artisan brews and produce. I was stunned by the lemon pistachio cake we had, which was bursting with a full, dense pistachio flavour, pardon the lack of lemon tang. They may be excused. The most perfect accompaniment ever to a well-made cuppa joe (P.S. They stock nut butters and tahini!).

Flat white and raspberry custard tart from Shoreditch Grind

My second last stop was Shoreditch Grind, a stand-alone café where I had probably the best flat white, and a crusty, flake-to-bits custard tart, smaller than my palm but moreish all the same. Read, write, lose yourself a little.

Kinako french toast with matcha soft serve; aka the best french toast you will have in your life, from Bone Daddies at Shackfuyu

Because I’ve tried too many french toasts to lift your hopes up for no good reason. Soft, slightly spongy and perfectly saturated in the middle. Eggy, sweet matcha batter. The crust will make your heart melt, and the matcha soft serve makes everything a dreamworld. Your senses will thank you. Un-be-lie-va-ble.

Bread Ahead's salted caramel and honeycomb doughnut
Bread Ahead’s salted caramel and honeycomb doughnut
Duck and waffle; bruleed banana with ice cream from Duck and Waffle

Processed with VSCOcam with f2 preset

Other notable spots:

– TAP Coffee No. 193

– Kaffeine

– Timberyard Seven Dials

– Prufrock Coffee

– The Breakfast Club

I have yet to travel the entire of Europe, to learn more and grow in so many ways, but London has and always will be my second home. I remember prancing around town when I used to live there as a little girl, some sort of flaky pastry in one hand, my mother’s fingers in the other. Cold winter streets and cobblestones. There’s something irreplaceable about its erratic weather, everyone’s eccentric outfits and the anticipation of something, anything, the feeling of exciting possibility.

Dark Chocolate Jam Tart with a Black Sesame Crust

There are two reasons why I’m so excited to talk about this recipe.

1. So I scoured the corners of the internet, modified a few recipes to incorporate black sesame into a beautiful, flaky pastry crust, and failed. The second time, after readjusting the proportions and carrying on headstrong, it worked. Although I had some leftover dough, I figured one can always make a few more tarts if you have molds on hand, or simply freeze for later usage.. or eat on its own. Whatever floats your boat these days. This crust took this tongue by surprise, and I’m loving it.

2. Combinations occasionally take on surprising and welcoming turns. This is one of them. Chocolate and jam. I’ve done it on toast, and there are those bars you find lying in the dusty corners of the gourmet aisles, once glinting, too pretty to touch. We are sometimes a reluctant, frugal people, I know. This tart requires neither heartache nor skill. It’s a proper seeded attempt at something less predictable than your average dark chocolate tart (albeit some sea salt variations here and there, which once again requires no effort, if you really think about_. It’s a cut in the norm. A most welcome tart. In its glorious entirety, think rich, dark and slightly bitter chocolate sitting atop the epitome of a flaky, milky sweet, butter-breathed crust.

The pictures above display my own toppings; a sudden, spontaneous headspin– macadamia butter and more jam. In this case, I used apricot, but strawberry or orange would also work fine in this recipe. Feel free to use whatever flavour you have on hand. Whipped cream and fresh fruit on top would also serve to complement the suppressed tart notes in the tart alongside the (almost) overwhelming richness of a thick chocolate ganache, and that crusty, sweet, buttery base.

Dark Chocolate Jam Tart with a Black Sesame Crust (makes 6-7 tartlets or one long 10/11-inch rectangular tart)

Ingredients for the crust:

215g (around 1 3/4 cups, but weigh for accuracy) all-purpose flour

113 (one stick or a half a cup) cold, unsalted butter

80g (slightly less than 2/3 cup) icing sugar

1 egg yolk

large pinch salt

1 1/2 tbsp heavy cream or buttermilk (I used the latter just because I had it)

20g sesame powder (weighed after sifting), or 3 tbsp ground sesame seeds

1/2 tsp vanilla extract

Ingredients for the filling:

1 cup good quality dark overture chocolate, bar or chips (at least 60% cocoa)

240ml (1 cup) heavy cream

2 tbsp apricot (or any flavoured) jam

Cut the butter into half-inch cubes and put on a shallow plate or dish. Place the dish into the freezer to ensure the butter is at its coldest when you use it. In a small bowl, whisk together the egg yolk, heavy cream/buttermilk, salt and vanilla extract. In another larger bowl or into a food processor, sift together the flour, icing sugar and black sesame. Take the cubed butter from the freezer and plop the lot into the large bowl containing the dry mix. Using your hands (or using the processor settings), rub the butter into the flour mix. This will take a while, but try and work the butter into the flour fast because body heat causes the butter to melt much faster. Rub the butter in until it resembles a course and fine meal. Pour in the wet cream mix and lightly work into the dry mix until a dough just comes together. Shape this into a disc, wrap with cling film and then place into the fridge for an hour, or overnight if making a day ahead.

Grease your tartlet pans or rectangular pan. Take the dough out from the fridge, unwrap and place into the pan. Press the dough, which should still be pretty malleable and of a light greyish colour, into the bottom and sides of the pan. Take your time here, you want to make sure that there is a pretty thick and even layer of dough all around and up the sides. The thick padding ensures enough support during and after baking. Trim the top using a butter knife to get a clean edge. You may have some dough leftover like me, and that’s fine. Place the tart back into the fridge to stiffen a little more for 15-20 minutes.

Preheat the oven to 190C (375F). Cover the tart with aluminium foil and fill with pie weights. Bake for 22-25 minutes (I stopped at the 24-minute mark), rotating the tart halfway.

Whilst the shell is baking, make the filling. Put all the ingredients into a large bowl and microwave on high for 30-40 seconds. Remove from the microwave, then take a large spoon and stir everything together. Taste and add more jam or chocolate if necessary. Set the bowl aside for later.

After the blind bake, remove weights and foil, then bake for another 5 minutes (I only needed to bake mine for an extra 4). Just watch that the tart doesn’t look too dark around the edges whilst baking. Keep an eye on it. After baking, remove from the oven and let cool completely. Fill the tart with the ganache, then allow to set in the fridge for at least an hour before cutting and serving. Store in the fridge, otherwise the ganache will leak everywhere. It keeps well there for a week, but I doubt it will last that long…

Nut Butter Stuffed Matcha Cupcakes (updated)

I include two different nut butter options here– pistachio and almond. Oh yes, and two special frostings. I guess you have to read on if you want to know the specifics *annoying seductive winky face*.

Processed with VSCOcam with f2 preset
almond butter stuffed; topped with salted caramel cream cheese frosting and speculoos biscuit
Processed with VSCOcam with f2 preset
pistachio butter stuffed; topped with matcha buttercream and chopped pistachios

The first time I made these cupcakes, I relied purely on instinct and an old, old recipe found deep in the recesses of my dusty and grainy mental archives. The second time round, I modified a recipe from Cupcake Jemma, and they turned out absolutely perfect. No really. I hate these sorts of exaggerations, all the ‘reallys’ and ‘trulys’, so I’m officially going against personal principle for the sake of emphasis and honesty. These are the lightest, fluffiest little things, and I adore how the flavour of green tea is pronounced, and not hidden like some odd side element.

Anyways, it was a lucky shot. I always start a baking experiment with some wild or novel idea, but the initial framework always ends up being littered with side details and spontaneous ‘wait, I should use this instead of that!’ moments. They speckle the total perfection, so whatever I end up with is never what I meant it to be. Take this, for instance. I’ve recently been on a slight matcha roll (note to self: try out matcha rolls) because of its subtle green tea flavour. The bitter aftertaste lingers on the back of your tongue, never quite overwhelming it, making whatever you’re tasting just that much more sophisticated. Almost healthful, and no, not just because of that deceiving light green hue. I could list all the healthy characteristics of a teaspoon of matcha powder, but let’s face it, we’re talking about cupcakes here. I guess it’s further redeemed by the soft, oozing, rich dollop of almond butter right in the centre, but I haven’t gotten on to the frosting yet. Life is about balance. This is balance.

I was a little afraid of making cupcakes for two reasons.

1. I’ve made them (well, everyone makes them a lot) so many times that I was afraid the repetition bug would strike out against me and unleash a sudden curse on my beauties. Call me deranged.

2. They could very well and most likely be sub-par cupcakes. People want astounding, not average things.

That second point got me thinking. So if I made a good cupcake, it has to be made even better by some novel pairing or ingredient.. we’ve all been down the red/blue/green velvet path at least once, or maybe tried that wonderful chocolate or vanilla buttercream frosting to up the ante a bit, but something an inch more atypical would work better. That’s when I thought of matcha and almond (not quite novel just yet)… topped with salted caramel cream cheese frosting, topped with crushed speculoos biscuits (Lotus biscuits as everyone knows them here) and drizzled with more salted caramel. Think soft matcha sponge encasing a large dollop of creamy, rich nut butter, topped with lightly salted caramel cream cheese swirls and light, cookie-based crunch on top, or, in another case, delicate swirls of thick and fluffy matcha buttercream. The crumb is soft and firm, and the best part of these cupcakes is that post-baking, you get this wonderful sugar-crusted, crumbly top, which breaks away easily when you want to stuff the little holes with nut butter. I do love this matcha and almond/pistachio pairing, the upper-class rigidity of the flavours totally offset by the playful done-it-before frosting options.

Processed with VSCOcam with f2 presetProcessed with VSCOcam with f2 preset  Processed with VSCOcam with f2 preset

Processed with VSCOcam with f2 preset Processed with VSCOcam with f2 preset

Nut Butter Stuffed Matcha Cupcakes 

For the cupcakes (makes 10-12, adapted from Cupcake Jemma):

125g self-raising flour

135g soft, unsalted butter

125g white sugar

2 eggs, lightly beaten

1 teaspoon vanilla

pinch salt

quarter teaspoon bicarb soda

1 teaspoon matcha powder

Option 1: Matcha buttercream

270g icing sugar

150g softened, unsalted butter

1 tsp vanilla extract

1 teaspoon matcha powder, dissolved in a splash of whole milk

Option 2: Salted caramel cream cheese frosting (after many personal trial and error stints):

170g cream cheese, at room temperature

150g brown sugar

75g icing sugar

75g butter, softened

1 tbsp salted caramel sauce (store-bought or homemade)

for the topping: crushed speculoos biscuits and extra salted caramel sauce for drizzling

Preheat your oven to 170C (350F) and spray a muffin tin. In a large bowl and with a normal or electrical whisk, beat the butter and sugar together on high until pale and fluffy. Beat in the eggs and vanilla. In another smaller bowl, whisk together the dry ingredients- flour, bicarb, matcha powder and salt. Using a spatula, fold the flour and matcha mixture into the wet mixture.

Place the cupcake tin into the preheated oven and bake for 20-22 minutes. I took mine out at the 21-minute mark. Leave them to cool on a wire rack. The tops will be crusty and a light golden, and will look relatively flat. Leave to cool on a wire rack before removing to dig holes and stuff them silly.

Salted caramel cream cheese frosting:

Whilst they cool, make the frosting. Beat the brown sugar and butter together using a handheld electrical whisk, then beat in the cream cheese, icing sugar and salted caramel sauce. This is my favourite salted caramel cream cheese frosting which uses more brown rather than icing sugar, so it’s handy when you’re running low on icing sugar. Put the mix into the fridge until ready to use.

Matcha buttercream:

In a large bowl, beat together the icing sugar, softened butter, teaspoon of vanilla, and matcha/milk mix. Beat until visibly light, thick and fluffy. Stuff a piping bag with the mix and leave in a cool place (I put mine in the fridge overnight and let thaw for around 15 minutes the next morning) until ready to use.

When the cupcakes are mostly cool (around 15-20 minutes post-baking), take a teaspoon and dig right into the heart of the cupcake, before scooping out some cake. This part is mostly up to you; if you want more nut butter per mouthful (you lovely hedonists) then go ahead and dig deep, but if not, a teaspoonful of cake will suffice. Using another teaspoon, spoon in a heaped (or however much you want) of nut butter into the hole. I used homemade almond and pistachio butter; my mum makes batches in the kitchen all the time and it’s the most divine thing in the world. Using a large spoon or piping bag, frost the cupcakes with the salted caramel frosting or matcha buttercream. For the former, add crushed speculoos biscuits and more salted caramel drizzled on top. For the matcha buttercream, pipe the buttercream on top, whizz up some pistachios in a food processor and sprinkle on top. I also added salted caramel to this version because, well, why the heck not.