
So I brought these little hand pies to my mum and two friends for a taste test, and we were all floored. One of my friends, who doesn’t have the biggest sweet tooth, started off with an ‘omg, these are incredible’, before pausing and commencing to talk specifically about the balance in texture and flavour of his delicate, puffed-up pie. ‘I like how it’s mildly sweet and soft in the middle, and crazy crisp everywhere else. Not too sweet either. Whoa.’ I couldn’t agree more. As my mum and I shared one, a tingling warmth rippled through my being. There is nothing like sharing a delicious treat with those you love.
London’s cold spell was brief and impactful. Harsh winds and cancelled train rides aside, the most beguiling thing was to watch my gloved hand traverse the page in my diary, just this time last week. Not once did I ever have to write in my diary with a shivering hand.
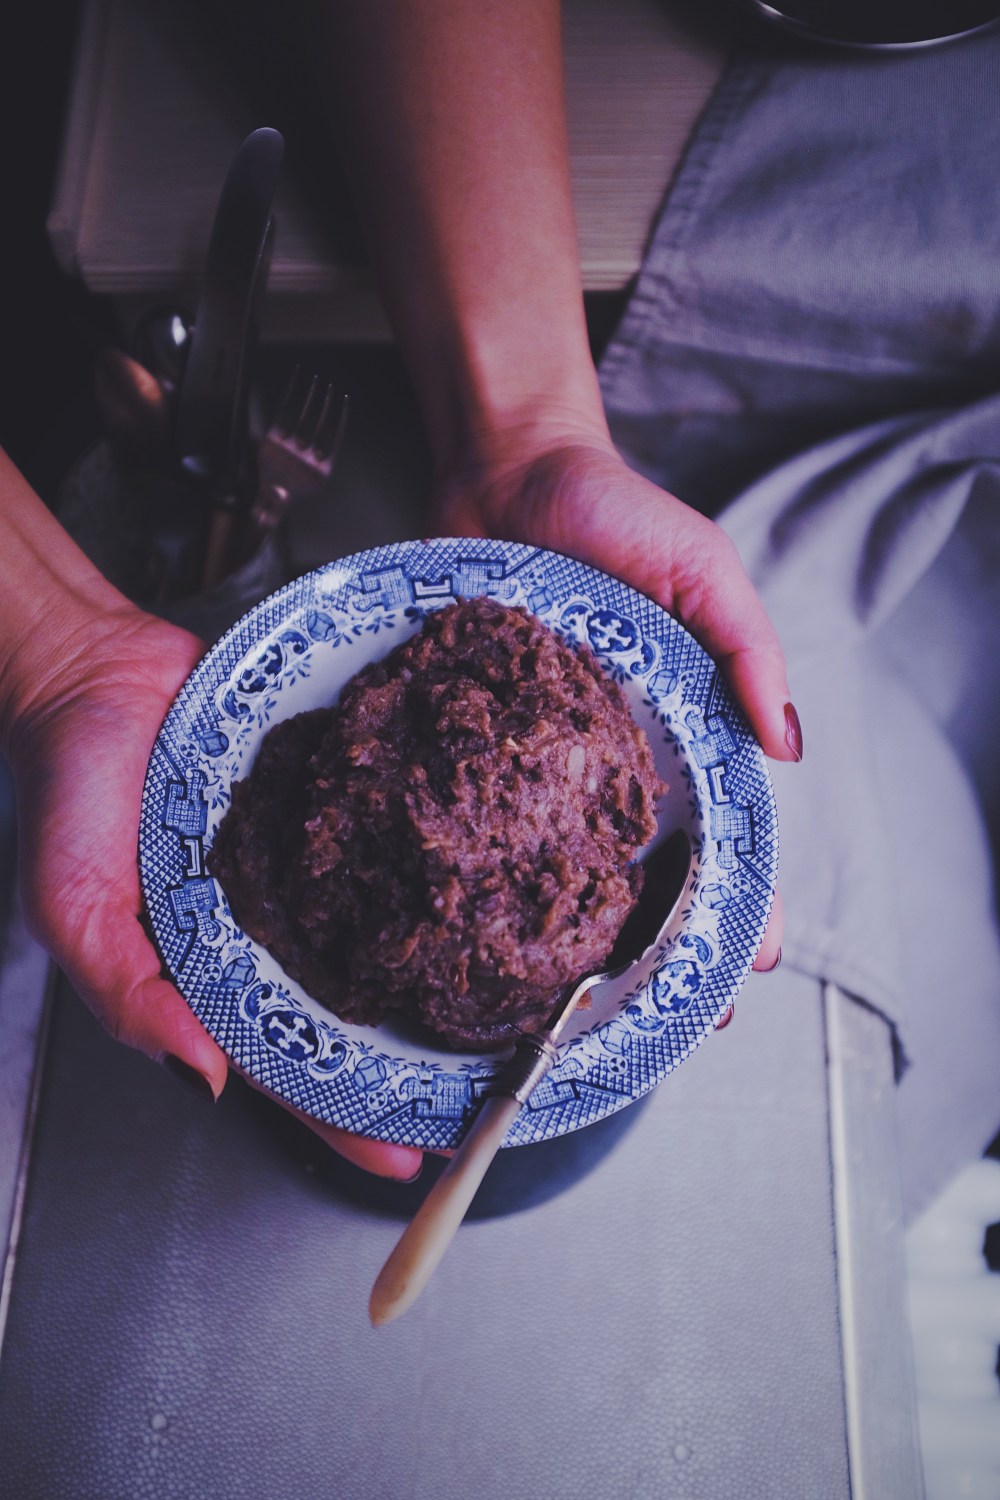
And so comfort had to be in tow. No question about it. Tinker tinker, tinker tinker. A brief encounter with the adzuki bean reminded me how powerful it can be in conjuring up such profound memories and nostalgia. Native to the Himalayas and Southeast Asia, it is especially common in Japan, where it is used in a variety of different desserts. Red bean mochi and red beans scattered in my ice kachang were some of my favourite desserts as a child, ones I appreciate now more than ever in London, where Asian desserts are still rather uncommon. If one is so lucky to find them, they still tend to bear ridiculous prices. Another reason to make these yourself at home!
The best thing about these hand pies, cute filling aside, is the delicious, outrageously crisp crust. Complementing it is the just-right sweetness of red bean paste, smooth and sticky. You could customise the filling by adding things like soft dates (deglet/medjool) and nuts for some interesting dimension and a different mouthfeel.
Red Bean Hand Pies (makes 10-12 little hand pies)
Ingredients
For the red bean paste:
200g (1 cup) adzuki beans
240ml (1 cup) water
pinch of salt
200g (1 cup) granulated sugar
For the puff pastry:
280g (about 2 and 1/4 cups) plain flour, and have a little bowl with some extra flour set aside for sprinkling later on (sub: half white and half whole-wheat, or use a gluten-free flour such as coconut or rice)
120ml (1/2 cup) vegan butter (sub: coconut oil)
120ml (1/2 cup) cold water
pinch of salt
1 tbsp sugar
Directions
The night before you make the pies, soak the adzuki beans in the water. In the morning, drain the beans, place them into a saucepan. Add fresh water to the saucepan until there is about an inch of water covering the beans. Turn on the heat and let the beans come to a boil. Once at a boil, reduce to a simmer and cook the beans for about 45 minutes. During this time, start making the pastry. You could use a food processor but I prefer using my hands in a bowl to get a good feel of the dough. In a bowl, mix together the flour, sugar and salt. Add the butter/coconut oil and squeeze it into the flour until you get floury clumps. You don’t have to make sure everything comes into clumps, you should just have a relatively dry and crumbly mixture. Add a quarter cup of water to start, then add the rest slowly until the dough just comes together in a large clump. The mixture will be quite dry. Add more or less water until you get to this point. Put the dough in a bowl and place this in the fridge.
After 45 minutes of cooking the beans (give them a stir every once in a while), add half of the sugar and salt. Continue cooking for 15 minutes. Squeeze one of the beans– if it breaks easily then you’re on the right track. If not, never mind, just continue cooking until most of the beans are easily smushed (I LOVE that word). Continue cooking until most water is evaporated. Add the rest of the sugar and cook for another 5 minutes before taking the pan off the heat. Use a fork to smush the beans more into a paste. Leave the beans to cool in the fridge; this is also when the paste (termed anko in Japanese) will thicken.
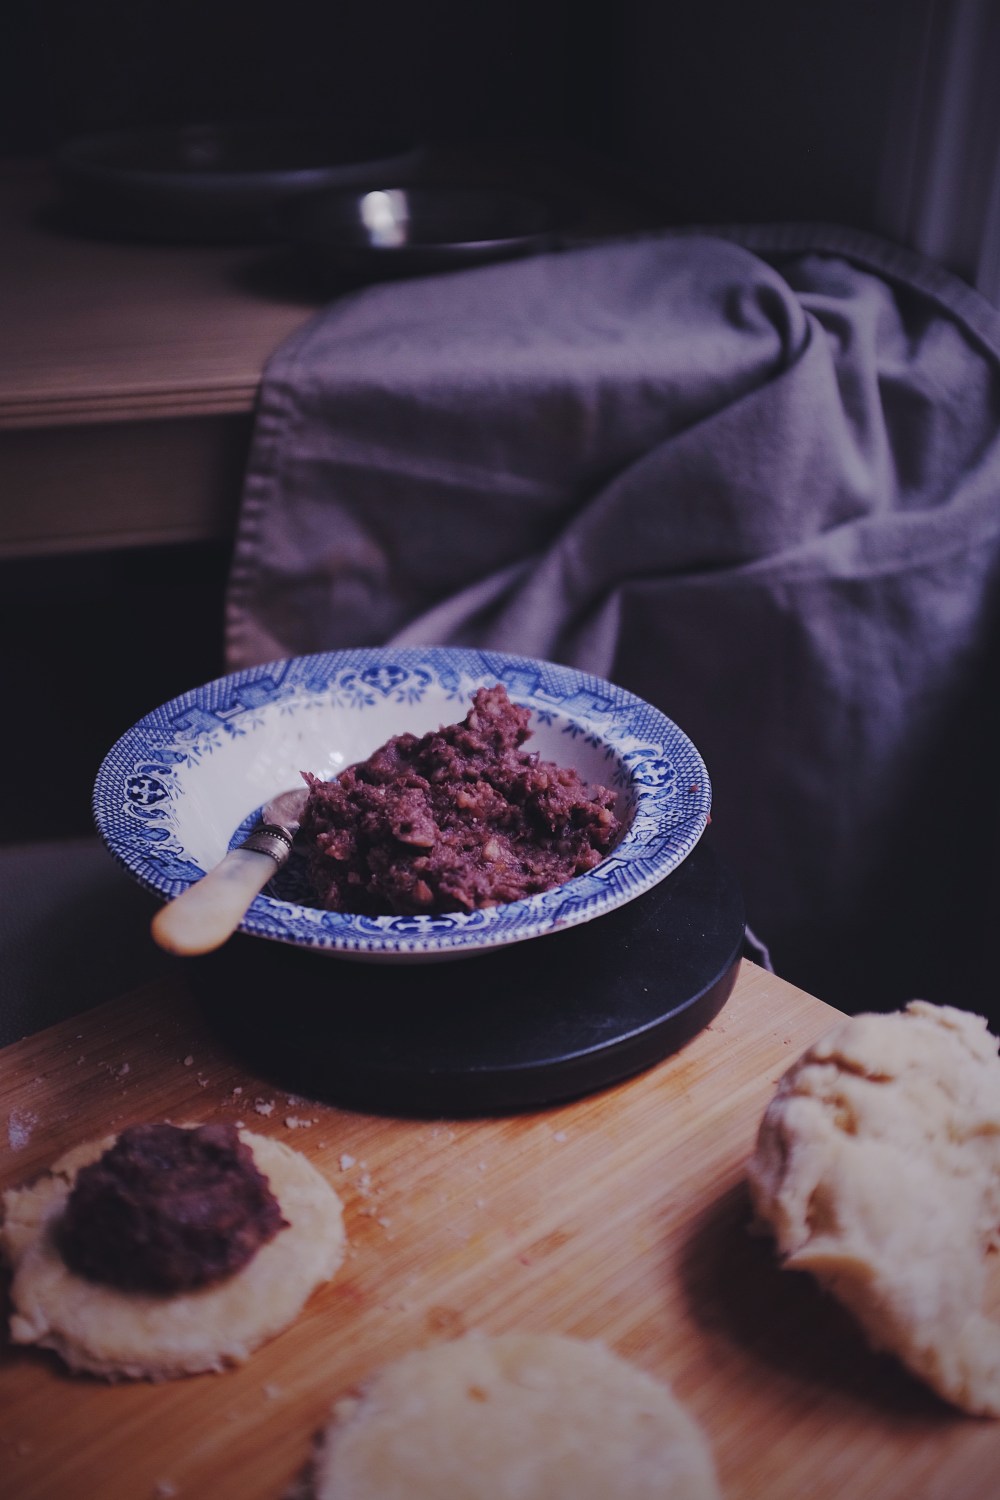
Preheat your oven to 190C. Lightly flour a work surface and, using a rolling pin, roll out your dough until about half a centimetre thick. Using the edges of a glass cup, cutters or a measuring cup, cut 5-inch circles in the dough, starting from the edges to save space. Take your bean paste from the fridge and place a heaped teaspoon of the paste in the centre of one circle. Wet your finger to draw a thin layer of water along the borders of the circle surrounding the paste, then place another circle of dough on top. Pinch the pie along its sides to seal the pie. Using a fork, make little fork marks (or claw marks, as I like to call them) around the edges, then flip the pie and do the same on the other side. Repeat until dough is finished. And now for the important part!! Brush the tops of the pies with water– this will make the tops super crisp once out of the oven. Then sprinkle some sugar on the tops, and place the pies in the preheated oven. Bake them for at least half an hour. Check on them at 25 minutes– if they are already golden-brown take them out, but mine took 30 or so minutes.

OOOOOOH yes these are gorgeous 😀 Vegan hand pies can be a headache sometimes and yours turned out so wellllll!
LikeLiked by 1 person