Carrot Cake

An indecent post, if you ask me. And this late? Oh, but you just might thank me with this one.

Processed with VSCOcam with f2 preset

Processed with VSCOcam with f2 preset


I’ve been waiting, for what almost seems like forever, to bake a carrot cake. Just once, just once! I told myself. I had to, I needed to. One of those quintessential baking know-hows. Pretty high up on the list of any baker’s signature recipes. What really got me excited was when I saw this recipe. It was then, and only then, that I had the overwhelming urge to grate some carrots and start a cream cheese party. To whip up a storm without a care in the world. I really think something like cream cheese frosting is worth the extra effort, and this is one of the best recipes I’ve tried. It beats the previous one I’ve used on cupcakes or swirled into the fudgy bosom of a brownie, with the perfect 1:3 butter to cream cheese ratio. Beats it all. 

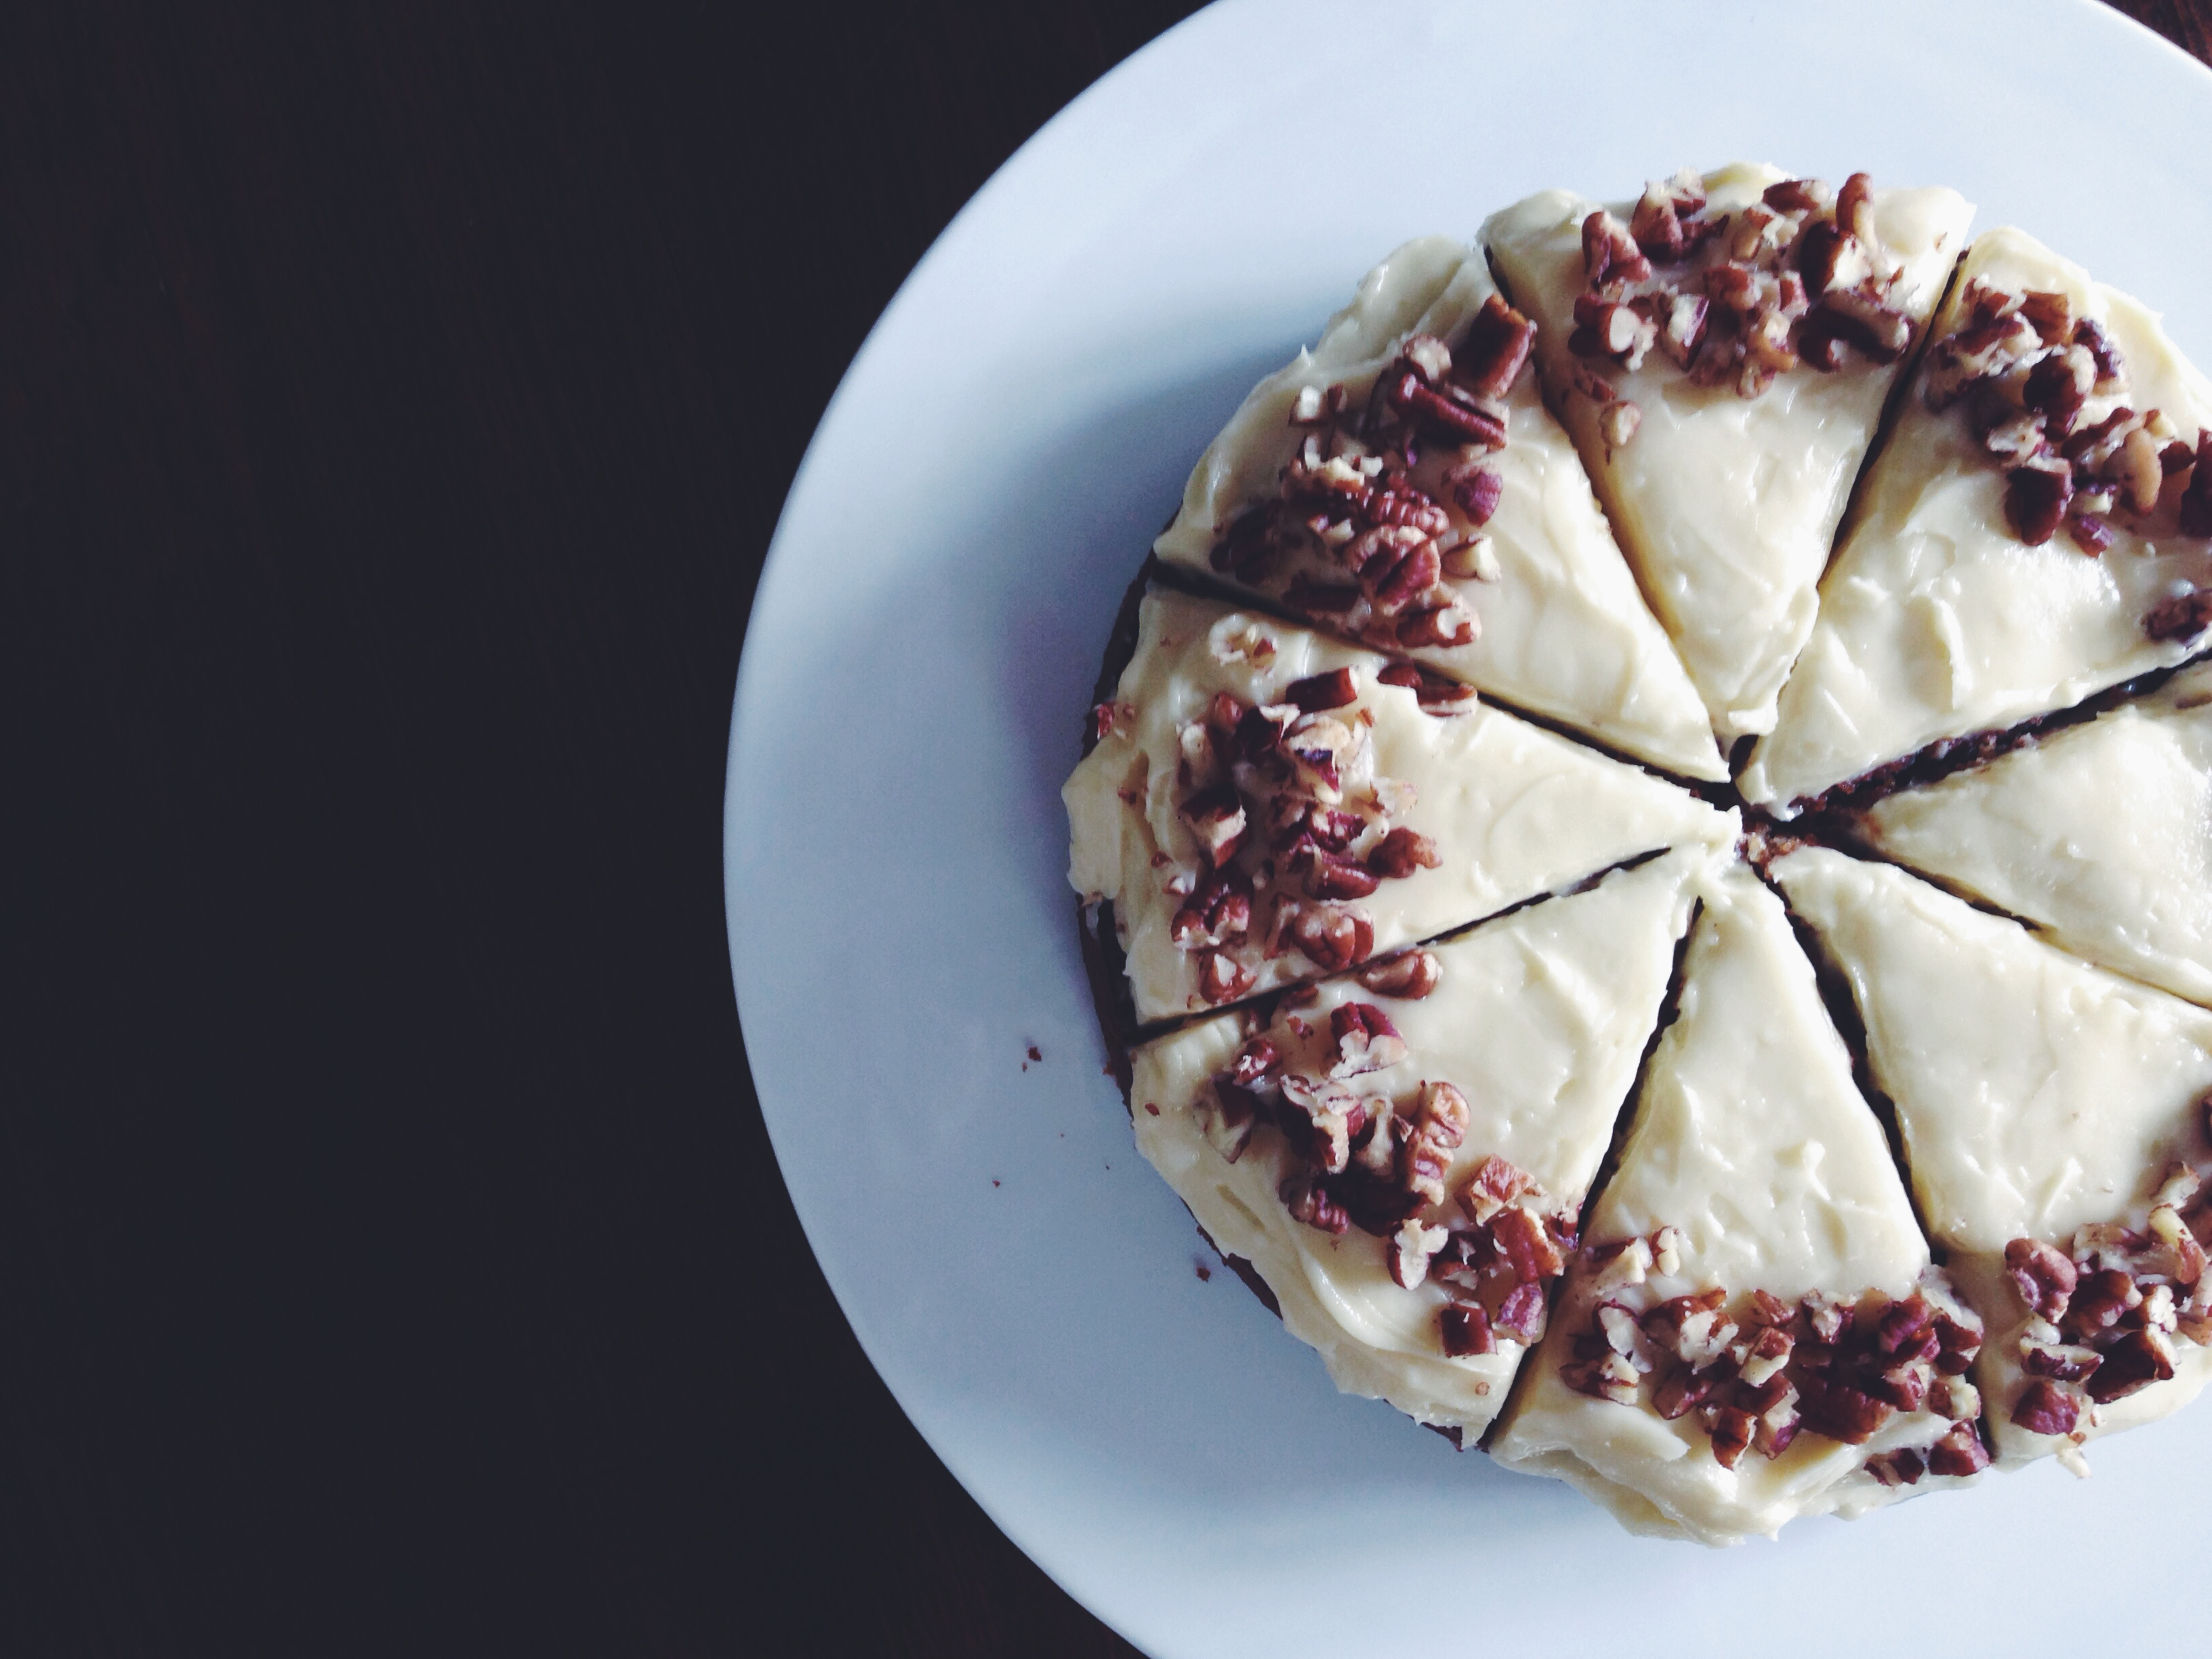
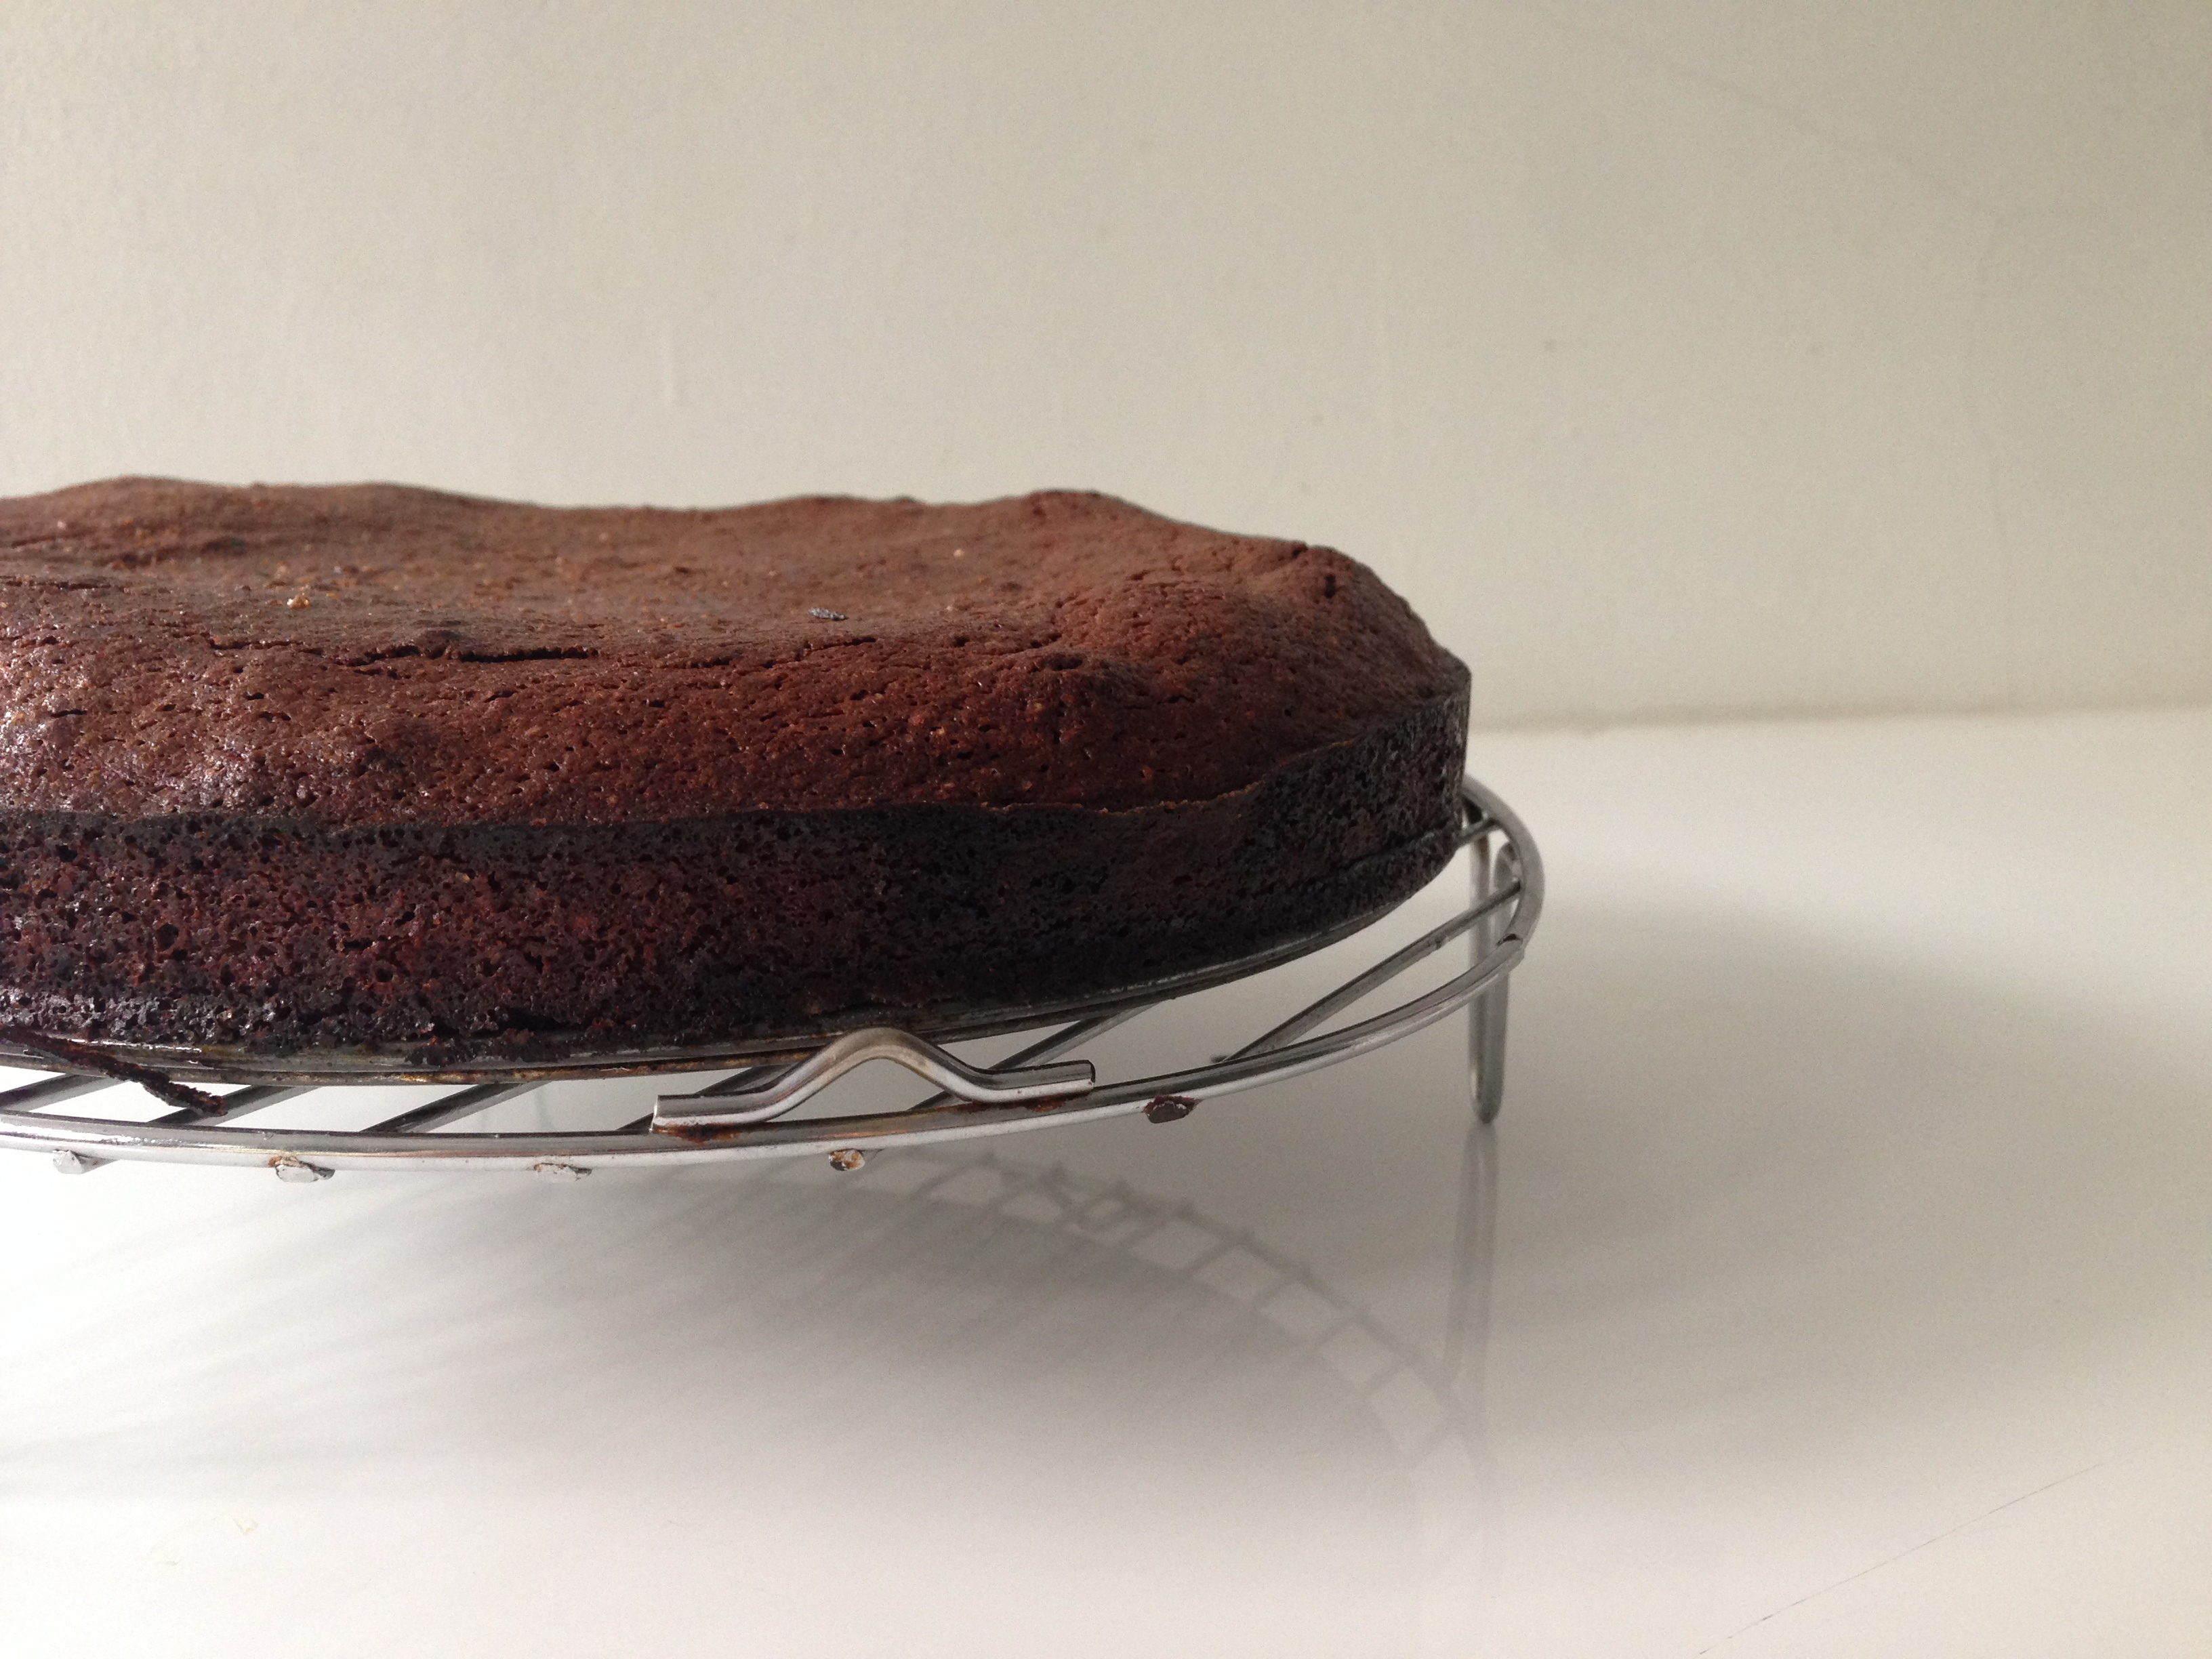
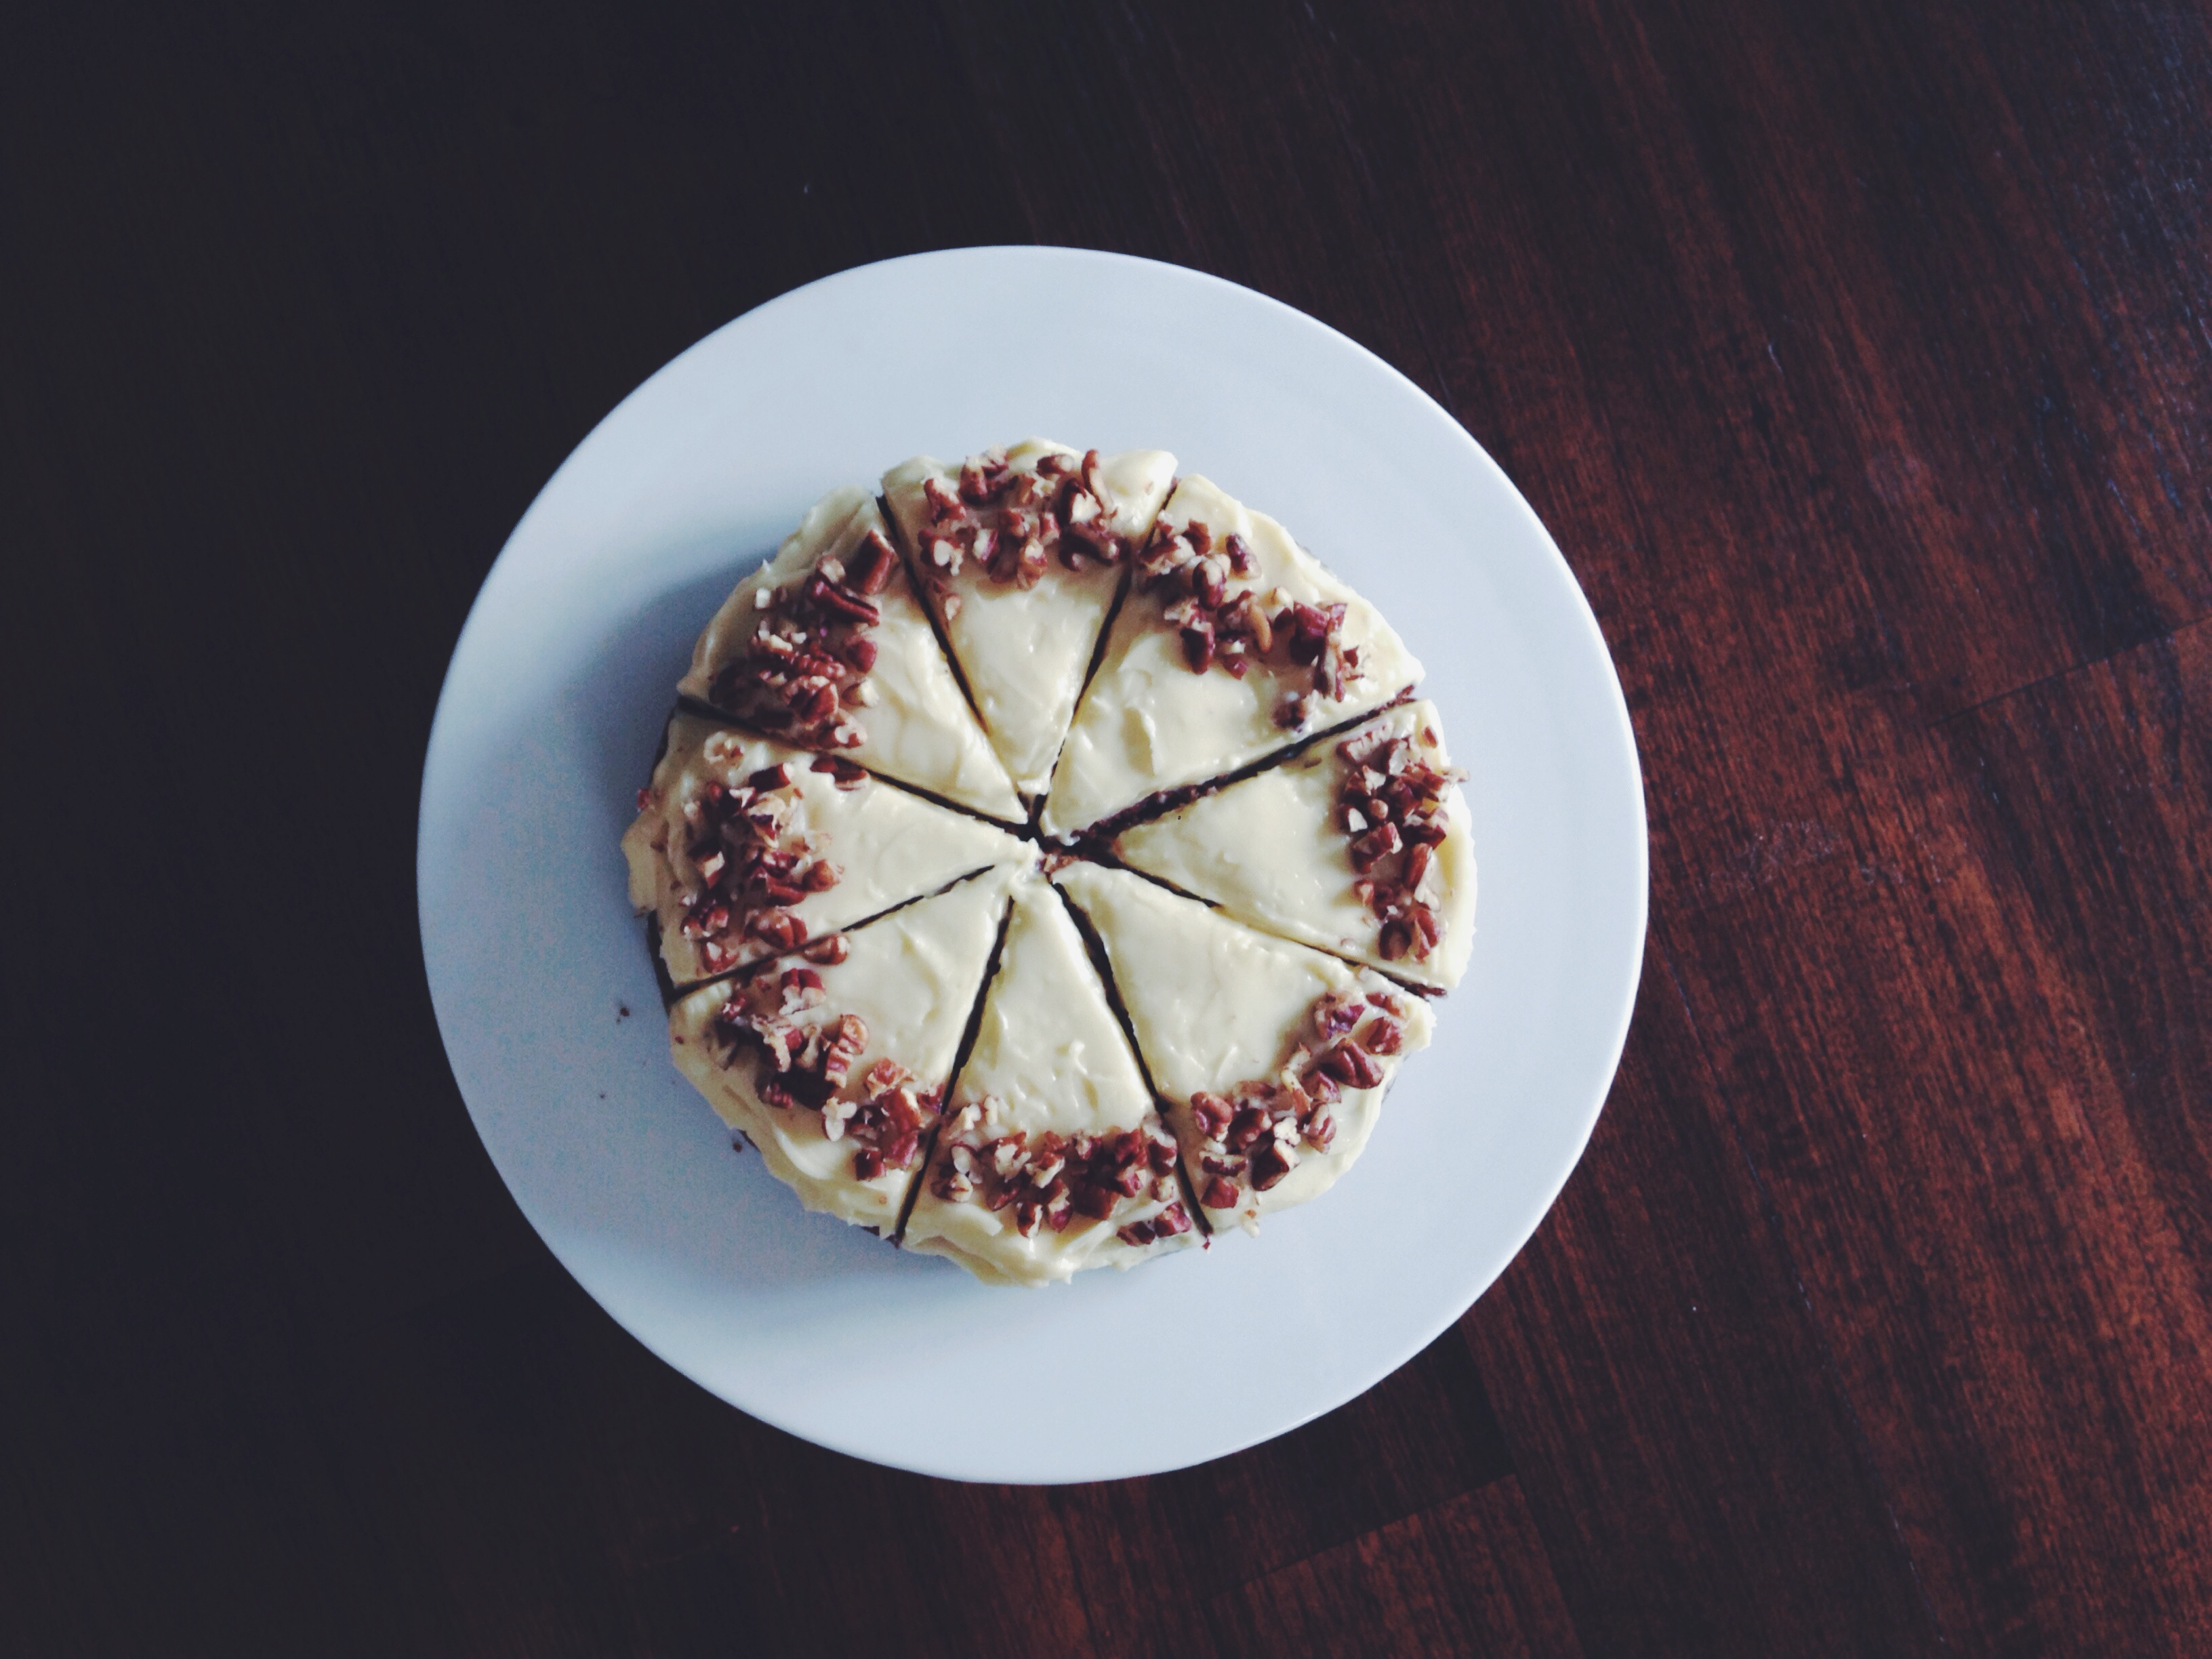
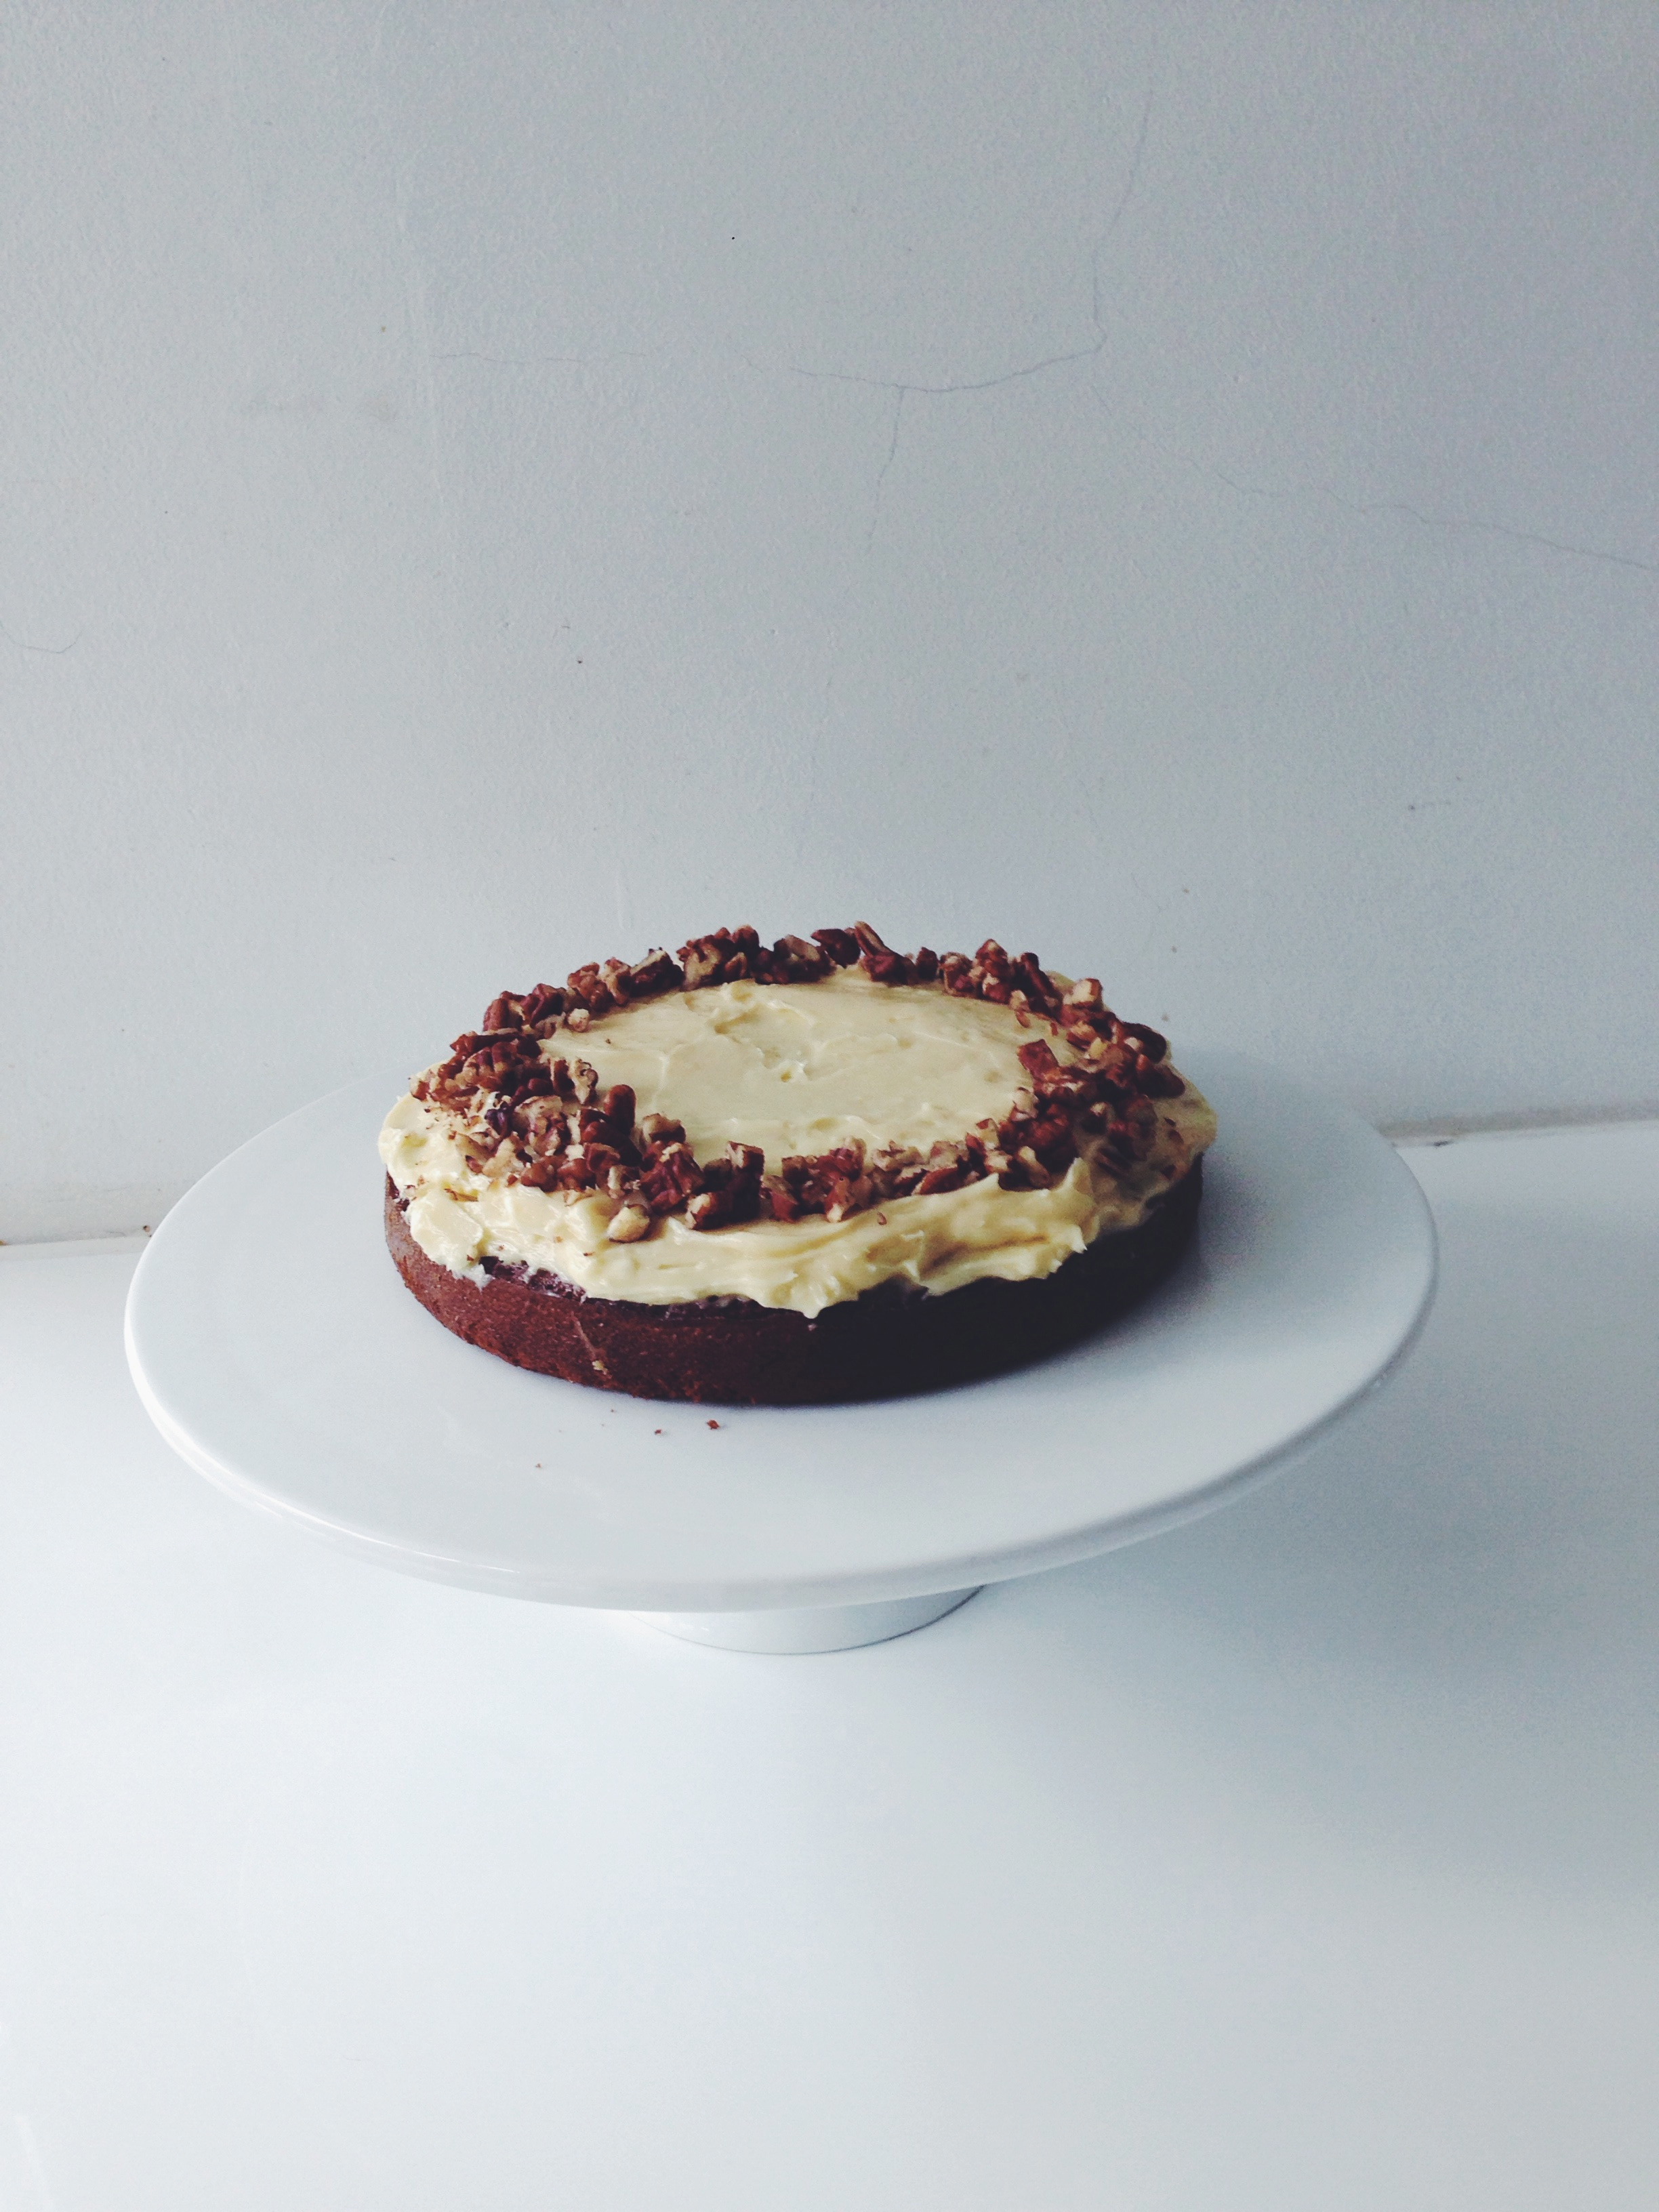
What I particularly like in this version is the addition of applesauce, which yields an incredibly moist, wholesome and dense texture. This is by no means one of your airy-fairy cakes. No, this is a gleaming, robust, I’ve-got-more-substance-than-your-typical-vanilla-cupcake cake. Almost matronly. I implore you to try it. I’ve carried out the recipe twice– once just to test it, with a single layer, and the second to finalise my own proportions and make it my own, essentially, with a double layer and plenty of cream cheese frosting to oozing from the sides and spread all over. In the second trial, I used dark muscovado sugar instead of normal brown, which made the resulting cake even more dense and lovely, but if you prefer a slightly lighter texture, then be my guest and use the alternative. Truly deluxe, from yours truly. 

Processed with VSCOcam with f2 preset Processed with VSCOcam with f2 preset Processed with VSCOcam with f2 preset Processed with VSCOcam with f2 preset

Carrot Cake (serves 8-10, makes 2 layers)

Ingredients for the cake

150g unsalted, softened butter

3 eggs

70g chopped pecans or walnuts, or both (I used a mixture of both, and use more if you prefer a nutty surprise in your cake), and some additional (play around with the measurements here) chopped nuts for the decoration later on.

half cup white sugar

half cup firmly packed brown sugar (or dark muscovado if you’re feeling all sultry)

2 tsp vanilla extract

1 1/4 cups all-purpose flour

2 tsp baking powder

2 tsp baking soda

1 tsp salt

2 tsp ground cinnamon

230g finely grated carrots

half cup applesauce (if you use unsweetened, add an extra tablespoon of white sugar)

Ingredients for cream cheese frosting

100g room temperature butter (I really loved using salted, but unsalted is fine too)

300g room temperature cream cheese (it has, has to be very soft and pliable!)

1 1/2 cups powdered sugar, measured after sifting

2 tsp vanilla extract

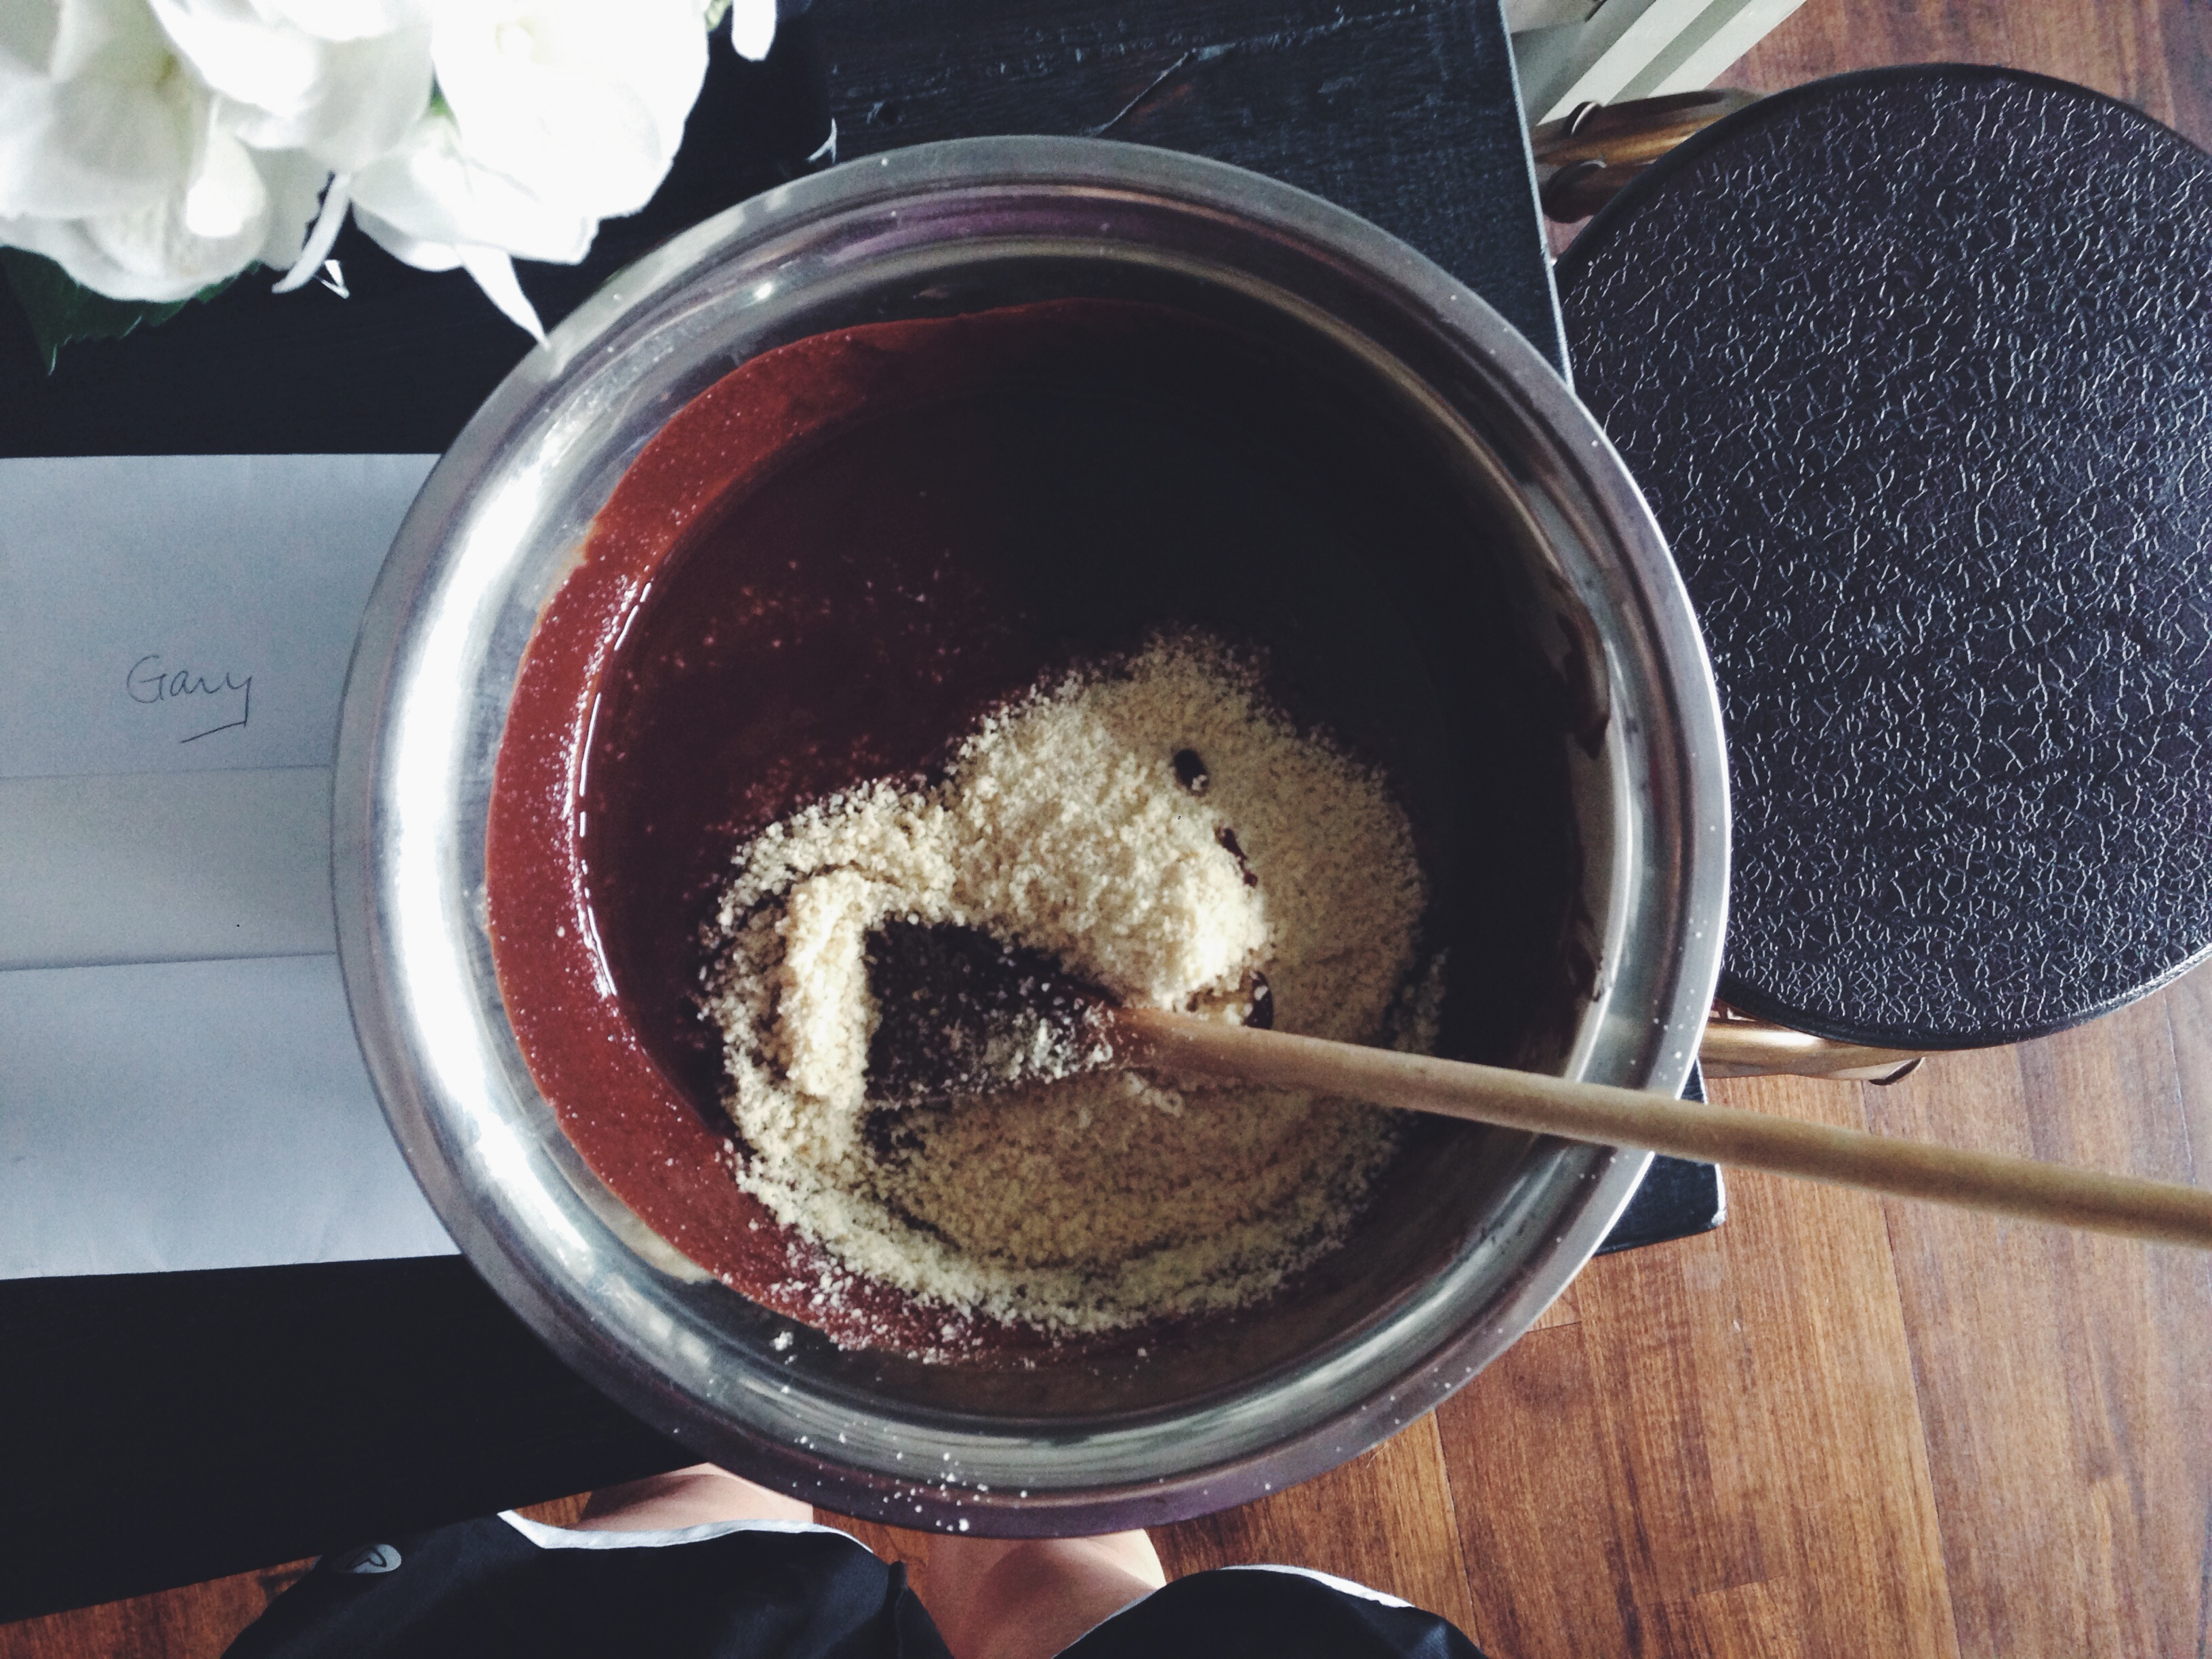
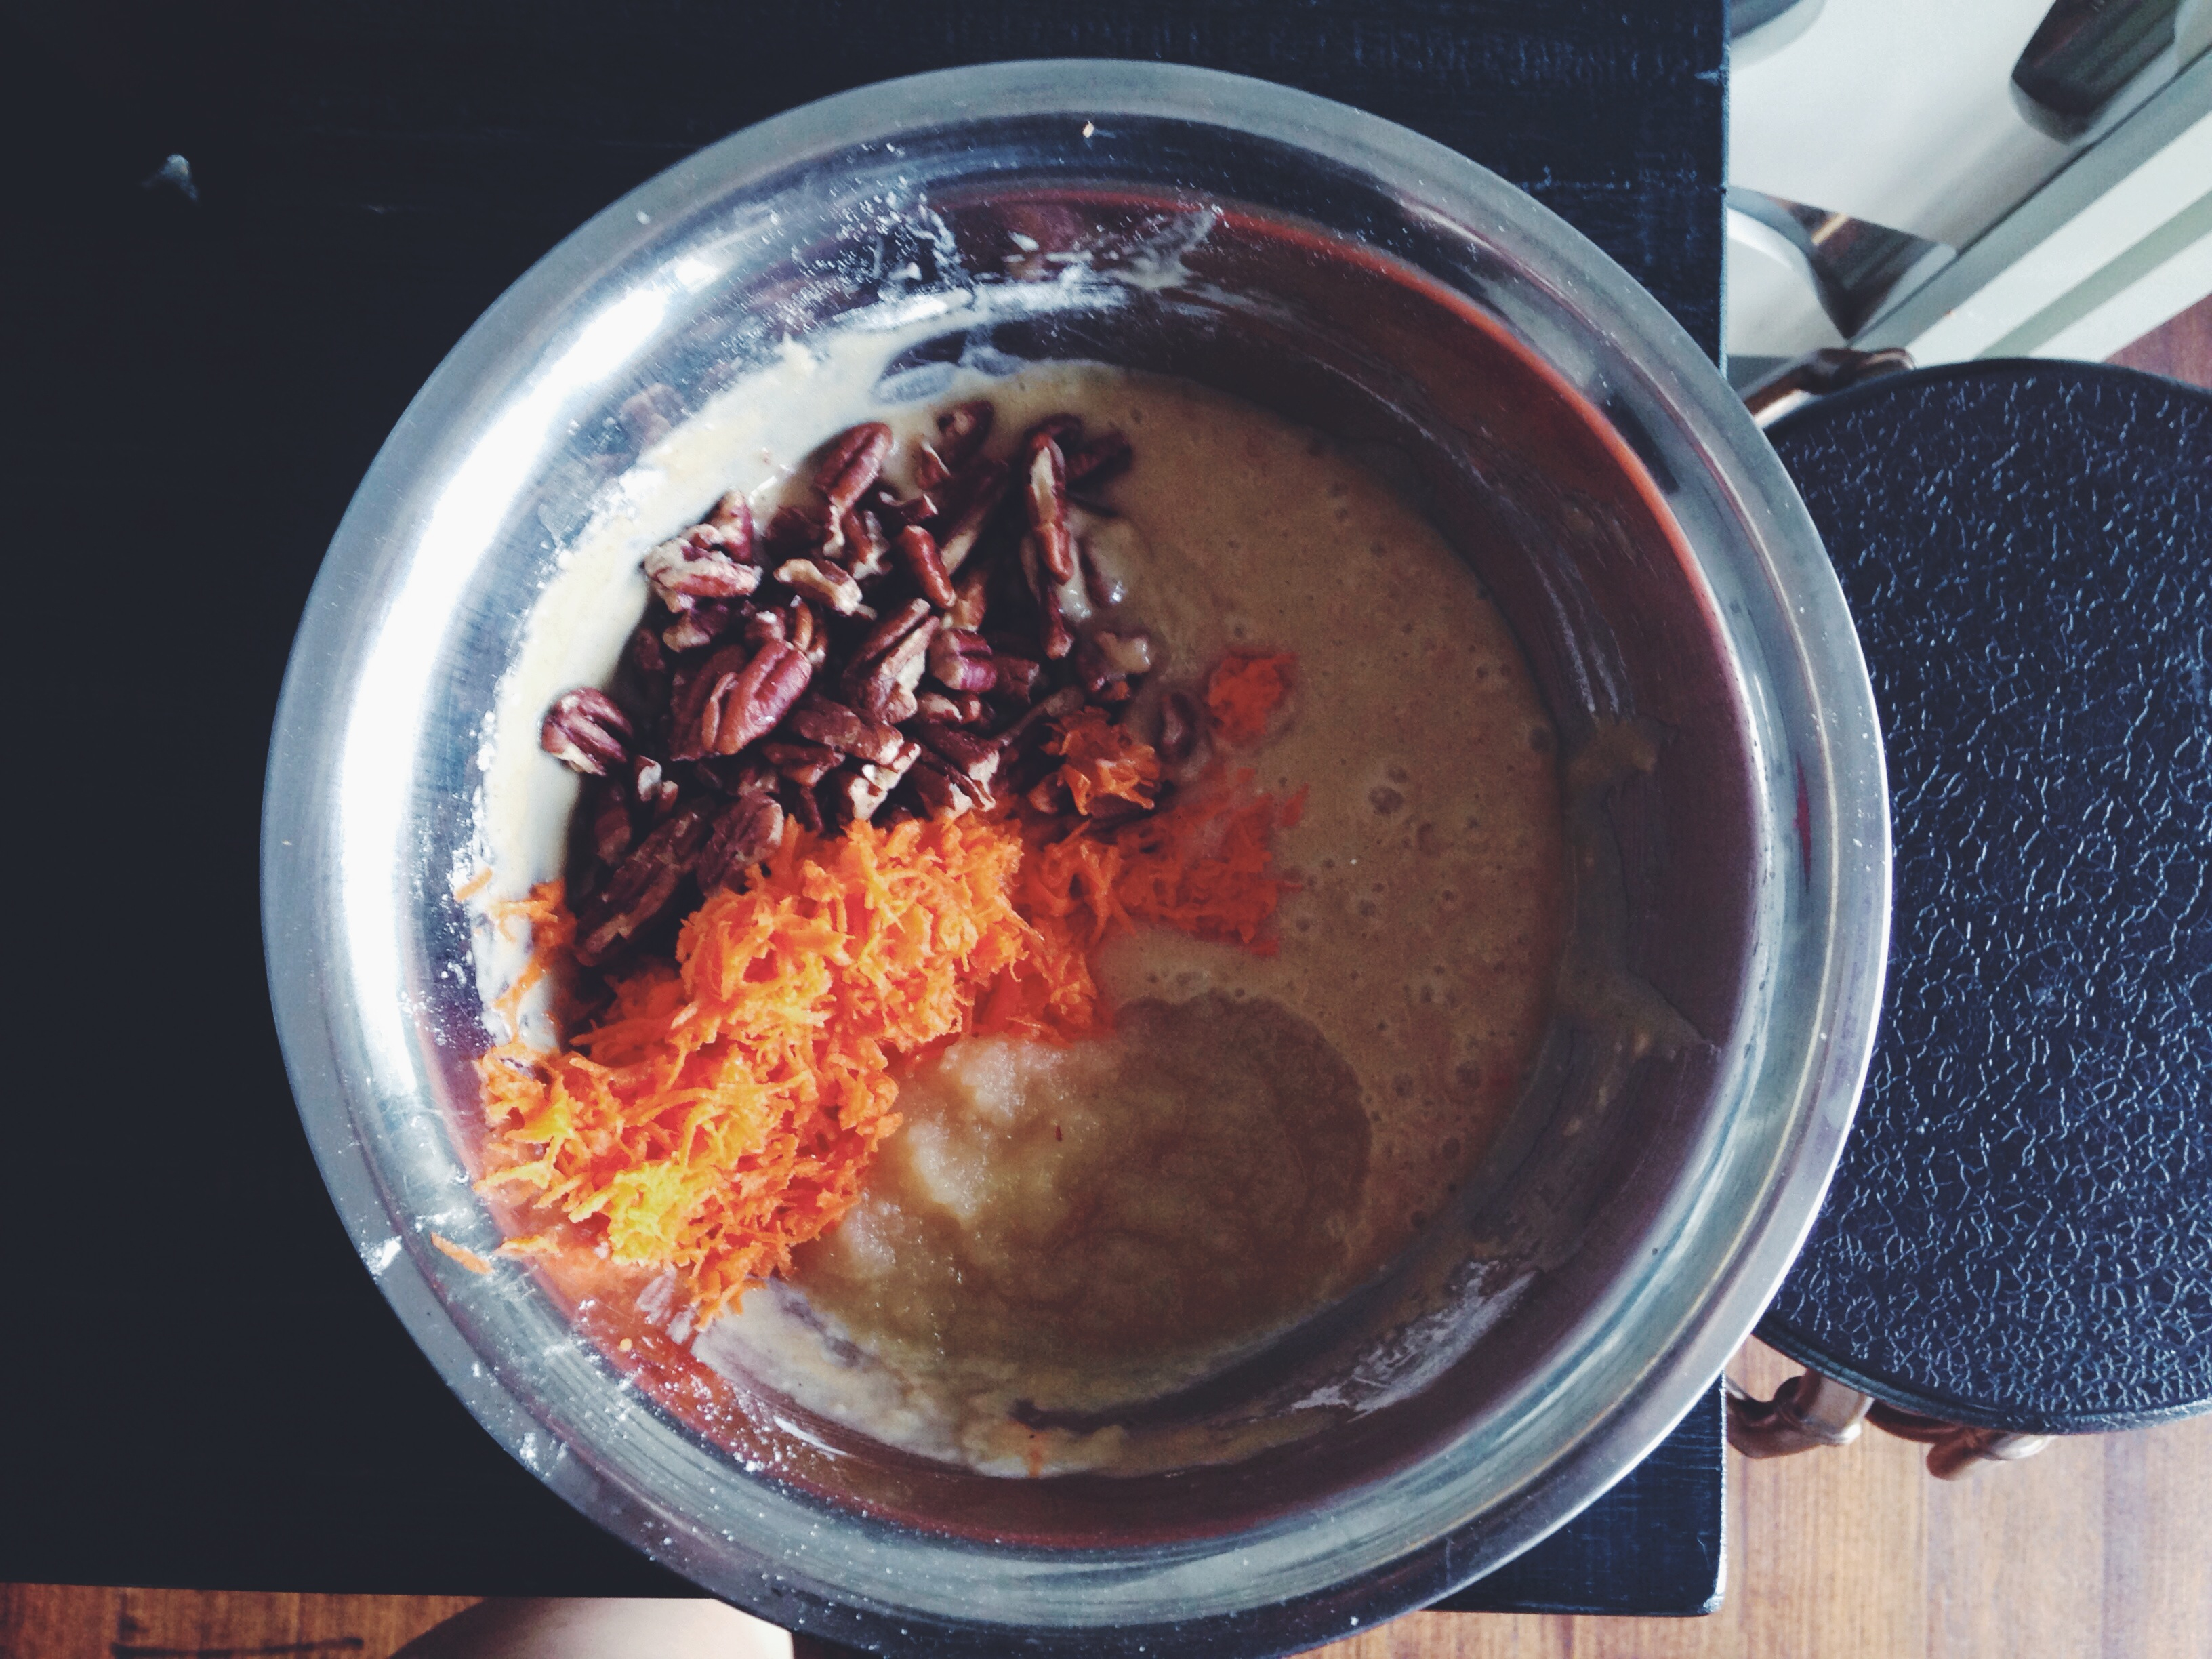
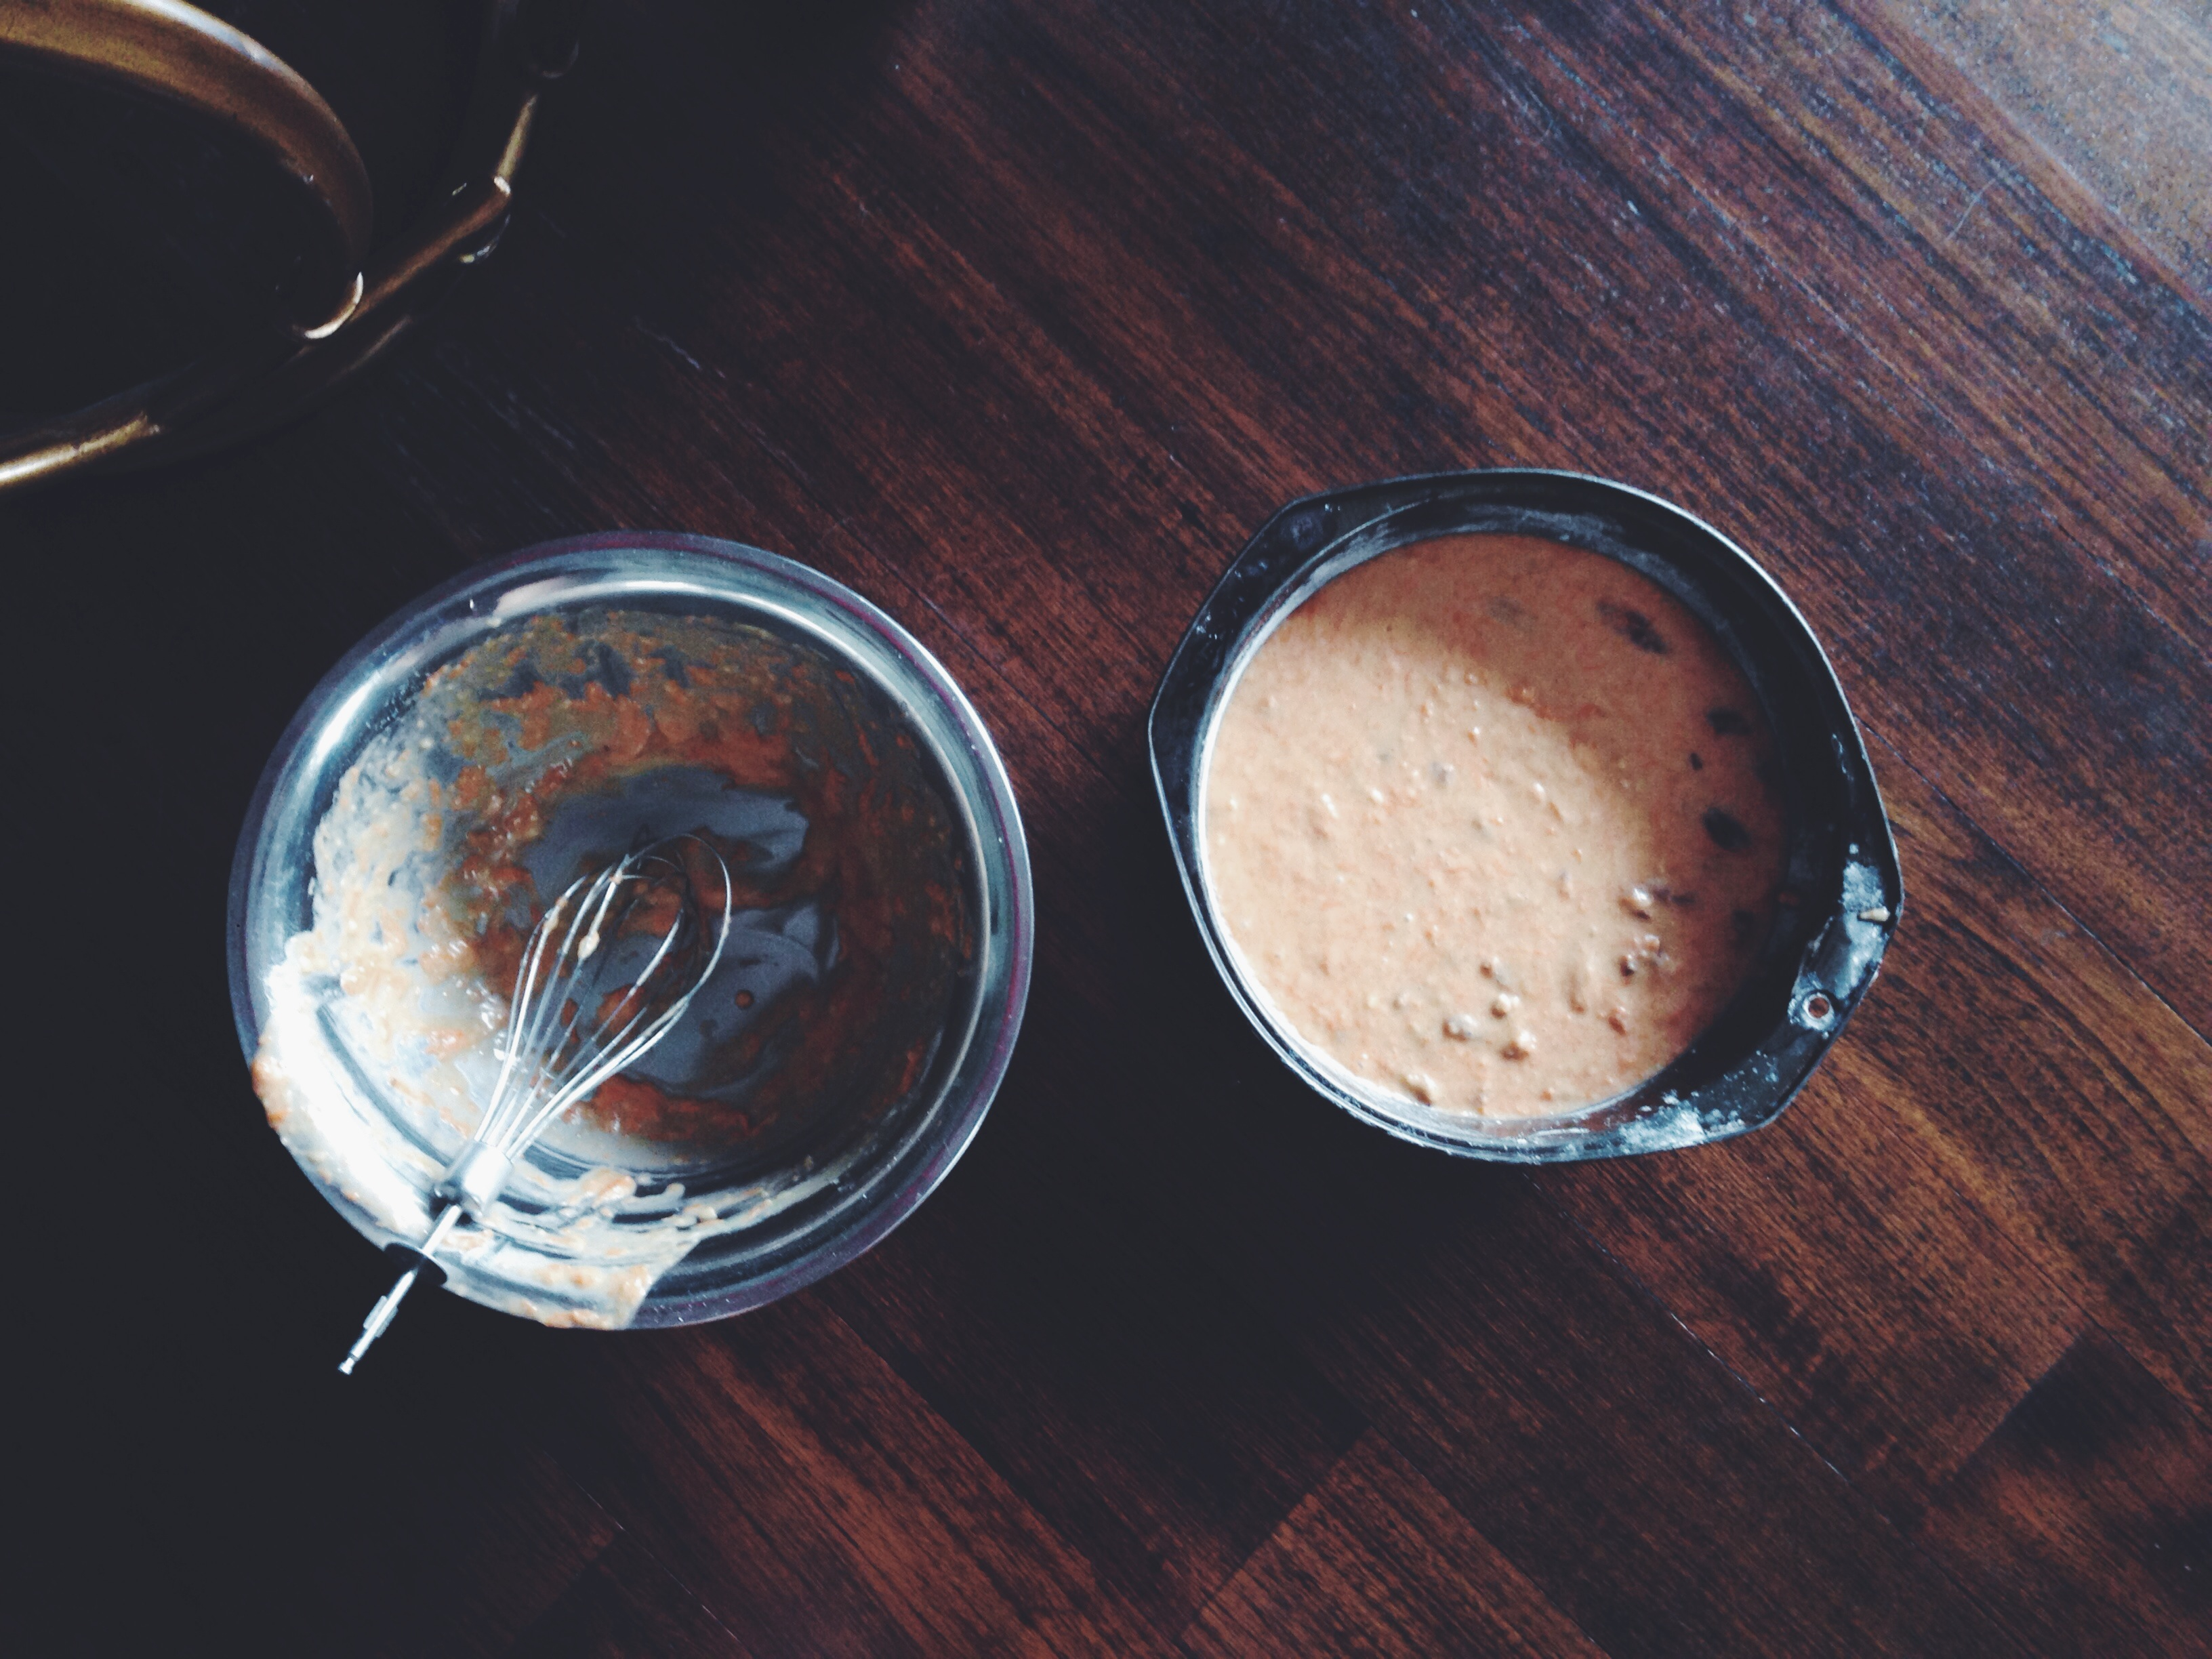
Heat your oven to 177 degrees C (350 degrees F). Start by grating your carrots (I used around 3 large ones, but just as long as you get to 200-230g) Grease and flour 2 6 or 7-inch baking pans. In a large bowl and using either a hand mixer or a normal whisk and your more than capable biceps, beat the eggs and sugar together until pale and slightly fluffy. Your arms will ache and start screaming at you. Ignore their cries and carry on headstrong. Add the softened butter (half melted is perfect) and vanilla and beat to combine.

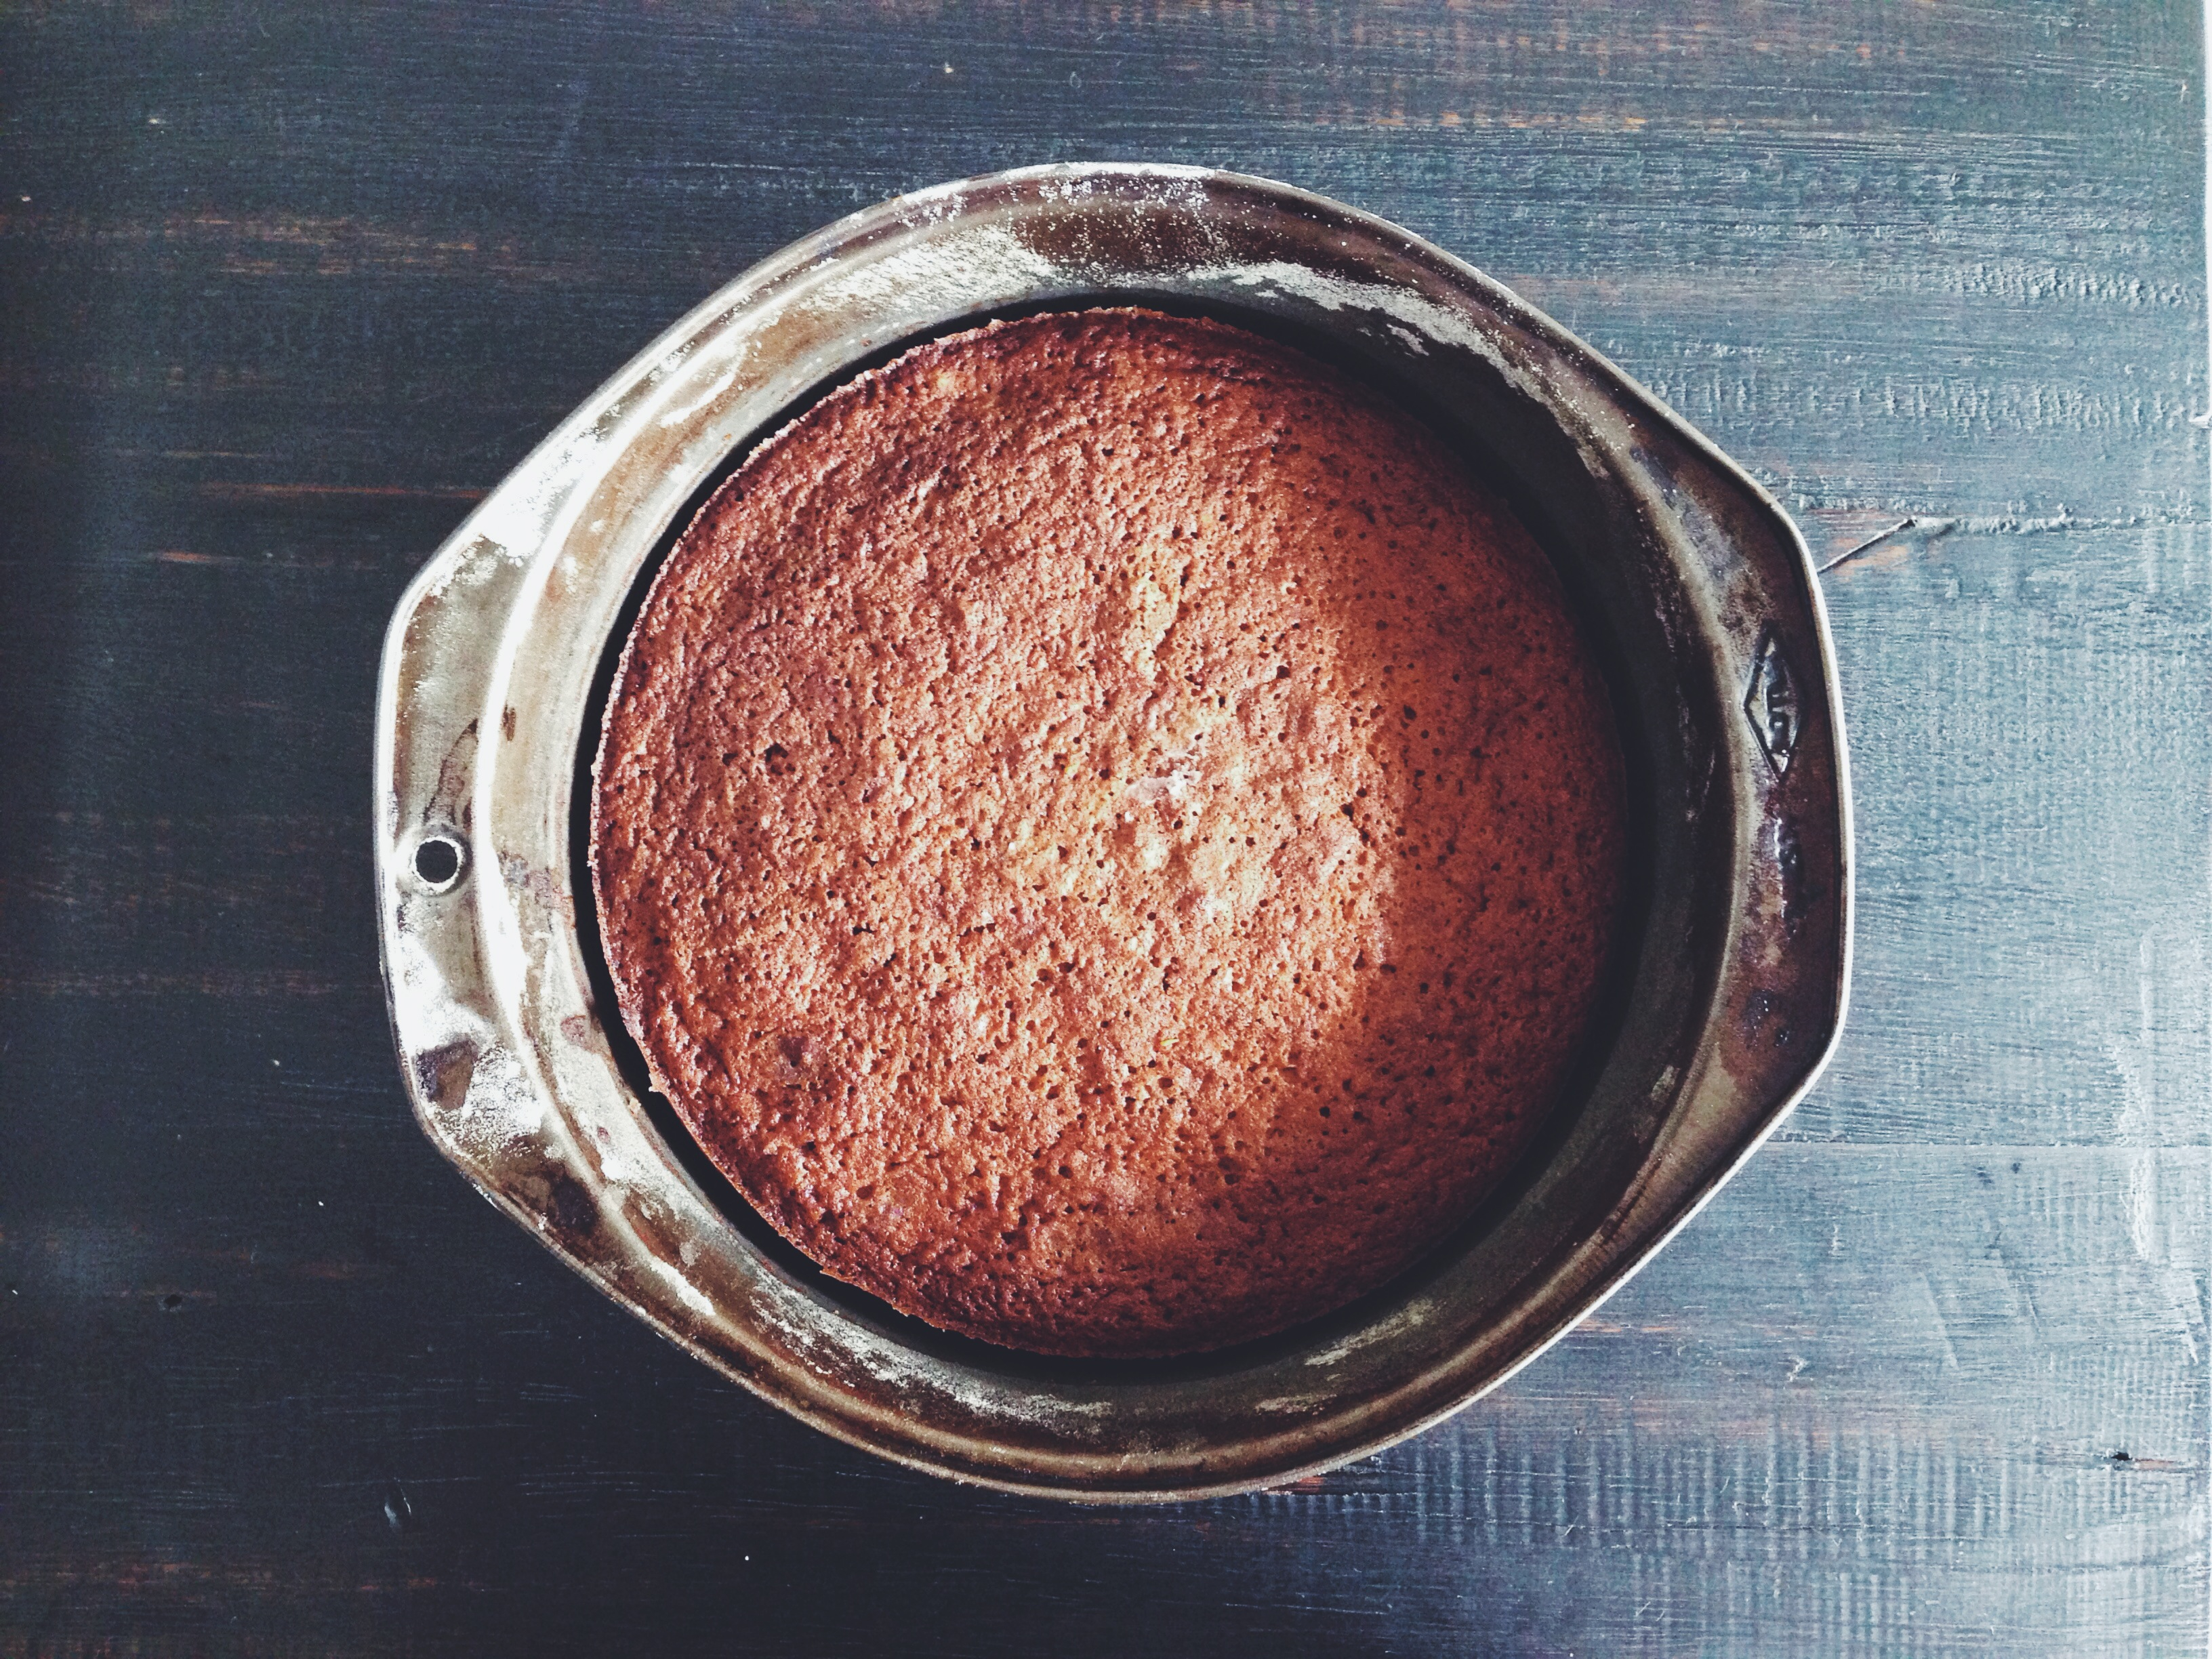
In a separate, smaller bowl, whisk together the flour, leavening agents, salt and cinnamon. The original recipe calls for this to be sifted into the wet ingredients, but I just stirred it in with a spatula. Softly fold it in, but don’t mix it in all together at once. When there are still streaks of white in the pale batter, tip in the grated carrots, chopped nuts and applesauce. Fold in until just combined. The batter should be rather wet. Divide batter between the two tins (I used a weighing scale to be more accurate at this point), and pop it in the oven for 43-45 minutes. Mine took 45; I took it out at 43 the first time and it didn’t have as nice a solid, cake-like texture, the crumb a little weak despite being very, very tasty. So 45 it was, and what a difference 45 made. Of course, it all depends on oven temperature and your climate and whatnot, so just check with a wooden skewer at 40 minutes to be on the safe side. 

When you’re waiting for it to bake, make the frosting. In a large bowl with an electrical whisk (the electrical sort really helps this time), beat the butter and vanilla until smooth and soft. Then beat in the softened cream cheese and finally, the powdered sugar. The cream cheese must be at room temperature, else you’ll end up with unsightly, miniature, irritating lumps of white in the batter. Like those ungodly whiteheads. You don’t want that. Scrape down the sides of the bowl with a spatula and just give everything a gentle mix to ensure a homogenous result. Once the cake is completely cool, which will take at least an hour (it’s worth it, promise), gently tip it out and use an offset spatula to spread about half of the frosting onto the first layer, then plop on the second layer and do the same. To speed up the cooling process, put the cake in the fridge after around 20 minutes. If you wish to do a crumb coating first and frost the sides as well, then go ahead. It just means you have to put less frosting on the first and second layers (around 1/3, not a half). So simple, this cake. Because it’s on the denser side, I didn’t have to use a serrated knife to cut through any layers, and both layers were stacked right side up, so no cutting of tops was needed.

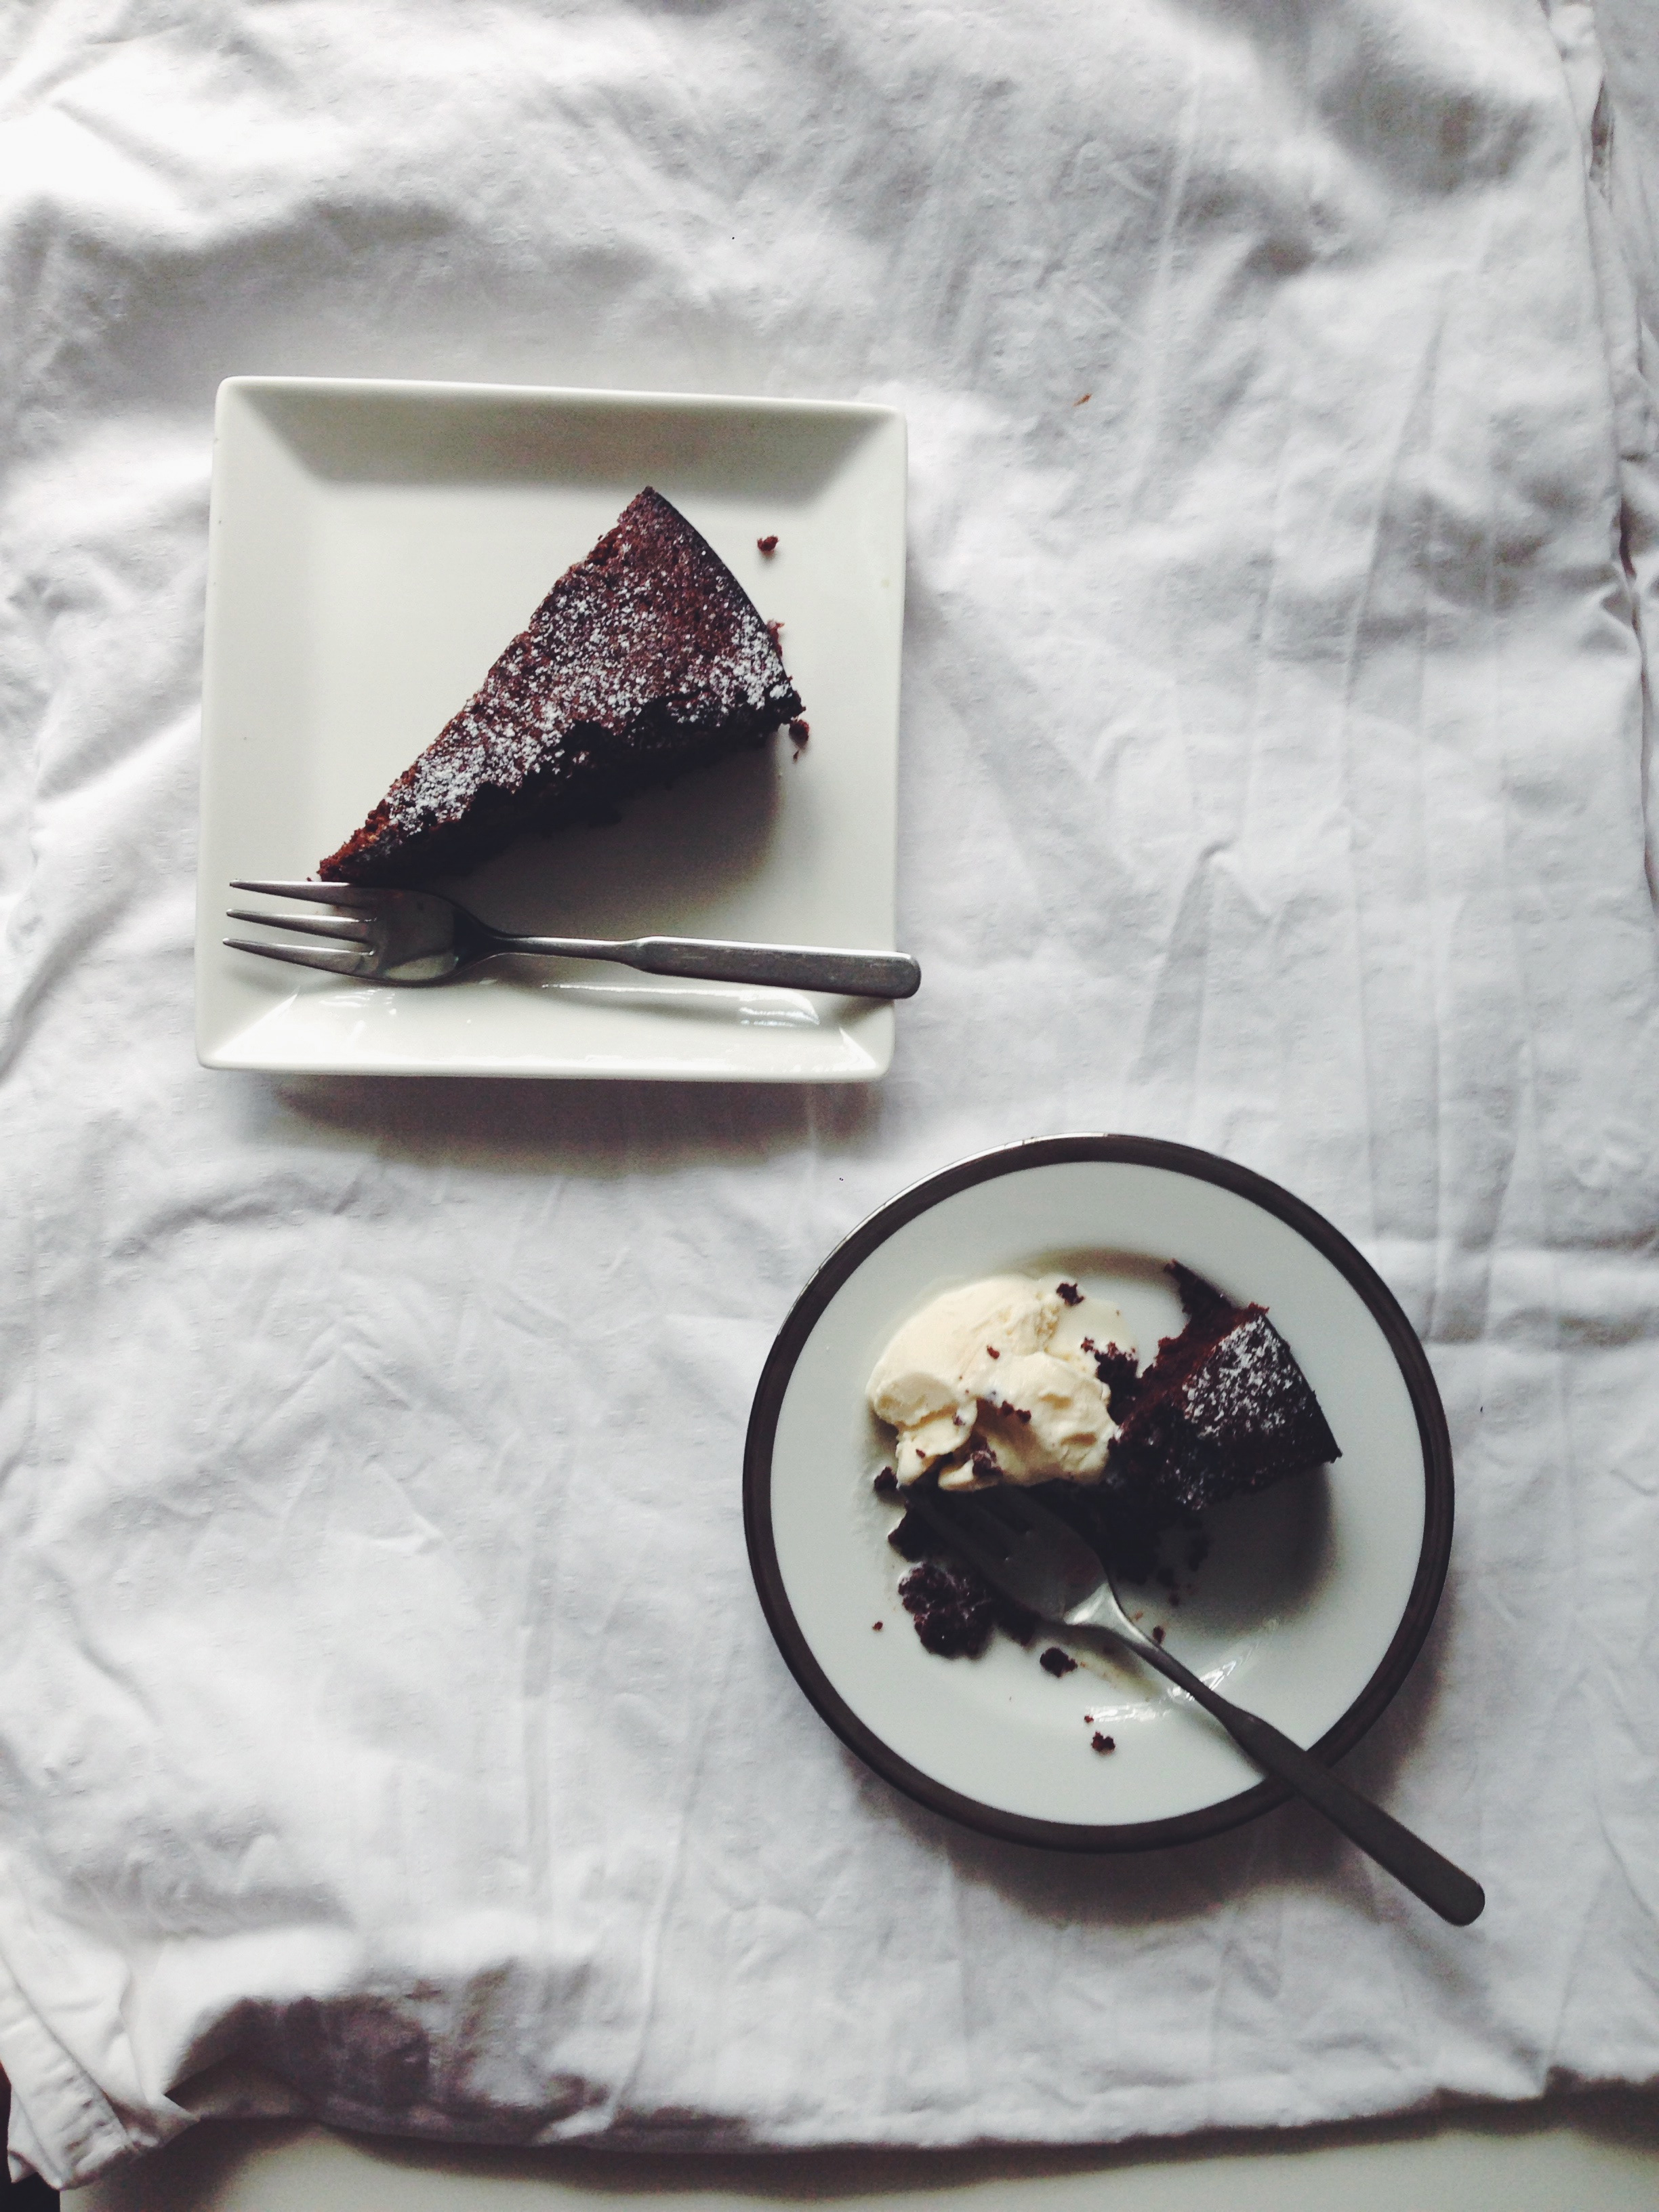
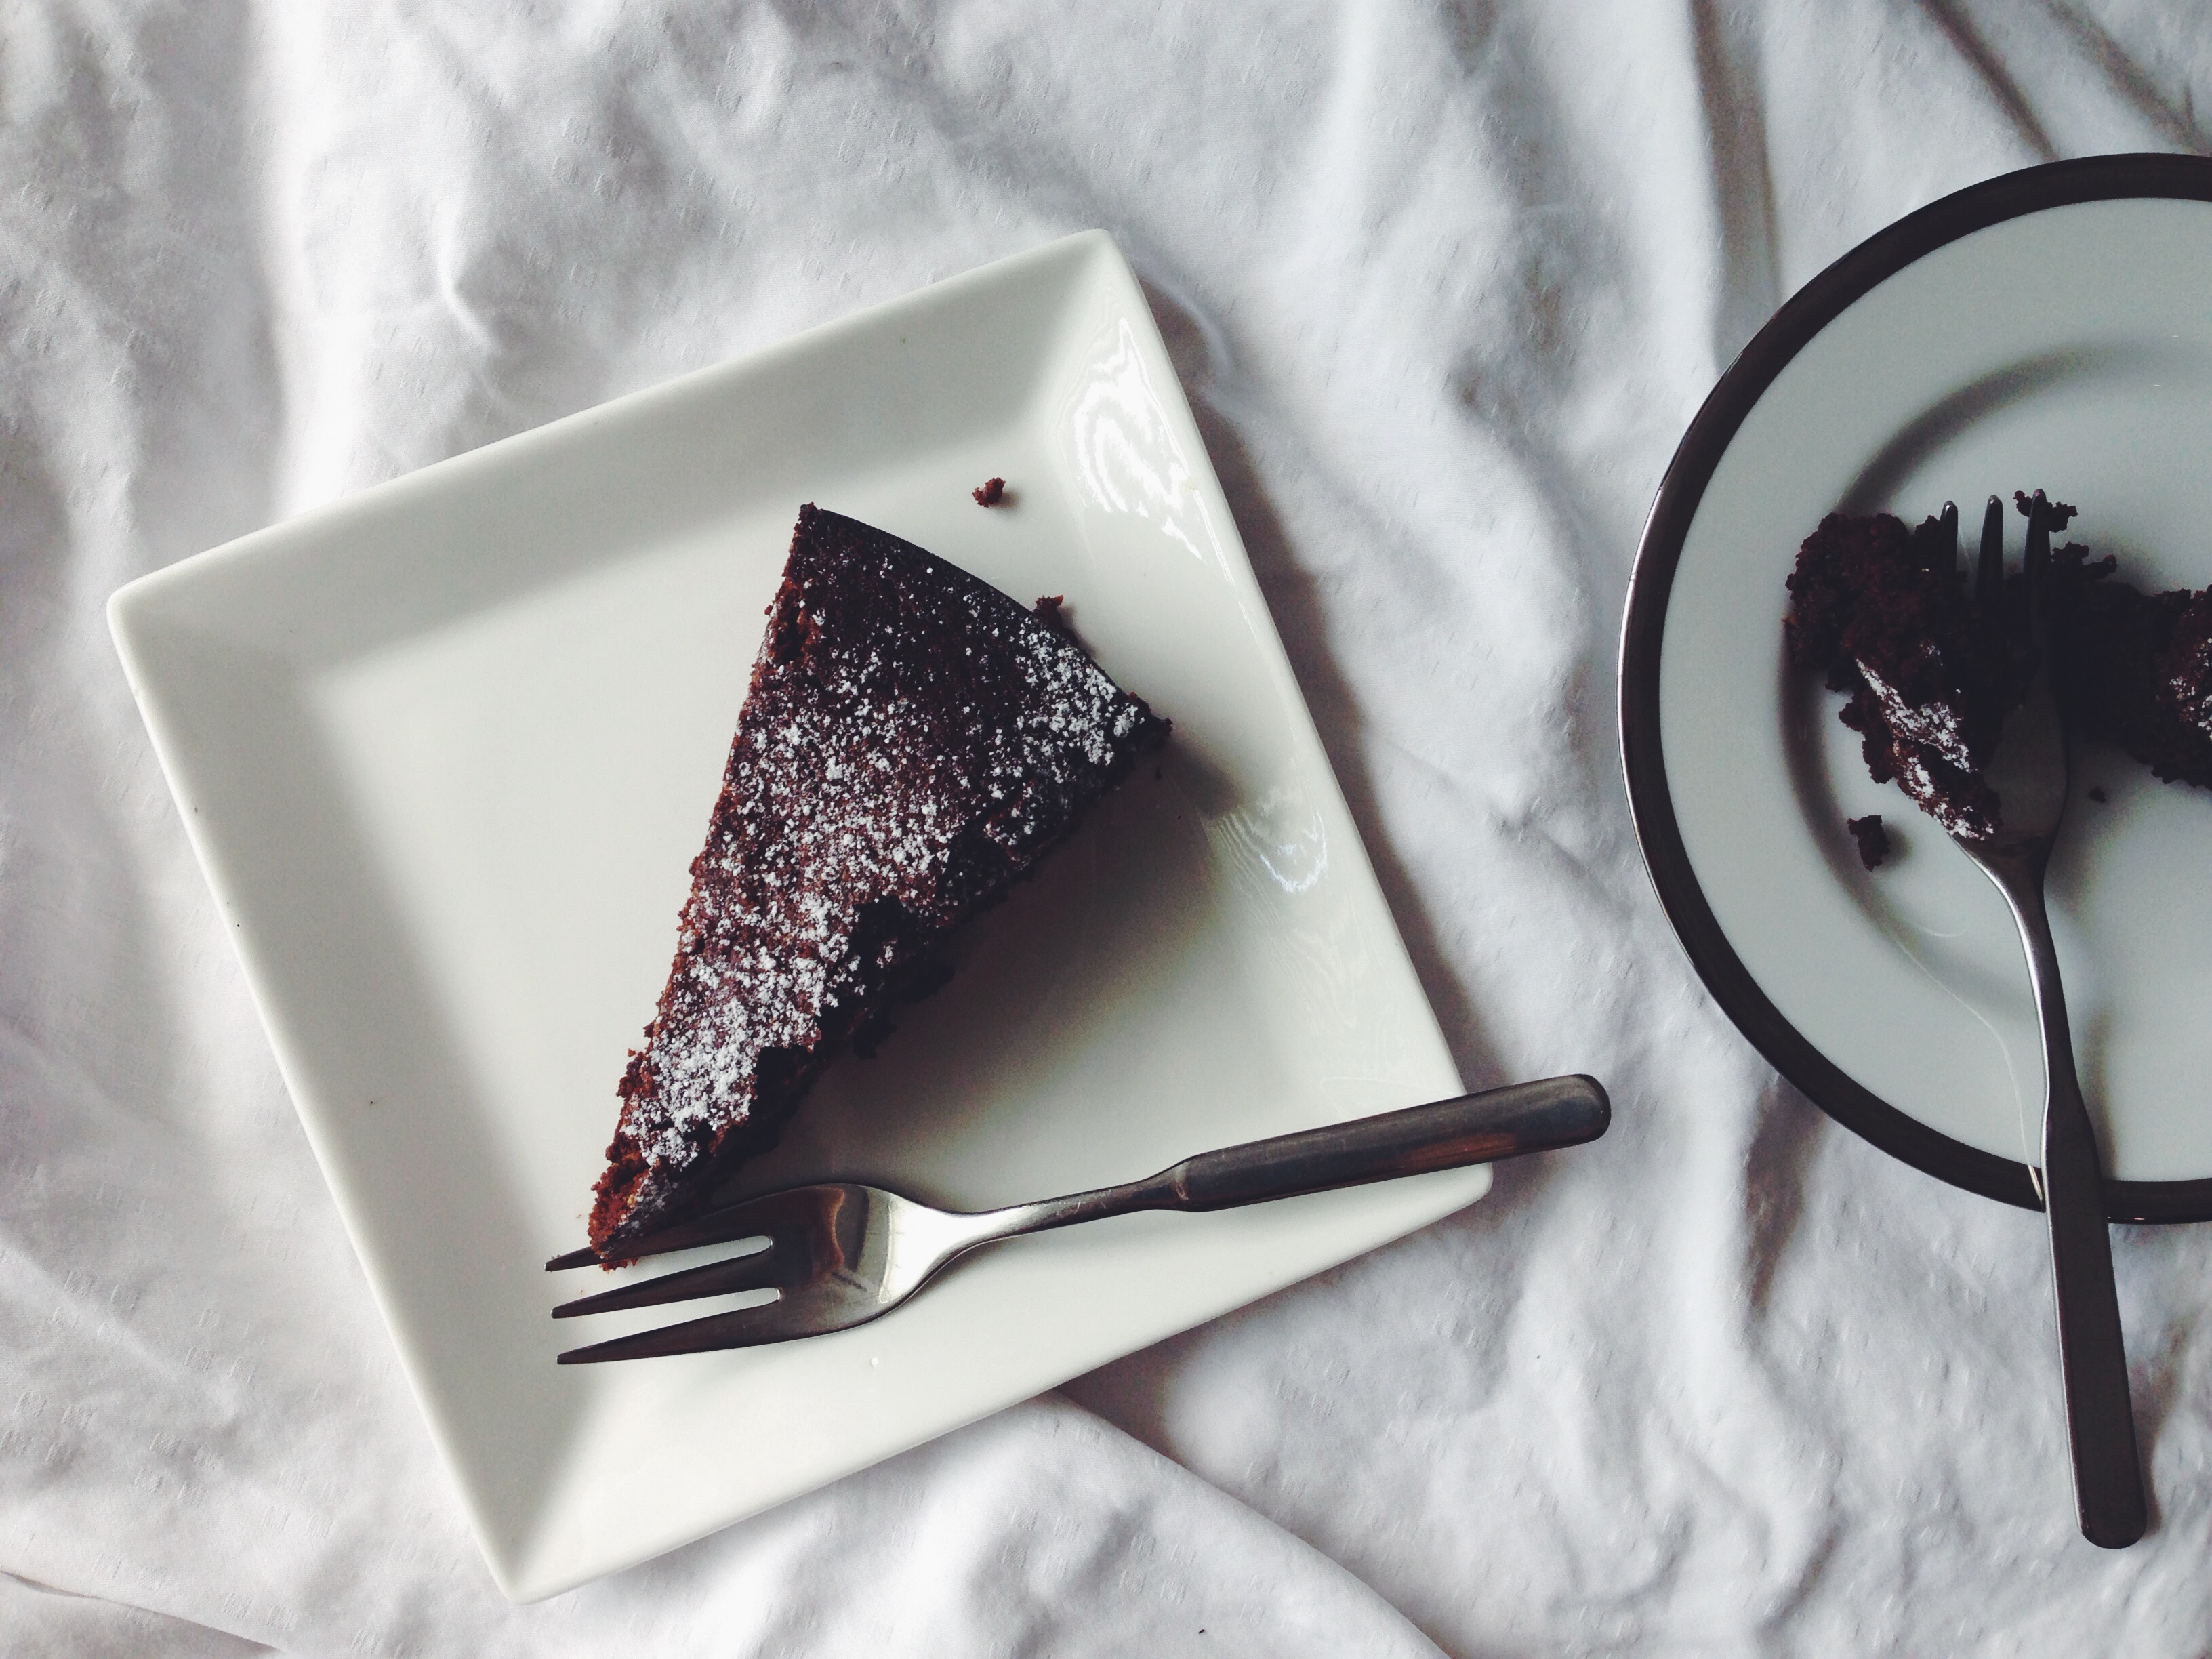
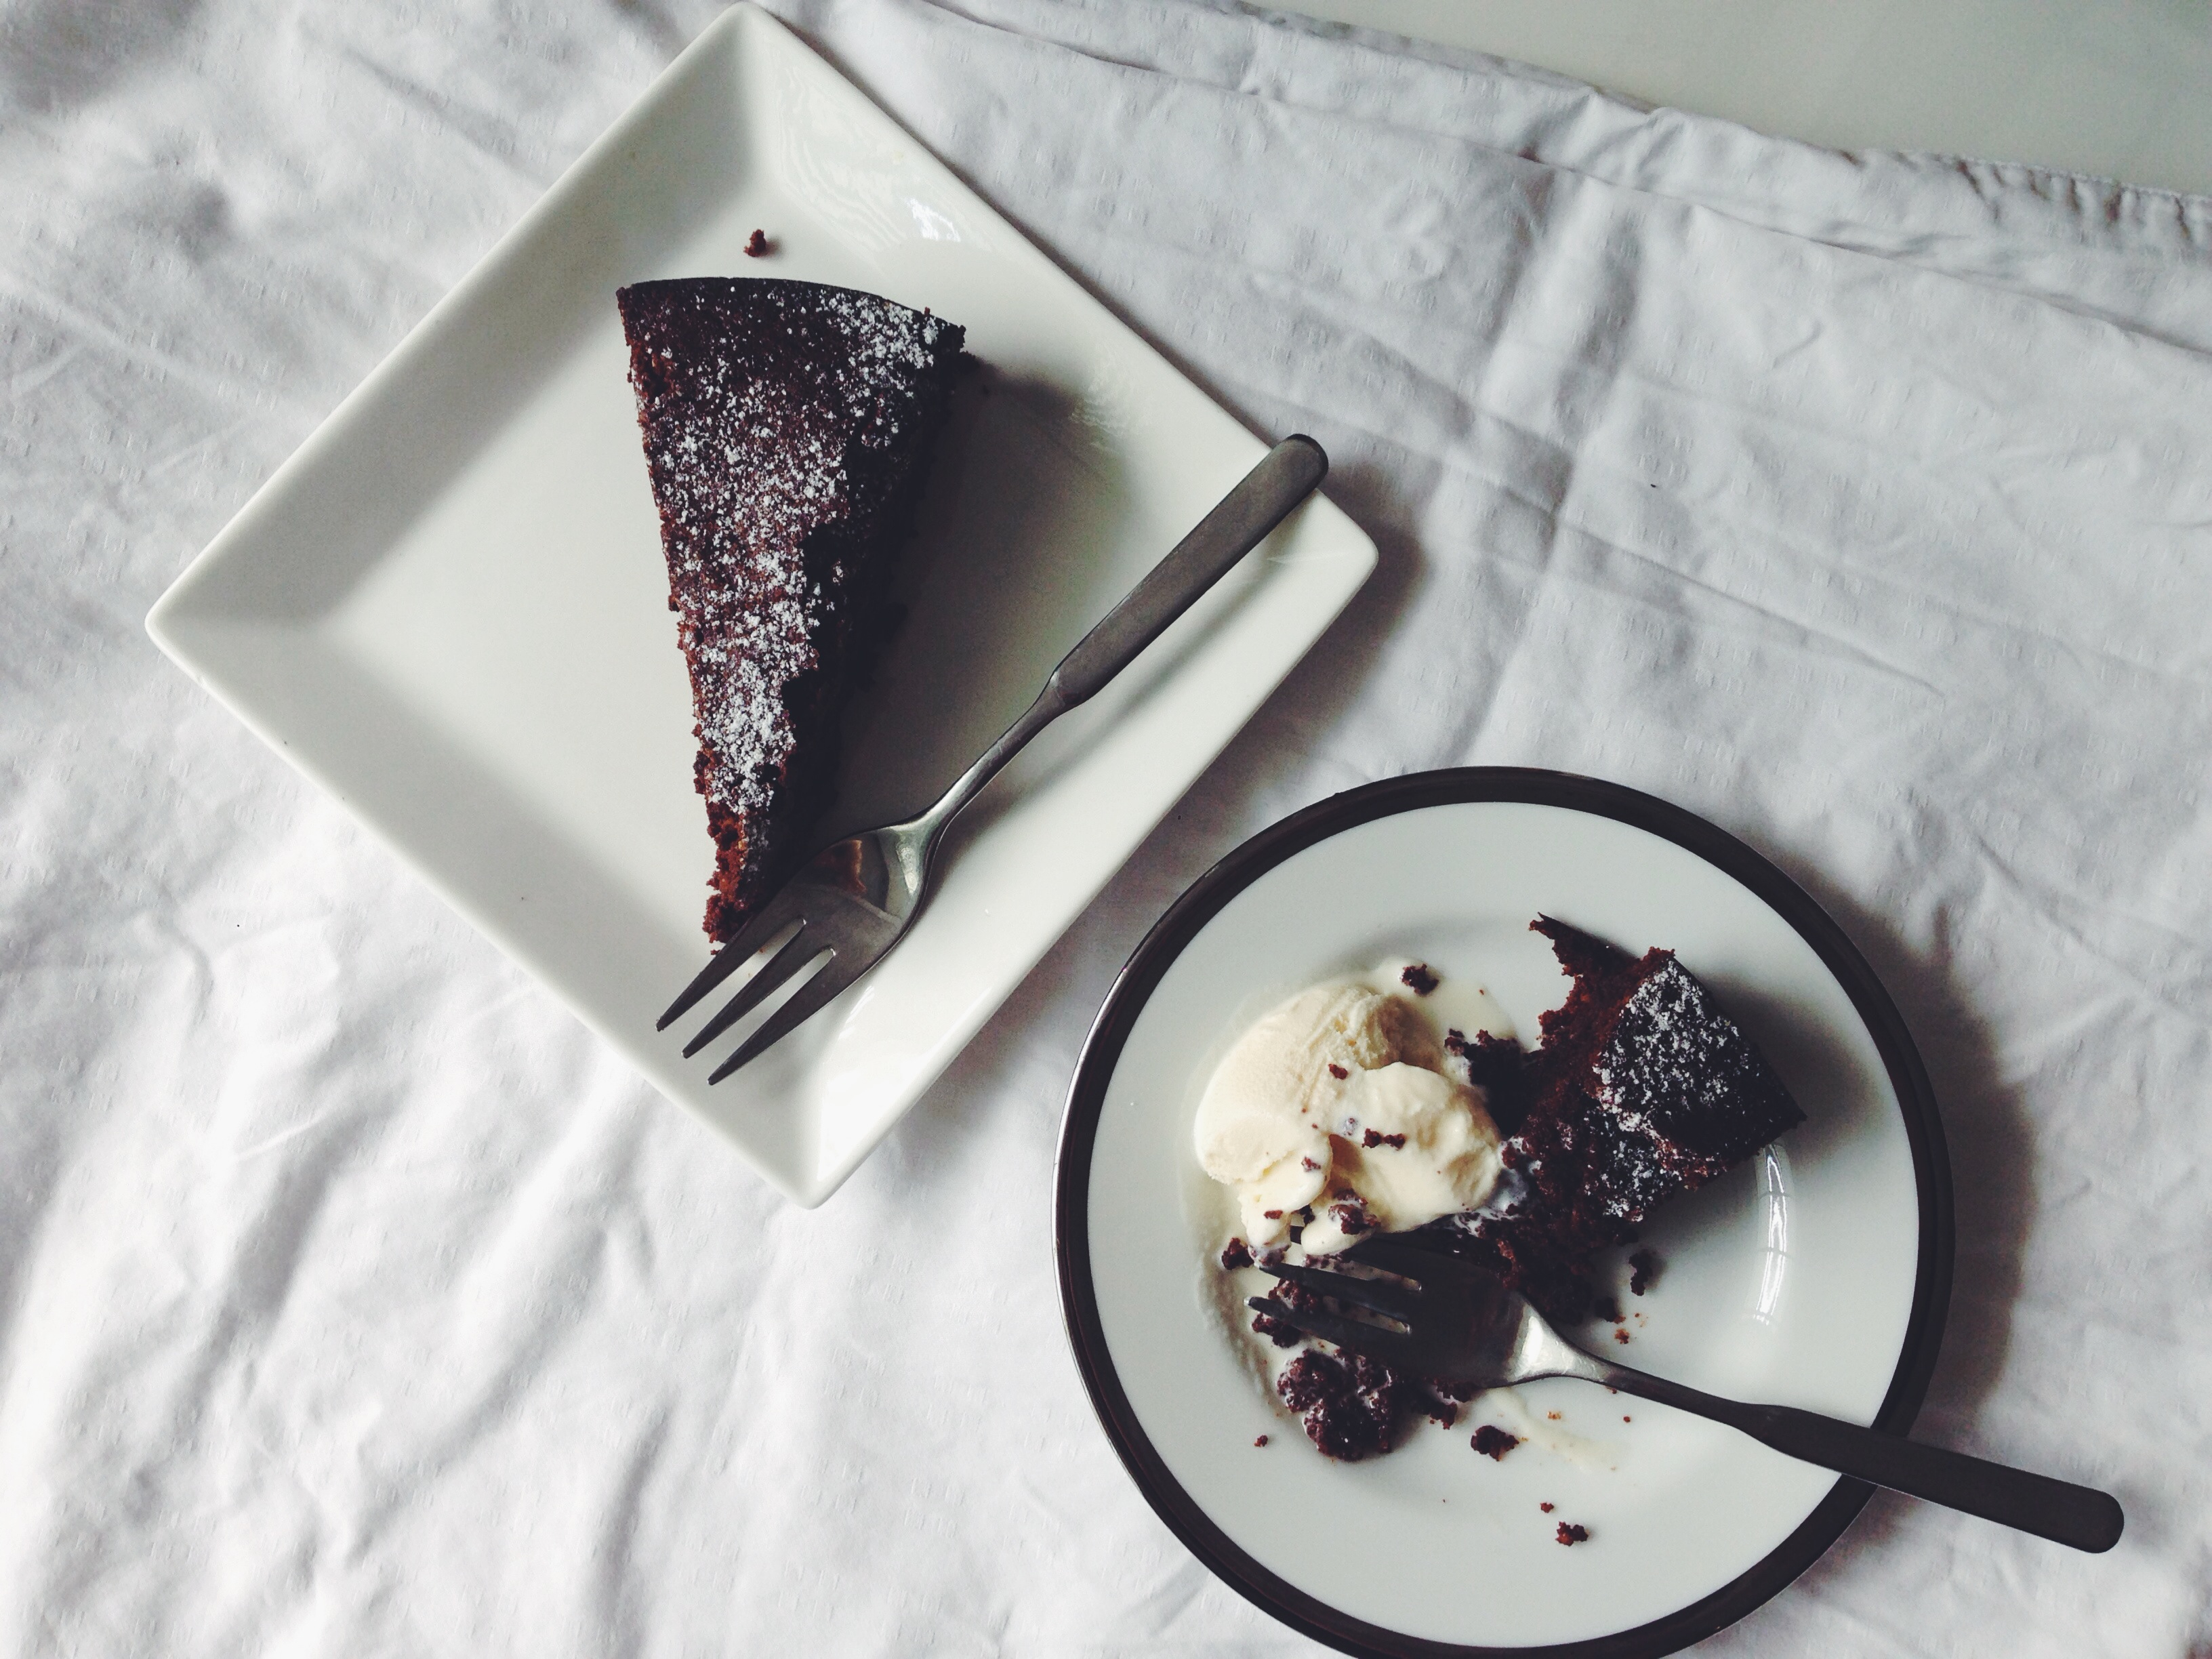
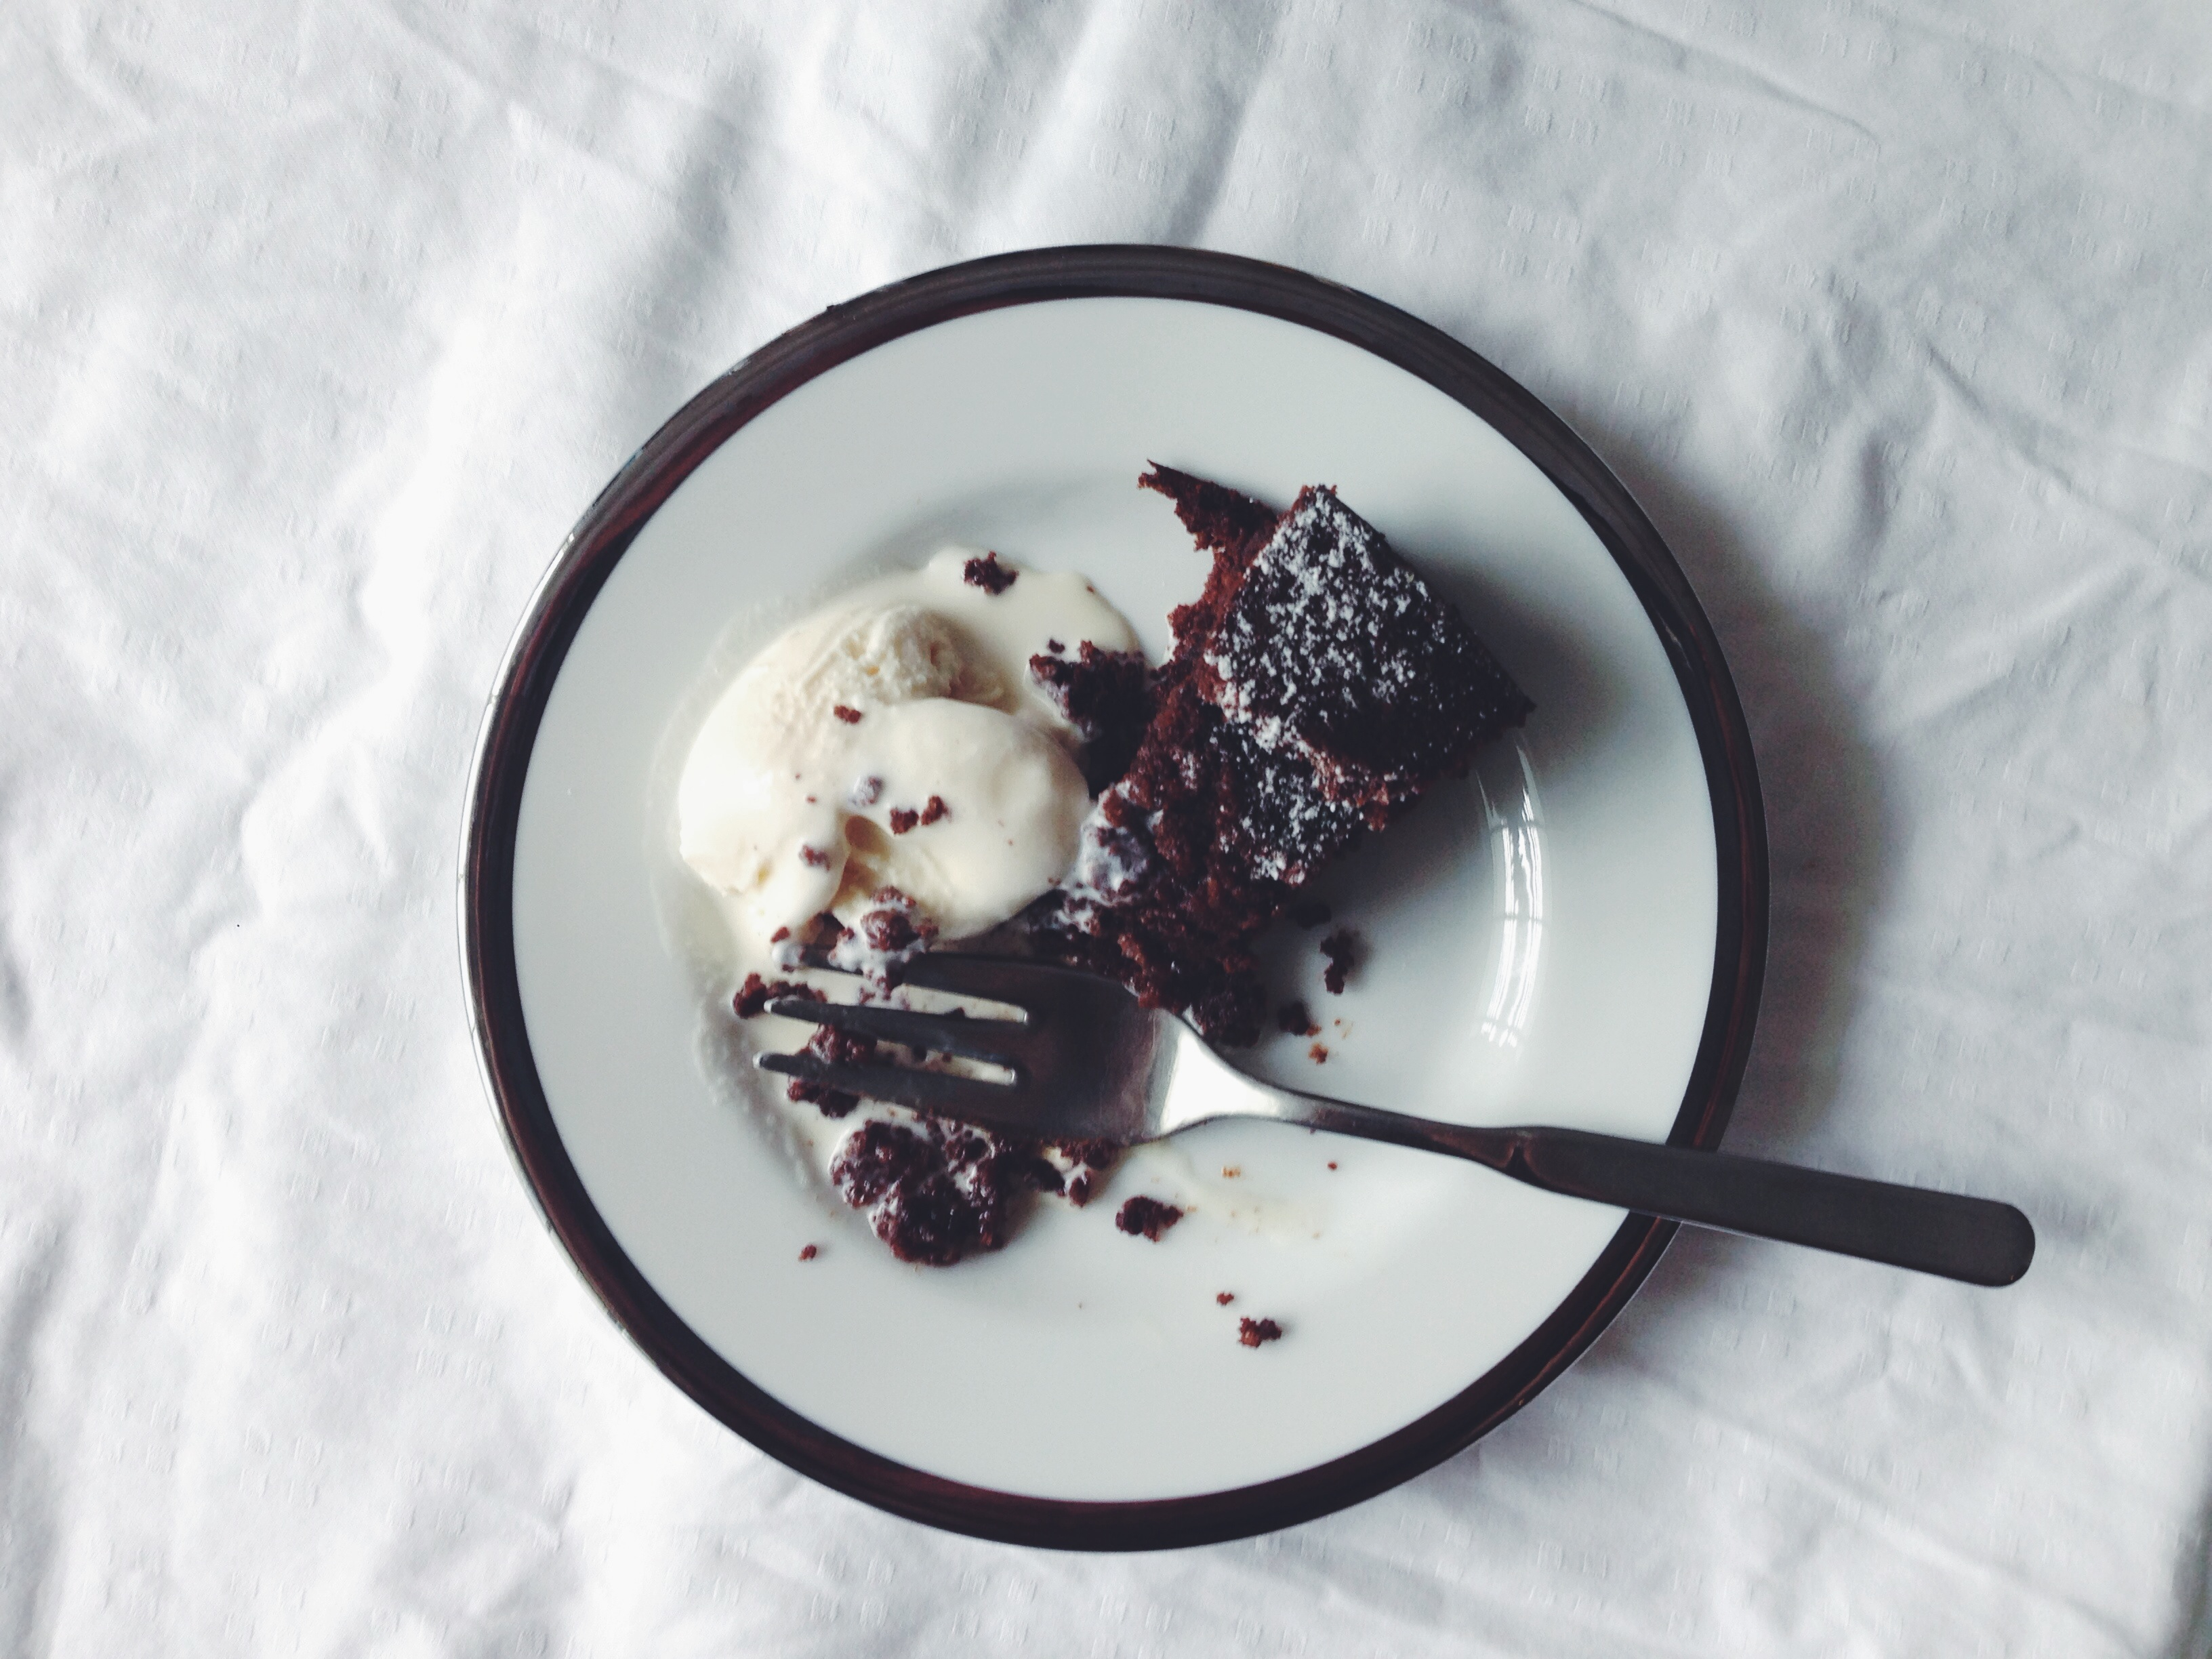
Once it’s all assembled, sprinkle on some chopped nuts, or if you want, desiccated coconut or coconut flakes. I think the latter gives off a more pristine, sophisticated vibe, whilst the nuts make it more rugged and rustic. This cake is dense, sweet, and lovely on its own. Pair it with some good vanilla ice cream, but I think it’s better left alone. It keeps for around a week in the fridge, so have fun picking at the frosting at midnight!

Processed with VSCOcam with f2 preset


Avocado milkshake

Processed with VSCOcam with f2 preset Processed with VSCOcam with a6 preset

I love avocados, you know.

Its nourishing green-ness (it’s officially a word now), its thick, fatty, buttery consistency. Yes, that’s it, it’s a healthy butter. Most people hate its slippery meatiness, its grassy and lightly sweet consistency, but to me, it’s practically life in another form. Apart from being mashed thickly on toast with a drizzle of good honey and coarse sea salt, it’s wonderful in this shake. In my opinion, a shake or smoothie should only be thick. So ridiculously thick that you might as well eat it, not drink it, with a spoon, if there were no such thing as fat stripey straws. It makes the process all the more pleasurable, and almost cheeky.

You don’t need much, I promise. And extremely glad my mother owns a Vitamix!

Avocado milkshake (for 2-3 servings)

1 ripe avocado (I used a Hass for this)

1 small or half a large frozen banana (you can use a normal banana, just increase the amount of ice to 2 cups)

1.5 cups ice

1 teaspoon vanilla extract

1 teaspoon each of salt and cinnamon

half cup milk of your choice (I used a blend of almond and whole)

Blend everything together until you get a rich, thick and delectably creamy consistency.

Avocados are worth the life hype.

Craftsmen Specialty Coffee

cappuccino

Processed with VSCOcam with f2 preset Processed with VSCOcam with f2 preset


I still can’t believe I travelled all the way to the East for good coffee. Siglap, to be more precise. All for the sake of trying out this three-week old café. It wasn’t exactly a tedious prospect, but it just so happened that that day was particularly hot, and I almost couldn’t bring myself to further my advances in the obtaining of skin cancer. I’ll be the first to get it and my future children would hate me forever. It’s kind of genetic, you know.

So thank goodness this place had an ambience welcoming enough to compensate for the long distance. I took my little sister along to accompany me, forcing her to bring along some work just so she could at least attempt to be productive that Thursday. I brought my English stuff along, but ended up gushing over the coffee instead of analysing the moth-like tendencies of Blanche Dubois in Streetcar named Desire. All’s still good, I promise.


Processed with VSCOcam with f2 preset
cappuccino–$5, iced chocolate–$6

The cappuccino was one of the best I’ve had in an incredibly long time. I appreciated its soft and creamy touch on the palate, and wasn’t in the least bit acidic or sour. The iced chocolate was predictably sweet and refreshing; you can’t exactly go wrong with this. Some places like to posh it up with some vanilla ice cream and extra bits and bobs, but this was perfectly fine on its own. Yum.

The food, on the other hand, was another story. Pips, my sister, ordered the pain au chocolat, her favourite, which was unfortunately nothing short of disappointing. Sufficiently chocolatey and gooey on the inside, yes, but it should definitely have been served warmer and toastier. The crisp factor here was little to none, apart from the occasional caress of flaky crust on your tongue as you joyously tear the elastic pastry bands beneath the less-than-pleasant crust on top.

My own parfait was mediocre, decent at most. The yoghurt they used was a little thin and much too bland; someone needs to hook these guys up with some greek yoghurt stat. The thick, freshly-strained sort. Tang missing, fruit doing little to compensate for the muesli which was overwhelming in both quantity and sweetness. I felt a tad ill after eating just half of the stuff. I personally love it when muesli and yoghurt are mushed together and the initial crunch is whittled down after some time to a delectable, sub-healthy mush, but the ratios here did not work as well to bolster that nice ‘mush’ factor. Ah, pity.

That being said, the ambience here was more than inviting, gorgeous wooden tables everywhere and even a miniature ferris wheel gracing the wide window, and the staff are friendly and amicable. They also serve a variety of belgian waffles, each with its own coupling of ice cream and toppings. I promised myself, as I left, with a half-heavy heart, to try some the next time I chance upon an East Café adventure. Waffle-anything is the epitome of café worthiness, and this place is worth the hop.


Craftsmen Specialty Coffee

2 First Street, Siglap V, #01-01, Singapore 458278

IMG_1317
pain au chocolat–$4.20, yoghurt and muesli parfait–$10

Kilo at Pact

IMG_1541


This one’s specially for Felix(:

I had been meaning to come here, though to me, Orchard Central isn’t the most particularly ideal destination. All these escalators, all these random jutting corners, as if the designers only thought properly about the layout after it was all set up and built. But fusion food? I was up for the stuff. And so was he.

Processed with VSCOcam with f2 preset
Donburi salmon rice bowl (all rice bowls come with sweet corn, radishes, sugar peas, wasabi sprouts, shimeji mushrooms and cherry tomatoes) – $17
Processed with VSCOcam with f2 preset
salmon avocado ‘sushiro’– $17

Processed with VSCOcam with f2 preset


They are currently having a set lunch promotion, whereby you can get either a salad, sushiro (I love how they do a nice play on our grotesque accents here) or rice bowl, together with a citrus iced tea and a choice between two desserts– basil panna cotta or a lemon tart with fresh cream. All for around $20++. Since we were in a rush for a movie (I teared up an embarrassing amount during The Fault in Our Stars, though I might have enjoyed it more if it weren’t for the mediocre book), we just ordered two mains, but each was satisfying enough!

I thoroughly enjoyed my donburi salmon rice bowl, a relatively new addition to the menu. They also offer pork belly, beef short-rib and roasted vegetables with tofu options. The salmon could have been more tender and with a little teriyaki marination, for otherwise it was a little dry and bland. You know, it’s always easy to put ‘sweet corn’ in the menu, and I could almost imagine them pouring the bright yellow stuff out from a can, but these kernels were as crunchy as the almost-burnt crusts of toast and as sweet as can be. The avocado was a nice touch, but it was a little lonely green sliver amongst the mounds of superior vegetables, and should have been accompanied by some sauce or other– I’d say a sweet soya or shabu-shabu variety. Anything, really. The highlight of the whole thing was most certainly those sweet, marinated shimeji mushrooms. Tender, sweet and fresh, and paired perfectly with the more hardy stance of brown rice. I chose brown because I enjoy its chewy wholesomeness and frankly I get enough sushi rice in my life already. Everything was dandy, but a little overpriced. 17 bucks demands serious business for a bowl of rice, fish and vegetables. Let’s be real.

That being said, the portions were perfectly satisfying, and I think I shall return for the set lunch option. The sushiro Lix ordered was proper huge, served with nacho-style chips (which I thought needed more seasoning, whatever brand they’re sourced from), and wasabi and soy. The ambience here is lovely; there was gorgeous, soft light streaming through the wide top-to-toe windows that early afternoon, but they could do with more tables to accommodate more people.

One thing is for sure though– lunches with this guy are the best.


Rating: 4.4/5.0

Kilo at Pact

#02-16/18
Orchard Central
Singapore


Flourless Chocolate Cake

It deserves the thing.

AKA a well-deserved post dedication. Chocolate deserves it all. Chocolate is love because chocolate is basically the centre of the universe and everything else hovers in serf-like subservience bound to drifting orbits in honour of the magic lying before them.

Processed with VSCOcam with f2 preset


It’s flourless because of the ground almonds incorporated into the rich and decadent, chocolatey batter. I’m glad I made time just to bake this, in between all the schoolwork and studying, because firstly, it’s hell simple, and secondly, the end result was absolutely worth it. Some people think baking is a serious waste of time, but it’s utterly therapeutic and I love how I get to hone both my skill and concentration in the process. The cake is rich without being too cloying or fudgy in texture, the almonds offering a wholesome crumble and lift in body, dispersed evenly throughout. The quality of chocolate used here is of utmost importance. I used Ghirardelli chips here, because I had some left over from a previous baking spree and I wishd to ensure only the best possible final product. There’s… There’s no room for Hershey’s here, lads. Oops. Try as you might, you just won’t obtain the same glorious melt-in-your-mouth-brownie-style bite.

IMG_1245 Processed with VSCOcam with f2 preset Processed with VSCOcam with f2 preset

Its semi-provocative flavour pairs superbly with a scoop of plain vanilla ice cream, straight out of the freezer and melting like frothy clouds on the surface. The original recipe called for 100% white sugar, but I replaced 50g with dark brown sugar instead to get that gorgeous molasses, treacly flavour. Which reminds me– I really need to get around making a treacle tart soon…


Flourless Chocolate Cake, adapted from Elizabeth David’s Flourless Chocolate Cake (which I’ve been meaning to attack for ages)

Ingredients

5 eggs, separated, with whites in a large and clean, stainless steel or glass bowl

100g ground almonds (or almond flour)

250g good quality dark chocolate (60% cocoa or above), in chips or broken into chunks

1 teaspoon vanilla extract

1 teaspoon salt

150g unsalted butter (or eliminate the one teaspoon of salt and use salted butter instead)

100g white sugar, 50g dark brown muscovado sugar

icing sugar for the topping

Preheat your oven to 180 degrees C (or 350 degrees F). Grease (no lining needed, hoorah!) and lightly flour a 9-inch cake pan with a removable bottom tin, or simple use a normal round cake tin. The cake itself isn’t hard to remove from the tin, so you shouldn’t be worried about having difficulty (as the story is with so many brownie recipes I have tried in the past) to remove it after cooling, post-bake.

Half fill a medium saucepan with water and bring it to a boil. Place a bowl containing the chocolate and butter on top to create a double-boiler system. Use a wooden spoon to stir and melt it all together, and once most of it has melted, add the sugars and continue stirring until it’s all been dissolved. Remove from heat and stir in ground almonds. Make sure to break apart any clumps or clusters. Stir in the five egg yolks.

In the large bowl containing your egg whites, beat with a hand mixer until you reach reasonably stiff peaks. Soft, but not completely stiff. The original recipe said ‘stiff’, but I yielded a perfectly good mixture afterwards even with slightly softer peaks. Definitely past the baby froth stage, but you’re not quite going for a pavlova-style mountain range. Use a spatula to gently fold the egg whites into the chocolate and egg yolk mixture. Take your time here– be patient and wait for a couple minutes until it comes nicely together. Believe me, I was initially extremely skeptical during this stage, as the first few folds seemed to make the mixture split and turn watery. I panicked. But I willed the thing to work (for heaven’s sake, right?) and it all came together beautifully in the end. The ribbons of white will lighten the mixture both in colour and texture, and you end up with a sort of heavy mousse. Just be patient with the folding.

Pour mixture into cake tin and smooth out the top. Place in the middle of your preheated oven and bake for 40-45 minutes. Mine was fine by 40. Check yours with a skewer at 40 minutes– if the stick comes out with moist crumbs then take it out, if it’s wet then leave it in for another 3 minutes or so. Leave to cool on a rack, before dusting some icing sugar on top. Serve this warm with some vanilla ice cream and nothing else, because just this pairs makes for the perfect afternoon treat. Have it for breakfast. Have it for… um, anything, really.

Processed with VSCOcam with f2 preset Processed with VSCOcam with f2 preset

This flourless chocolate cake can be kept at room temperature in an airtight container for a couple of days, or store it in the fridge and it will reheat nicely.